fuel BMW M3 COUPE 2004 E46 Owner's Manual
[x] Cancel search | Manufacturer: BMW, Model Year: 2004, Model line: M3 COUPE, Model: BMW M3 COUPE 2004 E46Pages: 170, PDF Size: 2.62 MB
Page 5 of 170
5
Notes
Your individual vehicle
On purchasing your BMW, you have
decided in favor of a model with individ-
ualized equipment and features. This
Owner's Manual will describe all of the
equipment that the BMW M3 has to
offer you.
We hope you will understand that
equipment and features are included
that you might not have chosen for your
vehicle. You can easily identify any dif-
ferences with the aid of the asterisk
used to identify all optional equipment
and accessories.
If your BMW features equipment such
as a car radio or telephone, that is not
described in this Owner's Manual, we
have enclosed Supplementary Owner's
Manuals. We ask you to read these
manuals as well.
Status at time of printing
BMW pursues a policy of continuous,
ongoing development that is conceived
to ensure that our vehicles continue to
embody the highest quality and safety
standards combined with advanced,
state-of-the-art technology. For this
reason, the features described in this
Owner's Manual could differ from those
in your vehicle. Nor can errors and
omissions be entirely ruled out. You are
therefore asked to appreciate that no
claims can be recognized on the basis
of the data, illustrations or descriptions
in this Owner's Manual.
For your own safety
Fuels
Use unleaded gasoline only. Fuels
containing up to and including
10 % ethanol or other oxygenates with
up to 2.8 % oxygen by weight – that is,
15 % MTBE or 3 % methanol plus an
equivalent amount of co-solvent – will
not void the applicable warranties
respecting defects in materials or work-
manship. Field experience has indi-
cated significant differences in fuel
quality – volatility, composition, addi-
tives, etc. among gasolines offered for
sale in the United States and Canada.
The use of poor quality fuels may result
in driveability, starting and stalling
problems especially under certain envi-
ronmental conditions, such as high
ambient temperature and high altitude.
Should you encounter driveability prob-
lems which you suspect could be
related to the fuel you are using, we
recommend that you respond by
switching to a recognized high-quality
brand.
Failure to comply with these recom-
mendations may result in unscheduled
maintenance.
Obey pertinent safety rules when you
are handling gasoline.
<
Page 8 of 170
Contents
Notes
About this Owner's Manual4
Additional sources of
information4
Symbols used4
Your individual vehicle5
Status at time of printing5
For your own safety5
Symbol on vehicle parts6
Service and warranty7
Reporting safety defects7
Overview
Cockpit14
Instrument cluster16
Indicator and warning lamps18
Buttons in steering wheel22
Hazard warning triangle*23
First-aid kit*23
Refueling24
Fuel specifications25
Tire inflation pressure25
Controls and features
Opening and closing:
Keys30
Central locking system30
Opening and closing – via the
remote control31
Opening and closing – via the
door lock33
Opening and closing – from the
inside34
Luggage compartment lid35
Luggage compartment37
Alarm system*38
Electric power windows40
Glass sunroof, electric*41
To adjust:
Safe seating position43
Seats44
Manual seat adjustment44
Power seat adjustment*45
Head restraints46
Entering the rear47
Safety belts47
Seat and mirror memory*49
Seat heating*50
Steering wheel51
Mirrors51
Passenger safety systems:
Airbags53
Transporting children safely56
Vehicle Memory, Key
Memory60
Page 9 of 170
Contents
9
Driving:
Ignition lock62
Starting the engine and driving
off63
Switching off the engine65
Parking brake65
Manual transmission66
Sequential M gearbox with
Drivelogic*67
Turn signal indicator/Headlamp
flasher72
Washer/wiper system/Rain
sensor*73
Cruise control74
Everything under control:
Odometer76
Tachometer76
Engine oil temperature76
Fuel gauge77
Engine coolant temperature
gauge77
Service interval display78
Check Control78
Clock79
Computer80
Technology for safety and
driving convenience:
Park Distance Control (PDC)*82
Dynamic Stability Control
(DSC)83
Flat Tire Monitor84
M Engine dynamics control87
Brake force display87
Lamps:
Parking lamps/Low beams88
Instrument lighting89
High beams/Standing lamps89
Fog lamps90
Interior lamps90
Controlling the climate for
pleasant driving:
Automatic climate control92
Roller sun blind*96
Interior conveniences:
Premium sound system*97
Glove compartment97
Storage compartments98
Cellular phone*99
Ashtray, front*100
Ashtray, rear*100
Clothes hooks101
Loading and transporting:
Through-loading system102
Ski bag*103
Cargo loading104
Roof-mounted luggage
rack*106
Controls and features
Page 17 of 170
17
1Fuel gauge77
2Turn signal indicators20
3Speedometer
4Indicator and warning
lamps18 to 21
5Tachometer and engine oil temper-
ature gauge76
6Engine coolant temperature
gauge77
7Indicator and warning
lamps18 to 21
8Control button for
>
Clock79
>
Unit of measure of outside tem-
perature display80
9Display for sequential M gearbox
with Drivelogic68
10 Indicator lamp for Dynamic Stability
Control (DSC)83
11 Display for
>
Trip odometer/Odometer76
>
Clock79
>
Service interval78
>
Computer80
12 Check Control78
13 Trip odometer, reset to zero76
14 Indicator and warning
lamps18 to 21
Instrument cluster
OverviewControlsMaintenanceRepairsDataIndex
Page 19 of 170
19
Red and yellow: continue driving
cautiously
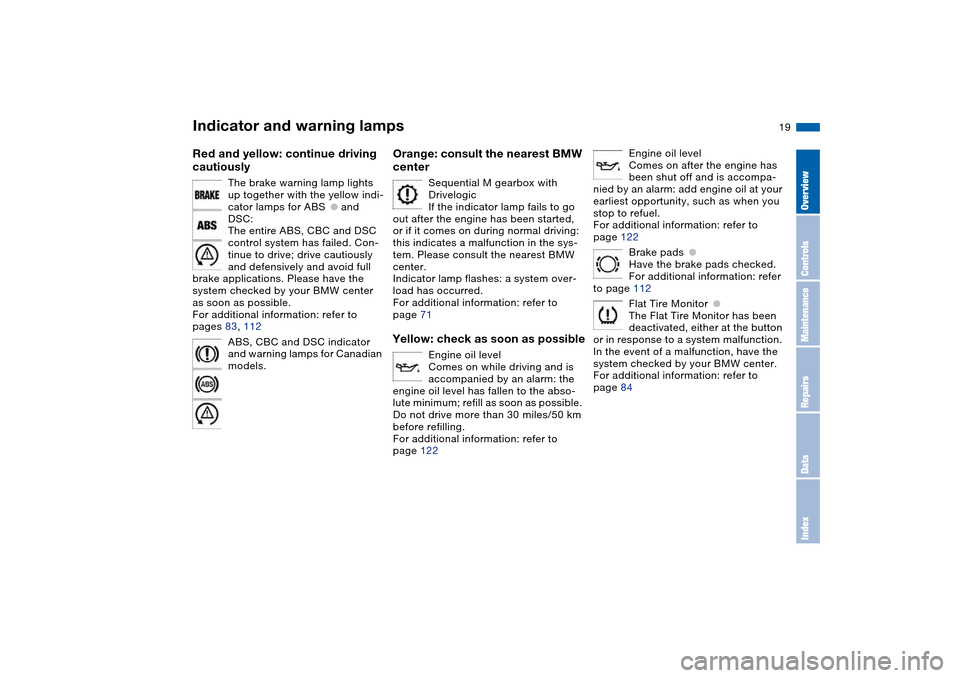
The brake warning lamp lights
up together with the yellow indi-
cator lamps for ABS
●
and
DSC:
The entire ABS, CBC and DSC
control system has failed. Con-
tinue to drive; drive cautiously
and defensively and avoid full
brake applications. Please have the
system checked by your BMW center
as soon as possible.
For additional information: refer to
pages 83, 112
ABS, CBC and DSC indicator
and warning lamps for Canadian
models.
Orange: consult the nearest BMW
center
Sequential M gearbox with
Drivelogic
If the indicator lamp fails to go
out after the engine has been started,
or if it comes on during normal driving:
this indicates a malfunction in the sys-
tem. Please consult the nearest BMW
center.
Indicator lamp flashes: a system over-
load has occurred.
For additional information: refer to
page 71
Yellow: check as soon as possible
Engine oil level
Comes on while driving and is
accompanied by an alarm: the
engine oil level has fallen to the abso-
lute minimum; refill as soon as possible.
Do not drive more than 30 miles/50 km
before refilling.
For additional information: refer to
page 122
Engine oil level
Comes on after the engine has
been shut off and is accompa-
nied by an alarm: add engine oil at your
earliest opportunity, such as when you
stop to refuel.
For additional information: refer to
page 122
Brake pads
●
Have the brake pads checked.
For additional information: refer
to page 112
Flat Tire Monitor
●
The Flat Tire Monitor has been
deactivated, either at the button
or in response to a system malfunction.
In the event of a malfunction, have the
system checked by your BMW center.
For additional information: refer to
page 84
Indicator and warning lamps
OverviewControlsMaintenanceRepairsDataIndex
Page 24 of 170
24
RefuelingFuel filler door
Always switch off the engine
before refueling, as it is not possi-
ble to add fuel with the engine running,
and attempts may also trigger the
SERVICE ENGINE SOON lamp.<
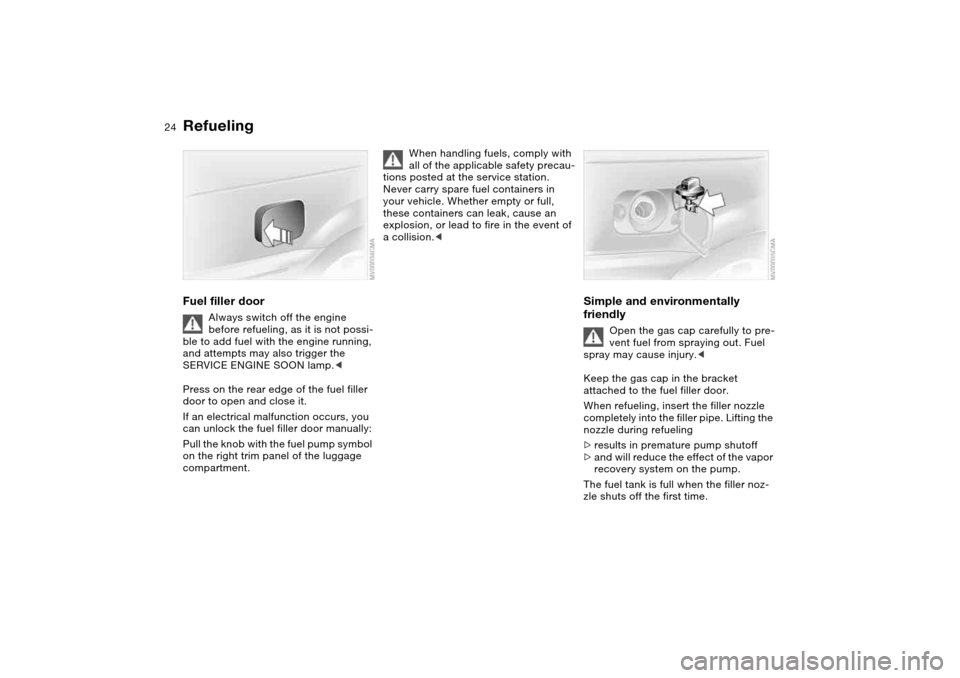
Press on the rear edge of the fuel filler
door to open and close it.
If an electrical malfunction occurs, you
can unlock the fuel filler door manually:
Pull the knob with the fuel pump symbol
on the right trim panel of the luggage
compartment.
When handling fuels, comply with
all of the applicable safety precau-
tions posted at the service station.
Never carry spare fuel containers in
your vehicle. Whether empty or full,
these containers can leak, cause an
explosion, or lead to fire in the event of
a collision.<
Simple and environmentally
friendly
Open the gas cap carefully to pre-
vent fuel from spraying out. Fuel
spray may cause injury.<
Keep the gas cap in the bracket
attached to the fuel filler door.
When refueling, insert the filler nozzle
completely into the filler pipe. Lifting the
nozzle during refueling
>results in premature pump shutoff
>and will reduce the effect of the vapor
recovery system on the pump.
The fuel tank is full when the filler noz-
zle shuts off the first time.
Page 25 of 170
25
Close the gas cap carefully after
refueling until a click is heard.
While closing, be sure not to squeeze
the strap which is fastened to the cap.
A loose or missing cap will activate the
CHECK GAS CAP* lamp.<
Fuel tank capacity>Approx. 16.6 gal./63 liters, of which
>approx. 2.1 gal./8 liters are reserve
capacity.
Do not drive to the last drop of
fuel. This can prevent the engine
from operating properly and result in
damage.<
Fuel specificationsUse unleaded gasolineThe engine uses lead-free gasoline
only.
Required fuel:
>Premium Unleaded Gasoline,
min. 91 AKI
AKI = Anti Knock Index
Never use leaded fuel, as it would
cause permanent and irreversible
damage to the oxygen sensor and the
catalytic converter.<
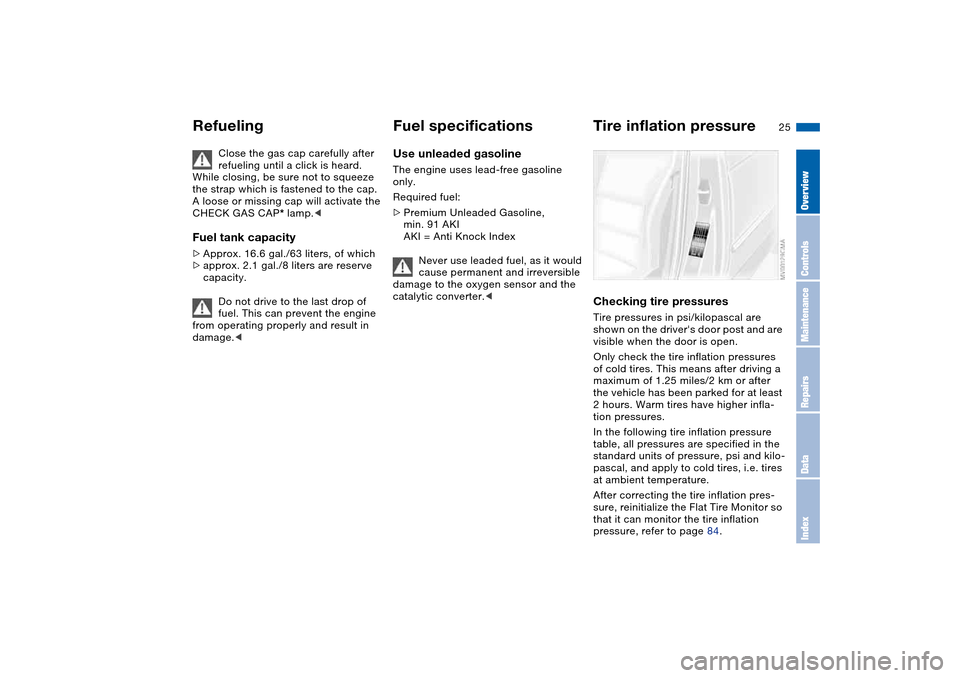
Tire inflation pressureChecking tire pressuresTire pressures in psi/kilopascal are
shown on the driver's door post and are
visible when the door is open.
Only check the tire inflation pressures
of cold tires. This means after driving a
maximum of 1.25 miles/2 km or after
the vehicle has been parked for at least
2 hours. Warm tires have higher infla-
tion pressures.
In the following tire inflation pressure
table, all pressures are specified in the
standard units of pressure, psi and kilo-
pascal, and apply to cold tires, i.e. tires
at ambient temperature.
After correcting the tire inflation pres-
sure, reinitialize the Flat Tire Monitor so
that it can monitor the tire inflation
pressure, refer to page 84.
Refueling
OverviewControlsMaintenanceRepairsDataIndex
Page 30 of 170
30Opening and closing
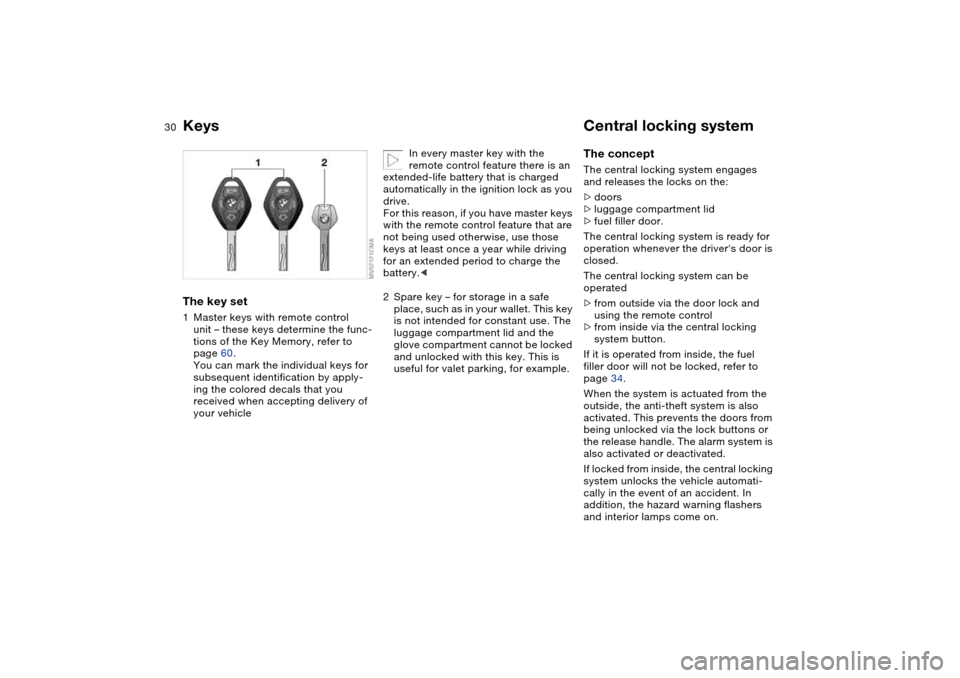
KeysThe key set1Master keys with remote control
unit – these keys determine the func-
tions of the Key Memory, refer to
page 60.
You can mark the individual keys for
subsequent identification by apply-
ing the colored decals that you
received when accepting delivery of
your vehicle
In every master key with the
remote control feature there is an
extended-life battery that is charged
automatically in the ignition lock as you
drive.
For this reason, if you have master keys
with the remote control feature that are
not being used otherwise, use those
keys at least once a year while driving
for an extended period to charge the
battery.<
2Spare key – for storage in a safe
place, such as in your wallet. This key
is not intended for constant use. The
luggage compartment lid and the
glove compartment cannot be locked
and unlocked with this key. This is
useful for valet parking, for example.
Central locking systemThe conceptThe central locking system engages
and releases the locks on the:
>doors
>luggage compartment lid
>fuel filler door.
The central locking system is ready for
operation whenever the driver's door is
closed.
The central locking system can be
operated
>from outside via the door lock and
using the remote control
>from inside via the central locking
system button.
If it is operated from inside, the fuel
filler door will not be locked, refer to
page 34.
When the system is actuated from the
outside, the anti-theft system is also
activated. This prevents the doors from
being unlocked via the lock buttons or
the release handle. The alarm system is
also activated or deactivated.
If locked from inside, the central locking
system unlocks the vehicle automati-
cally in the event of an accident. In
addition, the hazard warning flashers
and interior lamps come on.
Page 33 of 170
33
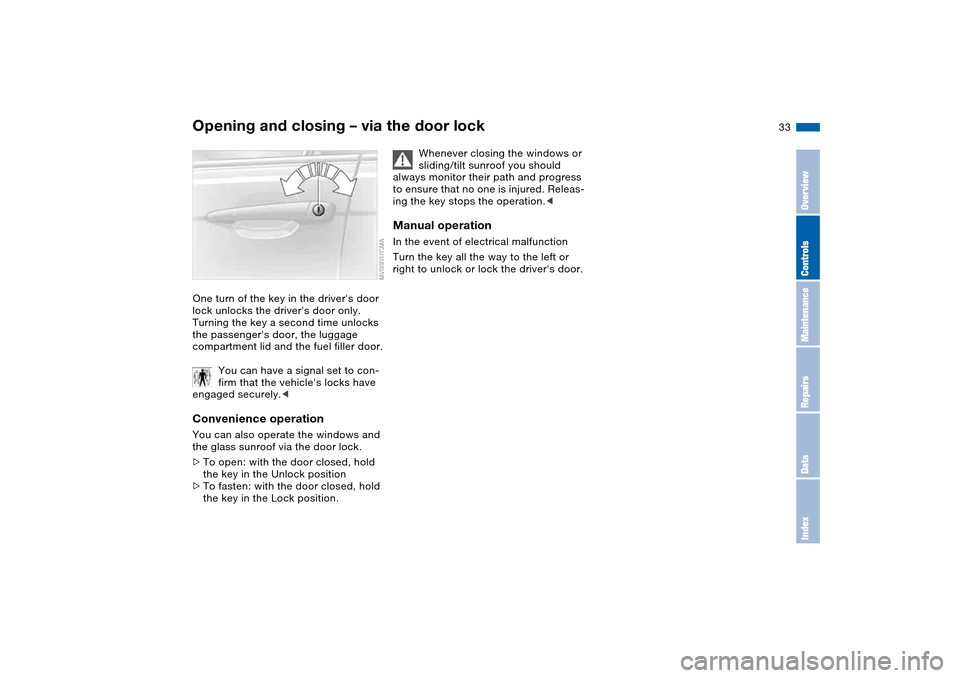
Opening and closing – via the door lockOne turn of the key in the driver's door
lock unlocks the driver's door only.
Turning the key a second time unlocks
the passenger's door, the luggage
compartment lid and the fuel filler door.
You can have a signal set to con-
firm that the vehicle's locks have
engaged securely.
>To open: with the door closed, hold
the key in the Unlock position
>To fasten: with the door closed, hold
the key in the Lock position.
Whenever closing the windows or
sliding/tilt sunroof you should
always monitor their path and progress
to ensure that no one is injured. Releas-
ing the key stops the operation.<
Manual operationIn the event of electrical malfunction
Turn the key all the way to the left or
right to unlock or lock the driver's door.
OverviewControlsMaintenanceRepairsDataIndex
Page 34 of 170
34
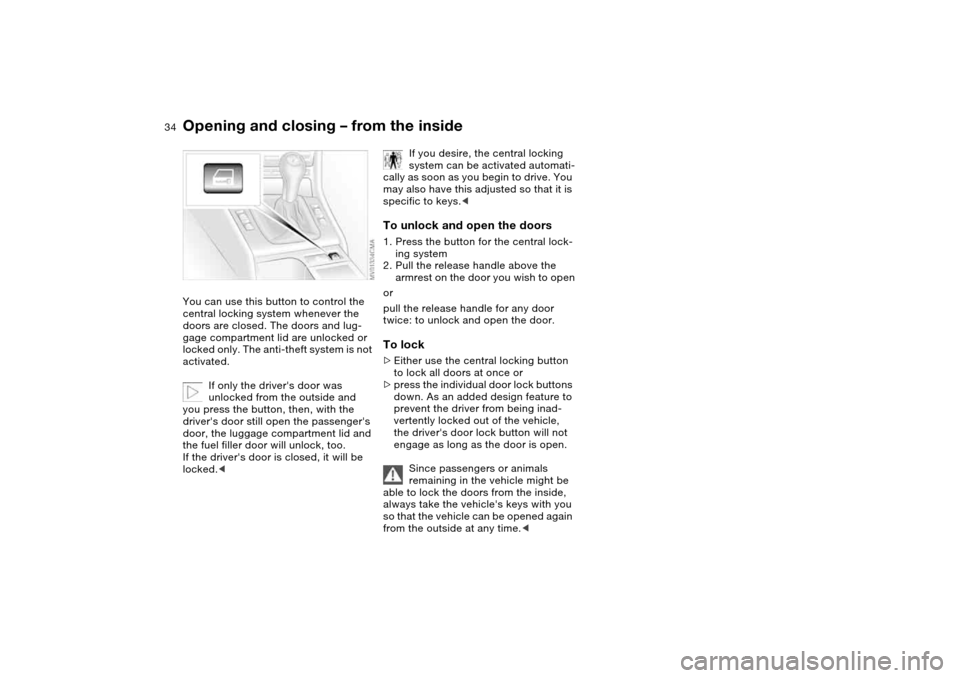
Opening and closing – from the insideYou can use this button to control the
central locking system whenever the
doors are closed. The doors and lug-
gage compartment lid are unlocked or
locked only. The anti-theft system is not
activated.
If only the driver's door was
unlocked from the outside and
you press the button, then, with the
driver's door still open the passenger's
door, the luggage compartment lid and
the fuel filler door will unlock, too.
If the driver's door is closed, it will be
locked.<
If you desire, the central locking
system can be activated automati-
cally as soon as you begin to drive. You
may also have this adjusted so that it is
specific to keys.<
To unlock and open the doors1. Press the button for the central lock-
ing system
2. Pull the release handle above the
armrest on the door you wish to open
or
pull the release handle for any door
twice: to unlock and open the door.To lock>Either use the central locking button
to lock all doors at once or
>press the individual door lock buttons
down. As an added design feature to
prevent the driver from being inad-
vertently locked out of the vehicle,
the driver's door lock button will not
engage as long as the door is open.
Since passengers or animals
remaining in the vehicle might be
able to lock the doors from the inside,
always take the vehicle's keys with you
so that the vehicle can be opened again
from the outside at any time.<