child lock BMW M4 2016 Owners Manual
[x] Cancel search | Manufacturer: BMW, Model Year: 2016, Model line: M4, Model: BMW M4 2016Pages: 228, PDF Size: 4.88 MB
Page 43 of 228
On closing the boot lid, it is locked again and
monitored, as long as the doors are locked.
The hazard warning system flashes once.
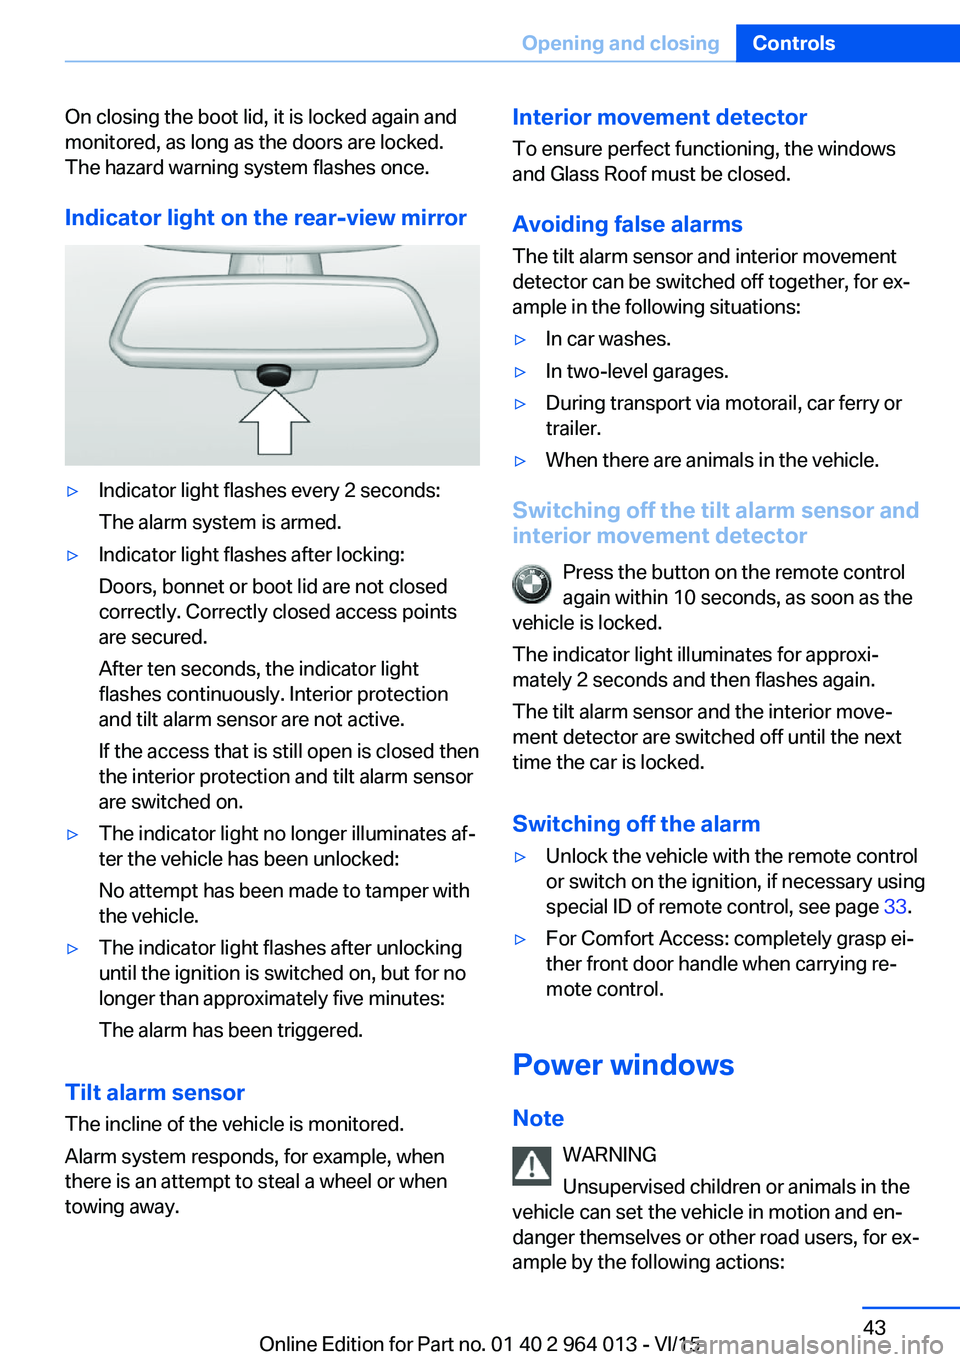
Indicator light on the rear-view mirror▷Indicator light flashes every 2 seconds:
The alarm system is armed.▷Indicator light flashes after locking:
Doors, bonnet or boot lid are not closed
correctly. Correctly closed access points
are secured.
After ten seconds, the indicator light
flashes continuously. Interior protection
and tilt alarm sensor are not active.
If the access that is still open is closed then
the interior protection and tilt alarm sensor
are switched on.▷The indicator light no longer illuminates af‐
ter the vehicle has been unlocked:
No attempt has been made to tamper with
the vehicle.▷The indicator light flashes after unlocking
until the ignition is switched on, but for no
longer than approximately five minutes:
The alarm has been triggered.
Tilt alarm sensor The incline of the vehicle is monitored.
Alarm system responds, for example, when
there is an attempt to steal a wheel or when
towing away.
Interior movement detector
To ensure perfect functioning, the windows
and Glass Roof must be closed.
Avoiding false alarms
The tilt alarm sensor and interior movement detector can be switched off together, for ex‐
ample in the following situations:▷In car washes.▷In two-level garages.▷During transport via motorail, car ferry or
trailer.▷When there are animals in the vehicle.
Switching off the tilt alarm sensor and
interior movement detector
Press the button on the remote control
again within 10 seconds, as soon as the
vehicle is locked.
The indicator light illuminates for approxi‐
mately 2 seconds and then flashes again.
The tilt alarm sensor and the interior move‐
ment detector are switched off until the next
time the car is locked.
Switching off the alarm
▷Unlock the vehicle with the remote control
or switch on the ignition, if necessary using
special ID of remote control, see page 33.▷For Comfort Access: completely grasp ei‐
ther front door handle when carrying re‐
mote control.
Power windows
Note WARNING
Unsupervised children or animals in the
vehicle can set the vehicle in motion and en‐
danger themselves or other road users, for ex‐
ample by the following actions:
Seite 43Opening and closingControls43
Online Edition for Part no. 01 40 2 964 013 - VI/15
Page 44 of 228
▷Pressing the start/stop button.▷Releasing the parking brake.▷Opening and closing doors or windows.▷Setting the selector lever to neutral.▷Operating vehicle equipment.
Risk of accident or injury. Do not leave children
or animals unsupervised in the vehicle. When
leaving the vehicle, take the remote control
with you and lock it.◀
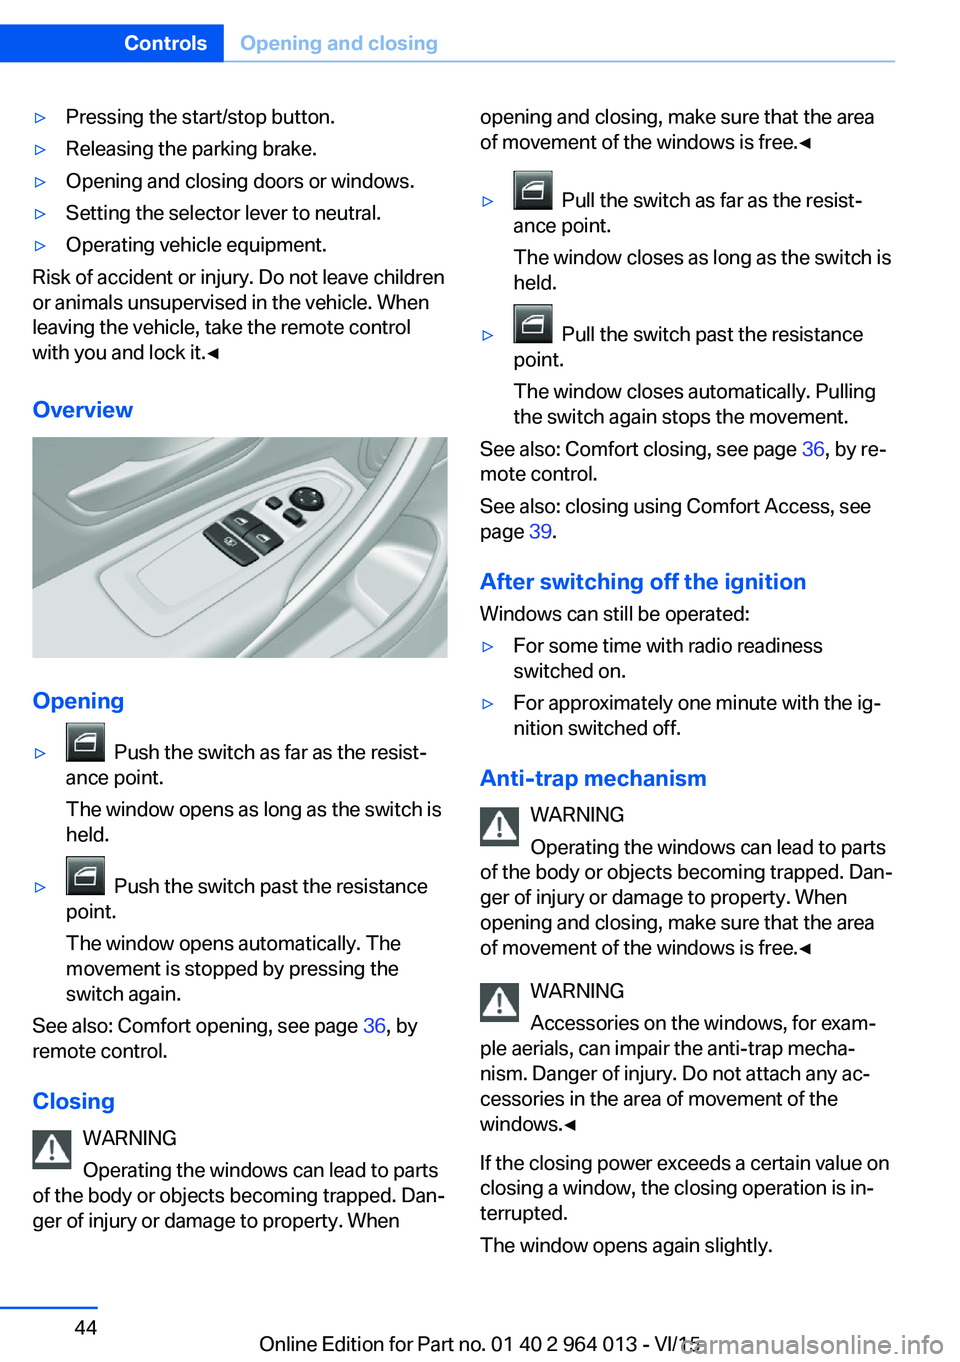
Overview
Opening
▷ Push the switch as far as the resist‐
ance point.
The window opens as long as the switch is
held.▷ Push the switch past the resistance
point.
The window opens automatically. The
movement is stopped by pressing the
switch again.
See also: Comfort opening, see page 36, by
remote control.
Closing WARNING
Operating the windows can lead to parts
of the body or objects becoming trapped. Dan‐
ger of injury or damage to property. When
opening and closing, make sure that the area
of movement of the windows is free.◀▷ Pull the switch as far as the resist‐
ance point.
The window closes as long as the switch is
held.▷ Pull the switch past the resistance
point.
The window closes automatically. Pulling
the switch again stops the movement.
See also: Comfort closing, see page 36, by re‐
mote control.
See also: closing using Comfort Access, see
page 39.
After switching off the ignition Windows can still be operated:
▷For some time with radio readiness
switched on.▷For approximately one minute with the ig‐
nition switched off.
Anti-trap mechanism
WARNING
Operating the windows can lead to parts
of the body or objects becoming trapped. Dan‐
ger of injury or damage to property. When
opening and closing, make sure that the area
of movement of the windows is free.◀
WARNING
Accessories on the windows, for exam‐
ple aerials, can impair the anti-trap mecha‐
nism. Danger of injury. Do not attach any ac‐
cessories in the area of movement of the
windows.◀
If the closing power exceeds a certain value on
closing a window, the closing operation is in‐
terrupted.
The window opens again slightly.
Seite 44ControlsOpening and closing44
Online Edition for Part no. 01 40 2 964 013 - VI/15
Page 45 of 228
Closing without the anti-trap
mechanism
WARNING
Operating the windows can lead to parts
of the body or objects becoming trapped. Dan‐
ger of injury or damage to property. When
opening and closing, make sure that the area
of movement of the windows is free.◀
If an external danger or ice does not allow you to close the windows normally, proceed as fol‐
lows:1.Pull the switch past the resistance point
and hold it there.
The anti-trap mechanism is restricted and
the window opens slightly when the clos‐
ing force exceeds a certain value.2.Pull the switch past the resistance point
again within approximately four seconds
and hold it there.
The window closes without the anti-trap
mechanism.
Roller sunblinds
Roller sunblind for rear window
General If the roller sunblinds for the rear window can
no longer be moved after a number of opera‐
tions in immediate succession, the system is
blocked for a limited time to prevent overheat‐
ing. Allow the system to cool down.
The roller sunblind for the rear window cannot
be operated in low interior temperatures.
Retracting or extending the roller sunblind for rear window
Press the button.
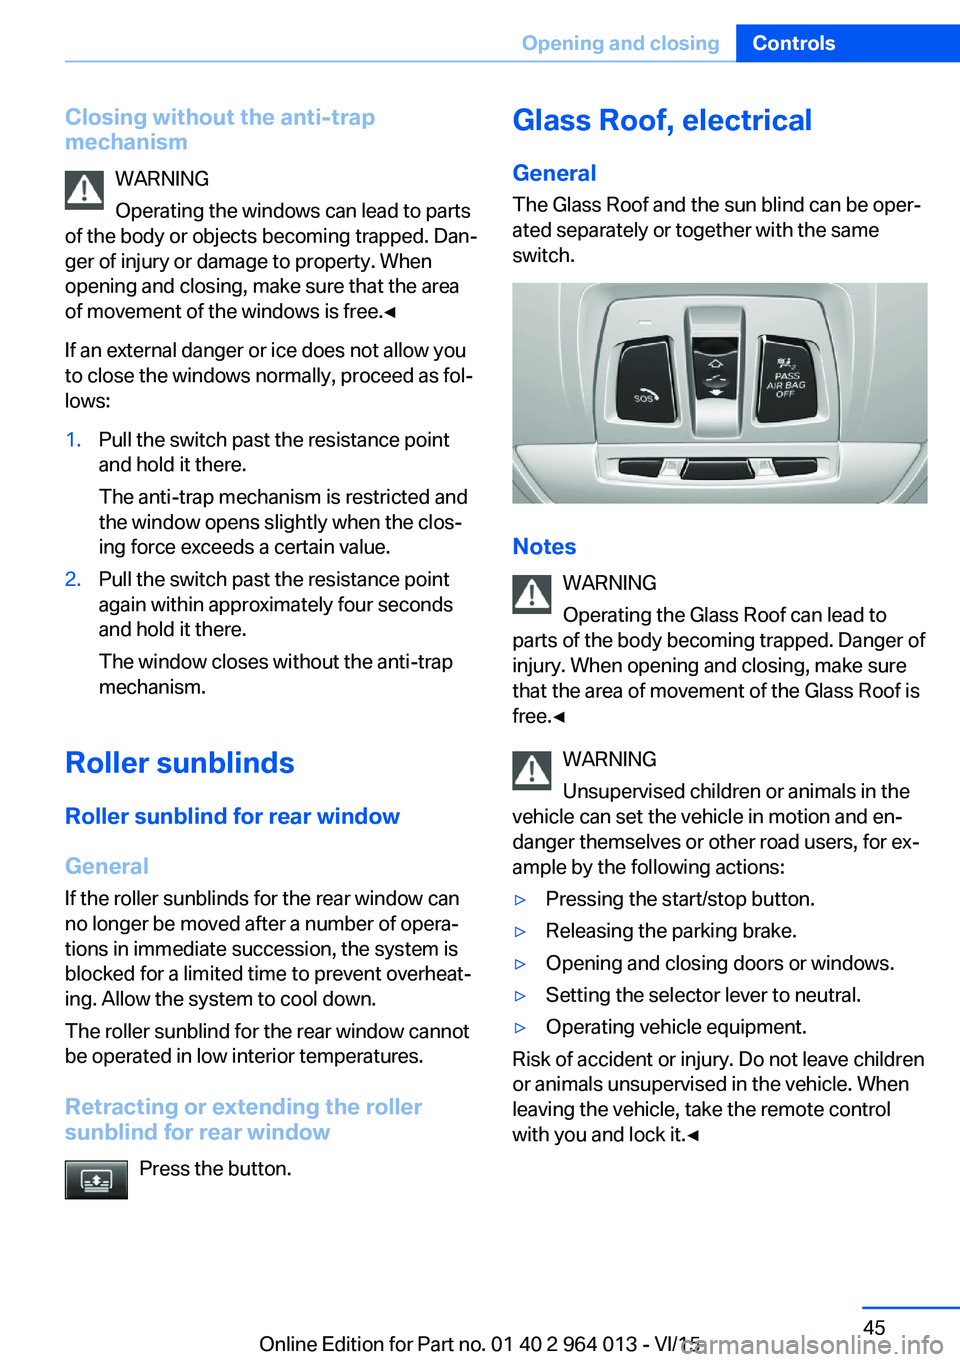
Glass Roof, electrical
General The Glass Roof and the sun blind can be oper‐
ated separately or together with the same
switch.
Notes
WARNING
Operating the Glass Roof can lead to
parts of the body becoming trapped. Danger of
injury. When opening and closing, make sure
that the area of movement of the Glass Roof is
free.◀
WARNING
Unsupervised children or animals in the
vehicle can set the vehicle in motion and en‐
danger themselves or other road users, for ex‐
ample by the following actions:
▷Pressing the start/stop button.▷Releasing the parking brake.▷Opening and closing doors or windows.▷Setting the selector lever to neutral.▷Operating vehicle equipment.
Risk of accident or injury. Do not leave children
or animals unsupervised in the vehicle. When
leaving the vehicle, take the remote control
with you and lock it.◀
Seite 45Opening and closingControls45
Online Edition for Part no. 01 40 2 964 013 - VI/15
Page 52 of 228
Seat beltsNumber of seat belts
Your vehicle has been fitted with four seat
belts for the safety of you and your passen‐
gers. However, they can only offer protection
when adjusted correctly.
General Before a journey, always make sure that all oc‐
cupants have fastened their seat belts.
To protect vehicle occupants, belt interlock is
triggered early. When it is applied, guide the
belt slowly from the bracket.
The airbags are a complementary safety fea‐
ture and not a substitute for the seat belts.
The belt anchorage is suitable for adults of any
stature as long as the seat is correctly adjus‐
ted.
Notes WARNING
Using a seat belt to restrain more than
one person nullifies the protective effect of the
seatbelt. Danger of injury or life. Only restrain one person with each seat belt. Do not place
infants and children on your lap, but instead re‐
strain them with the child restraint systems
provided, and secure them accordingly.◀
WARNING
The protective effect of the seat belts
can be restricted or they can be rendered inef‐
fective if put on incorrectly. If a seat belt is not
worn correctly, additional injuries can be
caused, for example in the event of an accident
or braking and evasive manoeuvres. Danger of
injury or life. Make sure that all vehicle occu‐
pants have fastened their seat belts cor‐
rectly.◀WARNING
Seat belts are designed to bear upon the
bony structure of the body and should be worn
low across the front of the pelvis, or the pelvis,
chest and shoulders, as applicable. Wearing
the lap section of the belt across the abdomi‐
nal area must be avoided.
Seat belts should be adjusted as firmly as pos‐
sible, consistent with comfort, to provide the
protection for which they have been designed.
A slack belt will greatly reduce the protection
afforded to the wearer.
Care should be taken to avoid contamination of
the seat belt strap by polishes, oils and chemi‐
cals and particularly battery acid. Cleaning may
safely be carried out using mild soap and wa‐
ter. The seat belt strap should be replaced if
webbing becomes frayed, contaminated or
damaged. Seat belts should not be worn with
seat belt straps twisted. Each seat belt assem‐
bly must only be used by one occupant; it is il‐
legal to carry an infant or a child on the occu‐
pant's lap.
It is essential to replace the entire assembly af‐
ter it has been worn in a severe impact even if
damage to the assembly is not obvious.◀
WARNING
No modifications or additions should be
made by the user that will either prevent the
seat belt adjusting devices from operating to
remove slack, or prevent the seat belt assem‐
bly from being adjusted to remove slack.◀
Correct seat belt use▷Place the seat belt tightly over the pelvis
and shoulder as close as possible to the
body and without twisting.▷Make sure that it is positioned low at the
hip in the area of the pelvis. The seat belt
must not press on the midriff.▷The seat belt must not pass across the
neck. It should not be pulled or jammed
across sharp edges or breakable objects.Seite 52ControlsAdjusting52
Online Edition for Part no. 01 40 2 964 013 - VI/15
Page 58 of 228
Carrying children in safetyVehicle equipmentThis chapter describes all standard, national
and special equipment provided in the model
series. Equipment not available in the vehicle is
therefore also described, for example the se‐lected special equipment or national version.
This also applies to safety-relevant functions
and systems. Comply with the relevant na‐
tional regulations when using the correspond‐
ing functions and systems.
Important considerations
Note
WARNING
Unsupervised children or animals in the
vehicle can set the vehicle in motion and en‐
danger themselves or other road users, for ex‐
ample by the following actions:▷Pressing the start/stop button.▷Releasing the parking brake.▷Opening and closing doors or windows.▷Setting the selector lever to neutral.▷Operating vehicle equipment.
Risk of accident or injury. Do not leave children
or animals unsupervised in the vehicle. When
leaving the vehicle, take the remote control
with you and lock it.◀
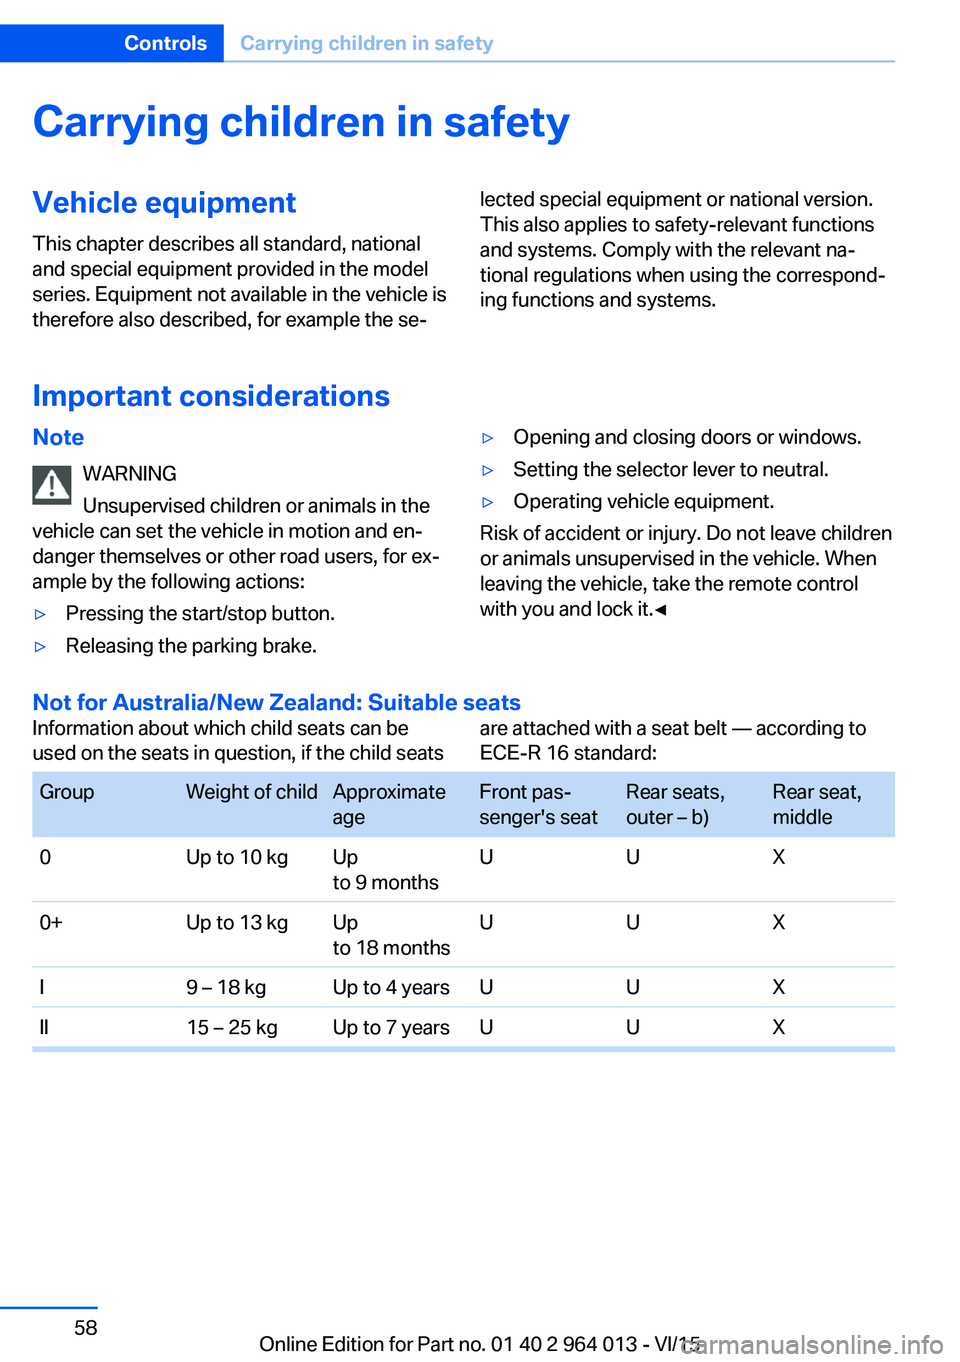
Not for Australia/New Zealand: Suitable seats
Information about which child seats can be
used on the seats in question, if the child seatsare attached with a seat belt — according to
ECE-R 16 standard: GroupWeight of childApproximate
ageFront pas‐
senger's seatRear seats,
outer – b)Rear seat,
middle0Up to 10 kgUp
to 9 monthsUUX0+Up to 13 kgUp
to 18 monthsUUXI9 – 18 kgUp to 4 yearsUUXII15 – 25 kgUp to 7 yearsUUXSeite 58ControlsCarrying children in safety58
Online Edition for Part no. 01 40 2 964 013 - VI/15
Page 67 of 228
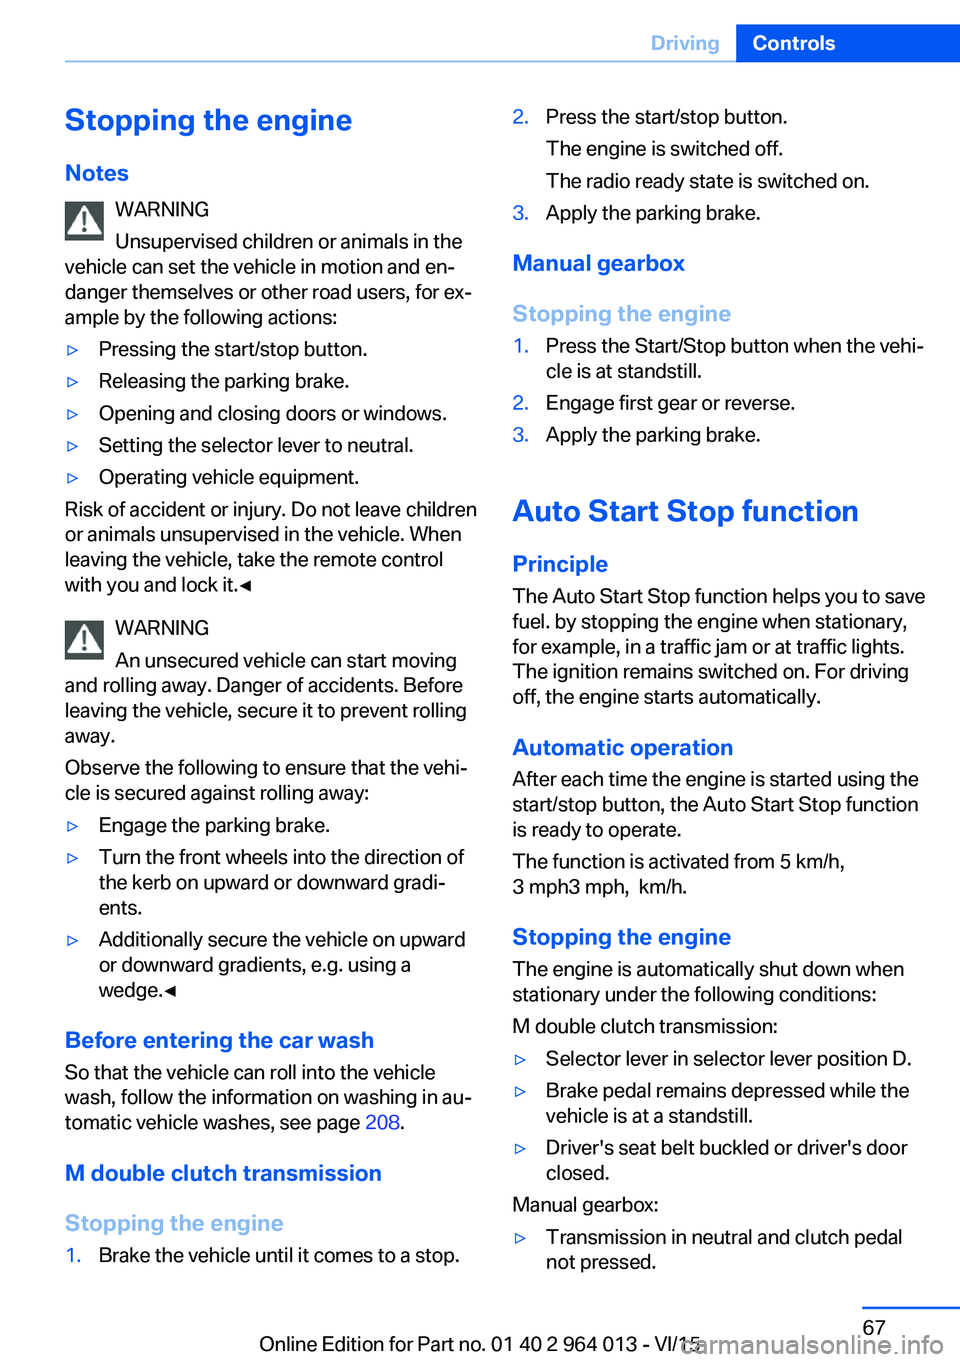
Stopping the engine
Notes WARNING
Unsupervised children or animals in the
vehicle can set the vehicle in motion and en‐
danger themselves or other road users, for ex‐
ample by the following actions:▷Pressing the start/stop button.▷Releasing the parking brake.▷Opening and closing doors or windows.▷Setting the selector lever to neutral.▷Operating vehicle equipment.
Risk of accident or injury. Do not leave children
or animals unsupervised in the vehicle. When
leaving the vehicle, take the remote control
with you and lock it.◀
WARNING
An unsecured vehicle can start moving
and rolling away. Danger of accidents. Before
leaving the vehicle, secure it to prevent rolling
away.
Observe the following to ensure that the vehi‐
cle is secured against rolling away:
▷Engage the parking brake.▷Turn the front wheels into the direction of
the kerb on upward or downward gradi‐
ents.▷Additionally secure the vehicle on upward
or downward gradients, e.g. using a
wedge.◀
Before entering the car wash
So that the vehicle can roll into the vehicle
wash, follow the information on washing in au‐
tomatic vehicle washes, see page 208.
M double clutch transmission
Stopping the engine
1.Brake the vehicle until it comes to a stop.2.Press the start/stop button.
The engine is switched off.
The radio ready state is switched on.3.Apply the parking brake.
Manual gearbox
Stopping the engine
1.Press the Start/Stop button when the vehi‐
cle is at standstill.2.Engage first gear or reverse.3.Apply the parking brake.
Auto Start Stop function
Principle The Auto Start Stop function helps you to save
fuel. by stopping the engine when stationary,
for example, in a traffic jam or at traffic lights.
The ignition remains switched on. For driving
off, the engine starts automatically.
Automatic operation
After each time the engine is started using the
start/stop button, the Auto Start Stop function
is ready to operate.
The function is activated from 5 km/h,
3 mph3 mph, km/h.
Stopping the engine The engine is automatically shut down whenstationary under the following conditions:
M double clutch transmission:
▷Selector lever in selector lever position D.▷Brake pedal remains depressed while the
vehicle is at a standstill.▷Driver's seat belt buckled or driver's door
closed.
Manual gearbox:
▷Transmission in neutral and clutch pedal
not pressed.Seite 67DrivingControls67
Online Edition for Part no. 01 40 2 964 013 - VI/15
Page 73 of 228
WARNING
If the wipers start moving when they are
folded away from the windscreen, this can
damage parts of the vehicle, or trap body parts.
Danger of injury or damage to property. Make
sure that the vehicle is switched off when the
wipers are folded away from the windscreen,
and that the wipers are in contact with the
windscreen when switching on.◀1.Switch ignition on and back off again.2.If there is a risk of frost, make sure that the
wiper blades are not frozen.3.Press the wiper lever upwards beyond the
resistance point and hold it there for ap‐
proximately three seconds until the wipers
come to a standstill in a nearly vertical po‐
sition.
After folding the wipers in, the wiper system
must be reactivated.
1.Switch on ignition.2.Press the wiper lever downwards. The wip‐
ers move to the rest position and are op‐
erational once again.
Washer fluid
Information WARNING
Some anti-freezes can contain toxic sub‐
stances, and are flammable. Risk of fire and fa‐
tal injury. Comply with the notes on the con‐
tainers. Keep anti-freezes away from sources
of combustion. Do not pour service products
into other bottles. Keep service products out of
the reach of children.◀
WARNING
Work performed incorrectly under the
bonnet can damage components and lead to a
safety risk. Danger of accident or damage to
property. Have work under the bonnet carried
out by a Service Partner or a qualified special‐
ist workshop.◀
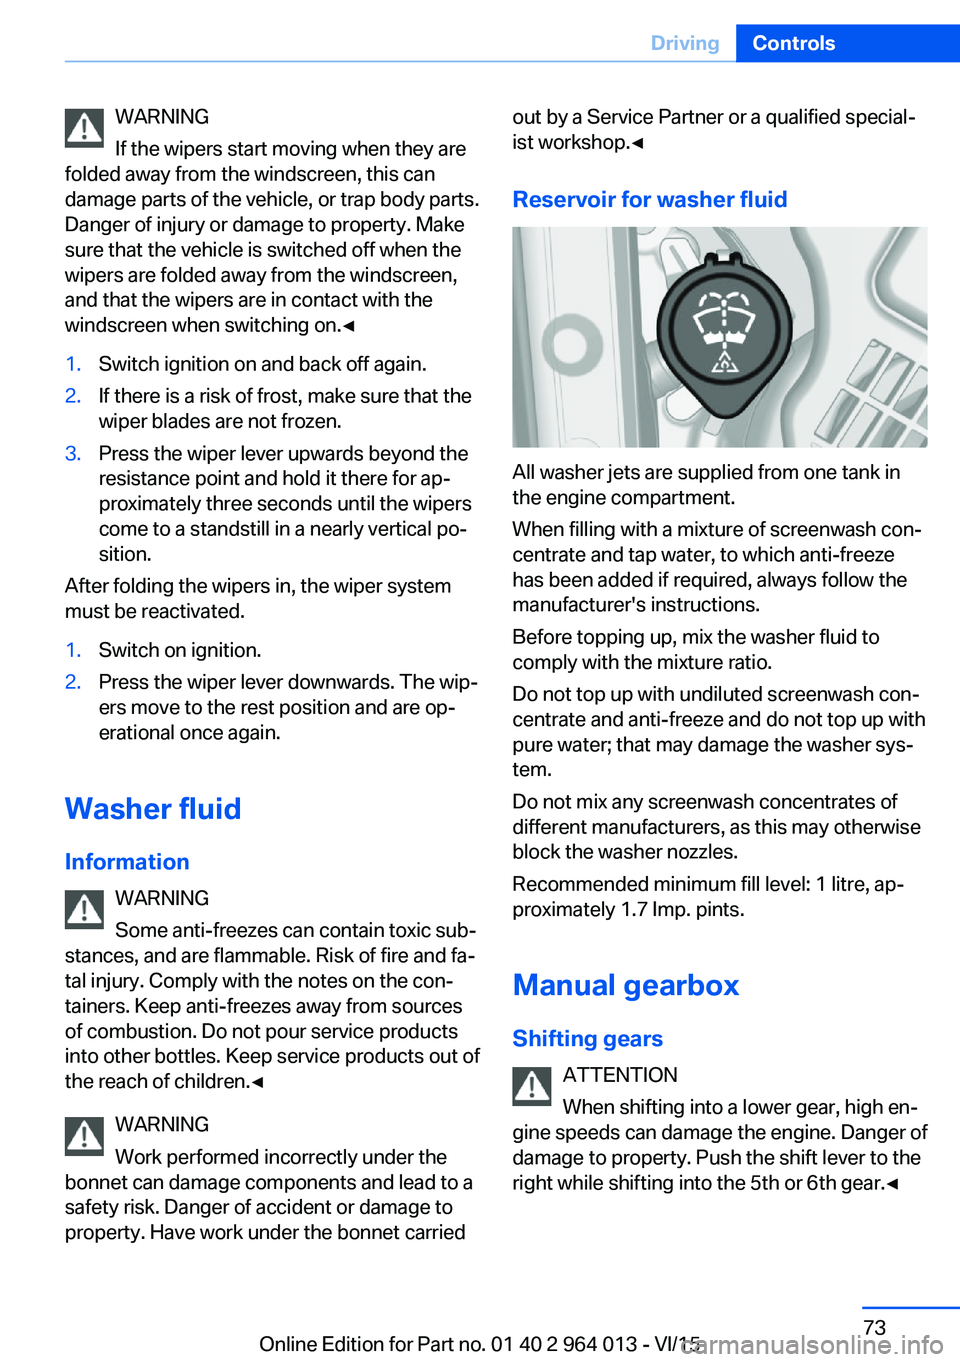
Reservoir for washer fluid
All washer jets are supplied from one tank in
the engine compartment.
When filling with a mixture of screenwash con‐
centrate and tap water, to which anti-freeze
has been added if required, always follow the
manufacturer's instructions.
Before topping up, mix the washer fluid to
comply with the mixture ratio.
Do not top up with undiluted screenwash con‐
centrate and anti-freeze and do not top up with
pure water; that may damage the washer sys‐
tem.
Do not mix any screenwash concentrates of
different manufacturers, as this may otherwise
block the washer nozzles.
Recommended minimum fill level: 1 litre, ap‐
proximately 1.7 Imp. pints.
Manual gearbox
Shifting gears ATTENTION
When shifting into a lower gear, high en‐
gine speeds can damage the engine. Danger of
damage to property. Push the shift lever to the
right while shifting into the 5th or 6th gear.◀
Seite 73DrivingControls73
Online Edition for Part no. 01 40 2 964 013 - VI/15
Page 151 of 228
▷Do not connect up USB hard drives.▷Do not use the USB audio interface for
charging external devices.
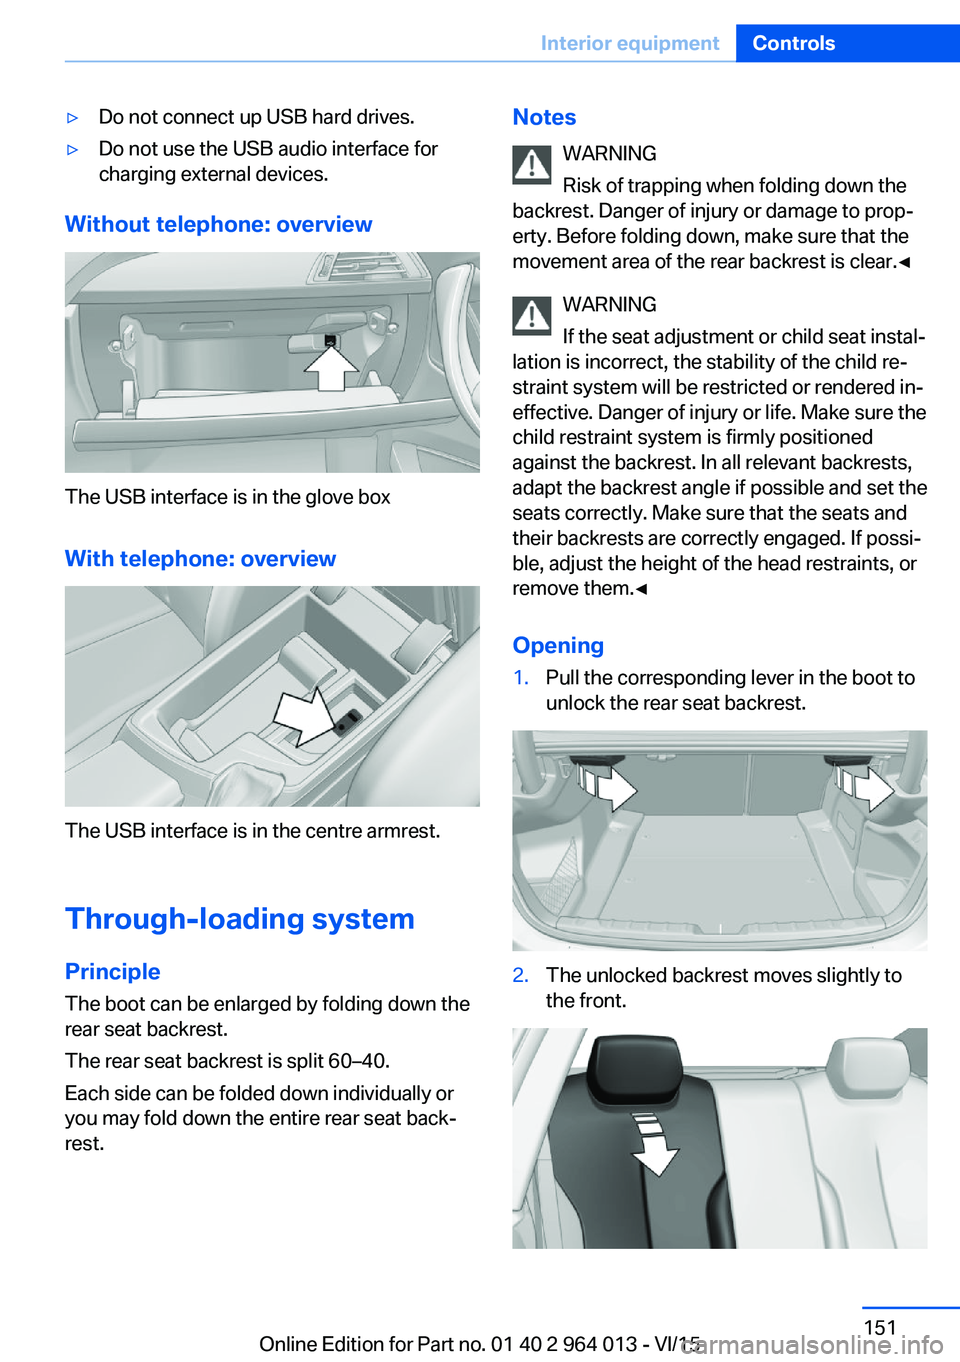
Without telephone: overview
The USB interface is in the glove box
With telephone: overview
The USB interface is in the centre armrest.
Through-loading system PrincipleThe boot can be enlarged by folding down the
rear seat backrest.
The rear seat backrest is split 60–40.
Each side can be folded down individually or
you may fold down the entire rear seat back‐ rest.
Notes
WARNING
Risk of trapping when folding down the
backrest. Danger of injury or damage to prop‐
erty. Before folding down, make sure that the
movement area of the rear backrest is clear.◀
WARNING
If the seat adjustment or child seat instal‐
lation is incorrect, the stability of the child re‐
straint system will be restricted or rendered in‐
effective. Danger of injury or life. Make sure the
child restraint system is firmly positioned
against the backrest. In all relevant backrests,
adapt the backrest angle if possible and set the
seats correctly. Make sure that the seats and
their backrests are correctly engaged. If possi‐
ble, adjust the height of the head restraints, or
remove them.◀
Opening1.Pull the corresponding lever in the boot to
unlock the rear seat backrest.2.The unlocked backrest moves slightly to
the front.Seite 151Interior equipmentControls151
Online Edition for Part no. 01 40 2 964 013 - VI/15
Page 219 of 228
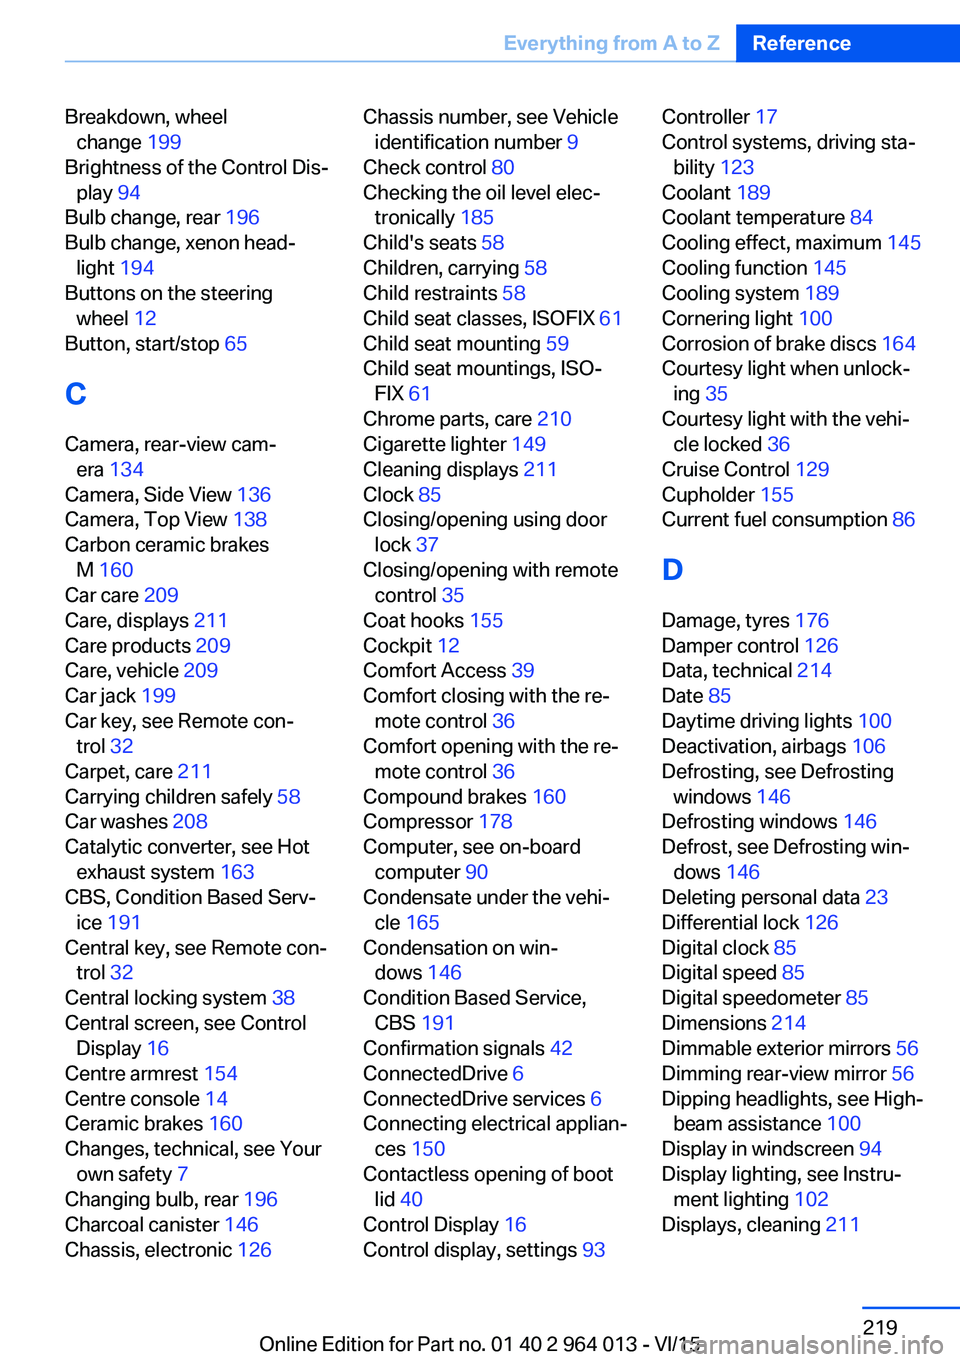
Breakdown, wheelchange 199
Brightness of the Control Dis‐ play 94
Bulb change, rear 196
Bulb change, xenon head‐ light 194
Buttons on the steering wheel 12
Button, start/stop 65
C
Camera, rear-view cam‐ era 134
Camera, Side View 136
Camera, Top View 138
Carbon ceramic brakes M 160
Car care 209
Care, displays 211
Care products 209
Care, vehicle 209
Car jack 199
Car key, see Remote con‐ trol 32
Carpet, care 211
Carrying children safely 58
Car washes 208
Catalytic converter, see Hot exhaust system 163
CBS, Condition Based Serv‐ ice 191
Central key, see Remote con‐ trol 32
Central locking system 38
Central screen, see Control Display 16
Centre armrest 154
Centre console 14
Ceramic brakes 160
Changes, technical, see Your own safety 7
Changing bulb, rear 196
Charcoal canister 146
Chassis, electronic 126 Chassis number, see Vehicle
identification number 9
Check control 80
Checking the oil level elec‐ tronically 185
Child's seats 58
Children, carrying 58
Child restraints 58
Child seat classes, ISOFIX 61
Child seat mounting 59
Child seat mountings, ISO‐ FIX 61
Chrome parts, care 210
Cigarette lighter 149
Cleaning displays 211
Clock 85
Closing/opening using door lock 37
Closing/opening with remote control 35
Coat hooks 155
Cockpit 12
Comfort Access 39
Comfort closing with the re‐ mote control 36
Comfort opening with the re‐ mote control 36
Compound brakes 160
Compressor 178
Computer, see on-board computer 90
Condensate under the vehi‐ cle 165
Condensation on win‐ dows 146
Condition Based Service, CBS 191
Confirmation signals 42
ConnectedDrive 6
ConnectedDrive services 6
Connecting electrical applian‐ ces 150
Contactless opening of boot lid 40
Control Display 16
Control display, settings 93 Controller 17
Control systems, driving sta‐ bility 123
Coolant 189
Coolant temperature 84
Cooling effect, maximum 145
Cooling function 145
Cooling system 189
Cornering light 100
Corrosion of brake discs 164
Courtesy light when unlock‐ ing 35
Courtesy light with the vehi‐ cle locked 36
Cruise Control 129
Cupholder 155
Current fuel consumption 86
D
Damage, tyres 176
Damper control 126
Data, technical 214
Date 85
Daytime driving lights 100
Deactivation, airbags 106
Defrosting, see Defrosting windows 146
Defrosting windows 146
Defrost, see Defrosting win‐ dows 146
Deleting personal data 23
Differential lock 126
Digital clock 85
Digital speed 85
Digital speedometer 85
Dimensions 214
Dimmable exterior mirrors 56
Dimming rear-view mirror 56
Dipping headlights, see High- beam assistance 100
Display in windscreen 94
Display lighting, see Instru‐ ment lighting 102
Displays, cleaning 211 Seite 219Everything from A to ZReference219
Online Edition for Part no. 01 40 2 964 013 - VI/15
Page 221 of 228
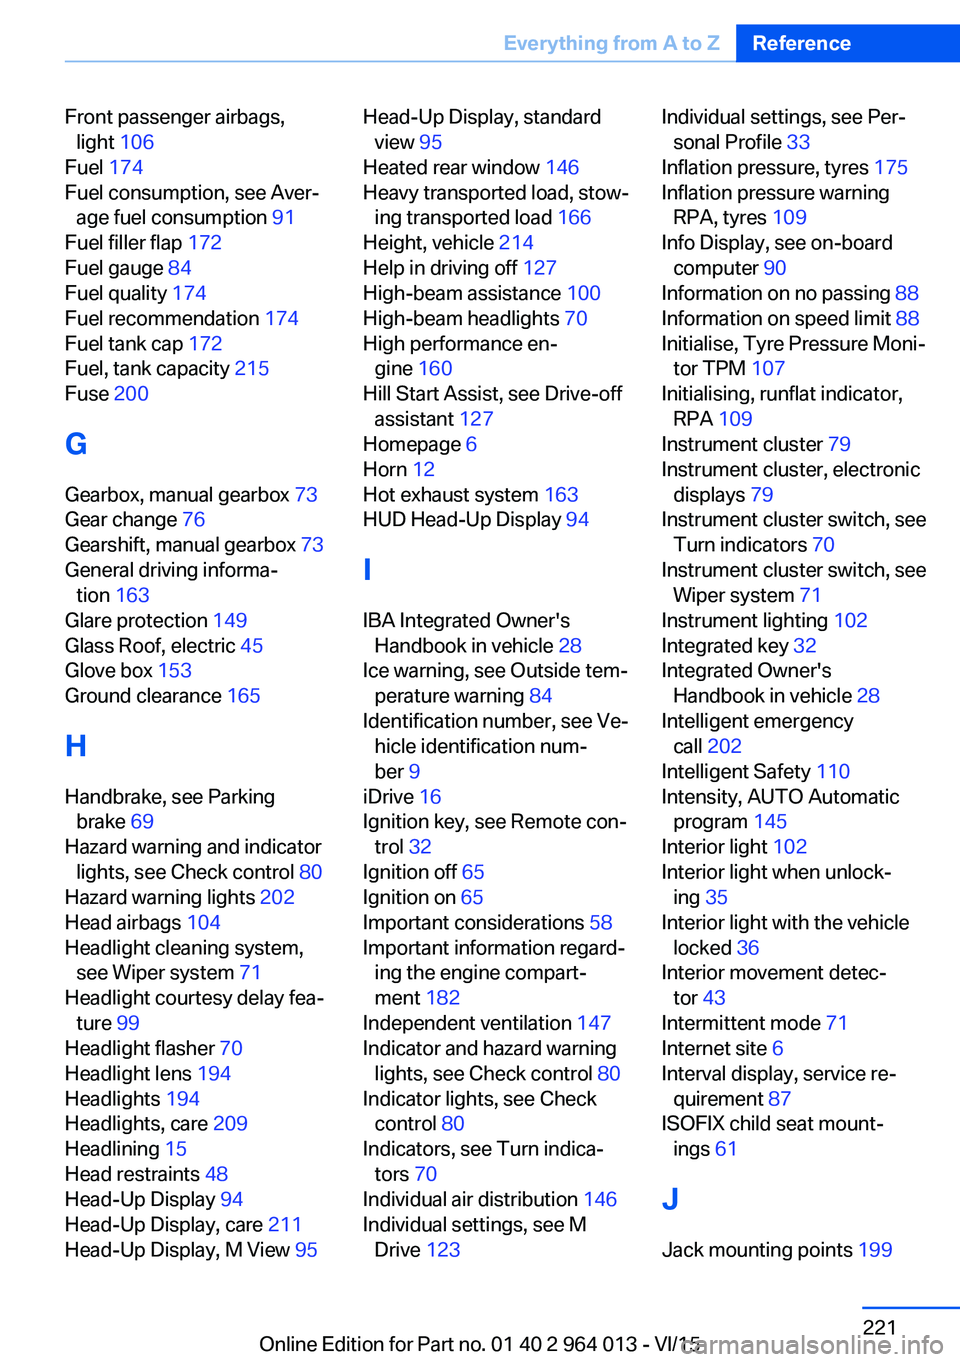
Front passenger airbags,light 106
Fuel 174
Fuel consumption, see Aver‐ age fuel consumption 91
Fuel filler flap 172
Fuel gauge 84
Fuel quality 174
Fuel recommendation 174
Fuel tank cap 172
Fuel, tank capacity 215
Fuse 200
G
Gearbox, manual gearbox 73
Gear change 76
Gearshift, manual gearbox 73
General driving informa‐ tion 163
Glare protection 149
Glass Roof, electric 45
Glove box 153
Ground clearance 165
H
Handbrake, see Parking brake 69
Hazard warning and indicator lights, see Check control 80
Hazard warning lights 202
Head airbags 104
Headlight cleaning system, see Wiper system 71
Headlight courtesy delay fea‐ ture 99
Headlight flasher 70
Headlight lens 194
Headlights 194
Headlights, care 209
Headlining 15
Head restraints 48
Head-Up Display 94
Head-Up Display, care 211
Head-Up Display, M View 95 Head-Up Display, standard
view 95
Heated rear window 146
Heavy transported load, stow‐ ing transported load 166
Height, vehicle 214
Help in driving off 127
High-beam assistance 100
High-beam headlights 70
High performance en‐ gine 160
Hill Start Assist, see Drive-off assistant 127
Homepage 6
Horn 12
Hot exhaust system 163
HUD Head-Up Display 94
I IBA Integrated Owner's Handbook in vehicle 28
Ice warning, see Outside tem‐ perature warning 84
Identification number, see Ve‐ hicle identification num‐
ber 9
iDrive 16
Ignition key, see Remote con‐ trol 32
Ignition off 65
Ignition on 65
Important considerations 58
Important information regard‐ ing the engine compart‐
ment 182
Independent ventilation 147
Indicator and hazard warning lights, see Check control 80
Indicator lights, see Check control 80
Indicators, see Turn indica‐ tors 70
Individual air distribution 146
Individual settings, see M Drive 123 Individual settings, see Per‐
sonal Profile 33
Inflation pressure, tyres 175
Inflation pressure warning RPA, tyres 109
Info Display, see on-board computer 90
Information on no passing 88
Information on speed limit 88
Initialise, Tyre Pressure Moni‐ tor TPM 107
Initialising, runflat indicator, RPA 109
Instrument cluster 79
Instrument cluster, electronic displays 79
Instrument cluster switch, see Turn indicators 70
Instrument cluster switch, see Wiper system 71
Instrument lighting 102
Integrated key 32
Integrated Owner's Handbook in vehicle 28
Intelligent emergency call 202
Intelligent Safety 110
Intensity, AUTO Automatic program 145
Interior light 102
Interior light when unlock‐ ing 35
Interior light with the vehicle locked 36
Interior movement detec‐ tor 43
Intermittent mode 71
Internet site 6
Interval display, service re‐ quirement 87
ISOFIX child seat mount‐ ings 61
J
Jack mounting points 199 Seite 221Everything from A to ZReference221
Online Edition for Part no. 01 40 2 964 013 - VI/15