instrument cluster BMW M4 2016 Owners Manual
[x] Cancel search | Manufacturer: BMW, Model Year: 2016, Model line: M4, Model: BMW M4 2016Pages: 228, PDF Size: 4.88 MB
Page 13 of 228
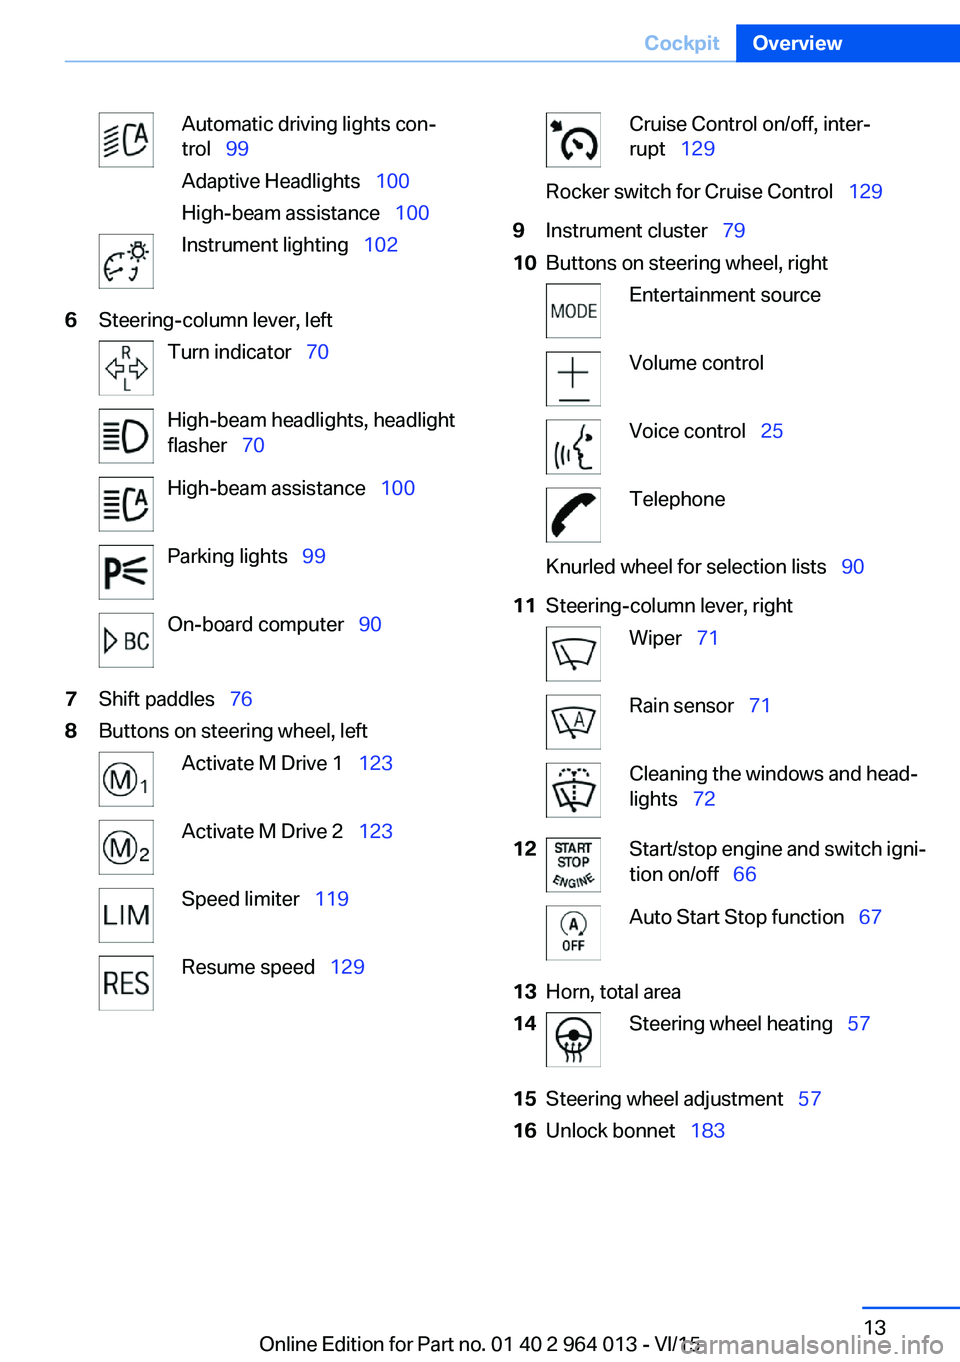
Automatic driving lights con‐
trol 99
Adaptive Headlights 100
High-beam assistance 100Instrument lighting 1026Steering-column lever, leftTurn indicator 70High-beam headlights, headlight
flasher 70High-beam assistance 100Parking lights 99On-board computer 907Shift paddles 768Buttons on steering wheel, leftActivate M Drive 1 123Activate M Drive 2 123Speed limiter 119Resume speed 129Cruise Control on/off, inter‐
rupt 129Rocker switch for Cruise Control 1299Instrument cluster 7910Buttons on steering wheel, rightEntertainment sourceVolume controlVoice control 25TelephoneKnurled wheel for selection lists 9011Steering-column lever, rightWiper 71Rain sensor 71Cleaning the windows and head‐
lights 7212Start/stop engine and switch igni‐
tion on/off 66Auto Start Stop function 6713Horn, total area14Steering wheel heating 5715Steering wheel adjustment 5716Unlock bonnet 183Seite 13CockpitOverview13
Online Edition for Part no. 01 40 2 964 013 - VI/15
Page 25 of 228
Voice control systemVehicle equipment
This chapter describes all standard, national
and special equipment provided in the model
series. Equipment not available in the vehicle is
therefore also described, for example the se‐
lected special equipment or national version.
This also applies to safety-relevant functions
and systems. Comply with the relevant na‐
tional regulations when using the correspond‐
ing functions and systems.
Principle▷Through the voice control system most
functions shown in the Control Display can
be operated by spoken commands. The
system supports spoken input.▷Functions that can only be used when the
vehicle is stationary cannot be operated via
the voice control system.▷The system has a special microphone on
the driver's side.▷›...‹ Indicates commands for the voice con‐
trol system in the Owner's Handbook.
Requirements
On the control display set a language that is
also supported by the voice control system, so
that the vehicle can identify spoken com‐ mands.
Setting the language, see page 94.
Issuing voice commands
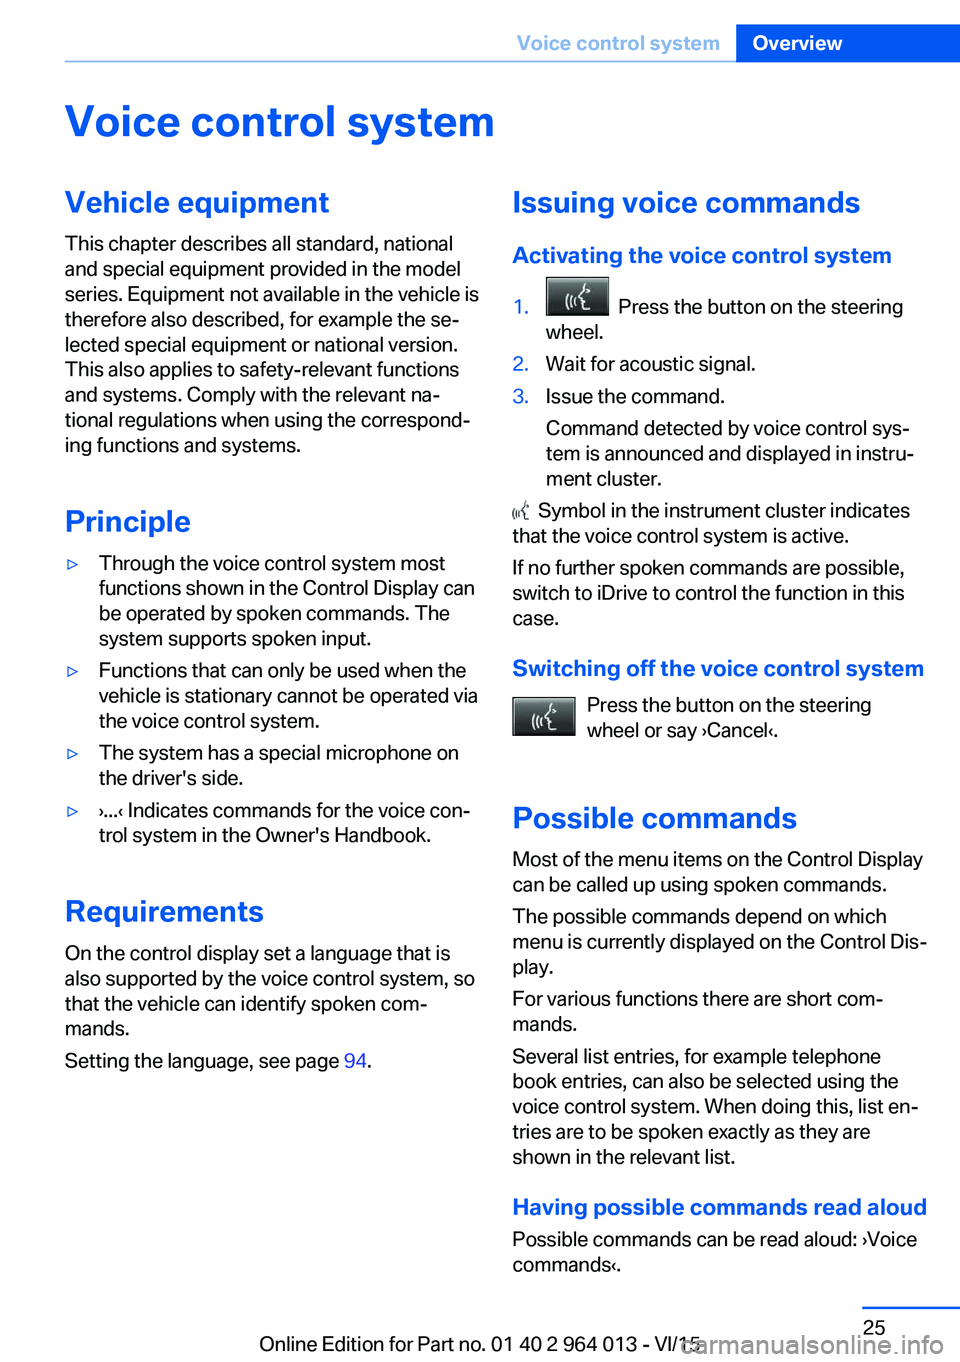
Activating the voice control system1. Press the button on the steering
wheel.2.Wait for acoustic signal.3.Issue the command.
Command detected by voice control sys‐
tem is announced and displayed in instru‐
ment cluster.
Symbol in the instrument cluster indicates
that the voice control system is active.
If no further spoken commands are possible,
switch to iDrive to control the function in this
case.
Switching off the voice control system Press the button on the steering
wheel or say ›Cancel‹.
Possible commands
Most of the menu items on the Control Display
can be called up using spoken commands.
The possible commands depend on which
menu is currently displayed on the Control Dis‐
play.
For various functions there are short com‐
mands.
Several list entries, for example telephone
book entries, can also be selected using the
voice control system. When doing this, list en‐
tries are to be spoken exactly as they are
shown in the relevant list.
Having possible commands read aloud Possible commands can be read aloud: ›Voice
commands‹.
Seite 25Voice control systemOverview25
Online Edition for Part no. 01 40 2 964 013 - VI/15
Page 34 of 228
If several drivers each use their own remote
control, the vehicle will adapt to their personal
settings when it is unlocked. These settings
are also resaved if the vehicle is used in the in‐
tervening period by someone with a different
remote control.
Changes to settings are saved automatically in
the personal profile.
Three personal profiles and a guest profile can
be created.
Settings
Settings for the following systems and func‐
tions are saved in the active profile. The extent
of settings that can be saved depends on the
country and equipment.▷Unlocking and locking.▷Light.▷Air conditioning.▷Radio.▷Instrument cluster.▷Favourites buttons.▷Volumes, sound.▷Control Display.▷Navigation.▷TV.▷Park Distance Control PDC.▷Rear-view camera.▷Side view.▷Head-Up Display.▷M Drive: configurations.▷Driver's seat position, exterior mirror posi‐
tion, steering wheel position.▷Cruise Control.▷Intelligent Safety.▷Lane change warning.Profile management
Calling up profiles Independently of the remote control that is
used, another profile can be called up.
Via iDrive:1."Settings"2."Profiles"3.Select a profile.▷The settings saved in the called-up profile
are made automatically.▷The profile called up is assigned to the re‐
mote control currently used.▷If the profile has already been allocated to
another remote control, this profile applies
to both remote controls. It is no longer
possible to differentiate between the set‐
tings of both remote controls.
Renaming profiles
To avoid mixing up the profiles, each profile
can be given a personal name.
On the Control Display:
1."Settings"2."Profiles"3.Call up "Options".4."Rename current profile"
Resetting profiles Settings of the active profile are reset to fac‐
tory settings.
On the Control Display:
1."Settings"2."Profiles"3.Call up "Options".4."Reset current profile"
Exporting profiles Most of the settings of the active profile can be
exported.
Seite 34ControlsOpening and closing34
Online Edition for Part no. 01 40 2 964 013 - VI/15
Page 53 of 228
▷Avoid bulky clothing.▷Regularly pull the seat belt in the upper-
body area taut.
Adjustment for automatic retracting
seat belts
▷Draw the buckle tongue attached to the
seat belt across the body and press it into
the buckle catch until a ‘click’ is heard.▷Adjustment of the belt length is very im‐
portant. To adjust the lap belt and check
whether the buckle has locked correctly,
pull upwards on the shoulder strap until the
lap belt fits tightly.▷The length of the diagonal shoulder strap
adjusts itself automatically to allow free‐
dom of movement.▷To release the seat belt, press the button
on the buckle catch unit.
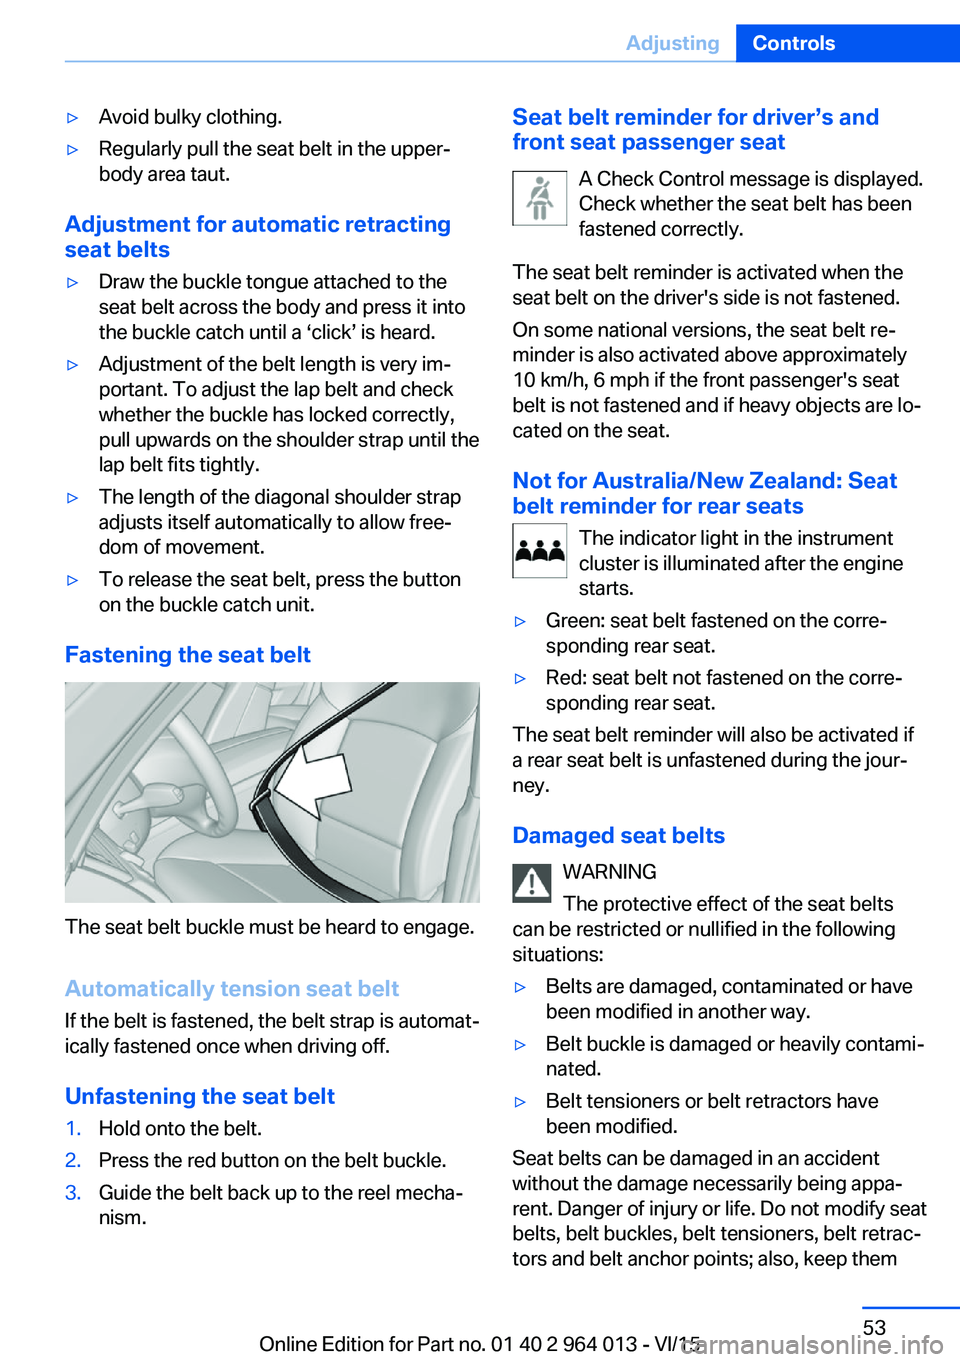
Fastening the seat belt
The seat belt buckle must be heard to engage.
Automatically tension seat belt
If the belt is fastened, the belt strap is automat‐
ically fastened once when driving off.
Unfastening the seat belt
1.Hold onto the belt.2.Press the red button on the belt buckle.3.Guide the belt back up to the reel mecha‐
nism.Seat belt reminder for driver’s and
front seat passenger seat
A Check Control message is displayed.
Check whether the seat belt has been
fastened correctly.
The seat belt reminder is activated when the
seat belt on the driver's side is not fastened.
On some national versions, the seat belt re‐
minder is also activated above approximately
10 km/h, 6 mph if the front passenger's seat
belt is not fastened and if heavy objects are lo‐
cated on the seat.
Not for Australia/New Zealand: Seat
belt reminder for rear seats
The indicator light in the instrument
cluster is illuminated after the engine
starts.▷Green: seat belt fastened on the corre‐
sponding rear seat.▷Red: seat belt not fastened on the corre‐
sponding rear seat.
The seat belt reminder will also be activated if
a rear seat belt is unfastened during the jour‐
ney.
Damaged seat belts WARNING
The protective effect of the seat belts
can be restricted or nullified in the following
situations:
▷Belts are damaged, contaminated or have
been modified in another way.▷Belt buckle is damaged or heavily contami‐
nated.▷Belt tensioners or belt retractors have
been modified.
Seat belts can be damaged in an accident
without the damage necessarily being appa‐
rent. Danger of injury or life. Do not modify seat
belts, belt buckles, belt tensioners, belt retrac‐
tors and belt anchor points; also, keep them
Seite 53AdjustingControls53
Online Edition for Part no. 01 40 2 964 013 - VI/15
Page 65 of 228
DrivingVehicle equipment
This chapter describes all standard, national
and special equipment provided in the model
series. Equipment not available in the vehicle is
therefore also described, for example the se‐
lected special equipment or national version.
This also applies to safety-relevant functions
and systems. Comply with the relevant na‐
tional regulations when using the correspond‐
ing functions and systems.
Start/stop button
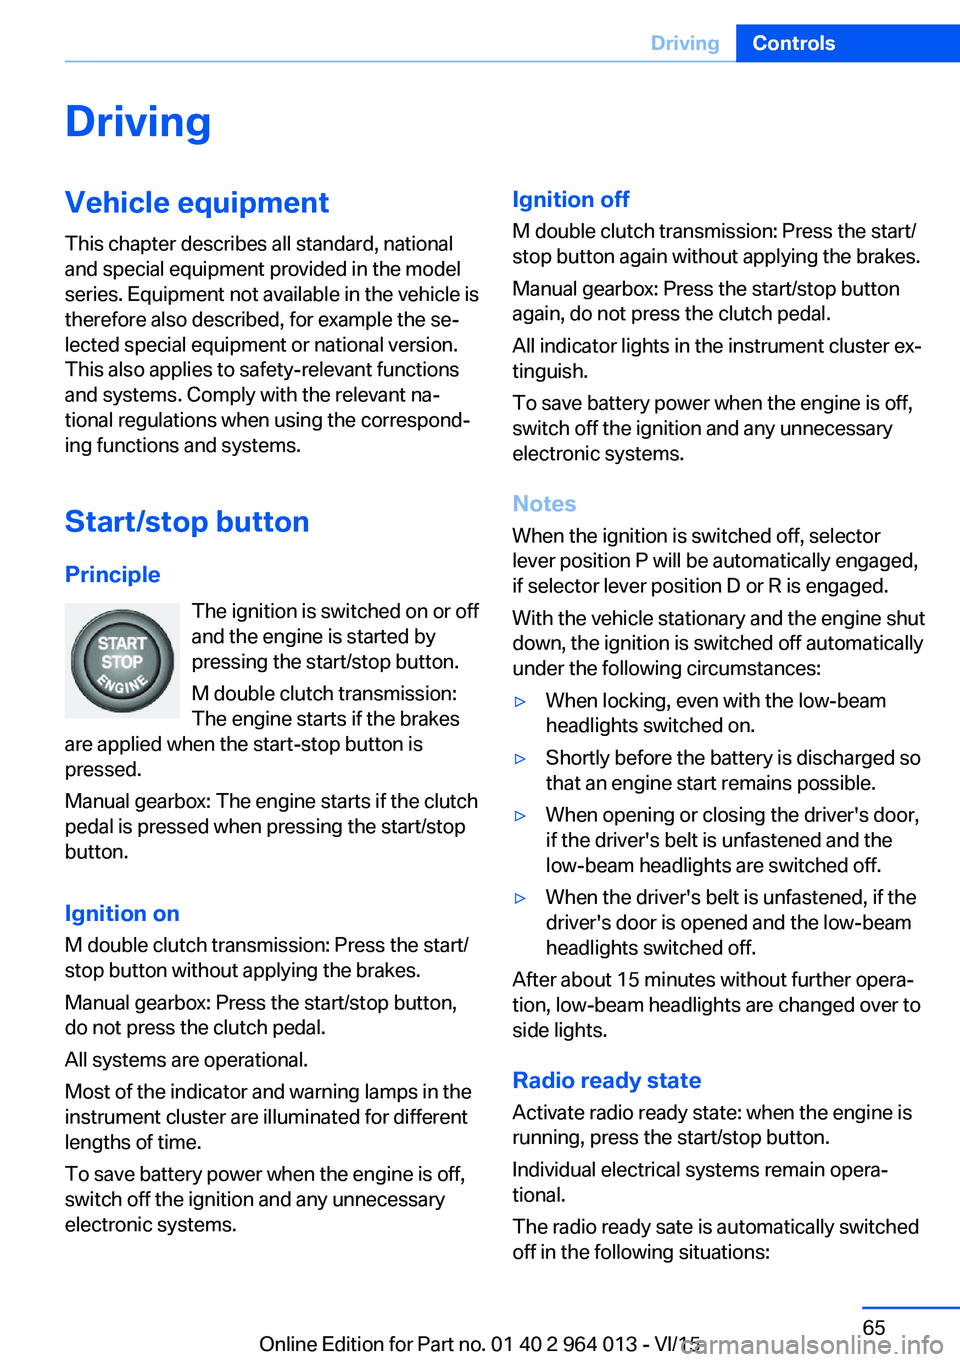
Principle The ignition is switched on or offand the engine is started by
pressing the start/stop button.
M double clutch transmission:
The engine starts if the brakes
are applied when the start-stop button is
pressed.
Manual gearbox: The engine starts if the clutch
pedal is pressed when pressing the start/stop
button.
Ignition on M double clutch transmission: Press the start/
stop button without applying the brakes.
Manual gearbox: Press the start/stop button,
do not press the clutch pedal.
All systems are operational.
Most of the indicator and warning lamps in the
instrument cluster are illuminated for different
lengths of time.
To save battery power when the engine is off,
switch off the ignition and any unnecessary
electronic systems.Ignition off
M double clutch transmission: Press the start/
stop button again without applying the brakes.
Manual gearbox: Press the start/stop button
again, do not press the clutch pedal.
All indicator lights in the instrument cluster ex‐
tinguish.
To save battery power when the engine is off,
switch off the ignition and any unnecessary
electronic systems.
Notes
When the ignition is switched off, selector
lever position P will be automatically engaged,
if selector lever position D or R is engaged.
With the vehicle stationary and the engine shut
down, the ignition is switched off automatically
under the following circumstances:▷When locking, even with the low-beam
headlights switched on.▷Shortly before the battery is discharged so
that an engine start remains possible.▷When opening or closing the driver's door,
if the driver's belt is unfastened and the
low-beam headlights are switched off.▷When the driver's belt is unfastened, if the
driver's door is opened and the low-beam
headlights switched off.
After about 15 minutes without further opera‐
tion, low-beam headlights are changed over to
side lights.
Radio ready state
Activate radio ready state: when the engine is
running, press the start/stop button.
Individual electrical systems remain opera‐
tional.
The radio ready sate is automatically switched
off in the following situations:
Seite 65DrivingControls65
Online Edition for Part no. 01 40 2 964 013 - VI/15
Page 68 of 228
▷Driver's seat belt buckled or driver's door
closed.
The air flow rate of the air conditioning system
is reduced when the engine is not running.
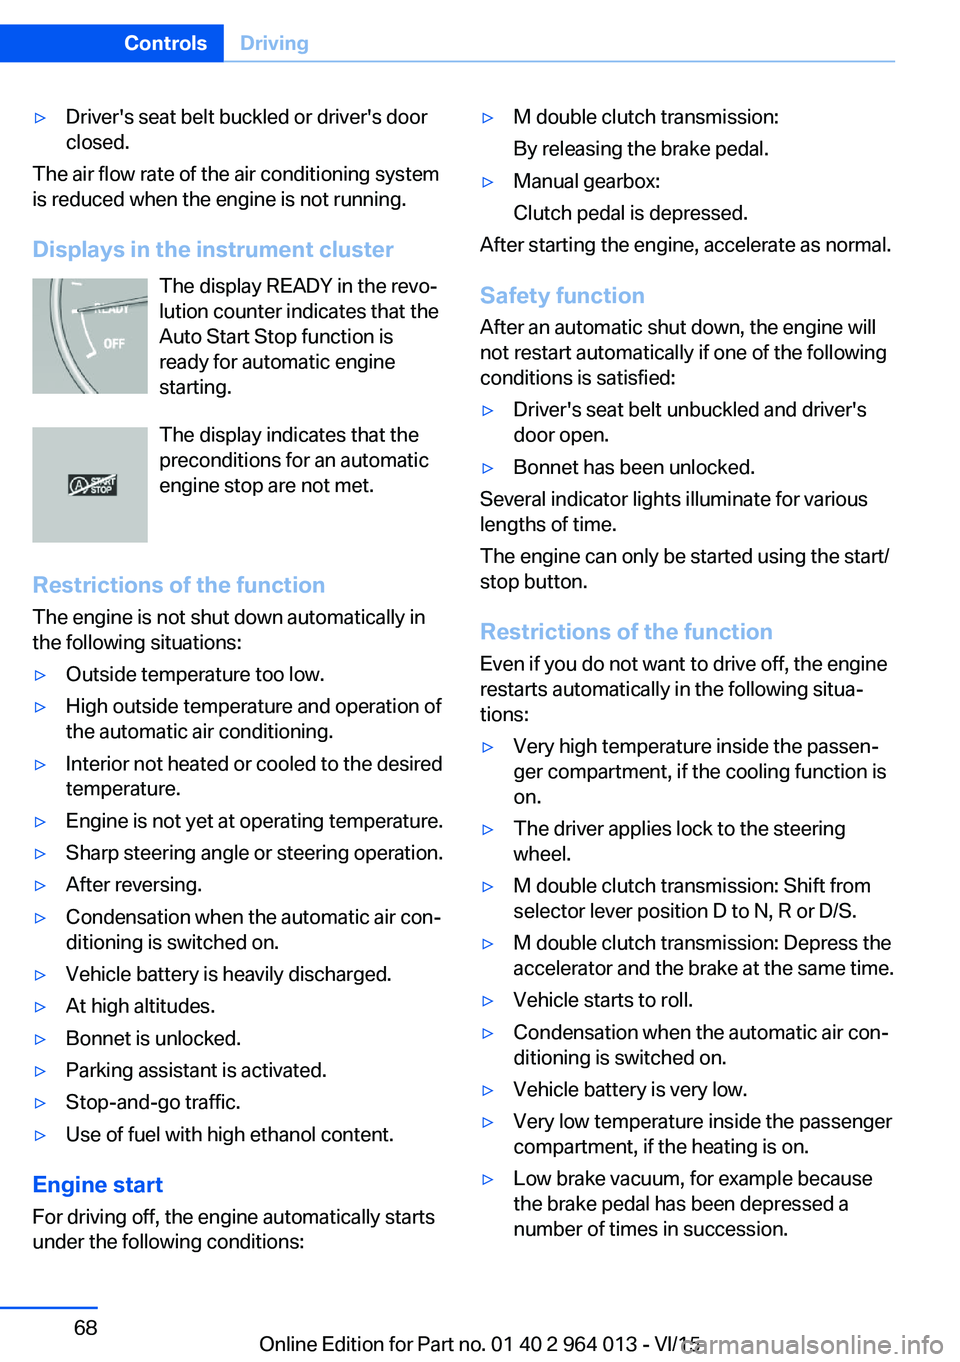
Displays in the instrument cluster The display READY in the revo‐
lution counter indicates that the
Auto Start Stop function is
ready for automatic engine
starting.
The display indicates that the preconditions for an automatic
engine stop are not met.
Restrictions of the function The engine is not shut down automatically in
the following situations:
▷Outside temperature too low.▷High outside temperature and operation of
the automatic air conditioning.▷Interior not heated or cooled to the desired
temperature.▷Engine is not yet at operating temperature.▷Sharp steering angle or steering operation.▷After reversing.▷Condensation when the automatic air con‐
ditioning is switched on.▷Vehicle battery is heavily discharged.▷At high altitudes.▷Bonnet is unlocked.▷Parking assistant is activated.▷Stop-and-go traffic.▷Use of fuel with high ethanol content.
Engine start
For driving off, the engine automatically starts
under the following conditions:
▷M double clutch transmission:
By releasing the brake pedal.▷Manual gearbox:
Clutch pedal is depressed.
After starting the engine, accelerate as normal.
Safety function After an automatic shut down, the engine will
not restart automatically if one of the following
conditions is satisfied:
▷Driver's seat belt unbuckled and driver's
door open.▷Bonnet has been unlocked.
Several indicator lights illuminate for various
lengths of time.
The engine can only be started using the start/
stop button.
Restrictions of the function
Even if you do not want to drive off, the engine
restarts automatically in the following situa‐
tions:
▷Very high temperature inside the passen‐
ger compartment, if the cooling function is
on.▷The driver applies lock to the steering
wheel.▷M double clutch transmission: Shift from
selector lever position D to N, R or D/S.▷M double clutch transmission: Depress the
accelerator and the brake at the same time.▷Vehicle starts to roll.▷Condensation when the automatic air con‐
ditioning is switched on.▷Vehicle battery is very low.▷Very low temperature inside the passenger
compartment, if the heating is on.▷Low brake vacuum, for example because
the brake pedal has been depressed a
number of times in succession.Seite 68ControlsDriving68
Online Edition for Part no. 01 40 2 964 013 - VI/15
Page 74 of 228
Reverse gear
Engage this position only when the vehicle is
stationary.
To overcome the resistance of the selector
lever move in a dynamic movement towards
the left and engage the reverse gear.
M double clutch
transmission with Drivelogic
General The M double clutch transmission with Drive‐
logic is an automated manual gearbox with two
clutches and partial gears, by which the gears
are changed without interrupting traction.
It is operated using the selector lever or two
paddles on the steering wheel.
Functions▷Drive mode or sequential mode.▷Various drive programs, Drivelogic.▷Shift Lights, see page 96▷Automatic downshift and protection
against shifting even in sequential mode.▷Launch Control.▷Low Speed Assistant.
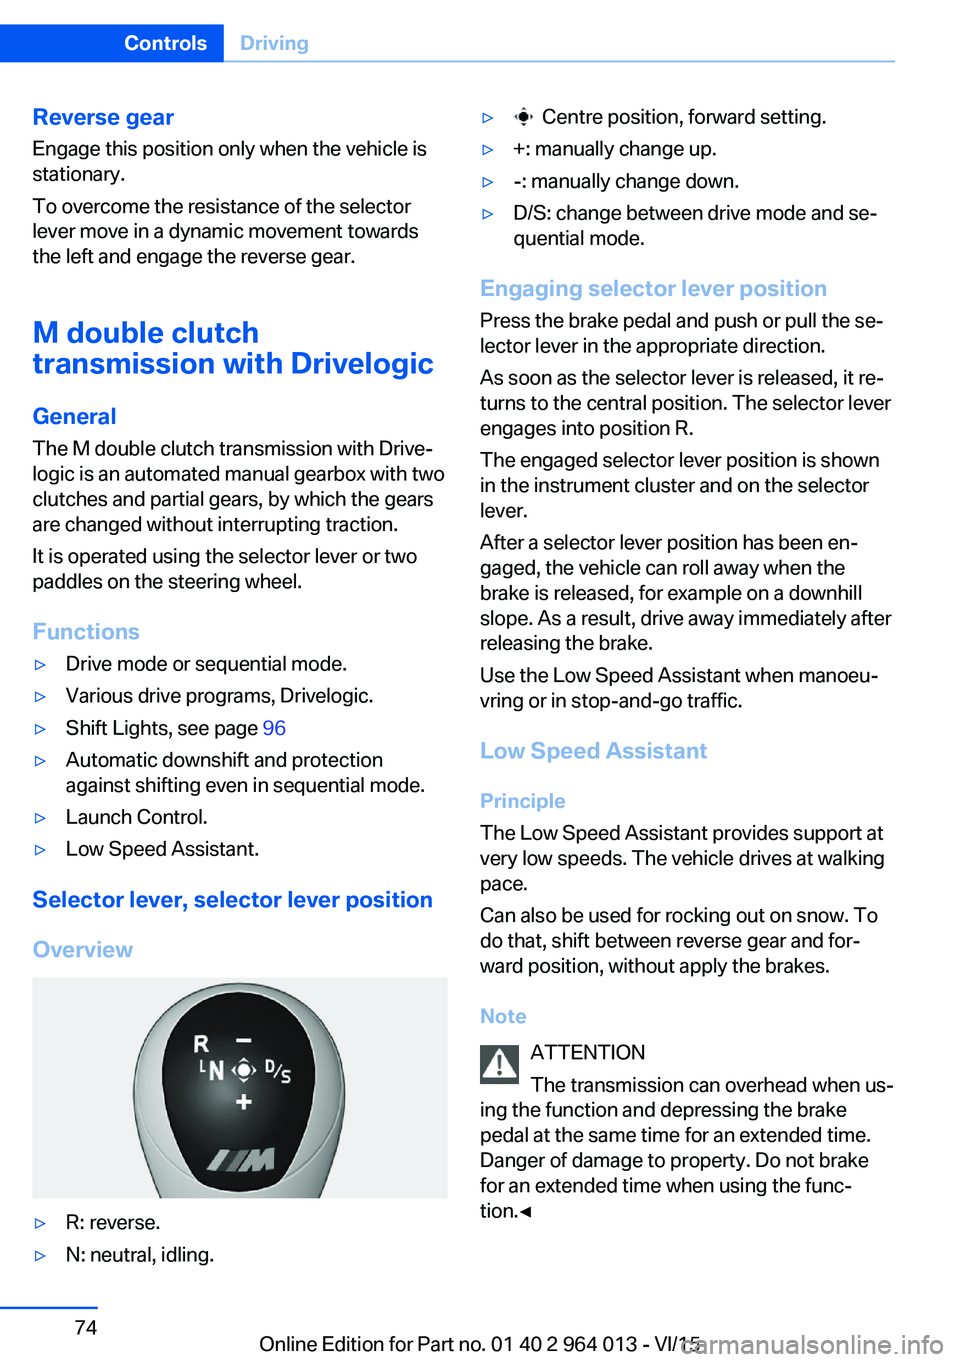
Selector lever, selector lever position
Overview
▷R: reverse.▷N: neutral, idling.▷ Centre position, forward setting.▷+: manually change up.▷-: manually change down.▷D/S: change between drive mode and se‐
quential mode.
Engaging selector lever position
Press the brake pedal and push or pull the se‐
lector lever in the appropriate direction.
As soon as the selector lever is released, it re‐
turns to the central position. The selector lever
engages into position R.
The engaged selector lever position is shown
in the instrument cluster and on the selector
lever.
After a selector lever position has been en‐
gaged, the vehicle can roll away when the
brake is released, for example on a downhill
slope. As a result, drive away immediately after
releasing the brake.
Use the Low Speed Assistant when manoeu‐
vring or in stop-and-go traffic.
Low Speed Assistant
Principle
The Low Speed Assistant provides support at
very low speeds. The vehicle drives at walking
pace.
Can also be used for rocking out on snow. To
do that, shift between reverse gear and for‐
ward position, without apply the brakes.
Note ATTENTION
The transmission can overhead when us‐
ing the function and depressing the brake
pedal at the same time for an extended time.
Danger of damage to property. Do not brake
for an extended time when using the func‐
tion.◀
Seite 74ControlsDriving74
Online Edition for Part no. 01 40 2 964 013 - VI/15
Page 75 of 228
Activating1.Engage a drive position.2.Briefly tap on the accelerator pedal.
The vehicle rolls at minimum speed.
This is possible in 1st and 2nd gear and in re‐
verse.
Deactivating
Brake the vehicle until it comes to a stop.
Flashing display on selector lever of
double clutch transmission
In some situations, the actually engaged gear‐
box setting may be different from the selector
lever position, and the display in the selector
lever flashes.
In these cases, refer to the display in the in‐
strument cluster, see page 75.
D Drive mode
In drive mode, all forward gears are automati‐ cally changed.
Kick-down: for maximum acceleration, for ex‐
ample, when overtaking. To do that, depress
the accelerator pedal beyond the resistance
point.
Change to sequential mode: shift using the
shift paddles or push the selector lever in the
D/S direction.
S sequential mode Change up or change down using the shift
paddle or selector lever without coming off the
gas.
▷Shortly before a minimum speed depend‐
ing on the gear, it automatically down‐
shifts.▷The gears are only shifted up or down with
the appropriate engine speed and road
speed.
For example, there is no downshift at too
high an engine speed.▷Kick-down: by operating the kick-down
and the left shift paddle or selector lever at
the same time, you can change down to
the lowest possible gear.▷Driving off is possible even in 2nd gear on a
level carriageway, for example, when it is
smooth.
To change to Drive mode: press selector lever
in the D/S direction.
R Reverse Engage this position only when the vehicle is
stationary.
For rocking out, even up to 10 km/h, approxi‐
mately 6 mph is possible. To do that, shift be‐
tween forward and reverse gear without apply‐
ing the brakes.
N Neutral, idling Select this in a car wash, for example. The ve‐
hicle will then be able to move, see page 208.
P Park The driven wheels are locked.
Transmission position P is engaged automati‐
cally:
▷After stopping the engine in the radio
ready state, see page 65, or ignition off,
see page 65, when position R or D is en‐
gaged.▷Position N is engaged and ignition is off.
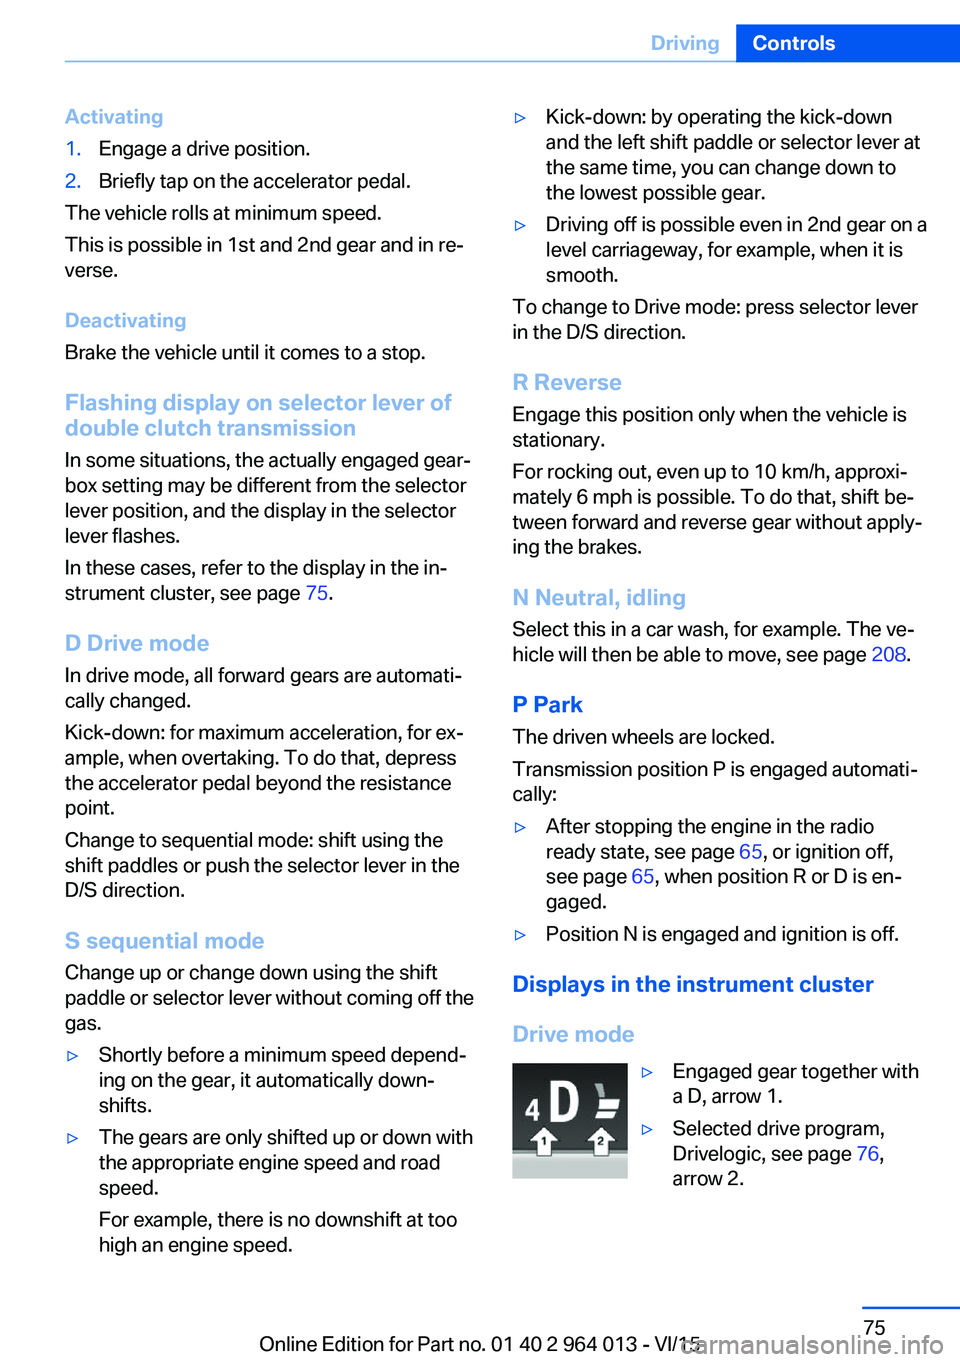
Displays in the instrument cluster
Drive mode
▷Engaged gear together with
a D, arrow 1.▷Selected drive program,
Drivelogic, see page 76,
arrow 2.Seite 75DrivingControls75
Online Edition for Part no. 01 40 2 964 013 - VI/15
Page 77 of 228
5.Turn the Controller until the desired set‐
ting is reached and press the Controller.▷"D"Drive Mode.▷"S"Sequential mode.6."Gear position"7.Turn the Controller until the desired set‐
ting is reached and press the Controller.8.Set other drive programs as necessary.
Setting is immediately accepted with ac‐
tive M Drive.
To activate the desired M Drive with the selec‐
ted settings, press the corresponding button
on the steering wheel:
▷▷
WARNING
Depending on the settings, DSC may
only be available to a limited extent or not at all.
Danger of accident or damage to property. Ob‐
serve the settings for DSC in M Drive and react
actively if necessary. Adjust the driving style
and react if necessary.◀
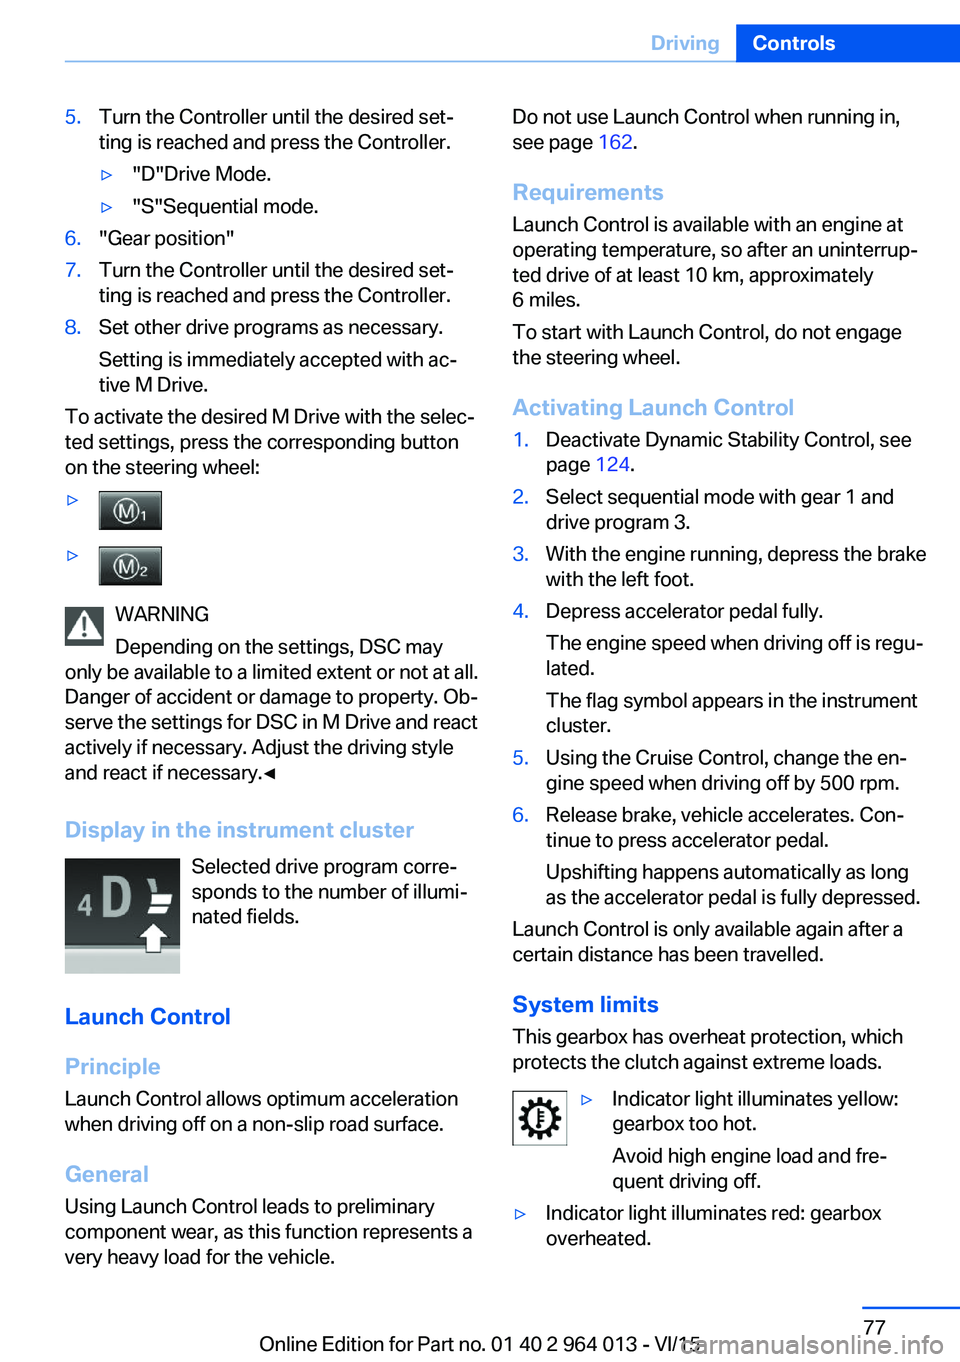
Display in the instrument cluster Selected drive program corre‐
sponds to the number of illumi‐
nated fields.
Launch Control
Principle
Launch Control allows optimum acceleration
when driving off on a non-slip road surface.
General
Using Launch Control leads to preliminary component wear, as this function represents a
very heavy load for the vehicle.
Do not use Launch Control when running in,
see page 162.
Requirements
Launch Control is available with an engine at
operating temperature, so after an uninterrup‐
ted drive of at least 10 km, approximately
6 miles.
To start with Launch Control, do not engage
the steering wheel.
Activating Launch Control1.Deactivate Dynamic Stability Control, see
page 124.2.Select sequential mode with gear 1 and
drive program 3.3.With the engine running, depress the brake
with the left foot.4.Depress accelerator pedal fully.
The engine speed when driving off is regu‐
lated.
The flag symbol appears in the instrument
cluster.5.Using the Cruise Control, change the en‐
gine speed when driving off by 500 rpm.6.Release brake, vehicle accelerates. Con‐
tinue to press accelerator pedal.
Upshifting happens automatically as long
as the accelerator pedal is fully depressed.
Launch Control is only available again after a
certain distance has been travelled.
System limits
This gearbox has overheat protection, which
protects the clutch against extreme loads.
▷Indicator light illuminates yellow:
gearbox too hot.
Avoid high engine load and fre‐
quent driving off.▷Indicator light illuminates red: gearbox
overheated.Seite 77DrivingControls77
Online Edition for Part no. 01 40 2 964 013 - VI/15
Page 78 of 228
Moderate continued driving possible. Stop
at the next opportunity, stop the engine
and allow the gearbox to cool.
Avoid frequent, heavy driving off and on up‐
ward inclines, do not hold the vehicle by
slightly giving gas with sliding clutch, other‐
wise the gearbox may overheat.
In traffic queues or at very low speeds, use the
Low Speed Assistant, see page 74.
M Engine Dynamics Control
Principle The M Engine Dynamics Control affects the
response of the vehicle to movements of the
accelerator pedal.
Programs Possibilities for adjusting the responsiveness:
▷"Efficient": efficient, comfortable. Mini‐
mised consumption
Ideal, for example, in city traffic or on snow▷"Sport": sporty, dynamic.▷"Sport Plus": spontaneous, direct. Maxi‐
mum dynamics
Selecting program
Via M Drive On the Control Display:
1."Settings"2."M Drive 1" or "M Drive 2"3. Select the symbol.4.Select the desired channel.
Setting is immediately accepted with ac‐
tive M Drive.
To activate the desired M Drive with the selec‐
ted settings, press the corresponding button
on the steering wheel:
▷▷
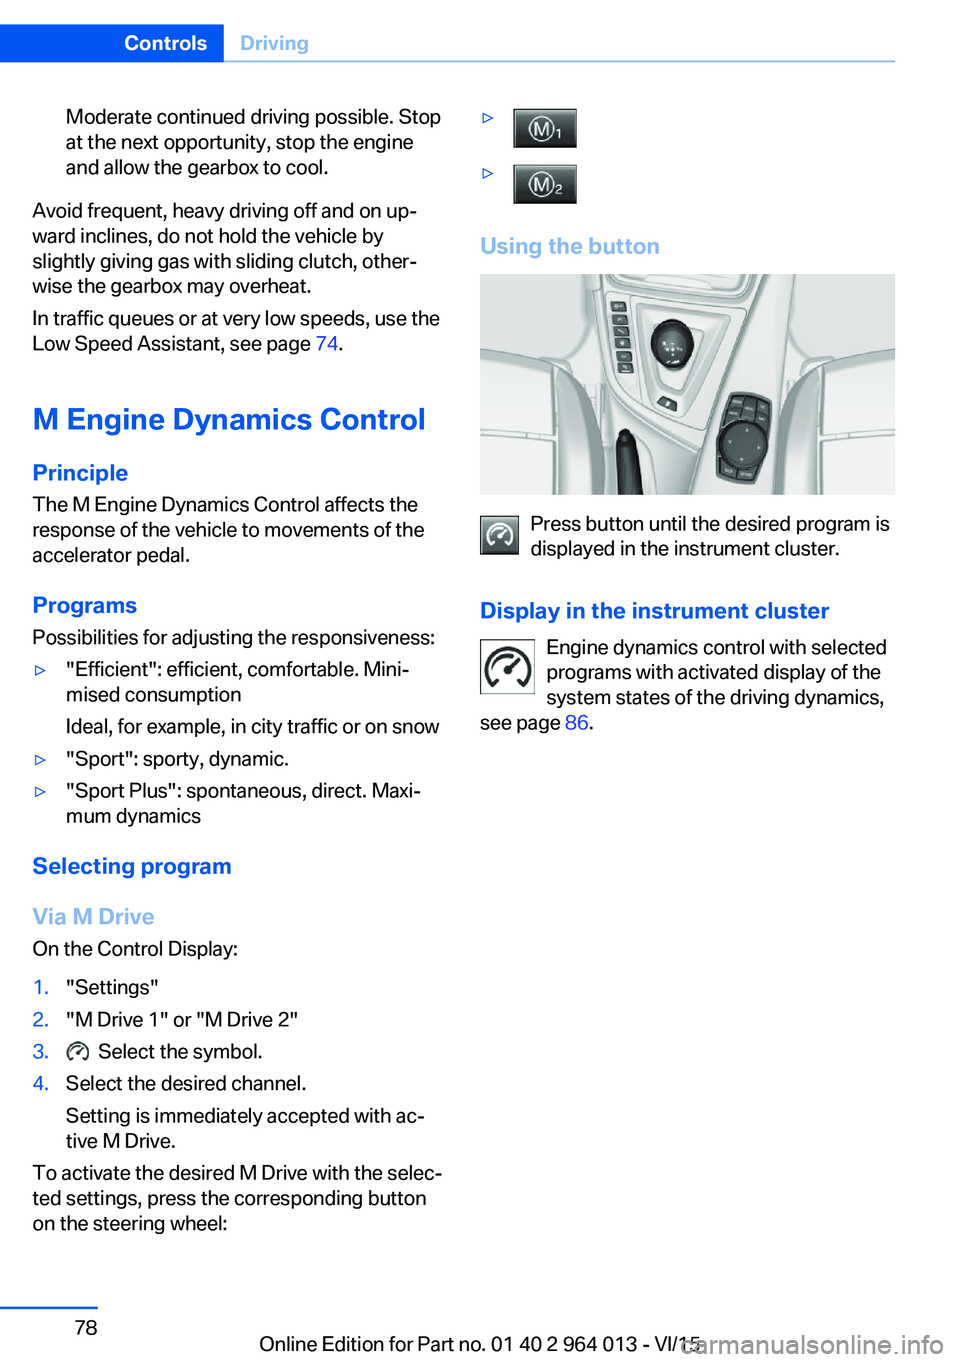
Using the button
Press button until the desired program is
displayed in the instrument cluster.
Display in the instrument cluster Engine dynamics control with selected
programs with activated display of the
system states of the driving dynamics,
see page 86.
Seite 78ControlsDriving78
Online Edition for Part no. 01 40 2 964 013 - VI/15