refuelling BMW M4 2016 Owners Manual
[x] Cancel search | Manufacturer: BMW, Model Year: 2016, Model line: M4, Model: BMW M4 2016Pages: 228, PDF Size: 4.88 MB
Page 5 of 228
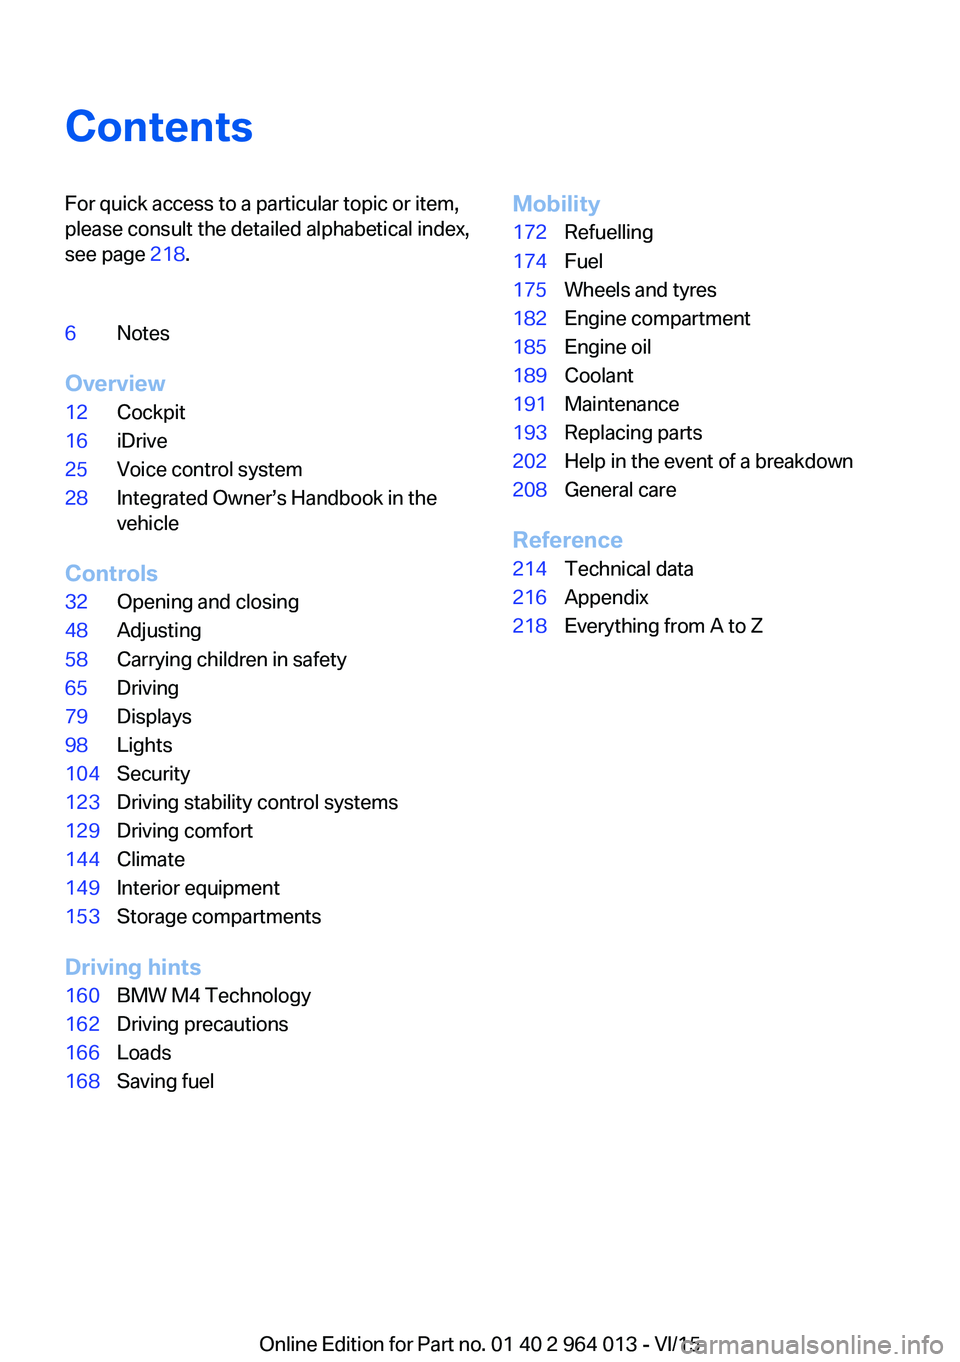
ContentsFor quick access to a particular topic or item,
please consult the detailed alphabetical index,
see page 218.6Notes
Overview
12Cockpit16iDrive25Voice control system28Integrated Owner’s Handbook in the
vehicle
Controls
32Opening and closing48Adjusting58Carrying children in safety65Driving79Displays98Lights104Security123Driving stability control systems129Driving comfort144Climate149Interior equipment153Storage compartments
Driving hints
160BMW M4 Technology162Driving precautions166Loads168Saving fuelMobility172Refuelling174Fuel175Wheels and tyres182Engine compartment185Engine oil189Coolant191Maintenance193Replacing parts202Help in the event of a breakdown208General care
Reference
214Technical data216Appendix218Everything from A to Z
Online Edition for Part no. 01 40 2 964 013 - VI/15
Page 84 of 228
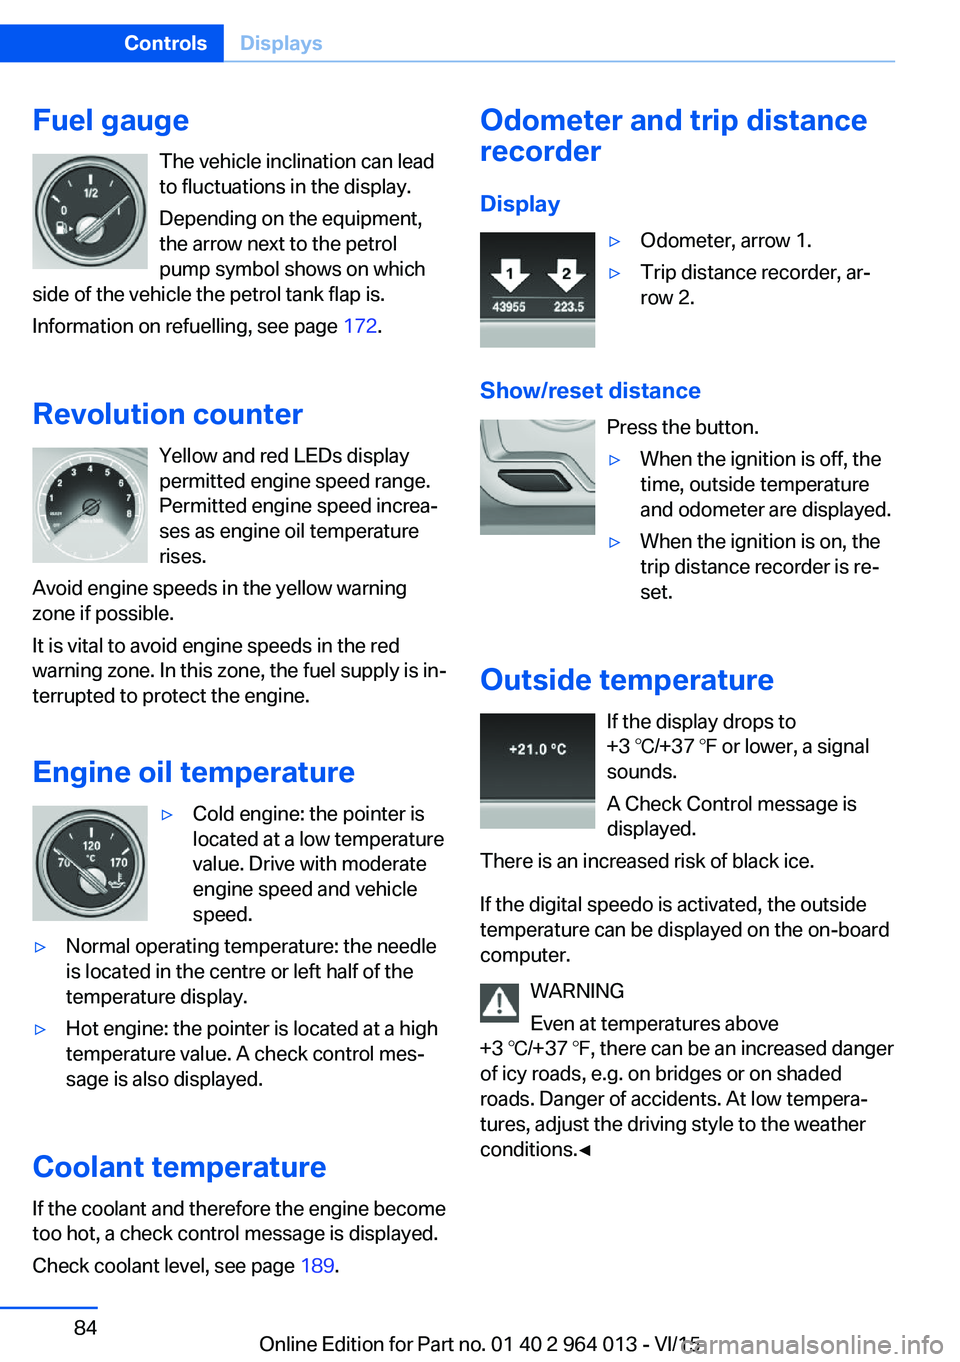
Fuel gaugeThe vehicle inclination can lead
to fluctuations in the display.
Depending on the equipment,
the arrow next to the petrol
pump symbol shows on which
side of the vehicle the petrol tank flap is.
Information on refuelling, see page 172.
Revolution counter Yellow and red LEDs display
permitted engine speed range.
Permitted engine speed increa‐
ses as engine oil temperature
rises.
Avoid engine speeds in the yellow warning zone if possible.
It is vital to avoid engine speeds in the red
warning zone. In this zone, the fuel supply is in‐
terrupted to protect the engine.
Engine oil temperature▷Cold engine: the pointer is
located at a low temperature
value. Drive with moderate
engine speed and vehicle
speed.▷Normal operating temperature: the needle
is located in the centre or left half of the
temperature display.▷Hot engine: the pointer is located at a high
temperature value. A check control mes‐
sage is also displayed.
Coolant temperature
If the coolant and therefore the engine become
too hot, a check control message is displayed.
Check coolant level, see page 189.
Odometer and trip distance
recorder
Display▷Odometer, arrow 1.▷Trip distance recorder, ar‐
row 2.
Show/reset distance
Press the button.
▷When the ignition is off, the
time, outside temperature
and odometer are displayed.▷When the ignition is on, the
trip distance recorder is re‐
set.
Outside temperature
If the display drops to
+3 ℃/+37 ℉ or lower, a signal
sounds.
A Check Control message is
displayed.
There is an increased risk of black ice.
If the digital speedo is activated, the outside
temperature can be displayed on the on-board
computer.
WARNING
Even at temperatures above
+3 ℃/+37 ℉, there can be an increased danger
of icy roads, e.g. on bridges or on shaded
roads. Danger of accidents. At low tempera‐
tures, adjust the driving style to the weather
conditions.◀
Seite 84ControlsDisplays84
Online Edition for Part no. 01 40 2 964 013 - VI/15
Page 172 of 228
RefuellingVehicle equipmentThis chapter describes all standard, national
and special equipment provided in the model
series. Equipment not available in the vehicle is
therefore also described, for example the se‐
lected special equipment or national version.
This also applies to safety-relevant functions
and systems. Comply with the relevant na‐
tional regulations when using the correspond‐
ing functions and systems.
Notes Before refuelling, observe notes on fuel quality,
see page 174.
ATTENTION
If the range drops below 50 km, approx.
30 miles, the engine could not be supplied
anymore with sufficient fuel. Engine functions
are not ensured anymore. Danger of damage
to property. Refuel in good time.◀
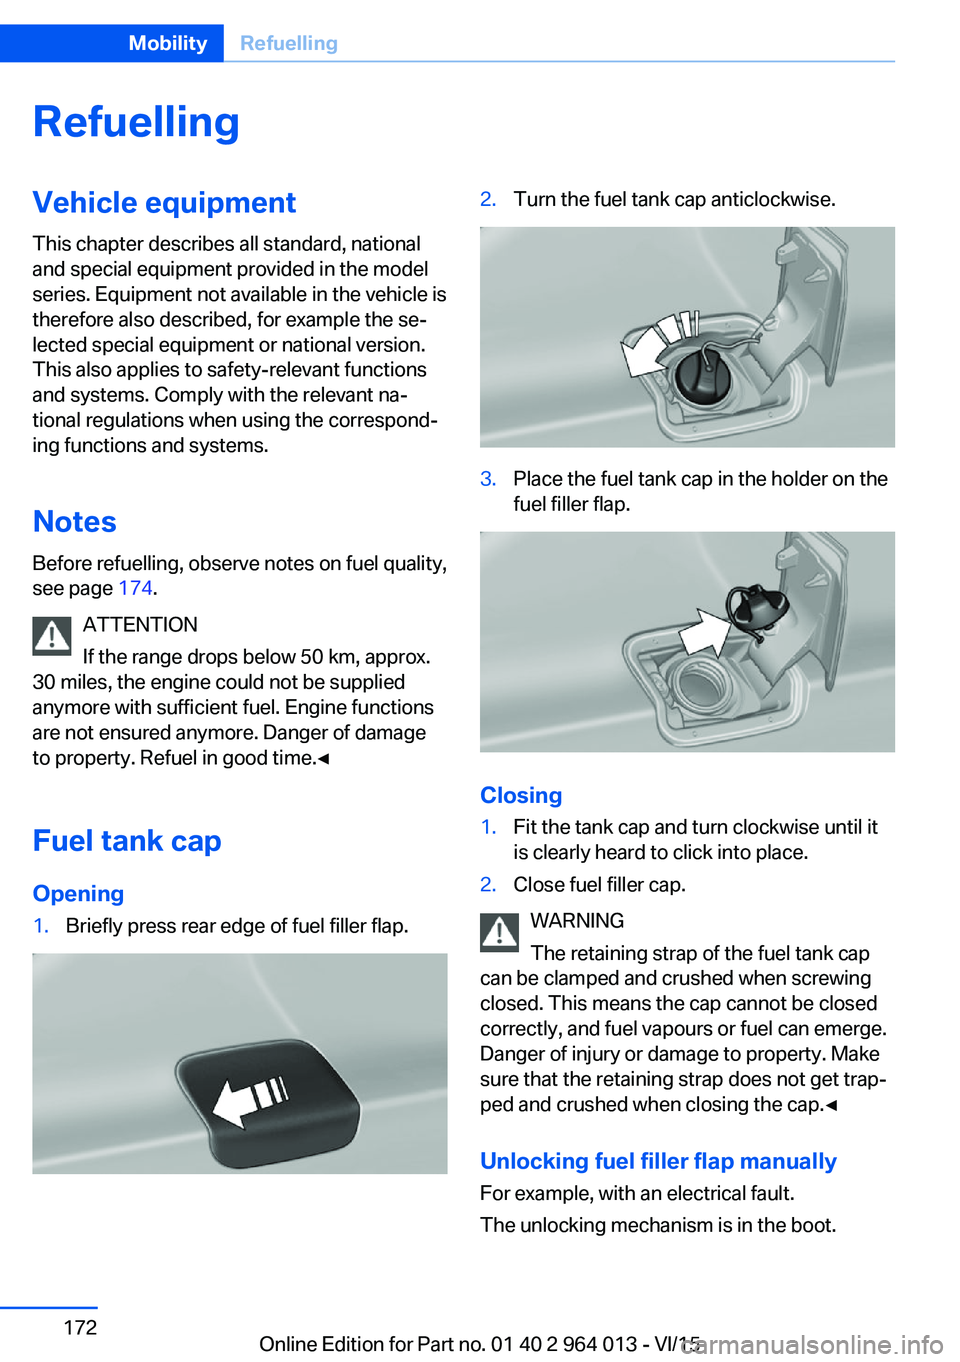
Fuel tank cap Opening1.Briefly press rear edge of fuel filler flap.2.Turn the fuel tank cap anticlockwise.3.Place the fuel tank cap in the holder on the
fuel filler flap.
Closing
1.Fit the tank cap and turn clockwise until it
is clearly heard to click into place.2.Close fuel filler cap.
WARNING
The retaining strap of the fuel tank cap
can be clamped and crushed when screwing
closed. This means the cap cannot be closed
correctly, and fuel vapours or fuel can emerge.
Danger of injury or damage to property. Make
sure that the retaining strap does not get trap‐
ped and crushed when closing the cap.◀
Unlocking fuel filler flap manually
For example, with an electrical fault.
The unlocking mechanism is in the boot.
Seite 172MobilityRefuelling172
Online Edition for Part no. 01 40 2 964 013 - VI/15
Page 173 of 228
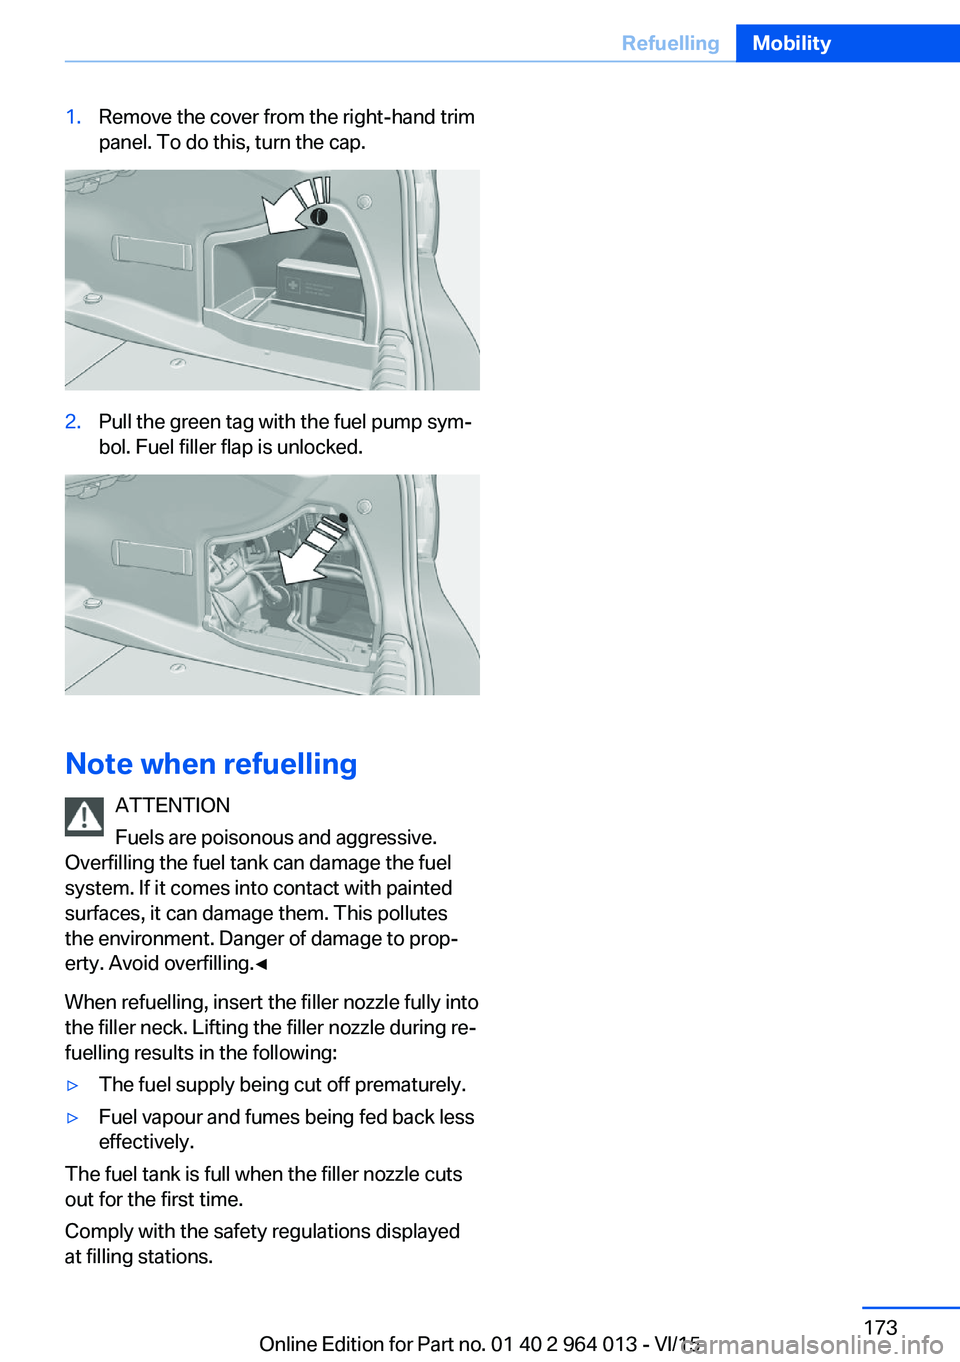
1.Remove the cover from the right-hand trim
panel. To do this, turn the cap.2.Pull the green tag with the fuel pump sym‐
bol. Fuel filler flap is unlocked.
Note when refuelling
ATTENTION
Fuels are poisonous and aggressive.
Overfilling the fuel tank can damage the fuel
system. If it comes into contact with painted
surfaces, it can damage them. This pollutes
the environment. Danger of damage to prop‐
erty. Avoid overfilling.◀
When refuelling, insert the filler nozzle fully into
the filler neck. Lifting the filler nozzle during re‐
fuelling results in the following:
▷The fuel supply being cut off prematurely.▷Fuel vapour and fumes being fed back less
effectively.
The fuel tank is full when the filler nozzle cuts
out for the first time.
Comply with the safety regulations displayed
at filling stations.
Seite 173RefuellingMobility173
Online Edition for Part no. 01 40 2 964 013 - VI/15
Page 223 of 228
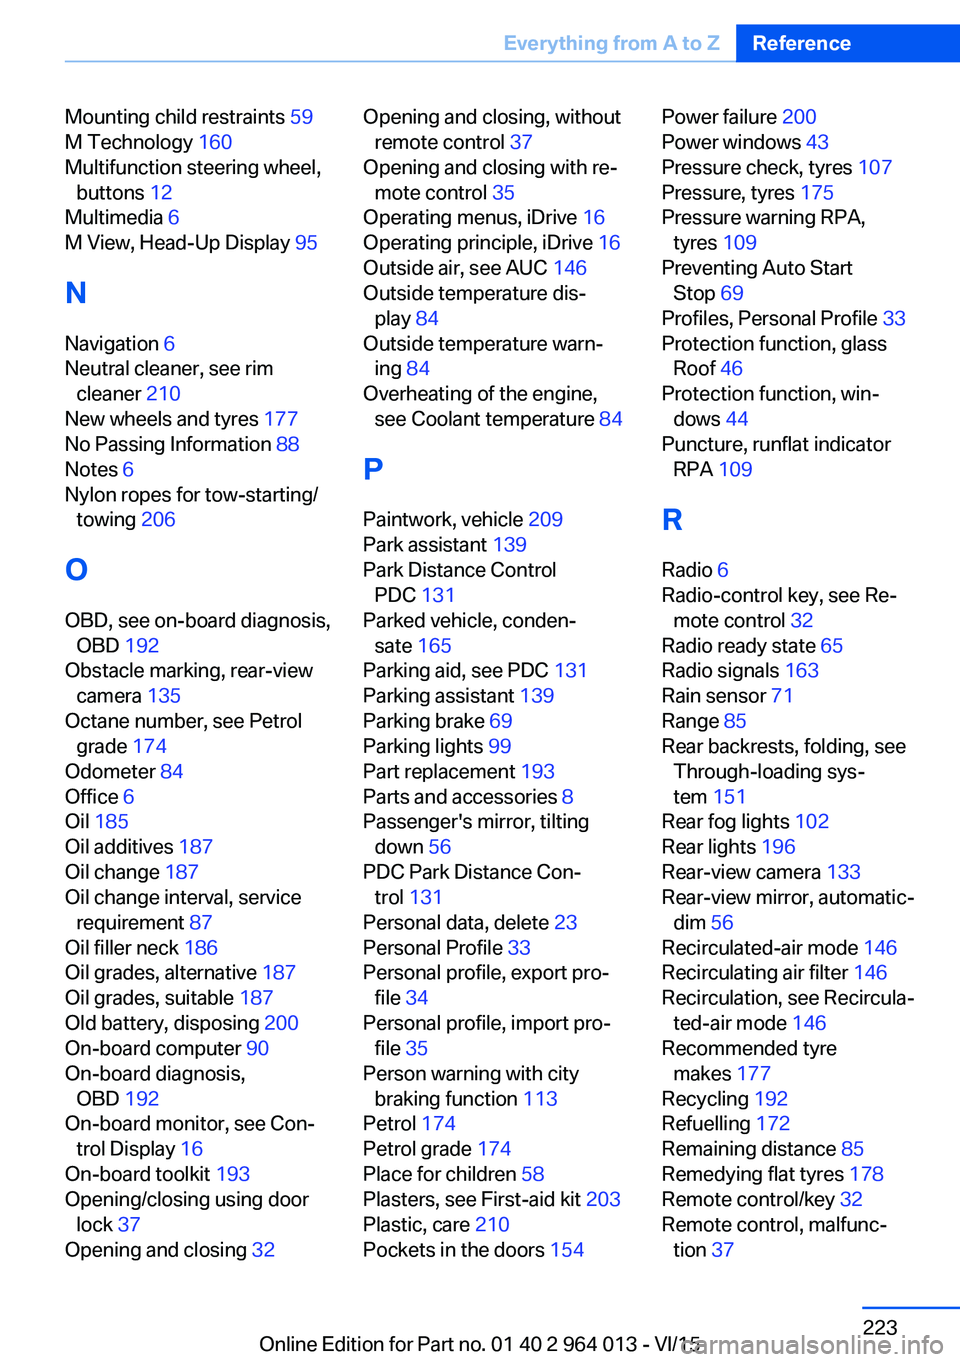
Mounting child restraints 59
M Technology 160
Multifunction steering wheel, buttons 12
Multimedia 6
M View, Head-Up Display 95
N Navigation 6
Neutral cleaner, see rim cleaner 210
New wheels and tyres 177
No Passing Information 88
Notes 6
Nylon ropes for tow-starting/ towing 206
O OBD, see on-board diagnosis, OBD 192
Obstacle marking, rear-view camera 135
Octane number, see Petrol grade 174
Odometer 84
Office 6
Oil 185
Oil additives 187
Oil change 187
Oil change interval, service requirement 87
Oil filler neck 186
Oil grades, alternative 187
Oil grades, suitable 187
Old battery, disposing 200
On-board computer 90
On-board diagnosis, OBD 192
On-board monitor, see Con‐ trol Display 16
On-board toolkit 193
Opening/closing using door lock 37
Opening and closing 32 Opening and closing, without
remote control 37
Opening and closing with re‐ mote control 35
Operating menus, iDrive 16
Operating principle, iDrive 16
Outside air, see AUC 146
Outside temperature dis‐ play 84
Outside temperature warn‐ ing 84
Overheating of the engine, see Coolant temperature 84
P Paintwork, vehicle 209
Park assistant 139
Park Distance Control PDC 131
Parked vehicle, conden‐ sate 165
Parking aid, see PDC 131
Parking assistant 139
Parking brake 69
Parking lights 99
Part replacement 193
Parts and accessories 8
Passenger's mirror, tilting down 56
PDC Park Distance Con‐ trol 131
Personal data, delete 23
Personal Profile 33
Personal profile, export pro‐ file 34
Personal profile, import pro‐ file 35
Person warning with city braking function 113
Petrol 174
Petrol grade 174
Place for children 58
Plasters, see First-aid kit 203
Plastic, care 210
Pockets in the doors 154 Power failure 200
Power windows 43
Pressure check, tyres 107
Pressure, tyres 175
Pressure warning RPA, tyres 109
Preventing Auto Start Stop 69
Profiles, Personal Profile 33
Protection function, glass Roof 46
Protection function, win‐ dows 44
Puncture, runflat indicator RPA 109
R Radio 6
Radio-control key, see Re‐ mote control 32
Radio ready state 65
Radio signals 163
Rain sensor 71
Range 85
Rear backrests, folding, see Through-loading sys‐
tem 151
Rear fog lights 102
Rear lights 196
Rear-view camera 133
Rear-view mirror, automatic- dim 56
Recirculated-air mode 146
Recirculating air filter 146
Recirculation, see Recircula‐ ted-air mode 146
Recommended tyre makes 177
Recycling 192
Refuelling 172
Remaining distance 85
Remedying flat tyres 178
Remote control/key 32
Remote control, malfunc‐ tion 37 Seite 223Everything from A to ZReference223
Online Edition for Part no. 01 40 2 964 013 - VI/15