remote control BMW M6 CONVERTIBLE 2002 User Guide
[x] Cancel search | Manufacturer: BMW, Model Year: 2002, Model line: M6 CONVERTIBLE, Model: BMW M6 CONVERTIBLE 2002Pages: 186, PDF Size: 2.77 MB
Page 65 of 186
65n
OverviewControlsMaintenanceRepairsDataIndex
Vehicle Memory, Key MemoryThe system then relies on a bilateral
data exchange to identify the individual
user and dial in the selected settings
whenever the remote control unit is
used to disengage the door locks.
In order for you to distinguish between
different keys, colored decals are
supplied together with the keys.What the system can doYour BMW center can provide you with
details on the capabilities of the Vehicle
Memory and Key Memory systems. A
few examples follow below:
Examples for Vehicle Memory:
>Various signals as acknowledgment
when locking or unlocking your
vehicle
>Activates/deactivates the "Follow me
home" function.Examples for Key Memory:
>Locks the vehicle when you start off
>Automatically adjusts the driverÕs
seat, the exterior mirrors and the
steering wheel position to your
personal programmed settings when
you unlock the vehicle
>The automatic climate control
assumes your preset comfort settings
when you unlock the vehicle.
You will see this symbol through-
out the Owner's Manual. It is to
remind you at appropriate places of the
settings that are available to you.<
Page 91 of 186
91n
OverviewControlsMaintenanceRepairsDataIndex
Computer in the MID
*
Only make entries when the
vehicle is standing still to avoid
endangering yourself or other road
users.<
Computer calculations begin at the
start of the journey.
Information can also be accessed for
display by remote control, refer to
page 95.
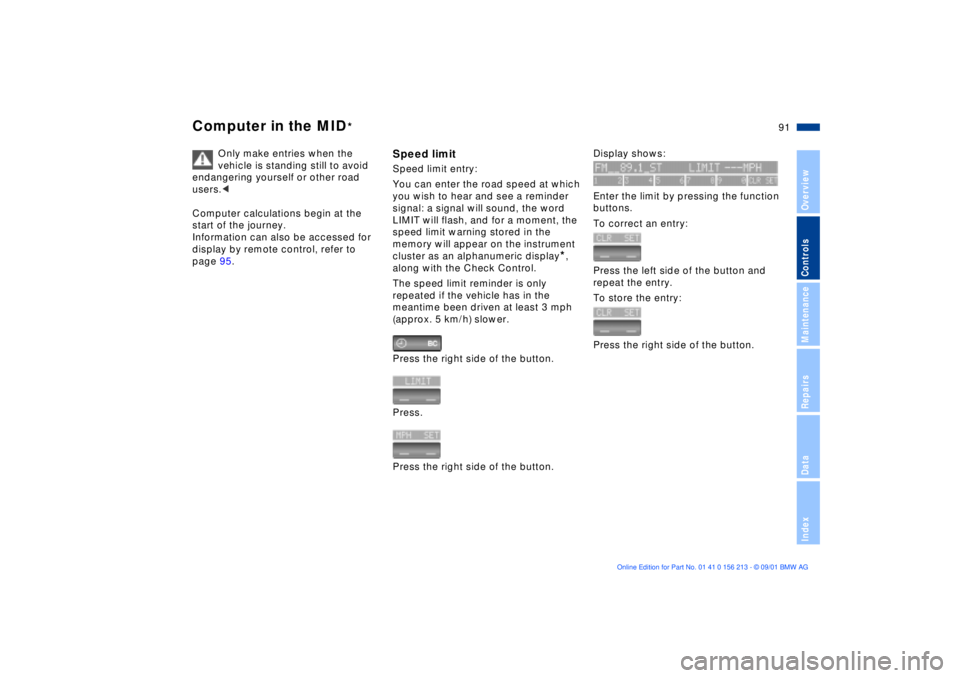
Speed limitSpeed limit entry:
You can enter the road speed at which
you wish to hear and see a reminder
signal: a signal will sound, the word
LIMIT will flash, and for a moment, the
speed limit warning stored in the
memory will appear on the instrument
cluster as an alphanumeric display
*,
along with the Check Control.
The speed limit reminder is only
repeated if the vehicle has in the
meantime been driven at least 3 mph
(approx. 5 km/h) slower.
Press the right side of the button.
Press.
Press the right side of the button.
Display shows:
Enter the limit by pressing the function
buttons.
To correct an entry:
Press the left side of the button and
repeat the entry.
To store the entry:
Press the right side of the button.
Page 95 of 186
95n
OverviewControlsMaintenanceRepairsDataIndex
Computer in the MID
*
After three incorrect code entries, or
three attempts to start the engine
without a code entry, the alarm will
sound for 30 seconds on vehicles
equipped with an alarm.
Deactivating the alarm in an emer-
gency:
If you have forgotten the code, proceed
as follows:
1. Disconnect the battery, wait approx.
2 minutes, then reconnect it. Note
that on vehicles with an alarm, this
will sound
2. Set the ignition key to position 1:
The time display will count down for
the next ten minutes
3. After ten minutes, start the engine.
If the code becomes available
again in the meantime, it can be
entered during the waiting period after
pressing the CODE button.<
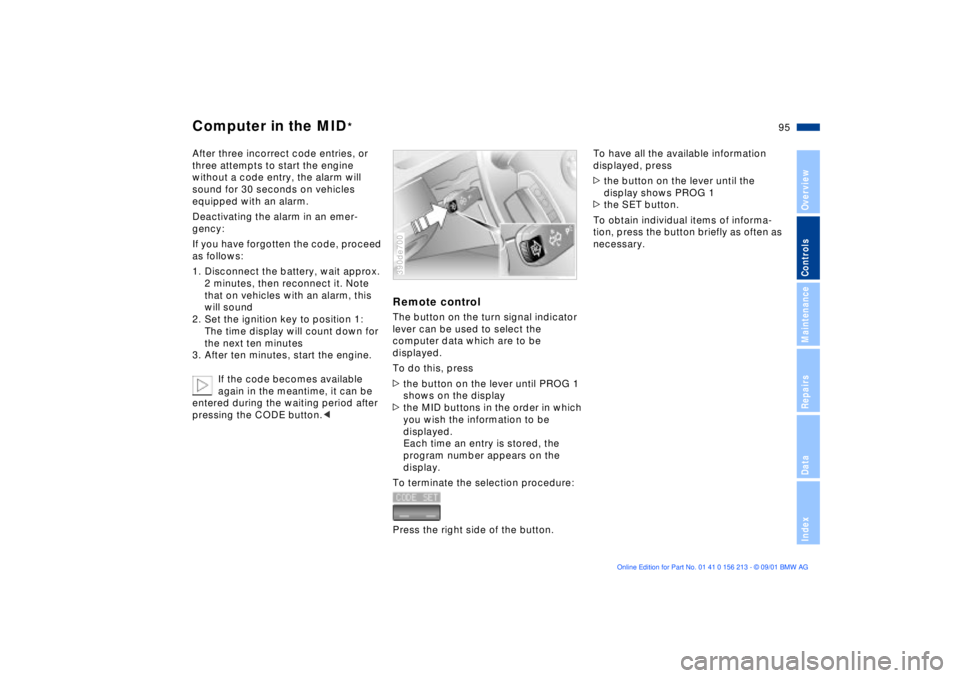
Remote controlThe button on the turn signal indicator
lever can be used to select the
computer data which are to be
displayed.
To do this, press
>the button on the lever until PROG 1
shows on the display
>the MID buttons in the order in which
you wish the information to be
displayed.
Each time an entry is stored, the
program number appears on the
display.
To terminate the selection procedure:
Press the right side of the button.390de700
To have all the available information
displayed, press
>the button on the lever until the
display shows PROG 1
>the SET button.
To obtain individual items of informa-
tion, press the button briefly as often as
necessary.
Page 109 of 186
109n
OverviewControlsMaintenanceRepairsDataIndex
Automatic climate control
*
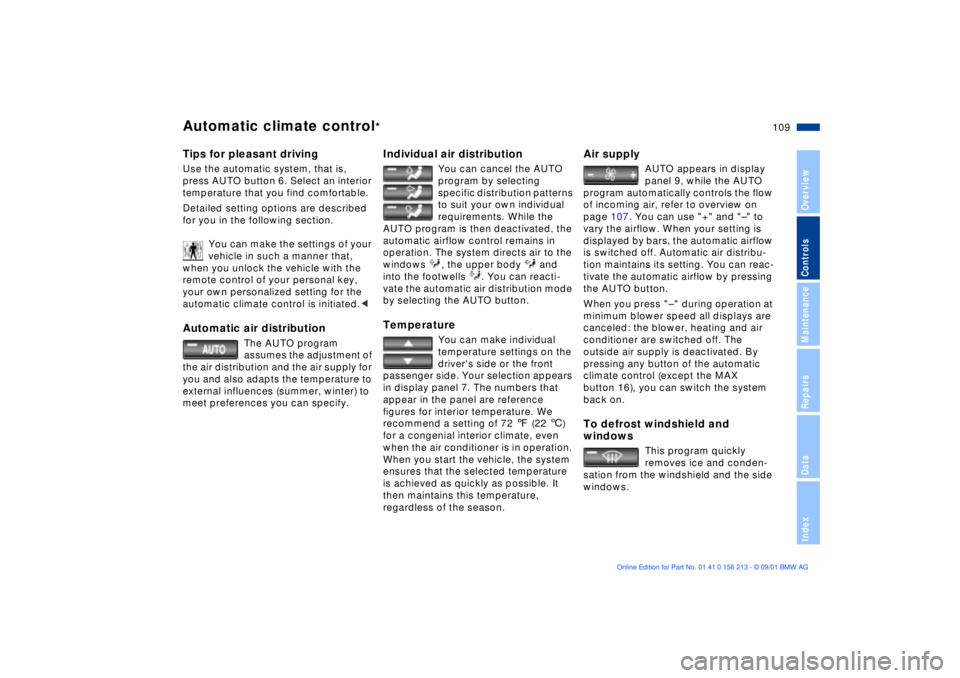
Tips for pleasant drivingUse the automatic system, that is,
press AUTO button 6. Select an interior
temperature that you find comfortable.
Detailed setting options are described
for you in the following section.
You can make the settings of your
vehicle in such a manner that,
when you unlock the vehicle with the
remote control of your personal key,
your own personalized setting for the
automatic climate control is initiated.< Automatic air distribution
The AUTO program
assumes the adjustment of
the air distribution and the air supply for
you and also adapts the temperature to
external influences (summer, winter) to
meet preferences you can specify.
Individual air distribution
You can cancel the AUTO
program by selecting
specific distribution patterns
to suit your own individual
requirements. While the
AUTO program is then deactivated, the
automatic airflow control remains in
operation. The system directs air to the
windows , the upper body and
into the footwells . You can reacti-
vate the automatic air distribution mode
by selecting the AUTO button.
Temperature
You can make individual
temperature settings on the
driver's side or the front
passenger side. Your selection appears
in display panel 7. The numbers that
appear in the panel are reference
figures for interior temperature. We
recommend a setting of 72 7 (22 6)
for a congenial interior climate, even
when the air conditioner is in operation.
When you start the vehicle, the system
ensures that the selected temperature
is achieved as quickly as possible. It
then maintains this temperature,
regardless of the season.
Air supply
AUTO appears in display
panel 9, while the AUTO
program automatically controls the flow
of incoming air, refer to overview on
page 107. You can use "+" and "Ð" to
vary the airflow. When your setting is
displayed by bars, the automatic airflow
is switched off. Automatic air distribu-
tion maintains its setting. You can reac-
tivate the automatic airflow by pressing
the AUTO button.
When you press "Ð " during operation at
minimum blower speed all displays are
canceled: the blower, heating and air
conditioner are switched off. The
outside air supply is deactivated. By
pressing any button of the automatic
climate control (except the MAX
button 16), you can switch the system
back on.
To defrost windshield and
windows
This program quickly
removes ice and conden-
sation from the windshield and the side
windows.
Page 113 of 186
113n
OverviewControlsMaintenanceRepairsDataIndex
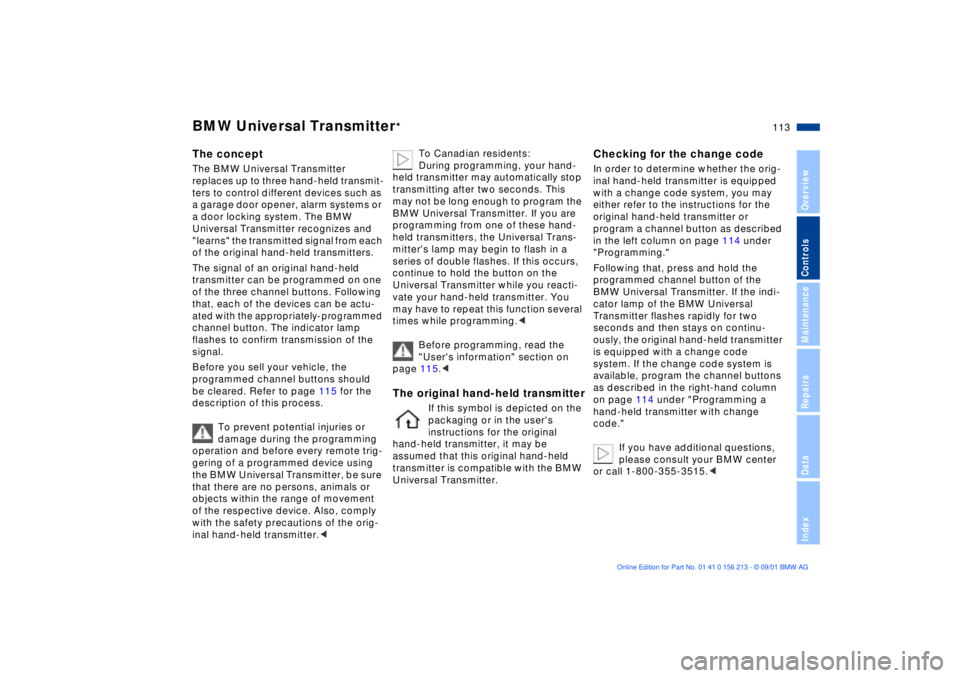
The conceptThe BMW Universal Transmitter
replaces up to three hand-held transmit-
ters to control different devices such as
a garage door opener, alarm systems or
a door locking system. The BMW
Universal Transmitter recognizes and
"learns" the transmitted signal from each
of the original hand-held transmitters.
The signal of an original hand-held
transmitter can be programmed on one
of the three channel buttons. Following
that, each of the devices can be actu-ated with the appropriately-programmed
channel button. The indicator lamp
flashes to confirm transmission of the
signal.
Before you sell your vehicle, the
programmed channel buttons should
be cleared. Refer to page 115 for the
description of this process.
To prevent potential injuries or
damage during the programming
operation and before every remote trig-
gering of a programmed device using
the BMW Universal Transmitter, be sure
that there are no persons, animals or
objects within the range of movement
of the respective device. Also, comply
with the safety precautions of the orig-
inal hand-held transmitter.<
To Canadian residents:
During programming, your hand-
held transmitter may automatically stop
transmitting after two seconds. This
may not be long enough to program the
BMW Universal Transmitter. If you are
programming from one of these hand-
held transmitters, the Universal Trans-
mitter's lamp may begin to flash in a
series of double flashes. If this occurs,
continue to hold the button on the
Universal Transmitter while you reacti-
vate your hand-held transmitter. You
may have to repeat this function several
times while programming.<
Before programming, read the
"User's information" section on
page 115.<
The original hand-held transmitter
If this symbol is depicted on the
packaging or in the user's
instructions for the original
hand-held transmitter, it may be
assumed that this original hand-held
transmitter is compatible with the BMW
Universal Transmitter.
Checking for the change codeIn order to determine whether the orig-
inal hand-held transmitter is equipped
with a change code system, you may
either refer to the instructions for the
original hand-held transmitter or
program a channel button as described
in the left column on page 114 under
"Programming."
Following that, press and hold the
programmed channel button of the
BMW Universal Transmitter. If the indi-
cator lamp of the BMW Universal
Transmitter flashes rapidly for two
seconds and then stays on continu-
ously, the original hand-held transmitter
is equipped with a change code
system. If the change code system is
available, program the channel buttons
as described in the right-hand column
on page 114 under "Programming a
hand-held transmitter with change
code."
If you have additional questions,
please consult your BMW center
or call 1-800-355-3515.<
BMW Universal Transmitter
*
Page 177 of 186
Everything from A to Z
177n
OverviewControlsMaintenanceRepairsDataIndex
Brake system132
brake fluid level132
brake pads20, 132
disc brakes132
malfunctions132
Break-in procedures130
Bulbs and lamps151t C
California Proposition
65 Warning145
Capacities173
Car care, refer to the "Caring
for your vehicle" manual
Car wash systems, refer to
the "Caring for your
vehicle" manual
Care of paintwork, refer to
the "Caring for your
vehicle" manual
Care of upholstery materials,
refer to the "Caring for your
vehicle" manual
Cargo area
lamps103
opening from the
inside40
Cargo loading126
Cellular phone117 Center (high-mount) brake
lamp155
Central locking
system32, 37
Changing a wheel/
tire157t
Charge indicator lamp19
CHECK button83
Check Control83t
Check engine oil
level140t
Child seat safety62
Child seats61
Child-restraint systems61
Child-safety locks64
Cigarette lighter118
Clean rear window77
Cleaning windshield77
Climate control, refer to
Automatic climate
control107
Clock88
for additional information
refer to the "Owner's
Manual for Onboard
Computer"
Cockpit14
Code, refer to immoblizer
function94
Cold start67
Combination switch76 Comfort seat51
Compartments116
Computer86
for additional information
refer to the "Owner's
Manual for Onboard
Computer"
remote control95
Computer in the MID91
Configuring personal
adjustments, Vehicle and
Key Memory64
Consumption display81
Consumption, fuel86, 93
Convenience operation of
windows and sliding/tilt
sunroof33
Convenience starting
feature67
Coolant142
Coolant temperature
gauge82
Copyright4
Cover, sun blinds112
Cruising range86, 93
Cup holder117
Cup holder, refer to
beverage holder117
Curb monitor55
D
Data link connector for
Onboard Diagnostics146
Date
calling up88
changing88
Daytime driving lamps101
DBC (Dynamic Brake
Control)20
Deactivating95
alarm system tilt
sensor43
interior motion sensor43
Deep water131
Defrost windows106, 109
Defroster mode106, 109
Digital clock in the MID88
Dimensions169
Dipstick, engine oil140t
Displacement168
Display lighting102
Displays16, 17
Disposal
antifreeze with corrosion
inhibitor142t
used batteries160t
used oils141t
Page 178 of 186
Everything from A to ZDistance from
destination92
Distance warning96
Divided rear-seat
backrest119
Doors
manual operation33
opening and closing34
opening/closing from the
inside34
operation via remote
control34
DOT Quality Grades134
Driving notes131
DSC (Dynamic Stability
Control)21, 97
Dynamic Brake Control
(DBC)20
Dynamic Stability Control
(DSC)21, 97 E
Electric power seat50
Electric power windows44
Electrical malfunction
doors33
fuel filler door24
luggage compartment
lid38
sliding/tilt sunroof47
tailgate39 Elements of operation14
Emergency release of
luggage compartment lid
from luggage
compartment's interior41
Energy control81
Engine compartment138
Engine coolant82, 142
Engine oil140
consumption140
disposal141t
level20
pressure19
specifications141t
viscosity ratings141
Engine specifications168
Estimated time of arrival93
Exterior mirrors57
F
Failure messages83t
Filling the washer
reservoir139t
First-aid kit23
Fittings, tow-starting and
towing163t
Flashlight116 Flat tire133, 157t
Fog lamps102
bulb replacement153t
Follow me home101
Front ashtray117
Front fog lamps102
Front seat adjustment48
Fuel25
gauge81
quality25
specifications25
tank capacity173
Fuel consumption86, 93
average86, 93
indicator81
Fuel filler door24
electrical malfunction24
manual release24
Fuses160
G
Gasoline25
gauge81
quality25
Glass moonroof47
Glove compartment116
Grilles107
Gross vehicle weight171
H
Handbrake68
Hands-free system117
Hazard warning triangle23
Head restraints50
Headlamp covers,
care151t
Headlamp flasher76
Headlight washer
system139
Heated steering wheel56
Heating and
ventilation104, 107
Heating while stopped111
Heavy cargo126
Height adjustment
seats50
steering wheel56
Height of vehicle169
High beams21, 102
bulb replacement151t
High Performance Synthetic
Oils141
High-mount brake lamp155
Holder for canned
beverages117
Hood137
release137t
Horn14
Hydraulic Braking Assistant,
refer to DBC20
Page 179 of 186
Everything from A to Z
179n
OverviewControlsMaintenanceRepairsDataIndex
I
Ice warning80
Identification, tires135
Ignition lock66
Immoblizer function94
activating code94
deactivating code94
selecting code94
Important in the engine
compartment138
Imprint4
Independent ventilation
system112
Indicator and warning
lamps19
Inflation pressure26t
monitoring99
Inflation pressure,
tires26, 133
INSPECTION82
Instrument
cluster15, 16, 17
Instrument displays15
Instrument lighting102
Instrument panel16, 17
Instrument panel switch76
Instruments15
Intensive cleaning139 Interior lamps103
Interior mirror58
Interior motion sensor42
avoiding unintentional
alarms44
deactivate35
Interior rearview mirror57
automatic dimmer58
Interlock66
J
Jack157
Jump-starting162t K
Key Memory64
Key with remote control32
Keys32
Kickdown71, 74 L
Lamps and bulbs151t
LATCH child-restraint
system63
LATCH child-restraint
system, sport wagon64 Leather care, refer to the
"Caring for your vehicle"
manual
Length of vehicle169
Level control system21, 99
inactive99t
License plate lamps
bulb replacement156t
Liftgate, refer to tailgate40
Light switch101
Lighter118
LIGHTS ON warning101
LIMIT91
Load-securing devices126
Louvers104, 107
Low beams101
bulb replacement151t
Low-fuel warning lamp81
Lug bolts158
Lug wrench157t
Luggage
compartment38, 42, 123
capacity171
manual operation38t
Luggage compartment
lid38
electrical malfunction38
emergency release from
luggage compartment's
interior41 opening from the
outside39
opening separately38
remote control35
secure separately38
Luggage compartment's
interior, emergency
release41
Luggage net42
Luggage straps42
Lumbar support50
M
M+S tires136
Maintenance82, 144t
Malfunction displays83t
Manual operation
doors33
fuel filler door24
luggage compartment
lid38
sliding/tilt sunroof47
tailgate39
Manual transmission69
Manually controlled
recirculated-air110
Manually-adjusted seat50
Master key32
Maximum cooling110
Memory settings
Page 180 of 186
Everything from A to Zfor seat, mirror and
steering wheel54
related to individuals ("Key
Memory")64
related to the vehicle
("Vehicle Memory")64
Microfilter106, 112
MID (Multi-Information
Display)87
Mirrors57
adjusting57
defrosting57
memory setting54
Modifications,
technical10, 145
Monitoring inflation
pressure, tires99
Moonroof47
Multifunction buttons,
steering wheel22
Multi-Information Display
(MID)87 N
Non-smoker's
equipment118 O
OBD interface socket146
Odometer16, 80
Oil additives140 Oil change interval, refer to
the Service and Warranty
Information Booklet (US
models) or to the Warranty
and Service Guide Booklet
(Canadian models)
Oil consumption140
Oil dipstick140t
Oil level, indicator lamp20
Oil pressure, indicator
lamp19
Oil specifications141t
Oil viscosity141
Oils, disposal141t
OILSERVICE82
Old batteries160
Onboard computer, refer to
the "Owner's Manual for
Onboard Computer"
Onboard Diagnostic (OBD)
system146
Onboard tool kit150t
Opening and closing
from the inside37
from the outside33
using the key33
using the remote
control33
Opening the rear
window40 Operating range86
Outlets,
ventilation104, 107
Outside temperature
display80, 86
P
Park Distance Control
(PDC)96
Parked-car ventilation
system112
for additional information
refer to the "Owner's
Manual for Onboard
Computer"
Parking aid96
Parking brake20, 68
Parking lamps101
bulb replacement152t
Partition net123
Passenger-side mirror tilt
function55
PDC (Park Distance
Control)96
Pocket light116 Pollen filter106, 112
Power windows45
safety switch45
Power-slip control, refer to
ASC+T/DSC97
Q
Quality Grades, tires134 R
Rain sensor76
RDC (Tire Pressure
Monitor)99
Reading lamps103
Rear ashtray118
Rear window40
defroster105, 110
sun blinds112
wiper77
Rear window cleaning77
Rear-seat backrest
folding119
remove119
Rearview mirror57
Recirculated-air mode105
Reclining seat48
Refueling24
Releasing hood137
Page 181 of 186
Everything from A to Z
181n
OverviewControlsMaintenanceRepairsDataIndex
Reminder signal (Memo)89
Remote control34
computer95
Removable rear-seat
backrest119
Remove condensation from
windows106, 109
Replacing
fuses160t
lamps and bulbs151t
wiper blades150t
Reporting safety defects11
Reservoir, washer
system139t
Residual heat111
Rims135
Roller sun blind112
Roll-up cover123
Roof load capacity171
Roof-mounted luggage
rack127 S
Safety belts53
Safety defects, reporting11
Safety lock buttons37
Seat belts53
Seats electric power50
manually-adjusted50
memory setting54
Secure the load126
Securing cargo42, 126
Selector lever, automatic
transmission70, 73
Service and Warranty
Information Booklet (US
models)144
Service Interval
Display82, 144
Shiftlock70, 73
Shoulder support51
Side airbags58
Side Impact Head Protection
System58
Side lamps
bulb replacement152t
Side turn signal
bulb replacement153t
Ski bag120
Ski bag in the sport
wagon122
Sliding/tilt sunroof46
manual operation47
with glass moonroof47
Snow chains136 Socket for attaching
electrical appliances118
Spare tire157t
Speaker117
Special characteristics of
winter tires136
Special oil141t
Speed94
Speed limit91
Speed, average86, 94
Speedometer15, 16, 17
sport wagon
anchorages126
compartments in the
luggage
compartment124
cover in the luggage
compartment124
folding down the rear
backrest123
LATCH child-restraint
system64
load-securing
devices126
luggage
compartment123
opening the rear
window40
partition net123 rear window wiper, blade
replacement150t
releasing the tailgate after
an electrical
malfunction39
roll-up cover123
securing a load126
ski bag122
tail lamp assembly, bulb
replacement154t
transporting children
safely64
Standing lamps102
Starting assistance162t
Starting problems67t
Starting the engine67
Steering wheel
heating56
lock66
memory setting54
Steering wheel with
multifunction buttons22
Steptronic73
Stopwatch89
for additional information
refer to the "Owner's
Manual for Onboard
Computer"
Storage compartments116
in the cargo area124