cooling BMW M6 CONVERTIBLE 2013 F12 Owner's Manual
[x] Cancel search | Manufacturer: BMW, Model Year: 2013, Model line: M6 CONVERTIBLE, Model: BMW M6 CONVERTIBLE 2013 F12Pages: 222, PDF Size: 7.3 MB
Page 57 of 222
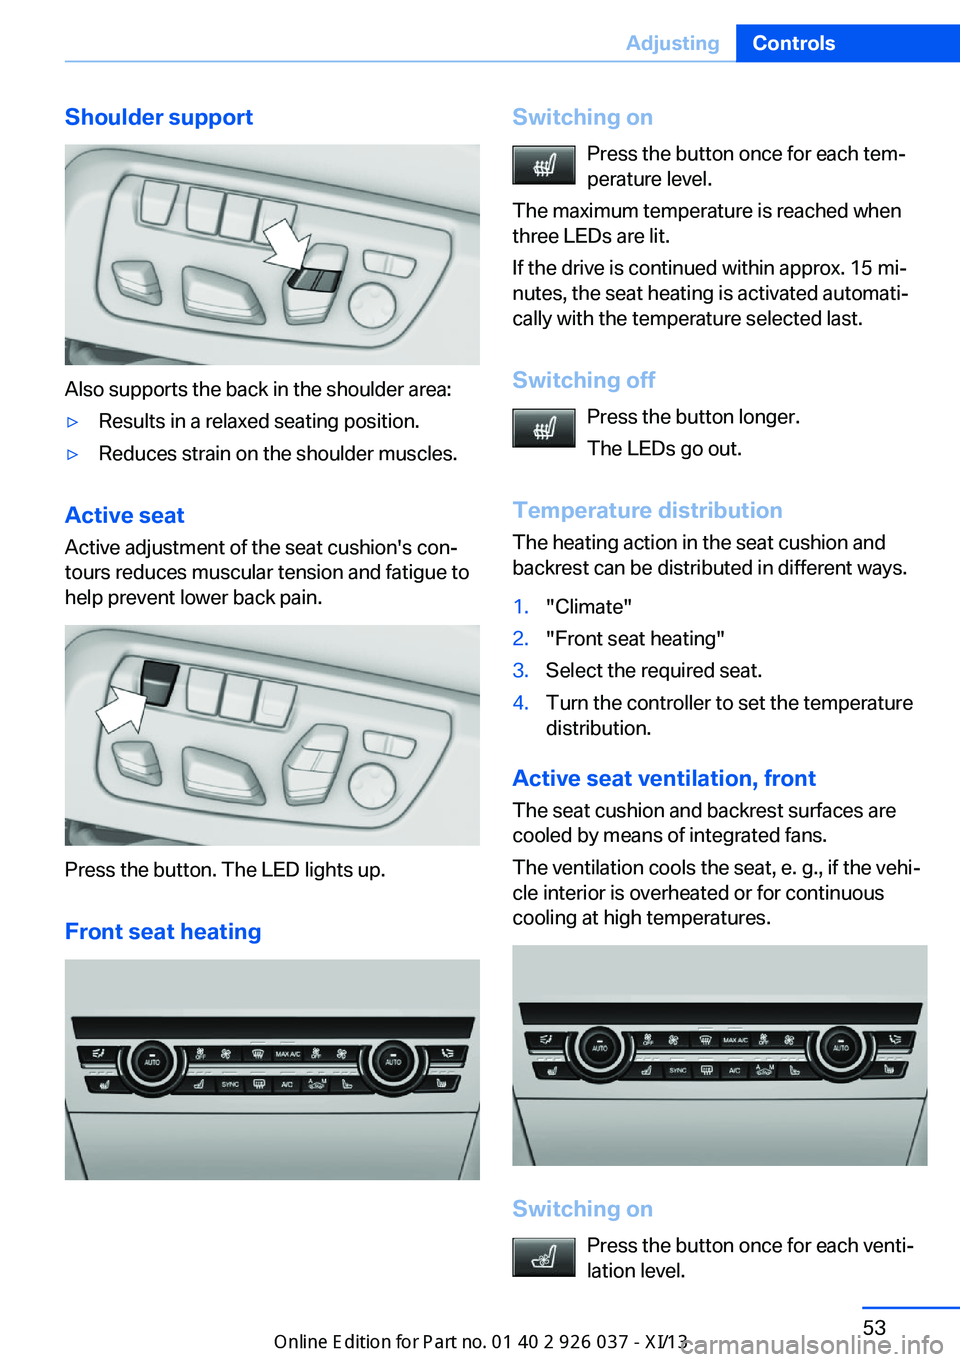
Shoulder support
Also supports the back in the shoulder area:
▷Results in a relaxed seating position.▷Reduces strain on the shoulder muscles.
Active seatActive adjustment of the seat cushion's con‐
tours reduces muscular tension and fatigue to
help prevent lower back pain.
Press the button. The LED lights up.
Front seat heating
Switching on Press the button once for each tem‐
perature level.
The maximum temperature is reached when
three LEDs are lit.
If the drive is continued within approx. 15 mi‐
nutes, the seat heating is activated automati‐
cally with the temperature selected last.
Switching off Press the button longer.
The LEDs go out.
Temperature distribution
The heating action in the seat cushion and
backrest can be distributed in different ways.1."Climate"2."Front seat heating"3.Select the required seat.4.Turn the controller to set the temperature
distribution.
Active seat ventilation, front
The seat cushion and backrest surfaces are
cooled by means of integrated fans.
The ventilation cools the seat, e. g., if the vehi‐
cle interior is overheated or for continuous
cooling at high temperatures.
Switching on
Press the button once for each venti‐
lation level.
Seite 53AdjustingControls53
Online Edition for Part no. 01 40 2 910 746 - VI/13
Page 58 of 222
The highest level is active when three LEDs
are lit.
After a short time, the system automatically
moves down one level in order to prevent ex‐
cessive cooling.
Switching off Press the button longer.
The LEDs go out.
Safety belts
Seats with safety belt The vehicle has four seats, each of which is
equipped with a safety belt.
Hints
Always make sure that safety belts are being
worn by all occupants before driving away.
Although airbags enhance safety by providing
added protection, they are not a substitute for
safety belts.
One person per safety belt
Never allow more than one person to
wear a single safety belt. Never allow infants or
small children to ride on a passenger's lap.◀
Putting on the belt
Lay the belt, without twisting, snugly
across the lap and shoulders, as close to the
body as possible. Make sure that the belt lies
low around the hips in the lap area and does
not press on the abdomen. Otherwise, the belt
can slip over the hips in the lap area in a frontal
impact and injure the abdomen.
The safety belt must not lie across the neck,
rub on sharp edges, be routed over solid or
breakable objects, or be pinched.◀Reduction of restraining effect
Avoid wearing clothing that prevents the
belt from fitting properly, and pull the shoulder
belt periodically to readjust the tension across
your lap; otherwise, the retention effect of the
safety belt may be reduced.◀
Buckling the belt
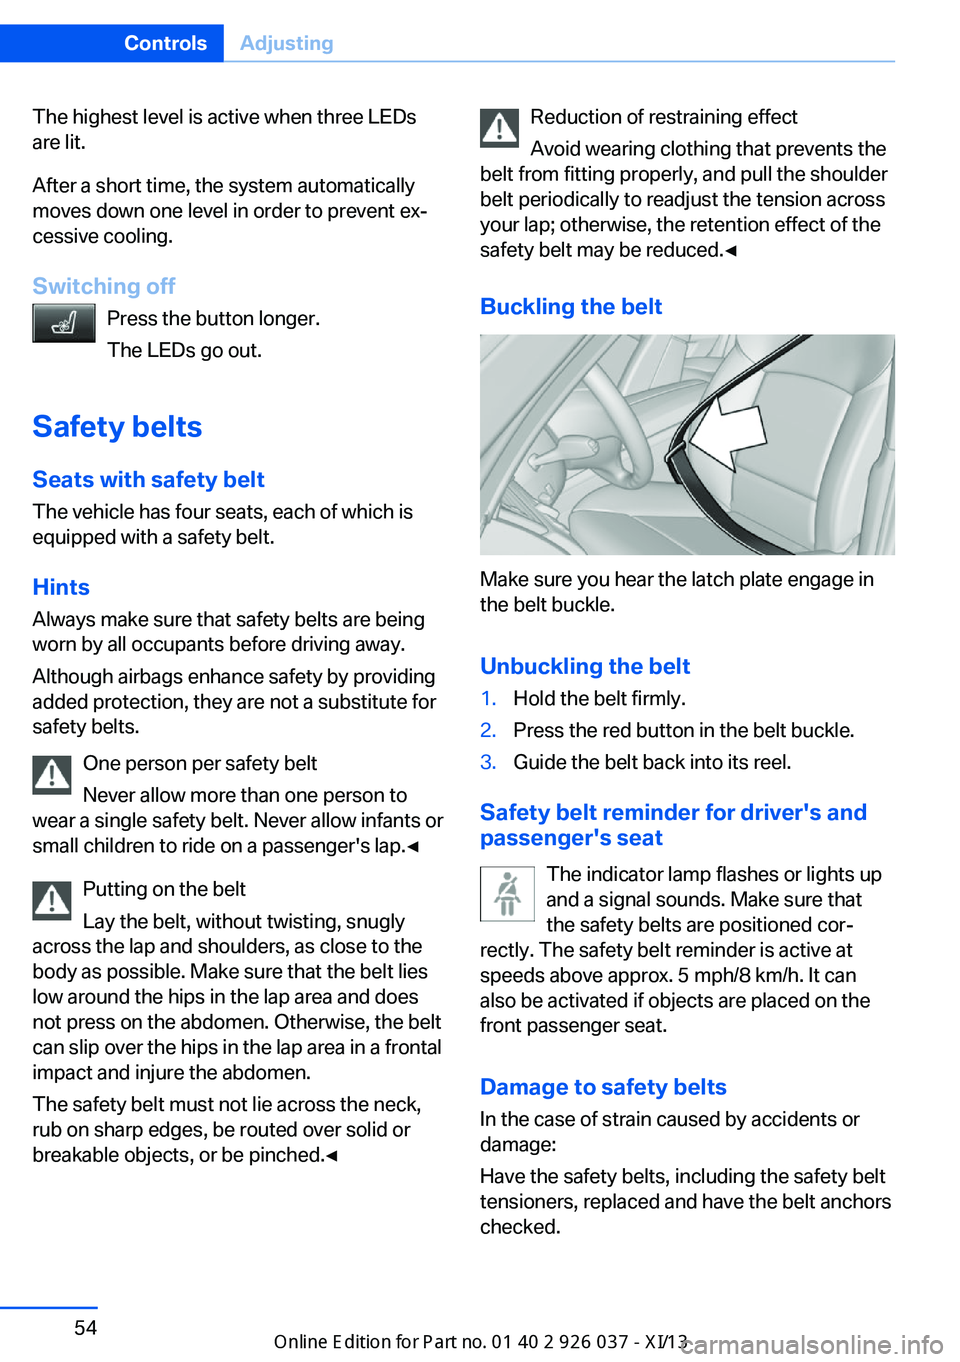
Make sure you hear the latch plate engage in
the belt buckle.
Unbuckling the belt
1.Hold the belt firmly.2.Press the red button in the belt buckle.3.Guide the belt back into its reel.
Safety belt reminder for driver's and
passenger's seat
The indicator lamp flashes or lights up
and a signal sounds. Make sure that
the safety belts are positioned cor‐
rectly. The safety belt reminder is active at
speeds above approx. 5 mph/8 km/h. It can
also be activated if objects are placed on the
front passenger seat.
Damage to safety belts In the case of strain caused by accidents or
damage:
Have the safety belts, including the safety belt
tensioners, replaced and have the belt anchors checked.
Seite 54ControlsAdjusting54
Online Edition for Part no. 01 40 2 910 746 - VI/13
Page 71 of 222
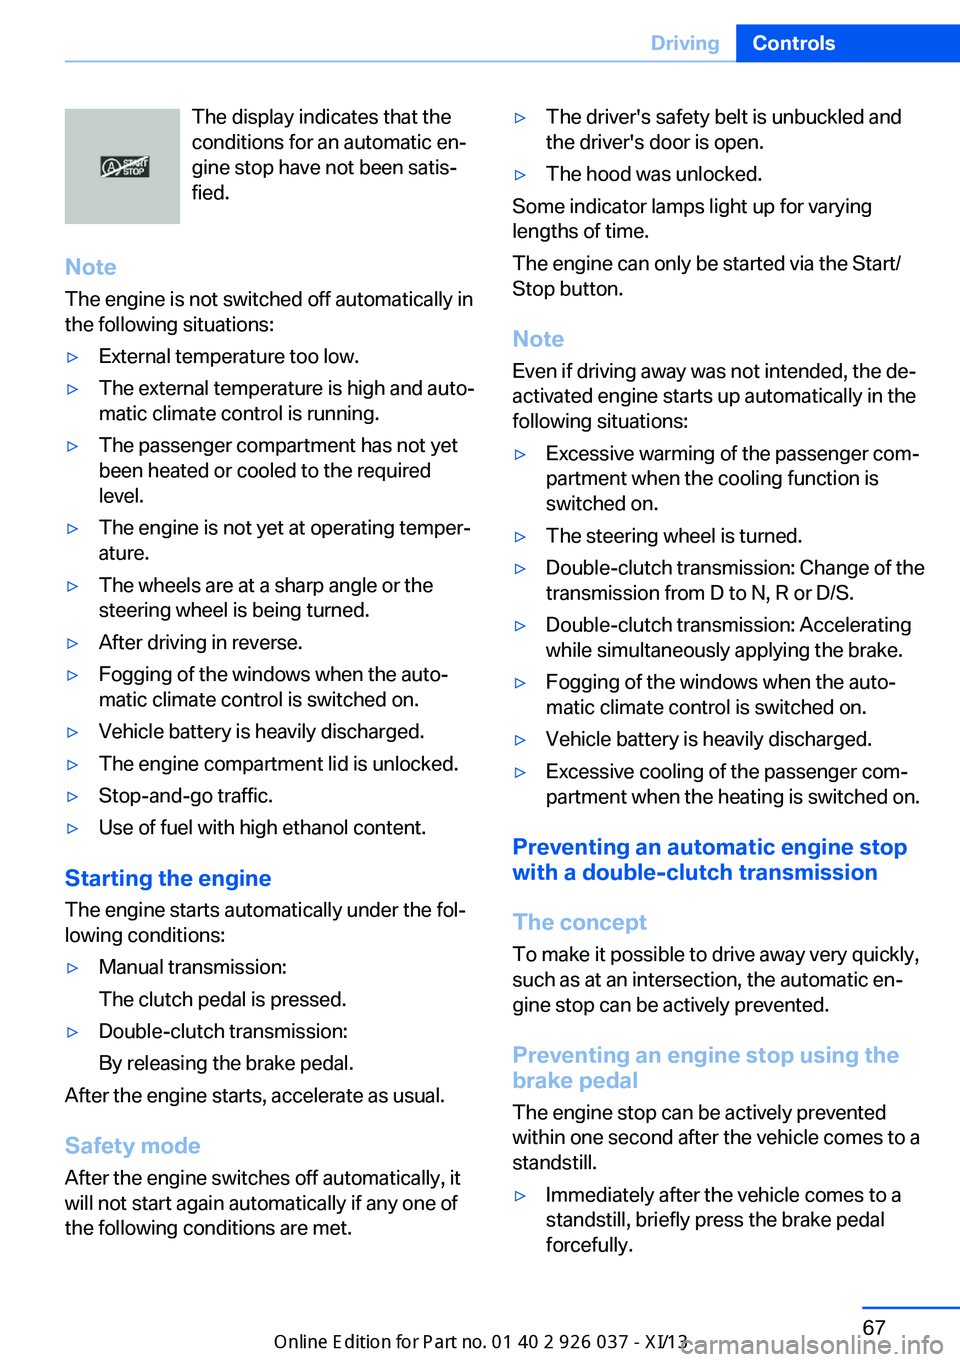
The display indicates that the
conditions for an automatic en‐
gine stop have not been satis‐
fied.
Note
The engine is not switched off automatically in
the following situations:▷External temperature too low.▷The external temperature is high and auto‐
matic climate control is running.▷The passenger compartment has not yet
been heated or cooled to the required
level.▷The engine is not yet at operating temper‐
ature.▷The wheels are at a sharp angle or the
steering wheel is being turned.▷After driving in reverse.▷Fogging of the windows when the auto‐
matic climate control is switched on.▷Vehicle battery is heavily discharged.▷The engine compartment lid is unlocked.▷Stop-and-go traffic.▷Use of fuel with high ethanol content.
Starting the engine
The engine starts automatically under the fol‐
lowing conditions:
▷Manual transmission:
The clutch pedal is pressed.▷Double-clutch transmission:
By releasing the brake pedal.
After the engine starts, accelerate as usual.
Safety mode
After the engine switches off automatically, it
will not start again automatically if any one of
the following conditions are met.
▷The driver's safety belt is unbuckled and
the driver's door is open.▷The hood was unlocked.
Some indicator lamps light up for varying
lengths of time.
The engine can only be started via the Start/
Stop button.
Note Even if driving away was not intended, the de‐
activated engine starts up automatically in the
following situations:
▷Excessive warming of the passenger com‐
partment when the cooling function is
switched on.▷The steering wheel is turned.▷Double-clutch transmission: Change of the
transmission from D to N, R or D/S.▷Double-clutch transmission: Accelerating
while simultaneously applying the brake.▷Fogging of the windows when the auto‐
matic climate control is switched on.▷Vehicle battery is heavily discharged.▷Excessive cooling of the passenger com‐
partment when the heating is switched on.
Preventing an automatic engine stop with a double-clutch transmission
The concept To make it possible to drive away very quickly,
such as at an intersection, the automatic en‐
gine stop can be actively prevented.
Preventing an engine stop using the
brake pedal
The engine stop can be actively prevented
within one second after the vehicle comes to a
standstill.
▷Immediately after the vehicle comes to a
standstill, briefly press the brake pedal
forcefully.Seite 67DrivingControls67
Online Edition for Part no. 01 40 2 910 746 - VI/13
Page 140 of 222
Climate controlVehicle equipment
All standard, country-specific and optional
equipment that is offered in the model series is
described in this chapter. Therefore, equip‐ment is also described that is not available in a
vehicle, e. g., because of the selected optional
equipment or country variant. This also applies
for safety-related functions and systems.
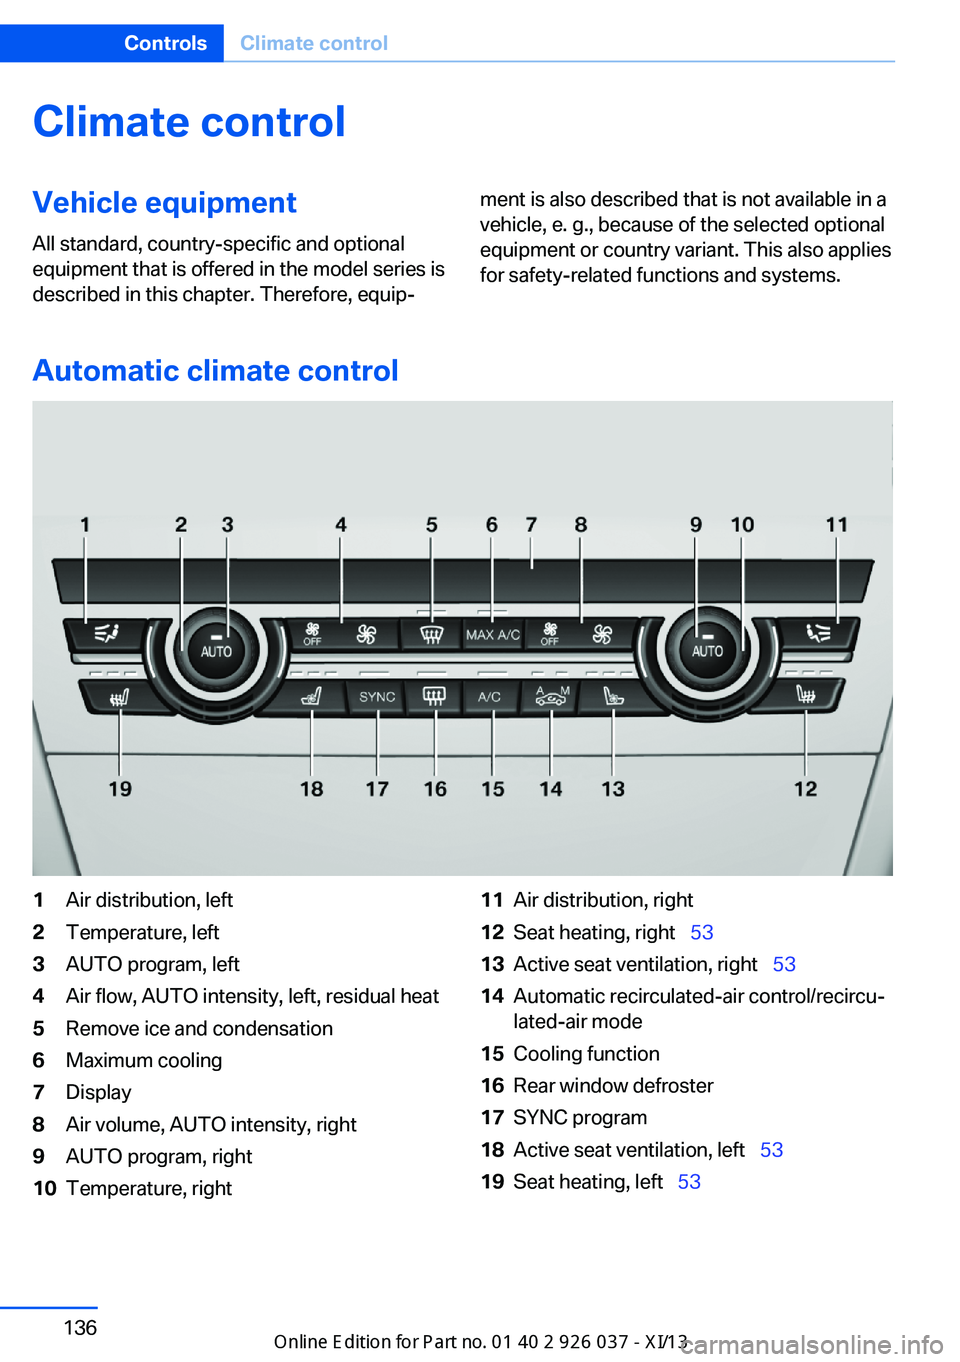
Automatic climate control
1Air distribution, left2Temperature, left3AUTO program, left4Air flow, AUTO intensity, left, residual heat5Remove ice and condensation6Maximum cooling7Display8Air volume, AUTO intensity, right9AUTO program, right10Temperature, right11Air distribution, right12Seat heating, right 5313Active seat ventilation, right 5314Automatic recirculated-air control/recircu‐
lated-air mode15Cooling function16Rear window defroster17SYNC program18Active seat ventilation, left 5319Seat heating, left 53Seite 136ControlsClimate control136
Online Edition for Part no. 01 40 2 910 746 - VI/13
Page 141 of 222
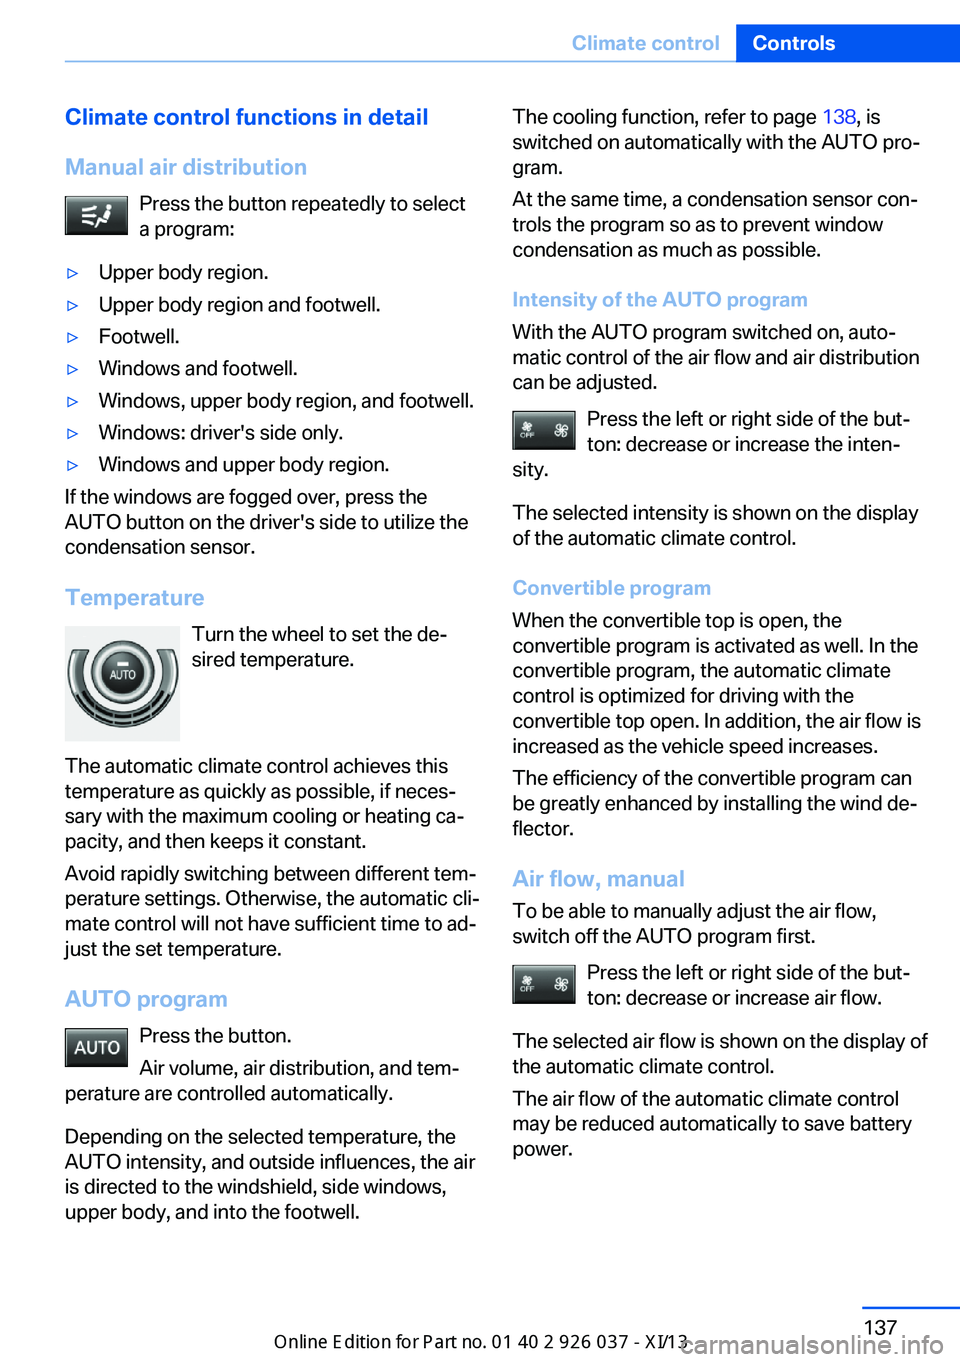
Climate control functions in detail
Manual air distribution Press the button repeatedly to select
a program:▷Upper body region.▷Upper body region and footwell.▷Footwell.▷Windows and footwell.▷Windows, upper body region, and footwell.▷Windows: driver's side only.▷Windows and upper body region.
If the windows are fogged over, press the
AUTO button on the driver's side to utilize the
condensation sensor.
Temperature Turn the wheel to set the de‐sired temperature.
The automatic climate control achieves this
temperature as quickly as possible, if neces‐
sary with the maximum cooling or heating ca‐
pacity, and then keeps it constant.
Avoid rapidly switching between different tem‐
perature settings. Otherwise, the automatic cli‐
mate control will not have sufficient time to ad‐
just the set temperature.
AUTO program Press the button.
Air volume, air distribution, and tem‐
perature are controlled automatically.
Depending on the selected temperature, the
AUTO intensity, and outside influences, the air
is directed to the windshield, side windows, upper body, and into the footwell.
The cooling function, refer to page 138, is
switched on automatically with the AUTO pro‐
gram.
At the same time, a condensation sensor con‐
trols the program so as to prevent window
condensation as much as possible.
Intensity of the AUTO program
With the AUTO program switched on, auto‐
matic control of the air flow and air distribution
can be adjusted.
Press the left or right side of the but‐
ton: decrease or increase the inten‐
sity.
The selected intensity is shown on the display
of the automatic climate control.
Convertible program
When the convertible top is open, the
convertible program is activated as well. In the
convertible program, the automatic climate
control is optimized for driving with the
convertible top open. In addition, the air flow is
increased as the vehicle speed increases.
The efficiency of the convertible program can
be greatly enhanced by installing the wind de‐
flector.
Air flow, manual
To be able to manually adjust the air flow,
switch off the AUTO program first.
Press the left or right side of the but‐
ton: decrease or increase air flow.
The selected air flow is shown on the display of
the automatic climate control.
The air flow of the automatic climate control
may be reduced automatically to save battery
power.Seite 137Climate controlControls137
Online Edition for Part no. 01 40 2 910 746 - VI/13
Page 142 of 222
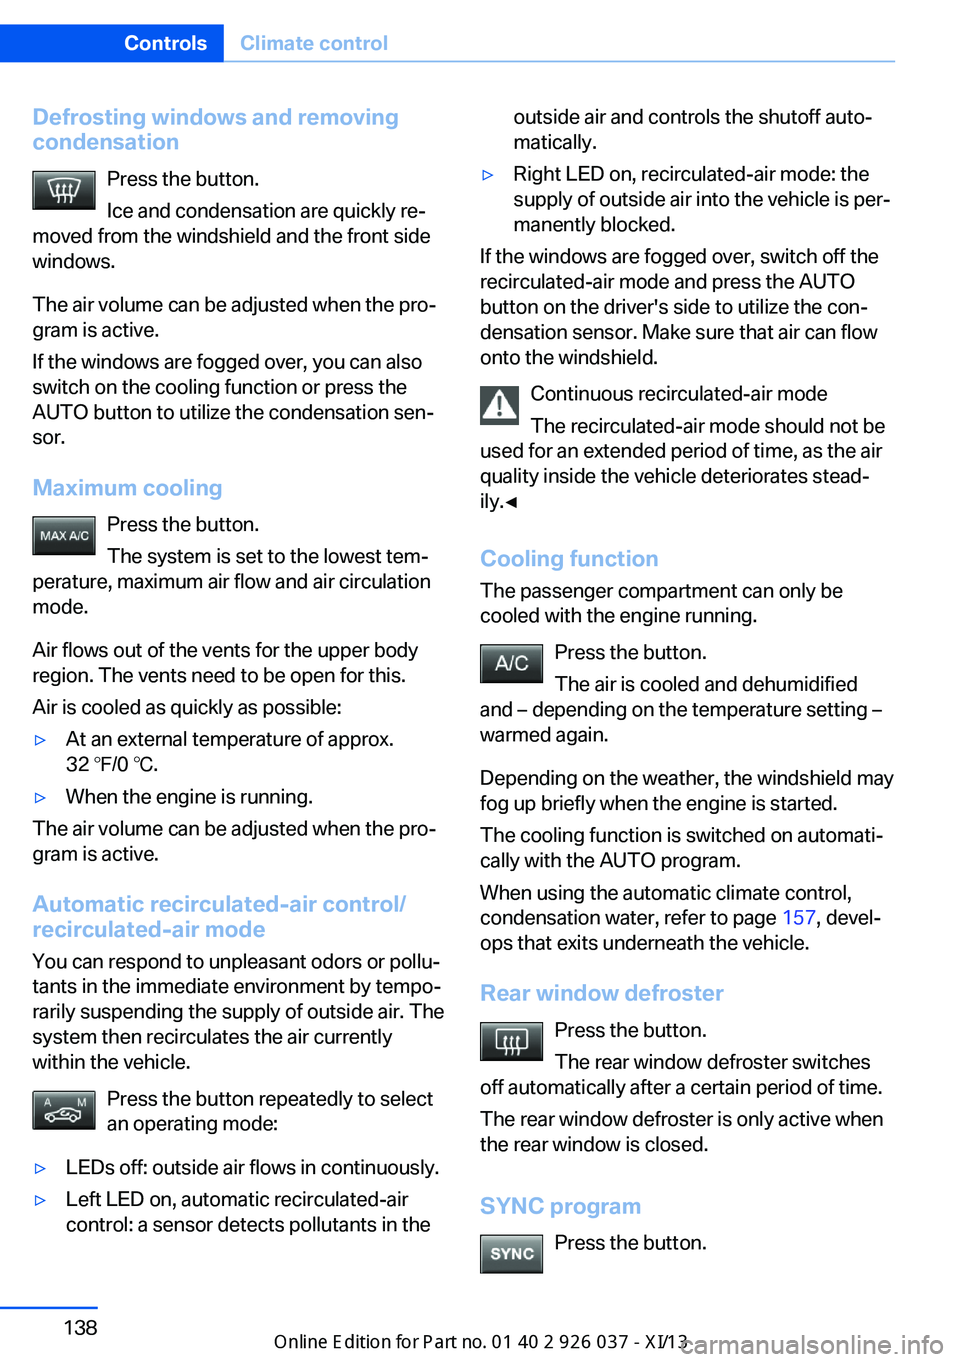
Defrosting windows and removing
condensation
Press the button.
Ice and condensation are quickly re‐
moved from the windshield and the front side
windows.
The air volume can be adjusted when the pro‐
gram is active.
If the windows are fogged over, you can also
switch on the cooling function or press the AUTO button to utilize the condensation sen‐
sor.
Maximum cooling Press the button.
The system is set to the lowest tem‐
perature, maximum air flow and air circulation
mode.
Air flows out of the vents for the upper body
region. The vents need to be open for this.
Air is cooled as quickly as possible:▷At an external temperature of approx.
32 ℉/0 ℃.▷When the engine is running.
The air volume can be adjusted when the pro‐
gram is active.
Automatic recirculated-air control/recirculated-air mode
You can respond to unpleasant odors or pollu‐
tants in the immediate environment by tempo‐
rarily suspending the supply of outside air. The
system then recirculates the air currently
within the vehicle.
Press the button repeatedly to select
an operating mode:
▷LEDs off: outside air flows in continuously.▷Left LED on, automatic recirculated-air
control: a sensor detects pollutants in theoutside air and controls the shutoff auto‐
matically.▷Right LED on, recirculated-air mode: the
supply of outside air into the vehicle is per‐
manently blocked.
If the windows are fogged over, switch off the
recirculated-air mode and press the AUTO
button on the driver's side to utilize the con‐
densation sensor. Make sure that air can flow
onto the windshield.
Continuous recirculated-air mode
The recirculated-air mode should not be
used for an extended period of time, as the air
quality inside the vehicle deteriorates stead‐
ily.◀
Cooling function The passenger compartment can only be
cooled with the engine running.
Press the button.
The air is cooled and dehumidified
and – depending on the temperature setting –
warmed again.
Depending on the weather, the windshield may
fog up briefly when the engine is started.
The cooling function is switched on automati‐
cally with the AUTO program.
When using the automatic climate control,
condensation water, refer to page 157, devel‐
ops that exits underneath the vehicle.
Rear window defroster Press the button.
The rear window defroster switches
off automatically after a certain period of time.
The rear window defroster is only active when
the rear window is closed.
SYNC program Press the button.
Seite 138ControlsClimate control138
Online Edition for Part no. 01 40 2 910 746 - VI/13
Page 144 of 222
▷Thumbwheels for opening and closing the
vents continuously, arrows 3.
Adjusting the ventilation
▷Ventilation for cooling:
Adjust the vent to direct the air in your di‐
rection, e.g., if the vehicle interior is hot
from the sun.▷Draft-free ventilation:
Adjust the vent to let the air flow past you.
Parked-car ventilation
The concept The parked-car ventilation ventilates the vehi‐
cle interior and lowers its temperature, if nec‐
essary.
The switch-on time is automatically deter‐
mined based on the temperature. The system
promptly switches on before the selected de‐
parture time.
The system can be switched on and off di‐
rectly or by using two preset switch-on times.
It remains switched on for 30 minutes.
The system can be switched on and off di‐
rectly or by using two preset departure times.
Operation can be performed via iDrive.
Functional requirements
Parked-car ventilation
▷Using the preset departure time or when
operated directly: any external tempera‐
ture.
Open the vents to allow air to flow out.
Switching on/off directly
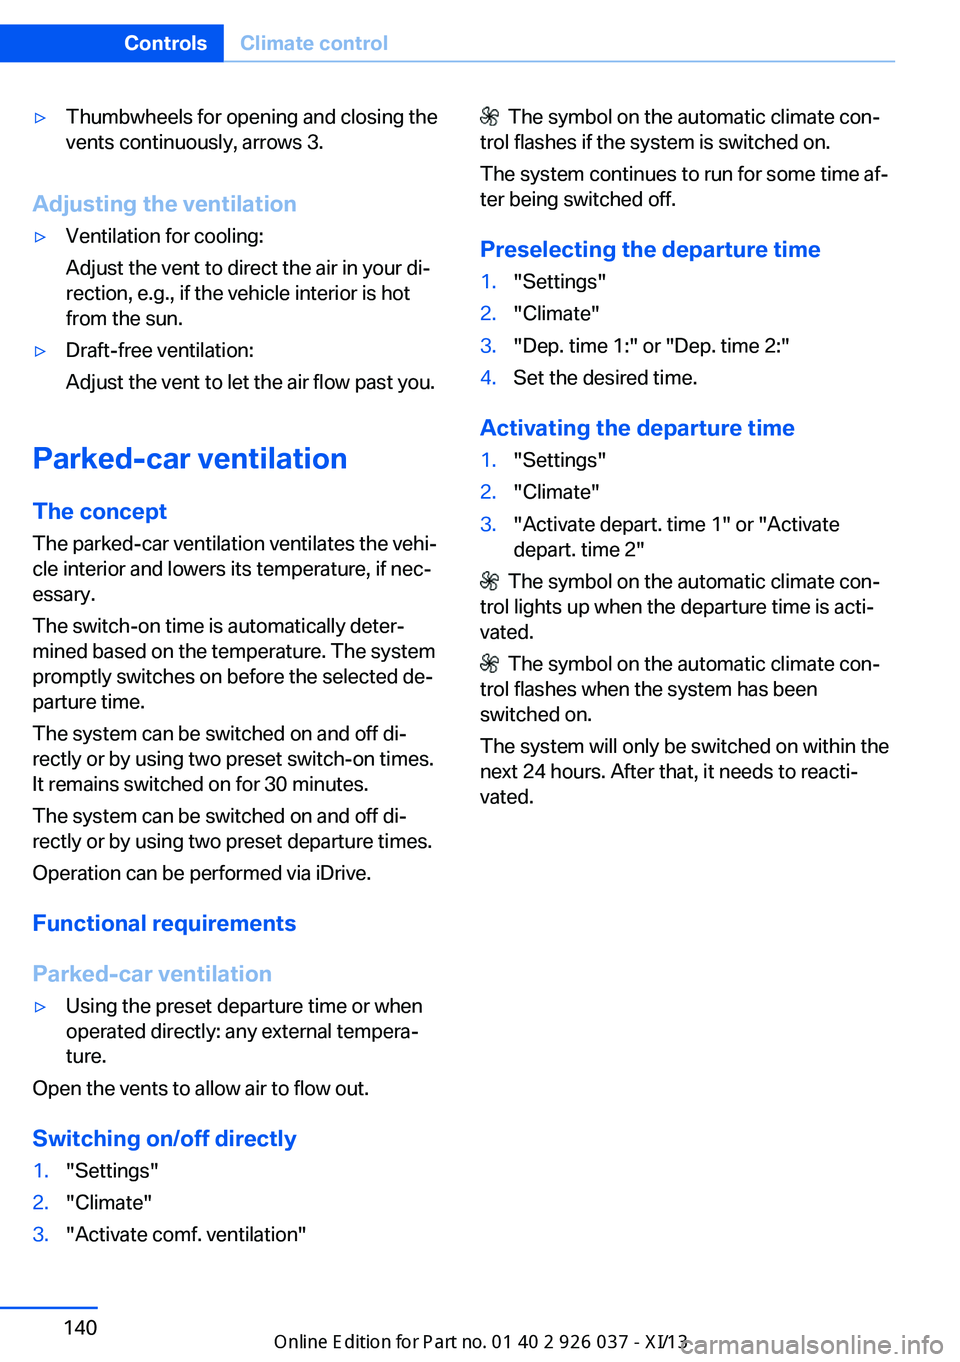
1."Settings"2."Climate"3."Activate comf. ventilation" The symbol on the automatic climate con‐
trol flashes if the system is switched on.
The system continues to run for some time af‐
ter being switched off.
Preselecting the departure time1."Settings"2."Climate"3."Dep. time 1:" or "Dep. time 2:"4.Set the desired time.
Activating the departure time
1."Settings"2."Climate"3."Activate depart. time 1" or "Activate
depart. time 2"
The symbol on the automatic climate con‐
trol lights up when the departure time is acti‐
vated.
The symbol on the automatic climate con‐
trol flashes when the system has been
switched on.
The system will only be switched on within the
next 24 hours. After that, it needs to reacti‐
vated.
Seite 140ControlsClimate control140
Online Edition for Part no. 01 40 2 910 746 - VI/13
Page 185 of 222
CoolantVehicle equipmentAll standard, country-specific and optional
equipment that is offered in the model series is
described in this chapter. Therefore, equip‐
ment is also described that is not available in a
vehicle, e. g., because of the selected optional
equipment or country variant. This also applies
for safety-related functions and systems.
General information Danger of burns from hot engine
Do not open the cooling system while
the engine is hot; otherwise, escaping coolant may cause burns.◀
Suitable additives
Only use suitable additives; otherwise,
engine damage may occur. The additives are
harmful to your health.◀
Coolant consists of water and additives.
Not all commercially available additives are
suitable for your vehicle. Ask your service cen‐
ter for suitable additives.
Coolant level
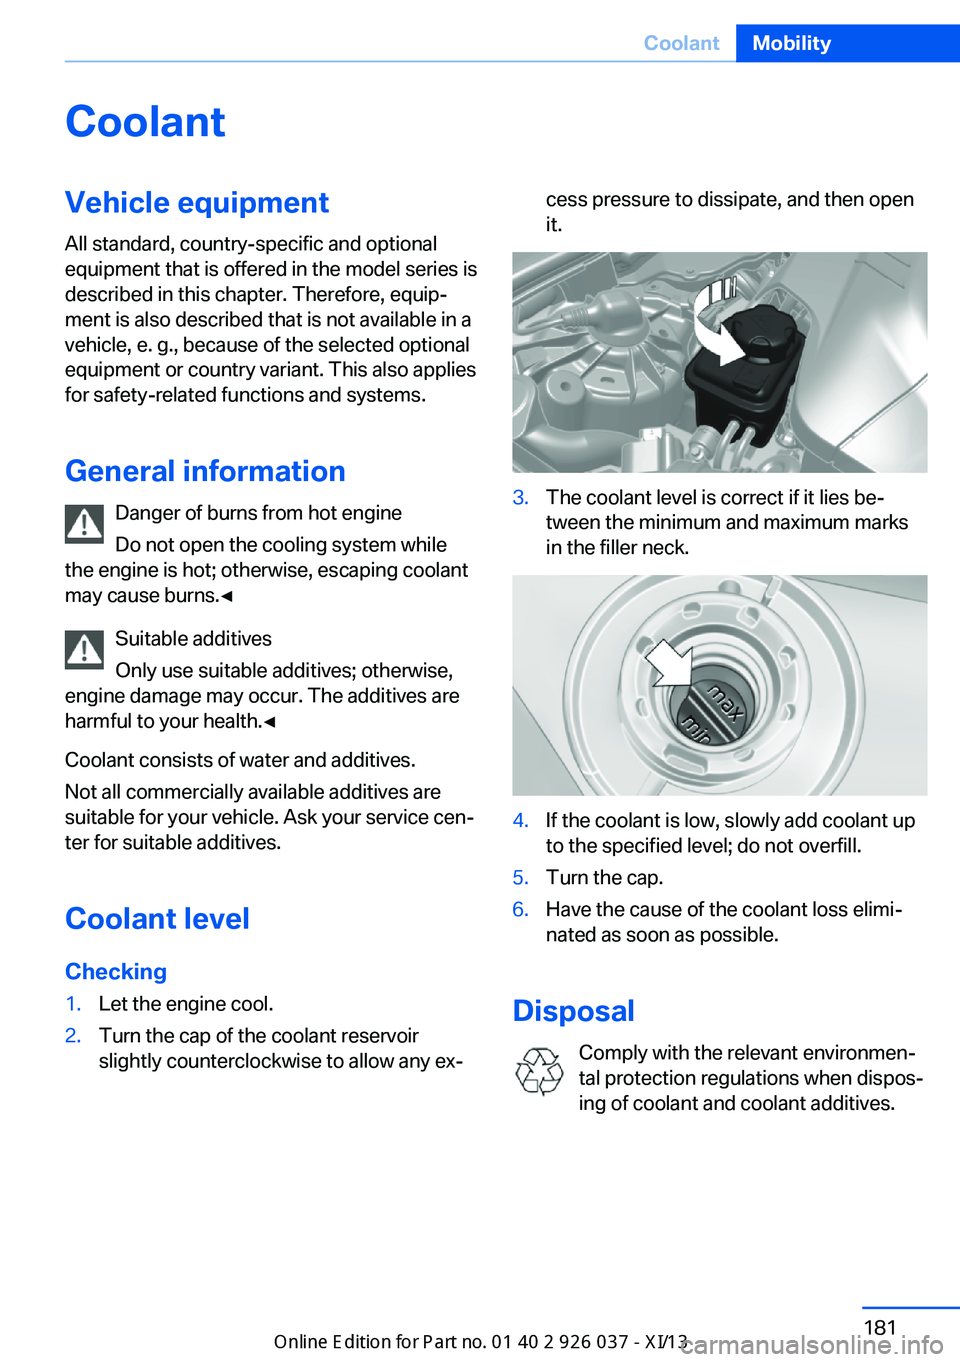
Checking1.Let the engine cool.2.Turn the cap of the coolant reservoir
slightly counterclockwise to allow any ex‐cess pressure to dissipate, and then open
it.3.The coolant level is correct if it lies be‐
tween the minimum and maximum marks
in the filler neck.4.If the coolant is low, slowly add coolant up
to the specified level; do not overfill.5.Turn the cap.6.Have the cause of the coolant loss elimi‐
nated as soon as possible.
Disposal
Comply with the relevant environmen‐
tal protection regulations when dispos‐
ing of coolant and coolant additives.
Seite 181CoolantMobility181
Online Edition for Part no. 01 40 2 910 746 - VI/13
Page 212 of 222
Everything from A to Z
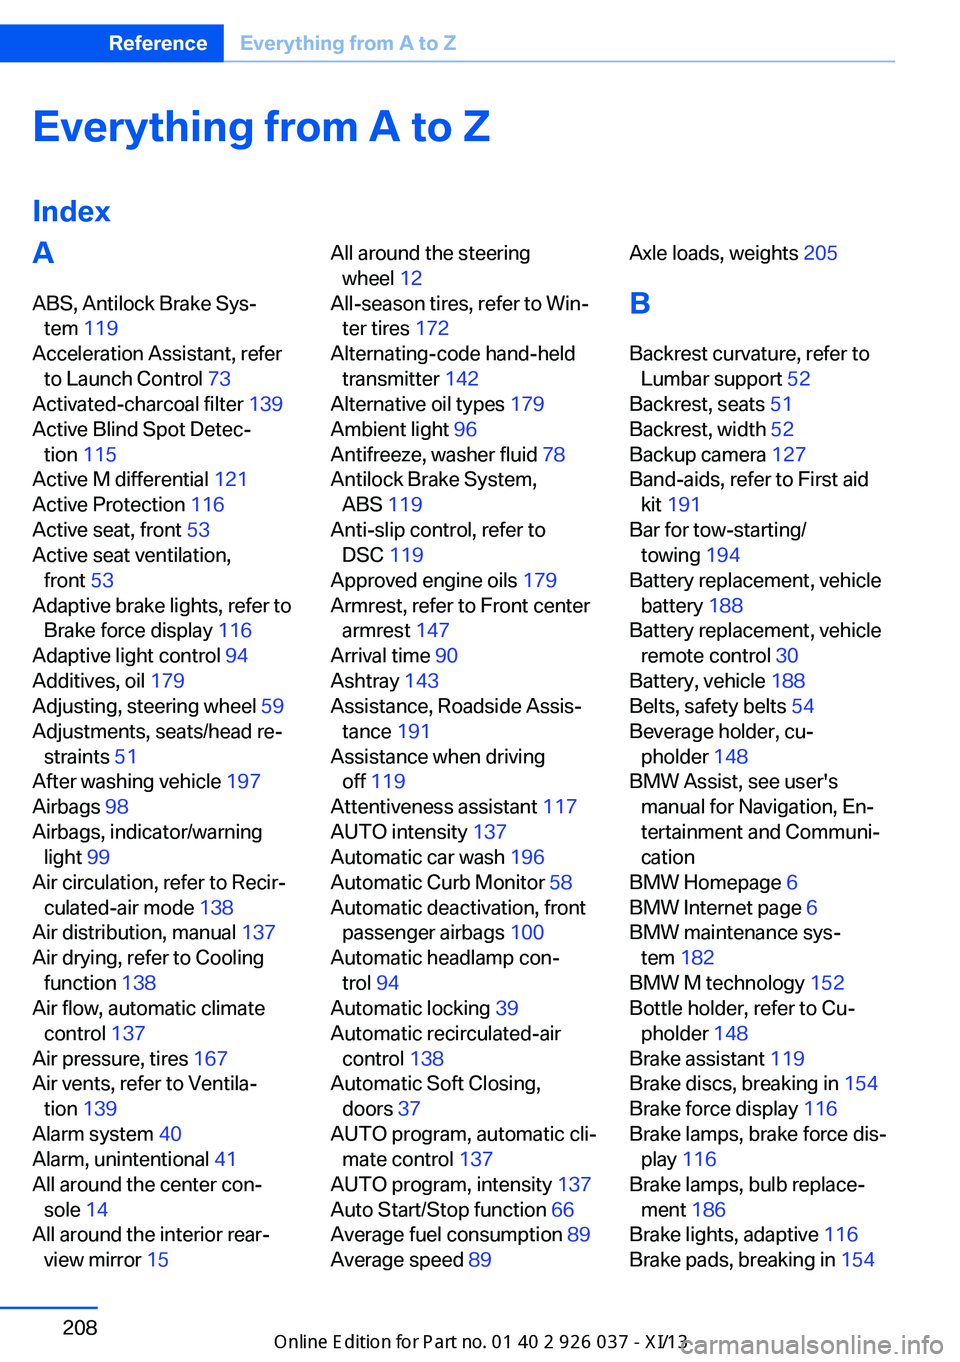
IndexA ABS, Antilock Brake Sys‐ tem 119
Acceleration Assistant, refer to Launch Control 73
Activated-charcoal filter 139
Active Blind Spot Detec‐ tion 115
Active M differential 121
Active Protection 116
Active seat, front 53
Active seat ventilation, front 53
Adaptive brake lights, refer to Brake force display 116
Adaptive light control 94
Additives, oil 179
Adjusting, steering wheel 59
Adjustments, seats/head re‐ straints 51
After washing vehicle 197
Airbags 98
Airbags, indicator/warning light 99
Air circulation, refer to Recir‐ culated-air mode 138
Air distribution, manual 137
Air drying, refer to Cooling function 138
Air flow, automatic climate control 137
Air pressure, tires 167
Air vents, refer to Ventila‐ tion 139
Alarm system 40
Alarm, unintentional 41
All around the center con‐ sole 14
All around the interior rear‐ view mirror 15 All around the steering
wheel 12
All-season tires, refer to Win‐ ter tires 172
Alternating-code hand-held transmitter 142
Alternative oil types 179
Ambient light 96
Antifreeze, washer fluid 78
Antilock Brake System, ABS 119
Anti-slip control, refer to DSC 119
Approved engine oils 179
Armrest, refer to Front center armrest 147
Arrival time 90
Ashtray 143
Assistance, Roadside Assis‐ tance 191
Assistance when driving off 119
Attentiveness assistant 117
AUTO intensity 137
Automatic car wash 196
Automatic Curb Monitor 58
Automatic deactivation, front passenger airbags 100
Automatic headlamp con‐ trol 94
Automatic locking 39
Automatic recirculated-air control 138
Automatic Soft Closing, doors 37
AUTO program, automatic cli‐ mate control 137
AUTO program, intensity 137
Auto Start/Stop function 66
Average fuel consumption 89
Average speed 89 Axle loads, weights 205
B Backrest curvature, refer to Lumbar support 52
Backrest, seats 51
Backrest, width 52
Backup camera 127
Band-aids, refer to First aid kit 191
Bar for tow-starting/ towing 194
Battery replacement, vehicle battery 188
Battery replacement, vehicle remote control 30
Battery, vehicle 188
Belts, safety belts 54
Beverage holder, cu‐ pholder 148
BMW Assist, see user's manual for Navigation, En‐
tertainment and Communi‐
cation
BMW Homepage 6
BMW Internet page 6
BMW maintenance sys‐ tem 182
BMW M technology 152
Bottle holder, refer to Cu‐ pholder 148
Brake assistant 119
Brake discs, breaking in 154
Brake force display 116
Brake lamps, brake force dis‐ play 116
Brake lamps, bulb replace‐ ment 186
Brake lights, adaptive 116
Brake pads, breaking in 154 Seite 208ReferenceEverything from A to Z208
Online Edition for Part no. 01 40 2 910 746 - VI/13
Page 214 of 222
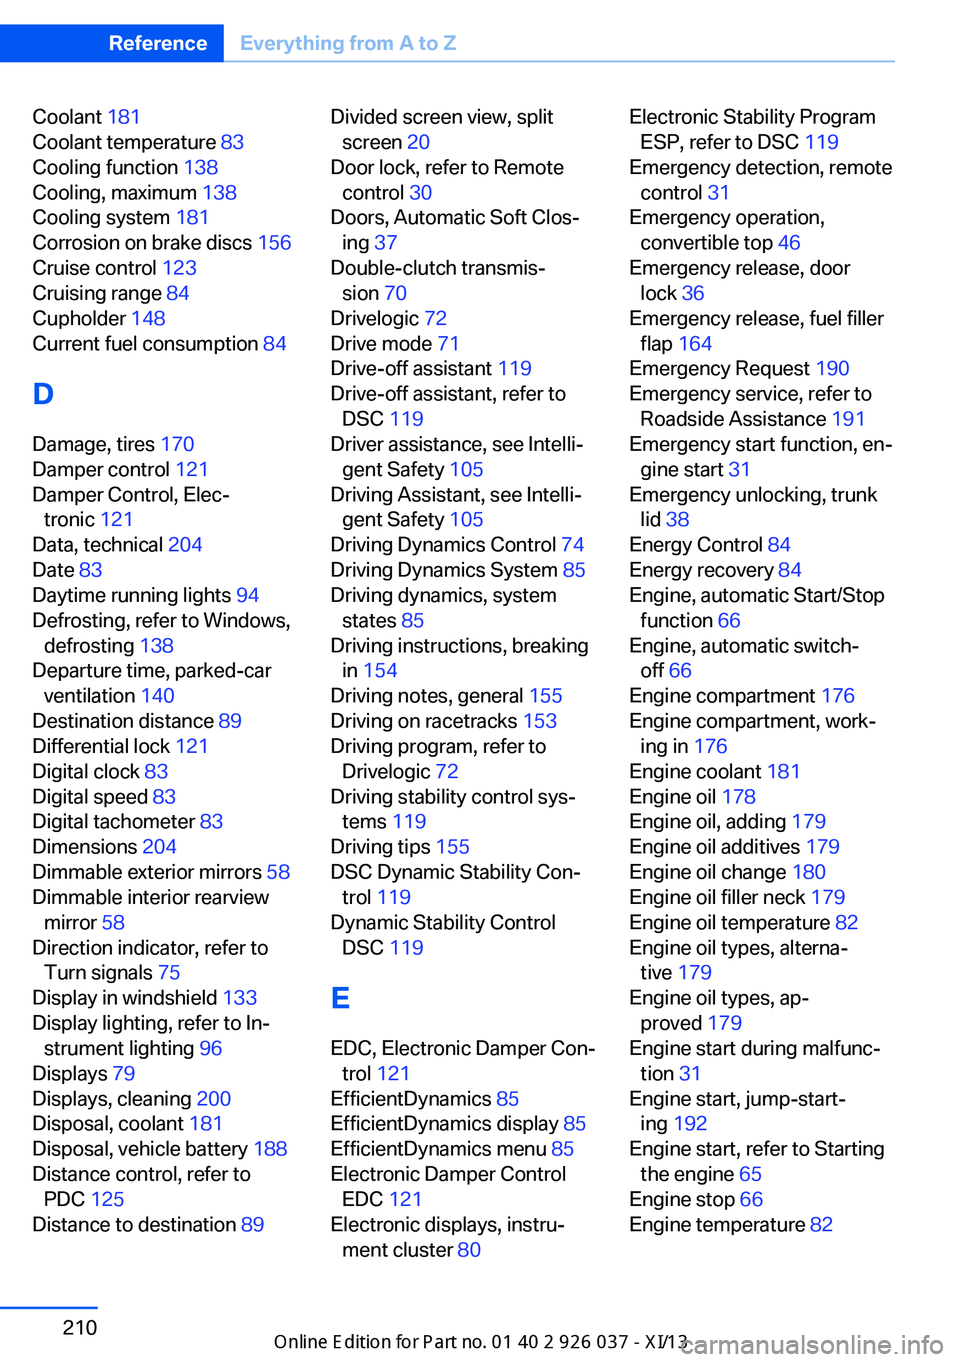
Coolant 181
Coolant temperature 83
Cooling function 138
Cooling, maximum 138
Cooling system 181
Corrosion on brake discs 156
Cruise control 123
Cruising range 84
Cupholder 148
Current fuel consumption 84
D
Damage, tires 170
Damper control 121
Damper Control, Elec‐ tronic 121
Data, technical 204
Date 83
Daytime running lights 94
Defrosting, refer to Windows, defrosting 138
Departure time, parked-car ventilation 140
Destination distance 89
Differential lock 121
Digital clock 83
Digital speed 83
Digital tachometer 83
Dimensions 204
Dimmable exterior mirrors 58
Dimmable interior rearview mirror 58
Direction indicator, refer to Turn signals 75
Display in windshield 133
Display lighting, refer to In‐ strument lighting 96
Displays 79
Displays, cleaning 200
Disposal, coolant 181
Disposal, vehicle battery 188
Distance control, refer to PDC 125
Distance to destination 89 Divided screen view, split
screen 20
Door lock, refer to Remote control 30
Doors, Automatic Soft Clos‐ ing 37
Double-clutch transmis‐ sion 70
Drivelogic 72
Drive mode 71
Drive-off assistant 119
Drive-off assistant, refer to DSC 119
Driver assistance, see Intelli‐ gent Safety 105
Driving Assistant, see Intelli‐ gent Safety 105
Driving Dynamics Control 74
Driving Dynamics System 85
Driving dynamics, system states 85
Driving instructions, breaking in 154
Driving notes, general 155
Driving on racetracks 153
Driving program, refer to Drivelogic 72
Driving stability control sys‐ tems 119
Driving tips 155
DSC Dynamic Stability Con‐ trol 119
Dynamic Stability Control DSC 119
E EDC, Electronic Damper Con‐ trol 121
EfficientDynamics 85
EfficientDynamics display 85
EfficientDynamics menu 85
Electronic Damper Control EDC 121
Electronic displays, instru‐ ment cluster 80 Electronic Stability Program
ESP, refer to DSC 119
Emergency detection, remote control 31
Emergency operation, convertible top 46
Emergency release, door lock 36
Emergency release, fuel filler flap 164
Emergency Request 190
Emergency service, refer to Roadside Assistance 191
Emergency start function, en‐ gine start 31
Emergency unlocking, trunk lid 38
Energy Control 84
Energy recovery 84
Engine, automatic Start/Stop function 66
Engine, automatic switch- off 66
Engine compartment 176
Engine compartment, work‐ ing in 176
Engine coolant 181
Engine oil 178
Engine oil, adding 179
Engine oil additives 179
Engine oil change 180
Engine oil filler neck 179
Engine oil temperature 82
Engine oil types, alterna‐ tive 179
Engine oil types, ap‐ proved 179
Engine start during malfunc‐ tion 31
Engine start, jump-start‐ ing 192
Engine start, refer to Starting the engine 65
Engine stop 66
Engine temperature 82 Seite 210ReferenceEverything from A to Z210
Online Edition for Part no. 01 40 2 910 746 - VI/13