key BMW M6 GRAN COUPE 2015 F06M Owner's Manual
[x] Cancel search | Manufacturer: BMW, Model Year: 2015, Model line: M6 GRAN COUPE, Model: BMW M6 GRAN COUPE 2015 F06MPages: 226, PDF Size: 4.76 MB
Page 27 of 226
Additional symbolsSymbolMeaning Spoken instructions are turned off.
Split screen
General information Additional information can be displayed on the
right side of the split screen, e.g., information
from the on-board comupter.
In the divided screen view, the so-called split
screen, this information remains visible even when you change to another menu.
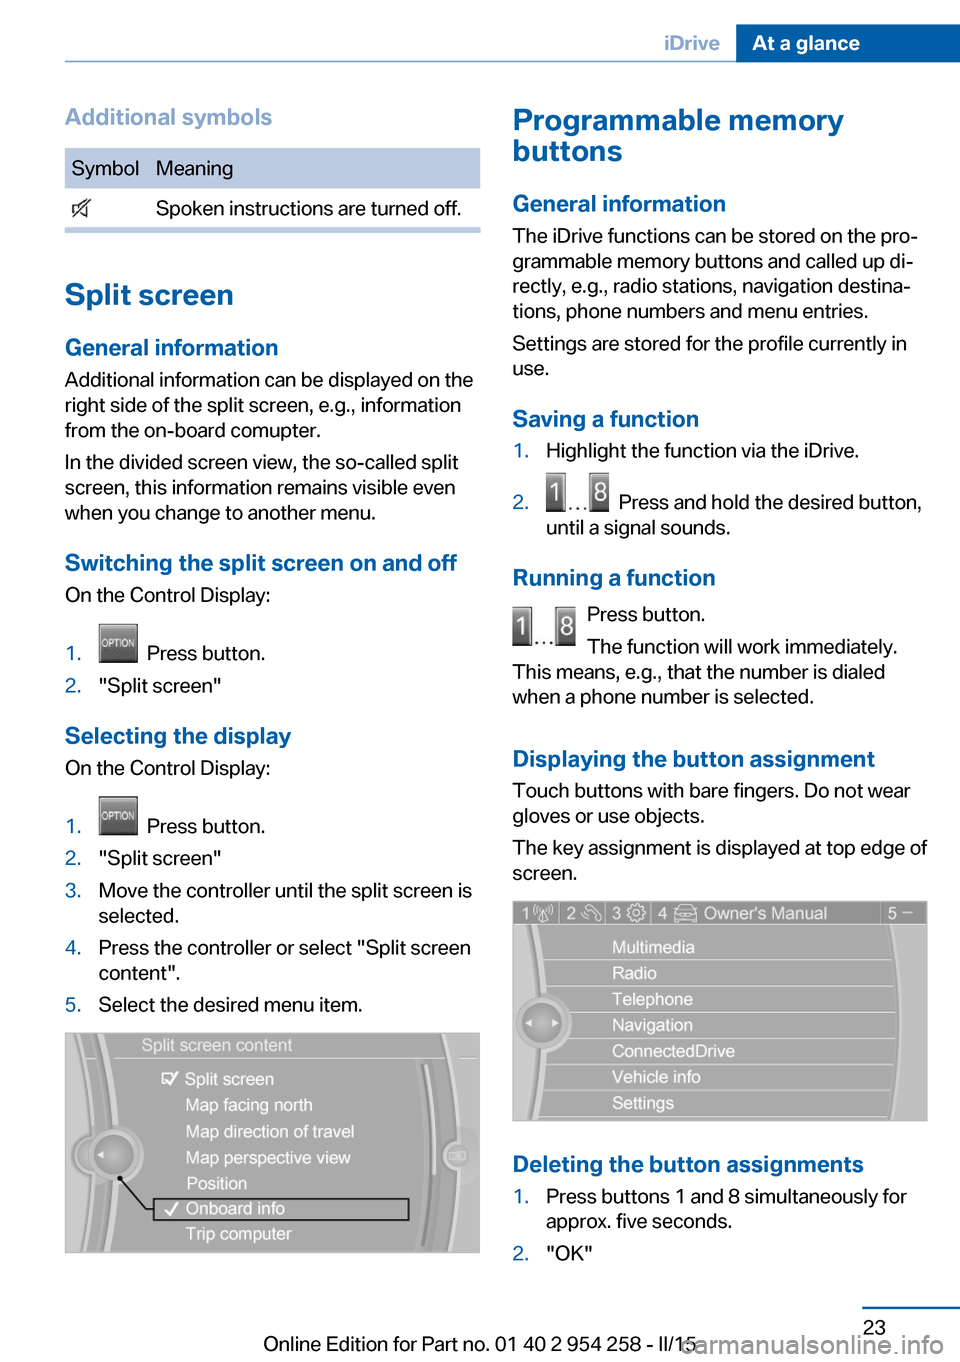
Switching the split screen on and off On the Control Display:
1. Press button.2."Split screen"
Selecting the display
On the Control Display:
1. Press button.2."Split screen"3.Move the controller until the split screen is
selected.4.Press the controller or select "Split screen
content".5.Select the desired menu item.Programmable memory
buttons
General information
The iDrive functions can be stored on the pro‐
grammable memory buttons and called up di‐
rectly, e.g., radio stations, navigation destina‐
tions, phone numbers and menu entries.
Settings are stored for the profile currently in
use.
Saving a function1.Highlight the function via the iDrive.2. Press and hold the desired button,
until a signal sounds.
Running a function
Press button.
The function will work immediately.
This means, e.g., that the number is dialed
when a phone number is selected.
Displaying the button assignment Touch buttons with bare fingers. Do not wear
gloves or use objects.
The key assignment is displayed at top edge of
screen.
Deleting the button assignments
1.Press buttons 1 and 8 simultaneously for
approx. five seconds.2."OK"Seite 23iDriveAt a glance23
Online Edition for Part no. 01 40 2 954 258 - II/15
Page 38 of 226
Opening and closingVehicle features and options
This chapter describes all standard, country-
specific and optional features offered with the
series. It also describes features that are not
necessarily available in your car, e. g., due to
the selected options or country versions. This
also applies to safety-related functions and
systems. The respectively applicable country
provisions must be observed when using the
respective features and systems.
Remote control/key General information
The vehicle is supplied with two remote con‐
trols with integrated key.
Every remote control holds a replaceable bat‐
tery.
You may set the key functions depending on
the optional features and country-specific ver‐
sion. For Settings, refer to page 43.
The vehicle stores personal settings for every
remote control. Personal Profile, refer to
page 35.
The remote controls hold information on re‐
quired maintenance. Service data in the re‐
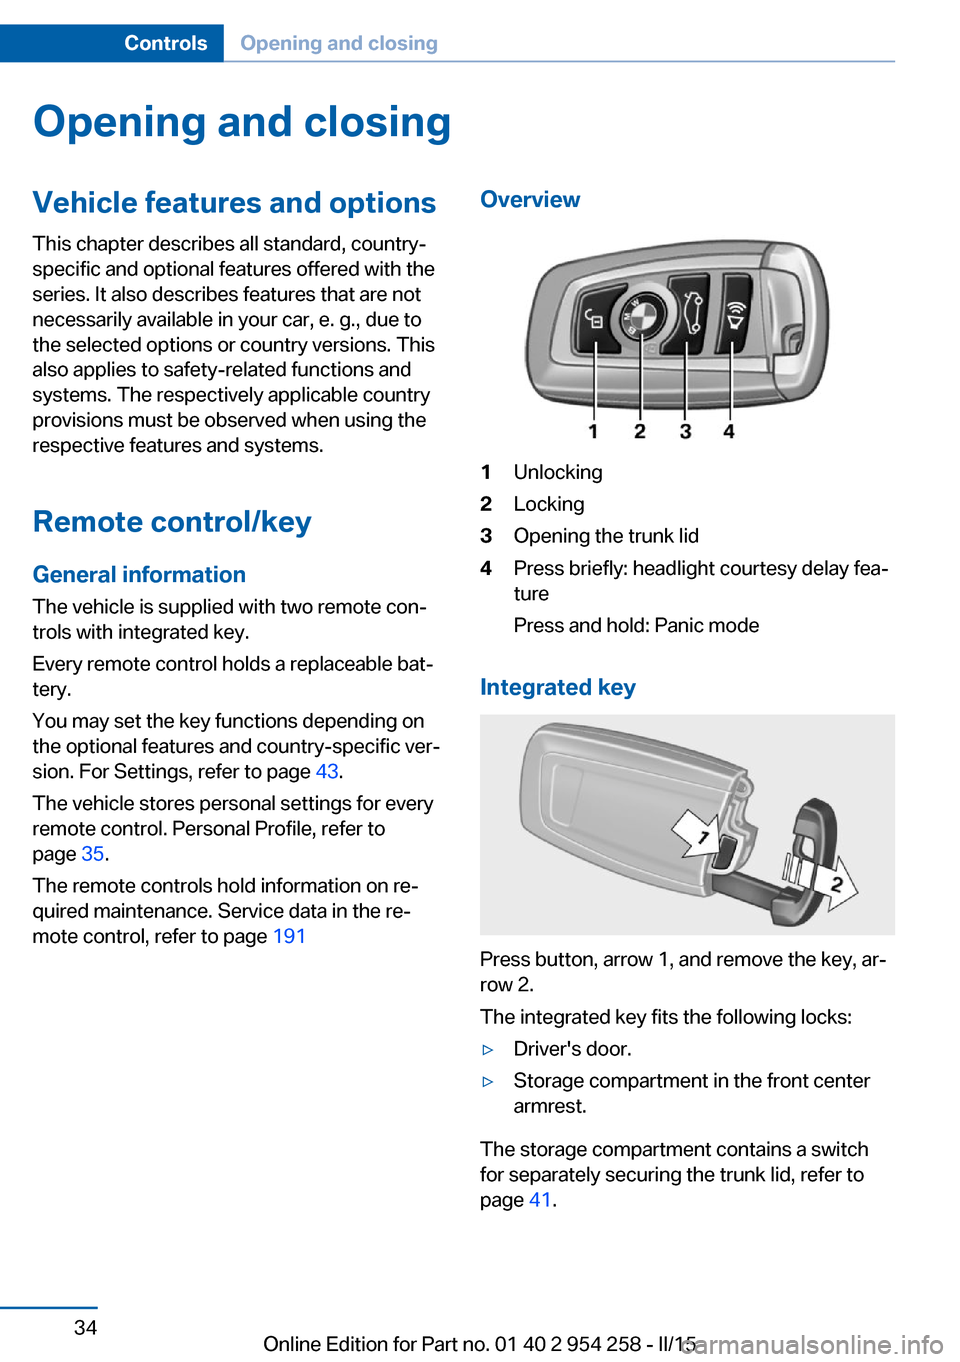
mote control, refer to page 191Overview1Unlocking2Locking3Opening the trunk lid4Press briefly: headlight courtesy delay fea‐
ture
Press and hold: Panic mode
Integrated key
Press button, arrow 1, and remove the key, ar‐
row 2.
The integrated key fits the following locks:
▷Driver's door.▷Storage compartment in the front center
armrest.
The storage compartment contains a switch
for separately securing the trunk lid, refer to
page 41.
Seite 34ControlsOpening and closing34
Online Edition for Part no. 01 40 2 954 258 - II/15
Page 39 of 226
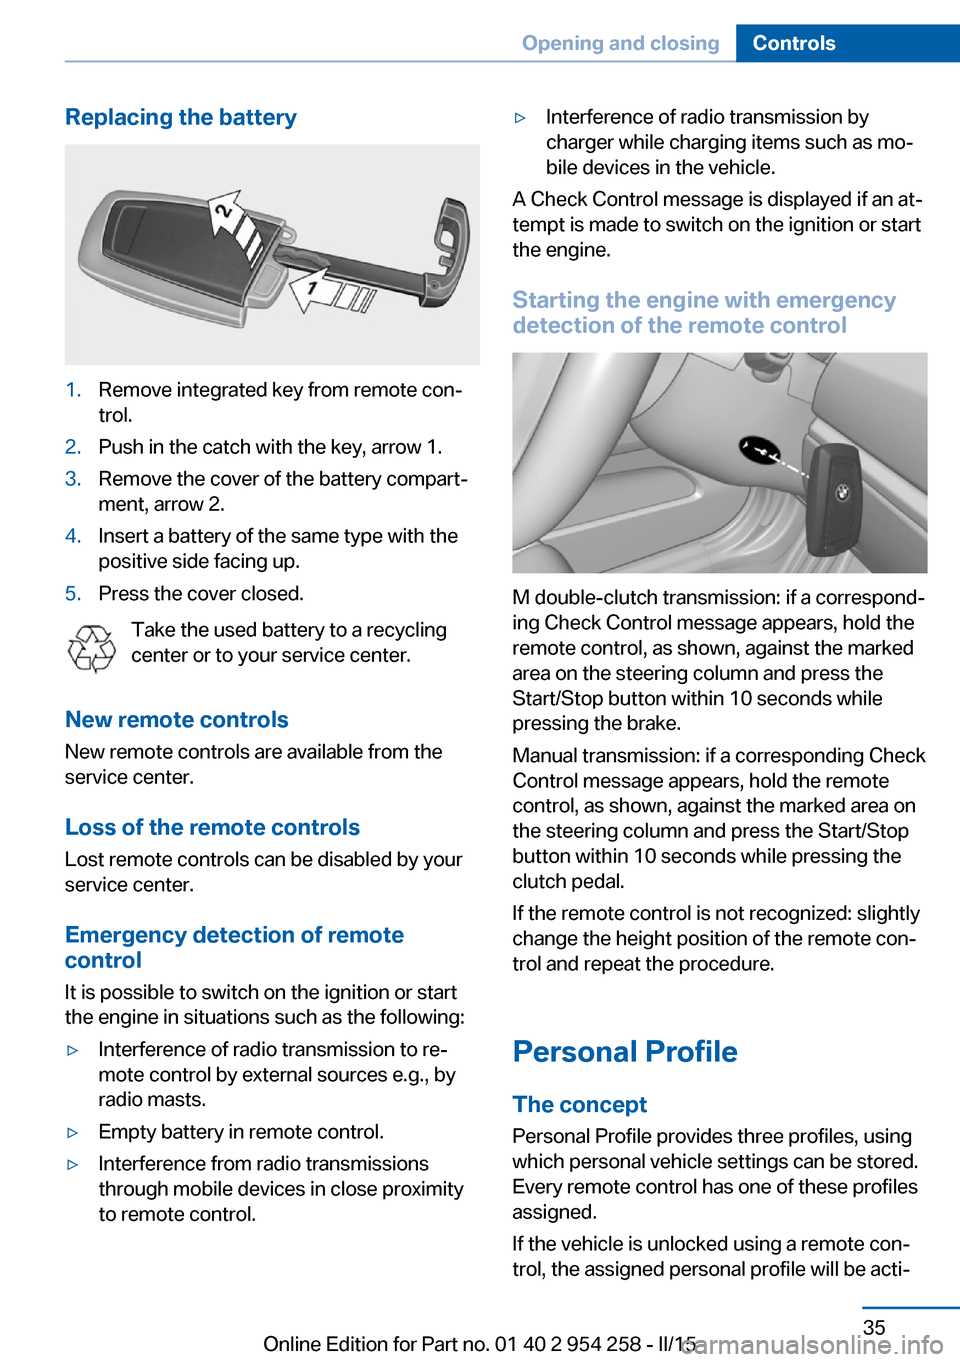
Replacing the battery1.Remove integrated key from remote con‐
trol.2.Push in the catch with the key, arrow 1.3.Remove the cover of the battery compart‐
ment, arrow 2.4.Insert a battery of the same type with the
positive side facing up.5.Press the cover closed.
Take the used battery to a recycling
center or to your service center.
New remote controls New remote controls are available from the
service center.
Loss of the remote controls Lost remote controls can be disabled by your
service center.
Emergency detection of remote
control
It is possible to switch on the ignition or start
the engine in situations such as the following:
▷Interference of radio transmission to re‐
mote control by external sources e.g., by
radio masts.▷Empty battery in remote control.▷Interference from radio transmissions
through mobile devices in close proximity
to remote control.▷Interference of radio transmission by
charger while charging items such as mo‐
bile devices in the vehicle.
A Check Control message is displayed if an at‐
tempt is made to switch on the ignition or start
the engine.
Starting the engine with emergency
detection of the remote control
M double-clutch transmission: if a correspond‐
ing Check Control message appears, hold the
remote control, as shown, against the marked
area on the steering column and press the
Start/Stop button within 10 seconds while
pressing the brake.
Manual transmission: if a corresponding Check
Control message appears, hold the remote
control, as shown, against the marked area on
the steering column and press the Start/Stop
button within 10 seconds while pressing the
clutch pedal.
If the remote control is not recognized: slightly
change the height position of the remote con‐
trol and repeat the procedure.
Personal Profile
The concept Personal Profile provides three profiles, using
which personal vehicle settings can be stored.
Every remote control has one of these profiles
assigned.
If the vehicle is unlocked using a remote con‐
trol, the assigned personal profile will be acti‐
Seite 35Opening and closingControls35
Online Edition for Part no. 01 40 2 954 258 - II/15
Page 43 of 226
Do not transport the remote control together
with metal objects or electronic devices.
In the case of interference, the vehicle can also
be unlocked and locked from the outside with‐
out remote control, refer to page 39.
For US owners only
The transmitter and receiver units comply with
part 15 of the FCC/Federal Communication
Commission regulations. Operation is gov‐
erned by the following:
FCC ID:▷LX8766S.▷LX8766E.▷LX8CAS.▷LX8CAS2.▷MYTCAS4.
Compliance statement:
This device complies with part 15 of the FCC
Rules. Operation is subject to the following
two conditions:
▷This device may not cause harmful inter‐
ference, and▷this device must accept any interference
received, including interference that may
cause undesired operation.
Any unauthorized modifications or changes to
these devices could void the user's authority to
operate this equipment.
Without remote control
From the outside Locking from the outside
Do not lock the vehicle from the outside
with people inside the car, as the vehicle can‐
not be unlocked from inside without special
knowledge.◀
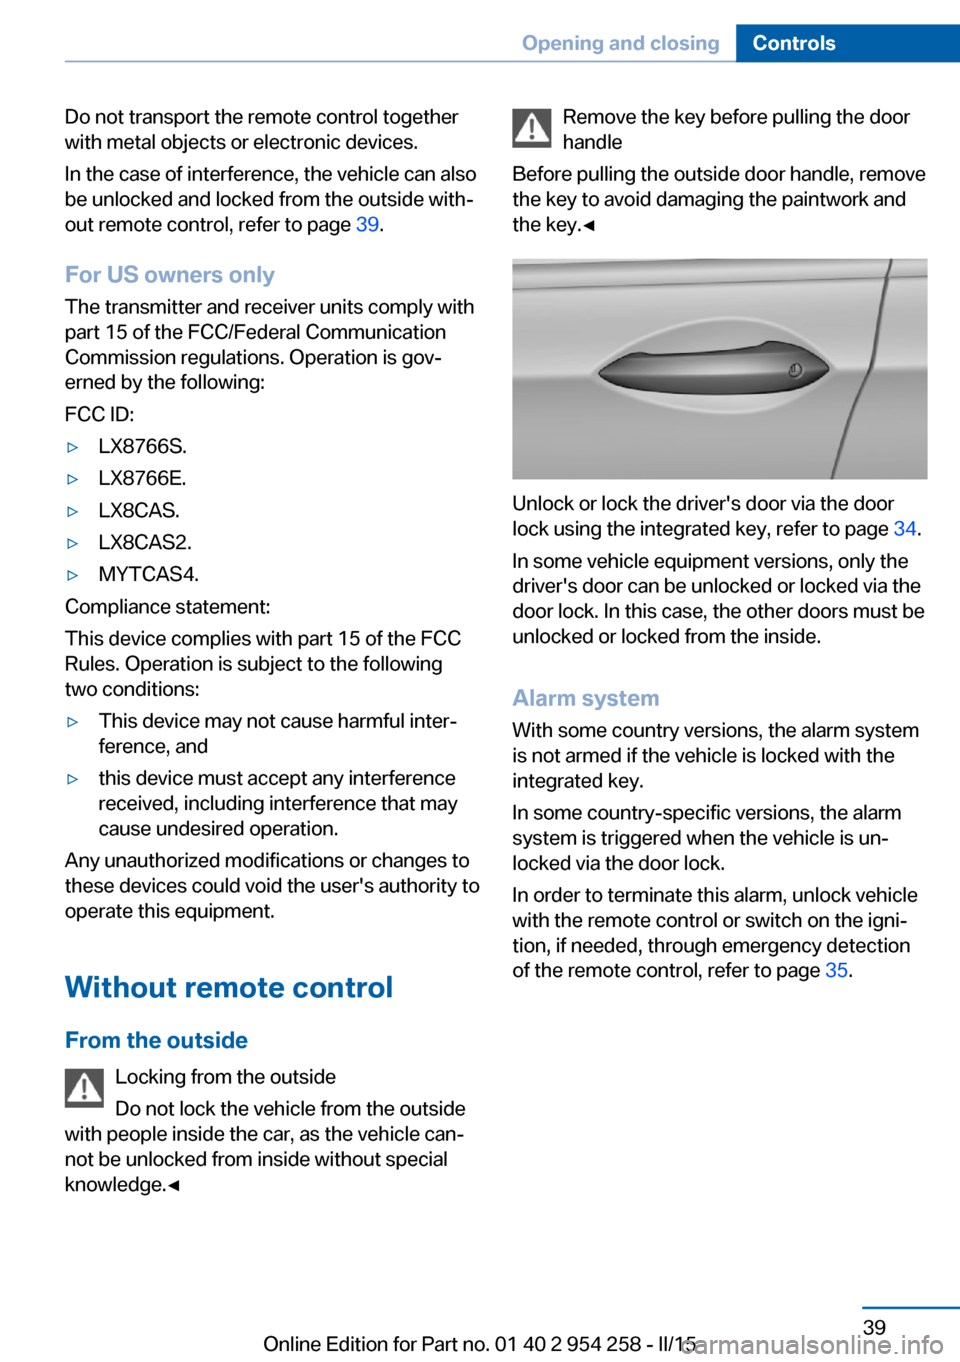
Remove the key before pulling the door
handle
Before pulling the outside door handle, remove
the key to avoid damaging the paintwork and
the key.◀
Unlock or lock the driver's door via the door
lock using the integrated key, refer to page 34.
In some vehicle equipment versions, only the
driver's door can be unlocked or locked via the
door lock. In this case, the other doors must be
unlocked or locked from the inside.
Alarm system
With some country versions, the alarm system
is not armed if the vehicle is locked with the
integrated key.
In some country-specific versions, the alarm system is triggered when the vehicle is un‐
locked via the door lock.
In order to terminate this alarm, unlock vehicle
with the remote control or switch on the igni‐
tion, if needed, through emergency detection
of the remote control, refer to page 35.
Seite 39Opening and closingControls39
Online Edition for Part no. 01 40 2 954 258 - II/15
Page 45 of 226
Locking and closing
Hints Keep the closing path clear
Make sure that the closing path of the
trunk lid is clear; otherwise, injuries may re‐
sult.◀
Do not place the remote control in the
cargo area
Take the remote control with you and do not
leave it in the cargo area; otherwise, the re‐
mote control is locked inside the vehicle when
the trunk lid is closed.◀
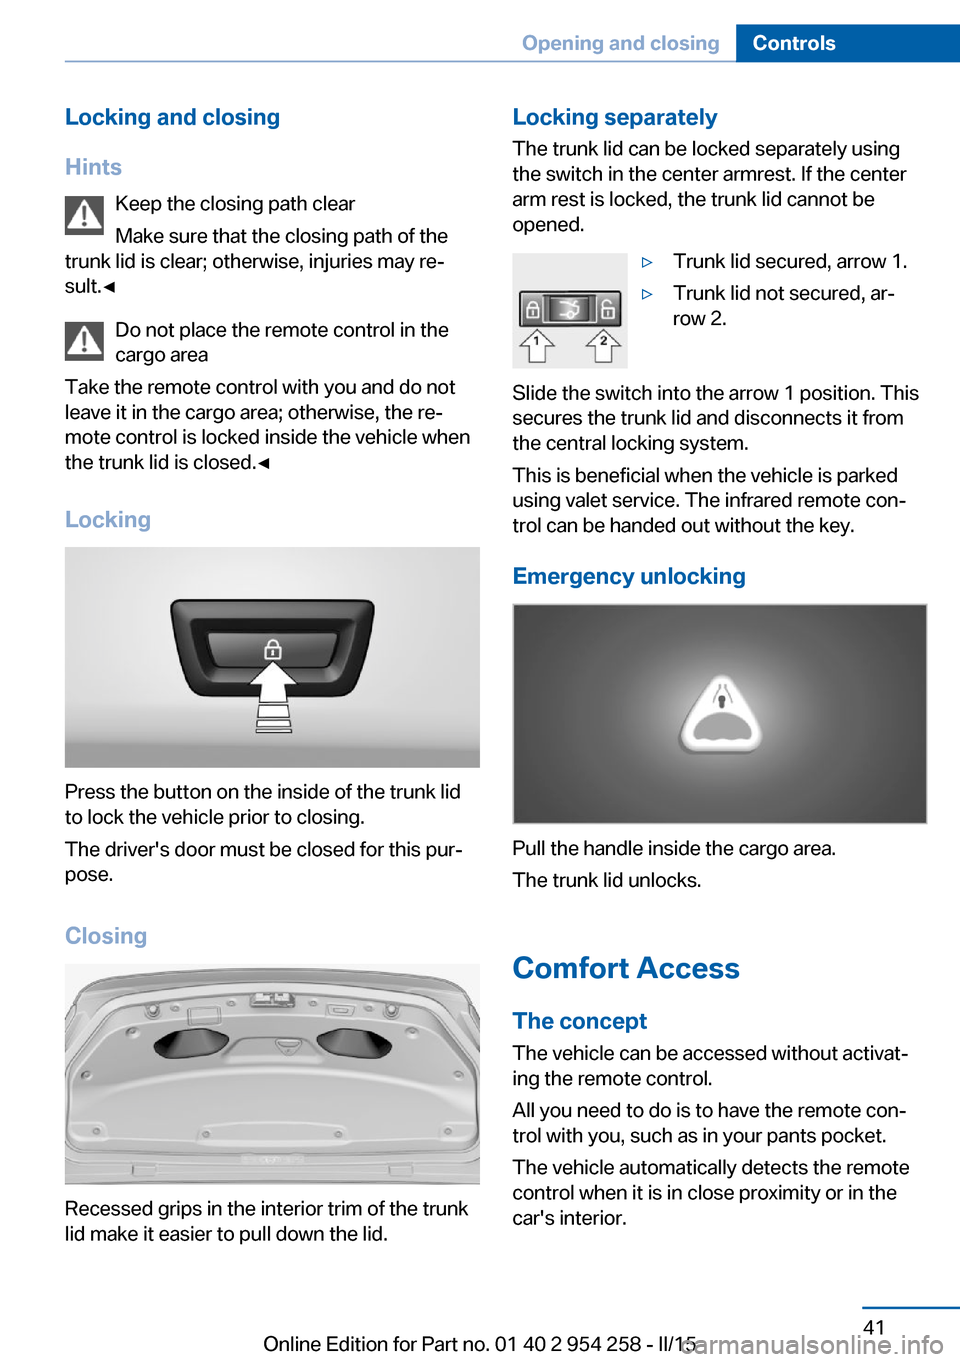
Locking
Press the button on the inside of the trunk lid
to lock the vehicle prior to closing.
The driver's door must be closed for this pur‐
pose.
Closing
Recessed grips in the interior trim of the trunk
lid make it easier to pull down the lid.
Locking separately
The trunk lid can be locked separately using
the switch in the center armrest. If the center
arm rest is locked, the trunk lid cannot be
opened.▷Trunk lid secured, arrow 1.▷Trunk lid not secured, ar‐
row 2.
Slide the switch into the arrow 1 position. This
secures the trunk lid and disconnects it from
the central locking system.
This is beneficial when the vehicle is parked
using valet service. The infrared remote con‐
trol can be handed out without the key.
Emergency unlocking
Pull the handle inside the cargo area.
The trunk lid unlocks.
Comfort Access
The concept The vehicle can be accessed without activat‐
ing the remote control.
All you need to do is to have the remote con‐ trol with you, such as in your pants pocket.
The vehicle automatically detects the remote
control when it is in close proximity or in the
car's interior.
Seite 41Opening and closingControls41
Online Edition for Part no. 01 40 2 954 258 - II/15
Page 47 of 226
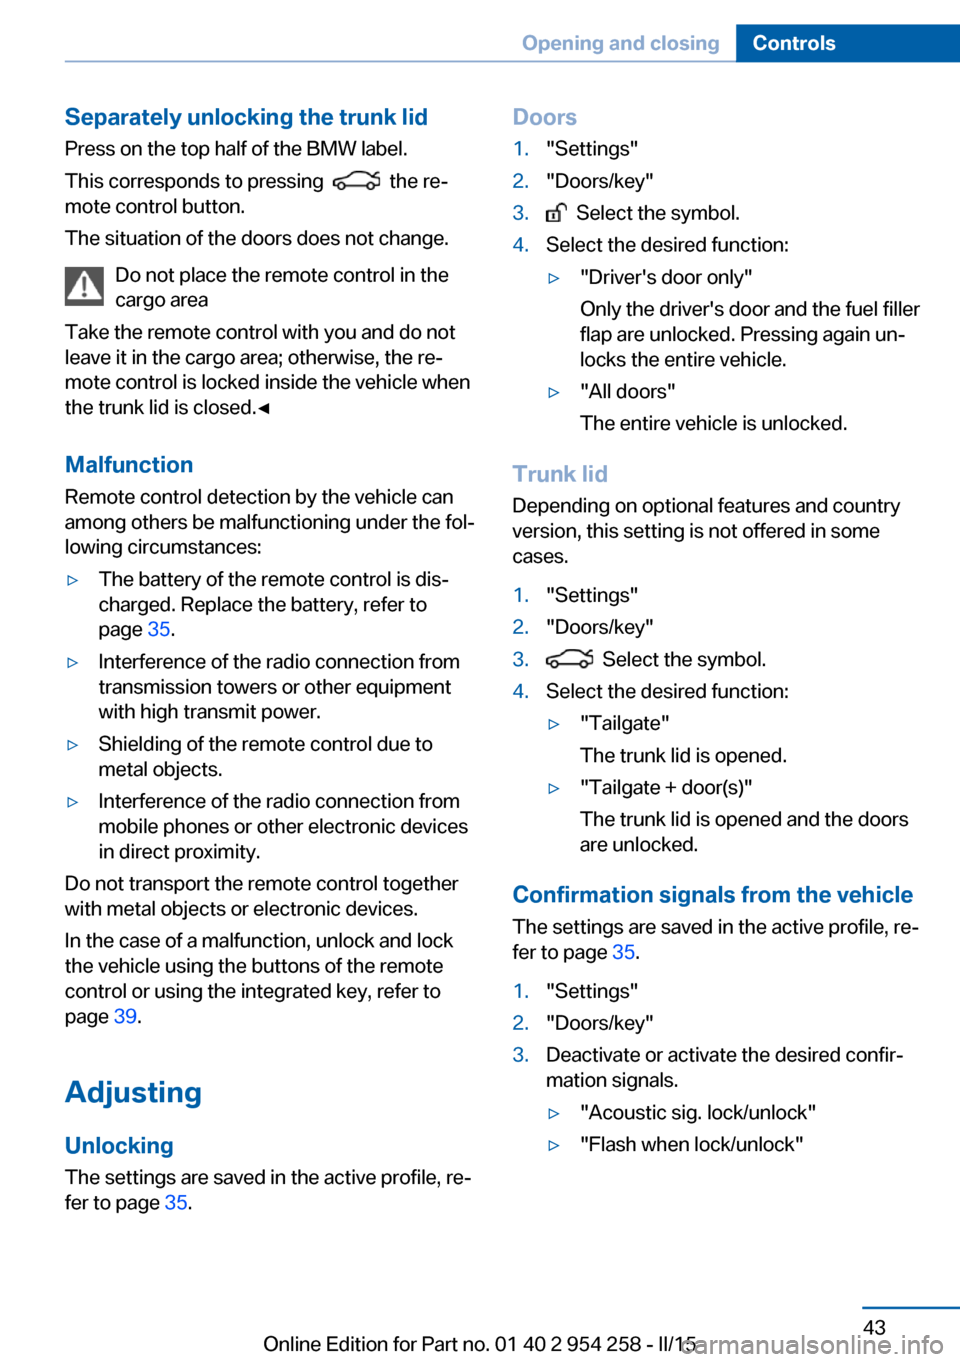
Separately unlocking the trunk lidPress on the top half of the BMW label.
This corresponds to pressing
the re‐
mote control button.
The situation of the doors does not change.
Do not place the remote control in the
cargo area
Take the remote control with you and do not
leave it in the cargo area; otherwise, the re‐
mote control is locked inside the vehicle when
the trunk lid is closed.◀
Malfunction
Remote control detection by the vehicle can
among others be malfunctioning under the fol‐
lowing circumstances:
▷The battery of the remote control is dis‐
charged. Replace the battery, refer to
page 35.▷Interference of the radio connection from
transmission towers or other equipment
with high transmit power.▷Shielding of the remote control due to
metal objects.▷Interference of the radio connection from
mobile phones or other electronic devices
in direct proximity.
Do not transport the remote control together
with metal objects or electronic devices.
In the case of a malfunction, unlock and lock
the vehicle using the buttons of the remote
control or using the integrated key, refer to
page 39.
Adjusting
Unlocking The settings are saved in the active profile, re‐
fer to page 35.
Doors1."Settings"2."Doors/key"3. Select the symbol.4.Select the desired function:▷"Driver's door only"
Only the driver's door and the fuel filler
flap are unlocked. Pressing again un‐
locks the entire vehicle.▷"All doors"
The entire vehicle is unlocked.
Trunk lid
Depending on optional features and country
version, this setting is not offered in some
cases.
1."Settings"2."Doors/key"3. Select the symbol.4.Select the desired function:▷"Tailgate"
The trunk lid is opened.▷"Tailgate + door(s)"
The trunk lid is opened and the doors
are unlocked.
Confirmation signals from the vehicle
The settings are saved in the active profile, re‐
fer to page 35.
1."Settings"2."Doors/key"3.Deactivate or activate the desired confir‐
mation signals.▷"Acoustic sig. lock/unlock"▷"Flash when lock/unlock"Seite 43Opening and closingControls43
Online Edition for Part no. 01 40 2 954 258 - II/15
Page 48 of 226
Automatic lockingThe settings are saved in the active profile, re‐fer to page 35.1."Settings"2."Doors/key"3.Select the desired function:▷"Lock if no door is opened"
The vehicle locks automatically after a
short period of time if no door is
opened.▷"Lock after start driving"
The vehicle locks automatically after
you drive off.
Retrieving the seat, mirror, and
steering wheel settings
The driver's seat, exterior mirror, and steering
wheel position adjusted last will be stored for
the active profile.
When the vehicle is unlocked, these positions
are automatically retrieved if this function was
activated.
Pinch hazard when moving back the seat
If this function is used, first make sure
that the footwell behind the driver's seat is
empty. Otherwise, people might get injured or
objects damaged when the seat is moved
back.◀
The adjustment procedure is interrupted:
▷When a seat position reel is pressed.▷When a button of the seat, mirror, and
steering wheel memory is pressed briefly.
Activating the setting
1."Settings"2."Doors/key"3."Last seat position autom."Alarm system
The conceptWhen the vehicle is locked, the vehicle alarm
system responds to:▷Opening a door, the hood or the trunk lid.▷Movements in the interior.▷Changes in the vehicle tilt, e. g., during at‐
tempts at stealing a wheel or when towing
the car.▷Disconnected battery voltage.
The alarm system briefly signals tampering:
▷By sounding an acoustic alarm.▷By switching on the hazard warning sys‐
tem.▷By flashing the daytime running lights.
Arming and disarming the alarm
system
When you unlock or lock the vehicle, either
with the remote control, Comfort Access or at
the door lock the alarm system is disarmed or
armed at the same time.
Door lock and armed alarm systemUnlocking via the door lock will trigger the
alarm on some country-specific versions.
Trunk lid and armed alarm system The trunk lid can be opened even when the
alarm system is armed.
After the trunk lid is closed, it is locked and
monitored again when the doors are locked.
The hazard warning system flashes once.
Panic mode
You can trigger the alarm system if you find
yourself in a dangerous situation.
Press button on the remote control for
at least 3 seconds.
To switch off the alarm: press any button.
Seite 44ControlsOpening and closing44
Online Edition for Part no. 01 40 2 954 258 - II/15
Page 159 of 226
▷Do not use force when plugging the con‐
nector into the USB interface.▷Do not connect devices such as fans or
lights to the USB interface.▷Do not connect USB hard drives.▷Do not use the USB interface for recharg‐
ing external devices.
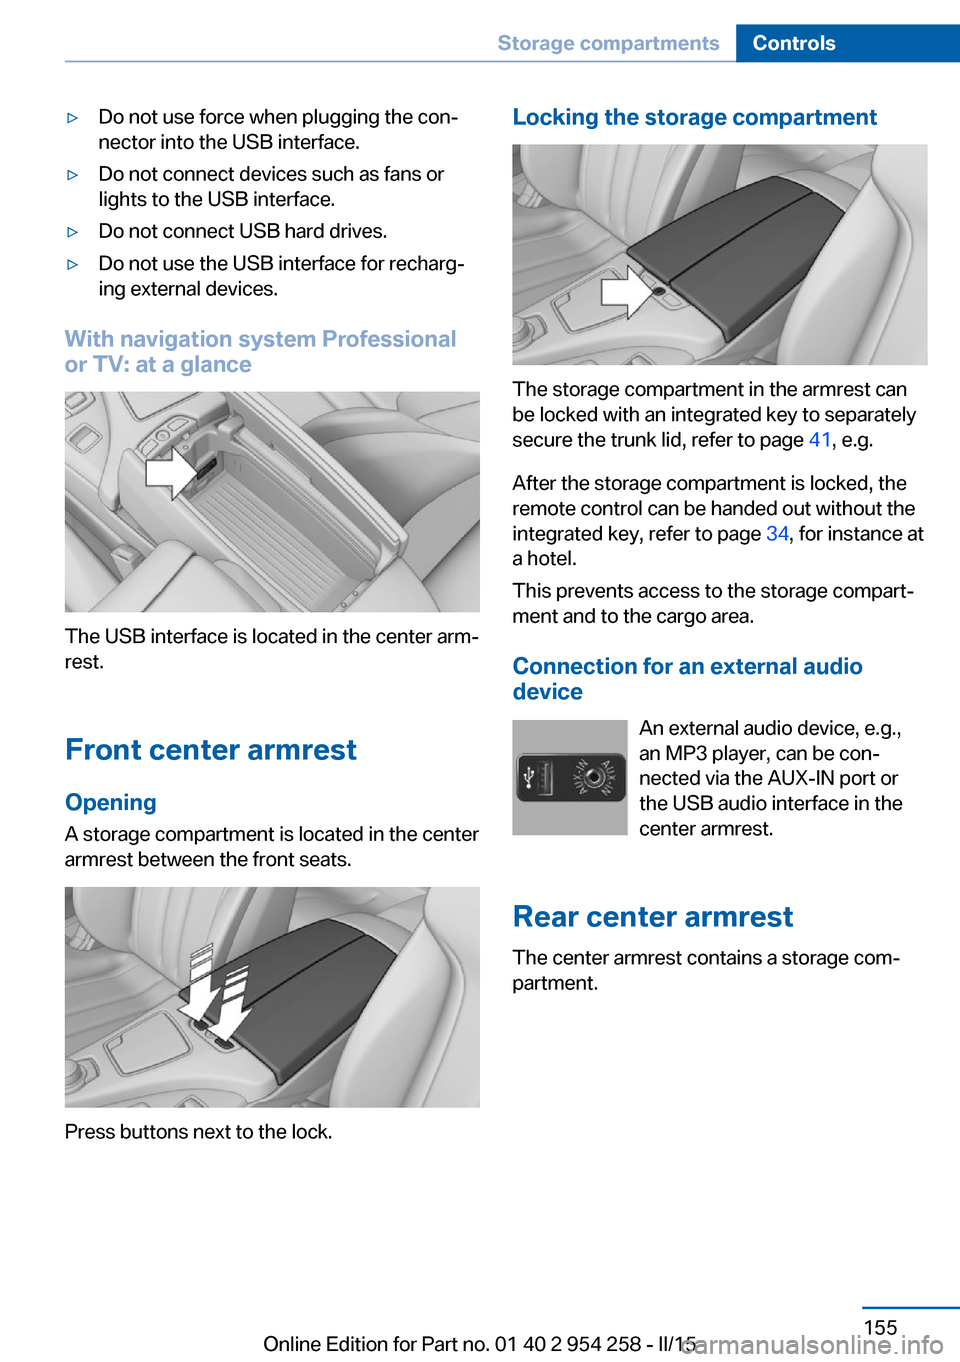
With navigation system Professional
or TV: at a glance
The USB interface is located in the center arm‐
rest.
Front center armrest Opening
A storage compartment is located in the center
armrest between the front seats.
Press buttons next to the lock.
Locking the storage compartment
The storage compartment in the armrest can
be locked with an integrated key to separately
secure the trunk lid, refer to page 41, e.g.
After the storage compartment is locked, the
remote control can be handed out without the
integrated key, refer to page 34, for instance at
a hotel.
This prevents access to the storage compart‐
ment and to the cargo area.
Connection for an external audio
device
An external audio device, e.g.,
an MP3 player, can be con‐
nected via the AUX-IN port or
the USB audio interface in the center armrest.
Rear center armrest The center armrest contains a storage com‐
partment.
Seite 155Storage compartmentsControls155
Online Edition for Part no. 01 40 2 954 258 - II/15
Page 217 of 226
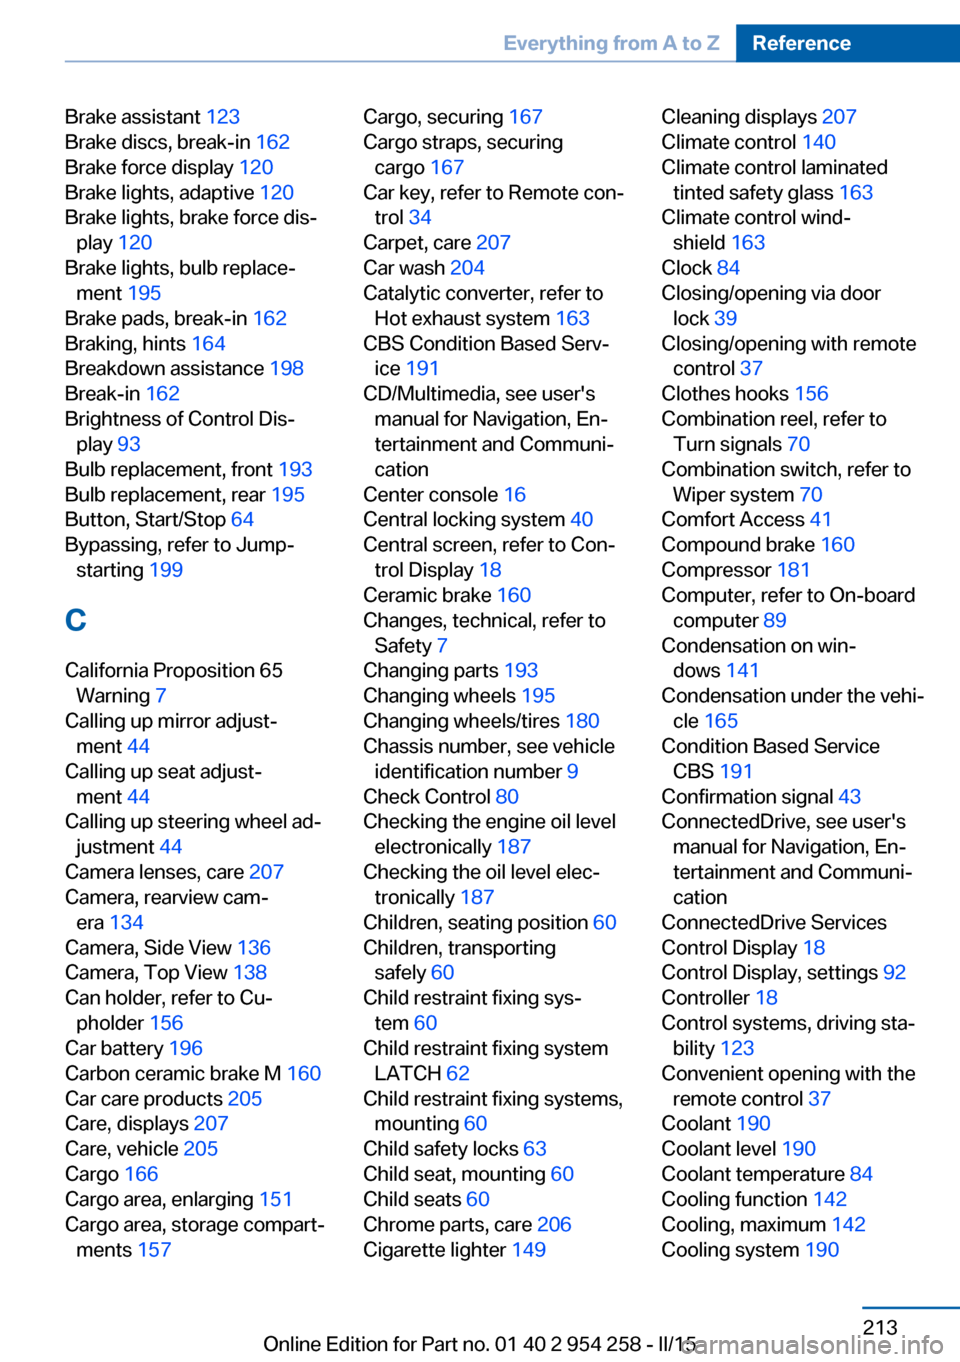
Brake assistant 123
Brake discs, break-in 162
Brake force display 120
Brake lights, adaptive 120
Brake lights, brake force dis‐ play 120
Brake lights, bulb replace‐ ment 195
Brake pads, break-in 162
Braking, hints 164
Breakdown assistance 198
Break-in 162
Brightness of Control Dis‐ play 93
Bulb replacement, front 193
Bulb replacement, rear 195
Button, Start/Stop 64
Bypassing, refer to Jump- starting 199
C
California Proposition 65 Warning 7
Calling up mirror adjust‐ ment 44
Calling up seat adjust‐ ment 44
Calling up steering wheel ad‐ justment 44
Camera lenses, care 207
Camera, rearview cam‐ era 134
Camera, Side View 136
Camera, Top View 138
Can holder, refer to Cu‐ pholder 156
Car battery 196
Carbon ceramic brake M 160
Car care products 205
Care, displays 207
Care, vehicle 205
Cargo 166
Cargo area, enlarging 151
Cargo area, storage compart‐ ments 157 Cargo, securing 167
Cargo straps, securing cargo 167
Car key, refer to Remote con‐ trol 34
Carpet, care 207
Car wash 204
Catalytic converter, refer to Hot exhaust system 163
CBS Condition Based Serv‐ ice 191
CD/Multimedia, see user's manual for Navigation, En‐
tertainment and Communi‐
cation
Center console 16
Central locking system 40
Central screen, refer to Con‐ trol Display 18
Ceramic brake 160
Changes, technical, refer to Safety 7
Changing parts 193
Changing wheels 195
Changing wheels/tires 180
Chassis number, see vehicle identification number 9
Check Control 80
Checking the engine oil level electronically 187
Checking the oil level elec‐ tronically 187
Children, seating position 60
Children, transporting safely 60
Child restraint fixing sys‐ tem 60
Child restraint fixing system LATCH 62
Child restraint fixing systems, mounting 60
Child safety locks 63
Child seat, mounting 60
Child seats 60
Chrome parts, care 206
Cigarette lighter 149 Cleaning displays 207
Climate control 140
Climate control laminated tinted safety glass 163
Climate control wind‐ shield 163
Clock 84
Closing/opening via door lock 39
Closing/opening with remote control 37
Clothes hooks 156
Combination reel, refer to Turn signals 70
Combination switch, refer to Wiper system 70
Comfort Access 41
Compound brake 160
Compressor 181
Computer, refer to On-board computer 89
Condensation on win‐ dows 141
Condensation under the vehi‐ cle 165
Condition Based Service CBS 191
Confirmation signal 43
ConnectedDrive, see user's manual for Navigation, En‐
tertainment and Communi‐
cation
ConnectedDrive Services
Control Display 18
Control Display, settings 92
Controller 18
Control systems, driving sta‐ bility 123
Convenient opening with the remote control 37
Coolant 190
Coolant level 190
Coolant temperature 84
Cooling function 142
Cooling, maximum 142
Cooling system 190 Seite 213Everything from A to ZReference213
Online Edition for Part no. 01 40 2 954 258 - II/15
Page 220 of 226
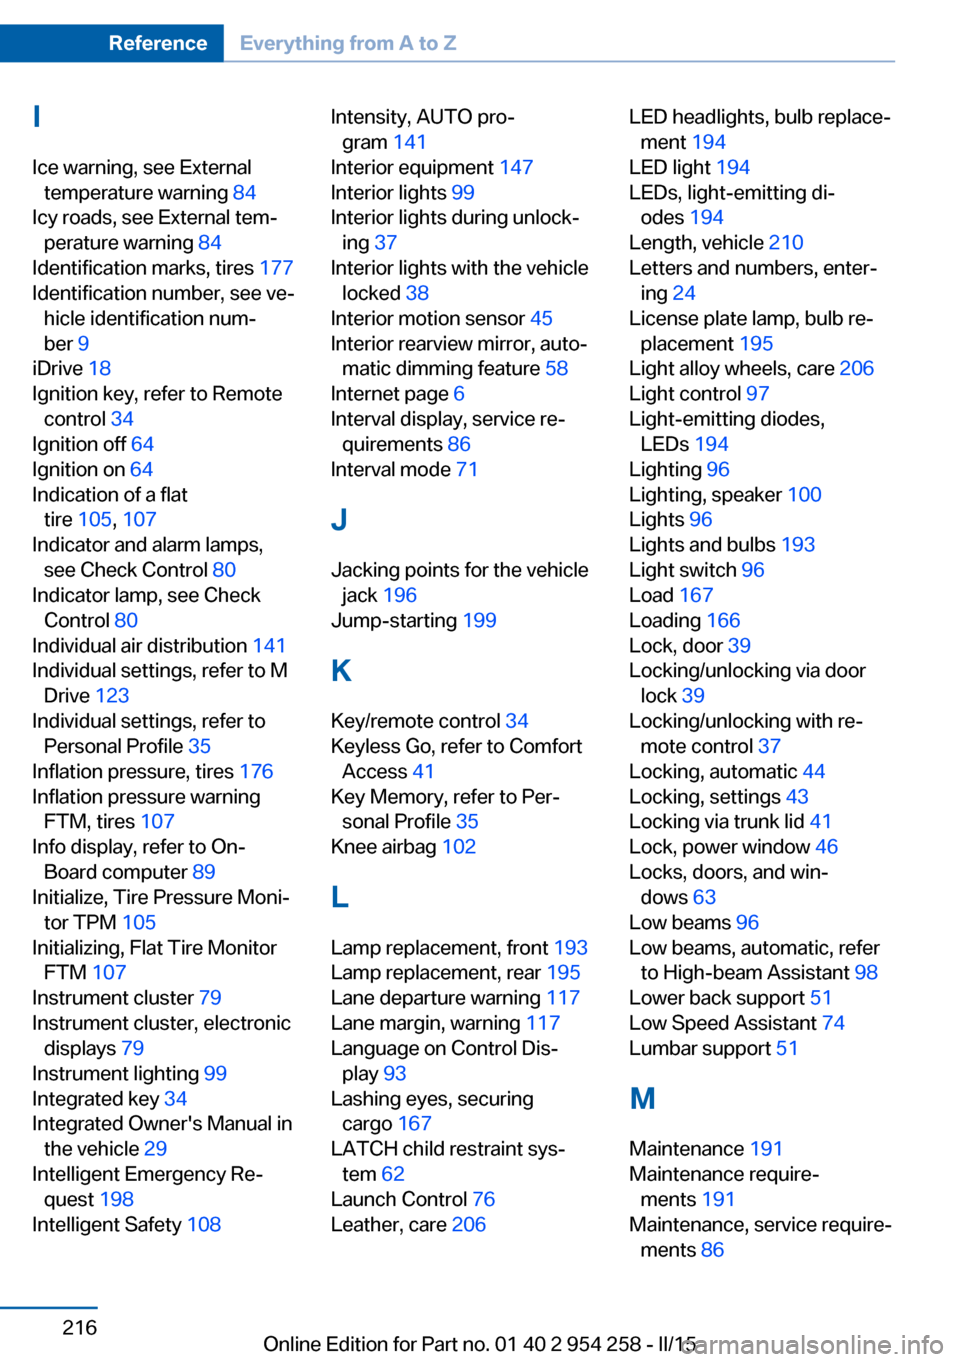
IIce warning, see External temperature warning 84
Icy roads, see External tem‐ perature warning 84
Identification marks, tires 177
Identification number, see ve‐ hicle identification num‐
ber 9
iDrive 18
Ignition key, refer to Remote control 34
Ignition off 64
Ignition on 64
Indication of a flat tire 105 , 107
Indicator and alarm lamps, see Check Control 80
Indicator lamp, see Check Control 80
Individual air distribution 141
Individual settings, refer to M Drive 123
Individual settings, refer to Personal Profile 35
Inflation pressure, tires 176
Inflation pressure warning FTM, tires 107
Info display, refer to On- Board computer 89
Initialize, Tire Pressure Moni‐ tor TPM 105
Initializing, Flat Tire Monitor FTM 107
Instrument cluster 79
Instrument cluster, electronic displays 79
Instrument lighting 99
Integrated key 34
Integrated Owner's Manual in the vehicle 29
Intelligent Emergency Re‐ quest 198
Intelligent Safety 108 Intensity, AUTO pro‐
gram 141
Interior equipment 147
Interior lights 99
Interior lights during unlock‐ ing 37
Interior lights with the vehicle locked 38
Interior motion sensor 45
Interior rearview mirror, auto‐ matic dimming feature 58
Internet page 6
Interval display, service re‐ quirements 86
Interval mode 71
J
Jacking points for the vehicle jack 196
Jump-starting 199
K
Key/remote control 34
Keyless Go, refer to Comfort Access 41
Key Memory, refer to Per‐ sonal Profile 35
Knee airbag 102
L Lamp replacement, front 193
Lamp replacement, rear 195
Lane departure warning 117
Lane margin, warning 117
Language on Control Dis‐ play 93
Lashing eyes, securing cargo 167
LATCH child restraint sys‐ tem 62
Launch Control 76
Leather, care 206 LED headlights, bulb replace‐
ment 194
LED light 194
LEDs, light-emitting di‐ odes 194
Length, vehicle 210
Letters and numbers, enter‐ ing 24
License plate lamp, bulb re‐ placement 195
Light alloy wheels, care 206
Light control 97
Light-emitting diodes, LEDs 194
Lighting 96
Lighting, speaker 100
Lights 96
Lights and bulbs 193
Light switch 96
Load 167
Loading 166
Lock, door 39
Locking/unlocking via door lock 39
Locking/unlocking with re‐ mote control 37
Locking, automatic 44
Locking, settings 43
Locking via trunk lid 41
Lock, power window 46
Locks, doors, and win‐ dows 63
Low beams 96
Low beams, automatic, refer to High-beam Assistant 98
Lower back support 51
Low Speed Assistant 74
Lumbar support 51
M
Maintenance 191
Maintenance require‐ ments 191
Maintenance, service require‐ ments 86 Seite 216ReferenceEverything from A to Z216
Online Edition for Part no. 01 40 2 954 258 - II/15