lock BMW MOTORRAD F 650 GS DAKAR 2003 Rider's Manual (in English)
[x] Cancel search | Manufacturer: BMW MOTORRAD, Model Year: 2003, Model line: F 650 GS DAKAR, Model: BMW MOTORRAD F 650 GS DAKAR 2003Pages: 88, PDF Size: 6.89 MB
Page 18 of 88

11
16
General information and controls
A
32
Removing the topcase Turn the key in the retainer in direction A
Open engaging hook 2
Pull topcase out of holder.
Installing the top case Turn the key in the retainer to position A
Open engaging hook 2
Push the topcase onto the
mount from the rear Close engaging hook
2
d Warning:
Make sure that retaining
hook 2 engages retaining
lug 3.
Lock the case and remove the key
OAOptional accessory
TopcaseOA
10R13bkg4.book Seite 16 Montag, 22. September 2003 4:26 16
Page 19 of 88

111
17
General information and controls
34
1
2
A
d Warning:
After an accident or if the
motorcycle has fallen over,
check that the System cases
are correctly installed.
Max. load per System case:
5 kg (approx. 11 lbs).
With System cases installed,
it is advisable not to exceed
130km/h (80mph).
Opening System cases• Turn the key in the case lock
to position A Release latch
1 by pressing in
the direction indicated by the
arrow
Hold down latch 1 and pull up
carrying handle 2
–Rocker switch 3 and lever4
are accessible
Press ribbed part of rocker
switch 3
Hold the rocker switch down
and open the lid of the caseOAOptional accessory
System caseOA
10r1301g4.fm Seite 17 Dienstag, 30. September 2003 1:37 13
Page 20 of 88

11
18
General information and controls
System caseOA
Closing the System case
e Attention:
Before closing carrying handle
1 , mak e su r e th at t he c as e loc k
is in position A.
Risk of breaking the locking
tongue. Turn the key in the case lock
to position A
Lift the lid and push it closed
until the two hooks 2 at the
sides engage with an audible
click.
Fold down carrying handle 1
Lock the case and remove the
keyOAOptional accessory
A
1
2
10R13bkg4.book Seite 18 Montag, 22. September 2003 4:26 16
Page 21 of 88

111
19
General information and controls
B
2
3
1
A
B
A
Changing case capacity Open the case and remove all its contents
Disengage four retaining lugs 3 and move them to
position A
Press retaining lugs 3 in the
direction indicated by the
arrow
– Locking levers 2 are
released, position B
OAOptional accessory
Pull or push case frame 1 as
far as it will go (to increase or
decrease capacity)
Push in locking levers 2 and
engage them
Engage retaining lugs 3
System caseOA
10R13bkg4.book Seite 19 Montag, 22. September 2003 4:26 16
Page 22 of 88

11
20
General information and controls
System caseOA
Removing System case
• Turn the key in the case lock to position A
Release latch 1 by pressing in
the direction indicated by the
arrow
OAOptional accessory
Hold down latch 1 and pull up
carrying handle 2
– Rocker switch 3 and lever 4
are accessible
Pull up lever 4, locking lever 5
snaps open
Pull locking lever 5 up as far
as it will go
Take a firm grip of the handle
and lift the case off the holder
3
4
5
A
1
2
10r1301g4.fm Seite 20 Dienstag, 30. September 2003 1:39 13
Page 23 of 88

111
21
General information and controls
System caseOA
Installing System case
d Warning:
When attaching, make sure
that the case is retained
securely.
An incorrectly secured case
could be lost and endanger
other road users.
• Open carrying handle 2
Pull locking lever 5 and lever 4
up into "open" position
OAOptional accessory
Begin by engaging the case in the retaining hoop
then engage locking lever 5
in mushroom retainer 6
Push locking lever 5 down
Pivot lever 4 down
– Locking lever 5 is locked
Check the security of the case
Fold down carrying handle 2
Lock the case and remove the
key
6
10r1301g4.fm Seite 21 Dienstag, 30. September 2003 1:41 13
Page 30 of 88

28
Safety check
2
13
6
54
A
Clutch-lever play
e Attention:
The clutch will be damaged if
you ride the motorcycle without
play at the clutch lever.
The scope of the BMW Inspec-
tion includes basic adjustment
of the clutch.
Checking:
Pull the lever until resistance is perceptible
Measure play Specified value: B = 1…2 mm
(0.04...0.08 inch) Adjusting:
Push back flexible gaiter
6
Slacken locknut 4
Turn adjusting screw 5 as
necessary
Firmly retighten locknut 4
Recheck lever play
Pull flexible gaiter 6 back into
position over locknut 4 and
adjusting screw 5
Clutch lever, adjustingTurn knob A to set the most
comfortable span:
–Setting 1: minimum span
–Setting 3: maximum span
Handlebar levers
B
10R13bkg4.book Seite 28 Montag, 22. September 2003 4:26 16
Page 31 of 88
1
29
Safety check
2
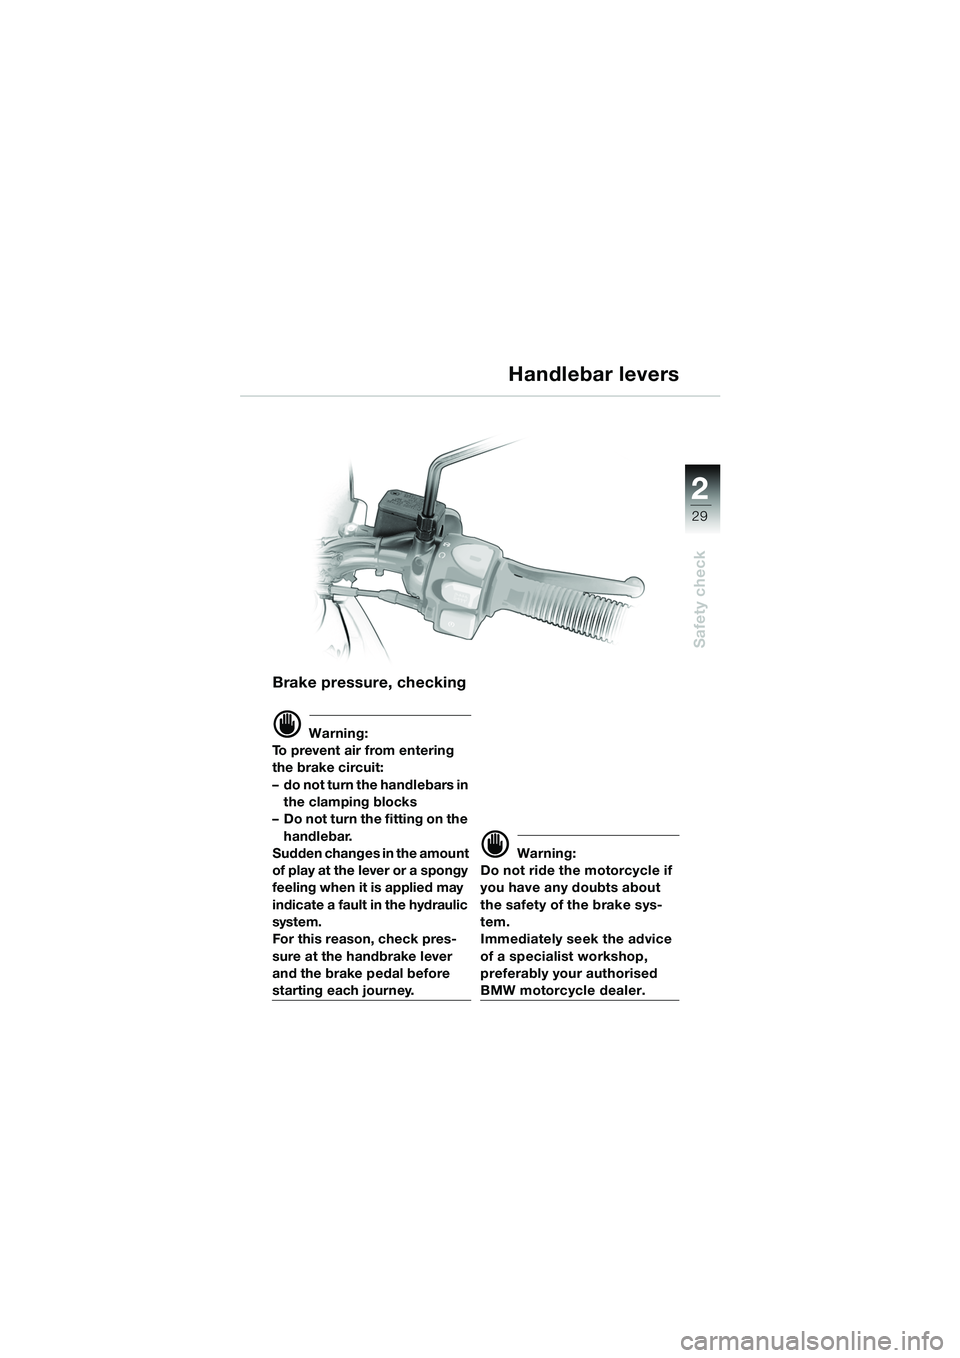
Brake pressure, checking
d Warning:
To prevent air from entering
the brake circuit:
– do not turn the handlebars in the clamping blocks
– Do not turn the fitting on the
handlebar.
Sudden changes in the amount
of play at the lever or a spongy
feeling when it is applied may
indicate a fault in the hydraulic
system.
For this reason, check pres-
sure at the handbrake lever
and the brake pedal before
starting each journey.
d Warning:
Do not ride the motorcycle if
you have any doubts about
the safety of the brake sys-
tem.
Immediately seek the advice
of a specialist workshop,
preferably your authorised
BMW motorcycle dealer.
Handlebar levers
10R13bkg4.book Seite 29 Montag, 22. September 2003 4:26 16
Page 38 of 88
36
Safety check
2
Spring preload
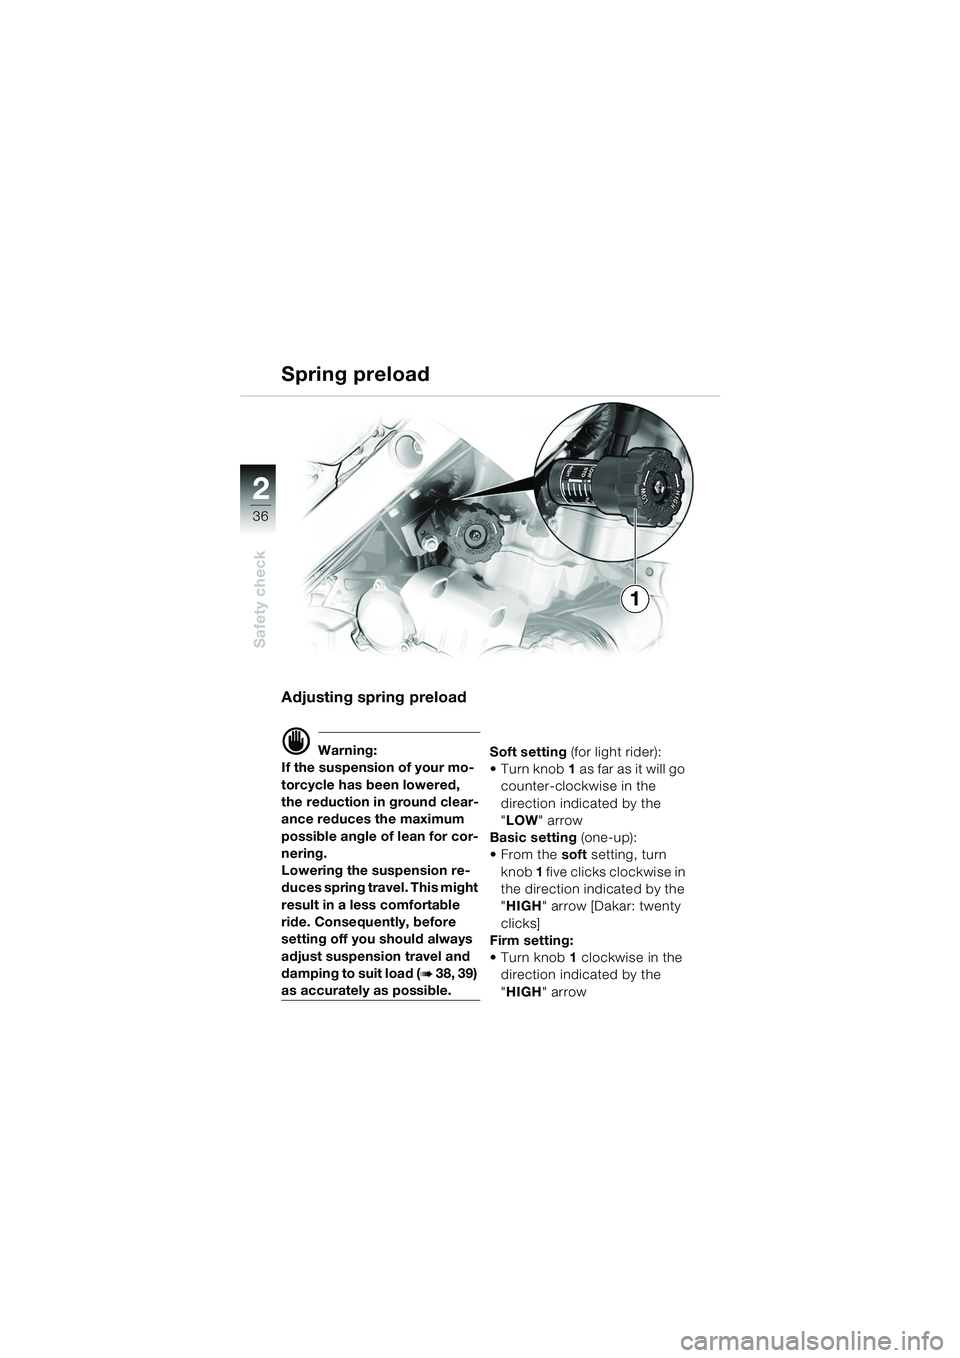
Adjusting spring preload
d Warning:
If the suspension of your mo-
torcycle has been lowered,
the reduction in ground clear-
ance reduces the maximum
possible angle of lean for cor-
nering.
Lowering the suspension re-
duces spring travel. This might
result in a less comfortable
ride. Consequently, before
setting off you should always
adjust suspension travel and
damping to suit load (
b 38, 39)
as accurately as possible. Soft setting
(for light rider):
Turn knob 1 as far as it will go
counter-clockwise in the
direction indicated by the
" LOW " arrow
Basic setting (one-up):
From the soft setting, turn
knob 1 five clicks clockwise in
the direction indicated by the
" HIGH " arrow [Dakar: twenty
clicks]
Firm setting:
Turn knob 1 clockwise in the
direction indicated by the
" HIGH " arrow
1
10R13bkg4.book Seite 36 Montag, 22. September 2003 4:26 16
Page 52 of 88

3
50
Starting – Riding – Parking
Placing motorcycle on
side stand
d Warning:
For safety reasons, never sit
on the motorcycle with the
side stand extended.
e Attention:
Stop the engine before using
the side stand.
Make sure the surface under
the stand is firm. On a gradient,
the motorcycle should always
face uphill; select 1st gear. • Switch off the ignition
Keep both feet on the ground
Hold the left handlebar grip
with your left hand
Keep your right hand on the
right handlebar grip and the
handbrake lever
Hold the motorcycle upright and balanced
U s e y o u r le f t f o o t a t t h e e x t e n -
sion pin to extend the side
stand fully (arrow)
Slowly lean the motorcycle to the side until its weight is
taken by the stand and dis-
mount from the motorcycle
Turn the handlebars to full left
lock (
b9)
Check that the motorcycle
is firmly supported
Side stand
10r1303g4.fm Seite 50 Dienstag, 30. September 2003 1:50 13