light BMW MOTORRAD G 650 XCOUNTRY 2007 Rider's Manual (in English)
[x] Cancel search | Manufacturer: BMW MOTORRAD, Model Year: 2007, Model line: G 650 XCOUNTRY, Model: BMW MOTORRAD G 650 XCOUNTRY 2007Pages: 126, PDF Size: 2.64 MB
Page 30 of 126
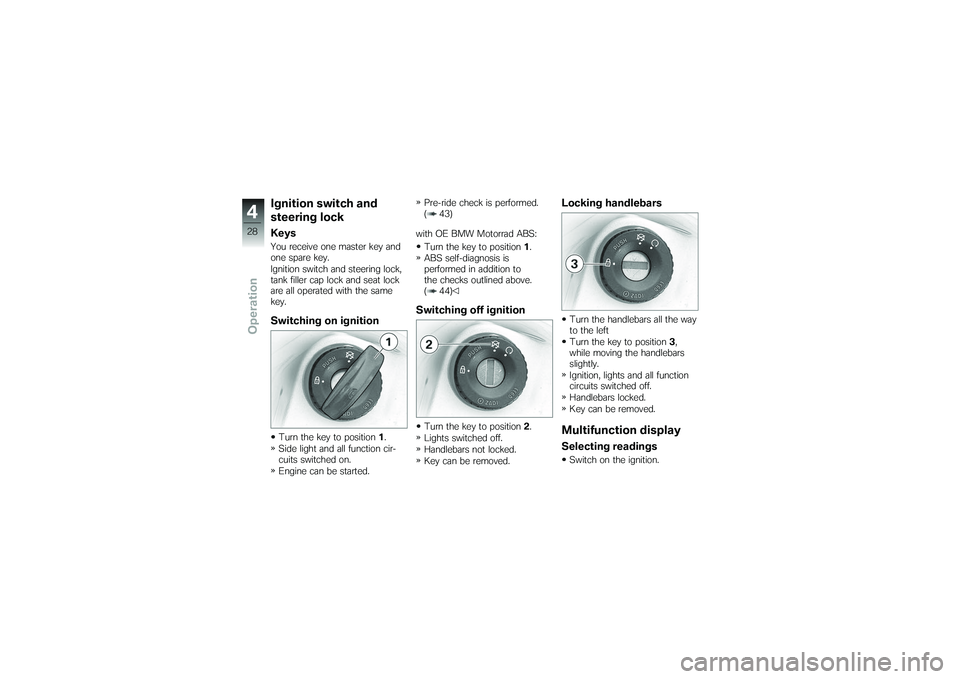
Ignition switch and
steering lockKeysYou receive one master key and
one spare key.
Ignition switch and steering lock,
tank filler cap lock and seat lock
are all operated with the same
key.Switching on ignitionTurn the key to position1.
Side light and all function cir-
cuits switched on.
Engine can be started. Pre-ride check is performed.
( 43)
with OE BMW Motorrad ABS: Turn the key to position 1.
ABS self-diagnosis is
performed in addition to
the checks outlined above.
( 44)
Switching off ignitionTurn the key to position 2.
Lights switched off.
Handlebars not locked.
Key can be removed.
Locking handlebarsTurn the handlebars all the way
to the left
Turn the key to position 3,
while moving the handlebars
slightly.
Ignition, lights and all function
circuits switched off.
Handlebars locked.
Key can be removed.Multifunction displaySelecting readingsSwitch on the ignition.
428zOperation
Page 33 of 126
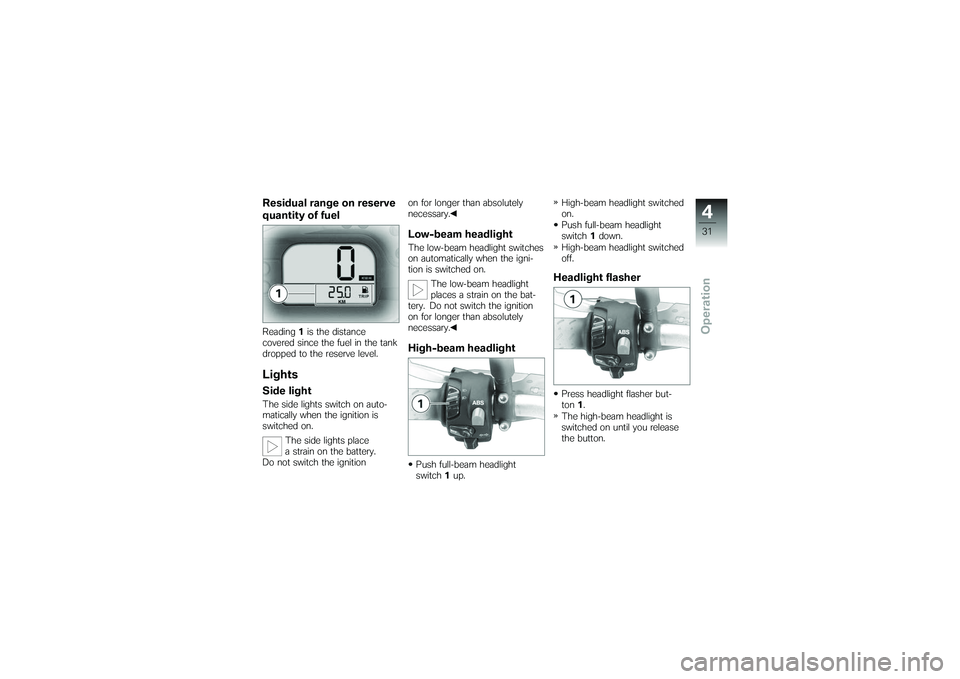
Residual range on reserve
quantity of fuelReading1is the distance
covered since the fuel in the tank
dropped to the reserve level.LightsSide lightThe side lights switch on auto-
matically when the ignition is
switched on.
The side lights place
a strain on the battery.
Do not switch the ignition on for longer than absolutely
necessary.
Low-beam headlightThe low-beam headlight switches
on automatically when the igni-
tion is switched on.
The low-beam headlight
places a strain on the bat-
tery. Do not switch the ignition
on for longer than absolutely
necessary.High-beam headlightPush full-beam headlight
switch 1up. High-beam headlight switched
on.
Push full-beam headlight
switch
1down.
High-beam headlight switched
off.
Headlight flasherPress headlight flasher but-
ton 1.
The high-beam headlight is
switched on until you release
the button.
431zOperation
Page 34 of 126
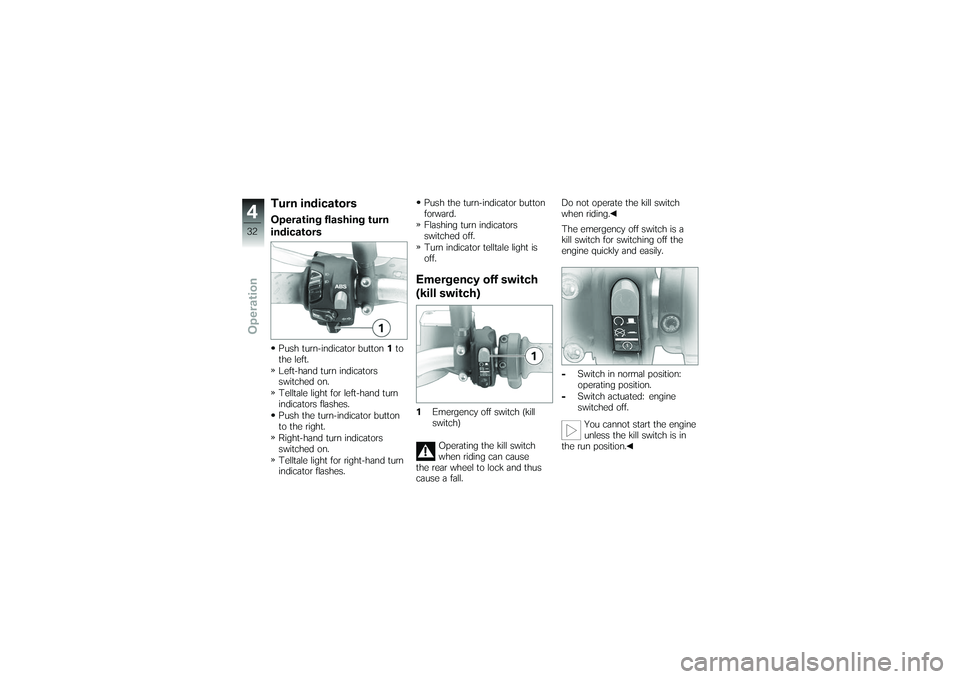
Turn indicatorsOperating flashing turn
indicatorsPush turn-indicator button1to
the left.
Left-hand turn indicators
switched on.
Telltale light for left-hand turn
indicators flashes.
Push the turn-indicator button
to the right.
Right-hand turn indicators
switched on.
Telltale light for right-hand turn
indicator flashes. Push the turn-indicator button
forward.
Flashing turn indicators
switched off.
Turn indicator telltale light is
off.
Emergency off switch
(kill switch)1
Emergency off switch (kill
switch)
Operating the kill switch
when riding can cause
the rear wheel to lock and thus
cause a fall. Do not operate the kill switch
when riding.
The emergency off switch is a
kill switch for switching off the
engine quickly and easily.
-
Switch in normal position:
operating position.
- Switch actuated: engine
switched off.
You cannot start the engine
unless the kill switch is in
the run position.
432zOperation
Page 35 of 126
BMW Motorrad ABS
OE
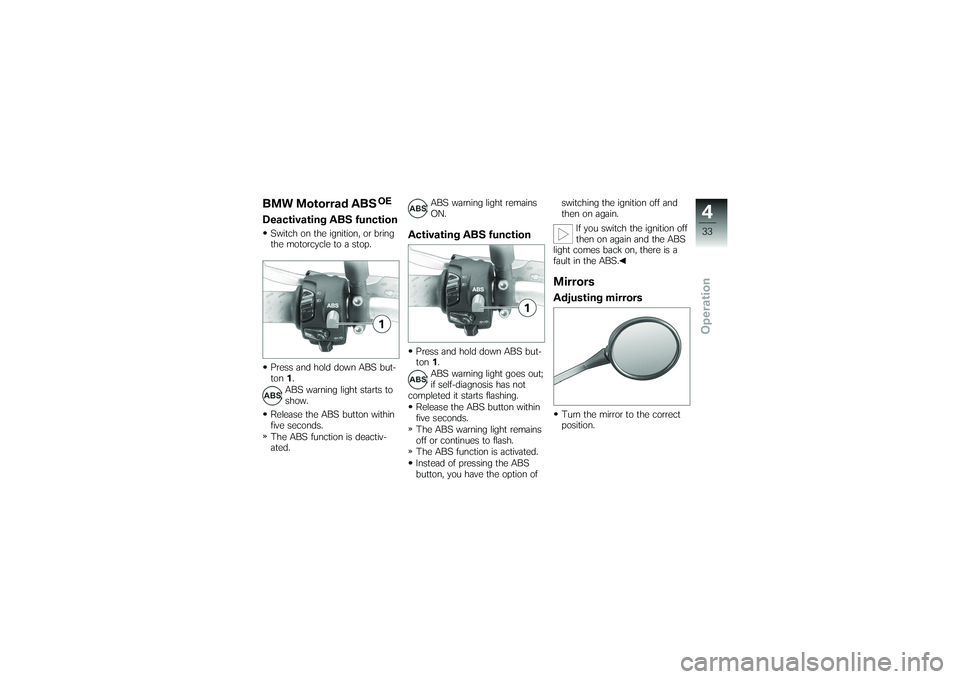
Deactivating ABS functionSwitch on the ignition, or bring
the motorcycle to a stop.
Press and hold down ABS but-
ton1.
ABS warning light starts to
show.
Release the ABS button within
five seconds.
The ABS function is deactiv-
ated. ABS warning light remains
ON.
Activating ABS functionPress and hold down ABS but-
ton
1.
ABS warning light goes out;
if self-diagnosis has not
completed it starts flashing.
Release the ABS button within
five seconds.
The ABS warning light remains
off or continues to flash.
The ABS function is activated.
Instead of pressing the ABS
button, you have the option of switching the ignition off and
then on again.
If you switch the ignition off
then on again and the ABS
light comes back on, there is a
fault in the ABS.
MirrorsAdjusting mirrorsTurn the mirror to the correct
position.
433zOperation
Page 36 of 126
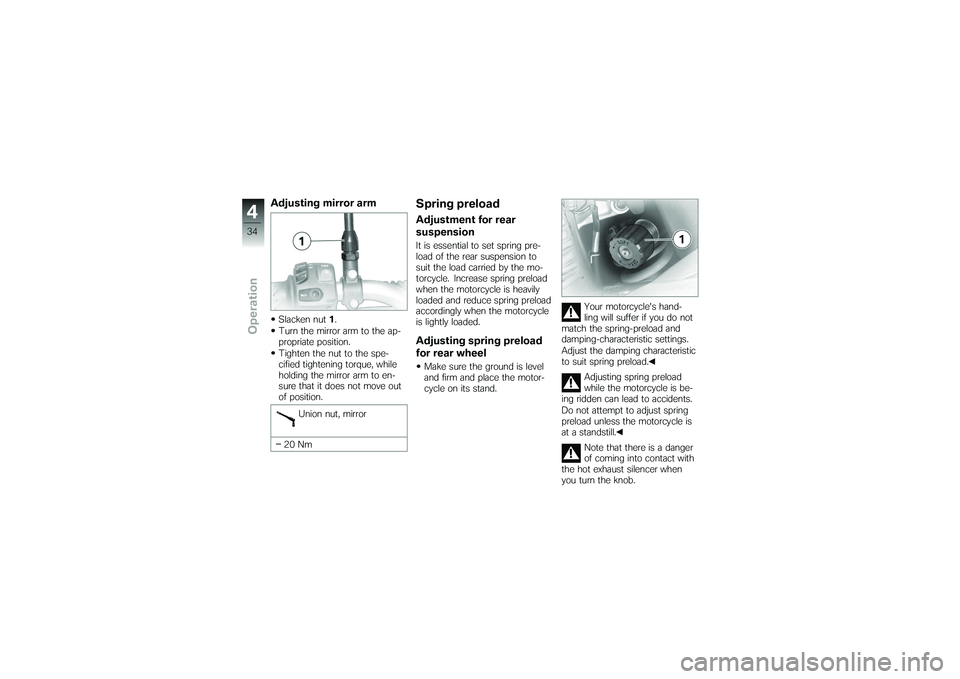
Adjusting mirror armSlacken nut1.
Turn the mirror arm to the ap-
propriate position.
Tighten the nut to the spe-
cified tightening torque, while
holding the mirror arm to en-
sure that it does not move out
of position.
Union nut, mirror
20 Nm
Spring preloadAdjustment for rear
suspensionIt is essential to set spring pre-
load of the rear suspension to
suit the load carried by the mo-
torcycle. Increase spring preload
when the motorcycle is heavily
loaded and reduce spring preload
accordingly when the motorcycle
is lightly loaded.Adjusting spring preload
for rear wheelMake sure the ground is level
and firm and place the motor-
cycle on its stand. Your motorcycle's hand-
ling will suffer if you do not
match the spring-preload and
damping-characteristic settings.
Adjust the damping characteristic
to suit spring preload.
Adjusting spring preload
while the motorcycle is be-
ing ridden can lead to accidents.
Do not attempt to adjust spring
preload unless the motorcycle is
at a standstill.
Note that there is a danger
of coming into contact with
the hot exhaust silencer when
you turn the knob.
434zOperation
Page 38 of 126
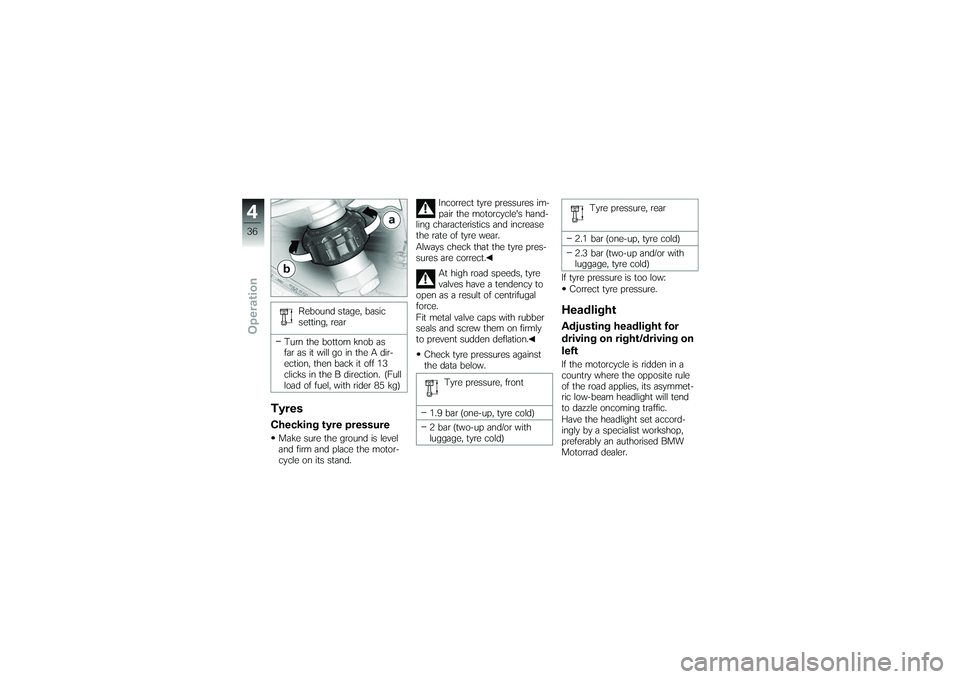
Rebound stage, basic
setting, rear
Turn the bottom knob as
far as it will go in the A dir-
ection, then back it off 13
clicks in the B direction. (Full
load of fuel, with rider 85 kg)
TyresChecking tyre pressureMake sure the ground is level
and firm and place the motor-
cycle on its stand. Incorrect tyre pressures im-
pair the motorcycle's hand-
ling characteristics and increase
the rate of tyre wear.
Always check that the tyre pres-
sures are correct.
At high road speeds, tyre
valves have a tendency to
open as a result of centrifugal
force.
Fit metal valve caps with rubber
seals and screw them on firmly
to prevent sudden deflation.
Check tyre pressures against
the data below.
Tyre pressure, front
1.9 bar (one-up, tyre cold)
2 bar (two-up and/or with
luggage, tyre cold) Tyre pressure, rear
2.1 bar (one-up, tyre cold)
2.3 bar (two-up and/or with
luggage, tyre cold)
If tyre pressure is too low: Correct tyre pressure.
HeadlightAdjusting headlight for
driving on right/driving on
leftIf the motorcycle is ridden in a
country where the opposite rule
of the road applies, its asymmet-
ric low-beam headlight will tend
to dazzle oncoming traffic.
Have the headlight set accord-
ingly by a specialist workshop,
preferably an authorised BMW
Motorrad dealer.
436zOperation
Page 39 of 126
Headlight beam throw and
spring preloadHeadlight beam throw is gener-
ally kept constant when spring
preload is adjusted to suit load.
Spring preload adjustment might
not suffice only if the motorcycle
is very heavily loaded. Under
these circumstances, headlight
beam throw has to be adjusted
to suit the weight carried by the
motorcycle.Consult a specialist work-
shop, preferably an au-
thorised BMW Motorrad deal-
er, if you are unsure whether
the headlight basic setting is
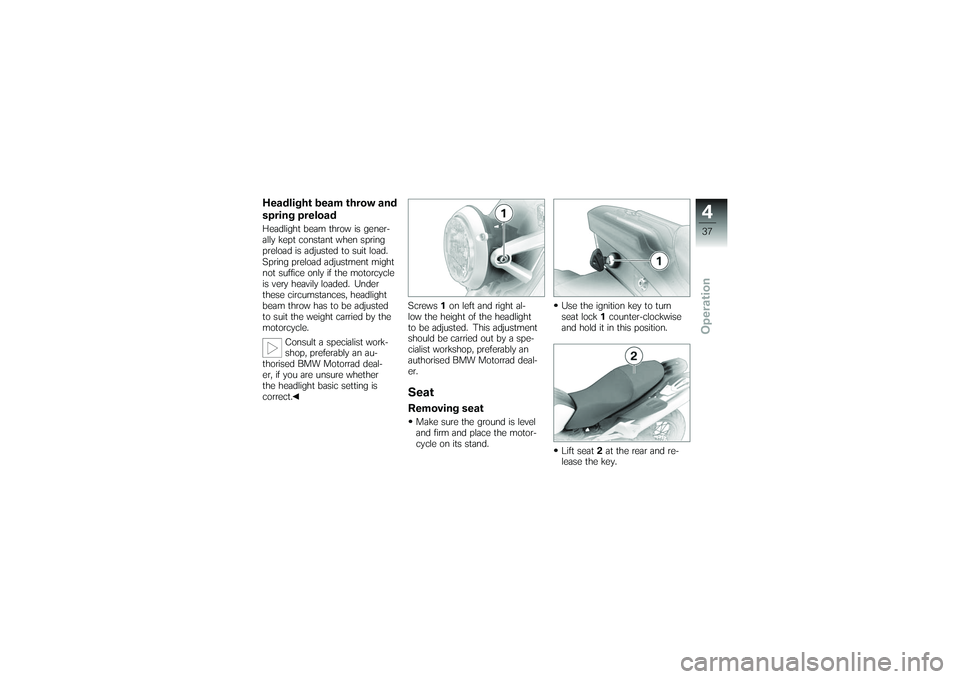
correct. Screws
1on left and right al-
low the height of the headlight
to be adjusted. This adjustment
should be carried out by a spe-
cialist workshop, preferably an
authorised BMW Motorrad deal-
er.
SeatRemoving seatMake sure the ground is level
and firm and place the motor-
cycle on its stand. Use the ignition key to turn
seat lock
1counter-clockwise
and hold it in this position.
Lift seat 2at the rear and re-
lease the key.
437zOperation
Page 45 of 126
with OE BMW Motorrad ABS:Switch on the ignition.
Pre-ride check is performed.
( 43)
ABS self-diagnosis is
performed. ( 44)
Wait until the warning light for
the coolant temperature stops
flashing.
The idle actuator is posi-
tioned after you switch on
the ignition. The coolant-tem-
perature warning light flashes
if the idle actuator has not cor-
rectly positioned before the pre-
ride check completes. In order
to avoid subsequent problems,
wait for this process to complete
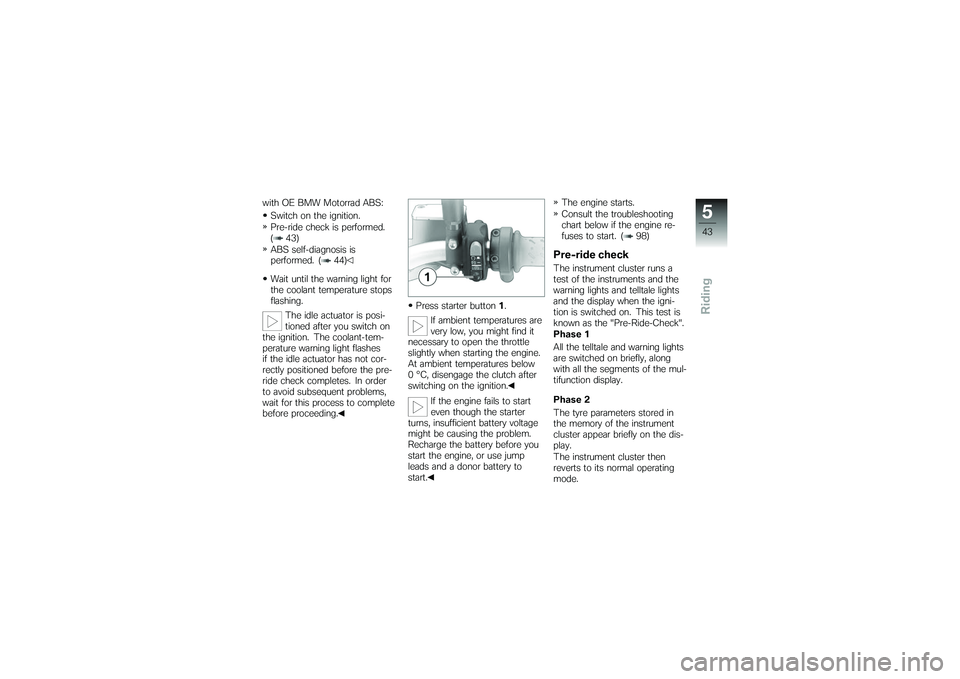
before proceeding. Press starter button
1.
If ambient temperatures are
very low, you might find it
necessary to open the throttle
slightly when starting the engine.
At ambient temperatures below
0 °C, disengage the clutch after
switching on the ignition.
If the engine fails to start
even though the starter
turns, insufficient battery voltage
might be causing the problem.
Recharge the battery before you
start the engine, or use jump
leads and a donor battery to
start. The engine starts.
Consult the troubleshooting
chart below if the engine re-
fuses to start. ( 98)
Pre-ride checkThe instrument cluster runs a
test of the instruments and the
warning lights and telltale lights
and the display when the igni-
tion is switched on. This test is
known as the "Pre-Ride-Check".
Phase 1
All the telltale and warning lights
are switched on briefly, along
with all the segments of the mul-
tifunction display.
Phase 2
The tyre parameters stored in
the memory of the instrument
cluster appear briefly on the dis-
play.
The instrument cluster then
reverts to its normal operating
mode.
543zRiding
Page 46 of 126
If a warning light or telltale light
did not show as specified above
or if a segment or segments of
the multifunction display failed to
light up:Some malfunctions cannot
be indicated if one of the
warning lights fails to show.
Make sure that all the warning
and telltale lights come on in the
pre-ride check.
Have the fault rectified as
quickly as possible by a
specialist workshop, preferably
an authorised BMW Motorrad
dealer.ABS self-diagnosis
OE
BMW Motorrad ABS performs
self-diagnosis to ensure its op-
erability. Self-diagnosis is per-
formed automatically when you
switch on the ignition. The mo-
torcycle has to move forward a few metres for the wheel sensors
to be tested.
Phase 1
Test of the diagnosis-compat-
ible system components with
the motorcycle at a standstill. ABS warning light flashes.
Phase 2 Test of the wheel sensors as
the motorcycle pulls away from
rest. ABS warning light flashes.
ABS self-diagnosis
completed The ABS warning light goes
out.
If an indicator showing an ABS
fault appears when ABS self-dia-
gnosis completes: You can continue to ride. Bear
in mind that the ABS function
is not available.
Have the fault rectified as
quickly as possible by a
specialist workshop, preferably
an authorised BMW Motorrad
dealer.
Running inThe first 1000 kmWhile running in the motor-
cycle, vary the throttle opening
and engine-speed range fre-
quently.
Try to do most of your rid-
ing during this initial period on
twisting, fairly hilly roads, avoid-
ing high-speed main roads and
highways if possible.
Exceeding the specified en-
gine speeds while running
in will lead to increased engine
wear.
544zRiding
Page 60 of 126
NotesThe Maintenance chapter de-
scribes straightforward proced-
ures for checking and replacing
certain wear parts.
Special tightening torques are lis-
ted as applicable. The tightening
torques for the threaded fasten-
ers on your motorcycle are listed
in the section entitled "Technical
data".
You will find information on more
extensive maintenance and re-
pair work in the Repair Manual
on DVD/CD-ROM (RepROM) for
your motorcycle, which is avail-
able from your authorised BMW
Motorrad dealer.
Some of the work calls for spe-
cial tools and a thorough know-
ledge of motorcycles. If you
are in doubt consult a specialist
workshop, preferably your author-
ised BMW Motorrad dealer.
ToolkitStandard on-board toolkit1 Fuse pullerReplacing fuses
2 Open-ended spanner, w/f
8/10 Adjusting chain tension
3 Open-ended spanner, w/f
19 Adjusting mirror arm
4 Open-ended spanner, w/f
19 Adjusting mirror arm 5 Screwdriver handle
Holder for screwdriver blade 9
6 3 mm Allen key Replacing headlight bulb
7 4 mm Allen key Removing and installing body
panels
8 6 mm Allen key Adjusting headlight beam throw
9 Screwdriver blade Star-head and flat-tip blade
Adjusting rear suspension
damping
858zMaintenance