charging BMW MOTORRAD G 650 XCOUNTRY 2007 Rider's Manual (in English)
[x] Cancel search | Manufacturer: BMW MOTORRAD, Model Year: 2007, Model line: G 650 XCOUNTRY, Model: BMW MOTORRAD G 650 XCOUNTRY 2007Pages: 126, PDF Size: 2.64 MB
Page 90 of 126

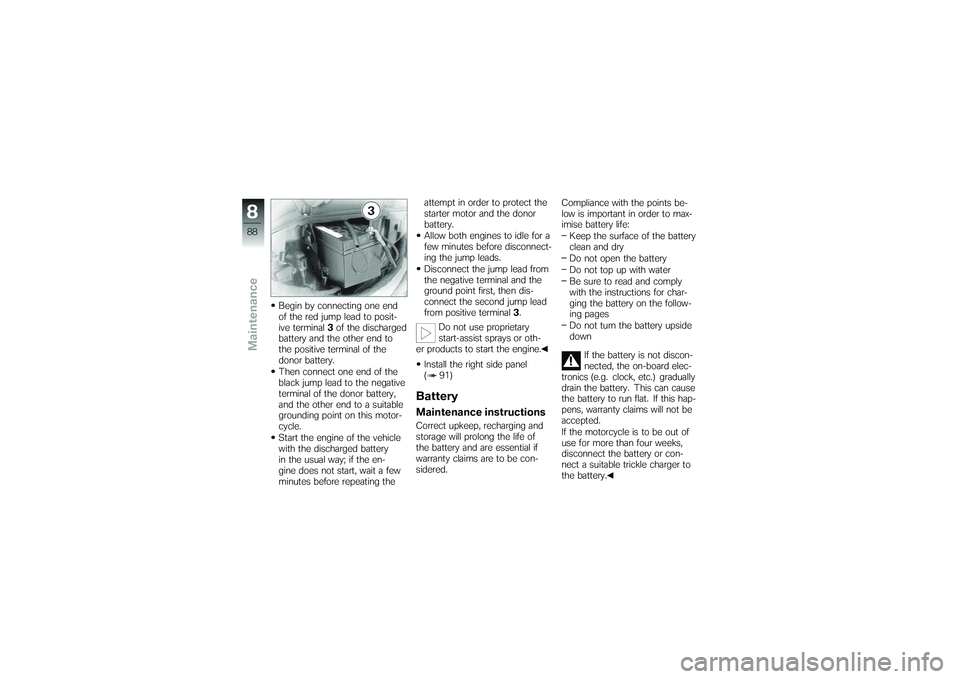
Begin by connecting one end
of the red jump lead to posit-
ive terminal3of the discharged
battery and the other end to
the positive terminal of the
donor battery.
Then connect one end of the
black jump lead to the negative
terminal of the donor battery,
and the other end to a suitable
grounding point on this motor-
cycle.
Start the engine of the vehicle
with the discharged battery
in the usual way; if the en-
gine does not start, wait a few
minutes before repeating the attempt in order to protect the
starter motor and the donor
battery.
Allow both engines to idle for a
few minutes before disconnect-
ing the jump leads.
Disconnect the jump lead from
the negative terminal and the
ground point first, then dis-
connect the second jump lead
from positive terminal
3.
Do not use proprietary
start-assist sprays or oth-
er products to start the engine.
Install the right side panel
( 91)
BatteryMaintenance instructionsCorrect upkeep, recharging and
storage will prolong the life of
the battery and are essential if
warranty claims are to be con-
sidered. Compliance with the points be-
low is important in order to max-
imise battery life:
Keep the surface of the battery
clean and dry
Do not open the battery
Do not top up with water
Be sure to read and comply
with the instructions for char-
ging the battery on the follow-
ing pages
Do not turn the battery upside
down
If the battery is not discon-
nected, the on-board elec-
tronics (e.g. clock, etc.) gradually
drain the battery. This can cause
the battery to run flat. If this hap-
pens, warranty claims will not be
accepted.
If the motorcycle is to be out of
use for more than four weeks,
disconnect the battery or con-
nect a suitable trickle charger to
the battery.
888zMaintenance
Page 91 of 126

Charging battery when
connected
Charging the connected
battery directly at the bat-
tery terminals can damage the
vehicle electronics.
Always disconnect the battery
from the on-board circuits be-
fore recharging it with a charger
connected directly to the battery
posts.
If you switch on the igni-
tion and the multifunction
display and telltale lights fail to
light up, the battery is completely
flat. Attempting to charge a com-
pletely flat battery via the on-
board socket can cause damage
to the motorcycle's electronics.
If a battery has discharged to the
extent that it is completely flat, it
has to be disconnected from the
on-board circuits and charged
with the charger connected dir-
ectly to the battery posts. Charge via the power socket
(OE), with the battery connec-
ted to the motorcycle's on-
board electrical system.
Comply with the operating in-
structions of the charger.
Charging battery when
disconnectedCharge the battery using a
suitable charger.
Comply with the operating in-
structions of the charger.
Once the battery is fully
charged, disconnect the
charger's terminal clips from
the battery terminals.
The battery has to be re-
charged at regular intervals
in the course of a lengthy period
of disuse. See the instructions
for caring for your battery. Al-
ways fully recharge the battery
before restoring it to use
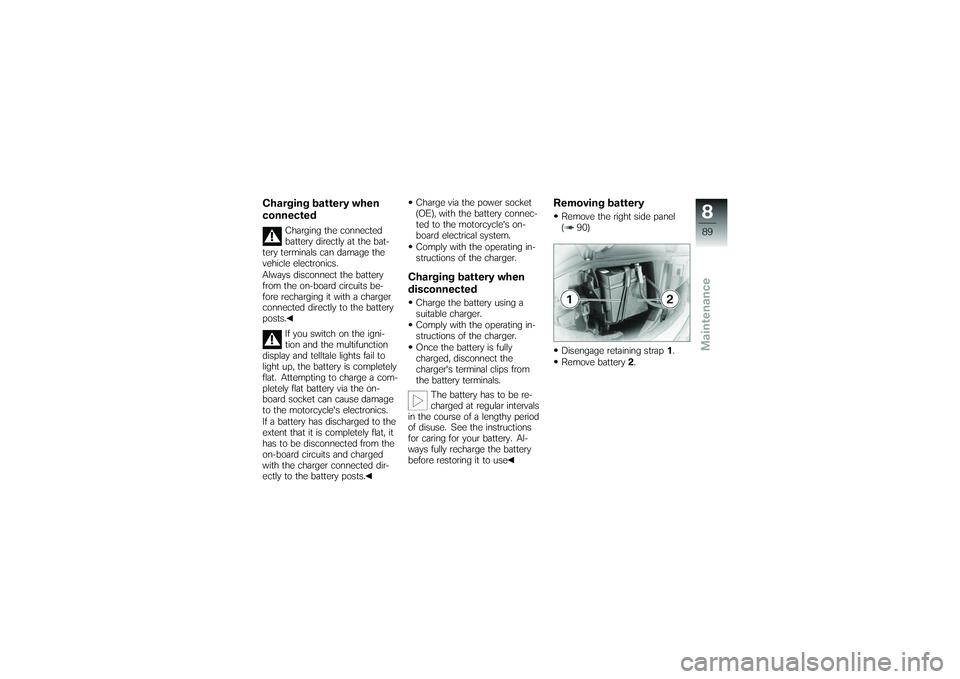
Removing batteryRemove the right side panel
( 90)
Disengage retaining strap 1.
Remove battery 2.
889zMaintenance
Page 121 of 126

A
Abbreviations and symbols, 6
ABSEngineering details, 50
Fuses, 13, 79
Self-diagnosis, 44
Switching off and on, 15, 33
Warnings, 23
Accessories Notes, 54
Power socket, 54
Auxiliary stand, 76
B
Battery Charging, 89
Maintenance instructions, 88
Removing and installing, 89
Technical data, 106
Voltmeter, 20, 30
BMW Motorrad service, 110
BMW Motorrad Service Card, 110 Brake fluid
Checking level, 63
Reservoir, front, 13
Reservoir, rear, 13
Brake pads Running in, 45
Test, 62
Brakes Notes, 45
Technical data, 104
Test, 61
Bulbs Notes on replacement, 80
Replacing low-beam headlight
bulb, 81
Replacing number-plate light
bulbs, 86
Replacing rear light, 86
Replacing side-light bulb, 83
Replacing turn indicator
bulb, 84
Technical data, 106
C
Care, 93 Chain
Adjusting tension, 69
Checking tension, 68
Checking wear, 69
Lubricating, 68
Checklist, 42
Clock, 20 Adjusting, 17, 29
Clutch Adjusting play, 67
Checking play, 67
Technical data, 102
Confirmation of maintenance work, 112
Coolant Checking level, 65
Fore-and-aft tilt indicator, 11
Topping up, 65
Coolant temperature Warning, 22
D
Damping Adjusting, 11, 35
Dimensions, 107
12119zIndex