display BMW MOTORRAD G650 XMOTO 2007 Rider's Manual (in English)
[x] Cancel search | Manufacturer: BMW MOTORRAD, Model Year: 2007, Model line: G650 XMOTO, Model: BMW MOTORRAD G650 XMOTO 2007Pages: 132, PDF Size: 2.83 MB
Page 4 of 132
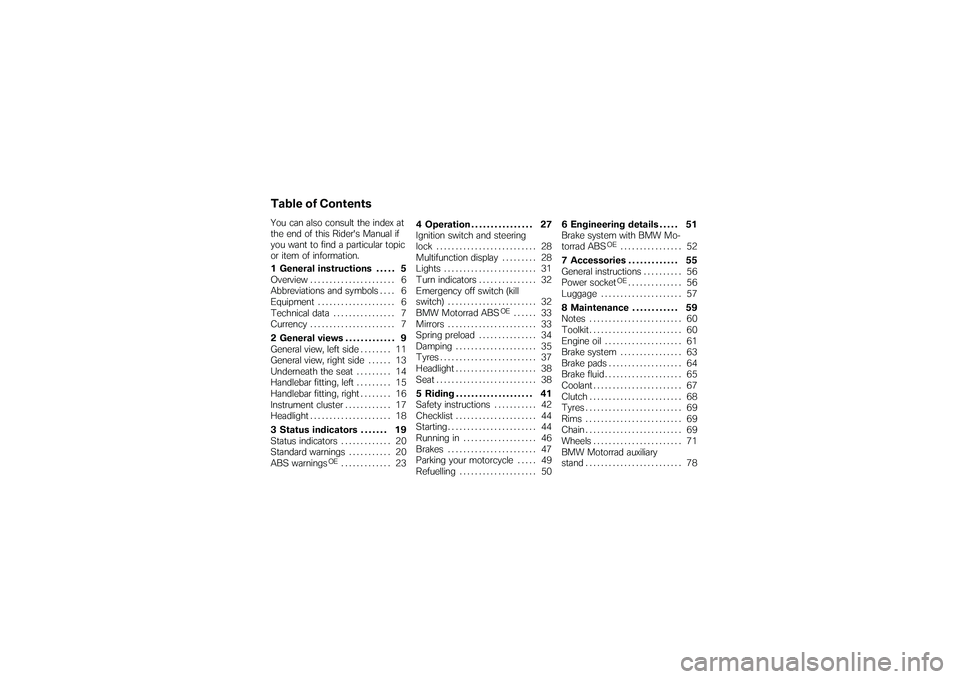
Table of ContentsYou can also consult the index at
the end of this Rider's Manual if
you want to find a particular topic
or item of information.
1 General instructions . . . . . 5
Overview ...................... 6
Abbreviations and symbols . . . . 6
Equipment . . . . . . .............. 6
Technical data . . .............. 7
Currency . ..................... 7
2 General views . . . . . . . . . . . . . 9
General view, left side . . . . . . . . 11
General view, right side . . . . . . 13
Underneath the seat ......... 14
Handlebar fitting, left ......... 15
Handlebar fitting, right . . . . . . . . 16
Instrument cluster . . . ......... 17
Headlight . .................... 18
3 Status indicators . . . . . . . 19
Status indicators ............. 20
Standard warnings . . ......... 20
ABS warnings
OE
............. 23 4 Operation . . . . . . . . . . . . . . . . 27
Ignition switch and steering
lock . . . . . .
.................... 28
Multifunction display ......... 28
Lights . . . . .................... 31
Turn indicators . . ............. 32
Emergency off switch (kill
switch) . . . .................... 32
BMW Motorrad ABS
OE
...... 33
Mirrors . . . .................... 33
Spring preload . . ............. 34
Damping . .................... 35
Tyres . . . . . .................... 37
Headlight . .................... 38
Seat . . . . . . .................... 38
5 Riding . . . . . . . . . . . . . . . . . . . . 41
Safety instructions . . ......... 42
Checklist . .................... 44
Starting . . . .................... 44
Running in . . . . . . ............. 46
Brakes . . . .................... 47
Parking your motorcycle . . . . . 49
Refuelling .................... 50 6 Engineering details . . . . . 51
Brake system with BMW Mo-
torrad ABS
OE
................ 52
7 Accessories . . . . . . . . . . . . . 55
General instructions . ......... 56
Power socketOE.............. 56
Luggage . .................... 57
8 Maintenance . . . . . . . . . . . . 59
Notes ........................ 60
Toolkit ........................ 60
Engine oil .................... 61
Brake system . . . ............. 63
Brake pads . . . . . . ............. 64
Brake fluid .................... 65
Coolant . . . .................... 67
Clutch . . . . .................... 68
Tyres . . . . . .................... 69
Rims . ........................ 69
Chain . . . . . .................... 69
Wheels . . . .................... 71
BMW Motorrad auxiliary
stand . . . . . .................... 78
Page 19 of 132
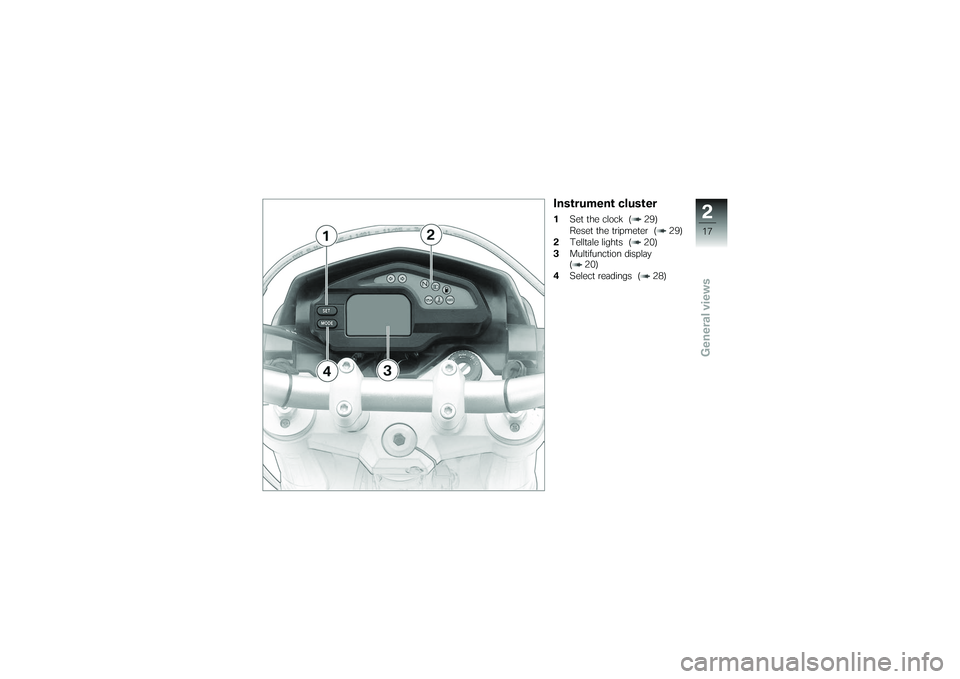
Instrument cluster1Set the clock ( 29)
Reset the tripmeter ( 29)
2 Telltale lights ( 20)
3 Multifunction display
( 20)
4 Select readings ( 28)
217zGeneral views
Page 22 of 132
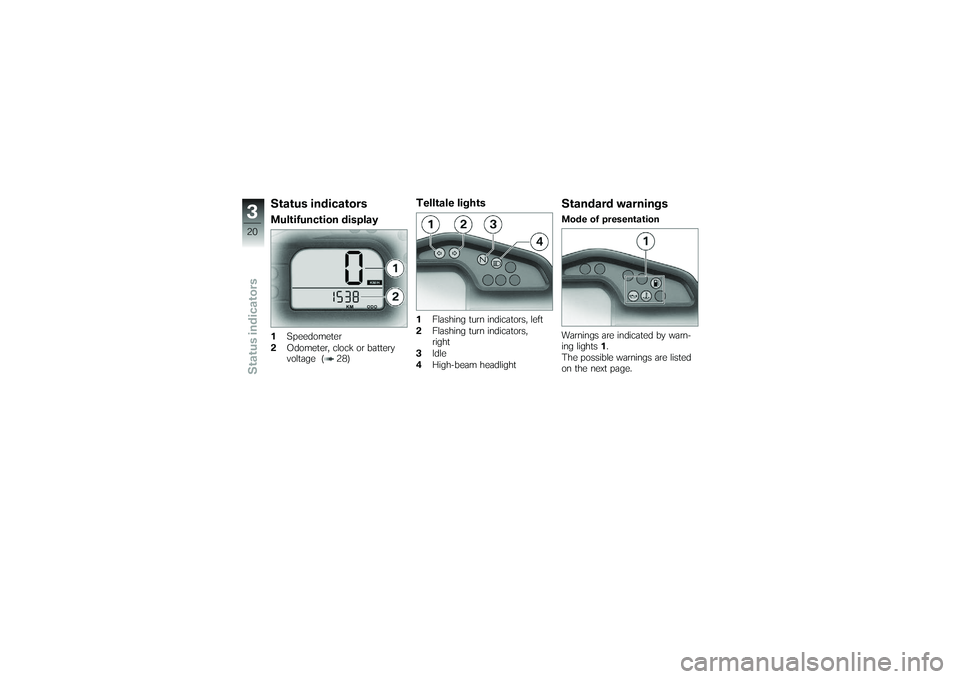
Status indicatorsMultifunction display1Speedometer
2 Odometer, clock or battery
voltage ( 28)
Telltale lights1Flashing turn indicators, left
2 Flashing turn indicators,
right
3 Idle
4 High-beam headlight
Standard warningsMode of presentation
Warnings are indicated by warn-
ing lights 1.
The possible warnings are listed
on the next page.
320zStatus indicators
Page 29 of 132
Operation
Operation
Ignition switch and steering lock..... 28
Multifunction display ................. 28
Lights ................................ 31
Turn indicators ....................... 32
Emergency off switch (kill switch) . . . . 32
BMW Motorrad ABS
OE
.............. 33
Mirrors . . . ............................ 33
Spring preload ....................... 34
Damping . ............................ 35
Tyres ................................ 37
Headlight ............................ 38
Seat ................................. 38
427zOperation
Page 30 of 132
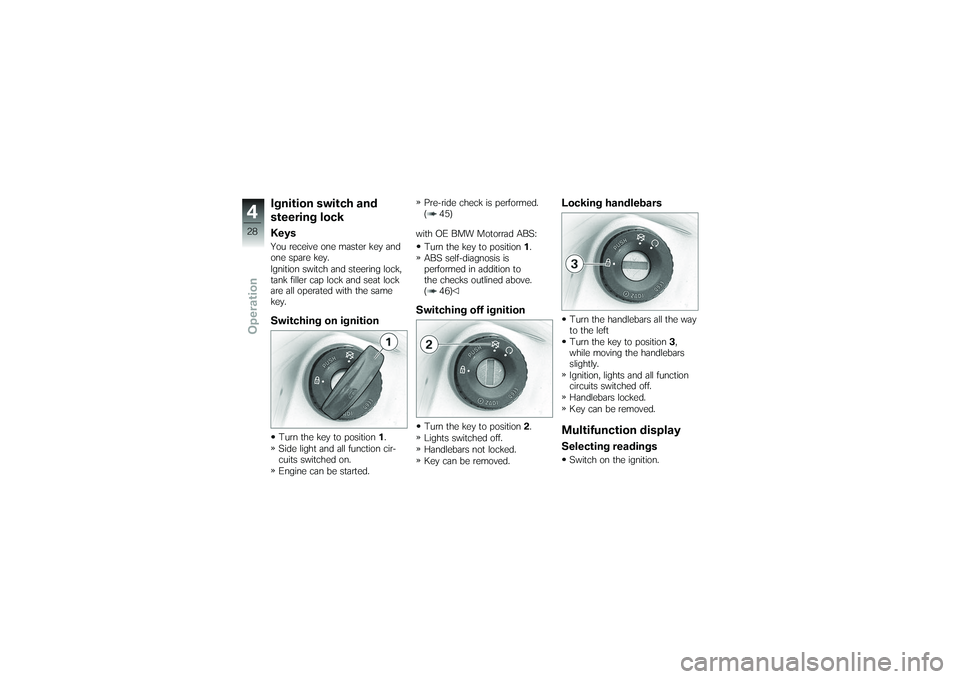
Ignition switch and
steering lockKeysYou receive one master key and
one spare key.
Ignition switch and steering lock,
tank filler cap lock and seat lock
are all operated with the same
key.Switching on ignitionTurn the key to position1.
Side light and all function cir-
cuits switched on.
Engine can be started. Pre-ride check is performed.
( 45)
with OE BMW Motorrad ABS: Turn the key to position 1.
ABS self-diagnosis is
performed in addition to
the checks outlined above.
( 46)
Switching off ignitionTurn the key to position 2.
Lights switched off.
Handlebars not locked.
Key can be removed.
Locking handlebarsTurn the handlebars all the way
to the left
Turn the key to position 3,
while moving the handlebars
slightly.
Ignition, lights and all function
circuits switched off.
Handlebars locked.
Key can be removed.Multifunction displaySelecting readingsSwitch on the ignition.
428zOperation
Page 31 of 132
If the motorcycle is to re-
main abroad for a lengthy
period, you can have the display
readouts changed from miles to
kilometers or vice versa, if neces-
sary. Under these circumstances
consult a specialist workshop,
preferably an authorised BMW
Motorrad dealer.
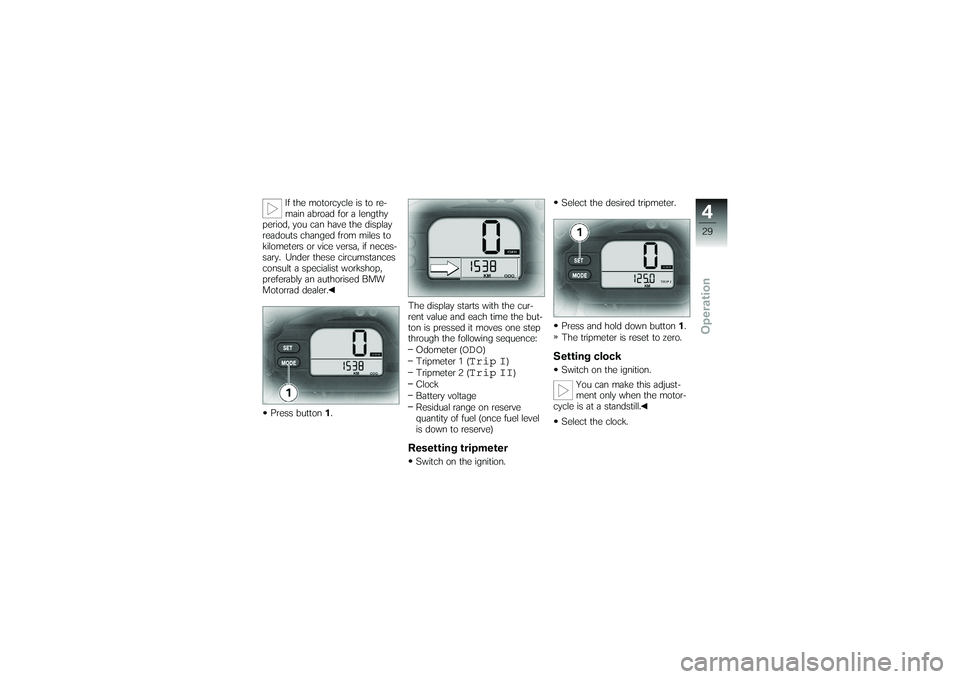
Press button 1. The display starts with the cur-
rent value and each time the but-
ton is pressed it moves one step
through the following sequence:
Odometer (
ODO
)
Tripmeter 1 (
Trip I
)
Tripmeter 2 (
Trip II
)
Clock
Battery voltage
Residual range on reserve
quantity of fuel (once fuel level
is down to reserve)
Resetting tripmeterSwitch on the ignition. Select the desired tripmeter.
Press and hold down button
1.
The tripmeter is reset to zero.
Setting clockSwitch on the ignition.
You can make this adjust-
ment only when the motor-
cycle is at a standstill.
Select the clock.
429zOperation
Page 32 of 132
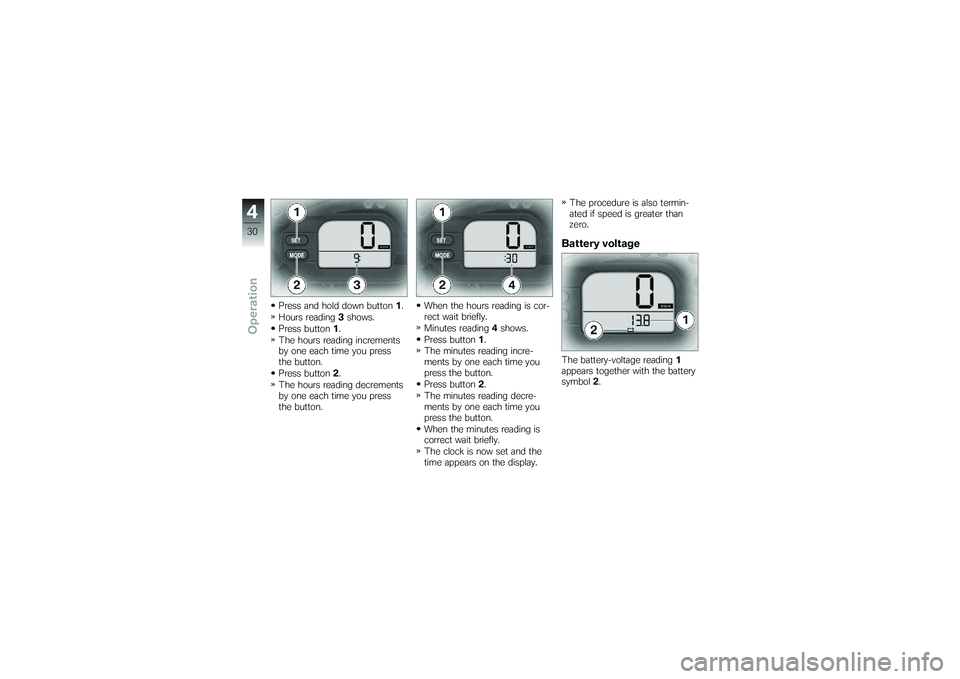
Press and hold down button1.
Hours reading 3shows.
Press button 1.
The hours reading increments
by one each time you press
the button.
Press button 2.
The hours reading decrements
by one each time you press
the button. When the hours reading is cor-
rect wait briefly.
Minutes reading
4shows.
Press button 1.
The minutes reading incre-
ments by one each time you
press the button.
Press button 2.
The minutes reading decre-
ments by one each time you
press the button.
When the minutes reading is
correct wait briefly.
The clock is now set and the
time appears on the display. The procedure is also termin-
ated if speed is greater than
zero.
Battery voltageThe battery-voltage reading
1
appears together with the battery
symbol 2.
430zOperation
Page 47 of 132
with OE BMW Motorrad ABS:Switch on the ignition.
Pre-ride check is performed.
( 45)
ABS self-diagnosis is
performed. ( 46)
Wait until the warning light for
the coolant temperature stops
flashing.
The idle actuator is posi-
tioned after you switch on
the ignition. The coolant-tem-
perature warning light flashes
if the idle actuator has not cor-
rectly positioned before the pre-
ride check completes. In order
to avoid subsequent problems,
wait for this process to complete
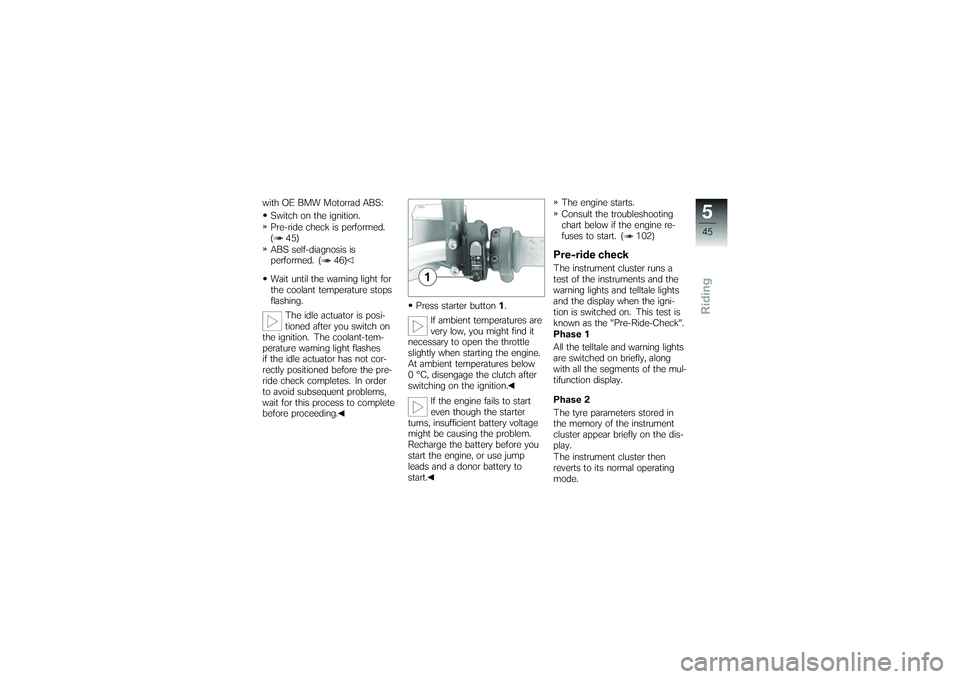
before proceeding. Press starter button
1.
If ambient temperatures are
very low, you might find it
necessary to open the throttle
slightly when starting the engine.
At ambient temperatures below
0 °C, disengage the clutch after
switching on the ignition.
If the engine fails to start
even though the starter
turns, insufficient battery voltage
might be causing the problem.
Recharge the battery before you
start the engine, or use jump
leads and a donor battery to
start. The engine starts.
Consult the troubleshooting
chart below if the engine re-
fuses to start. ( 102)
Pre-ride checkThe instrument cluster runs a
test of the instruments and the
warning lights and telltale lights
and the display when the igni-
tion is switched on. This test is
known as the "Pre-Ride-Check".
Phase 1
All the telltale and warning lights
are switched on briefly, along
with all the segments of the mul-
tifunction display.
Phase 2
The tyre parameters stored in
the memory of the instrument
cluster appear briefly on the dis-
play.
The instrument cluster then
reverts to its normal operating
mode.
545zRiding
Page 48 of 132
If a warning light or telltale light
did not show as specified above
or if a segment or segments of
the multifunction display failed to
light up:Some malfunctions cannot
be indicated if one of the
warning lights fails to show.
Make sure that all the warning
and telltale lights come on in the
pre-ride check.
Have the fault rectified as
quickly as possible by a
specialist workshop, preferably
an authorised BMW Motorrad
dealer.ABS self-diagnosis
OE
BMW Motorrad ABS performs
self-diagnosis to ensure its op-
erability. Self-diagnosis is per-
formed automatically when you
switch on the ignition. The mo-
torcycle has to move forward a few metres for the wheel sensors
to be tested.
Phase 1
Test of the diagnosis-compat-
ible system components with
the motorcycle at a standstill. ABS warning light flashes.
Phase 2 Test of the wheel sensors as
the motorcycle pulls away from
rest. ABS warning light flashes.
ABS self-diagnosis
completed The ABS warning light goes
out.
If an indicator showing an ABS
fault appears when ABS self-dia-
gnosis completes: You can continue to ride. Bear
in mind that the ABS function
is not available.
Have the fault rectified as
quickly as possible by a
specialist workshop, preferably
an authorised BMW Motorrad
dealer.
Running inThe first 1000 kmWhile running in the motor-
cycle, vary the throttle opening
and engine-speed range fre-
quently.
Try to do most of your rid-
ing during this initial period on
twisting, fairly hilly roads, avoid-
ing high-speed main roads and
highways if possible.
Exceeding the specified en-
gine speeds while running
in will lead to increased engine
wear.
546zRiding
Page 94 of 132
Charging battery when
connected
Charging the connected
battery directly at the bat-
tery terminals can damage the
vehicle electronics.
Always disconnect the battery
from the on-board circuits be-
fore recharging it with a charger
connected directly to the battery
posts.
If you switch on the igni-
tion and the multifunction
display and telltale lights fail to
light up, the battery is completely
flat. Attempting to charge a com-
pletely flat battery via the on-
board socket can cause damage
to the motorcycle's electronics.
If a battery has discharged to the
extent that it is completely flat, it
has to be disconnected from the
on-board circuits and charged
with the charger connected dir-
ectly to the battery posts. Charge via the power socket
(OE), with the battery connec-
ted to the motorcycle's on-
board electrical system.
Comply with the operating in-
structions of the charger.
Charging battery when
disconnectedCharge the battery using a
suitable charger.
Comply with the operating in-
structions of the charger.
Once the battery is fully
charged, disconnect the
charger's terminal clips from
the battery terminals.
The battery has to be re-
charged at regular intervals
in the course of a lengthy period
of disuse. See the instructions
for caring for your battery. Al-
ways fully recharge the battery
before restoring it to use
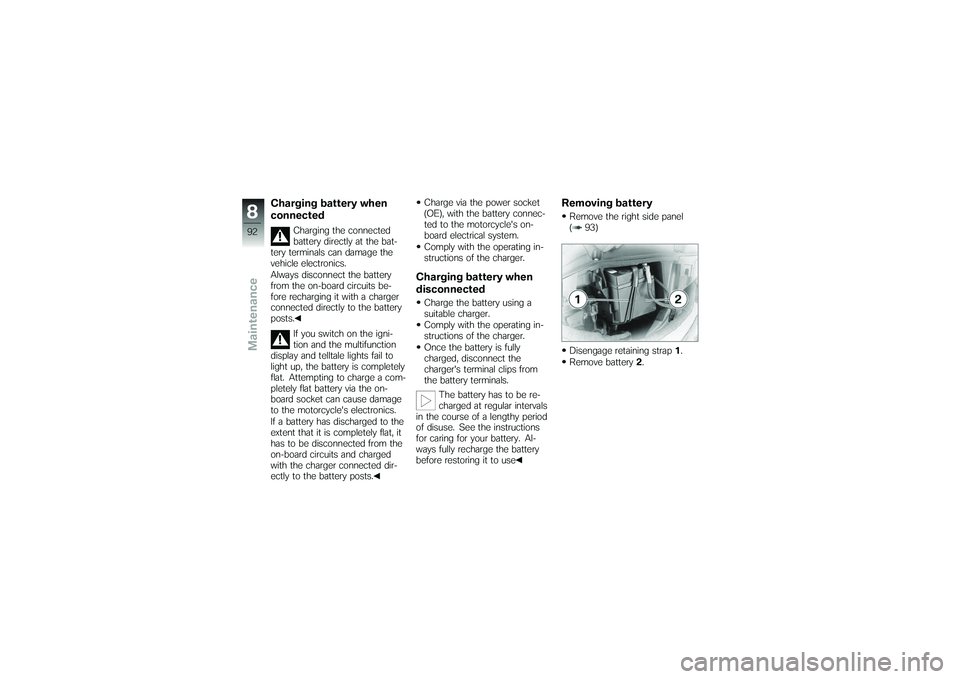
Removing batteryRemove the right side panel
( 93)
Disengage retaining strap 1.
Remove battery 2.
892zMaintenance