BMW SPORT WAGON 2001 Owners Manual
Manufacturer: BMW, Model Year: 2001, Model line: SPORT WAGON, Model: BMW SPORT WAGON 2001Pages: 238, PDF Size: 2.44 MB
Page 101 of 238

IndexDataTechnologyRepairsCar careControlsOverview
101n
Park Distance Control (PDC)
*
The PDC does not remove the
driver's personal responsibility
for evaluating the distance between the
vehicle and any obstacles. Even when
sensors are involved, there is a blind
spot in which objects cannot be de-
tected. This applies especially in those
cases where the system approaches
the physical limits of ultrasonic mea-
surement, as occurs with tow bars and
trailer couplings, and in the vicinity of
thin and painted objects.
Certain sources of sound, such as a
loud radio, could drown the PDC signal
tone.<
Keep the sensors clean and free
of ice or snow in order to ensure
that they continue to operate effectively.
Do not apply high pressure spray to the
sensors for a prolonged period of time.
Maintain an adequate distance of more
than approx. 4 in (10 cm).<
Page 102 of 238
102n
ASC+T/DSC
*
Automatic Stability Control plus
Traction (ASC+T)/Dynamic
Stability Control (DSC)
*
These systems contribute to additional
vehicle stability, especially during
acceleration and when cornering.
The DSC system enhances the benefits
of the ASC+T. In addition to optimizing
vehicle stability and traction during
acceleration or when starting from a
standstill, a further benefit is realized in
cornering. This, of course, is true only
within physically feasible limits.
The system activates automatically
each time you start the engine.
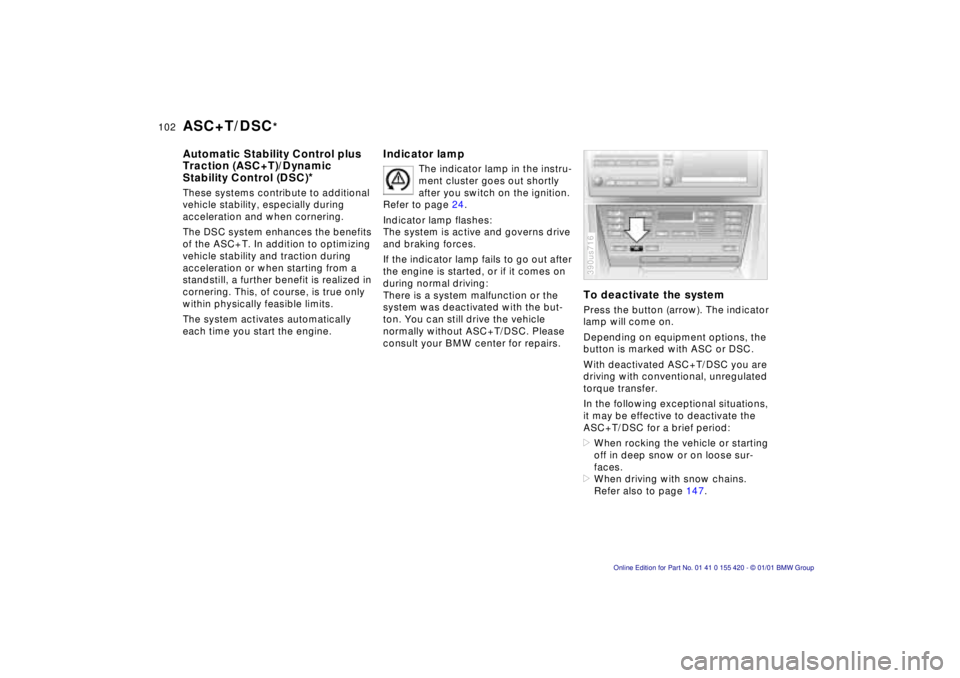
To deactivate the systemPress the button (arrow). The indicator
lamp will come on.
Depending on equipment options, the
button is marked with ASC or DSC.
With deactivated ASC+T/DSC you are
driving with conventional, unregulated
torque transfer.
In the following exceptional situations,
it may be effective to deactivate the
ASC+T/DSC for a brief period:
>When rocking the vehicle or starting
off in deep snow or on loose sur-
faces.
>When driving with snow chains.
Refer also to page 147.390us716
Indicator lamp
The indicator lamp in the instru-
ment cluster goes out shortly
after you switch on the ignition.
Refer to page 24.
Indicator lamp flashes:
The system is active and governs drive
and braking forces.
If the indicator lamp fails to go out after
the engine is started, or if it comes on
during normal driving:
There is a system malfunction or the
system was deactivated with the but-
ton. You can still drive the vehicle
normally without ASC+T/DSC. Please
consult your BMW center for repairs.
Page 103 of 238
IndexDataTechnologyRepairsCar careControlsOverview
103n
ASC+T/DSC
*
Tire Pressure Control (RDC)
*
To reactivate the systemPress the button again; the indicator
lamp goes out.
The laws of physics cannot be
repealed, even with ASC+T/DSC.
An appropriate driving style always
remains the responsibility of the driver.
We therefore urge you to avoid using
the additional safety margin of the
system as an excuse for taking risks.<
For additional details concerning
ASC+T/DSC, please refer to the
chapter describing "Advanced
technology" on page 207.
The concept RDC monitors the tire pressures at all
four wheels, even when the vehicle is
moving. The system provides an alert
whenever the inflation pressure drops
significantly below the specified pres-
sure in one or more tires.
In order for the system to "learn" the
correct tire inflation pressure, check the
inflation pressure in all tires. Refer to
the table of "Tire inflation pressures"
beginning on page 29 and make any
necessary corrections. Then activate
the system.
This indicator lamp in the in-
strument cluster or the Check
Control will inform you if the
tire pressure is not correct.
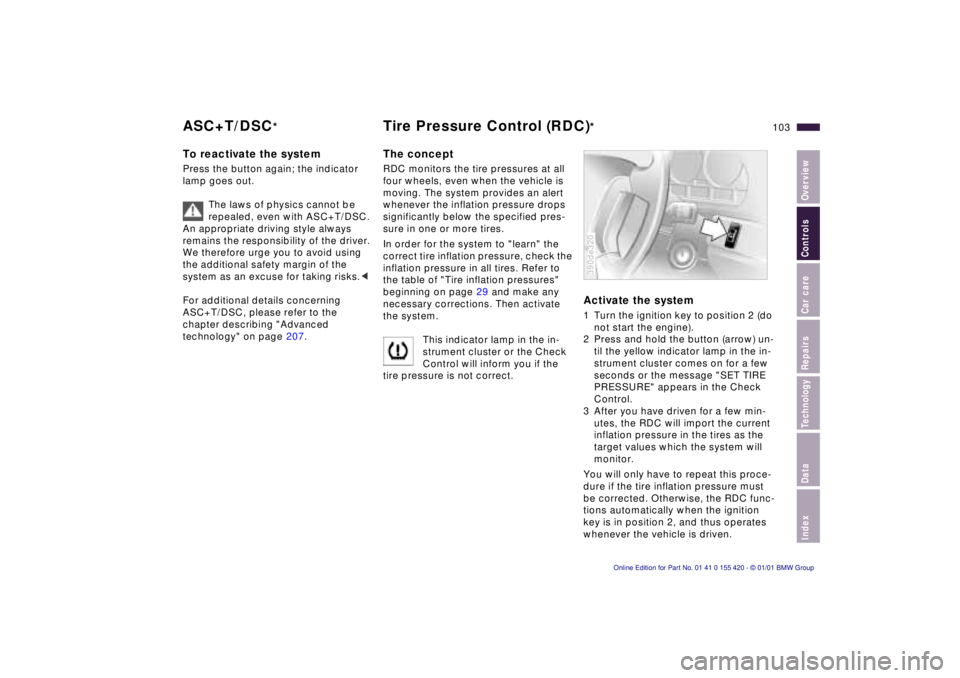
Activate the system1 Turn the ignition key to position 2 (do
not start the engine).
2 Press and hold the button (arrow) un-
til the yellow indicator lamp in the in-
strument cluster comes on for a few
seconds or the message "SET TIRE
PRESSURE" appears in the Check
Control.
3 After you have driven for a few min-
utes, the RDC will import the current
inflation pressure in the tires as the
target values which the system will
monitor.
You will only have to repeat this proce-
dure if the tire inflation pressure must
be corrected. Otherwise, the RDC func-
tions automatically when the ignition
key is in position 2, and thus operates
whenever the vehicle is driven.390de320
Page 104 of 238

104n
Tire Pressure Control (RDC)
*
Loss of tire pressureIf, after a certain period of time, the air
pressure has gone down significantly
(which is normal for any tire), the yellow
indicator lamp comes on or the mes-
sage "CHECK TIRE PRESSURE" ap-
pears in the Check Control.
This alerts you that you should have the
tires inflated to the specified pressures
as soon as possible.
If you are prompted to check the
tire pressure shortly after a cor-
rection has been made, this indicates
that the corrected values were not ac-
curate. Please check the inflation pres-
sure again and make corrections ac-
cording to the inflation pressure table.<
Flat tireIf there is a tire failure with a loss of air
pressure, the red indicator lamp comes
on or the message "TIRE DEFECT" ap-
pears in the Check Control. In addition,
a gong sounds.
If this occurs, reduce vehicle speed im-
mediately and stop the vehicle in a safe
location. Avoid hard brake applications.
Do not oversteer. Replace the flat tire.
The spare tire which is available in
your vehicle as standard equip-
ment is equipped with the electronics
required for RDC and, following activa-
tion of the system, is also monitored af-
ter it is mounted.<
The RDC cannot alert you to se-
vere and sudden tire damage
caused by external factors.<
Have the tires changed by your
authorized BMW center.
Your BMW center has the information
needed for working with RDC and is
equipped with the necessary special
tools.<
System interferenceDuring the period of the malfunction,
the yellow indicator lamp comes on
or the message "TIRECONTROL
INACTIVE" appears in the Check
Control.
You will also see the same message
>in the event of a system fault
>if a wheel is mounted without the
RDC electronics
>if, in addition to the spare tire,
additional wheels with RDC
electronics are on board.
Please contact your BMW center for
additional information.
Page 105 of 238
IndexDataTechnologyRepairsCar careControlsOverview
105n
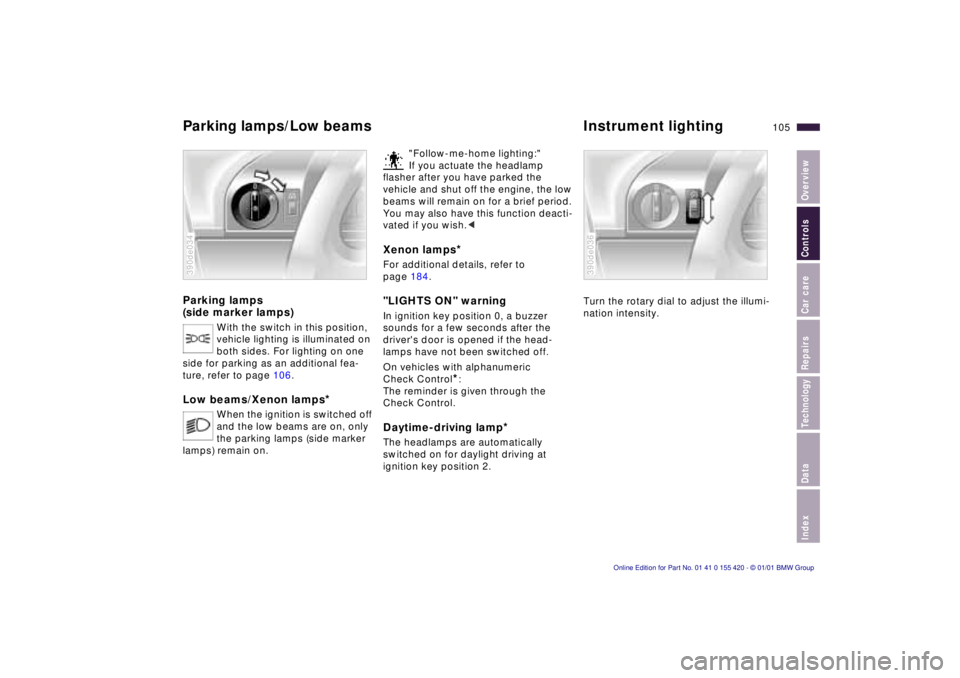
Parking lamps
(side marker lamps)
With the switch in this position,
vehicle lighting is illuminated on
both sides. For lighting on one
side for parking as an additional fea-
ture, refer to page 106.
Low beams/Xenon lamps
*
When the ignition is switched off
and the low beams are on, only
the parking lamps (side marker
lamps) remain on.
390de034
"Follow-me-home lighting:"
If you actuate the headlamp
flasher after you have parked the
vehicle and shut off the engine, the low
beams will remain on for a brief period.
You may also have this function deacti-
vated if you wish.<
Xenon lamps
*
For additional details, refer to
page 184."LIGHTS ON" warning In ignition key position 0, a buzzer
sounds for a few seconds after the
driver's door is opened if the head-
lamps have not been switched off
.
On vehicles with alphanumeric
Check Control
*:
The reminder is given through the
Check Control.
Daytime-driving lamp
*
The headlamps are automatically
switched on for daylight driving at
ignition key position 2.
Turn the rotary dial to adjust the illumi-
nation intensity.390de036
Parking lamps/Low beamsInstrument lighting
Page 106 of 238
106n
High beams/Parking lamps
Fog lamps Interior lamps
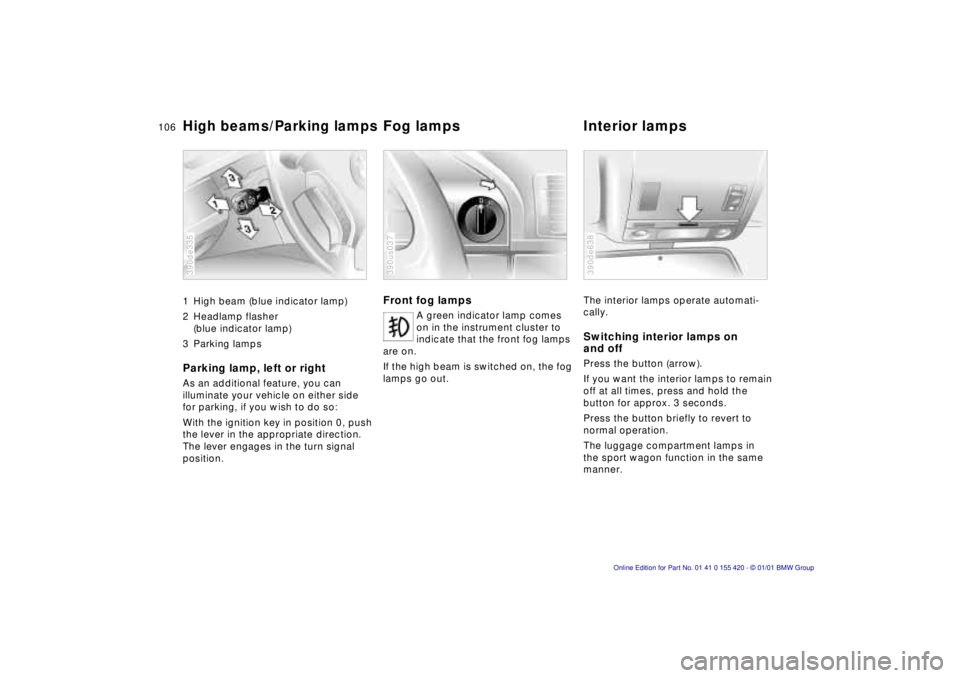
1 High beam (blue indicator lamp)
2 Headlamp flasher
(blue indicator lamp)
3 Parking lamps Parking lamp, left or rightAs an additional feature, you can
illuminate your vehicle on either side
for parking, if you wish to do so:
With the ignition key in position 0, push
the lever in the appropriate direction.
The lever engages in the turn signal
position.390de335
Front fog lamps
A green indicator lamp comes
on in the instrument cluster to
indicate that the front fog lamps
are on.
If the high beam is switched on, the fog
lamps go out.
390us037
The interior lamps operate automati-
cally.Switching interior lamps on
and offPress the button (arrow).
If you want the interior lamps to remain
off at all times, press and hold the
button for approx. 3 seconds.
Press the button briefly to revert to
normal operation.
The luggage compartment lamps in
the sport wagon function in the same
manner.390de638
Page 107 of 238
IndexDataTechnologyRepairsCar careControlsOverview
107n
Interior lamps Reading lampsFootwell lamps The footwell lamps operate in the same
way as the interior lamps.
The reading lamps are located in the
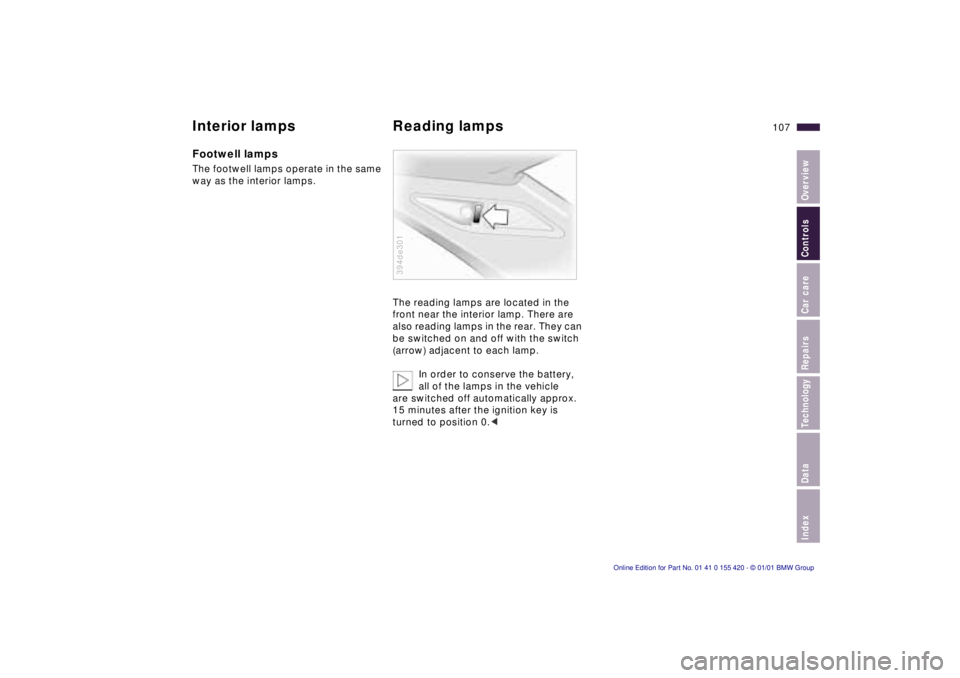
front near the interior lamp. There are
also reading lamps in the rear. They can
be switched on and off with the switch
(arrow) adjacent to each lamp.
In order to conserve the battery,
all of the lamps in the vehicle
are switched off automatically approx.
15 minutes after the ignition key is
turned to position 0.<
394de301
Page 108 of 238
108n
390us706Air conditioner
Page 109 of 238
IndexDataTechnologyRepairsCar careControlsOverview
109n
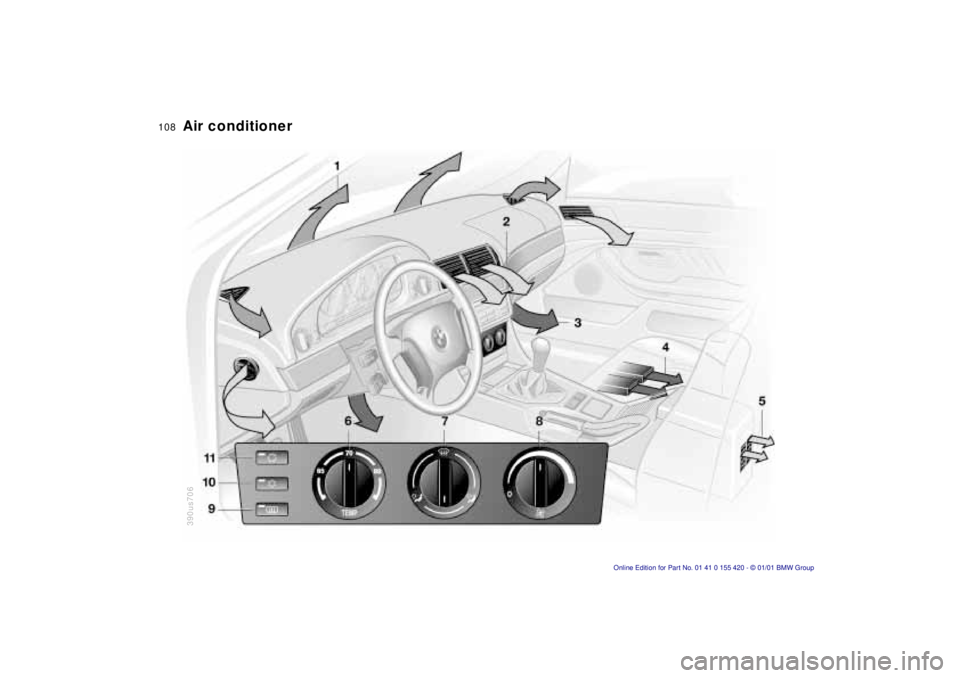
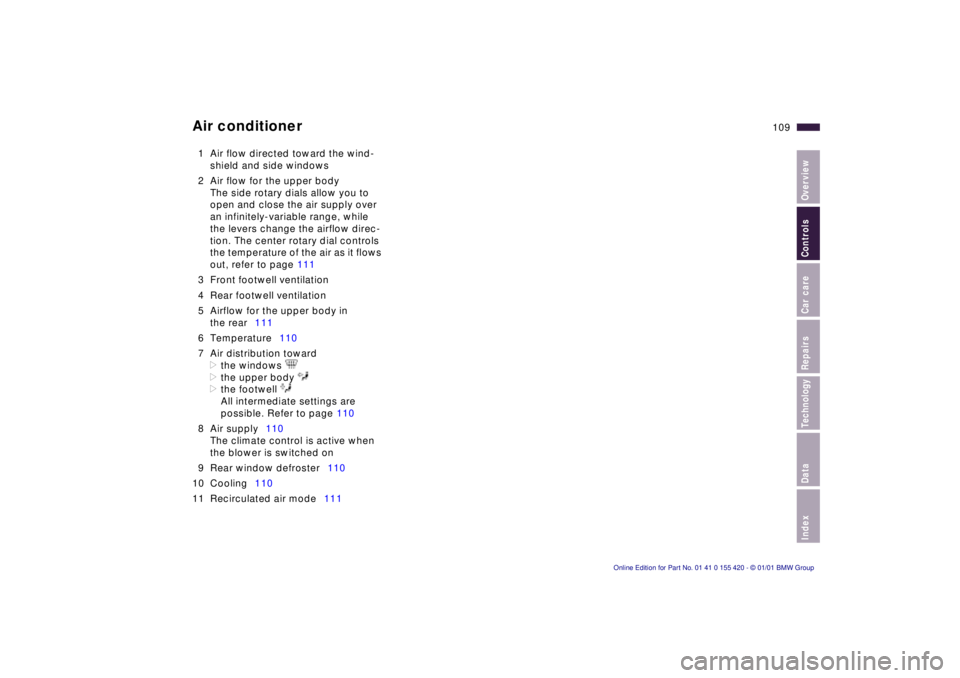
Air conditioner1 Air flow directed toward the wind-
shield and side windows
2 Air flow for the upper body
The side rotary dials allow you to
open and close the air supply over
an infinitely-variable range, while
the levers change the airflow direc-
tion. The center rotary dial controls
the temperature of the air as it flows
out, refer to page 111
3 Front footwell ventilation
4 Rear footwell ventilation
5 Airflow for the upper body in
the rear111
6 Temperature110
7 Air distribution toward
>the windows
>the upper body
>the footwell
All intermediate settings are
possible. Refer to page 110
8 Air supply110
The climate control is active when
the blower is switched on
9 Rear window defroster110
10 Cooling110
11 Recirculated air mode111
Page 110 of 238
110n
Air conditionerTips for a pleasant driving
experienceTemperature 6 is recommended for a
comfortable setting at 707 (226).
Turn the air distribution 7 to the
"6 o'clock" position. Adjust the air sup-
ply 8 to the center setting. Set the out-
lets 2 so that the air flows past you and
is not directed straight at you. Set the
rotary dial between the outlets 2 for the
upper body to a central position so that
cooler air helps prevent fatigue during
the journey.
The following description will lead you
through additional individual adjust-
ments.Temperature
The graduations on the dial
provide general reference val-
ues for the interior tempera-
ture. We recommend 707
(226) as a comfortable setting. When
you start the vehicle, this system ad-
justs the air to the selected temperature
as quickly as possible, and then main-
tains that temperature constantly.
Air distribution
You can direct air to flow onto
the windows , toward the
upper body and into the
footwell . You can also
select all intermediate settings. In the
setting, there is a low flow of air onto
the windows to keep them free of con-
densation. The "6 o'clock" setting is
recommended for normal conditions
(refer to the illustration and overview on
page 108).
Air supply
You can adjust the air supply
over an infinitely-variable
range. The heating and venti-
lation become increasingly
effective as the air supply settings are
increased. In the "0" setting, the blower
and climate control are switched off
and the outside air supply is blocked.
Rear window defroster
When the rear window de-
froster is activated, the indi-
cator lamp comes on. The rear window
defroster switches off automatically.
Cooling
The air is cooled and dehu-
midified and – depending on
the temperature setting – warmed again
with the air conditioner system
switched on. Depending on the
weather, the windshield may fog over
briefly when the engine is started.
Switch off the air conditioner at outside
temperatures below approx. 427
(56). This will help to prevent the
windows from fogging up.
If the windows fog over after switching
the air conditioner off, switch it back
on.
Condensation forms in the air
conditioner system during opera-
tion, which then exits under the vehicle.
Traces of condensed water of this kind
are thus normal.<