BMW SPORT WAGON 2001 Owners Manual
Manufacturer: BMW, Model Year: 2001, Model line: SPORT WAGON, Model: BMW SPORT WAGON 2001Pages: 238, PDF Size: 2.44 MB
Page 121 of 238
IndexDataTechnologyRepairsCar careControlsOverview
121n
The conceptThe BMW Universal Transmitter re-
places up to three hand-held transmit-
ters that control different devices such
as a garage door opener, alarm sys-
tems or a door locking system. The
BMW Universal Transmitter recognizes
and "learns" the transmitted signal from
each of the original hand-held transmit-
ters.
The signal of an original hand-held
transmitter can be programmed to one
of three channel buttons. Following
that, each of the devices can be oper-
ated with the channel button that you
have programmed for it. A transmission
of the signal is indicated by the indica-
tor lamp.
Before you sell your vehicle, the pro-
grammed channel buttons should be
cleared. Refer to page 123 for the de-
scription of this process.
To prevent potential injuries or
damage during the programming
operation and before every remote trig-
gering of a programmed device using
the BMW Universal Transmitter, be sure
that there are no persons, animals or
objects within the range of movement
of the respective device.
Read and comply with the safety in-
structions for the original hand-held
transmitter also.<
To Canadian residents:
During programming, your hand-
held transmitter may automatically stop
transmitting after two seconds. This
may not be long enough to program the
BMW Universal Transmitter. If you are
programming from one of these hand-
held transmitters, the Universal Trans-
mitter's lamp may begin to flash in a se-
ries of double flashes. If this occurs,
continue to hold the button on the Uni-
versal Transmitter while you reactivate
your hand-held transmitter. You may
have to repeat this function several
times while programming.<
Before programming, read the
"User's information" section on
page 123.< The original hand-held transmitter
If this symbol is depicted on the
packaging or in the user's in-
structions for the original hand-
held transmitter, it may be assumed
that this original hand-held transmitter
is compatible with the BMW Universal
Transmitter.
Checking for the change codeIn order to determine whether the origi-
nal hand-held transmitter is equipped
with a change code system, you may
either refer to the instructions for the
original hand-held transmitter or pro-
gram a channel button as described in
the left column on page 122 under
"Programming."
Following that, press and hold the pro-
grammed channel button of the BMW
Universal Transmitter. If the indicator
lamp of the BMW Universal Transmitter
flashes rapidly for two seconds and
then stays on continuously, the original
hand-held transmitter is equipped with
a change code system. If the change
code system is available, program the
channel buttons as described in the
right-hand column on page 122 under
"Programming a hand-held transmitter
with change code."
If you have additional questions,
please consult your BMW center
or call 1-800-355-3515.<
BMW Universal Transmitter
*
Page 122 of 238
122n
BMW Universal Transmitter
*
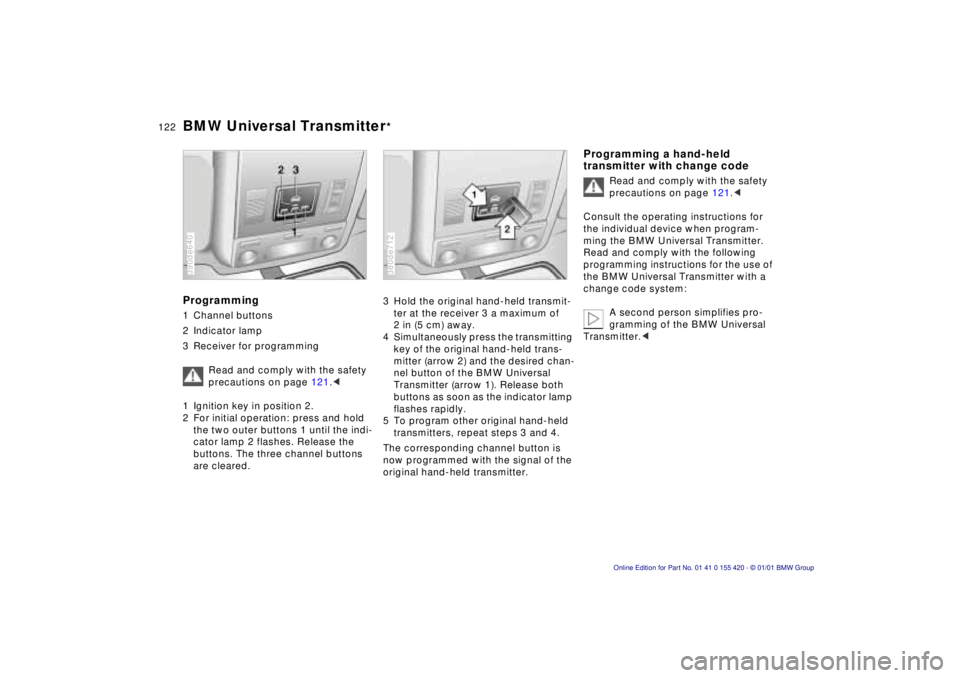
Programming1 Channel buttons
2 Indicator lamp
3 Receiver for programming
Read and comply with the safety
precautions on page 121.<
1 Ignition key in position 2.
2 For initial operation: press and hold
the two outer buttons 1 until the indi-
cator lamp 2 flashes. Release the
buttons. The three channel buttons
are cleared.390de640
3 Hold the original hand-held transmit-
ter at the receiver 3 a maximum of
2 in (5 cm) away.
4 Simultaneously press the transmitting
key of the original hand-held trans-
mitter (arrow 2) and the desired chan-
nel button of the BMW Universal
Transmitter (arrow 1). Release both
buttons as soon as the indicator lamp
flashes rapidly.
5 To program other original hand-held
transmitters, repeat steps 3 and 4.
The corresponding channel button is
now programmed with the signal of the
original hand-held transmitter.380de712
Programming a hand-held
transmitter with change code
Read and comply with the safety
precautions on page 121.<
Consult the operating instructions for
the individual device when program-
ming the BMW Universal Transmitter.
Read and comply with the following
programming instructions for the use of
the BMW Universal Transmitter with a
change code system:
A second person simplifies pro-
gramming of the BMW Universal
Transmitter.<
Page 123 of 238
IndexDataTechnologyRepairsCar careControlsOverview
123n
BMW Universal Transmitter
*
1 Program the BMW Universal Trans-
mitter as described above under
"Programming."
2 Press and hold the programming but-
ton on the receiver of the device for
about two seconds or until the pro-
gramming lamp on the device comes
on.
3 Press the desired channel button of
the BMW Universal Transmitter three
times.
If you have additional questions,
please consult your BMW cen-
ter.<
Clearing the channel buttons
Read and comply with the safety
precautions on page 121.<
Individual channel buttons cannot be
cleared. However, the three channel
buttons can be cleared together in the
following manner:
>Press and hold the two outer channel
buttons of the BMW Universal Trans-
mitter until the indicator lamp flashes,
and then release the buttons.
All channel buttons are cleared.
User's informationDo not use this BMW Universal Trans-
mitter with any garage door opener that
lacks safety "stop" and "reverse" fea-
tures as required by federal safety stan-
dards (this includes any garage door
opener model manufactured before
April 1, 1982).
This device complies with Part 15 of the
FCC Rules. Operation is subject to the
following two conditions:
(1) This device may not cause harmful
interference, and
(2) This device must accept any inter-
ference received, including interference
that may cause undesired operation.
Page 124 of 238
124n
Glove compartment Storage facilities
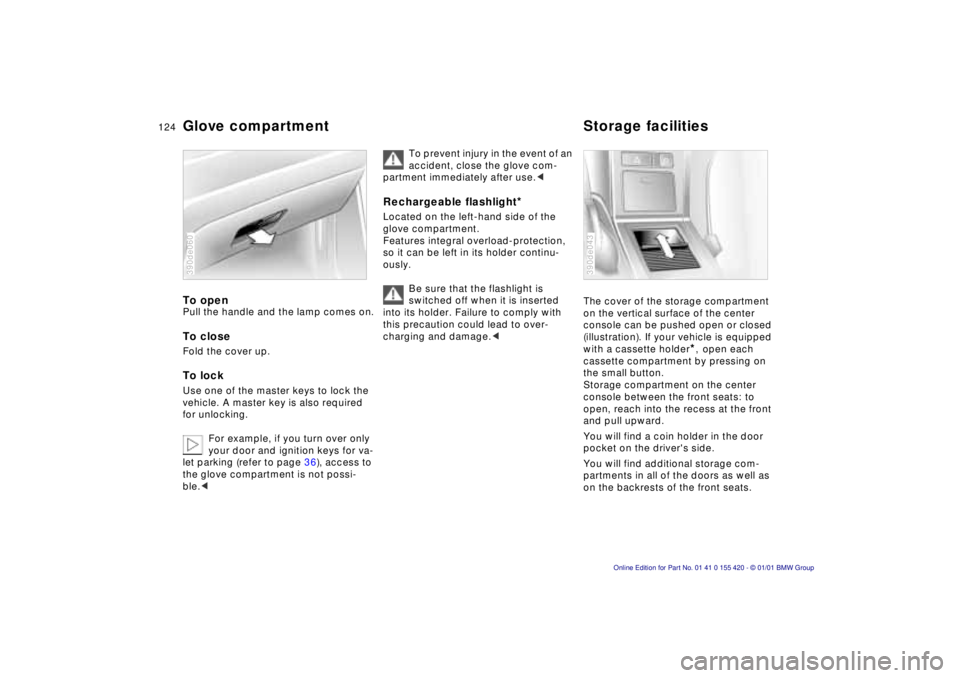
To open
Pull the handle and the lamp comes on.
To close
Fold the cover up.
To lock
Use one of the master keys to lock the
vehicle. A master key is also required
for unlocking.
For example, if you turn over only
your door and ignition keys for va-
let parking (refer to page 36), access to
the glove compartment is not possi-
ble.
<
390de060
To prevent injury in the event of an
accident, close the glove com-
partment immediately after use.
<
Rechargeable flashlight
*
Located on the left-hand side of the
glove compartment.
Features integral overload-protection,
so it can be left in its holder continu-
ously.
Be sure that the flashlight is
switched off when it is inserted
into its holder. Failure to comply with
this precaution could lead to over-
charging and damage.
<
The cover of the storage compartment
on the vertical surface of the center
console can be pushed open or closed
(illustration). If your vehicle is equipped
with a cassette holder
*
,
open each
cassette compartment by pressing on
the small button.
Storage compartment on the center
console between the front seats: to
open, reach into the recess at the front
and pull upward.
You will find a coin holder in the door
pocket on the driver's side.
You will find additional storage com-
partments in all of the doors as well as
on the backrests of the front seats.
390de043
Page 125 of 238
Index
Data
Technology
Repairs
Car care
Controls
Overview
125nCellular phone*Beverage holder*
Handsfree system
On vehicles with a telephone hookup*,
the handsfree speaker is positioned in
the headliner.
For further information on the cellular
phone, refer to the separate Owner's
Manual.
390de639
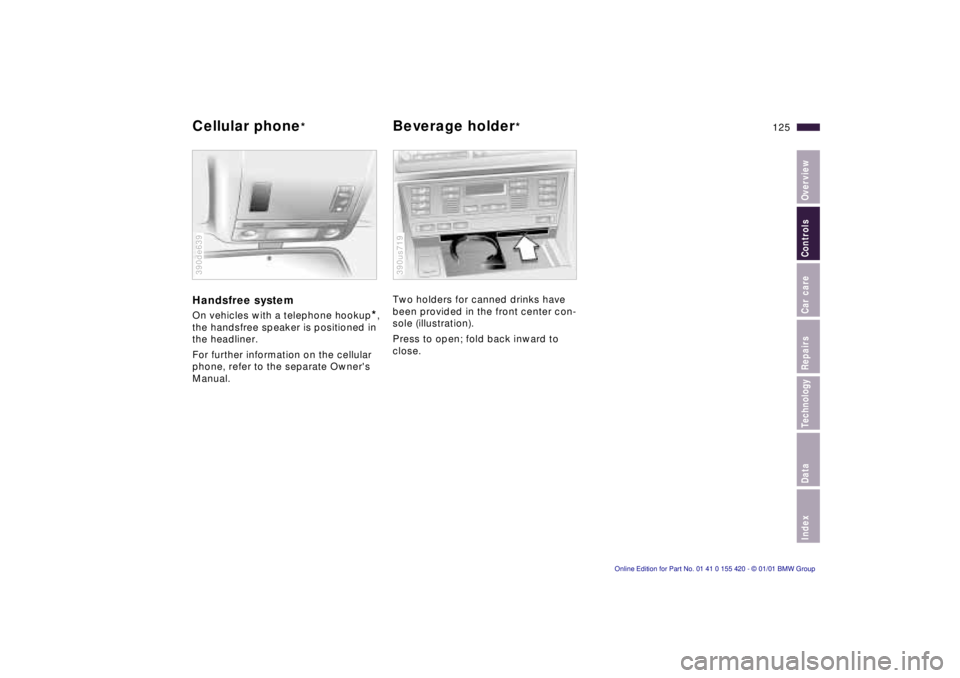
Two holders for canned drinks have
been provided in the front center con-
sole (illustration).
Press to open; fold back inward to
close.
390us719
Page 126 of 238
126nAshtray, front Cigarette lighter*
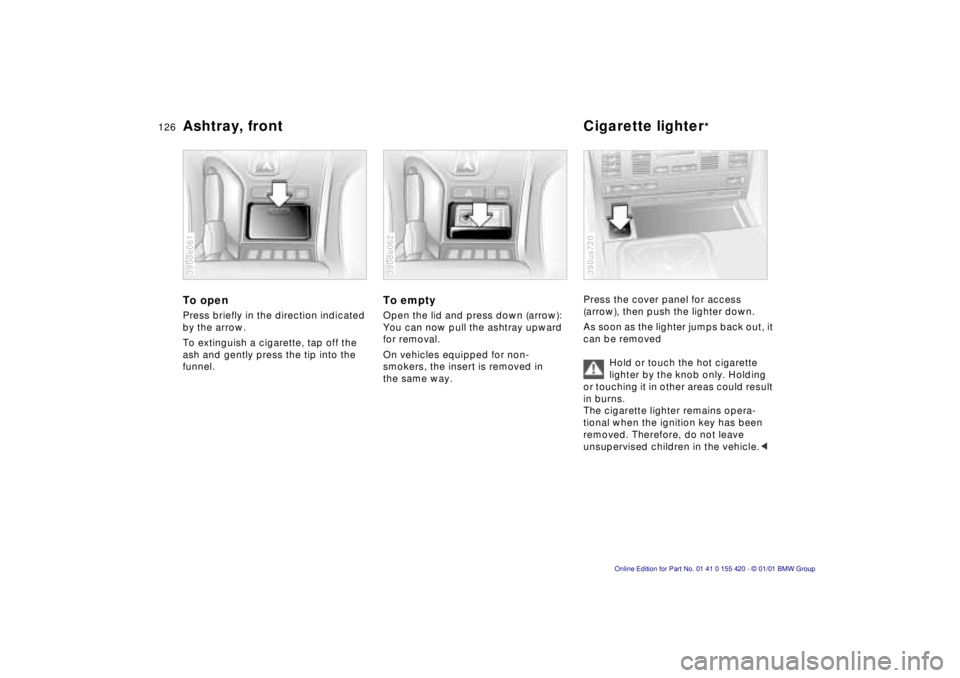
To open
Press briefly in the direction indicated
by the arrow.
To extinguish a cigarette, tap off the
ash and gently press the tip into the
funnel.
390de061
To empty
Open the lid and press down (arrow):
You can now pull the ashtray upward
for removal.
On vehicles equipped for non-
smokers, the insert is removed in
the same way.
390de062
Press the cover panel for access
(arrow), then push the lighter down.
As soon as the lighter jumps back out, it
can be removed
Hold or touch the hot cigarette
lighter by the knob only. Holding
or touching it in other areas could result
in burns.
The cigarette lighter remains opera-
tional when the ignition key has been
removed. Therefore, do not leave
unsupervised children in the vehicle. <
390us720
Page 127 of 238
Index
Data
Technology
Repairs
Car care
Controls
Overview
127nCigarette lighter*Ashtray, rear
Cigarette lighter socket
Suitable for attaching power supplies
for flashlights, car vacuum cleaners,
etc., up to a rating of approx. 200 watts
at 12 volts. Avoid damage to the socket
caused by inserting plugs of different
shapes or sizes.
Non-smoker's equipment
package
On vehicles with the non-smoker's
equipment package, the socket is
concealed by a cover.
For access to the socket: lift off the
cover.
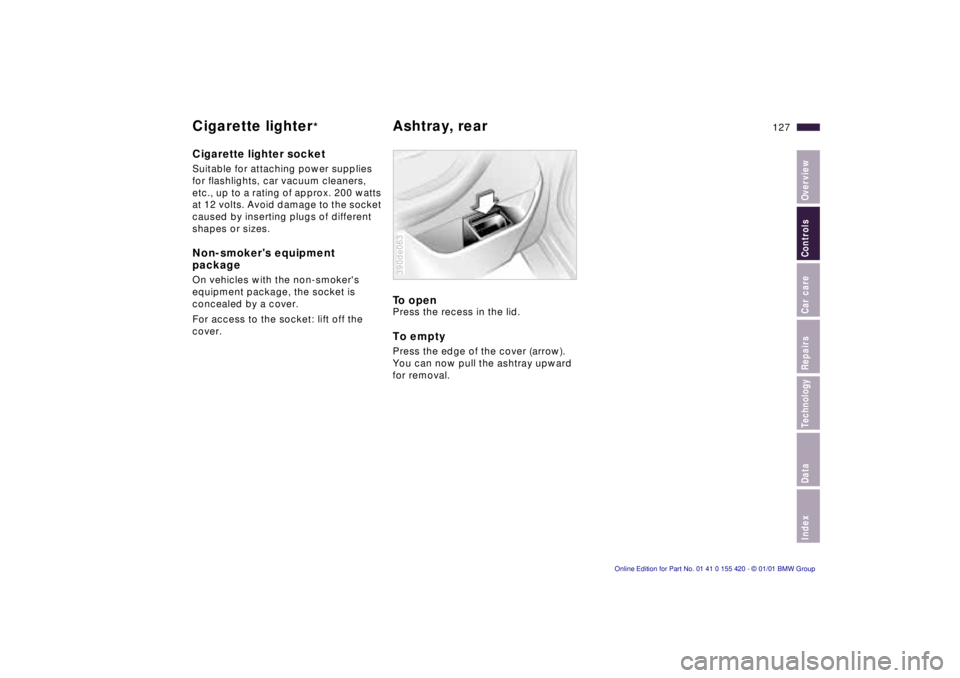
To openPress the recess in the lid.
To empty
Press the edge of the cover (arrow).
You can now pull the ashtray upward
for removal.
390de063
Page 128 of 238
128nThrough-loading system*
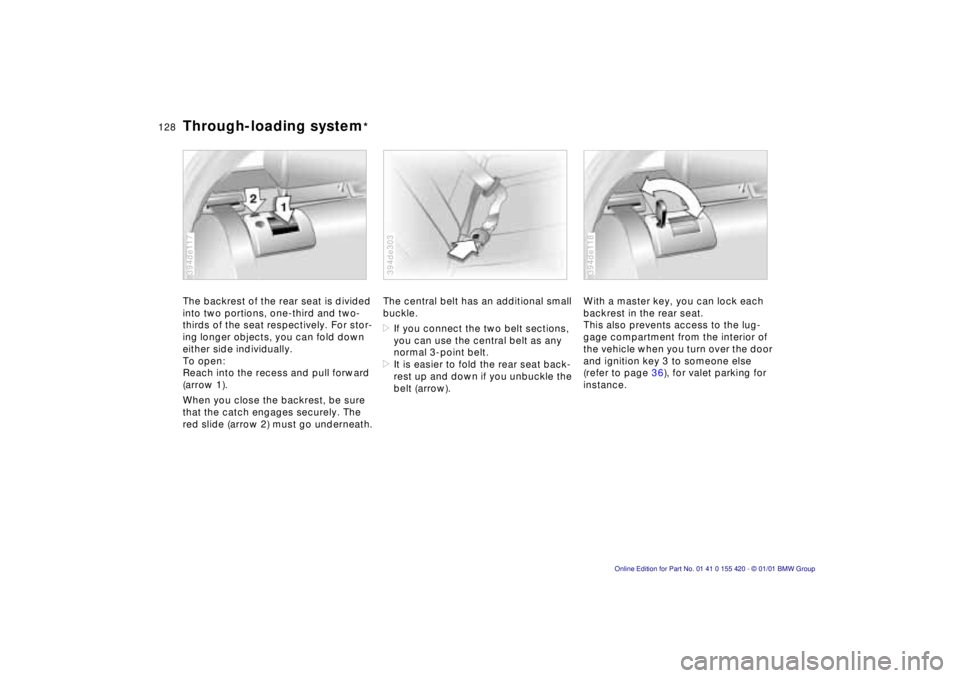
The backrest of the rear seat is divided
into two portions, one-third and two-
thirds of the seat respectively. For stor-
ing longer objects, you can fold down
either side individually.
To open:
Reach into the recess and pull forward
(arrow 1).
When you close the backrest, be sure
that the catch engages securely. The
red slide (arrow 2) must go underneath.
394de117
The central belt has an additional small
buckle.
>If you connect the two belt sections,
you can use the central belt as any
normal 3-point belt.
> It is easier to fold the rear seat back-
rest up and down if you unbuckle the
belt (arrow).
394de303
With a master key, you can lock each
backrest in the rear seat.
This also prevents access to the lug-
gage compartment from the interior of
the vehicle when you turn over the door
and ignition key 3 to someone else
(refer to page 36), for valet parking for
instance.
394de118
Page 129 of 238
Index
Data
Technology
Repairs
Car care
Controls
Overview
129nSki bag*
Designed for safe, convenient transport
of up to 4 pairs of standard skis or up to
2 snowboards.
The length of the ski bag and the addi-
tional space provided in the luggage
compartment make it possible to carry
skis with a length of up to 6.8 ft
(2.1 0 meters). Because of the tapered
shape of the bag, the ski bag can only
accommodate two pairs of skis with a
length of 6.8 ft (2.1 0 meters).
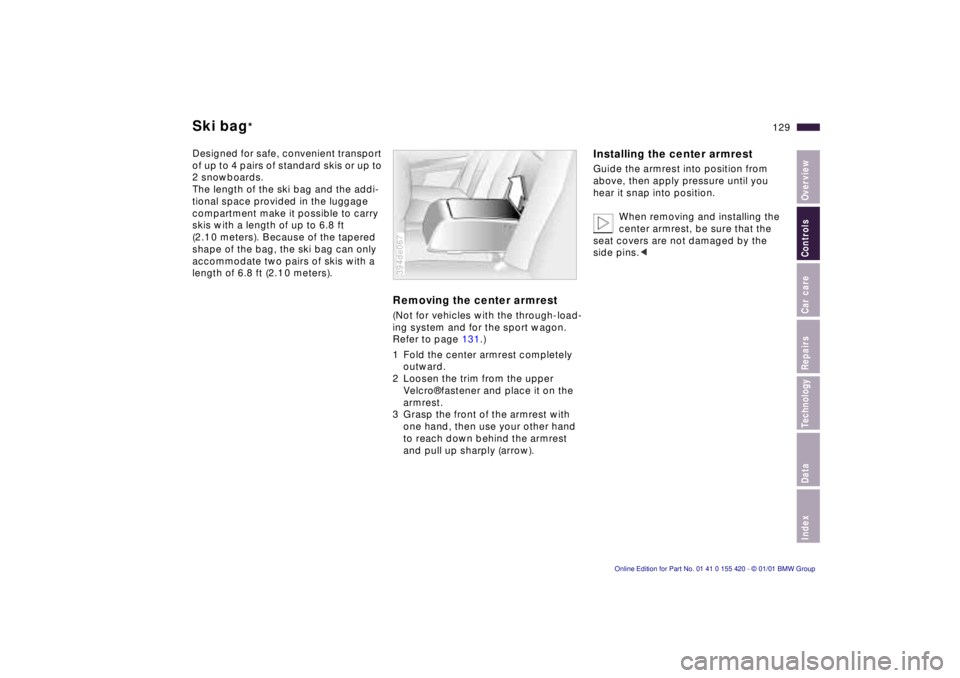
Removing the center armrest
(Not for vehicles with the through-load-
ing system and for the sport wagon.
Refer to page 131.)
1 Fold the center armrest completely outward.
2 Loosen the trim from the upper Velcro® fastener and place it on the
armrest.
3 Grasp the front of the armrest with one hand, then use your other hand
to reach down behind the armrest
and pull up sharply (arrow).
394de067
Installing the center armrest
Guide the armrest into position from
above, then apply pressure until you
hear it snap into position.
When removing and installing the
center armrest, be sure that the
seat covers are not damaged by the
side pins. <
Page 130 of 238
130nSki bag*
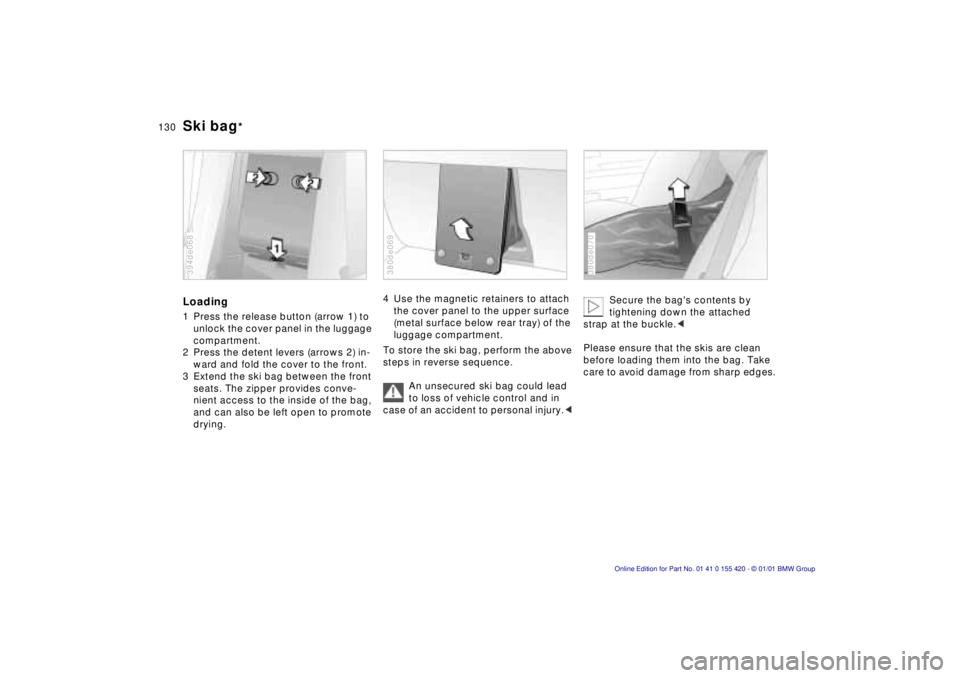
Loading
1 Press the release button (arrow 1) to
unlock the cover panel in the luggage
compartment.
2 Press the detent levers (arrows 2) in- ward and fold the cover to the front.
3 Extend the ski bag between the front seats. The zipper provides conve-
nient access to the inside of the bag,
and can also be left open to promote
drying.
394de068
4 Use the magnetic retainers to attach the cover panel to the upper surface
(metal surface below rear tray) of the
luggage compartment.
To store the ski bag, perform the above
steps in reverse sequence.
An unsecured ski bag could lead
to loss of vehicle control and in
case of an accident to personal injury. <
380de069
Secure the bag's contents by
tightening down the attached
strap at the buckle. <
Please ensure that the skis are clean
before loading them into the bag. Take
care to avoid damage from sharp edges.
380de070