BMW SPORT WAGON 2001 Workshop Manual
Manufacturer: BMW, Model Year: 2001, Model line: SPORT WAGON, Model: BMW SPORT WAGON 2001Pages: 238, PDF Size: 2.44 MB
Page 51 of 238
IndexDataTechnologyRepairsCar careControlsOverview
51n
Sliding/Tilt sunroof
*
Automatic
* opening and closing
Press the appropriate end of the control
switch past the resistance point and
then release it.
Other automatic operations are:
>With the sunroof open, press the
switch briefly toward "Lift:" the sun-
roof automatically extends to its fully
raised position.
>With the sunroof lifted, press the
switch briefly toward "Open:" the
sunroof automatically opens all the
way.
Pressing the switch again briefly stops
the motion.Safety featureIf the sliding/tilt sunroof encounters
resistance at a point roughly past the
middle of its travel when it is closing,
the closing cycle is interrupted and the
sliding/tilt sunroof will open again
slightly.Despite this safety feature, be
extremely careful that the closing
path of the sunroof is not obstructed
whenever it is closed. Otherwise, trig-
gering the closing-force limitation may
not be ensured in some situations (with
very thin objects, for instance). You can
override this safety feature by pressing
the switch beyond the resistance point
and holding it.<
Sliding/tilt sunroof with glass
moonroof
*
The options and control procedures are
essentially the same as those previ-
ously described for the sliding/tilt sun-
roof. In order to open the raised roof,
press the control switch towards
"Open" until the roof has reached the
desired position.
The headliner insert slides back some-
what when you raise the sunroof. When
the sunroof is opened the headliner
retracts with it. The headliner will then
automatically remain in its retracted
position, but can be repositioned as
desired.
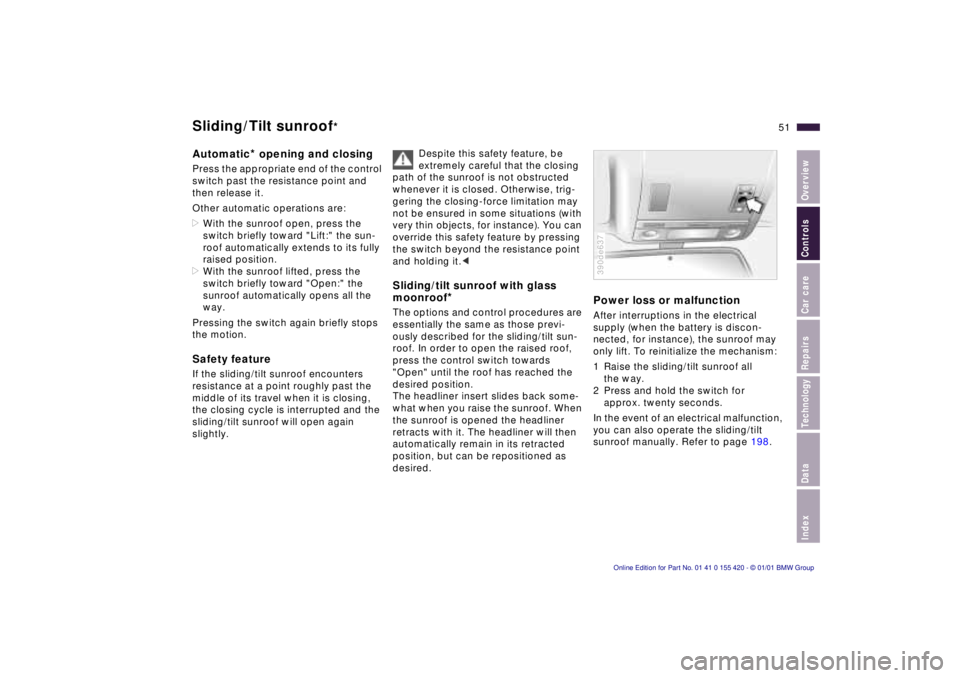
Power loss or malfunctionAfter interruptions in the electrical
supply (when the battery is discon-
nected, for instance), the sunroof may
only lift. To reinitialize the mechanism:
1 Raise the sliding/tilt sunroof all
the way.
2 Press and hold the switch for
approx. twenty seconds.
In the event of an electrical malfunction,
you can also operate the sliding/tilt
sunroof manually. Refer to page 198.390de637
Page 52 of 238
52n
For maximum safety, please comply
with the following instructions when ad-
justing a seat:
Never try to adjust your seat while
operating the vehicle. The seat
could respond with unexpected move-
ment, and the ensuing loss of vehicle
control could lead to an accident.
Wear the safety belt firmly against your
body at all times. In the event of a fron-
tal impact, a loose lap belt could slide
over your hips, leading to abdominal
injury. In addition, the safety belt's
restraint effectiveness is reduced if the
belt is worn loosely.
Never ride with the backrest reclined to
an extreme horizontal angle (especially
important for front passengers to
remember). Keep the backrest relatively
upright to minimize the risk of "sliding
under" the safety belt and sustaining
injury in an accident.
Do not slide the seats to the rear
when the vehicle is at an extreme angle
(on garage ramps or steep slopes, for
instance), to prevent the shoulder
strap's automatic height adjustment
mechanism from disengaging.<
Correct sitting postureTo reduce strain on the spinal column,
sit all the way back in the seat and rest
your back fully against the backrest.
The ideal sitting posture is achieved
with your head extending from your
spine in a straight line.
For long-distance driving, you may wish
to increase the backrest tilt-angle
slightly to reduce muscular tension.
Please remember that you should
always remain able to grasp the entire
periphery of the steering wheel without
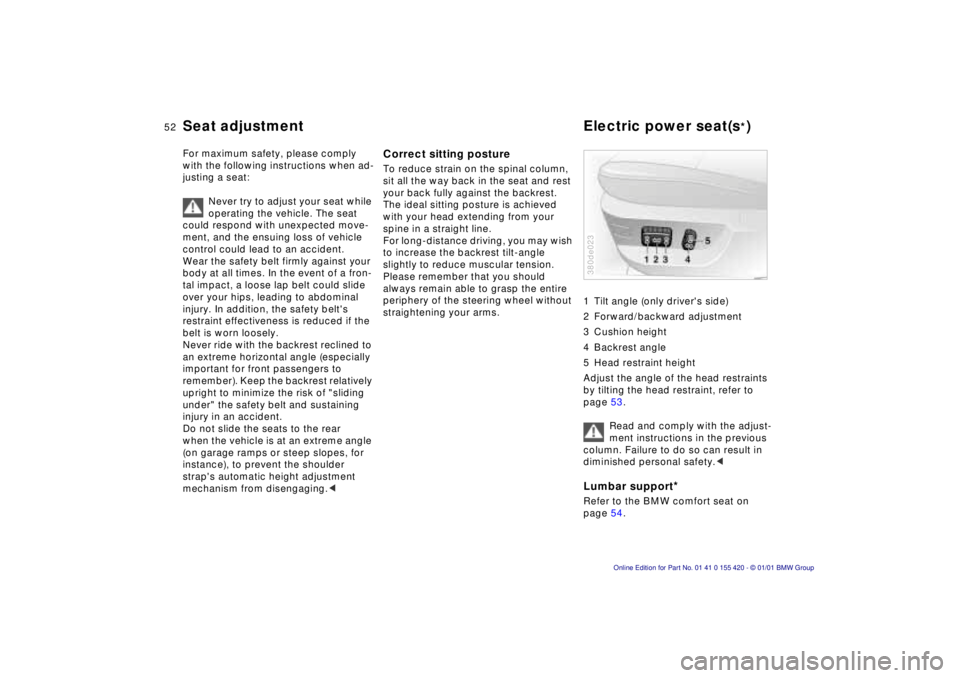
straightening your arms.1 Tilt angle (only driver's side)
2 Forward/backward adjustment
3 Cushion height
4 Backrest angle
5 Head restraint height
Adjust the angle of the head restraints
by tilting the head restraint, refer to
page 53.
Read and comply with the adjust-
ment instructions in the previous
column. Failure to do so can result in
diminished personal safety.<
Lumbar support
*
Refer to the BMW comfort seat on
page 54.380de023
Seat adjustment Electric power seat(s
*)
Page 53 of 238
IndexDataTechnologyRepairsCar careControlsOverview
53n
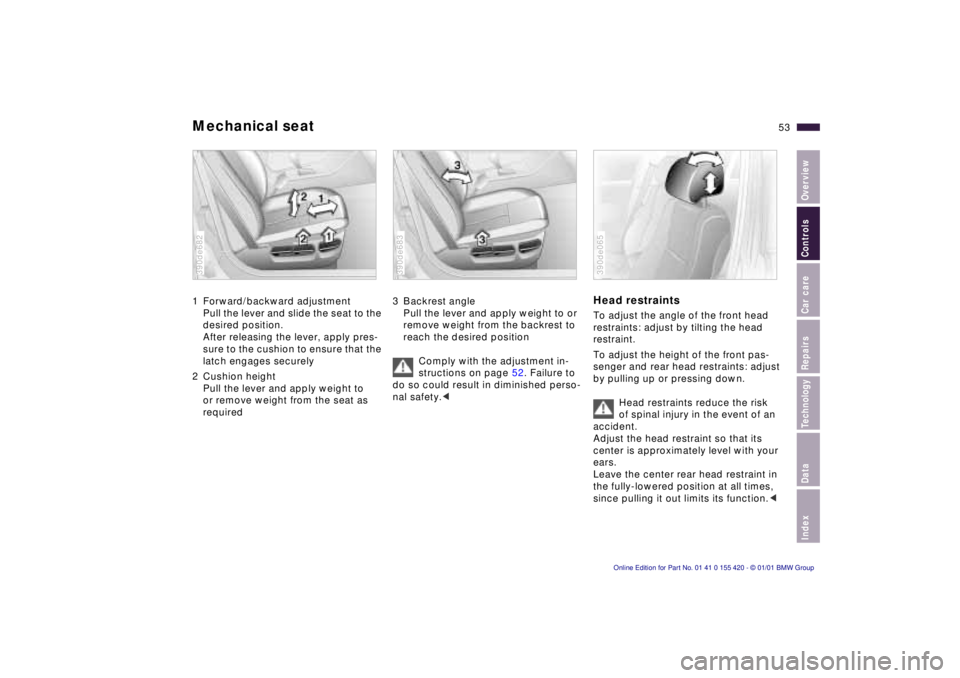
Mechanical seat1 Forward/backward adjustment
Pull the lever and slide the seat to the
desired position.
After releasing the lever, apply pres-
sure to the cushion to ensure that the
latch engages securely
2 Cushion height
Pull the lever and apply weight to
or remove weight from the seat as
required390de682
3 Backrest angle
Pull the lever and apply weight to or
remove weight from the backrest to
reach the desired position
Comply with the adjustment in-
structions on page 52. Failure to
do so could result in diminished perso-
nal safety.< 390de683
Head restraintsTo adjust the angle of the front head
restraints: adjust by tilting the head
restraint.
To adjust the height of the front pas-
senger and rear head restraints: adjust
by pulling up or pressing down.
Head restraints reduce the risk
of spinal injury in the event of an
accident.
Adjust the head restraint so that its
center is approximately level with your
ears.
Leave the center rear head restraint in
the fully-lowered position at all times,
since pulling it out limits its function.<390de065
Page 54 of 238
54n
BMW comfort seat
*
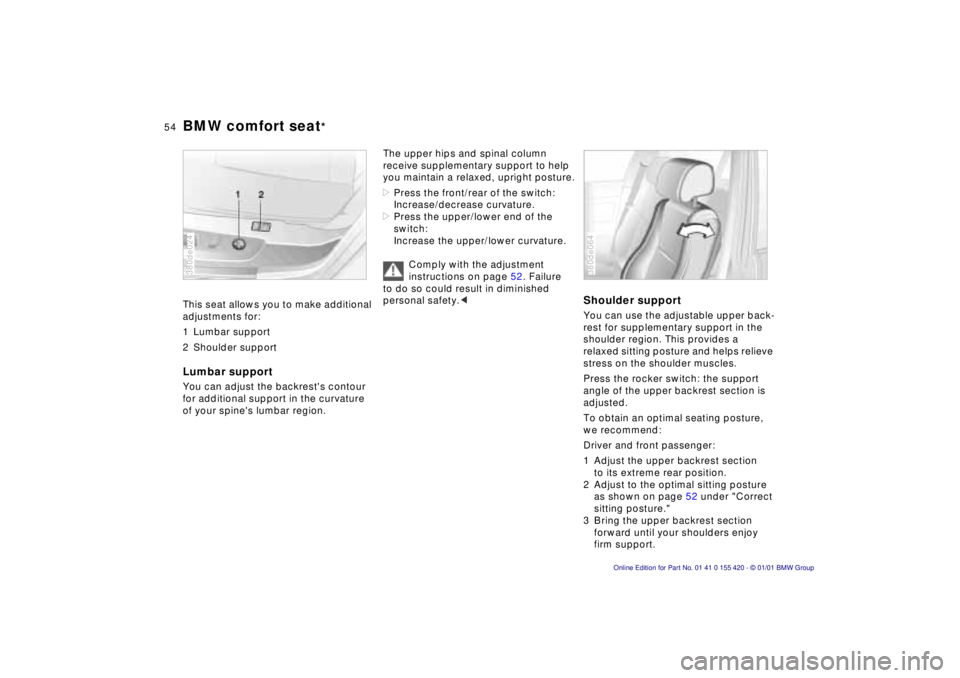
This seat allows you to make additional
adjustments for:
1 Lumbar support
2 Shoulder supportLumbar supportYou can adjust the backrest's contour
for additional support in the curvature
of your spine's lumbar region.380de024
The upper hips and spinal column
receive supplementary support to help
you maintain a relaxed, upright posture.
>Press the front/rear of the switch:
Increase/decrease curvature.
>Press the upper/lower end of the
switch:
Increase the upper/lower curvature.
Comply with the adjustment
instructions on page 52. Failure
to do so could result in diminished
personal safety.<
Shoulder supportYou can use the adjustable upper back-
rest for supplementary support in the
shoulder region. This provides a
relaxed sitting posture and helps relieve
stress on the shoulder muscles.
Press the rocker switch: the support
angle of the upper backrest section is
adjusted.
To obtain an optimal seating posture,
we recommend:
Driver and front passenger:
1 Adjust the upper backrest section
to its extreme rear position.
2 Adjust to the optimal sitting posture
as shown on page 52 under "Correct
sitting posture."
3 Bring the upper backrest section
forward until your shoulders enjoy
firm support.380de064
Page 55 of 238
IndexDataTechnologyRepairsCar careControlsOverview
55n
BMW comfort seat
*
BMW sports seat
*
BMW active seat*
Front passenger's seat adjusted for
relaxed traveling:
1 Adjust the upper backrest section
to its extreme rear position.
2 Increase the seat cushion tilt.
3 Tilt the backrest more.
4 Bring the upper backrest section
forward.
Make corrections in the forward/
backward adjustment of the seat
to ensure that the safety belt still fits
firmly against your body. If you do not
do this, the protection provided by the
safety belt may be reduced.<
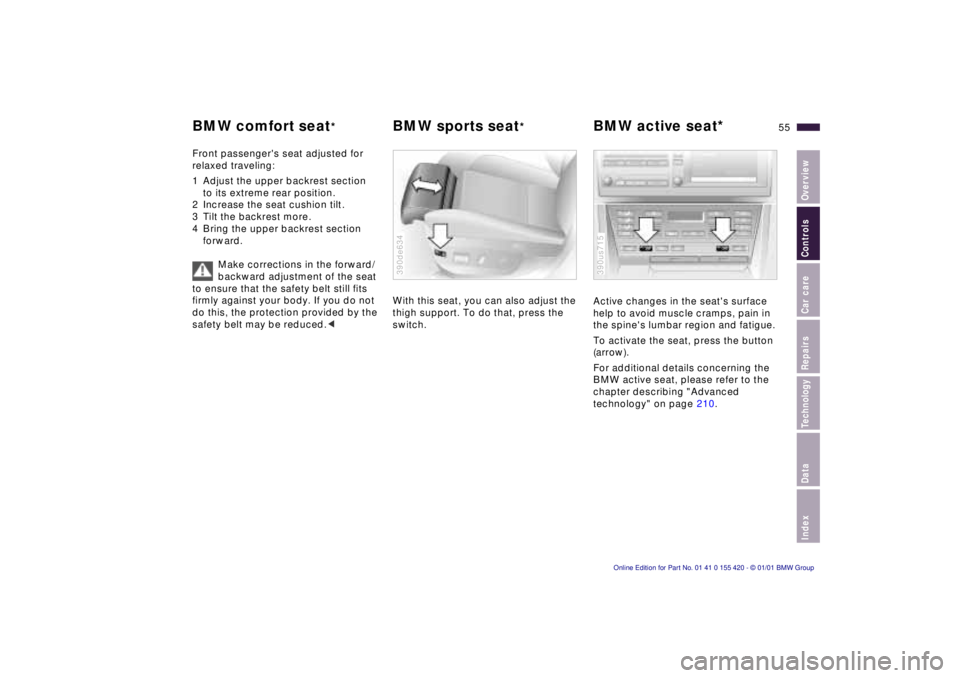
With this seat, you can also adjust the
thigh support. To do that, press the
switch.390de634
Active changes in the seat's surface
help to avoid muscle cramps, pain in
the spine's lumbar region and fatigue.
To activate the seat, press the button
(arrow).
For additional details concerning the
BMW active seat, please refer to the
chapter describing "Advanced
technology" on page 210.390us715
Page 56 of 238
56n
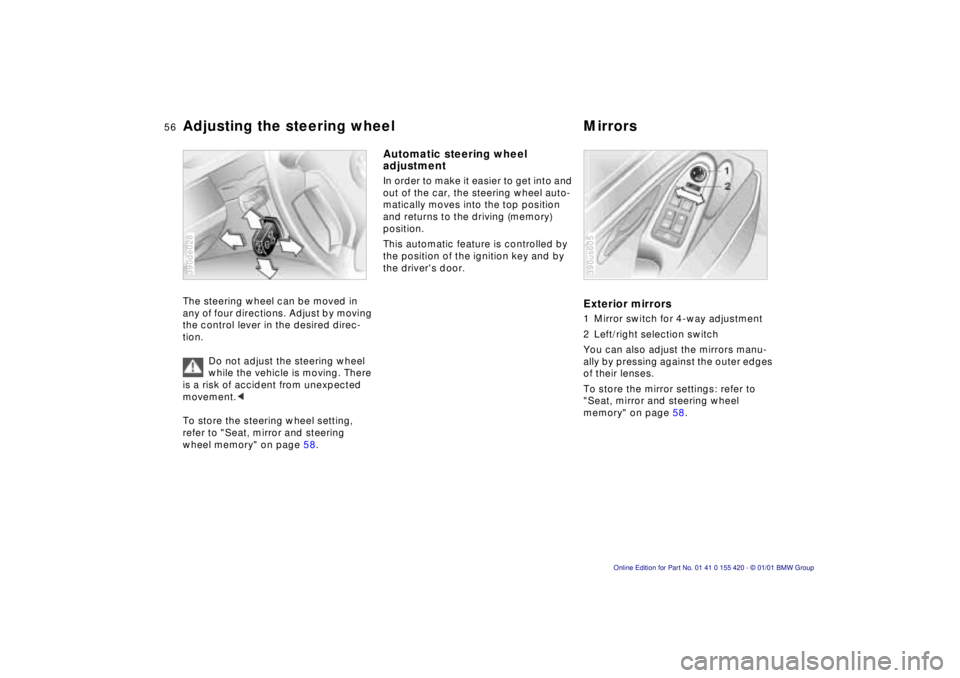
Adjusting the steering wheel MirrorsThe steering wheel can be moved in
any of four directions. Adjust by moving
the control lever in the desired direc-
tion.
Do not adjust the steering wheel
while the vehicle is moving. There
is a risk of accident from unexpected
movement.<
To store the steering wheel setting,
refer to "Seat, mirror and steering
wheel memory" on page 58.390de028
Automatic steering wheel
adjustment In order to make it easier to get into and
out of the car, the steering wheel auto-
matically moves into the top position
and returns to the driving (memory)
position.
This automatic feature is controlled by
the position of the ignition key and by
the driver's door.
Exterior mirrors1 Mirror switch for 4-way adjustment
2 Left/right selection switch
You can also adjust the mirrors manu-
ally by pressing against the outer edges
of their lenses.
To store the mirror settings: refer to
"Seat, mirror and steering wheel
memory" on page 58.390us605
Page 57 of 238
IndexDataTechnologyRepairsCar careControlsOverview
57n
Mirrors
The mirror on the passenger's
side features a lens with a more
convex surface than the mirror installed
on the driver's side. When estimating
the distance between yourself and
other traffic, bear in mind that the
objects reflected in the mirror are
closer than they appear. This means
that estimations of the distance to
following traffic should not be regarded
as precise.<
Electric heatersBoth mirrors are heated automatically
with the ignition key in position 2.
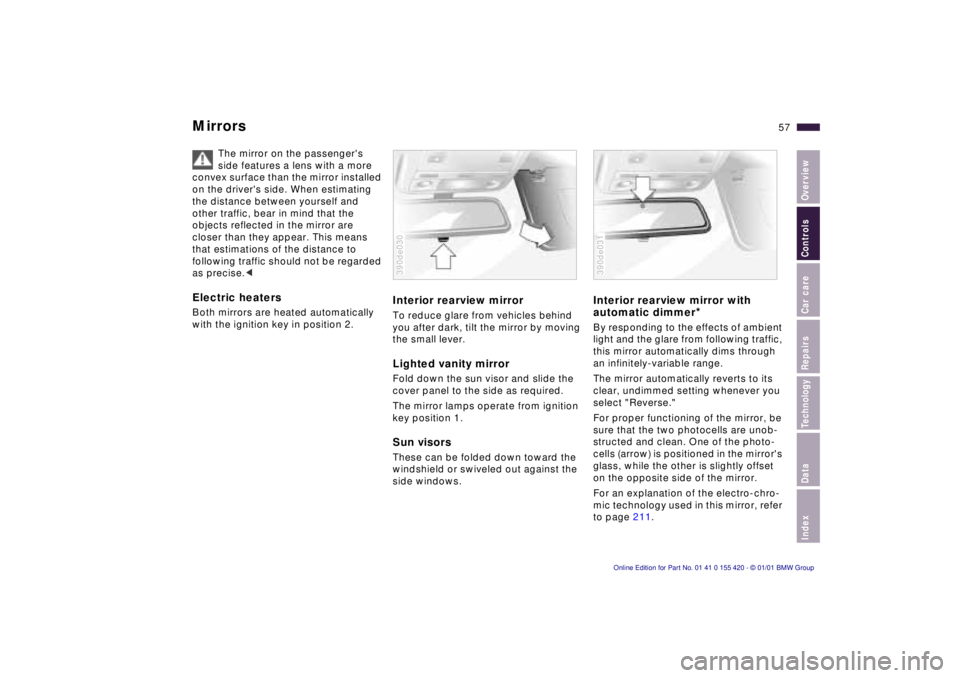
Interior rearview mirrorTo reduce glare from vehicles behind
you after dark, tilt the mirror by moving
the small lever.Lighted vanity mirrorFold down the sun visor and slide the
cover panel to the side as required.
The mirror lamps operate from ignition
key position 1.Sun visorsThese can be folded down toward the
windshield or swiveled out against the
side windows.390de030
Interior rearview mirror with
automatic dimmer
*
By responding to the effects of ambient
light and the glare from following traffic,
this mirror automatically dims through
an infinitely-variable range.
The mirror automatically reverts to its
clear, undimmed setting whenever you
select "Reverse."
For proper functioning of the mirror, be
sure that the two photocells are unob-
structed and clean. One of the photo-
cells (arrow) is positioned in the mirror's
glass, while the other is slightly offset
on the opposite side of the mirror.
For an explanation of the electro-chro-
mic technology used in this mirror, refer
to page 211.390de031
Page 58 of 238
58n
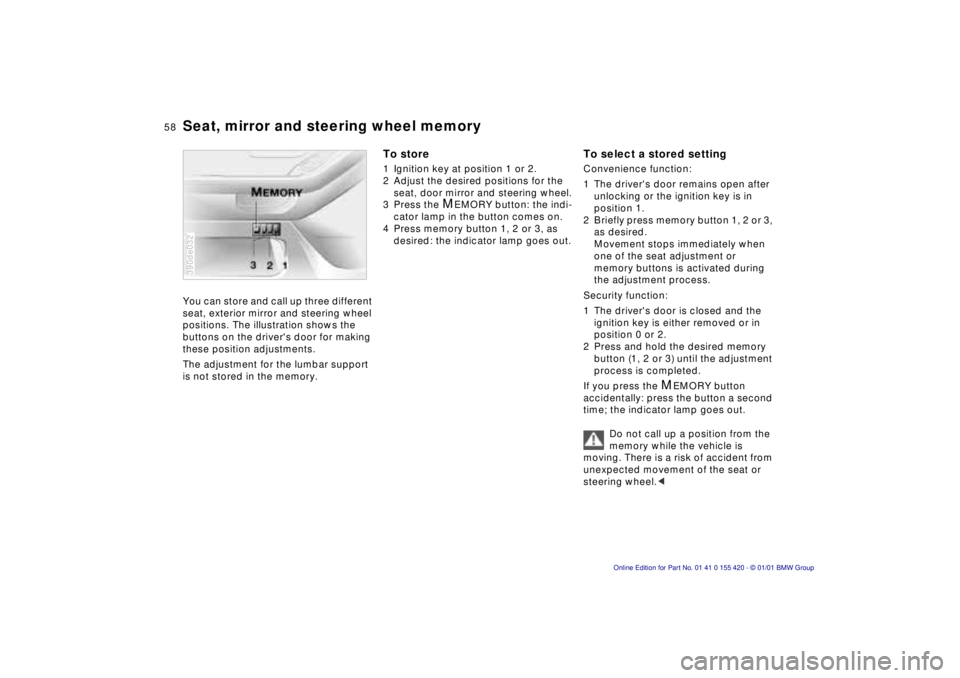
Seat, mirror and steering wheel memoryYou can store and call up three different
seat, exterior mirror and steering wheel
positions. The illustration shows the
buttons on the driver's door for making
these position adjustments.
The adjustment for the lumbar support
is not stored in the memory.390de032
To store1 Ignition key at position 1 or 2.
2 Adjust the desired positions for the
seat, door mirror and steering wheel.
3 Press the
M
EMORY button: the indi-
cator lamp in the button comes on.
4 Press memory button 1, 2 or 3, as
desired: the indicator lamp goes out.
To select a stored settingConvenience function:
1 The driver's door remains open after
unlocking or the ignition key is in
position 1.
2 Briefly press memory button 1, 2 or 3,
as desired.
Movement stops immediately when
one of the seat adjustment or
memory buttons is activated during
the adjustment process.
Security function:
1 The driver's door is closed and the
ignition key is either removed or in
position 0 or 2.
2 Press and hold the desired memory
button (1, 2 or 3) until the adjustment
process is completed.
If you press the
M
EMORY button
accidentally: press the button a second
time; the indicator lamp goes out.
Do not call up a position from the
memory while the vehicle is
moving. There is a risk of accident from
unexpected movement of the seat or
steering wheel.<
Page 59 of 238
IndexDataTechnologyRepairsCar careControlsOverview
59n
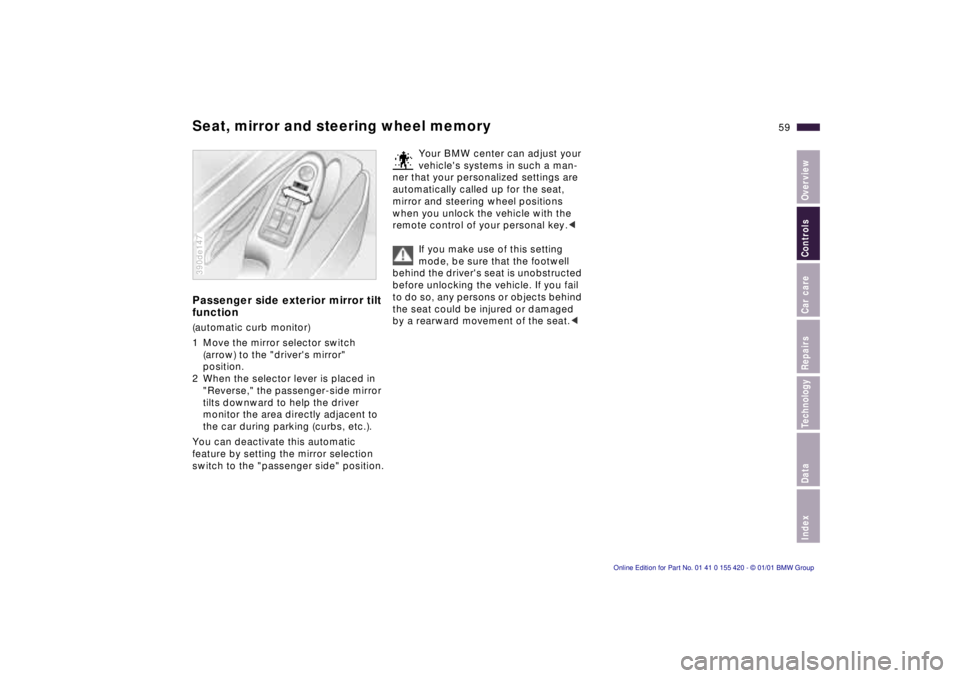
Seat, mirror and steering wheel memoryPassenger side exterior mirror tilt
function(automatic curb monitor)
1 Move the mirror selector switch
(arrow) to the "driver's mirror"
position.
2 When the selector lever is placed in
"Reverse," the passenger-side mirror
tilts downward to help the driver
monitor the area directly adjacent to
the car during parking (curbs, etc.).
You can deactivate this automatic
feature by setting the mirror selection
switch to the "passenger side" position.390de147
Your BMW center can adjust your
vehicle's systems in such a man-
ner that your personalized settings are
automatically called up for the seat,
mirror and steering wheel positions
when you unlock the vehicle with the
remote control of your personal key.<
If you make use of this setting
mode, be sure that the footwell
behind the driver's seat is unobstructed
before unlocking the vehicle. If you fail
to do so, any persons or objects behind
the seat could be injured or damaged
by a rearward movement of the seat.<
Page 60 of 238
60n
Car Memory, Key MemoryHow the system functionsYou have probably frequently wished
that you could configure individual
functions of your vehicle to reflect your
own personal requirements. In engi-
neering your vehicle, BMW has included
several user-defined functions in the
vehicle's design. Your authorized BMW
center can make these settings for you.
There are settings related to the vehicle
("Car Memory") and settings related to
individuals ("Key Memory"). You can
have two different basic positions con-
figured for two different persons. The
only requirement is that each person
uses his or her own remote control key.463de029
When your vehicle is unlocked with the
remote control, the vehicle recognizes
the individual user by means of a data
exchange with the key, and makes
adjustments accordingly.
In order for you to distinguish between
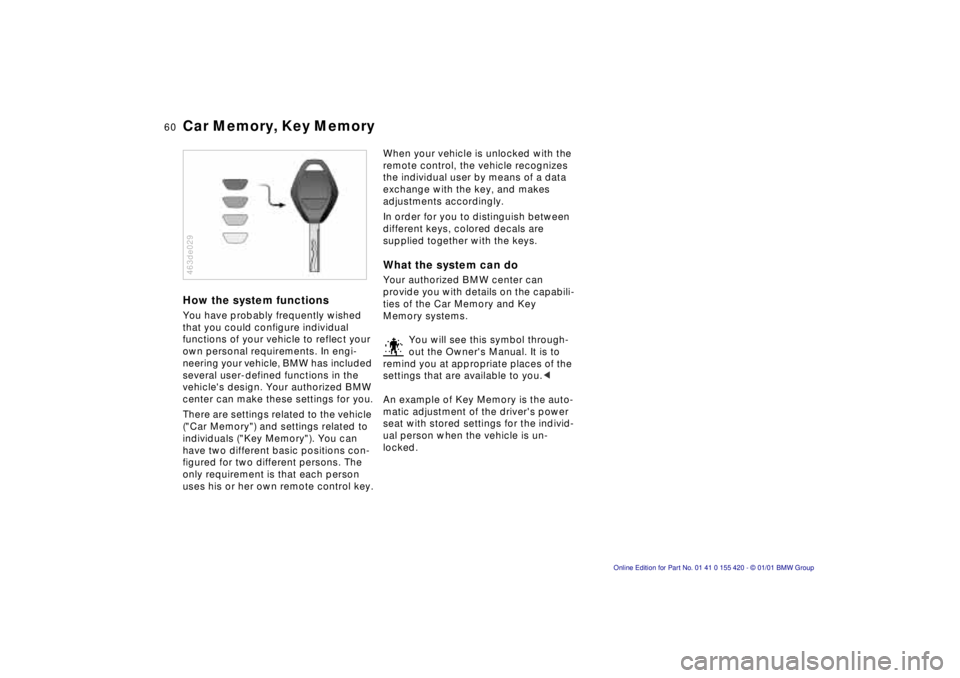
different keys, colored decals are
supplied together with the keys.What the system can doYour authorized BMW center can
provide you with details on the capabili-
ties of the Car Memory and Key
Memory systems.
You will see this symbol through-
out the Owner's Manual. It is to
remind you at appropriate places of the
settings that are available to you.<
An example of Key Memory is the auto-
matic adjustment of the driver's power
seat with stored settings for the individ-
ual person when the vehicle is un-
locked.