tow BMW X1 2016 F48 User Guide
[x] Cancel search | Manufacturer: BMW, Model Year: 2016, Model line: X1, Model: BMW X1 2016 F48Pages: 242, PDF Size: 7.12 MB
Page 112 of 242
Press button again:▷All Intelligent Safety systems are
activated.▷The LED lights up green.
Hold down button:
▷All Intelligent Safety systems are
turned off.▷The LED goes out.
Front-end collision warning
with City Braking function
The concept The system can help prevent accidents. If an
accident cannot be prevented, the system will
help reduce the collision speed.
The system sounds a warning before an immi‐
nent collision and actuates brakes independ‐
ently if needed.
The automatic braking intervention is done
with limited force and duration.
A camera in the area of the rearview mirror
controls the system.
The front-end collision warning is available
even if cruise control has been deactivated.
With the vehicle approaching another vehicle
intentionally, the collision warning and braking
are delayed in order to avoid false system re‐
actions.
General information
The system warns at two levels of an imminent
danger of collision at speeds from approx.
3 mph/5 km/h. Time of warnings may vary with
the current driving situation.
Appropriate braking kicks in at speeds of up to
40 mph/60 km/h.
Detection range
It responds to objects if they are detected by
the system.
Information WARNING
Indicators and warnings do not relieve
from the personal responsibility. Due to sys‐
tem limits, warnings or reactions of the system
may not be output or they may be output too
late or incorrectly. There is risk of an accident.
Adjust the driving style to the traffic condi‐
tions. Watch traffic closely and actively inter‐
fere in the respective situations.◀
WARNING
Due to system limits, individual functions
can malfunction during tow-starting/towing
with the Intelligent Safety systems activated,
e.g. approach control warning with light brak‐
ing function. There is risk of an accident.
Switch all Intelligent Safety systems off prior to
tow-starting/towing.◀
Seite 112ControlsSafety112
Online Edition for Part no. 01 40 2 964 303 - VI/15
Page 115 of 242
lision with pedestrians and includes a braking
function.
The camera in the area of the rearview mirror
controls the system.
General information
With sufficient brightness, the system warns
about possible collision danger with pedes‐
trians starting at approx. 6 mph/10 km/h to ap‐
prox. 35 mph/60 km/h and assists with braking
before a collision.
Under those circumstances it reacts to people
who are within the detection range of the sys‐
tem.
Detection range
The detection area in front of the vehicle is div‐
ided into two areas
▷Central area, arrow 1, directly in front of the
vehicle.▷Expanded area, arrow 2, to the right and
left.
A collision is imminent if pedestrians are lo‐
cated within the central area. A warning is is‐
sued about pedestrians who are located within
the extended area only if they are moving in
the direction of the central area.
Information WARNING
Indicators and warnings do not relieve
from the personal responsibility. Due to sys‐
tem limits, warnings or reactions of the system
may not be output or they may be output too
late or incorrectly. There is risk of an accident.
Adjust the driving style to the traffic condi‐
tions. Watch traffic closely and actively inter‐
fere in the respective situations.◀
WARNING
Due to system limits, individual functions
can malfunction during tow-starting/towing
with the Intelligent Safety systems activated,
e.g. approach control warning with light brak‐
ing function. There is risk of an accident.
Switch all Intelligent Safety systems off prior to
tow-starting/towing.◀
Overview
Button in the vehicle
Intelligent Safety button
Camera
The camera is installed near the interior rear‐
view mirror.
Keep the windshield in the area behind the in‐
terior rearview mirror clean and clear.
Seite 115SafetyControls115
Online Edition for Part no. 01 40 2 964 303 - VI/15
Page 118 of 242
cording to their respective set‐
tings.▷LED lights up orange or goes out respec‐
tive to their individual settings.
Adjust as needed. Individual settings are
stored for the profile currently used.
Press button again:
▷All Intelligent Safety systems are
activated.▷The LED lights up green.
Hold down button:
▷All Intelligent Safety systems are
turned off.▷The LED goes out.
Display in the instrument cluster
▷Lines: system is activated.▷Arrows: at least one lane marking
was detected and warnings can be
issued.
Issued warning
If you leave the lane and if a lane marking has
been detected, the steering wheel begins vi‐
brating.
If the turn signal is set before changing the
lane, a warning is not issued.
End of warning
The warning is canceled in the following situa‐
tions:
▷Automatically after approx. 3 seconds.▷When returning to your own lane.▷When braking hard.▷When using the turn signal.
System limits
The system may not be fully functional in the
following situations:
▷In heavy fog, rain or snowfall.▷In the event of missing, worn, poorly visi‐
ble, merging, diverging, or multiple lane
markings such as in construction areas.▷When lane markings are covered in snow,
ice, dirt or water.▷In tight curves or on narrow lanes.▷When the lane markings are covered by
objects.▷When driving very close to the vehicle in
front of you.▷When driving toward bright lights.▷When the windshield in front of the interior
rearview mirror is fogged over, dirty or cov‐
ered with stickers, etc.▷During calibration of the camera immedi‐
ately after vehicle delivery.
Brake force display
The concept
▷During normal brake application, the outer
brake lights light up.▷During heavy brake application, the inner
brake lights light up in addition.
Attentiveness assistant
The concept The system can detect increasing lack of alert‐
ness or fatigue of the driver during long, mo‐
Seite 118ControlsSafety118
Online Edition for Part no. 01 40 2 964 303 - VI/15
Page 132 of 242
Cornering
If the desired speed is too high for a curve, the
speed is reduced slightly, although curves can‐
not be anticipated in advance. Therefore, drive
into a curve at an appropriate speed.
In tight curves the system offers only restricted
detection where a vehicle ahead of you might
be detected late or not at all.
When you approach a curve the system may
briefly report vehicles in the next lane due to
the bend of the curve. If the system deceler‐
ates you may compensate it by briefly acceler‐
ating. After releasing the gas pedal the system
is reactivated and controls speed independ‐
ently.
Driving away
In some situations, the vehicle cannot drive off
automatically; for example:
▷On steep inclines.▷From behind bumps in the road.
In these cases, press on the accelerator pedal.
Weather
In the event of unfavorable weather and light conditions, e. g. if there is rain, snowfall, slush,
fog or glare, this may result in poorer recogni‐
tion of vehicles as well as short-term interrup‐
tions for vehicles that are already detected. Drive attentively, and react to the current trafficsituation. If necessary, intervene actively, e.g.
by braking, steering or evading.
Malfunction
A Check Control message is displayed if the
system fails or was automatically deactivated.
The system may not be fully functional in the
following situations:▷When an object was not correctly de‐
tected.▷In heavy fog, rain, sprayed water or snow‐
fall.▷In tight curves.▷If the field of view of the camera or the front
windshield are dirty or covered.▷When driving toward bright lights.▷Up to 20 seconds after the start of the en‐
gine, via the Start/Stop button.▷During calibration of the camera immedi‐
ately after vehicle delivery.
Cruise control
The concept The system maintains a preset speed via the
buttons on the steering wheel. The system
brakes on downhill gradients if engine braking
is insufficient.
General information
Depending on the driving settings, the features
of the cruise control can change in certain
areas.
Seite 132ControlsDriving comfort132
Online Edition for Part no. 01 40 2 964 303 - VI/15
Page 137 of 242
System limits
Limits of ultrasonic measurement
Ultrasonic measuring might not function under
the following circumstances:▷For small children and animals.▷For persons with certain clothing, e.g.
coats.▷With external interference of the ultra‐
sound, e.g. from passing vehicles or loud
machines.▷When sensors are dirty, iced over, dam‐
aged or out of position.▷Under certain weather conditions such as
high relative humidity, rain, snowfall, ex‐
treme heat or strong wind.▷With tow bars and trailer couplings of other
vehicles.▷With thin or wedge-shaped objects.▷With moving objects.▷With elevated, protruding objects such as
ledges or cargo.▷With objects with corners and sharp edges.▷With objects with a fine surface structure
such as fences.▷For objects with porous surfaces.
Low objects already displayed, e.g., curbs, can
move into the blind area of the sensors before
or after a continuous tone sounds.
False warnings
PDC may issue a warning under the following conditions even though there is no obstacle
within the detection range:
▷In heavy rain.▷When sensors are very dirty or covered
with ice.▷When sensors are covered in snow.▷On rough road surfaces.▷On uneven surfaces, such as speed
bumps.▷In large buildings with right angles and
smooth walls, e.g., in underground ga‐
rages.▷In automatic car washes.▷Through heavy pollution.▷Due to other ultrasound sources, e.g.,
sweeping machines, high pressure steam
cleaners or neon lights.
The malfunction is signaled by a continu‐
ous tone alternating between the front and
rear speakers. As soon as the malfunction
due to other ultrasound sources is no lon‐
ger present, the system is again fully func‐
tional.
Malfunction
A Check Control message is displayed.
PDC has failed. Have the system checked.
Rearview camera The concept The rearview camera provides assistance inparking and maneuvering backwards. The area
behind the vehicle is shown on the Control
Display.
Information WARNING
The system does not relieve from the
personal responsibility to correctly assess the
traffic situation. There is risk of an accident.
Adjust the driving style to the traffic condi‐
tions. Watch traffic and vehicle surroundings
closely and actively interfere in the respective
situations.◀
Seite 137Driving comfortControls137
Online Edition for Part no. 01 40 2 964 303 - VI/15
Page 143 of 242
▷If a maximum number of parking attempts
or the time taken for parking is exceeded.▷If the Park Distance Control PDC displays
clearances that are too small.▷When switching to another function on the
Control Display.
A Check Control message is displayed.
Resume An interrupted parking procedure can be con‐
tinued if needed.
To do this, follow the instructions on the dis‐
play.
System limits
No parking assistance
The parking assistant does not offer assis‐
tance in the following situations:
▷In tight curves.
Functional limitations
The system may not be fully functional in the
following situations:
▷On bumpy road surfaces such as gravel
roads.▷On slippery ground.▷On steep uphill or downhill grades.▷With accumulations of leaves/snow in the
parking space.▷With a mounted emergency wheel.
Limits of ultrasonic measurement
Ultrasonic measuring might not function under
the following circumstances:
▷For small children and animals.▷For persons with certain clothing, e.g.
coats.▷With external interference of the ultra‐
sound, e.g. from passing vehicles or loud
machines.▷When sensors are dirty, iced over, dam‐
aged or out of position.▷Under certain weather conditions such as
high relative humidity, rain, snowfall, ex‐
treme heat or strong wind.▷With tow bars and trailer couplings of other
vehicles.▷With thin or wedge-shaped objects.▷With moving objects.▷With elevated, protruding objects such as
ledges or cargo.▷With objects with corners and sharp edges.▷With objects with a fine surface structure
such as fences.▷For objects with porous surfaces.
Low objects already displayed, e.g., curbs, can
move into the blind area of the sensors before
or after a continuous tone sounds.
It can happen that parking spaces are detected
that are not suitable or suitable parking spaces
are not detected.
Malfunction
A Check Control message is displayed.
The parking assistant failed. Have the system
checked.
Seite 143Driving comfortControls143
Online Edition for Part no. 01 40 2 964 303 - VI/15
Page 145 of 242
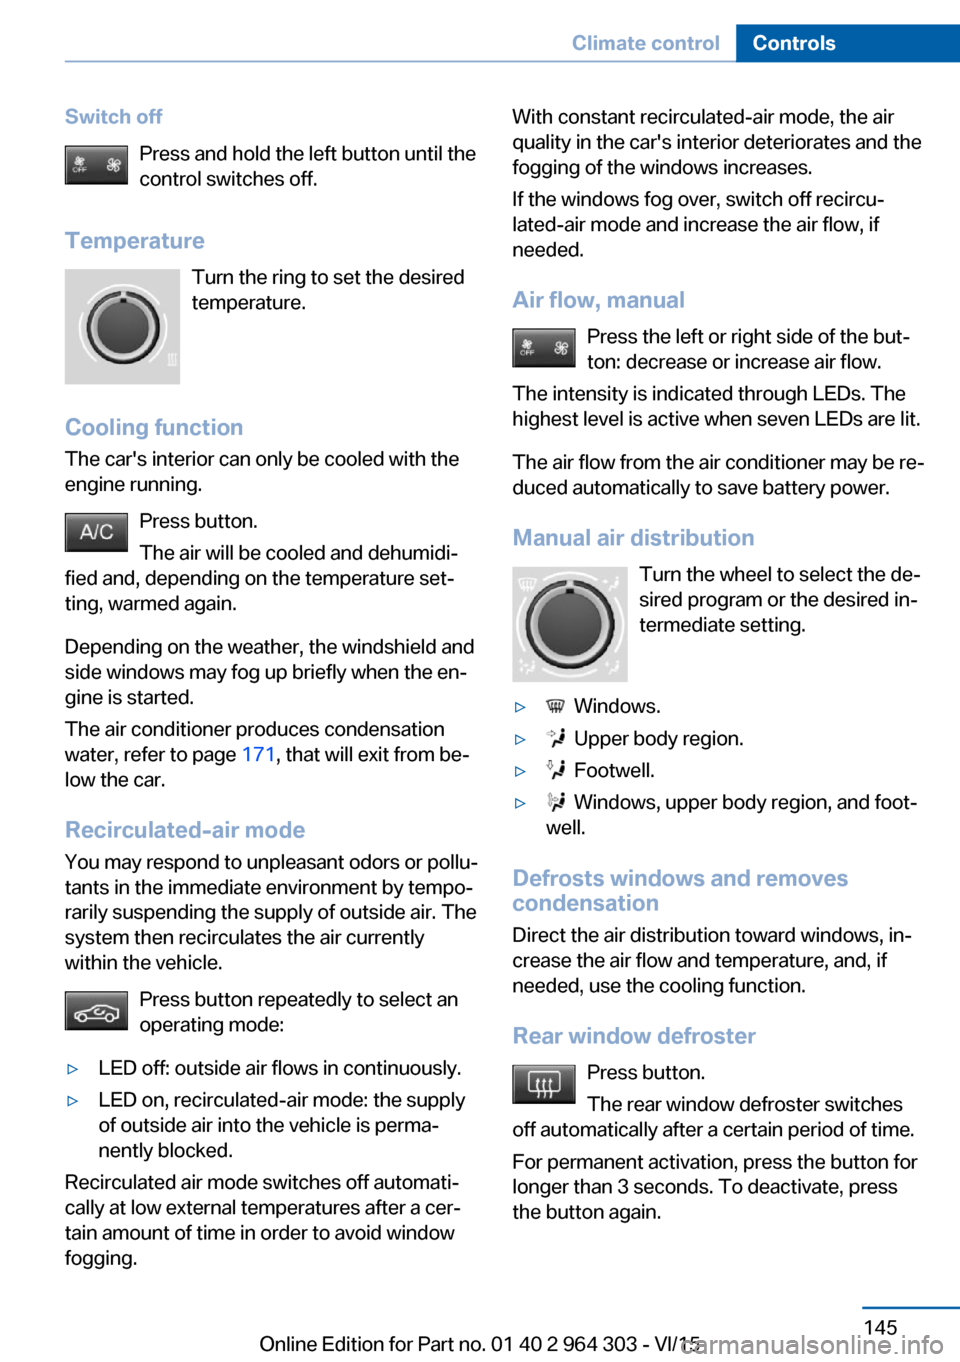
Switch offPress and hold the left button until the
control switches off.
Temperature Turn the ring to set the desired
temperature.
Cooling function
The car's interior can only be cooled with the
engine running.
Press button.
The air will be cooled and dehumidi‐
fied and, depending on the temperature set‐ ting, warmed again.
Depending on the weather, the windshield and
side windows may fog up briefly when the en‐
gine is started.
The air conditioner produces condensation
water, refer to page 171, that will exit from be‐
low the car.
Recirculated-air mode You may respond to unpleasant odors or pollu‐
tants in the immediate environment by tempo‐
rarily suspending the supply of outside air. The
system then recirculates the air currently
within the vehicle.
Press button repeatedly to select an
operating mode:▷LED off: outside air flows in continuously.▷LED on, recirculated-air mode: the supply
of outside air into the vehicle is perma‐
nently blocked.
Recirculated air mode switches off automati‐
cally at low external temperatures after a cer‐
tain amount of time in order to avoid window
fogging.
With constant recirculated-air mode, the air
quality in the car's interior deteriorates and the
fogging of the windows increases.
If the windows fog over, switch off recircu‐
lated-air mode and increase the air flow, if
needed.
Air flow, manual Press the left or right side of the but‐
ton: decrease or increase air flow.
The intensity is indicated through LEDs. The
highest level is active when seven LEDs are lit.
The air flow from the air conditioner may be re‐
duced automatically to save battery power.
Manual air distribution Turn the wheel to select the de‐
sired program or the desired in‐ termediate setting.▷ Windows.▷ Upper body region.▷ Footwell.▷ Windows, upper body region, and foot‐
well.
Defrosts windows and removes
condensation
Direct the air distribution toward windows, in‐
crease the air flow and temperature, and, if
needed, use the cooling function.
Rear window defroster Press button.
The rear window defroster switches
off automatically after a certain period of time.
For permanent activation, press the button for
longer than 3 seconds. To deactivate, press
the button again.
Seite 145Climate controlControls145
Online Edition for Part no. 01 40 2 964 303 - VI/15
Page 157 of 242
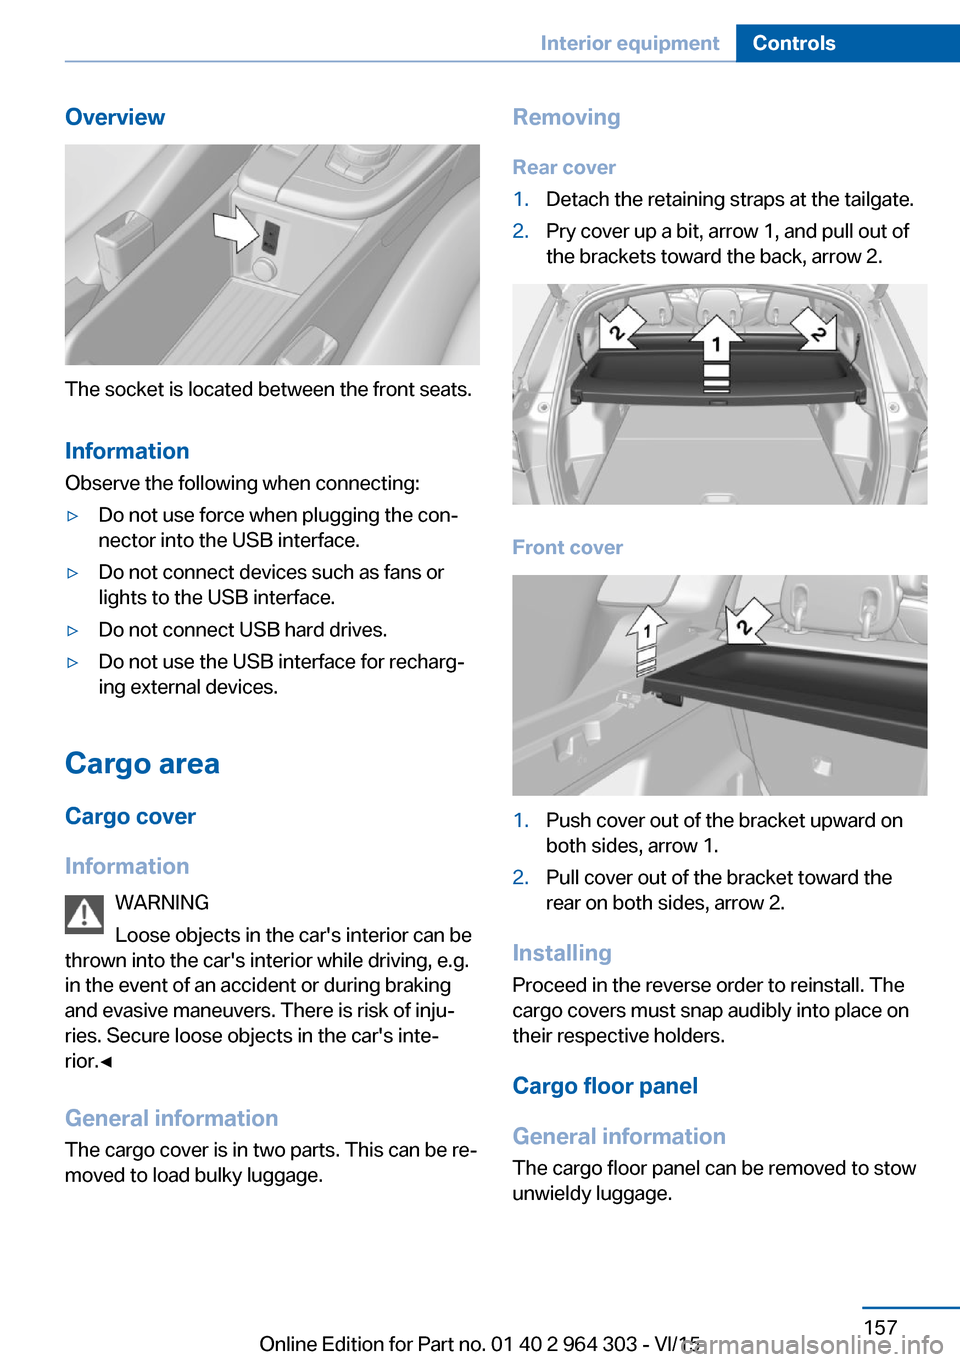
Overview
The socket is located between the front seats.Information Observe the following when connecting:
▷Do not use force when plugging the con‐
nector into the USB interface.▷Do not connect devices such as fans or
lights to the USB interface.▷Do not connect USB hard drives.▷Do not use the USB interface for recharg‐
ing external devices.
Cargo area
Cargo cover
Information WARNING
Loose objects in the car's interior can be
thrown into the car's interior while driving, e.g.
in the event of an accident or during braking
and evasive maneuvers. There is risk of inju‐
ries. Secure loose objects in the car's inte‐
rior.◀
General information The cargo cover is in two parts. This can be re‐
moved to load bulky luggage.
Removing
Rear cover1.Detach the retaining straps at the tailgate.2.Pry cover up a bit, arrow 1, and pull out of
the brackets toward the back, arrow 2.
Front cover
1.Push cover out of the bracket upward on
both sides, arrow 1.2.Pull cover out of the bracket toward the
rear on both sides, arrow 2.
Installing
Proceed in the reverse order to reinstall. The
cargo covers must snap audibly into place on
their respective holders.
Cargo floor panel
General information
The cargo floor panel can be removed to stow
unwieldy luggage.
Seite 157Interior equipmentControls157
Online Edition for Part no. 01 40 2 964 303 - VI/15
Page 158 of 242
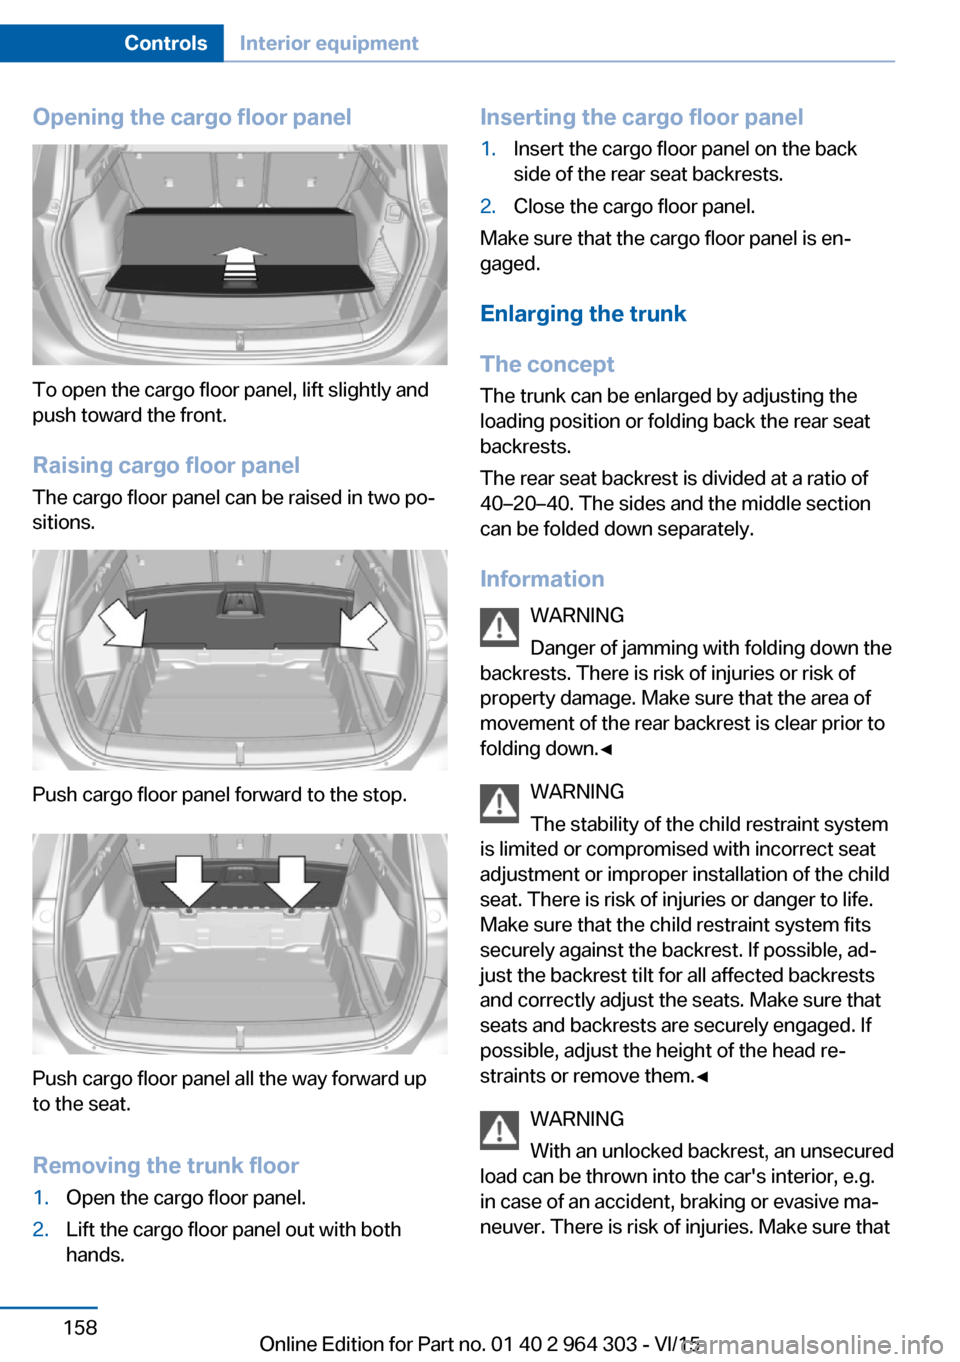
Opening the cargo floor panel
To open the cargo floor panel, lift slightly and
push toward the front.
Raising cargo floor panel The cargo floor panel can be raised in two po‐
sitions.
Push cargo floor panel forward to the stop.
Push cargo floor panel all the way forward up
to the seat.
Removing the trunk floor
1.Open the cargo floor panel.2.Lift the cargo floor panel out with both
hands.Inserting the cargo floor panel1.Insert the cargo floor panel on the back
side of the rear seat backrests.2.Close the cargo floor panel.
Make sure that the cargo floor panel is en‐
gaged.
Enlarging the trunk
The concept The trunk can be enlarged by adjusting the
loading position or folding back the rear seat
backrests.
The rear seat backrest is divided at a ratio of
40–20–40. The sides and the middle section
can be folded down separately.
Information WARNING
Danger of jamming with folding down the
backrests. There is risk of injuries or risk of
property damage. Make sure that the area of
movement of the rear backrest is clear prior to
folding down.◀
WARNING
The stability of the child restraint system
is limited or compromised with incorrect seat
adjustment or improper installation of the child
seat. There is risk of injuries or danger to life.
Make sure that the child restraint system fits
securely against the backrest. If possible, ad‐
just the backrest tilt for all affected backrests
and correctly adjust the seats. Make sure that
seats and backrests are securely engaged. If
possible, adjust the height of the head re‐
straints or remove them.◀
WARNING
With an unlocked backrest, an unsecured
load can be thrown into the car's interior, e.g.
in case of an accident, braking or evasive ma‐
neuver. There is risk of injuries. Make sure that
Seite 158ControlsInterior equipment158
Online Edition for Part no. 01 40 2 964 303 - VI/15
Page 161 of 242
the glove compartment immediately after us‐
ing it.◀
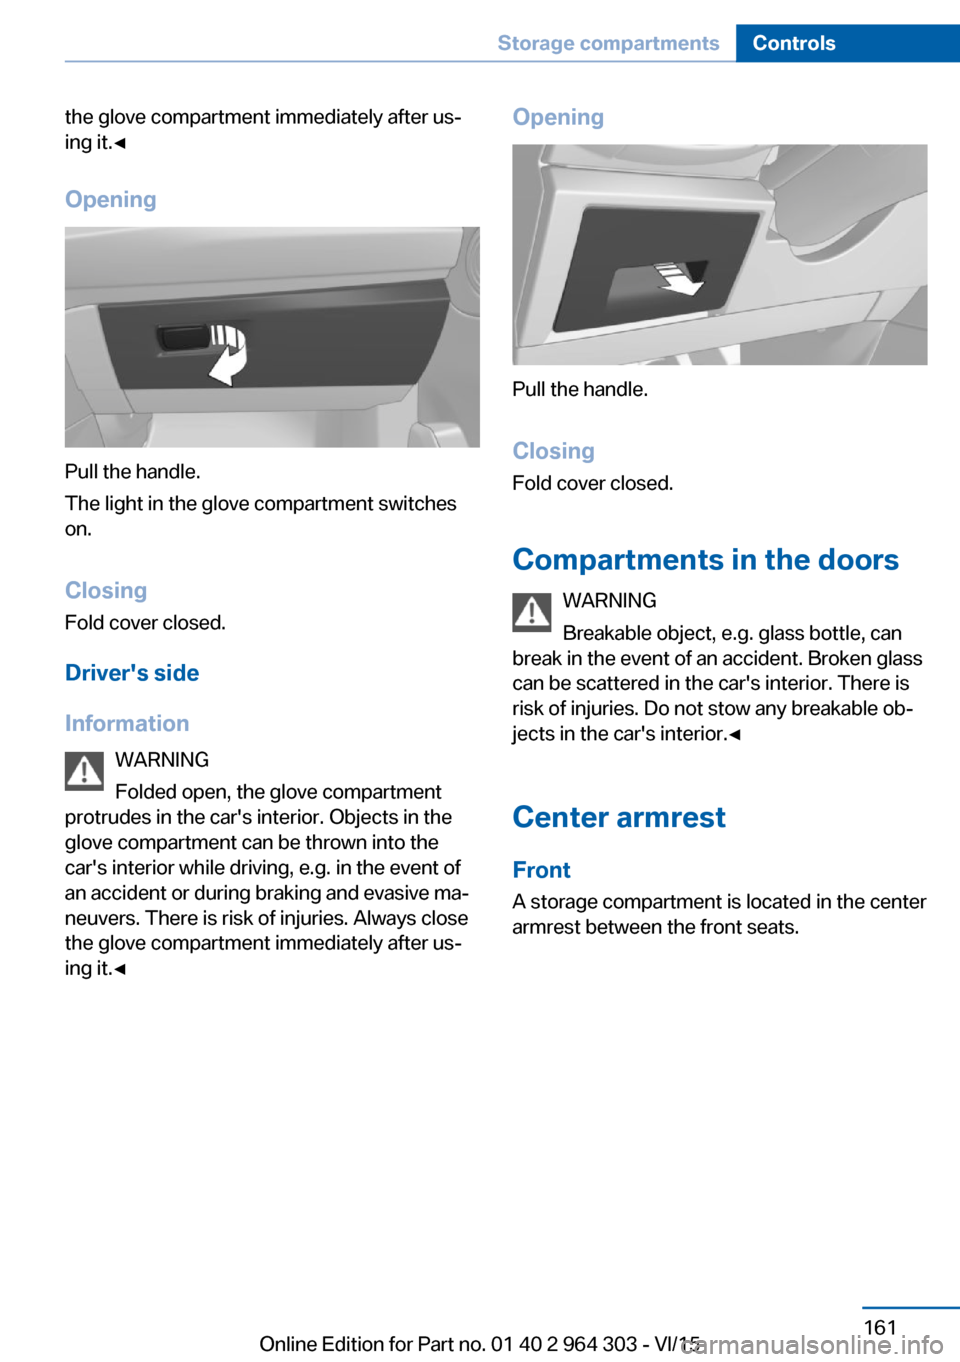
Opening
Pull the handle.
The light in the glove compartment switches
on.
ClosingFold cover closed.
Driver's side
Information WARNING
Folded open, the glove compartment
protrudes in the car's interior. Objects in the
glove compartment can be thrown into the
car's interior while driving, e.g. in the event of
an accident or during braking and evasive ma‐
neuvers. There is risk of injuries. Always close
the glove compartment immediately after us‐
ing it.◀
Opening
Pull the handle.
ClosingFold cover closed.
Compartments in the doors WARNING
Breakable object, e.g. glass bottle, can
break in the event of an accident. Broken glass
can be scattered in the car's interior. There is
risk of injuries. Do not stow any breakable ob‐
jects in the car's interior.◀
Center armrest
Front
A storage compartment is located in the center
armrest between the front seats.
Seite 161Storage compartmentsControls161
Online Edition for Part no. 01 40 2 964 303 - VI/15