display BMW X3 2.5I 2004 E83 Owner's Manual
[x] Cancel search | Manufacturer: BMW, Model Year: 2004, Model line: X3 2.5I, Model: BMW X3 2.5I 2004 E83Pages: 132, PDF Size: 3.62 MB
Page 11 of 132
At a glance
This overview of buttons, switches and
displays is intended to serve as a source
of orientation in your vehicle's operating
environment. The section will also assist
you in becoming acquainted with the
control concepts and options available
for operating the various systems.
Page 13 of 132
At a glance
Controls
Driving tips
Mobility Reference
11
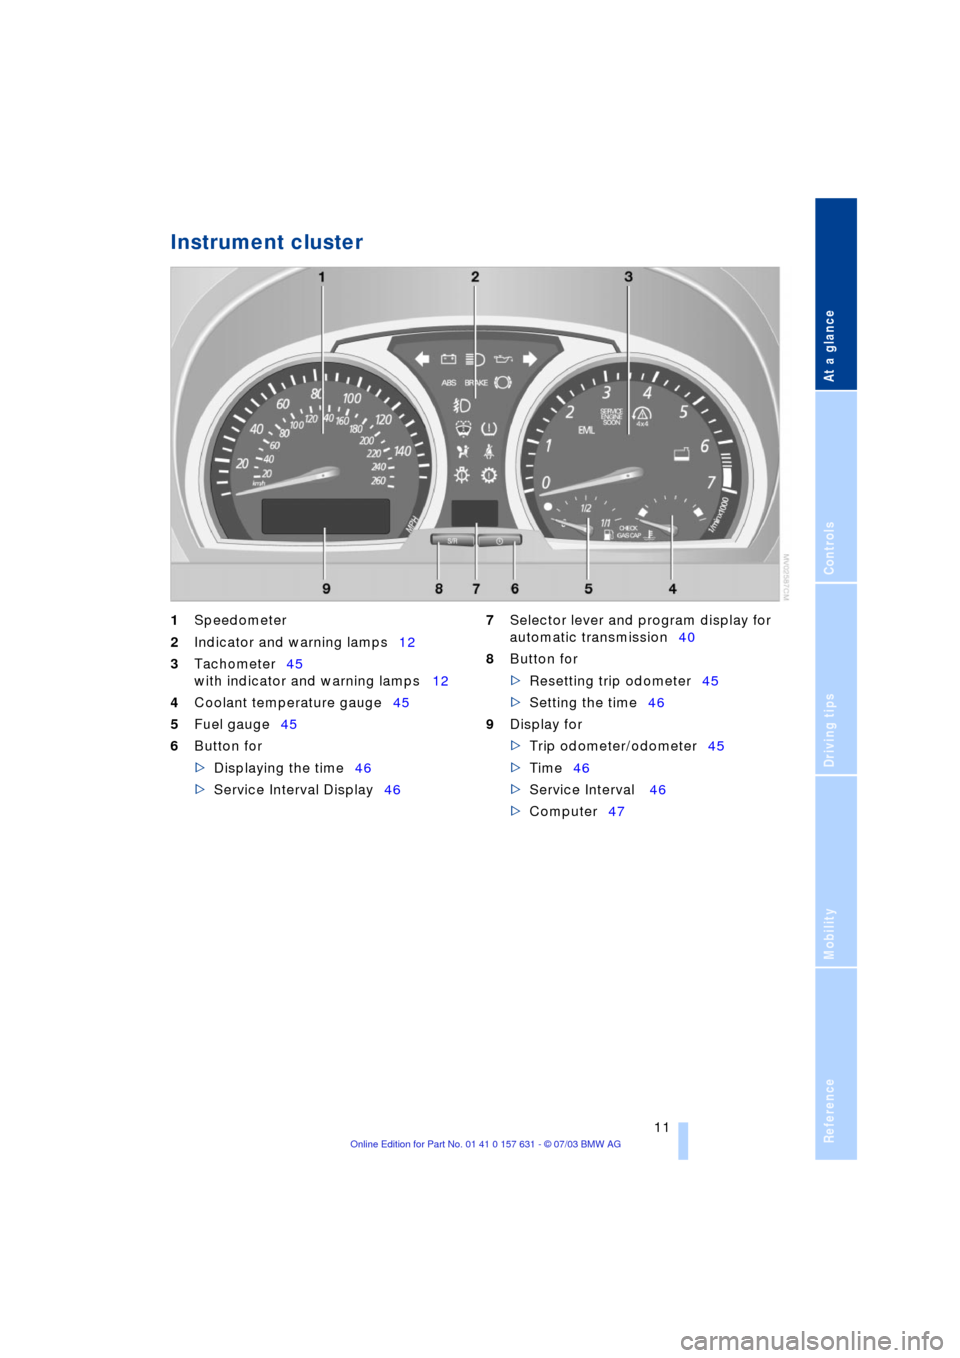
Instrument cluster
1
Speedometer
2
Indicator and warning lamps12
3
Tachometer45
with indicator and warning lamps12
4
Coolant temperature gauge45
5
Fuel gauge45
6
Button for
>
Displaying the time46
>
Service Interval Display46
7
Selector lever and program display for
automatic transmission40
8
Button for
>
Resetting trip odometer45
>
Setting the time46
9
Display for
>
Trip odometer/odometer45
>Time46
>Service Interval 46
>Computer47
Page 27 of 132
Reference
At a glance
Controls
Driving tips
Mobility
25
>The high beams, which flash on and off
in the same rhythm.
Arming and disarming the alarm
system
When the vehicle is locked or unlocked
with the key or the remote control, the
alarm system is also simultaneously armed
or disarmed.
If the alarm system has been properly
armed, the hazard warning flashers light up
once.
You can have different acknowledg-
ment signals set to confirm arming
and disarming.<
You can also open the tailgate with the sys-
tem armed using the button on the
remote control, refer to page 19. When you
close the tailgate, the system is rearmed.<
Switching off the alarm
>Unlock the vehicle using the remote
control, refer to page 19
>Turn the ignition key to position 1.
Indicator lamp displays
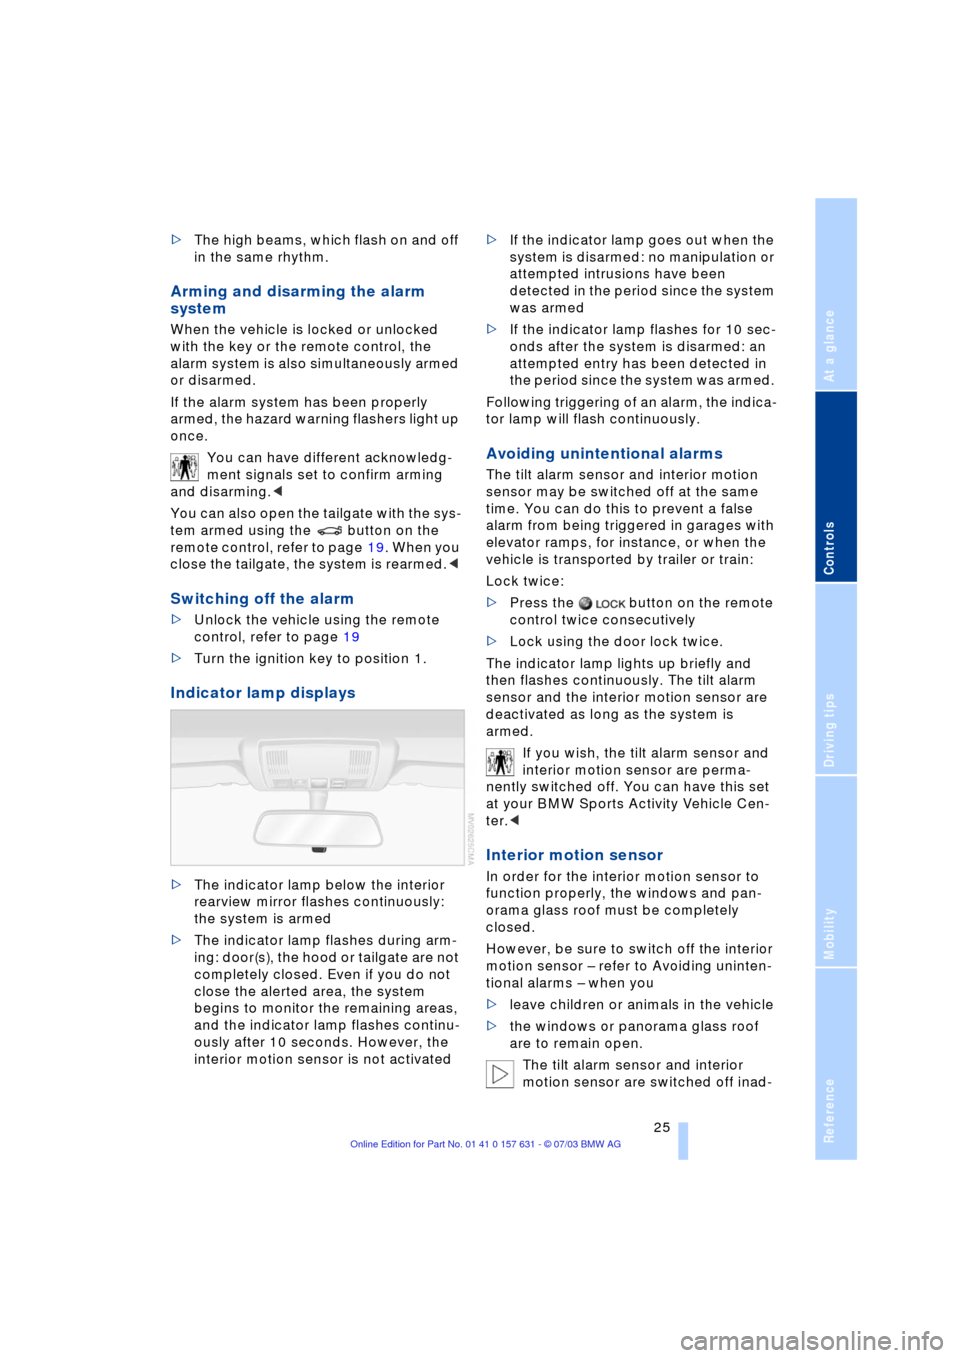
>The indicator lamp below the interior
rearview mirror flashes continuously:
the system is armed
>The indicator lamp flashes during arm-
ing: door(s), the hood or tailgate are not
completely closed. Even if you do not
close the alerted area, the system
begins to monitor the remaining areas,
and the indicator lamp flashes continu-
ously after 10 seconds. However, the
interior motion sensor is not activated >If the indicator lamp goes out when the
system is disarmed: no manipulation or
attempted intrusions have been
detected in the period since the system
was armed
>If the indicator lamp flashes for 10 sec-
onds after the system is disarmed: an
attempted entry has been detected in
the period since the system was armed.
Following triggering of an alarm, the indica-
tor lamp will flash continuously.
Avoiding unintentional alarms
The tilt alarm sensor and interior motion
sensor may be switched off at the same
time. You can do this to prevent a false
alarm from being triggered in garages with
elevator ramps, for instance, or when the
vehicle is transported by trailer or train:
Lock twice:
>Press the button on the remote
control twice consecutively
>Lock using the door lock twice.
The indicator lamp lights up briefly and
then flashes continuously. The tilt alarm
sensor and the interior motion sensor are
deactivated as long as the system is
armed.
If you wish, the tilt alarm sensor and
interior motion sensor are perma-
nently switched off. You can have this set
at your BMW Sports Activity Vehicle Cen-
ter.<
Interior motion sensor
In order for the interior motion sensor to
function properly, the windows and pan-
orama glass roof must be completely
closed.
However, be sure to switch off the interior
motion sensor Ð refer to Avoiding uninten-
tional alarms Ð when you
>leave children or animals in the vehicle
>the windows or panorama glass roof
are to remain open.
The tilt alarm sensor and interior
motion sensor are switched off inad-
Page 35 of 132
Reference
At a glance
Controls
Driving tips
Mobility
33
Vehicle Memory,
Key Memory
How the system functions
You have probably frequently wished that
you could configure individual functions of
your vehicle to reflect your own personal
requirements. In developing your vehicle,
BMW has incorporated a number of
options for personal adjustment. You can
have these programmed at your BMW
Sports Activity Vehicle Center.
There are vehicle-related and person-
related adjustments: Vehicle Memory and
Key Memory. You can configure up to four
different basic adjustments for four differ-
ent persons. The only requirement is that
each person uses his or her own master
key with remote control.
When your vehicle is unlocked with the
remote control, the vehicle recognizes the
individual user by means of a data
exchange with the key, and makes adjust-
ments accordingly.
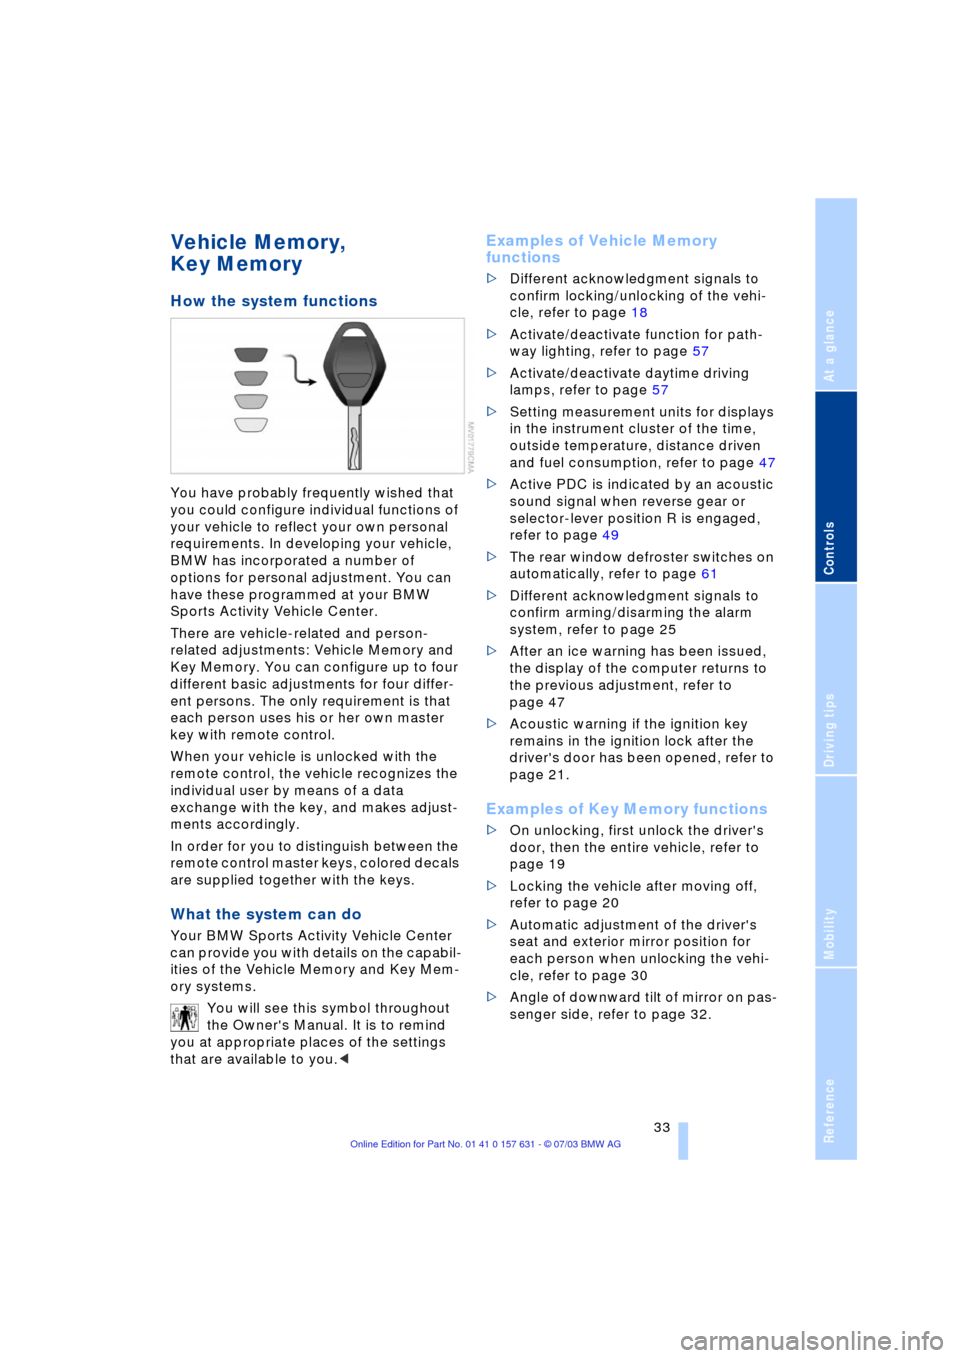
In order for you to distinguish between the
remote control master keys, colored decals
are supplied together with the keys.
What the system can do
Your BMW Sports Activity Vehicle Center
can provide you with details on the capabil-
ities of the Vehicle Memory and Key Mem-
ory systems.
You will see this symbol throughout
the Owner's Manual. It is to remind
you at appropriate places of the settings
that are available to you.<
Examples of Vehicle Memory
functions
>Different acknowledgment signals to
confirm locking/unlocking of the vehi-
cle, refer to page 18
>Activate/deactivate function for path-
way lighting, refer to page 57
>Activate/deactivate daytime driving
lamps, refer to page 57
>Setting measurement units for displays
in the instrument cluster of the time,
outside temperature, distance driven
and fuel consumption, refer to page 47
>Active PDC is indicated by an acoustic
sound signal when reverse gear or
selector-lever position R is engaged,
refer to page 49
>The rear window defroster switches on
automatically, refer to page 61
>Different acknowledgment signals to
confirm arming/disarming the alarm
system, refer to page 25
>After an ice warning has been issued,
the display of the computer returns to
the previous adjustment, refer to
page 47
>Acoustic warning if the ignition key
remains in the ignition lock after the
driver's door has been opened, refer to
page 21.
Examples of Key Memory functions
>On unlocking, first unlock the driver's
door, then the entire vehicle, refer to
page 19
>Locking the vehicle after moving off,
refer to page 20
>Automatic adjustment of the driver's
seat and exterior mirror position for
each person when unlocking the vehi-
cle, refer to page 30
>Angle of downward tilt of mirror on pas-
senger side, refer to page 32.
Page 42 of 132
Driving
40
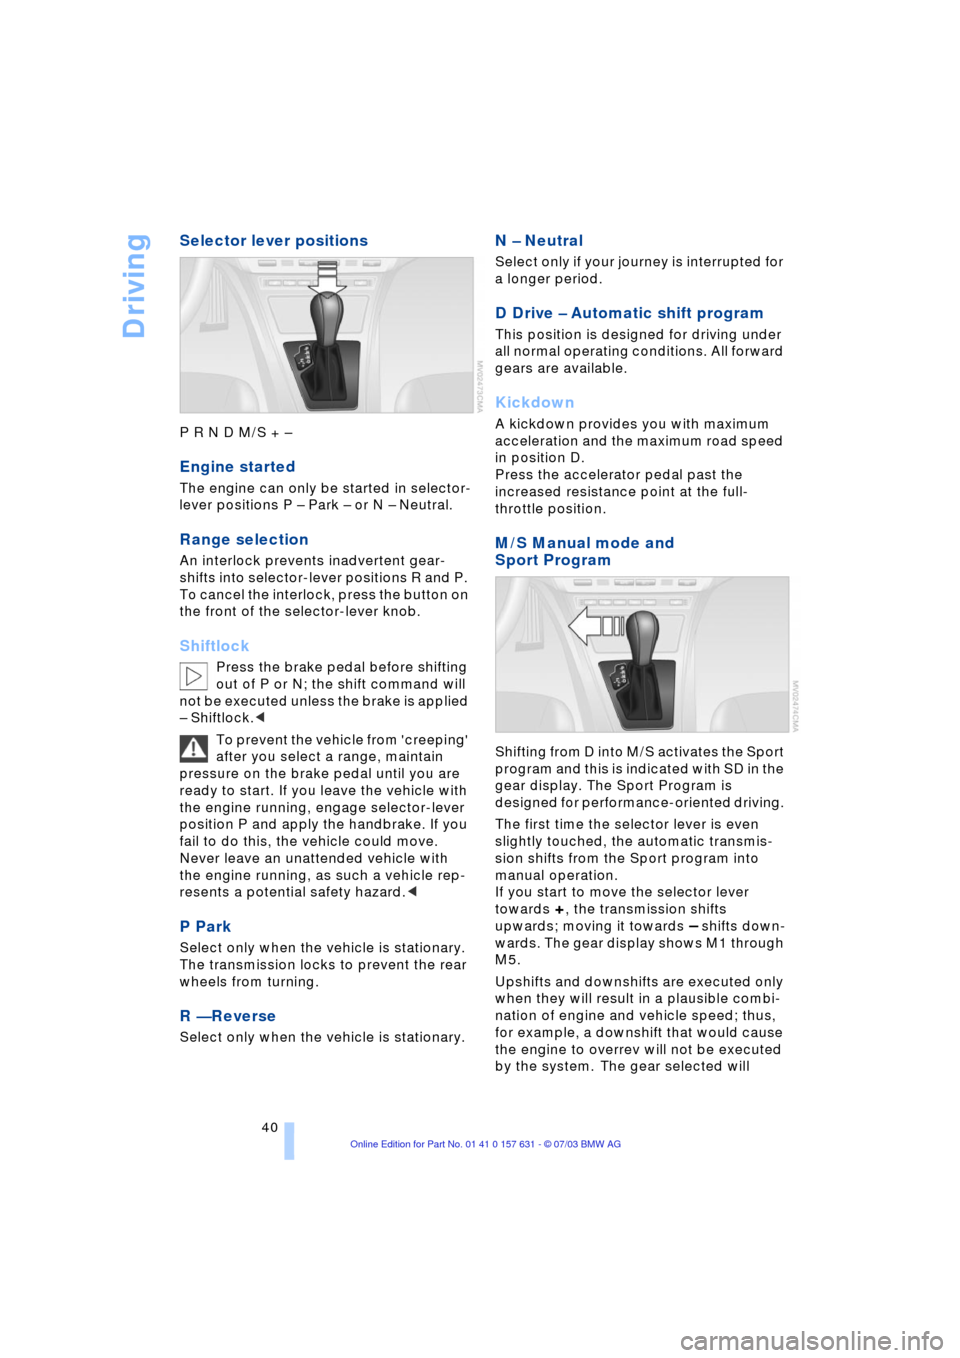
Selector lever positions
P R N D M/S + Ð
Engine started
The engine can only be started in selector-
lever positions P Ð Park Ð or N Ð Neutral.
Range selection
An interlock prevents inadvertent gear-
shifts into selector-lever positions R and P.
To cancel the interlock, press the button on
the front of the selector-lever knob.
Shiftlock
Press the brake pedal before shifting
out of P or N; the shift command will
not be executed unless the brake is applied
Ð Shiftlock.<
To prevent the vehicle from 'creeping'
after you select a range, maintain
pressure on the brake pedal until you are
ready to start. If you leave the vehicle with
the engine running, engage selector-lever
position P and apply the handbrake. If you
fail to do this, the vehicle could move.
Never leave an unattended vehicle with
the engine running, as such a vehicle rep-
resents a potential safety hazard.<
P Park
Select only when the vehicle is stationary.
The transmission locks to prevent the rear
wheels from turning.
R Ñ Reverse
Select only when the vehicle is stationary.
N Ð Neutral
Select only if your journey is interrupted for
a longer period.
D Drive Ð Automatic shift program
This position is designed for driving under
all normal operating conditions. All forward
gears are available.
Kickdown
A kickdown provides you with maximum
acceleration and the maximum road speed
in position D.
Press the accelerator pedal past the
increased resistance point at the full-
throttle position.
M/S Manual mode and
Sport Program
Shifting from D into M/S activates the Sport
program and this is indicated with SD in the
gear display. The Sport Program is
designed for performance-oriented driving.
The first time the selector lever is even
slightly touched, the automatic transmis-
sion shifts from the Sport program into
manual operation.
If you start to move the selector lever
towards
+, the transmission shifts
upwards; moving it towards
Ð shifts down-
wards. The gear display shows M1 through
M5.
Upshifts and downshifts are executed only
when they will result in a plausible combi-
nation of engine and vehicle speed; thus,
for example, a downshift that would cause
the engine to overrev will not be executed
by the system. The gear selected will
Page 43 of 132
Reference
At a glance
Controls
Driving tips
Mobility
41
appear briefly in the instrument cluster fol-
lowed by the current gear.
To obtain maximum acceleration, for
passing maneuvers, etc., during
operation in the manual mode, use the
kickdown or downshift manually.<
Shifting from M/S to the selector-lever
positions P, R and N is only possible by
going through D.
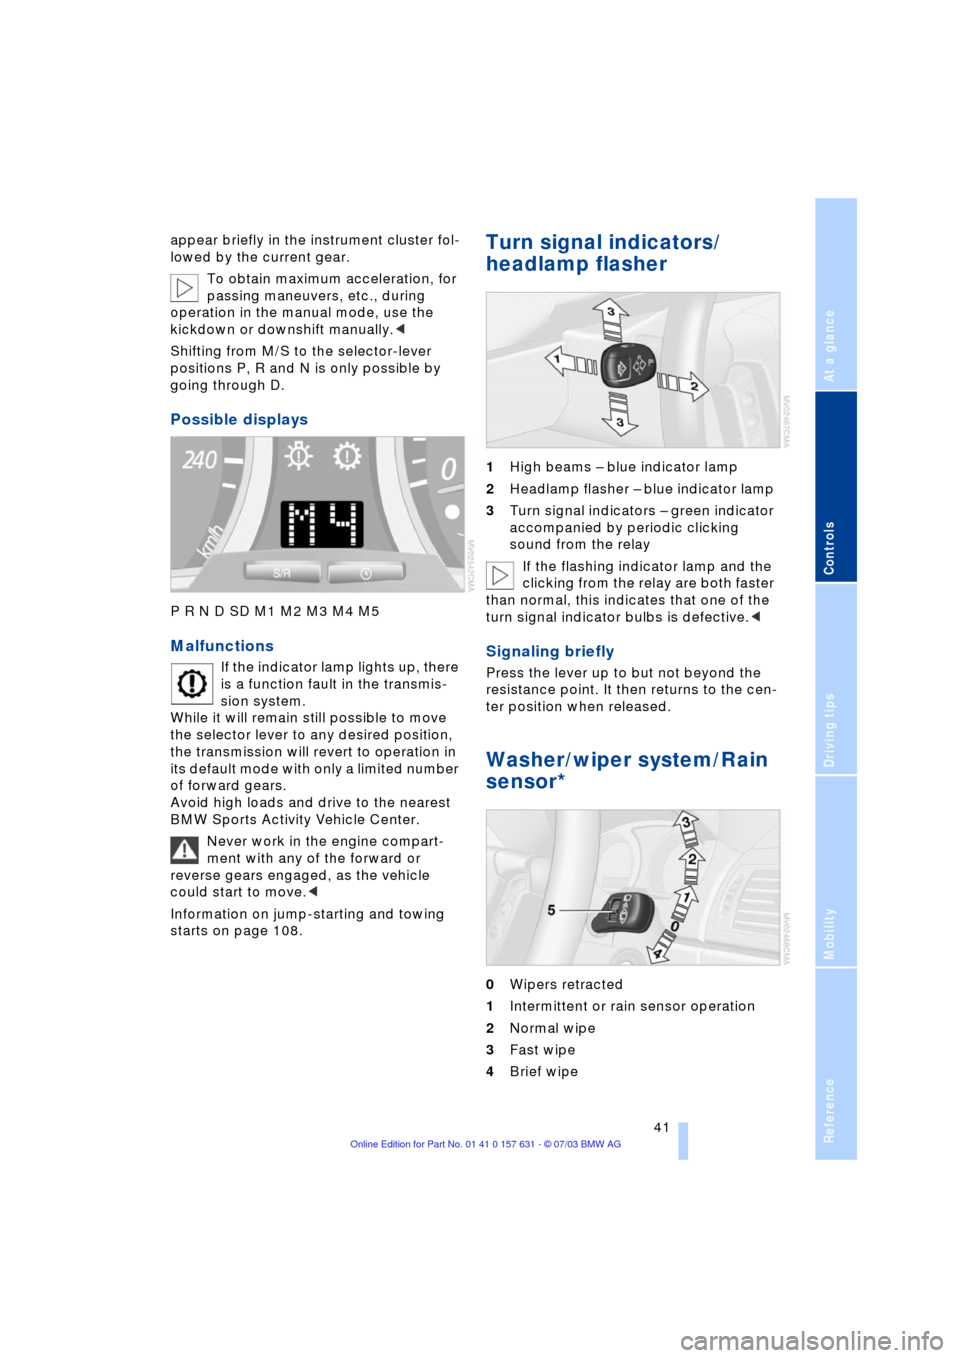
Possible displays
P R N D SD M1 M2 M3 M4 M5
Malfunctions
If the indicator lamp lights up, there
is a function fault in the transmis-
sion system.
While it will remain still possible to move
the selector lever to any desired position,
the transmission will revert to operation in
its default mode with only a limited number
of forward gears.
Avoid high loads and drive to the nearest
BMW Sports Activity Vehicle Center.
Never work in the engine compart-
ment with any of the forward or
reverse gears engaged, as the vehicle
could start to move.<
Information on jump-starting and towing
starts on page 108.
Turn signal indicators/
headlamp flasher
1High beams Ð blue indicator lamp
2Headlamp flasher Ð blue indicator lamp
3Turn signal indicators Ð green indicator
accompanied by periodic clicking
sound from the relay
If the flashing indicator lamp and the
clicking from the relay are both faster
than normal, this indicates that one of the
turn signal indicator bulbs is defective.<
Signaling briefly
Press the lever up to but not beyond the
resistance point. It then returns to the cen-
ter position when released.
Washer/wiper system/Rain
sensor*
0Wipers retracted
1Intermittent or rain sensor operation
2Normal wipe
3Fast wipe
4Brief wipe
Page 47 of 132
Reference
At a glance
Controls
Driving tips
Mobility
45
Everything under control
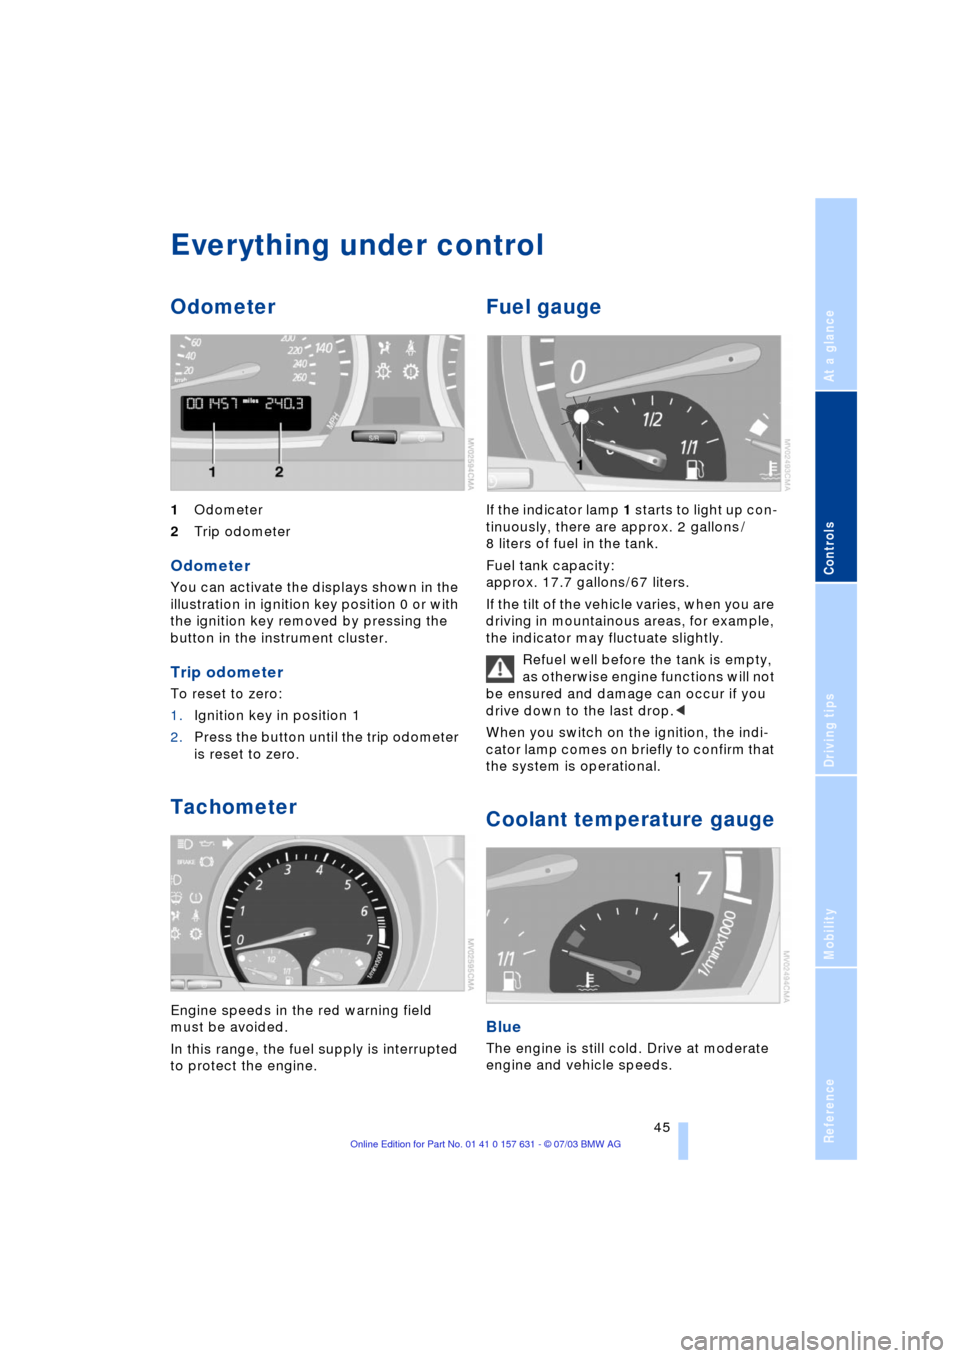
Odometer
1Odometer
2Trip odometer
Odometer
You can activate the displays shown in the
illustration in ignition key position 0 or with
the ignition key removed by pressing the
button in the instrument cluster.
Trip odometer
To reset to zero:
1.Ignition key in position 1
2.Press the button until the trip odometer
is reset to zero.
Tachometer
Engine speeds in the red warning field
must be avoided.
In this range, the fuel supply is interrupted
to protect the engine.
Fuel gauge
If the indicator lamp 1 starts to light up con-
tinuously, there are approx. 2 gallons /
8 liters of fuel in the tank.
Fuel tank capacity:
approx. 17.7 gallons/67 liters.
If the tilt of the vehicle varies, when you are
driving in mountainous areas, for example,
the indicator may fluctuate slightly.
Refuel well before the tank is empty,
as otherwise engine functions will not
be ensured and damage can occur if you
drive down to the last drop.<
When you switch on the ignition, the indi-
cator lamp comes on briefly to confirm that
the system is operational.
Coolant temperature gauge
Blue
The engine is still cold. Drive at moderate
engine and vehicle speeds.
Page 48 of 132
Everything under control
46
Between the blue and red fields
Normal operating range. The dial may wan-
der into the red field.
Red
Comes on while driving:
The engine is overheated. Switch off the
engine immediately and allow it to cool
down.
Checking coolant level, refer to page 96.
When you switch on the ignition, the warn-
ing lamp 1 comes on briefly to confirm that
the system is operational.
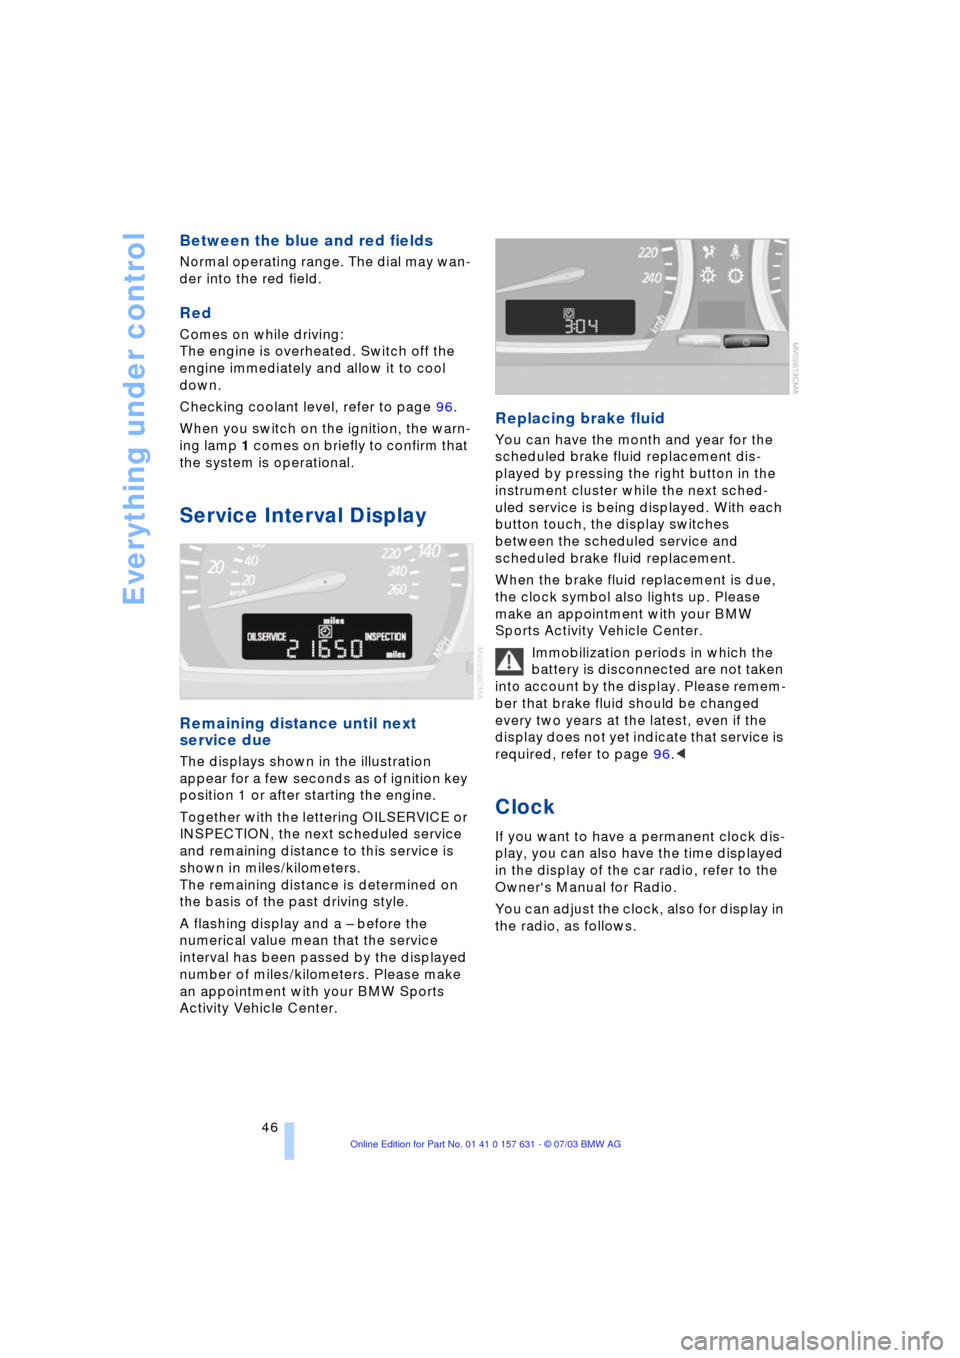
Service Interval Display
Remaining distance until next
service due
The displays shown in the illustration
appear for a few seconds as of ignition key
position 1 or after starting the engine.
Together with the lettering OILSERVICE or
INSPECTION, the next scheduled service
and remaining distance to this service is
shown in miles/kilometers.
The remaining distance is determined on
the basis of the past driving style.
A flashing display and a Ð before the
numerical value mean that the service
interval has been passed by the displayed
number of miles/kilometers. Please make
an appointment with your BMW Sports
Activity Vehicle Center.
Replacing brake fluid
You can have the month and year for the
scheduled brake fluid replacement dis-
played by pressing the right button in the
instrument cluster while the next sched-
uled service is being displayed. With each
button touch, the display switches
between the scheduled service and
scheduled brake fluid replacement.
When the brake fluid replacement is due,
the clock symbol also lights up. Please
make an appointment with your BMW
Sports Activity Vehicle Center.
Immobilization periods in which the
battery is disconnected are not taken
into account by the display. Please remem-
ber that brake fluid should be changed
every two years at the latest, even if the
display does not yet indicate that service is
required, refer to page 96.<
Clock
If you want to have a permanent clock dis-
play, you can also have the time displayed
in the display of the car radio, refer to the
Owner's Manual for Radio.
You can adjust the clock, also for display in
the radio, as follows.
Page 49 of 132
Reference
At a glance
Controls
Driving tips
Mobility
47
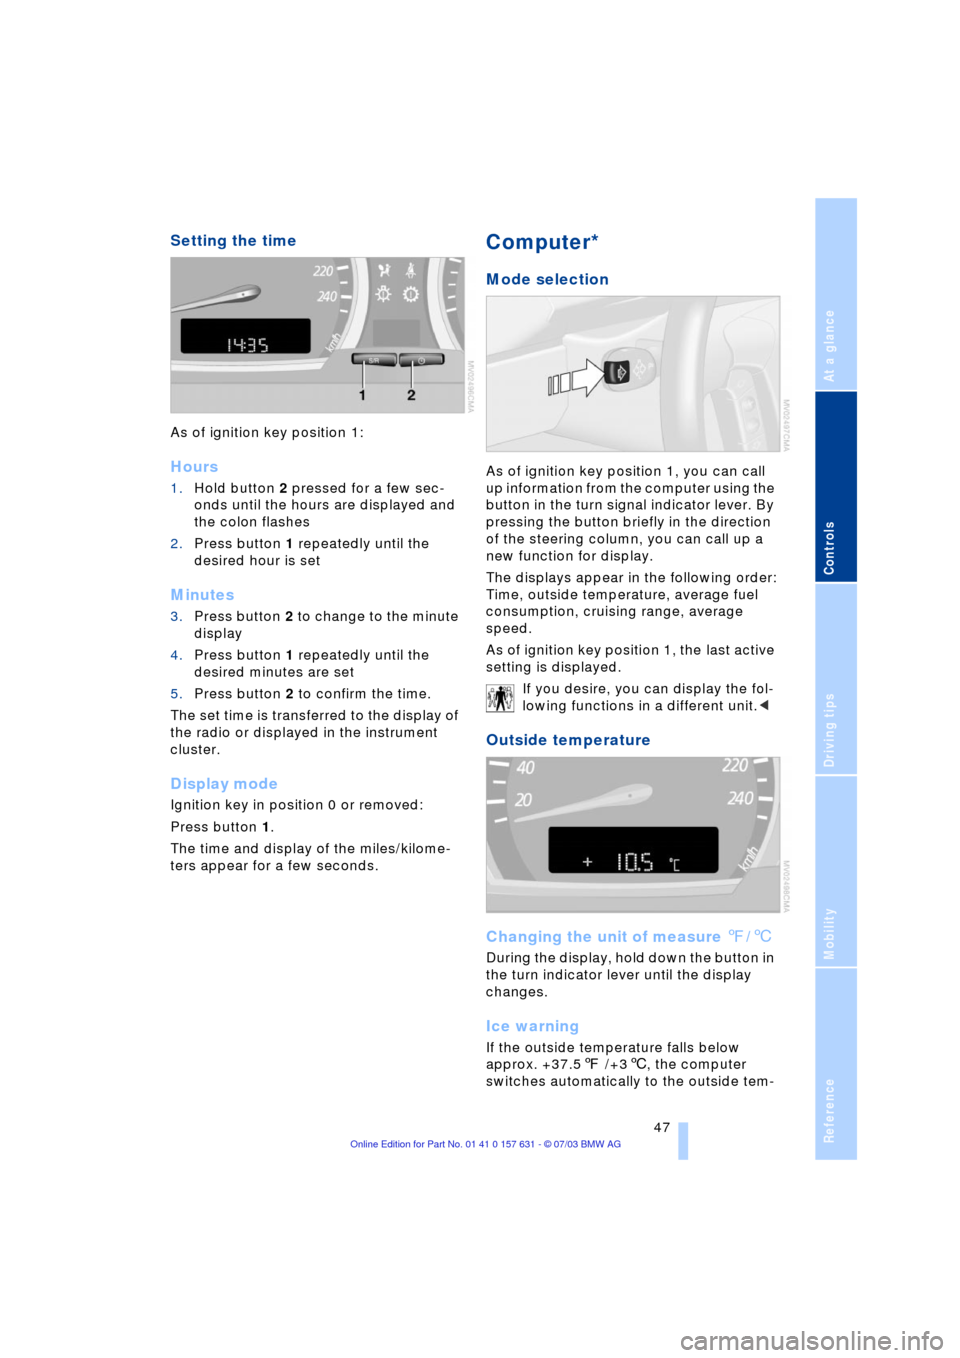
Setting the time
As of ignition key position 1:
Hours
1.Hold button 2 pressed for a few sec-
onds until the hours are displayed and
the colon flashes
2.Press button 1 repeatedly until the
desired hour is set
Minutes
3.Press button 2 to change to the minute
display
4.Press button 1 repeatedly until the
desired minutes are set
5.Press button 2 to confirm the time.
The set time is transferred to the display of
the radio or displayed in the instrument
cluster.
Display mode
Ignition key in position 0 or removed:
Press button 1.
The time and display of the miles/kilome-
ters appear for a few seconds.
Computer*
Mode selection
As of ignition key position 1, you can call
up information from the computer using the
button in the turn signal indicator lever. By
pressing the button briefly in the direction
of the steering column, you can call up a
new function for display.
The displays appear in the following order:
Time, outside temperature, average fuel
consumption, cruising range, average
speed.
As of ignition key position 1, the last active
setting is displayed.
If you desire, you can display the fol-
lowing functions in a different unit.<
Outside temperature
Changing the unit of measure 7/6
During the display, hold down the button in
the turn indicator lever until the display
changes.
Ice warning
If the outside temperature falls below
approx. +37.57 /+36, the computer
switches automatically to the outside tem-
Page 50 of 132
Everything under control
48 perature display. In addition, an acoustic
signal sounds and the display flashes for a
short time.
After an ice warning has been issued,
the display returns to the previous
setting. You can have this activated/deacti-
vated.<
Please bear in mind that the ice warn-
ing does nothing to alter the fact that
glare ice may be present on roads at tem-
peratures higher than +37.57/+36, for
instance, on bridges and shaded roads.<
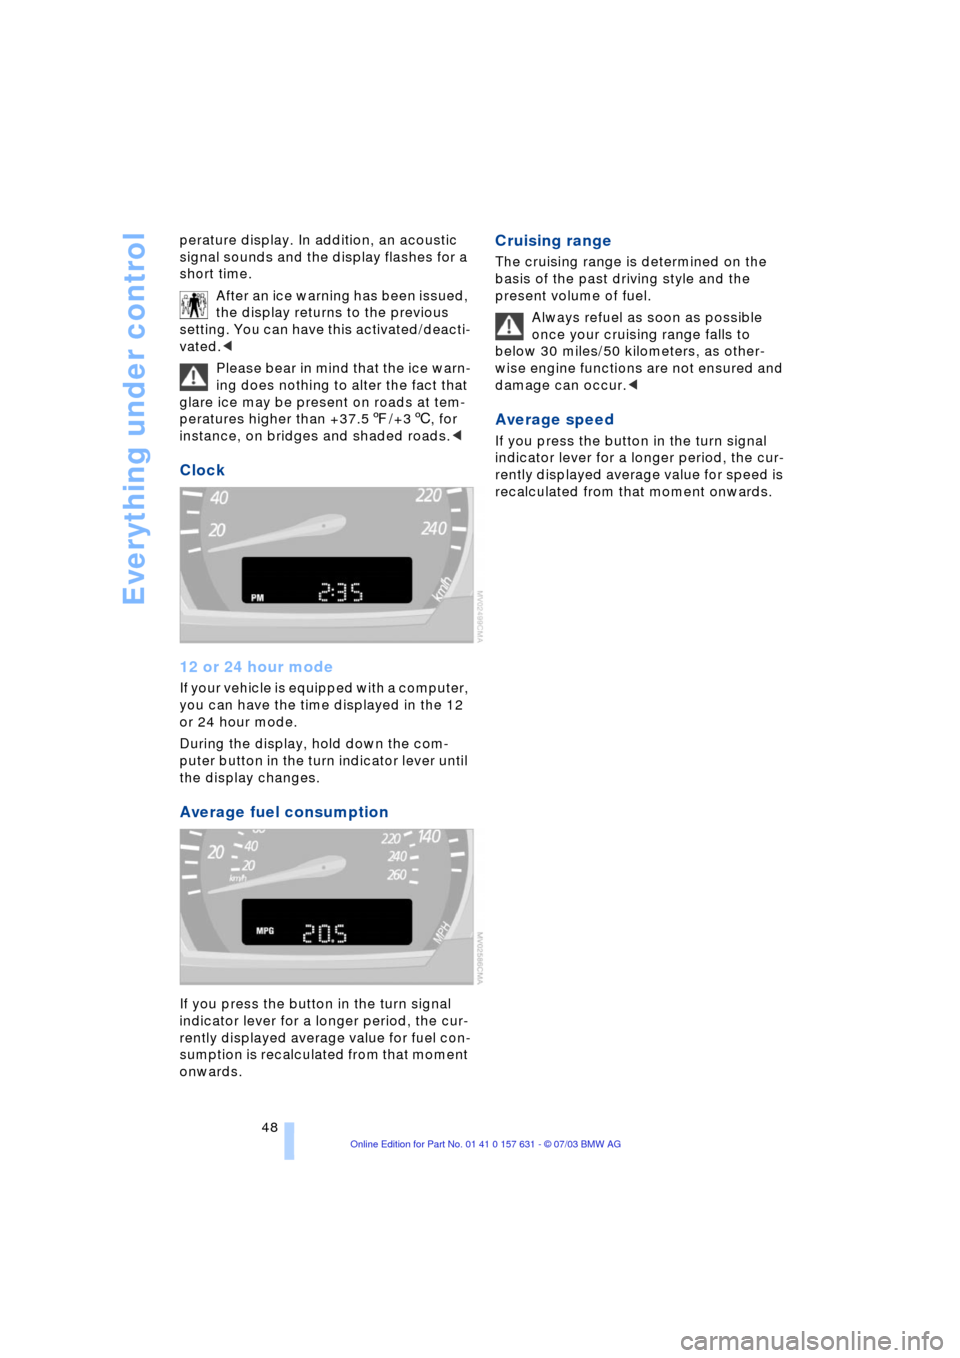
Clock
12 or 24 hour mode
If your vehicle is equipped with a computer,
you can have the time displayed in the 12
or 24 hour mode.
During the display, hold down the com-
puter button in the turn indicator lever until
the display changes.
Average fuel consumption
If you press the button in the turn signal
indicator lever for a longer period, the cur-
rently displayed average value for fuel con-
sumption is recalculated from that moment
onwards.
Cruising range
The cruising range is determined on the
basis of the past driving style and the
present volume of fuel.
Always refuel as soon as possible
once your cruising range falls to
below 30 miles/50 kilometers, as other-
wise engine functions are not ensured and
damage can occur.<
Average speed
If you press the button in the turn signal
indicator lever for a longer period, the cur-
rently displayed average value for speed is
recalculated from that moment onwards.