check engine light BMW X3 3.0I 2006 E83 User Guide
[x] Cancel search | Manufacturer: BMW, Model Year: 2006, Model line: X3 3.0I, Model: BMW X3 3.0I 2006 E83Pages: 133, PDF Size: 8.37 MB
Page 97 of 133
Reference
At a glance
Controls
Driving tips
Mobility
95
works according to BMW repair procedures
with correspondingly trained personnel.
Approved engine oils
The quality of the engine oil selected has critical
significance for the operation and service life of
an engine. BMW continuously approves spe-
cific oils after confirming their suitability for use
in its vehicles with extensive testing.
Only use approved BMW High Performance
Synthetic Oil.
If you are unable to obtain BMW High Perfor-
mance Synthetic Oil, you can add small
amounts of another synthetic oil in between oil
changes. Only use oils with the API SH specifi-
cation or higher.
Ask your BMW Sports Activity Vehicle
Center for more details concerning BMW
High Performance Synthetic Oil or other
approved synthetic oils.<
You can also call BMW of North America at
1-800-831-1117 or visit website
www.bmwusa.com to obtain this information.
BMW engines are designed to operate
without additives, and their use could
even lead to damage in some cases.<
Viscosity classes
Viscosity is the oil flow rating as defined in
SAE classes.
The selection of the correct SAE class depends
on the climate conditions in the area where you
typically drive your BMW.
Approved oils belong to SAE classes
5W-40 and 5W-30.<
These oils can be used for driving in all ambient
temperatures.
Coolant
Warning lamp
The warning lamp lights up: coolant
level is too low; top off at the next
opportunity.Do not open the cooling system when the
engine is hot. Escaping coolant can cause
burns.<
Coolant consists of water and coolant additive.
Not all commercially available additives are suit-
able for your BMW. Ask your BMW Sports
Activity Vehicle Center for suitable additives.
Only use suitable additives; otherwise,
engine damage may result. The additives
present a health hazard.<
Always observe all applicable environ-
mental laws and regulations when dis-
posing of used coolant additives.<
Checking coolant level
1.The engine must be at ambient tempera-
ture.
2.Turn the cap of the expansion tank counter-
clockwise to allow any accumulated pres-
sure to escape, then continue turning to
open.
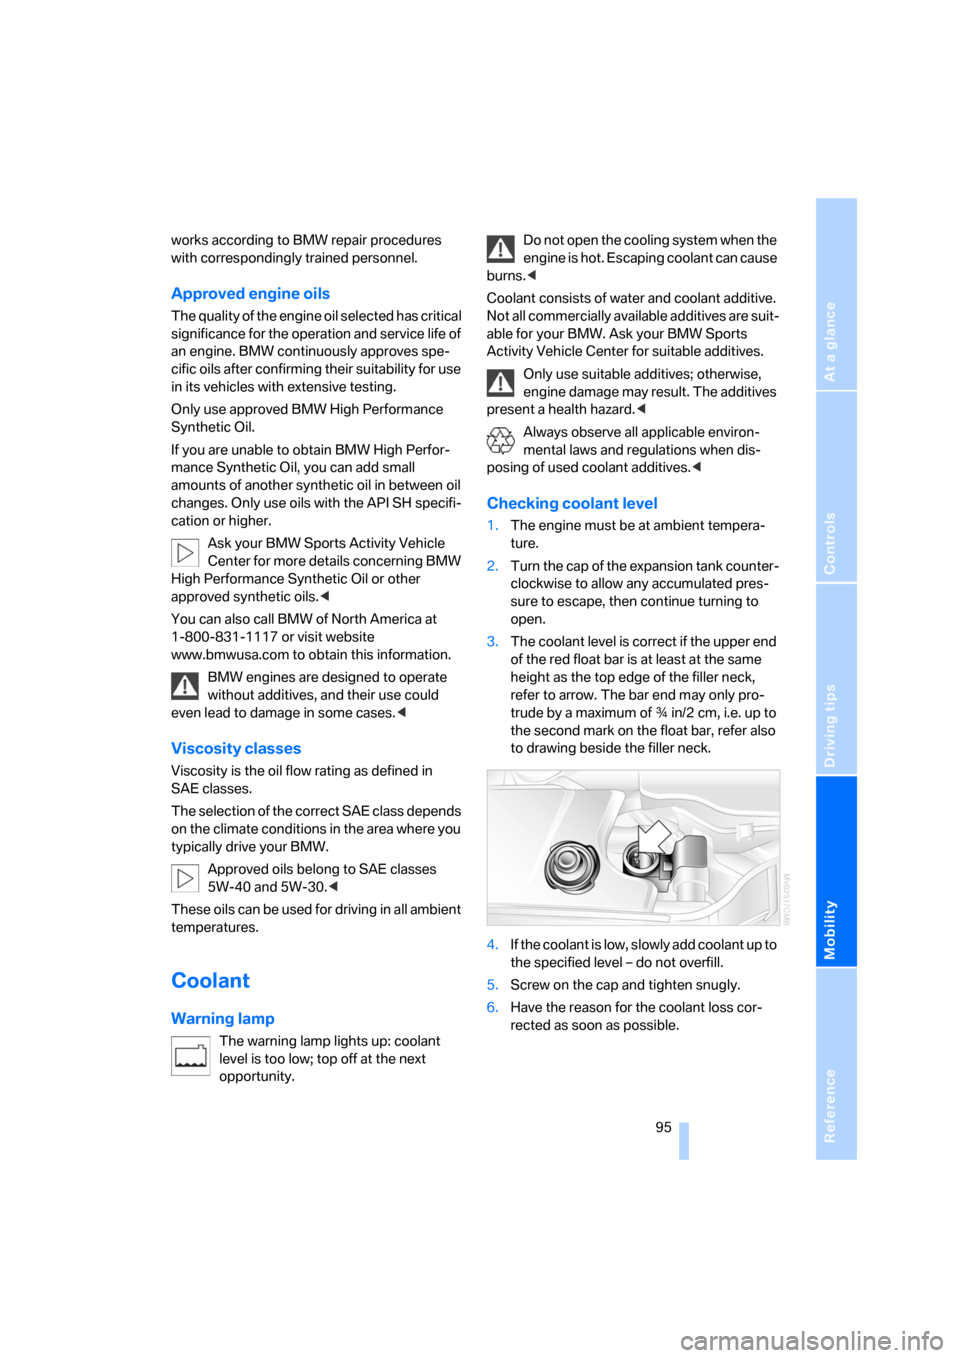
3.The coolant level is correct if the upper end
of the red float bar is at least at the same
height as the top edge of the filler neck,
refer to arrow. The bar end may only pro-
trude by a maximum of ιin/2 cm, i.e. up to
the second mark on the float bar, refer also
to drawing beside the filler neck.
4.If the coolant is low, slowly add coolant up to
the specified level – do not overfill.
5.Screw on the cap and tighten snugly.
6.Have the reason for the coolant loss cor-
rected as soon as possible.
Page 100 of 133
Maintenance
98 This socket is located under a cover on the left
side of the driver's footwell, just under the dash-
board.
Emissions values
The warning lamp lights up. Exhaust
values are deteriorating. Have the vehi-
cle checked as soon as possible.
Under certain conditions, the indicator will flash.
This indicates a serious rate of engine misfire.
When this occurs, you should reduce speed
and consult the nearest BMW Sports Activity
Vehicle Center as soon as possible. Severe
engine misfire even for only a short period of
time can seriously damage emission control
components, especially the catalytic converter.
Display of the previously described mal-
function on Canadian models.
When the fuel filler cap is not properly
tightened, the OBD system can detect
the vapor leak and the indicator lamp will light
up. If the filler cap is subsequently tightened,
the indicator lamp should go out within a few
days.<
Event data recorders
Your vehicle may be equipped with one or more
sensing and diagnostic modules or a recording
device capable of recording or transmitting cer-
tain vehicle data or information. In addition, if
you have a Subscription Service Agreement for
the BMW Assist system, certain vehicle infor-
mation may be transmitted or recorded in order
to provide such services.
Care
You can find useful information on caring for
your BMW in the Caring for your vehicle bro-
chure.
Page 111 of 133
Reference
At a glance
Controls
Driving tips
Mobility
109
Starting engine
1.Start the engine of the assisting vehicle and
let it run at a slightly elevated idling speed
for a few minutes.
2.Start the engine on the other vehicle in the
usual way.
If the first start attempt is not successful,
wait a few minutes before another attempt
in order to allow the discharged battery to
recharge.
3.Let the engines run for a few minutes.
4.Disconnect the jumper cables by reversing
the connection sequence.
If need be, have the battery checked and
recharged.
Never use spray fluids to start the
engine.<
Tow starting and towing
Obey all applicable laws and guidelines
for tow starting and towing.<
Do not allow any passengers other than
the driver to ride in a vehicle that is being
towed.<
Using tow fitting
The threaded tow fitting is stored in the
onboard tool kit, refer to page99, and must
always remain in the vehicle. It can be screwed
in at the front or rear of the BMW.
Only use the tow fitting that comes with
the vehicle and screw it in as far as it will
go. Use the tow fitting only for towing on roads.
Avoid lateral loading of the tow fitting, e.g. do
not lift the vehicle by the tow fitting. Otherwise,
the tow fitting and the vehicle can be dam-
aged.<
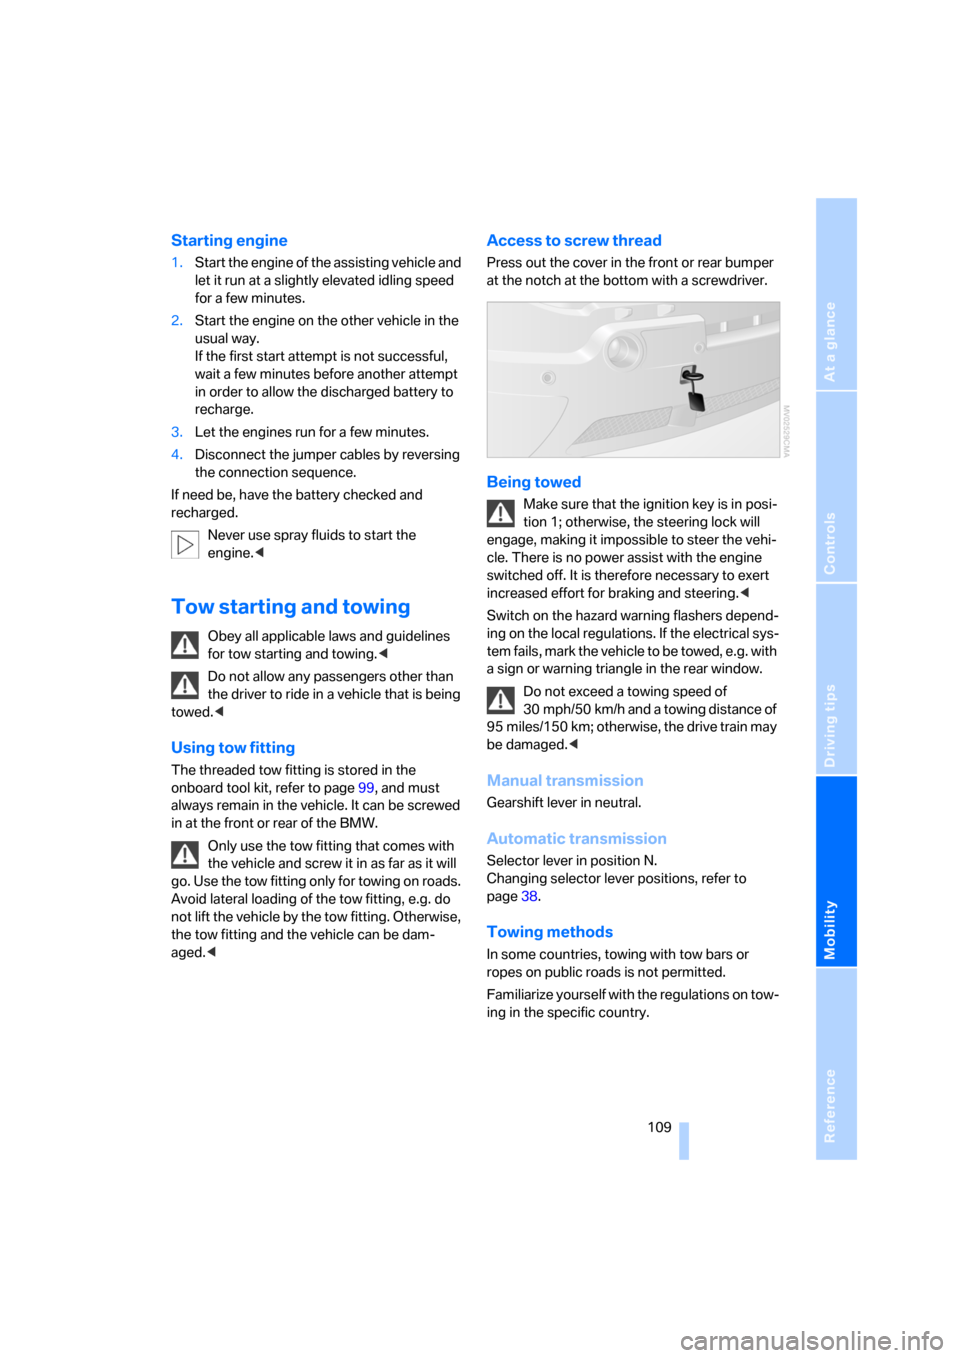
Access to screw thread
Press out the cover in the front or rear bumper
at the notch at the bottom with a screwdriver.
Being towed
Make sure that the ignition key is in posi-
tion 1; otherwise, the steering lock will
engage, making it impossible to steer the vehi-
cle. There is no power assist with the engine
switched off. It is therefore necessary to exert
increased effort for braking and steering.<
Switch on the hazard warning flashers depend-
ing on the local regulations. If the electrical sys-
tem fails, mark the vehicle to be towed, e.g. with
a sign or warning triangle in the rear window.
Do not exceed a towing speed of
30 mph/50 km/h and a towing distance of
95 miles/150 km; otherwise, the drive train may
be damaged.<
Manual transmission
Gearshift lever in neutral.
Automatic transmission
Selector lever in position N.
Changing selector lever positions, refer to
page38.
Towing methods
In some countries, towing with tow bars or
ropes on public roads is not permitted.
Familiarize yourself with the regulations on tow-
ing in the specific country.
Page 112 of 133
Giving and receiving assistance
110
With tow bar
The towing vehicle must not be lighter
than the vehicle to be towed; otherwise,
it will not be possible to safely control vehicle
response.<
The tow fittings used should be on the same
side on both vehicles. Should it prove impossi-
ble to avoid mounting the tow bar at an offset
angle, please observe the following:
>Clearance and maneuvering capability will
be strictly limited in corners.
>When mounted at an angle, the tow bar will
exert lateral forces, tending to push the
vehicle sideways.
Secure the tow bar to the tow fittings
only. Otherwise, other vehicle parts could
be damaged.<
With tow-rope
When starting off in the towing vehicle, make
sure that the tow-rope is taut.
To avoid jerking and the associated
stresses on vehicle components when
towing, always use nylon ropes or nylon straps.
Secure the tow rope to the tow fittings only.
Otherwise, other vehicle parts could be dam-
aged.<
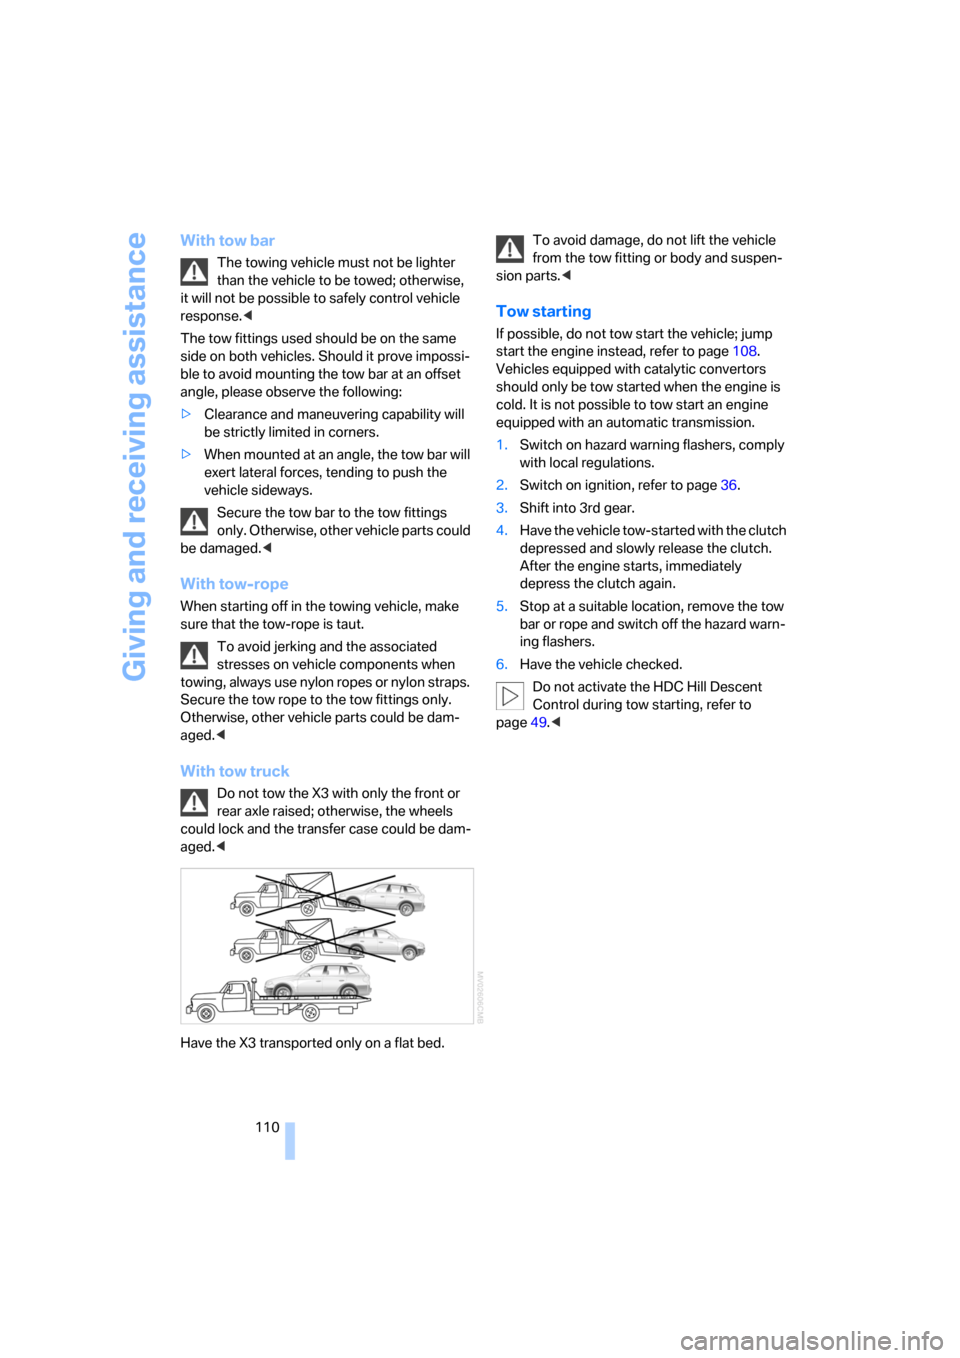
With tow truck
Do not tow the X3 with only the front or
rear axle raised; otherwise, the wheels
could lock and the transfer case could be dam-
aged.<
Have the X3 transported only on a flat bed.To avoid damage, do not lift the vehicle
from the tow fitting or body and suspen-
sion parts.<
Tow starting
If possible, do not tow start the vehicle; jump
start the engine instead, refer to page108.
Vehicles equipped with catalytic convertors
should only be tow started when the engine is
cold. It is not possible to tow start an engine
equipped with an automatic transmission.
1.Switch on hazard warning flashers, comply
with local regulations.
2.Switch on ignition, refer to page36.
3.Shift into 3rd gear.
4.Have the vehicle tow-started with the clutch
depressed and slowly release the clutch.
After the engine starts, immediately
depress the clutch again.
5.Stop at a suitable location, remove the tow
bar or rope and switch off the hazard warn-
ing flashers.
6.Have the vehicle checked.
Do not activate the HDC Hill Descent
Control during tow starting, refer to
page49.<
Page 126 of 133
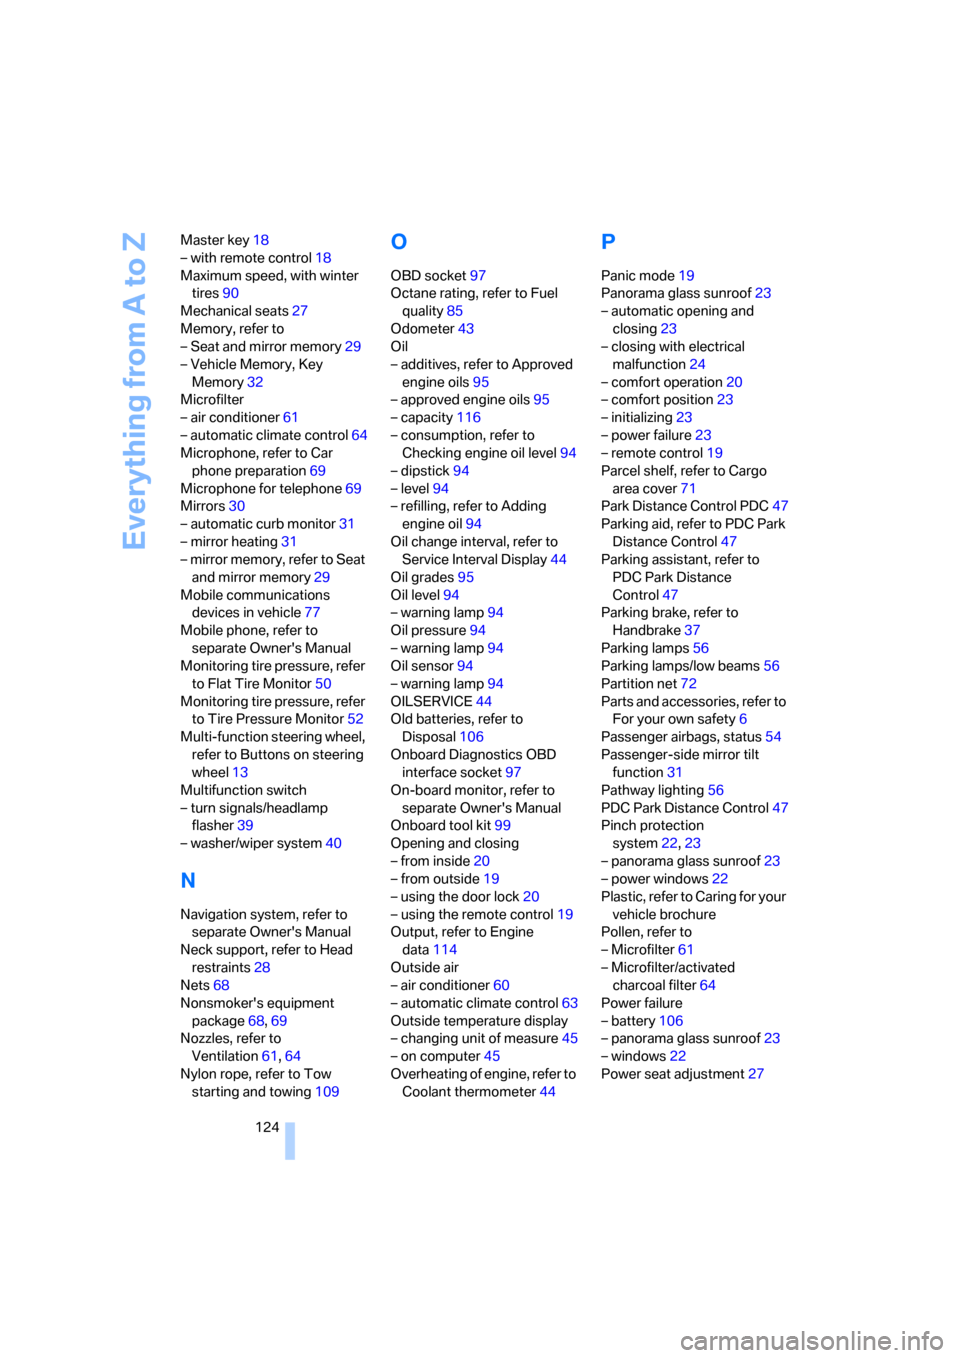
Everything from A to Z
124 Master key18
– with remote control18
Maximum speed, with winter
tires90
Mechanical seats27
Memory, refer to
– Seat and mirror memory29
– Vehicle Memory, Key
Memory32
Microfilter
– air conditioner61
– automatic climate control64
Microphone, refer to Car
phone preparation69
Microphone for telephone69
Mirrors30
– automatic curb monitor31
– mirror heating31
– mirror memory, refer to Seat
and mirror memory29
Mobile communications
devices in vehicle77
Mobile phone, refer to
separate Owner's Manual
Monitoring tire pressure, refer
to Flat Tire Monitor50
Monitoring tire pressure, refer
to Tire Pressure Monitor52
Multi-function steering wheel,
refer to Buttons on steering
wheel13
Multifunction switch
– turn signals/headlamp
flasher39
– washer/wiper system40
N
Navigation system, refer to
separate Owner's Manual
Neck support, refer to Head
restraints28
Nets68
Nonsmoker's equipment
package68,69
Nozzles, refer to
Ventilation61,64
Nylon rope, refer to Tow
starting and towing109
O
OBD socket97
Octane rating, refer to Fuel
quality85
Odometer43
Oil
– additives, refer to Approved
engine oils95
– approved engine oils95
– capacity116
– consumption, refer to
Checking engine oil level94
– dipstick94
– level94
– refilling, refer to Adding
engine oil94
Oil change interval, refer to
Service Interval Display44
Oil grades95
Oil level94
– warning lamp94
Oil pressure94
– warning lamp94
Oil sensor94
– warning lamp94
OILSERVICE44
Old batteries, refer to
Disposal106
Onboard Diagnostics OBD
interface socket97
On-board monitor, refer to
separate Owner's Manual
Onboard tool kit99
Opening and closing
– from inside20
– from outside19
– using the door lock20
– using the remote control19
Output, refer to Engine
data114
Outside air
– air conditioner60
– automatic climate control63
Outside temperature display
– changing unit of measure45
– on computer45
Overheating of engine, refer to
Coolant thermometer44
P
Panic mode19
Panorama glass sunroof23
– automatic opening and
closing23
– closing with electrical
malfunction24
– comfort operation20
– comfort position23
– initializing23
– power failure23
– remote control19
Parcel shelf, refer to Cargo
area cover71
Park Distance Control PDC47
Parking aid, refer to PDC Park
Distance Control47
Parking assistant, refer to
PDC Park Distance
Control47
Parking brake, refer to
Handbrake37
Parking lamps56
Parking lamps/low beams56
Partition net72
Parts and accessories, refer to
For your own safety6
Passenger airbags, status54
Passenger-side mirror tilt
function31
Pathway lighting56
PDC Park Distance Control47
Pinch protection
system22,23
– panorama glass sunroof23
– power windows22
Plastic, refer to Caring for your
vehicle brochure
Pollen, refer to
– Microfilter61
– Microfilter/activated
charcoal filter64
Power failure
– battery106
– panorama glass sunroof23
– windows22
Power seat adjustment27