alarm BMW X3 XDRIVE 28I 2013 Owners Manual
[x] Cancel search | Manufacturer: BMW, Model Year: 2013, Model line: X3 XDRIVE 28I, Model: BMW X3 XDRIVE 28I 2013Pages: 211, PDF Size: 8.62 MB
Page 7 of 211
Updates made after the editorial
deadline
Any updates made after the editorial deadline for
the Owner's Manuals are located in the appen‐
dix of the printed quick reference for the vehicle.
For your own safety
Maintenance and repairs
Advanced technology, e.g., the use of modern
materials and high-performance electronics, re‐
quires suitable maintenance and repair meth‐
ods.
Therefore, have this work performed only by a
BMW center or a workshop that works accord‐
ing to BMW repair procedures with appropri‐
ately trained personnel.
If this work is not carried out properly, there is
the danger of subsequent damage and related
safety hazards.
Parts and Accessories
For your own safety, use genuine parts and ac‐
cessories approved by BMW. When you pur‐
chase accessories tested and approved by
BMW and Genuine BMW Parts, you simultane‐
ously acquire the assurance that they have been
thoroughly tested by BMW to ensure optimum
performance when installed on your vehicle.
BMW warrants these parts to be free from de‐
fects in material and workmanship. BMW will not
accept any liability for damage resulting from in‐
stallation of parts and accessories not approved
by BMW. BMW cannot test every product made
by other manufacturers to verify if it can be used
on a BMW safely and without risk to either the
vehicle, its operation, or its occupants. Genuine
BMW Parts, BMW Accessories and other prod‐
ucts approved by BMW, together with profes‐
sional advice on using these items, are available
from all BMW centers. Installation and operation
of non-BMW approved accessories such as
alarms, radios, amplifiers, radar detectors,
wheels, suspension components, brake dustshields, telephones, including operation of any
mobile phone from within the vehicle without
using an externally mounted antenna, or trans‐
ceiver equipment, for instance, CBs, walkie-
talkies, ham radios or similar accessories, may
cause extensive damage to the vehicle, com‐
promise its safety, interfere with the vehicle's
electrical system or affect the validity of the
BMW Limited Warranty. See your BMW center
for additional information. Maintenance, re‐
placement, or repair of the emission control de‐
vices and systems may be performed by any au‐
tomotive repair establishment or individual
using any certified automotive part.
California Proposition 65 Warning
California laws require us to state the following
warning:
Engine exhaust and a wide variety of automobile
components and parts, including components
found in the interior furnishings in a vehicle, con‐
tain or emit chemicals known to the State of Cal‐
ifornia to cause cancer and birth defects and re‐
productive harm. In addition, certain fluids
contained in vehicles and certain products of
component wear contain or emit chemicals
known to the State of California to cause cancer
and birth defects or other reproductive harm.
Battery posts, terminals and related accessories
contain lead and lead compounds. Wash your
hands after handling. Used engine oil contains
chemicals that have caused cancer in laboratory
animals. Always protect your skin by washing
thoroughly with soap and water.
Service and warranty
We recommend that you read this publication
thoroughly. Your vehicle is covered by the fol‐
lowing warranties:▷New Vehicle Limited Warranty.▷Rust Perforation Limited Warranty.▷Federal Emissions System Defect Warranty.▷Federal Emissions Performance Warranty.Seite 7Notes7
Online Edition for Part no. 01 40 2 903 813 - 07 12 490
Page 33 of 211
Note: the guest profile cannot be renamed.
Display profile list during start
The profile list can be displayed during each
start for selecting the desired profile.1."Settings"2."Profiles"3.Open "Options".4."Display user list at startup"
Personal Profile settings
The following functions and settings can be
stored in a profile.
More information on the settings can be found
under:
▷Collision warning: warning time, last setting
on/off.▷Exterior mirror position.▷CD/Multimedia: audio source listened to
last.▷Driving Experience Switch: sport program▷Driver's seat position: automatically re‐
trieved after unlocking.▷Programmable memory buttons: assign‐
ment.▷Head-up Display: selection, brightness, po‐
sition and rotation of the display.▷Headlamp courtesy delay feature: time set‐
ting.▷Tone: tone settings.▷Automatic climate control/Automatic cli‐
mate control with enhanced features: set‐
tings.▷Navigation: map views, route criteria, voice
output on/off.▷Park Distance Control PDC: adjusting the
signal tone volume.▷Radio: stored stations, station listened to
last, special settings.▷Backup camera: selection of functions and
type of display.▷Language on the Control Display.▷Lane departure warning: last setting, on/off.▷Daytime running lights: current setting.▷Triple turn signal activation.▷Locking the vehicle: after a brief period or
after starting to drive.
Central locking system
The concept
The central locking system becomes active
when the driver's door is closed.
The system simultaneously engages and re‐
leases the locks on the following:
▷Doors.▷Tailgate.▷Fuel filler flap.
Operating from the outside
▷Via the remote control.▷Via the driver's door lock.▷Via the door handles of the driver's and front
passenger doors.▷Via the button on the tailgate.
The following takes place simultaneously when
locking/unlocking the vehicle via the remote
control:
▷Depending on how the vehicle is equipped,
the theft protection is activated/deactivated.
Theft protection prevents the doors from
being unlocked using the lock buttons or the
door opener.▷The welcome lamps, interior lamps and
courtesy lamps are switched on and off.▷The alarm system, refer to page 40, is
armed or disarmed.Seite 33Opening and closingControls33
Online Edition for Part no. 01 40 2 903 813 - 07 12 490
Page 35 of 211
Switching on interior lamps and
courtesy lamps
Press the button on the remote control
with the vehicle locked.
Panic mode
You can trigger the alarm system if you find
yourself in a dangerous situation.
Press the button on the remote control
for at least 3 seconds.
To switch off the alarm: press any button.
Switching on the headlamp courtesy
delay feature
Briefly press the button on the remote
control.
The duration can be set.
Opening the tailgate Press the button on the remote control
for approx. 1 second.
The tailgate opens, regardless of whether it was
previously locked or unlocked.
The tailgate pivots back and up when it opens.
Ensure that adequate clearance is available be‐
fore opening.
In some vehicle equipment variants, the tailgate
can only be opened using the remote control if
the vehicle was unlocked first.
To avoid locking yourself out of the vehicle, do
not place the remote control into the cargo area.
The tailgate is locked again as soon as it is
pushed closed.
Provide edge protection
Sharp or angular objects can hit the rear
window while driving and damage the heating
wires of the rear window. Provide edge protec‐
tion.◀Confirmation signals from the vehicle1."Settings"2."Door locks"3.Deactivate or activate the desired confirma‐
tion signals.▷"Acoustic sig. lock/unlock"▷"Flash when lock/unlock"
Retrieving the seat and mirror settings
The driver's seat and exterior mirror positions
used last are stored for the remote control cur‐
rently in use.
When the vehicle is unlocked, these positions
are automatically retrieved if this function was
activated.
Pinch hazard when moving back the seat
If this function is used, first make sure that
the footwell behind the driver's seat is empty.
Otherwise, people can be injured or objects
damaged when the seat is moved back.◀
The adjustment procedure is interrupted:
▷When a seat position switch is pressed.▷When a button of the seat and mirror mem‐
ory is pressed.
Activating the setting
1."Settings"2."Door locks"3."Last seat position auto."
Malfunction
If the vehicle can no longer be locked or un‐
locked with the remote control, the battery may
be discharged or there may be interference from
external sources such as mobile phones, metal
objects, overhead power lines, transmission
towers, etc.
If this occurs, unlock or lock the vehicle at the
door lock using the integrated key.
Seite 35Opening and closingControls35
Online Edition for Part no. 01 40 2 903 813 - 07 12 490
Page 36 of 211
For US owners only
The transmitter and receiver units comply with
part 15 of the FCC/Federal Communication
Commission regulations. Operation is governed
by the following:
FCC ID:▷LX8766S.▷LX8766E.▷LX8CAS.▷LX8CAS2.▷MYTCAS4.
Compliance statement:
This device complies with part 15 of the FCC
Rules. Operation is subject to the following two
conditions:
▷This device may not cause harmful interfer‐
ence, and▷this device must accept any interference re‐
ceived, including interference that may
cause undesired operation.
Any unauthorized modifications or changes to
these devices could void the user's authority to
operate this equipment.
Using the door lock
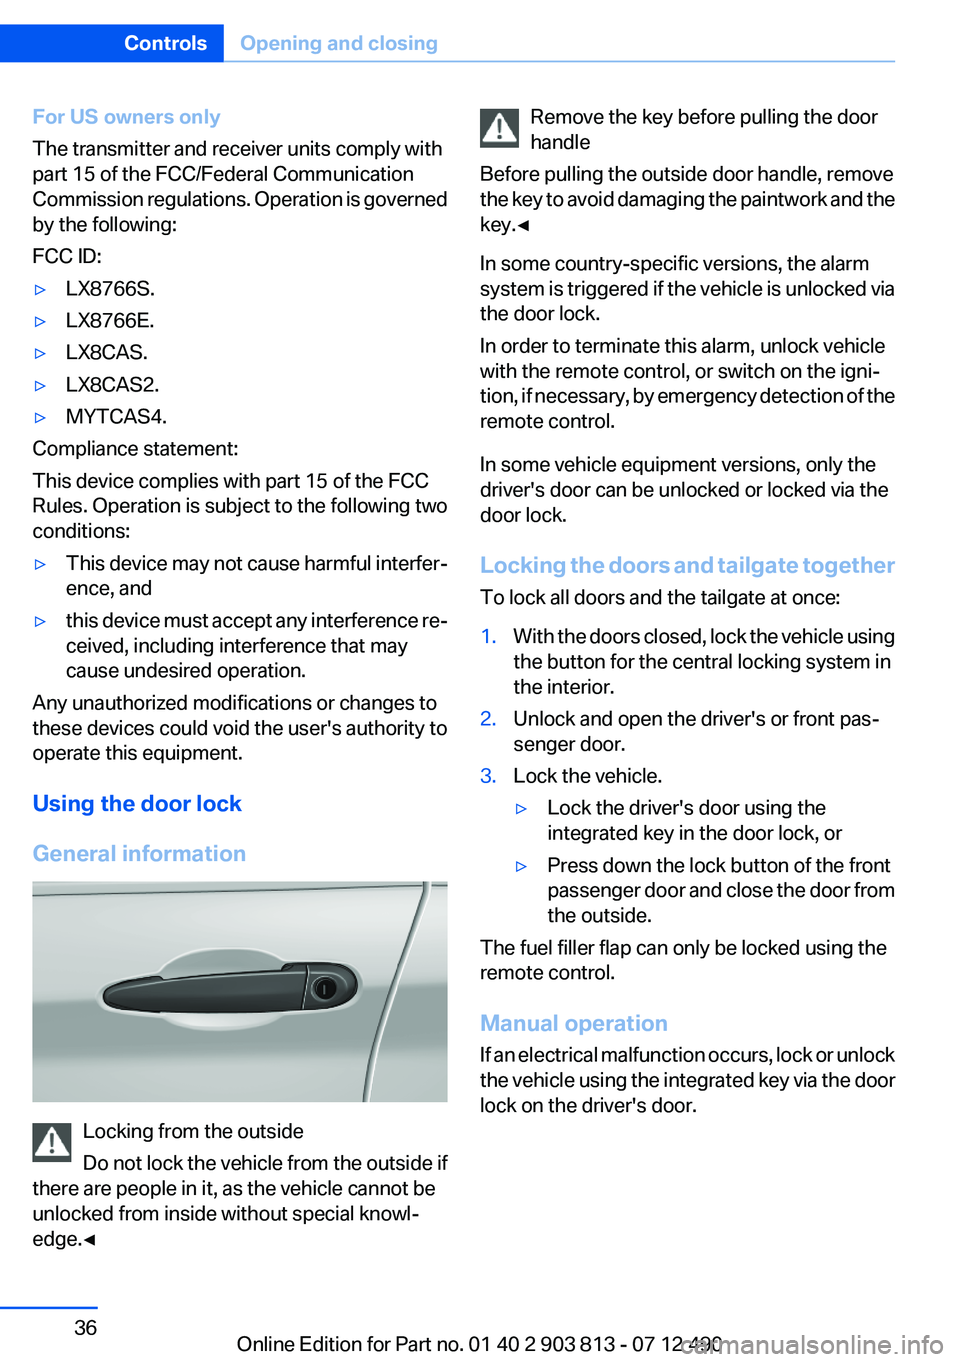
General information
Locking from the outside
Do not lock the vehicle from the outside if
there are people in it, as the vehicle cannot be
unlocked from inside without special knowl‐
edge.◀
Remove the key before pulling the door
handle
Before pulling the outside door handle, remove
the key to avoid damaging the paintwork and the
key.◀
In some country-specific versions, the alarm
system is triggered if the vehicle is unlocked via
the door lock.
In order to terminate this alarm, unlock vehicle
with the remote control, or switch on the igni‐
tion, if necessary, by emergency detection of the
remote control.
In some vehicle equipment versions, only the
driver's door can be unlocked or locked via the
door lock.
Locking the doors and tailgate together
To lock all doors and the tailgate at once:1.With the doors closed, lock the vehicle using
the button for the central locking system in
the interior.2.Unlock and open the driver's or front pas‐
senger door.3.Lock the vehicle.▷Lock the driver's door using the
integrated key in the door lock, or▷Press down the lock button of the front
passenger door and close the door from
the outside.
The fuel filler flap can only be locked using the
remote control.
Manual operation
If an electrical malfunction occurs, lock or unlock
the vehicle using the integrated key via the door
lock on the driver's door.
Seite 36ControlsOpening and closing36
Online Edition for Part no. 01 40 2 903 813 - 07 12 490
Page 40 of 211
Functional requirements▷There are no external sources of interfer‐
ence nearby.▷To lock the vehicle, the remote control must
be located outside of the vehicle.▷The next unlocking and locking cycle is not
possible until after approx. 2 seconds.▷The engine can only be started if the remote
control is inside the vehicle.
Comparison with ordinary remote
control
The functions can be controlled by pressing the
buttons of the remote control or Comfort Ac‐
cess.
Unlocking
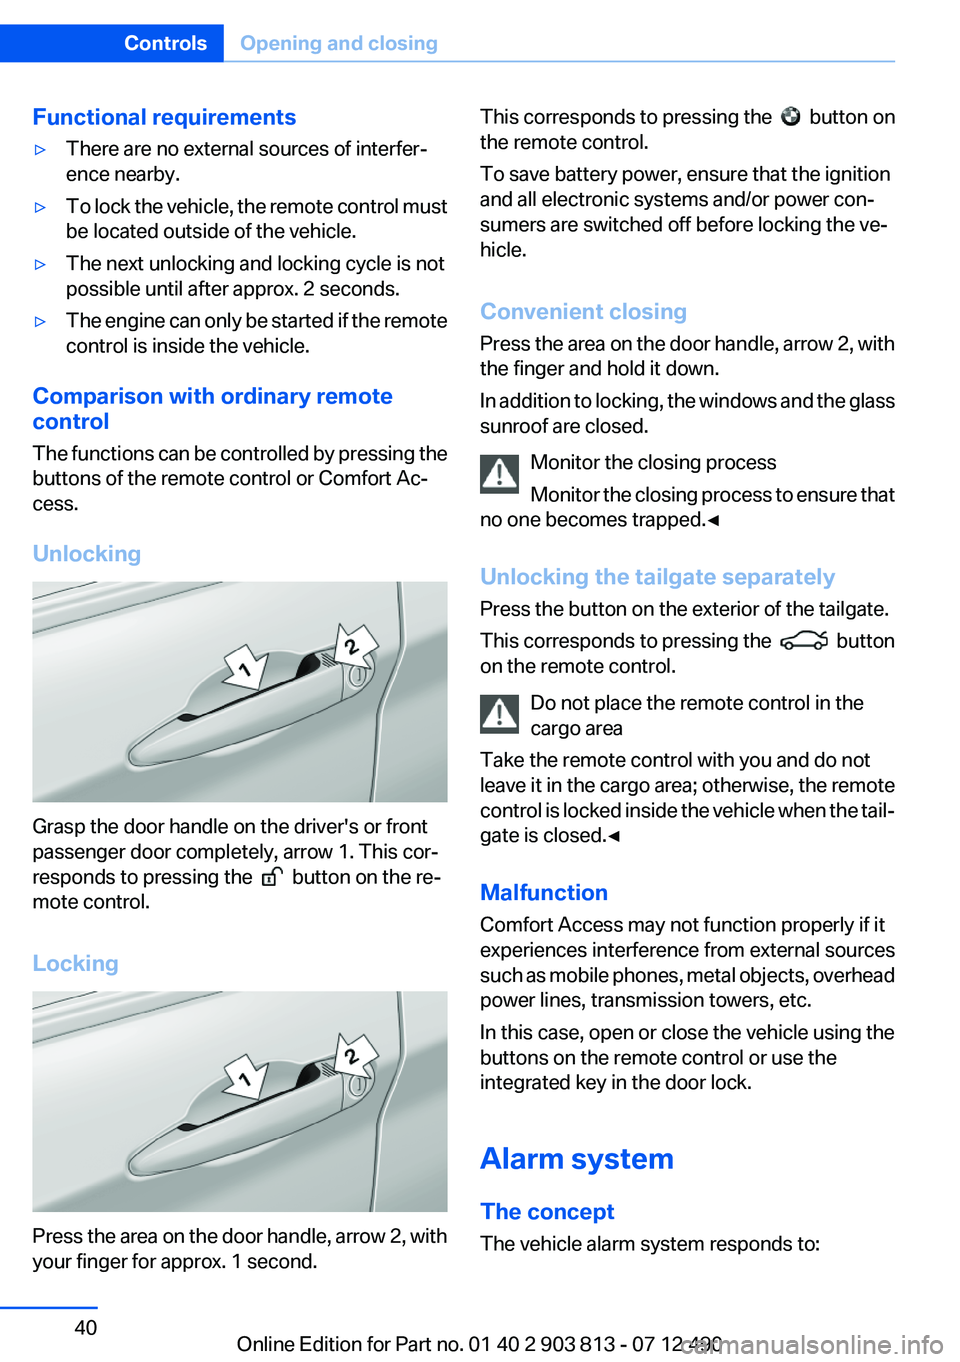
Grasp the door handle on the driver's or front
passenger door completely, arrow 1. This cor‐
responds to pressing the
button on the re‐
mote control.
Locking
Press the area on the door handle, arrow 2, with
your finger for approx. 1 second.
This corresponds to pressing the button on
the remote control.
To save battery power, ensure that the ignition
and all electronic systems and/or power con‐
sumers are switched off before locking the ve‐
hicle.
Convenient closing
Press the area on the door handle, arrow 2, with
the finger and hold it down.
In addition to locking, the windows and the glass
sunroof are closed.
Monitor the closing process
Monitor the closing process to ensure that
no one becomes trapped.◀
Unlocking the tailgate separately
Press the button on the exterior of the tailgate.
This corresponds to pressing the
button
on the remote control.
Do not place the remote control in the
cargo area
Take the remote control with you and do not
leave it in the cargo area; otherwise, the remote
control is locked inside the vehicle when the tail‐
gate is closed.◀
Malfunction
Comfort Access may not function properly if it
experiences interference from external sources
such as mobile phones, metal objects, overhead
power lines, transmission towers, etc.
In this case, open or close the vehicle using the
buttons on the remote control or use the
integrated key in the door lock.
Alarm system
The concept
The vehicle alarm system responds to:
Seite 40ControlsOpening and closing40
Online Edition for Part no. 01 40 2 903 813 - 07 12 490
Page 41 of 211
▷Opening of a door, the hood or the tailgate.▷Movements in the vehicle.▷Changes in the vehicle tilt, e.g., during at‐
tempts to steal a wheel or when towing the
car.▷Interruptions in battery voltage.
The alarm system briefly indicates tampering:
▷By sounding an acoustic alarm.▷By switching on the hazard warning system.▷By flashing the high beams.
Arming and disarming the alarm
system
General information
When you lock or unlock the vehicle, either with
the remote control, Comfort Access or at the
door lock the alarm system is armed or disarmed
at the same time.
Door lock and armed alarm system
Unlocking via the door lock will trigger the alarm
on some country-specific versions.
In order to terminate this alarm, unlock vehicle
with the remote control or switch on the ignition,
if necessary, by emergency detection of the re‐
mote control.
Tailgate and armed alarm system
The tailgate can be opened using the remote
control, even if the alarm system is armed.
Press the button on the remote control
for approx. 1 second.
After the tailgate is closed, it is locked and moni‐
tored again by the alarm system. The hazard
warning system flashes once.
In some vehicle equipment variants, the tailgate
can only be opened using the remote control if
the vehicle was unlocked first.
Panic mode
Press the button on the remote control
for at least 3 seconds.
Switching off the alarm▷Unlock the vehicle using the remote control.▷With Comfort Access: if you are carrying the
remote control with you, pull on the door
handle.
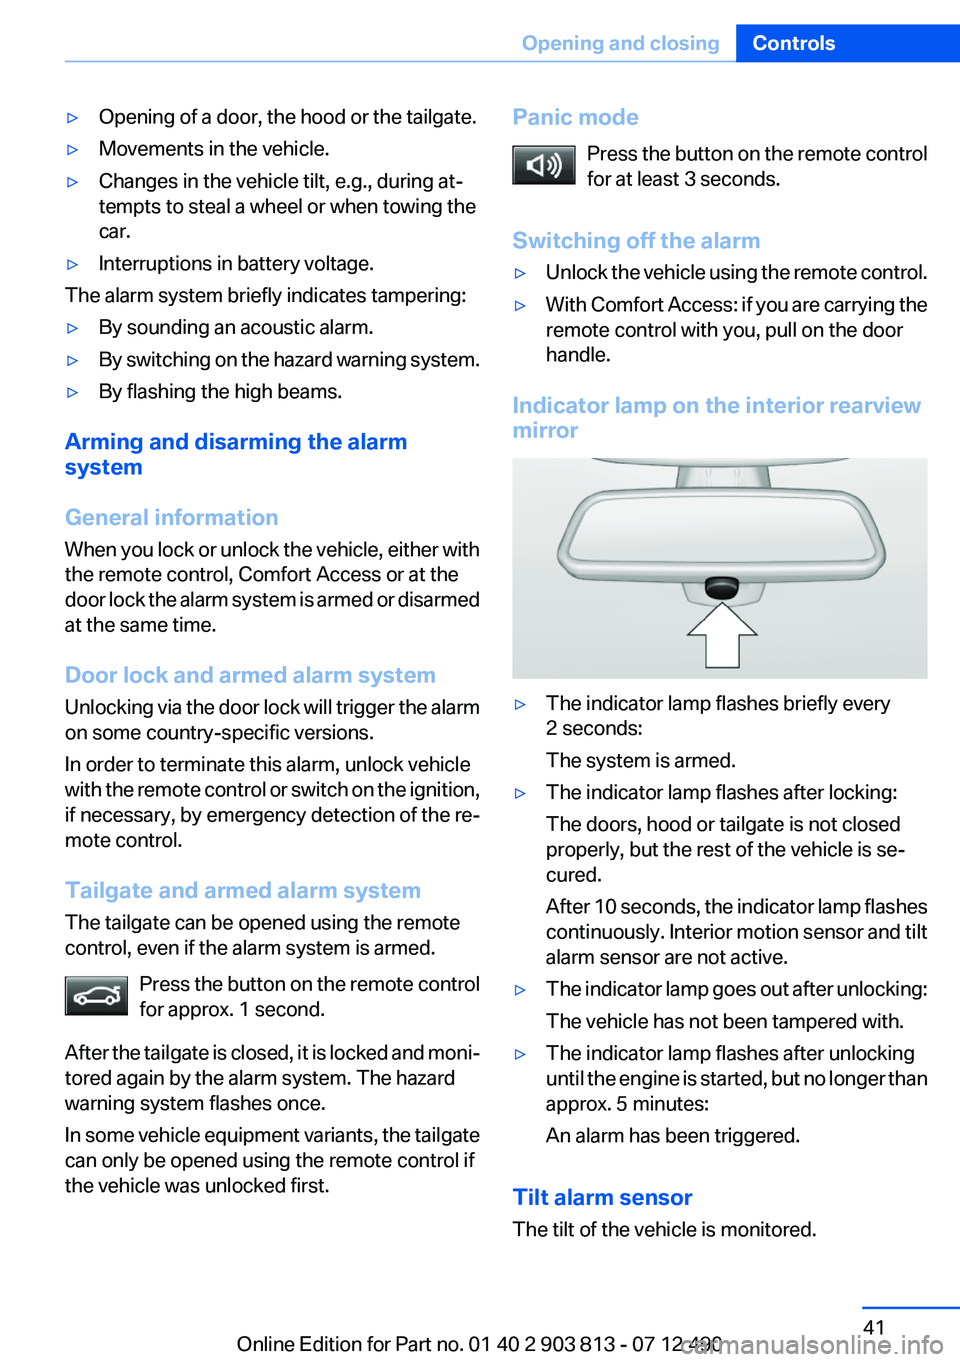
Indicator lamp on the interior rearview
mirror
▷The indicator lamp flashes briefly every
2 seconds:
The system is armed.▷The indicator lamp flashes after locking:
The doors, hood or tailgate is not closed
properly, but the rest of the vehicle is se‐
cured.
After 10 seconds, the indicator lamp flashes
continuously. Interior motion sensor and tilt
alarm sensor are not active.▷The indicator lamp goes out after unlocking:
The vehicle has not been tampered with.▷The indicator lamp flashes after unlocking
until the engine is started, but no longer than
approx. 5 minutes:
An alarm has been triggered.
Tilt alarm sensor
The tilt of the vehicle is monitored.
Seite 41Opening and closingControls41
Online Edition for Part no. 01 40 2 903 813 - 07 12 490
Page 42 of 211
The alarm system responds in situations such
as attempts to steal a wheel or when the car is
towed.
Interior motion sensor
The windows and glass sunroof must be closed
for the system to function properly.
Avoiding unintentional alarms
The tilt alarm sensor and interior motion sensor
can be switched off together, such as in the fol‐
lowing situations:▷In automatic car washes.▷In duplex garages.▷During transport on car-carrying trains, at
sea or on a trailer.▷When animals are to remain in the vehicle.
Switching off the tilt alarm sensor and
interior motion sensor
Press the remote control button again
within 10 seconds as soon as the vehicle
is locked.
The indicator lamp lights up for approx. 2 sec‐
onds and then continues to flash.
The tilt alarm sensor and interior motion sensor
are switched off until the vehicle is locked again.
Power windows
General information Take the remote control with you
Take the remote control with you when
leaving the vehicle so that children, for example,
cannot operate the power windows and injure
themselves.◀
Opening
▷ Press the switch to the resistance
point.
The window opens while the switch is held.▷ Press the switch beyond the resist‐
ance point.
The window opens automatically.
Pressing again stops the motion.
Convenient opening, refer to page 34, via the
remote control.
Closing Keep the closing path clear
Monitor the closing process and make
sure that the closing path of the window is clear;
otherwise, injuries may result.◀
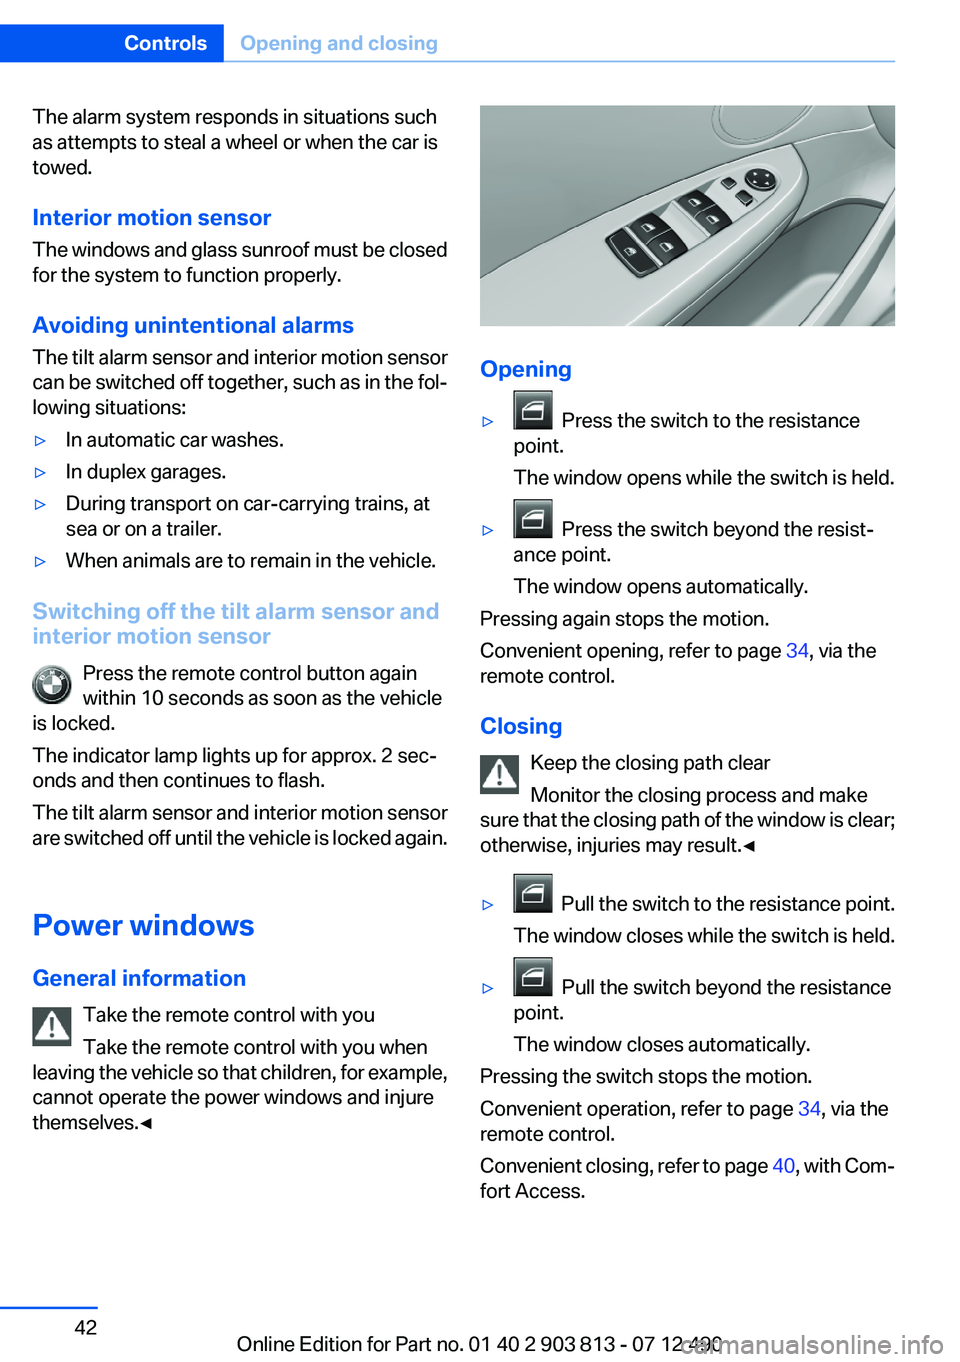
▷ Pull the switch to the resistance point.
The window closes while the switch is held.▷ Pull the switch beyond the resistance
point.
The window closes automatically.
Pressing the switch stops the motion.
Convenient operation, refer to page 34, via the
remote control.
Convenient closing, refer to page 40, with Com‐
fort Access.
Seite 42ControlsOpening and closing42
Online Edition for Part no. 01 40 2 903 813 - 07 12 490
Page 183 of 211
CareVehicle equipment
All standard, country-specific and optional
equipment that is offered in the model series is
described in this chapter. Therefore, equipment
is also described that is not available in a vehicle,
e. g., because of the selected optional equip‐
ment or country variant. This also applies for
safety-related functions and systems.
Car washes
Notes Steam jets or high-pressure washers
When using steam jets or high-pressure
washers, hold them a sufficient distance away
and use a maximum temperature of
140 ℉/60 ℃.
Ensure that a distance of at least 31.5 in‐
ches/50 cm is maintained at all times. Holding
them too close or using excessively high pres‐
sures or temperatures can cause damage or
preliminary damage that may then lead to long-
term damage.
Follow the operating instructions for the high-
pressure washer.◀
Cleaning sensors/cameras with high-
pressure washers
When using high-pressure washers, do not
spray the exterior sensors and cameras, e.g.,
Park Distance Control, for extended periods of
time and only from a distance of at least
12 in/30 cm.◀
Wash your vehicle frequently, particularly in win‐
ter.
Intense soiling and road salt can damage the ve‐
hicle.Automatic car washes
Notes
Note the following:▷Give preference to cloth car washes or those
that use soft brushes in order to avoid paint
damage.▷Make sure that the wheels and tires are not
damaged by the transport mechanisms.▷Fold in the exterior mirrors; otherwise, they
may be damaged, depending on the width of
the vehicle.▷Deactivate the rain sensor, refer to page 67,
to avoid unintentional wiper activation.▷In some cases, an unintentional alarm can be
triggered by the interior motion sensor of the
alarm system. Follow the instructions on
avoiding an unintentional alarm, refer to
page 42.
Guide rails in car washes
Avoid car washes with guide rails higher
than 4 in/10 cm; otherwise, the vehicle body
could be damaged.◀
Before driving into a car wash
In order to ensure that the vehicle can roll in a car
wash, take the following steps:
Automatic transmission:
1.Release parking brake, refer to page 63, and
deactivate Automatic Hold, refer to
page 64.2.Drive into the car wash.3.Depress the brake pedal as needed.4.Engage transmission position N.5.Switch the engine off. In this way, the igni‐
tion remains switched on, and a Check-Con‐
trol message is displayed.Seite 183CareMobility183
Online Edition for Part no. 01 40 2 903 813 - 07 12 490
Page 202 of 211
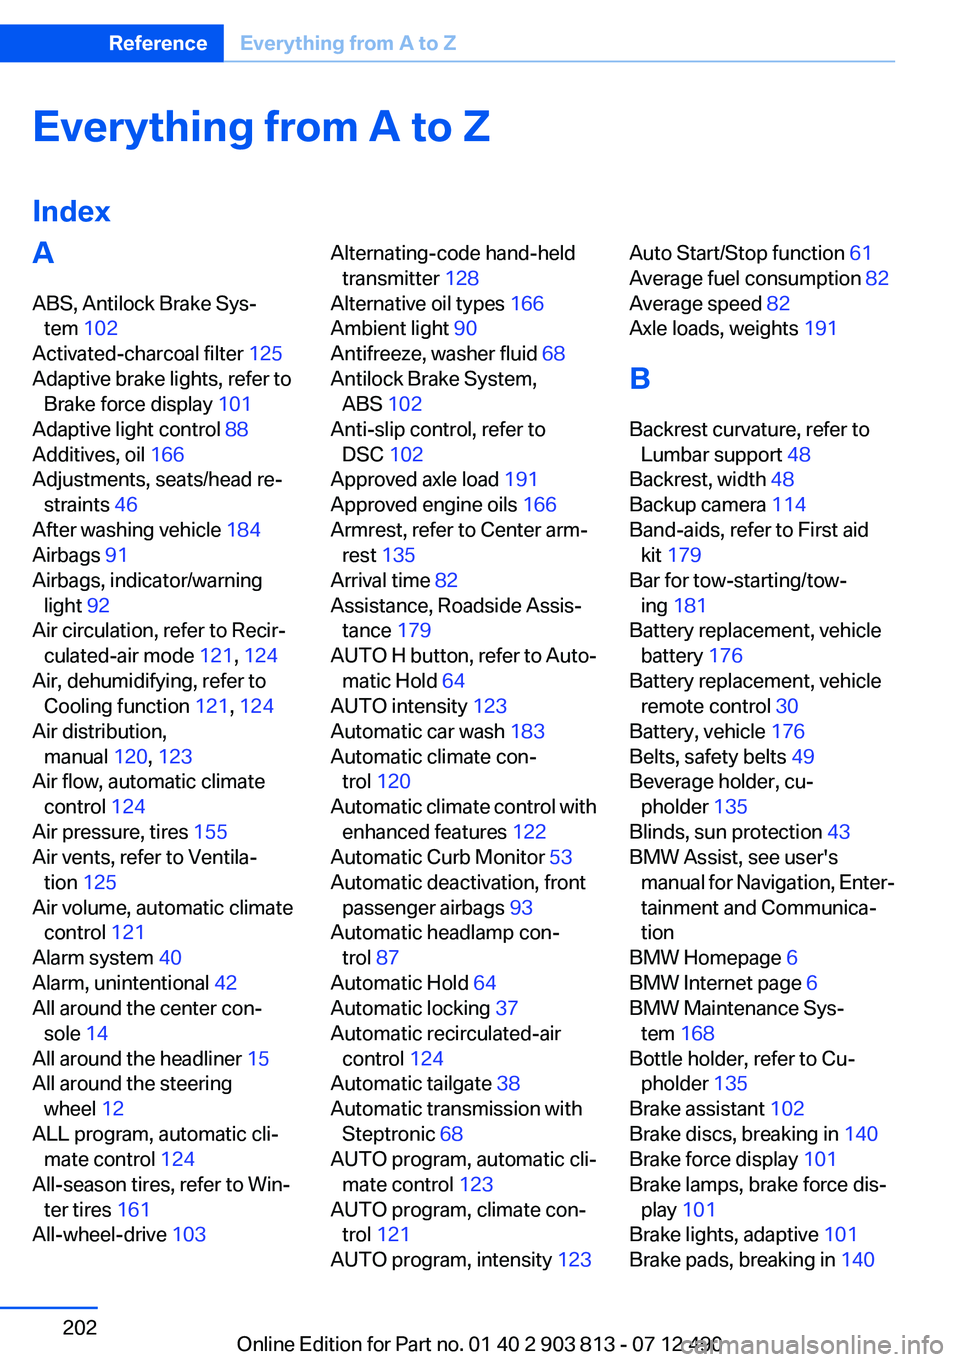
Everything from A to Z
IndexA
ABS, Antilock Brake Sys‐ tem 102
Activated-charcoal filter 125
Adaptive brake lights, refer to Brake force display 101
Adaptive light control 88
Additives, oil 166
Adjustments, seats/head re‐ straints 46
After washing vehicle 184
Airbags 91
Airbags, indicator/warning light 92
Air circulation, refer to Recir‐ culated-air mode 121, 124
Air, dehumidifying, refer to Cooling function 121, 124
Air distribution, manual 120, 123
Air flow, automatic climate control 124
Air pressure, tires 155
Air vents, refer to Ventila‐ tion 125
Air volume, automatic climate control 121
Alarm system 40
Alarm, unintentional 42
All around the center con‐ sole 14
All around the headliner 15
All around the steering wheel 12
ALL program, automatic cli‐ mate control 124
All-season tires, refer to Win‐ ter tires 161
All-wheel-drive 103 Alternating-code hand-held
transmitter 128
Alternative oil types 166
Ambient light 90
Antifreeze, washer fluid 68
Antilock Brake System, ABS 102
Anti-slip control, refer to DSC 102
Approved axle load 191
Approved engine oils 166
Armrest, refer to Center arm‐ rest 135
Arrival time 82
Assistance, Roadside Assis‐ tance 179
AUTO H button, refer to Auto‐ matic Hold 64
AUTO intensity 123
Automatic car wash 183
Automatic climate con‐ trol 120
Automatic climate control with enhanced features 122
Automatic Curb Monitor 53
Automatic deactivation, front passenger airbags 93
Automatic headlamp con‐ trol 87
Automatic Hold 64
Automatic locking 37
Automatic recirculated-air control 124
Automatic tailgate 38
Automatic transmission with Steptronic 68
AUTO program, automatic cli‐ mate control 123
AUTO program, climate con‐ trol 121
AUTO program, intensity 123 Auto Start/Stop function 61
Average fuel consumption 82
Average speed 82
Axle loads, weights 191
B
Backrest curvature, refer to Lumbar support 48
Backrest, width 48
Backup camera 114
Band-aids, refer to First aid kit 179
Bar for tow-starting/tow‐ ing 181
Battery replacement, vehicle battery 176
Battery replacement, vehicle remote control 30
Battery, vehicle 176
Belts, safety belts 49
Beverage holder, cu‐ pholder 135
Blinds, sun protection 43
BMW Assist, see user's manual for Navigation, Enter‐
tainment and Communica‐
tion
BMW Homepage 6
BMW Internet page 6
BMW Maintenance Sys‐ tem 168
Bottle holder, refer to Cu‐ pholder 135
Brake assistant 102
Brake discs, breaking in 140
Brake force display 101
Brake lamps, brake force dis‐ play 101
Brake lights, adaptive 101
Brake pads, breaking in 140 Seite 202ReferenceEverything from A to Z202
Online Edition for Part no. 01 40 2 903 813 - 07 12 490
Page 204 of 211
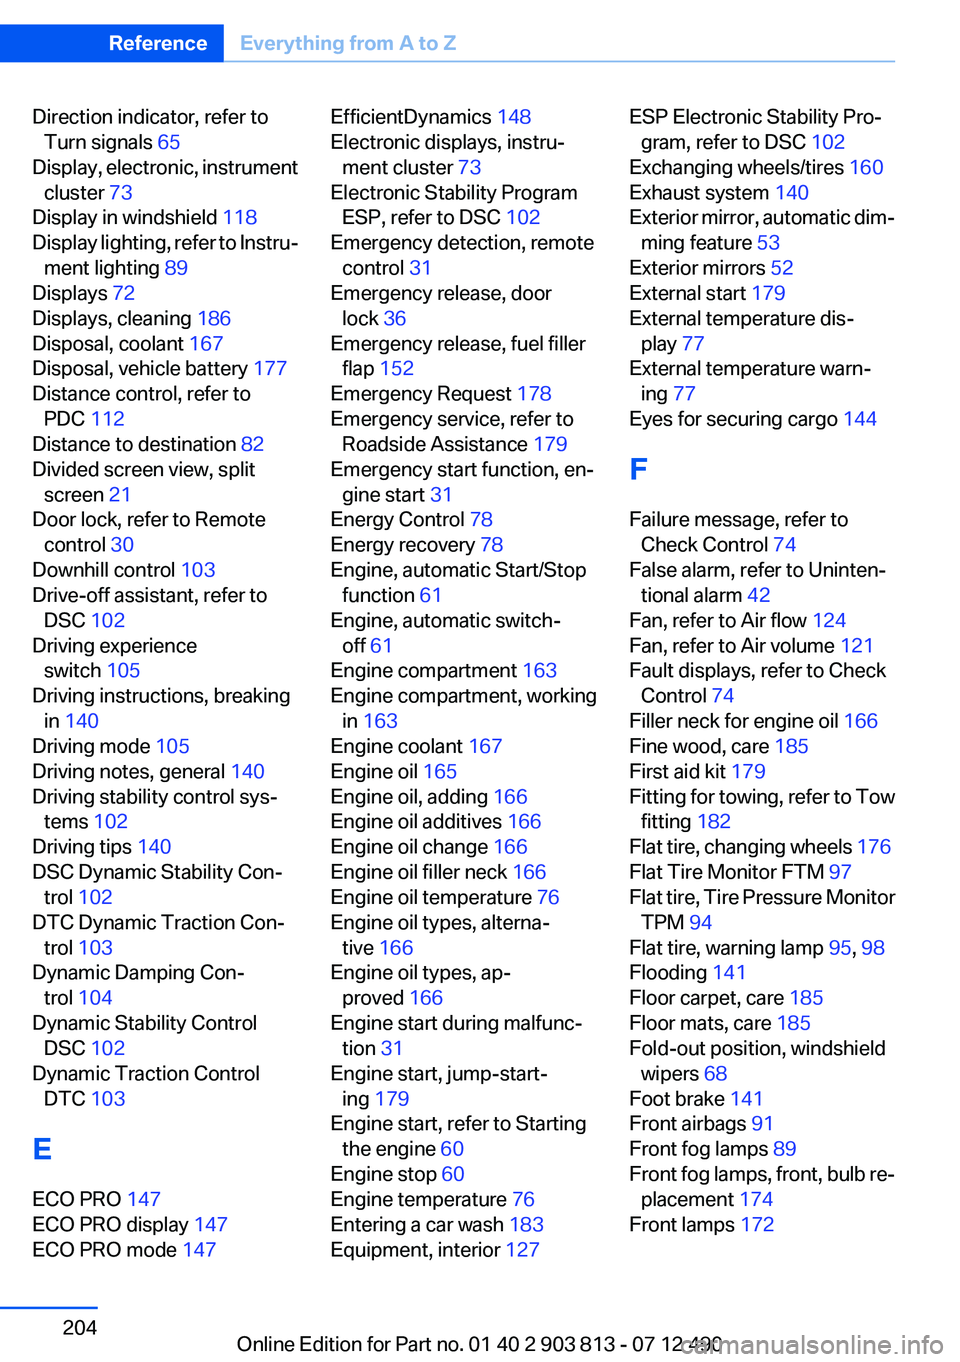
Direction indicator, refer toTurn signals 65
Display, electronic, instrument cluster 73
Display in windshield 118
Display lighting, refer to Instru‐ ment lighting 89
Displays 72
Displays, cleaning 186
Disposal, coolant 167
Disposal, vehicle battery 177
Distance control, refer to PDC 112
Distance to destination 82
Divided screen view, split screen 21
Door lock, refer to Remote control 30
Downhill control 103
Drive-off assistant, refer to DSC 102
Driving experience switch 105
Driving instructions, breaking in 140
Driving mode 105
Driving notes, general 140
Driving stability control sys‐ tems 102
Driving tips 140
DSC Dynamic Stability Con‐ trol 102
DTC Dynamic Traction Con‐ trol 103
Dynamic Damping Con‐ trol 104
Dynamic Stability Control DSC 102
Dynamic Traction Control DTC 103
E
ECO PRO 147
ECO PRO display 147
ECO PRO mode 147 EfficientDynamics 148
Electronic displays, instru‐ ment cluster 73
Electronic Stability Program ESP, refer to DSC 102
Emergency detection, remote control 31
Emergency release, door lock 36
Emergency release, fuel filler flap 152
Emergency Request 178
Emergency service, refer to Roadside Assistance 179
Emergency start function, en‐ gine start 31
Energy Control 78
Energy recovery 78
Engine, automatic Start/Stop function 61
Engine, automatic switch- off 61
Engine compartment 163
Engine compartment, working in 163
Engine coolant 167
Engine oil 165
Engine oil, adding 166
Engine oil additives 166
Engine oil change 166
Engine oil filler neck 166
Engine oil temperature 76
Engine oil types, alterna‐ tive 166
Engine oil types, ap‐ proved 166
Engine start during malfunc‐ tion 31
Engine start, jump-start‐ ing 179
Engine start, refer to Starting the engine 60
Engine stop 60
Engine temperature 76
Entering a car wash 183
Equipment, interior 127 ESP Electronic Stability Pro‐
gram, refer to DSC 102
Exchanging wheels/tires 160
Exhaust system 140
Exterior mirror, automatic dim‐ ming feature 53
Exterior mirrors 52
External start 179
External temperature dis‐ play 77
External temperature warn‐ ing 77
Eyes for securing cargo 144
F
Failure message, refer to Check Control 74
False alarm, refer to Uninten‐ tional alarm 42
Fan, refer to Air flow 124
Fan, refer to Air volume 121
Fault displays, refer to Check Control 74
Filler neck for engine oil 166
Fine wood, care 185
First aid kit 179
Fitting for towing, refer to Tow fitting 182
Flat tire, changing wheels 176
Flat Tire Monitor FTM 97
Flat tire, Tire Pressure Monitor TPM 94
Flat tire, warning lamp 95, 98
Flooding 141
Floor carpet, care 185
Floor mats, care 185
Fold-out position, windshield wipers 68
Foot brake 141
Front airbags 91
Front fog lamps 89
Front fog lamps, front, bulb re‐ placement 174
Front lamps 172 Seite 204ReferenceEverything from A to Z204
Online Edition for Part no. 01 40 2 903 813 - 07 12 490