BMW X3 XDRIVE 35I 2011 Owners Manual
Manufacturer: BMW, Model Year: 2011, Model line: X3 XDRIVE 35I, Model: BMW X3 XDRIVE 35I 2011Pages: 262, PDF Size: 11.2 MB
Page 151 of 262
5.The phone number and an electronic serial
number, ESN, are displayed.6.Call Sirius to unsubscribe from the chan‐
nels.
Selecting channels
You can only listen to enabled channels.
The selected channel is stored for the remote
control currently in use.
Via iDrive
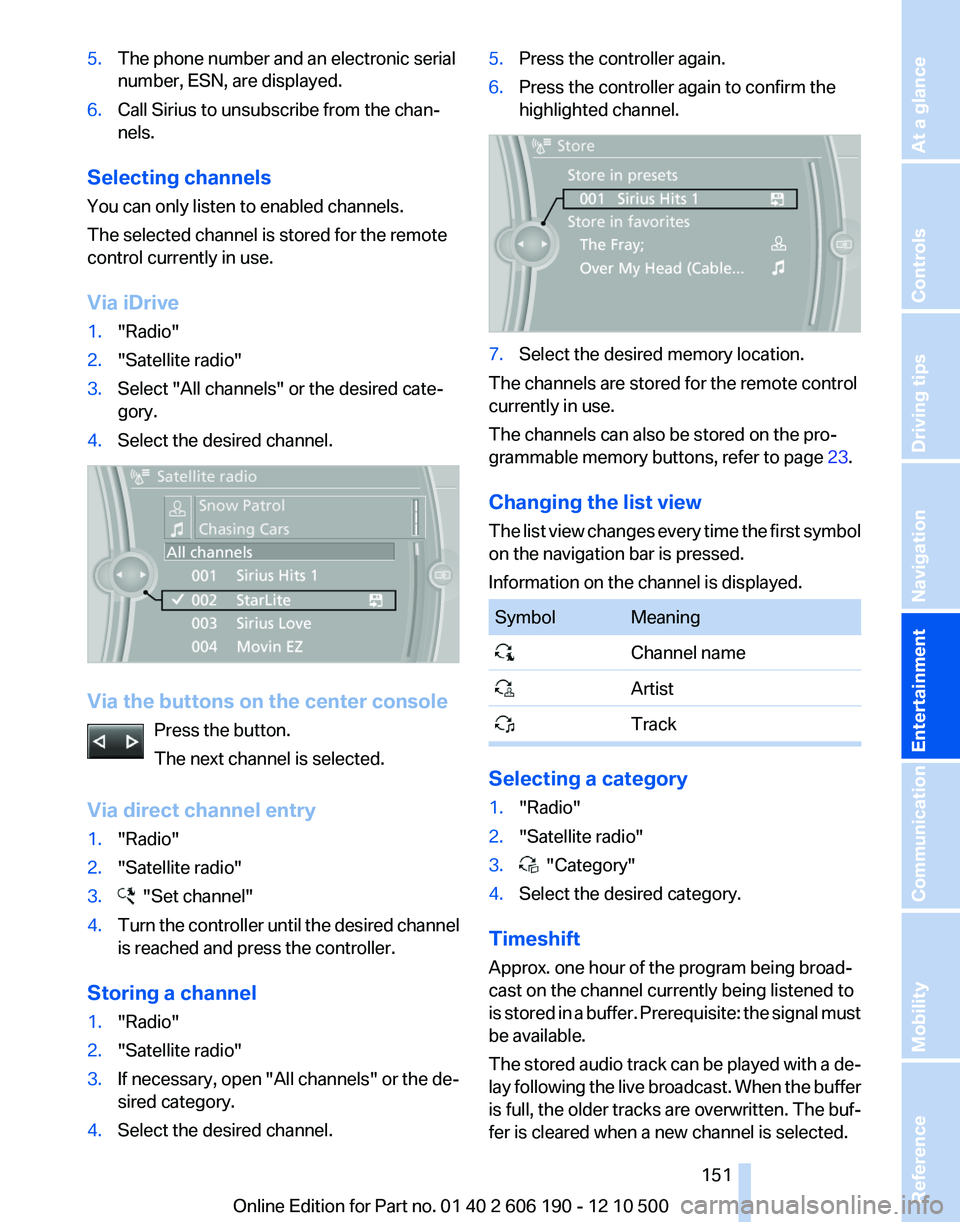
1."Radio"2."Satellite radio"3.Select "All channels" or the desired cate‐
gory.4.Select the desired channel.
Via the buttons on the center console
Press the button.
The next channel is selected.
Via direct channel entry
1."Radio"2."Satellite radio"3. "Set channel"4.Turn the controller until the desired channel
is reached and press the controller.
Storing a channel
1."Radio"2."Satellite radio"3.If necessary, open "All channels" or the de‐
sired category.4.Select the desired channel.5.Press the controller again.6.Press the controller again to confirm the
highlighted channel.7.Select the desired memory location.
The channels are stored for the remote control
currently in use.
The channels can also be stored on the pro‐
grammable memory buttons, refer to page 23.
Changing the list view
The list view changes every time the first symbol
on the navigation bar is pressed.
Information on the channel is displayed.
SymbolMeaning Channel name Artist Track
Selecting a category
1."Radio"2."Satellite radio"3. "Category"4.Select the desired category.
Timeshift
Approx. one hour of the program being broad‐
cast on the channel currently being listened to
is stored in a buffer. Prerequisite: the signal must
be available.
The stored audio track can be played with a de‐
lay following the live broadcast. When the buffer
is full, the older tracks are overwritten. The buf‐
fer is cleared when a new channel is selected.
Seite 151151
Online Edition for Part no. 01 40 2 606 190 - 12 10 500
ReferenceMobilityCommunicationEntertainmentNavigationDriving tipsControlsAt a glance
Page 152 of 262
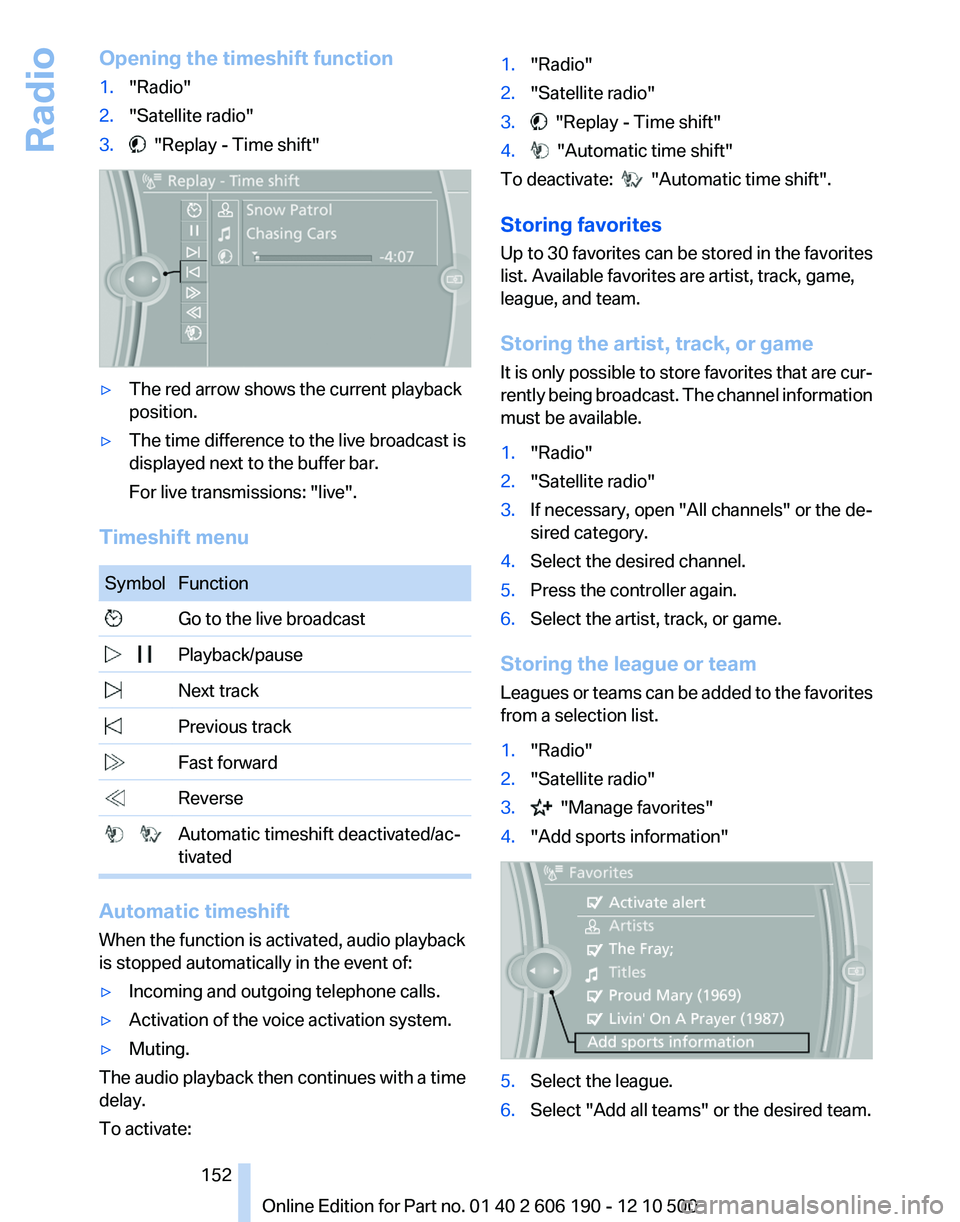
Opening the timeshift function1."Radio"2."Satellite radio"3. "Replay - Time shift"▷The red arrow shows the current playback
position.▷The time difference to the live broadcast is
displayed next to the buffer bar.
For live transmissions: "live".
Timeshift menu
SymbolFunction Go to the live broadcast Playback/pause Next track Previous track Fast forward Reverse Automatic timeshift deactivated/ac‐
tivated
Automatic timeshift
When the function is activated, audio playback
is stopped automatically in the event of:
▷Incoming and outgoing telephone calls.▷Activation of the voice activation system.▷Muting.
The audio playback then continues with a time
delay.
To activate:
1."Radio"2."Satellite radio"3. "Replay - Time shift"4. "Automatic time shift"
To deactivate: "Automatic time shift".
Storing favorites
Up to 30 favorites can be stored in the favorites
list. Available favorites are artist, track, game,
league, and team.
Storing the artist, track, or game
It is only possible to store favorites that are cur‐
rently being broadcast. The channel information
must be available.
1."Radio"2."Satellite radio"3.If necessary, open "All channels" or the de‐
sired category.4.Select the desired channel.5.Press the controller again.6.Select the artist, track, or game.
Storing the league or team
Leagues or teams can be added to the favorites
from a selection list.
1."Radio"2."Satellite radio"3. "Manage favorites"4."Add sports information"5.Select the league.6.Select "Add all teams" or the desired team.Seite 152152
Online Edition for Part no. 01 40 2 606 190 - 12 10 500Radio
Page 153 of 262
Opening the favorites
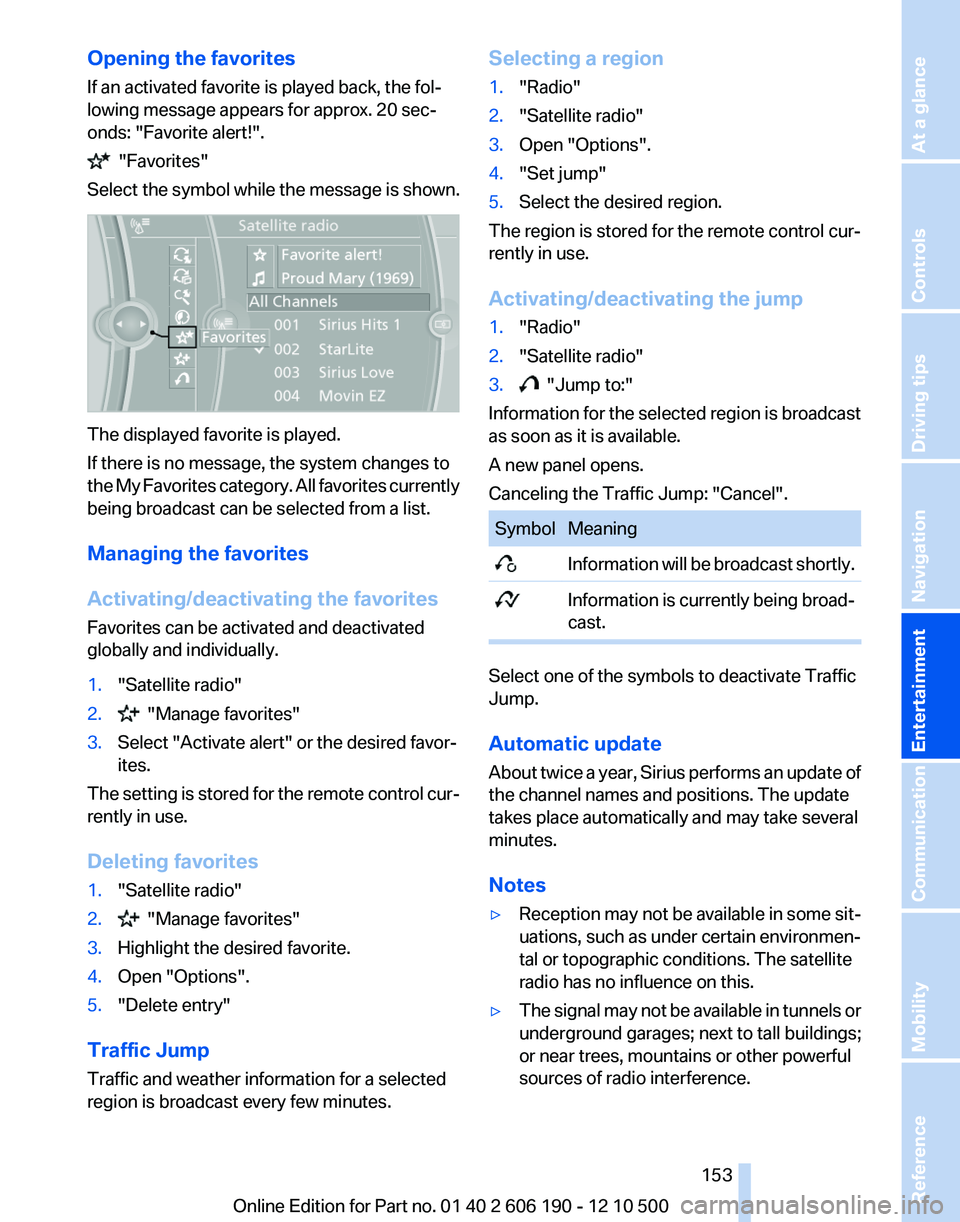
If an activated favorite is played back, the fol‐
lowing message appears for approx. 20 sec‐
onds: "Favorite alert!".
"Favorites"
Select the symbol while the message is shown.
The displayed favorite is played.
If there is no message, the system changes to
the My Favorites category. All favorites currently
being broadcast can be selected from a list.
Managing the favorites
Activating/deactivating the favorites
Favorites can be activated and deactivated
globally and individually.
1."Satellite radio"2. "Manage favorites"3.Select "Activate alert" or the desired favor‐
ites.
The setting is stored for the remote control cur‐
rently in use.
Deleting favorites
1."Satellite radio"2. "Manage favorites"3.Highlight the desired favorite.4.Open "Options".5."Delete entry"
Traffic Jump
Traffic and weather information for a selected
region is broadcast every few minutes.
Selecting a region1."Radio"2."Satellite radio"3.Open "Options".4."Set jump"5.Select the desired region.
The region is stored for the remote control cur‐
rently in use.
Activating/deactivating the jump
1."Radio"2."Satellite radio"3. "Jump to:"
Information for the selected region is broadcast
as soon as it is available.
A new panel opens.
Canceling the Traffic Jump: "Cancel".
SymbolMeaning Information will be broadcast shortly. Information is currently being broad‐
cast.
Select one of the symbols to deactivate Traffic
Jump.
Automatic update
About twice a year, Sirius performs an update of
the channel names and positions. The update
takes place automatically and may take several
minutes.
Notes
▷Reception may not be available in some sit‐
uations, such as under certain environmen‐
tal or topographic conditions. The satellite
radio has no influence on this.▷The signal may not be available in tunnels or
underground garages; next to tall buildings;
or near trees, mountains or other powerful
sources of radio interference.Seite 153153
Online Edition for Part no. 01 40 2 606 190 - 12 10 500
ReferenceMobilityCommunicationEntertainmentNavigationDriving tipsControlsAt a glance
Page 154 of 262
Stored stations
General information
It is possible to store up to 40 stations.
Calling up a station1."Radio"2."Presets"3.Select the desired station.
Storing a station
The station currently selected is stored.
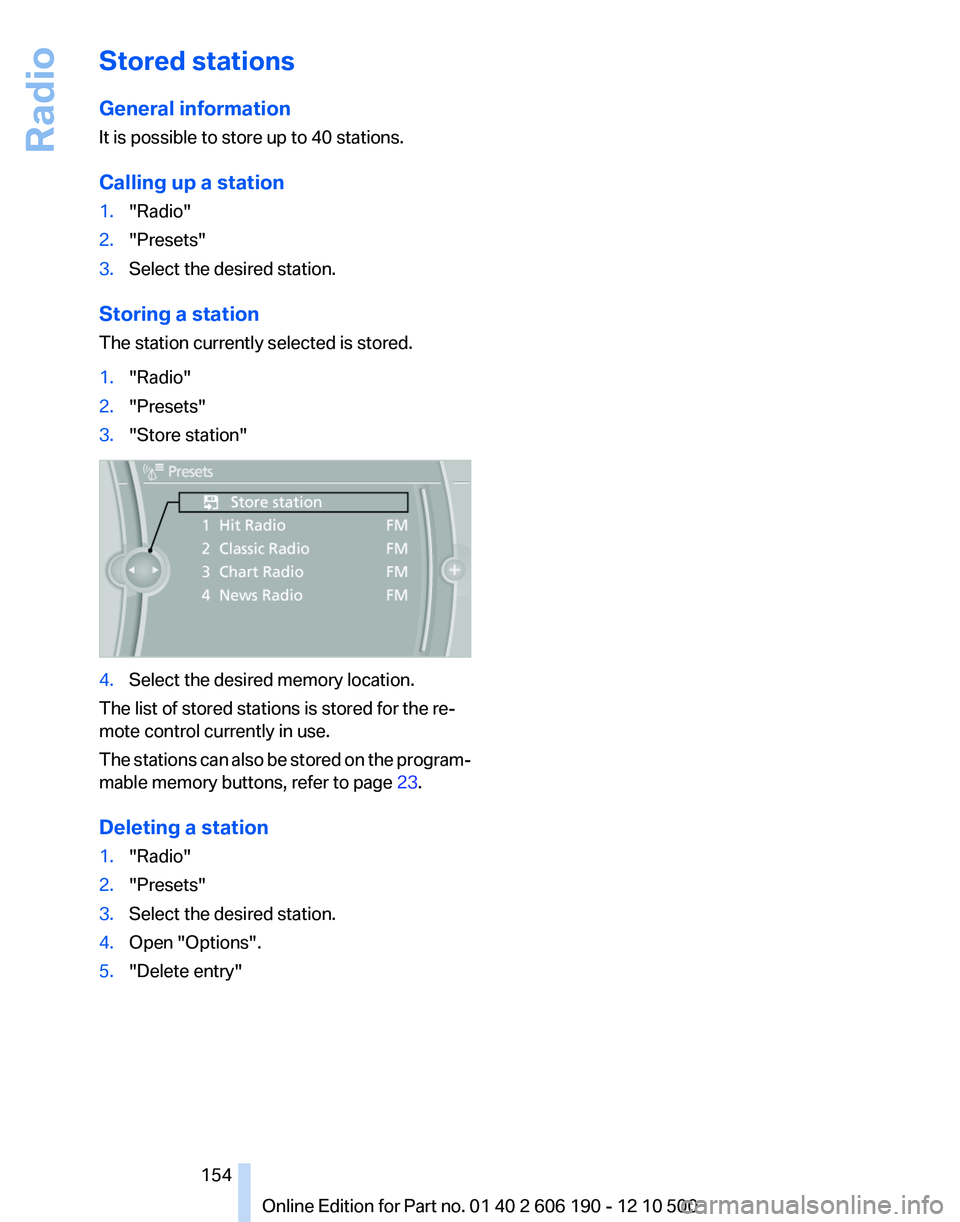
1."Radio"2."Presets"3."Store station"4.Select the desired memory location.
The list of stored stations is stored for the re‐
mote control currently in use.
The stations can also be stored on the program‐
mable memory buttons, refer to page 23.
Deleting a station
1."Radio"2."Presets"3.Select the desired station.4.Open "Options".5."Delete entry"Seite 154154
Online Edition for Part no. 01 40 2 606 190 - 12 10 500Radio
Page 155 of 262
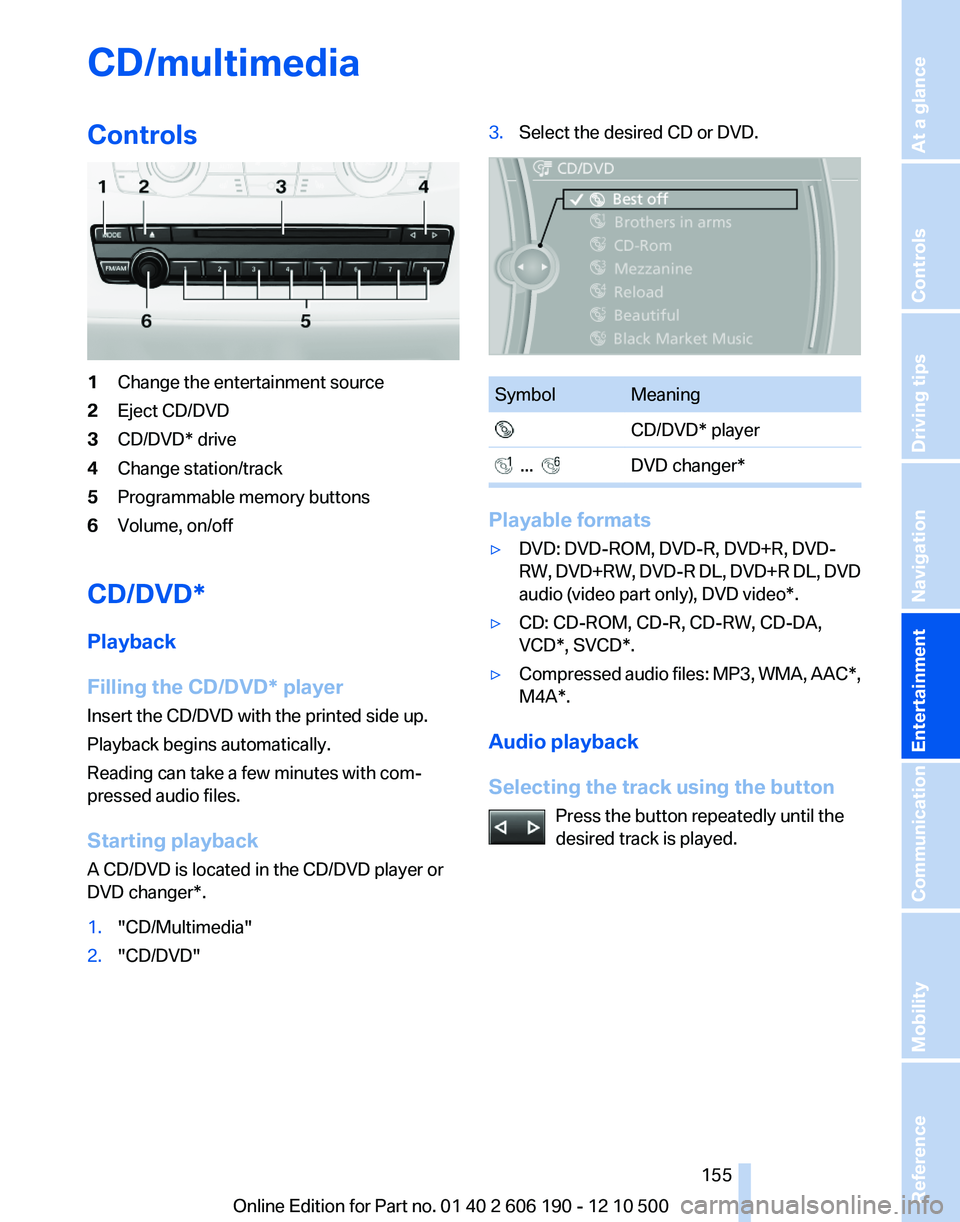
CD/multimediaControls1Change the entertainment source2Eject CD/DVD3CD/DVD* drive4Change station/track5Programmable memory buttons6Volume, on/off
CD/DVD*
Playback
Filling the CD/DVD* player
Insert the CD/DVD with the printed side up.
Playback begins automatically.
Reading can take a few minutes with com‐
pressed audio files.
Starting playback
A CD/DVD is located in the CD/DVD player or
DVD changer*.
1."CD/Multimedia"2."CD/DVD"3.Select the desired CD or DVD.SymbolMeaning CD/DVD* player ... DVD changer*
Playable formats
▷DVD: DVD-ROM, DVD-R, DVD+R, DVD-
RW, DVD+RW, DVD-R DL, DVD+R DL, DVD
audio (video part only), DVD video*.▷CD: CD-ROM, CD-R, CD-RW, CD-DA,
VCD*, SVCD*.▷Compressed audio files: MP3, WMA, AAC*,
M4A*.
Audio playback
Selecting the track using the button Press the button repeatedly until the
desired track is played.
Seite 155155
Online Edition for Part no. 01 40 2 606 190 - 12 10 500
ReferenceMobilityCommunicationEntertainmentNavigationDriving tipsControlsAt a glance
Page 156 of 262
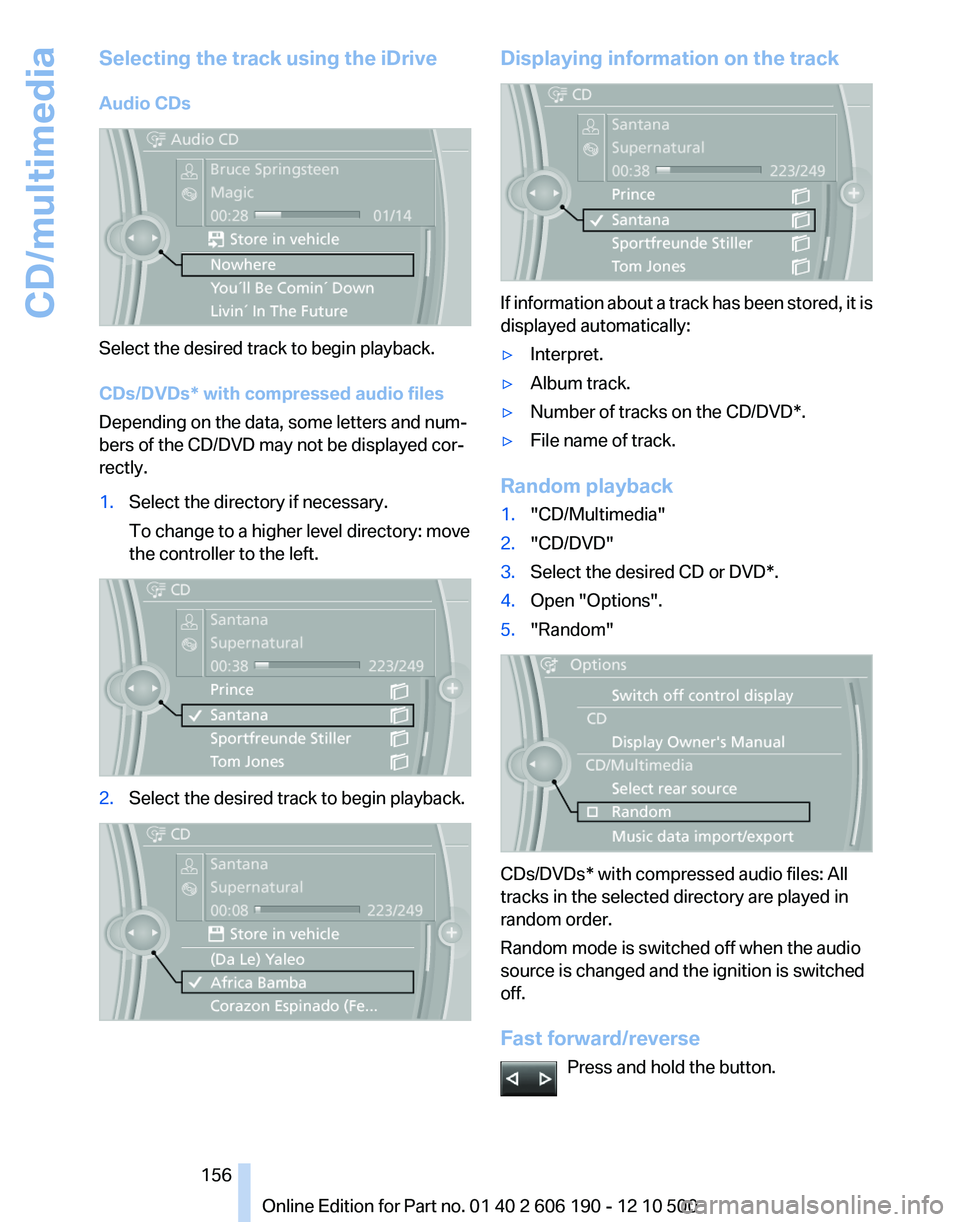
Selecting the track using the iDrive
Audio CDs
Select the desired track to begin playback.
CDs/DVDs* with compressed audio files
Depending on the data, some letters and num‐
bers of the CD/DVD may not be displayed cor‐
rectly.
1.Select the directory if necessary.
To change to a higher level directory: move
the controller to the left.2.Select the desired track to begin playback.Displaying information on the track
If information about a track has been stored, it is
displayed automatically:
▷Interpret.▷Album track.▷Number of tracks on the CD/DVD*.▷File name of track.
Random playback
1."CD/Multimedia"2."CD/DVD"3.Select the desired CD or DVD*.4.Open "Options".5."Random"
CDs/DVDs* with compressed audio files: All
tracks in the selected directory are played in
random order.
Random mode is switched off when the audio
source is changed and the ignition is switched
off.
Fast forward/reverse Press and hold the button.
Seite 156156
Online Edition for Part no. 01 40 2 606 190 - 12 10 500CD/multimedia
Page 157 of 262
Automatic repeat*
The selected CDs or DVDs are repeated auto‐
matically.
Video playback*
Country codes
Only DVDs with the code of the home region can
be played back; also refer to the information on
the DVD.CodeRegion1USA, Canada2Japan, Europe, Middle East, South Af‐
rica3Southeast Asia4Australia, Central and South America,
New Zealand5Northwest Asia, North Africa6China0All regions
Playback
The video image is displayed on the front Con‐
trol Display up to a speed of approx. 2 mph/3 km/
h; in some countries, it is only displayed if the
parking brake is set or if the automatic trans‐
mission is in position P.
DVD video
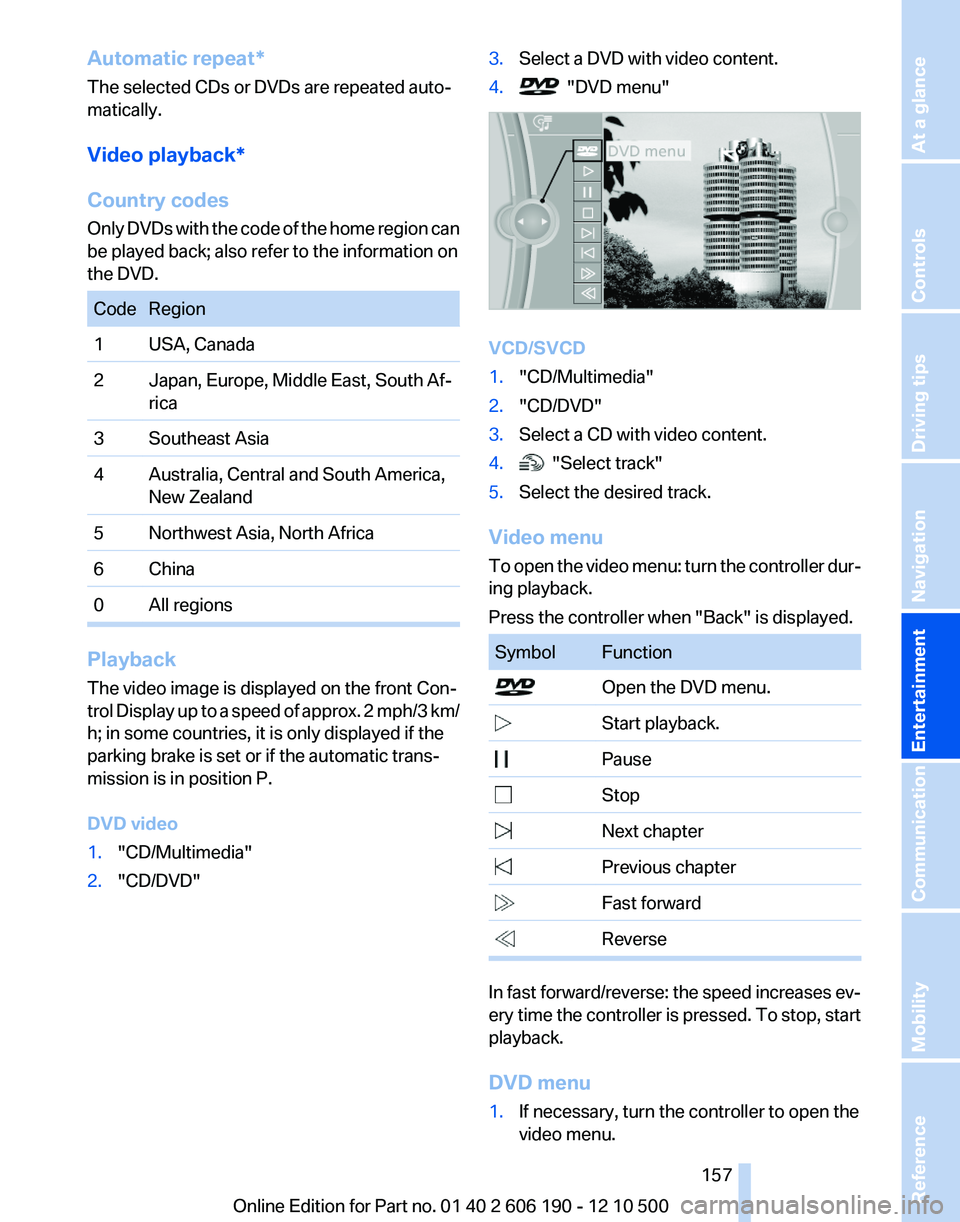
1."CD/Multimedia"2."CD/DVD"3.Select a DVD with video content.4. "DVD menu"
VCD/SVCD
1."CD/Multimedia"2."CD/DVD"3.Select a CD with video content.4. "Select track"5.Select the desired track.
Video menu
To open the video menu: turn the controller dur‐
ing playback.
Press the controller when "Back" is displayed.
SymbolFunction Open the DVD menu. Start playback. Pause Stop Next chapter Previous chapter Fast forward Reverse
In fast forward/reverse: the speed increases ev‐
ery time the controller is pressed. To stop, start
playback.
DVD menu
1.If necessary, turn the controller to open the
video menu.Seite 157157
Online Edition for Part no. 01 40 2 606 190 - 12 10 500
ReferenceMobilityCommunicationEntertainmentNavigationDriving tipsControlsAt a glance
Page 158 of 262
2. "DVD menu"
The DVD menu is displayed. The display de‐
pends on the contents of the DVD.3.To select menu items: move the controller
and press it.
To change to the video menu: turn the controller
and press it.
DVD/VCD settings
For some DVDs, settings can only be made via
the DVD menu; refer also to the information on
the DVD.
Selecting the language*
The languages that are available depend on the
DVD.
1.Turn the controller during playback.2.Open "Options".3."Audio/language"4.Select the desired language.
Selecting the subtitles*
The subtitles that are available depend on the
DVD.
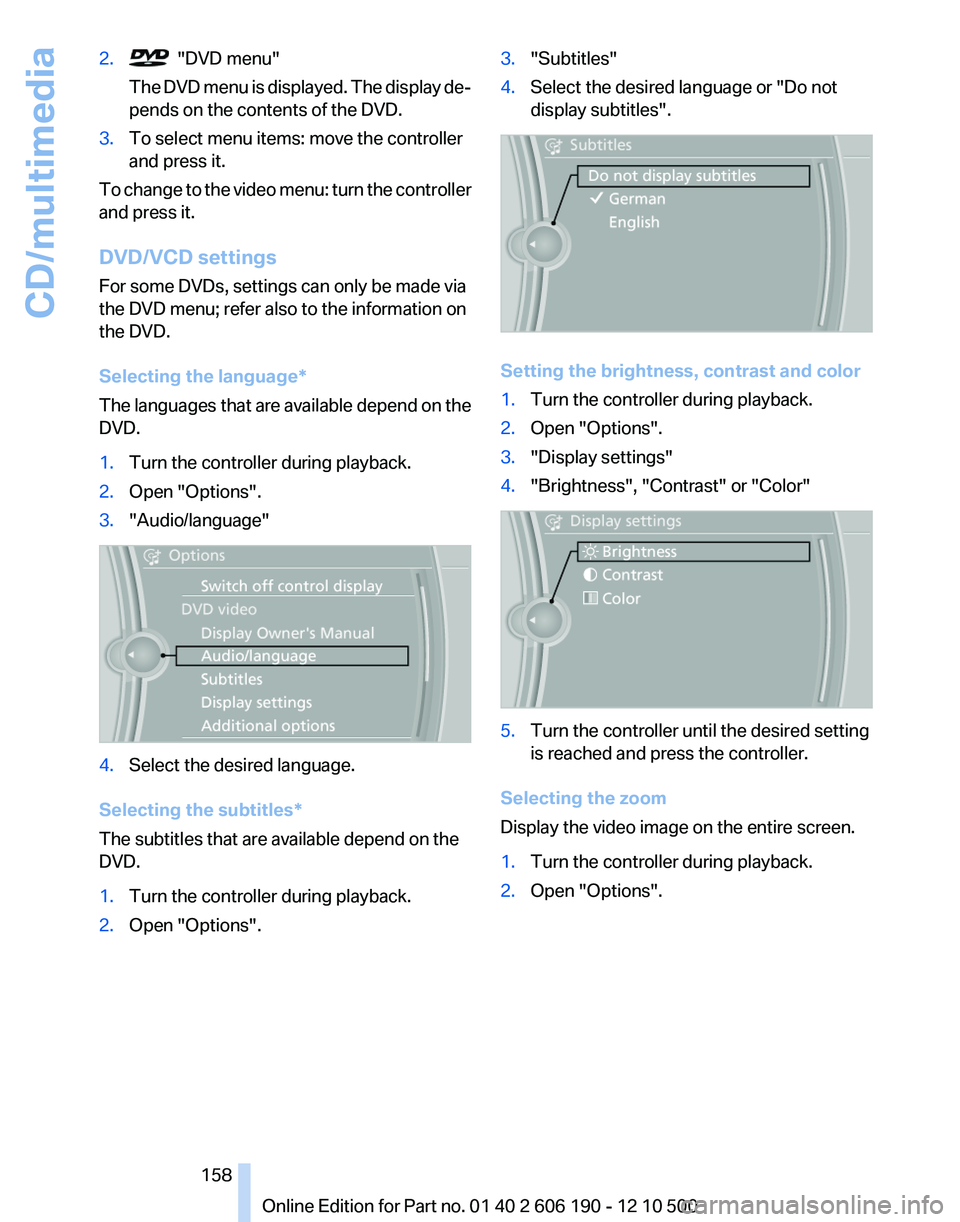
1.Turn the controller during playback.2.Open "Options".3."Subtitles"4.Select the desired language or "Do not
display subtitles".
Setting the brightness, contrast and color
1.Turn the controller during playback.2.Open "Options".3."Display settings"4."Brightness", "Contrast" or "Color"5.Turn the controller until the desired setting
is reached and press the controller.
Selecting the zoom
Display the video image on the entire screen.
1.Turn the controller during playback.2.Open "Options".Seite 158158
Online Edition for Part no. 01 40 2 606 190 - 12 10 500CD/multimedia
Page 159 of 262
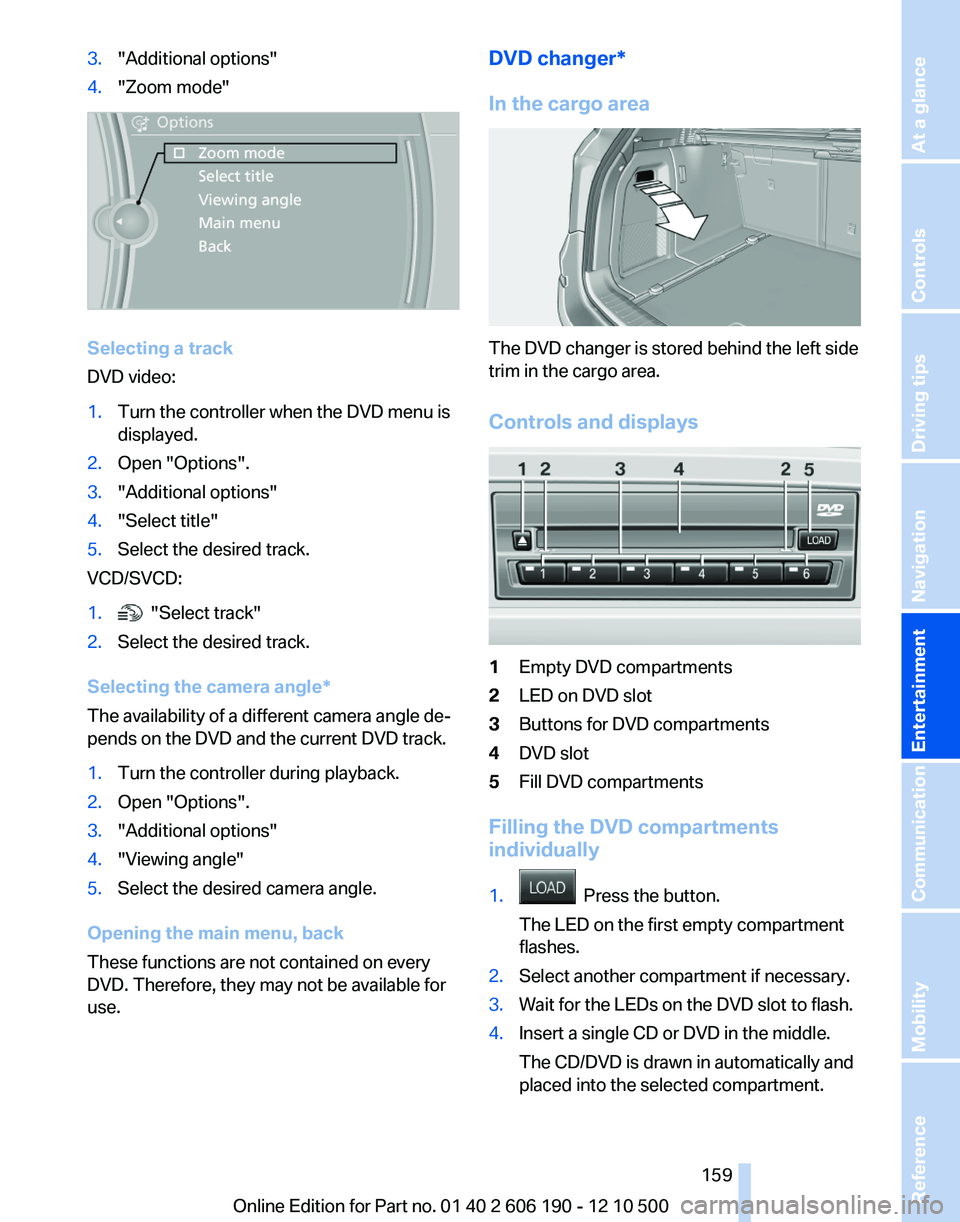
3."Additional options"4."Zoom mode"
Selecting a track
DVD video:
1.Turn the controller when the DVD menu is
displayed.2.Open "Options".3."Additional options"4."Select title"5.Select the desired track.
VCD/SVCD:
1. "Select track"2.Select the desired track.
Selecting the camera angle*
The availability of a different camera angle de‐
pends on the DVD and the current DVD track.
1.Turn the controller during playback.2.Open "Options".3."Additional options"4."Viewing angle"5.Select the desired camera angle.
Opening the main menu, back
These functions are not contained on every
DVD. Therefore, they may not be available for
use.
DVD changer*
In the cargo area
The DVD changer is stored behind the left side
trim in the cargo area.
Controls and displays
1Empty DVD compartments2LED on DVD slot3Buttons for DVD compartments4DVD slot5Fill DVD compartments
Filling the DVD compartments
individually
1. Press the button.
The LED on the first empty compartment
flashes.2.Select another compartment if necessary.3.Wait for the LEDs on the DVD slot to flash.4.Insert a single CD or DVD in the middle.
The CD/DVD is drawn in automatically and
placed into the selected compartment.Seite 159159
Online Edition for Part no. 01 40 2 606 190 - 12 10 500
ReferenceMobilityCommunicationEntertainmentNavigationDriving tipsControlsAt a glance
Page 160 of 262
Sliding in CDs/DVDs
Do not insert the CD/DVD until the LEDs
on the DVD slot are flashing; otherwise, the CD/
DVD or the DVD changer could be damaged.
Do not continue to push on the CD/DVD; this
may cause it to jam and prevent it from being
able to eject again.◀
Filling all empty DVD compartments1. Hold the button down.
The LEDs on the empty CD compartments
flash.2.Wait for the LEDs on the DVD slot to begin
flashing and then insert each CD or DVD into
the center of the slot.
The CDs/DVDs are drawn in automatically
and placed into the vacant compartments.
Sliding in CDs/DVDs
Do not insert the CD/DVD until the LEDs
on the DVD slot are flashing; otherwise, the CD/
DVD or the DVD changer could be damaged.
Do not continue to push on the CD/DVD; this
may cause it to jam and prevent it from being
able to eject again.◀
After they are inserted, it may take several mi‐
nutes for the CDs/DVDs to be read in.
Removing a single CD/DVD
1. Press the button.2.Select the DVD compartment.
The CD/DVD is partially ejected.3.Remove the CD/DVD.
Removing all CDs/DVDs
1. Hold the button down.2.Remove the CDs/DVDs.
Malfunctions
If all LEDs on the DVD changer are flashing rap‐
idly, a malfunction has occurred.
To eliminate the malfunction:1.Press one of the buttons:▷▷
The CD/DVD last inserted is ejected.
2.Remove the CD/DVD.
The DVD changer is functional again after the
LEDs stop flashing rapidly.
Audio playback*
The audio track of a DVD can be played back
even if video playback is not possible in the ve‐
hicle.
Only the main film without the previews or extras
can be played back.
Starting playback
A DVD is located in the DVD changer.
1."CD/Multimedia"2."CD/DVD"3.Select the desired DVD.
Selecting a chapter using the button Press the button repeatedly until the
desired chapter is played.
Selecting a chapter using iDrive
1."CD/Multimedia"2."CD/DVD"3.Select the desired DVD.4.Select the desired chapter.
Fast forward/reverse Press and hold the button.
Selecting the language*
The languages that are available depend on the
DVD.
Seite 160160
Online Edition for Part no. 01 40 2 606 190 - 12 10 500CD/multimedia