display BMW X5 2011 E70 Owners Manual
[x] Cancel search | Manufacturer: BMW, Model Year: 2011, Model line: X5, Model: BMW X5 2011 E70Pages: 312, PDF Size: 8.91 MB
Page 170 of 312
On/off and tone
168
On/off and tone
The following audio and video sources share
the same control elements and adjustments:
>Radio
>CD/DVD player
>CD/DVD changer
*
>Video*
>External devices, e.g. MP3 player
Controls
The audio and video sources can be controlled
using:
>Buttons near the CD/DVD player
>iDrive
>Buttons on the steering wheel, refer to
page10
>Programmable memory buttons, refer to
page20
>Voice activation system
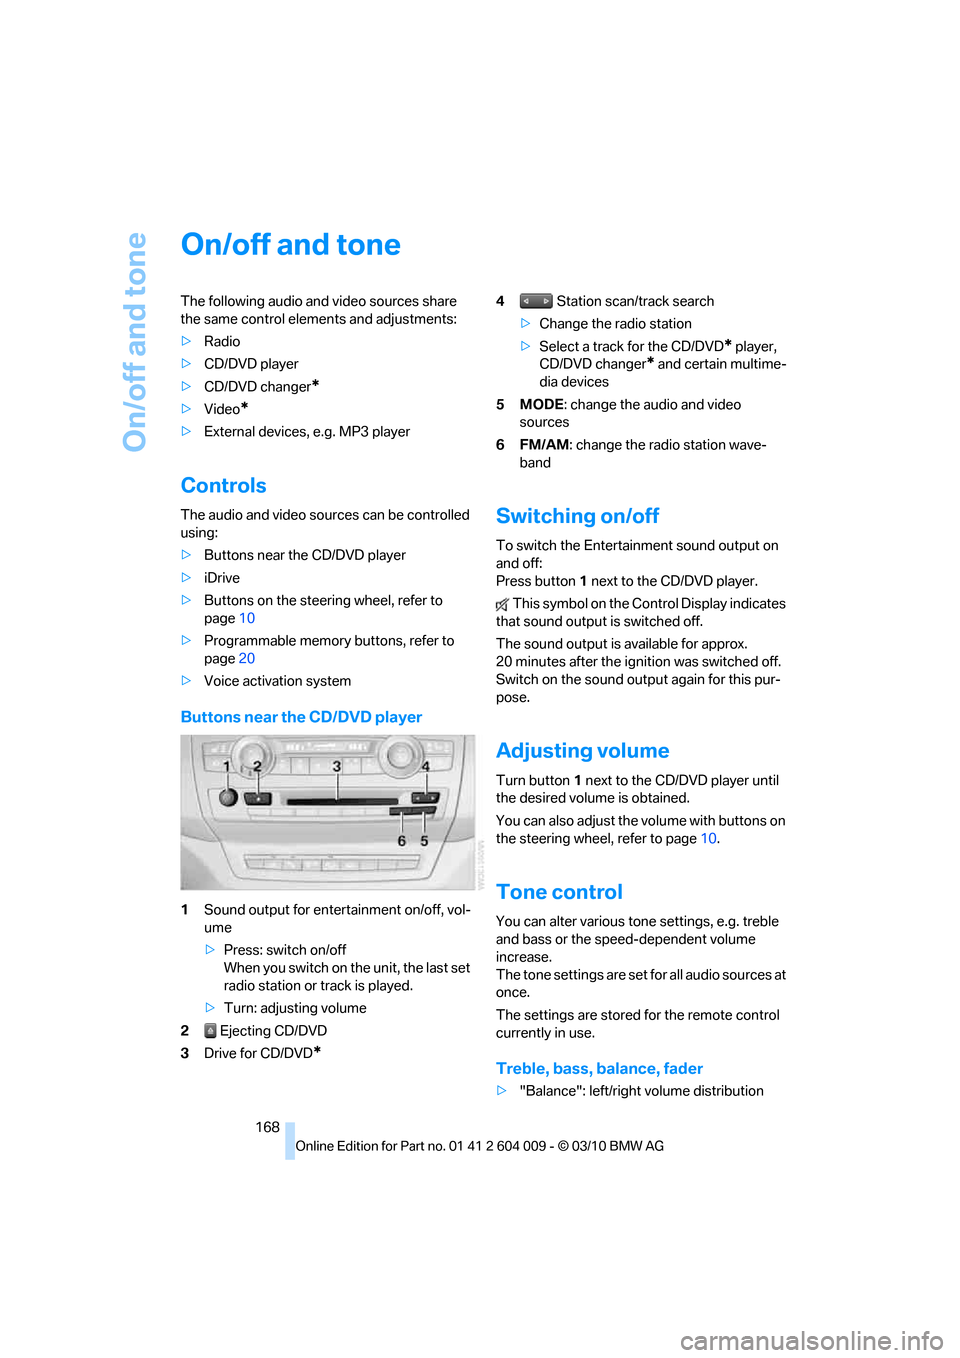
Buttons near the CD/DVD player
1Sound output for entertainment on/off, vol-
ume
>Press: switch on/off
When you switch on the unit, the last set
radio station or track is played.
>Turn: adjusting volume
2 Ejecting CD/DVD
3Drive for CD/DVD
*
4 Station scan/track search
>Change the radio station
>Select a track for the CD/DVD
* player,
CD/DVD changer
* and certain multime-
dia devices
5MODE: change the audio and video
sources
6FM/AM: change the radio station wave-
band
Switching on/off
To switch the Entertainment sound output on
and off:
Press button1 next to the CD/DVD player.
This symbol on the Control Display indicates
that sound output is switched off.
The sound output is available for approx.
20 minutes after the ignition was switched off.
Switch on the sound output again for this pur-
pose.
Adjusting volume
Turn button1 next to the CD/DVD player until
the desired volume is obtained.
You can also adjust the volume with buttons on
the steering wheel, refer to page10.
Tone control
You can alter various tone settings, e.g. treble
and bass or the speed-dependent volume
increase.
The tone settings are set for all audio sources at
once.
The settings are stored for the remote control
currently in use.
Treble, bass, balance, fader
>"Balance": left/right volume distribution
Page 174 of 312
Radio
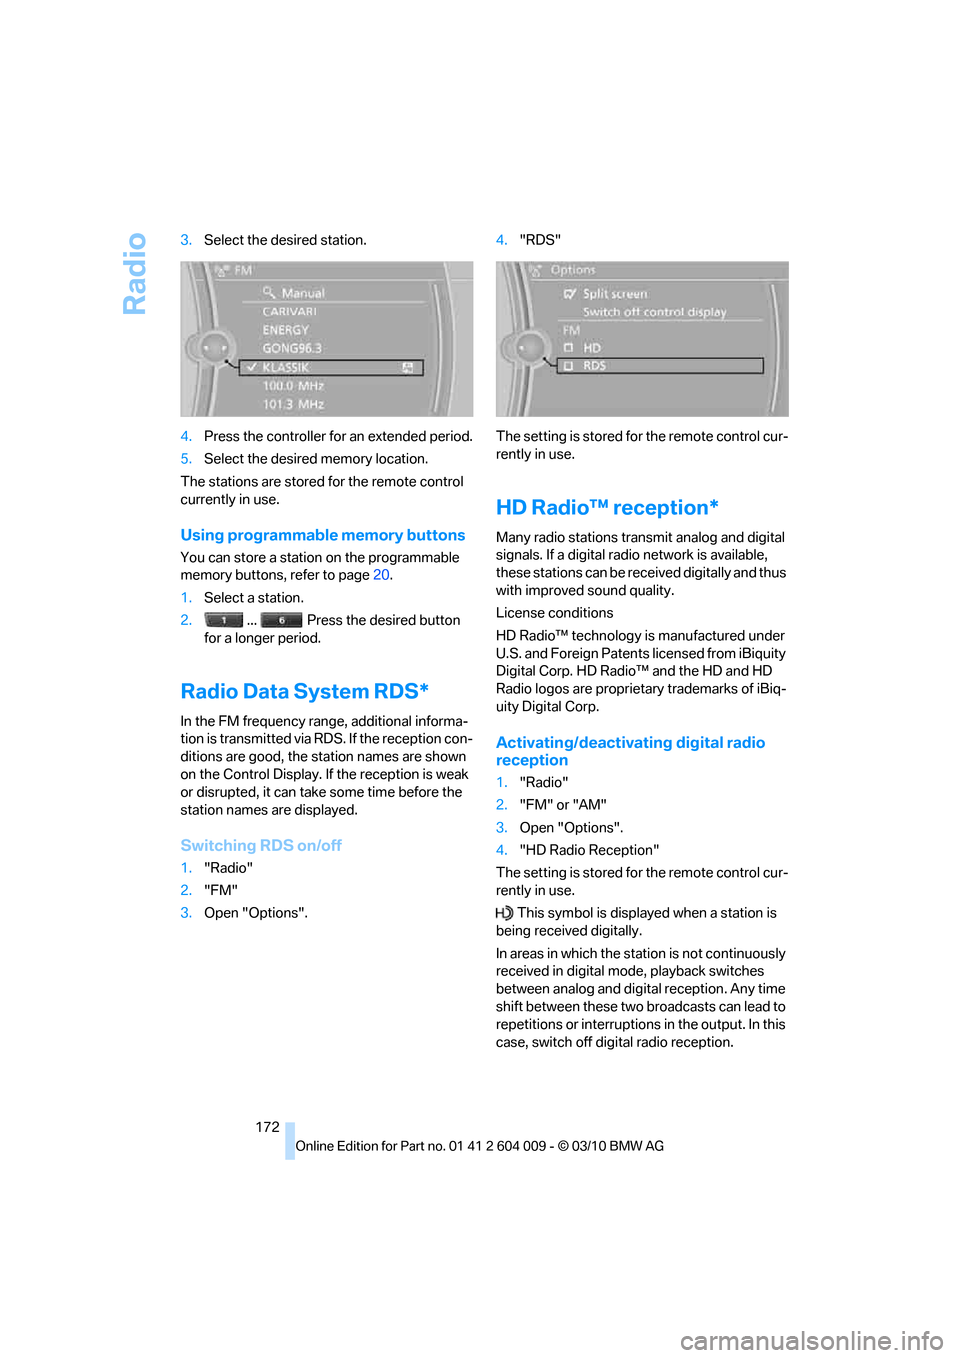
172 3.Select the desired station.
4.Press the controller for an extended period.
5.Select the desired memory location.
The stations are stored for the remote control
currently in use.
Using programmable memory buttons
You can store a station on the programmable
memory buttons, refer to page20.
1.Select a station.
2. ... Press the desired button
for a longer period.
Radio Data System RDS*
In the FM frequency range, additional informa-
tion is transmitted via RDS. If the reception con-
ditions are good, the station names are shown
on the Control Display. If the reception is weak
or disrupted, it can take some time before the
station names are displayed.
Switching RDS on/off
1."Radio"
2."FM"
3.Open "Options".4."RDS"
The setting is stored for the remote control cur-
rently in use.
HD Radio™ reception*
Many radio stations transmit analog and digital
signals. If a digital radio network is available,
these stations can be received digitally and thus
with improved sound quality.
License conditions
HD Radio™ technology is manufactured under
U.S. and Foreign Patents licensed from iBiquity
Digital Corp. HD Radio™ and the HD and HD
Radio logos are proprietary trademarks of iBiq-
uity Digital Corp.
Activating/deactivating digital radio
reception
1."Radio"
2."FM" or "AM"
3.Open "Options".
4."HD Radio Reception"
The setting is stored for the remote control cur-
rently in use.
This symbol is displayed when a station is
being received digitally.
In areas in which the station is not continuously
received in digital mode, playback switches
between analog and digital reception. Any time
shift between these two broadcasts can lead to
repetitions or interruptions in the output. In this
case, switch off digital radio reception.
Page 175 of 312
Navigation
Entertainment
Driving tips
173Reference
At a glance
Controls
Communications
Mobility
Displaying additional information
Some stations broadcast additional information
on the current track, such as the name of the
artist.
1.Select the desired station.
2.Open "Options".
3."Station info"
Selecting a substation
This symbol indicates that a main station also
broadcasts additional substations. The station
name of the main station ends in HD1. The sta-
tion names of the substations end in HD2, HD3,
etc.
1.Select the desired station.
2.Press the controller.
3.Select the substation.
When reception is poor, the substation is muted
for several seconds. If reception is interrupted
for an extended period, the radio switches back
to the main station.
Stored stations
It is possible to store up to 40 stations.
Selecting a station
1."Radio"
2."Presets"
3.Select the desired station.
Storing a station
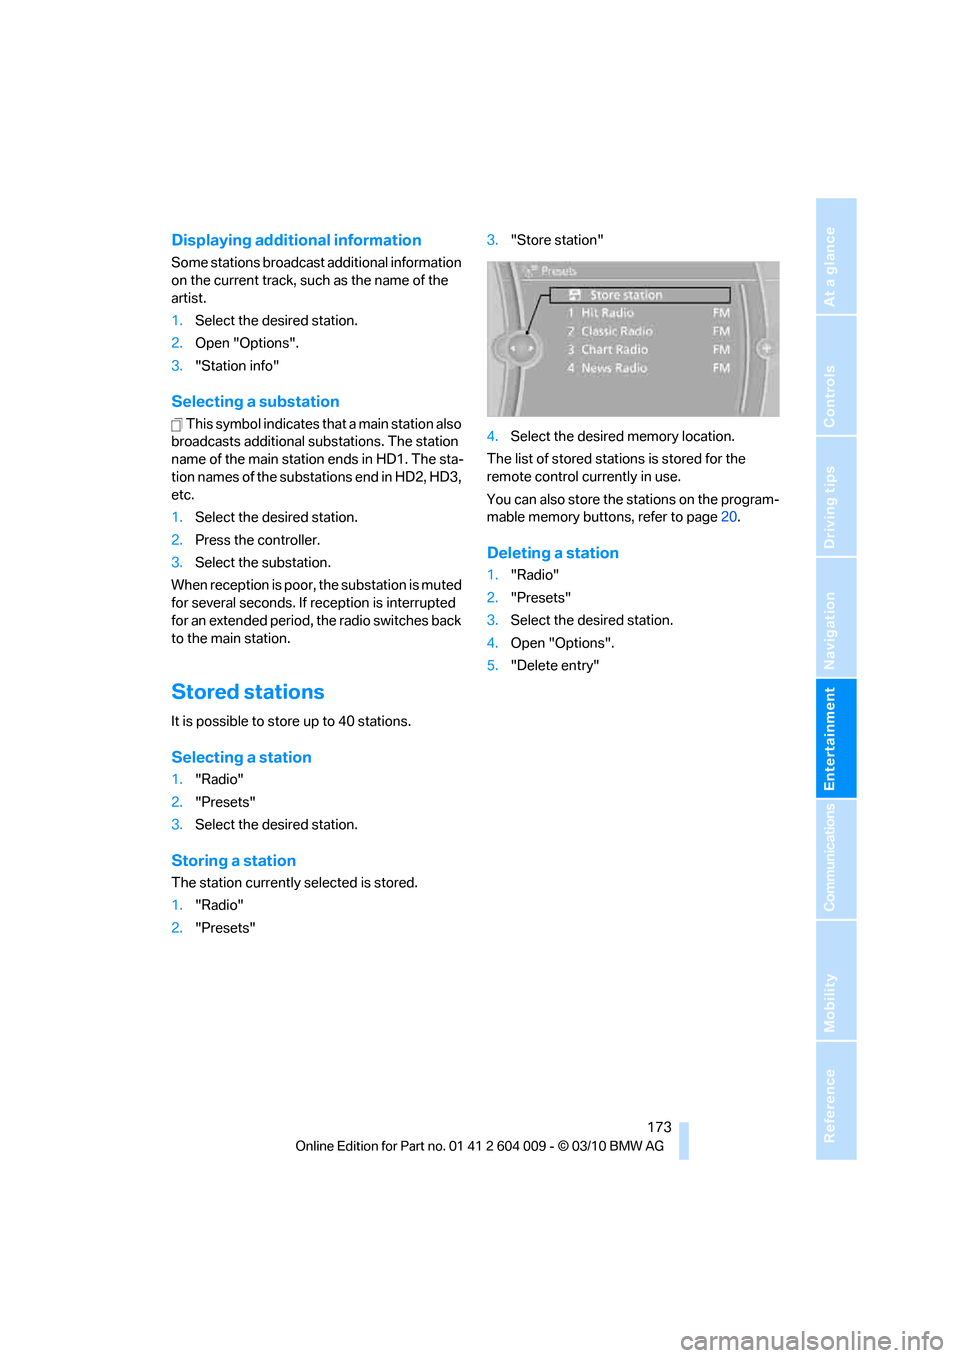
The station currently selected is stored.
1."Radio"
2."Presets"3."Store station"
4.Select the desired memory location.
The list of stored stations is stored for the
remote control currently in use.
You can also store the stations on the program-
mable memory buttons, refer to page20.
Deleting a station
1."Radio"
2."Presets"
3.Select the desired station.
4.Open "Options".
5."Delete entry"
Page 176 of 312
Satellite radio
174
Satellite radio
General information
The channels are offered in fixed packages.
Packages must be activated by telephone.
Navigation bar
The functions of the symbols of the navigation
bar can also be stored on the programmable
memory buttons, refer to page20.
Managing subscription
Clear reception is required for activating and
deactivating channels. Reception is best when
you have an unobstructed view to the sky. The
channel name is displayed in the status line.
Activating channels
The category Unsubscribed Channels includes
all channels that are not activated.
1."Radio"
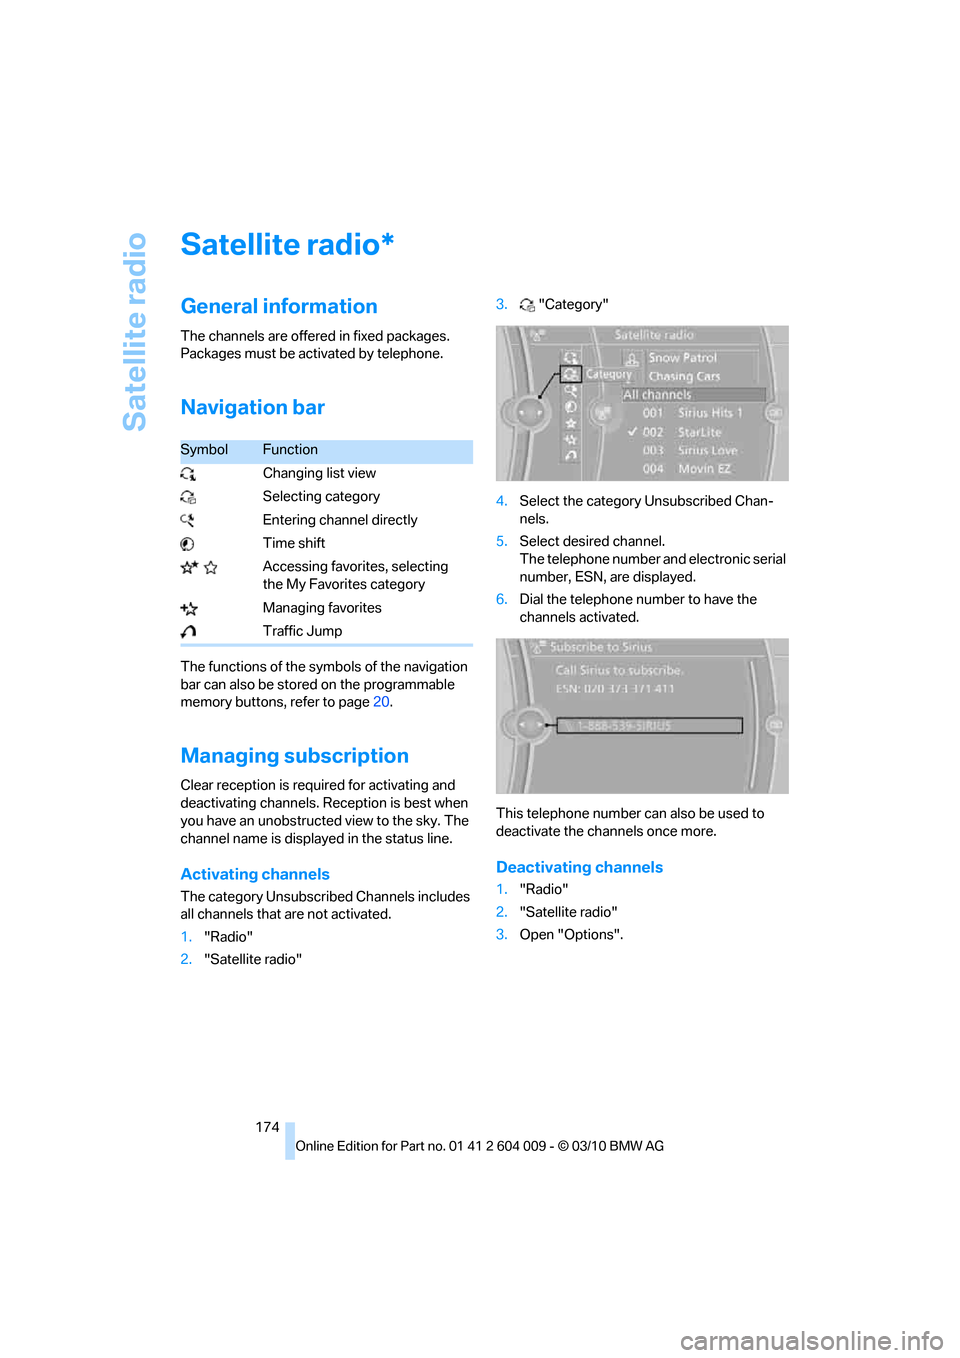
2."Satellite radio"3."Category"
4.Select the category Unsubscribed Chan-
nels.
5.Select desired channel.
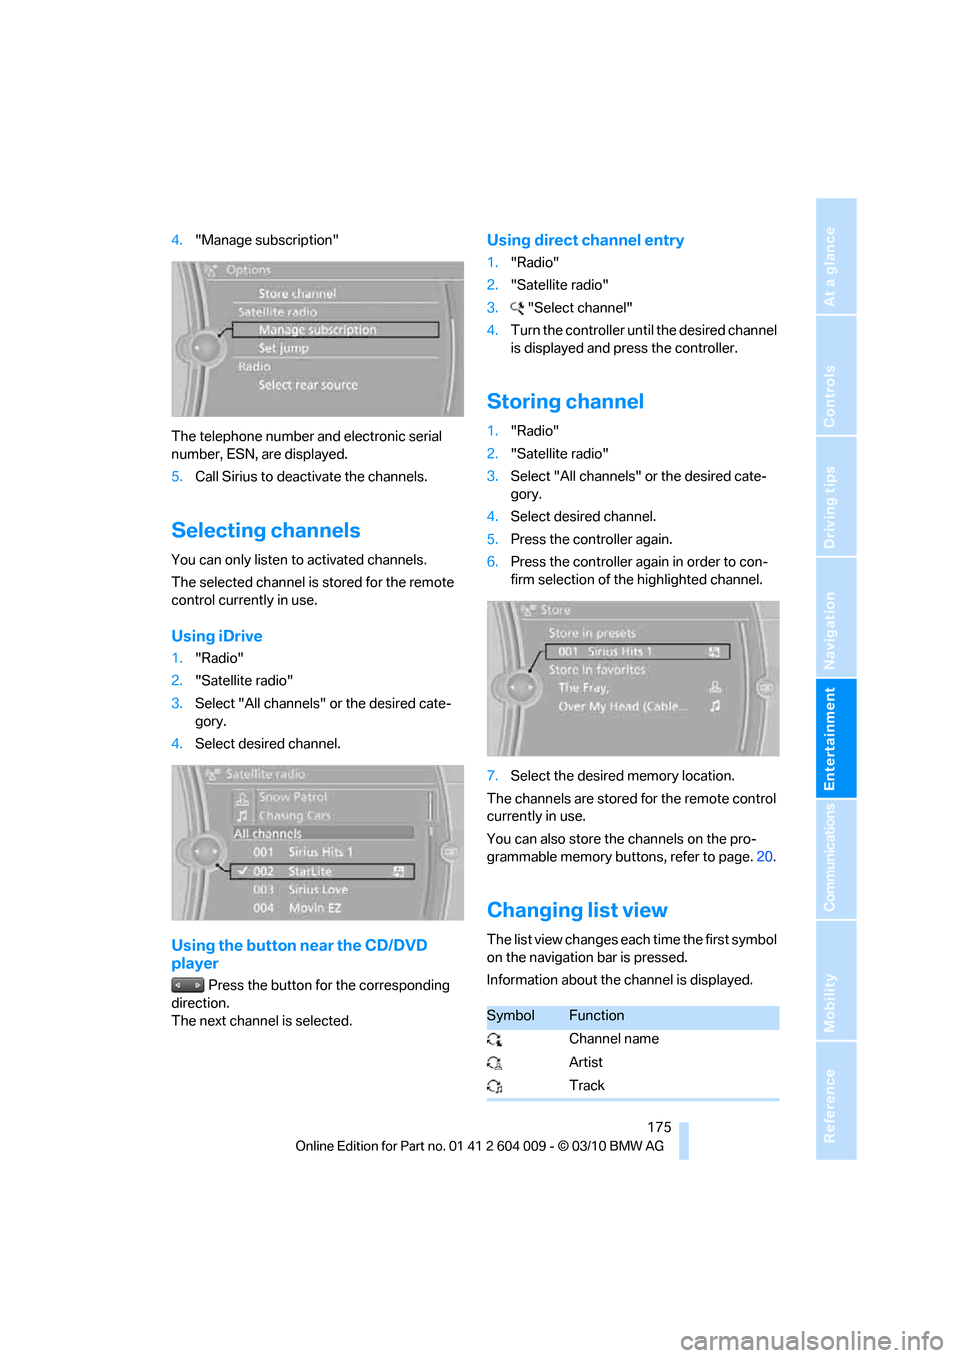
The telephone number and electronic serial
number, ESN, are displayed.
6.Dial the telephone number to have the
channels activated.
This telephone number can also be used to
deactivate the channels once more.
Deactivating channels
1."Radio"
2."Satellite radio"
3.Open "Options".
*
SymbolFunction
Changing list view
Selecting category
Entering channel directly
Time shift
Accessing favorites, selecting
the My Favorites category
Managing favorites
Traffic Jump
Page 177 of 312
Navigation
Entertainment
Driving tips
175Reference
At a glance
Controls
Communications
Mobility
4."Manage subscription"
The telephone number and electronic serial
number, ESN, are displayed.
5.Call Sirius to deactivate the channels.
Selecting channels
You can only listen to activated channels.
The selected channel is stored for the remote
control currently in use.
Using iDrive
1."Radio"
2."Satellite radio"
3.Select "All channels" or the desired cate-
gory.
4.Select desired channel.
Using the button near the CD/DVD
player
Press the button for the corresponding
direction.
The next channel is selected.
Using direct channel entry
1."Radio"
2."Satellite radio"
3."Select channel"
4.Turn the controller until the desired channel
is displayed and press the controller.
Storing channel
1."Radio"
2."Satellite radio"
3.Select "All channels" or the desired cate-
gory.
4.Select desired channel.
5.Press the controller again.
6.Press the controller again in order to con-
firm selection of the highlighted channel.
7.Select the desired memory location.
The channels are stored for the remote control
currently in use.
You can also store the channels on the pro-
grammable memory buttons, refer to page.20.
Changing list view
The list view changes each time the first symbol
on the navigation bar is pressed.
Information about the channel is displayed.
SymbolFunction
Channel name
Artist
Track
Page 178 of 312
Satellite radio
176
Selecting category
1."Radio"
2."Satellite radio"
3."Category"
4.Select the desired category.
Time shift
Approximately one hour of the channel cur-
rently being listened to is temporarily stored in a
cache memory. Precondition: the signal must
be available.
The stored audio track can be played back at a
different time from the live broadcast. If the
cache memory is full, then the older tracks are
recorded over. The cache memory is deleted if
a new channel is selected.
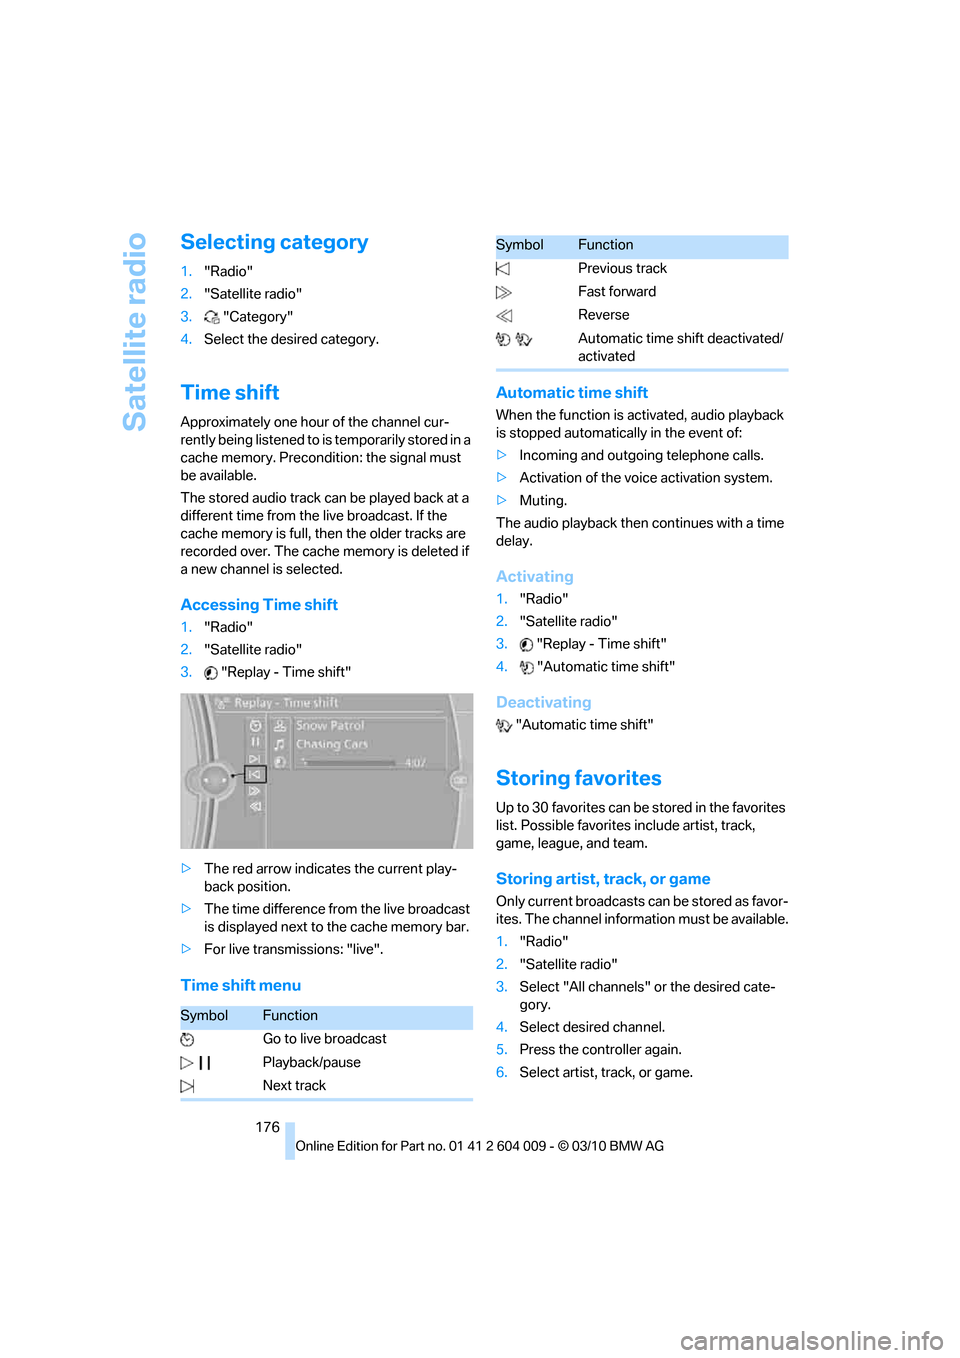
Accessing Time shift
1."Radio"
2."Satellite radio"
3."Replay - Time shift"
>The red arrow indicates the current play-
back position.
>The time difference from the live broadcast
is displayed next to the cache memory bar.
>For live transmissions: "live".
Time shift menuAutomatic time shift
When the function is activated, audio playback
is stopped automatically in the event of:
>Incoming and outgoing telephone calls.
>Activation of the voice activation system.
>Muting.
The audio playback then continues with a time
delay.
Activating
1."Radio"
2."Satellite radio"
3."Replay - Time shift"
4."Automatic time shift"
Deactivating
"Automatic time shift"
Storing favorites
Up to 30 favorites can be stored in the favorites
list. Possible favorites include artist, track,
game, league, and team.
Storing artist, track, or game
Only current broadcasts can be stored as favor-
ites. The channel information must be available.
1."Radio"
2."Satellite radio"
3.Select "All channels" or the desired cate-
gory.
4.Select desired channel.
5.Press the controller again.
6.Select artist, track, or game.
SymbolFunction
Go to live broadcast
Playback/pause
Next track
Previous track
Fast forward
Reverse
Automatic time shift deactivated/
activated
SymbolFunction
Page 179 of 312
Navigation
Entertainment
Driving tips
177Reference
At a glance
Controls
Communications
Mobility
Storing league or team
Leagues or teams can be added to the favorites
from a selection list.
1."Radio"
2."Satellite radio"
3."Manage favorites"
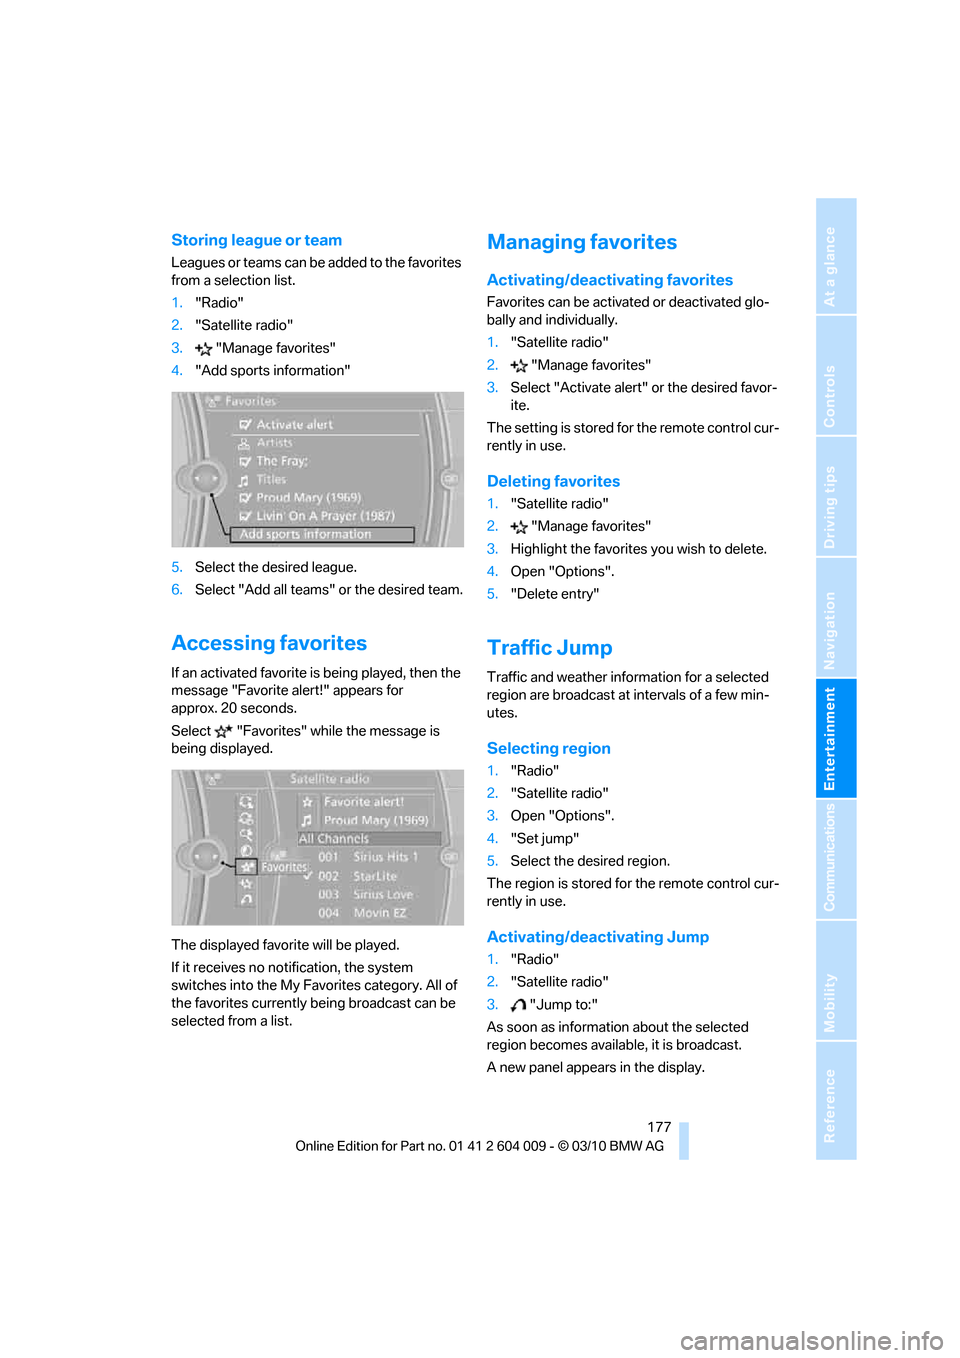
4."Add sports information"
5.Select the desired league.
6.Select "Add all teams" or the desired team.
Accessing favorites
If an activated favorite is being played, then the
message "Favorite alert!" appears for
approx. 20 seconds.
Select "Favorites" while the message is
being displayed.
The displayed favorite will be played.
If it receives no notification, the system
switches into the My Favorites category. All of
the favorites currently being broadcast can be
selected from a list.
Managing favorites
Activating/deactivating favorites
Favorites can be activated or deactivated glo-
bally and individually.
1."Satellite radio"
2."Manage favorites"
3.Select "Activate alert" or the desired favor-
ite.
The setting is stored for the remote control cur-
rently in use.
Deleting favorites
1."Satellite radio"
2."Manage favorites"
3.Highlight the favorites you wish to delete.
4.Open "Options".
5."Delete entry"
Traffic Jump
Traffic and weather information for a selected
region are broadcast at intervals of a few min-
utes.
Selecting region
1."Radio"
2."Satellite radio"
3.Open "Options".
4."Set jump"
5.Select the desired region.
The region is stored for the remote control cur-
rently in use.
Activating/deactivating Jump
1."Radio"
2."Satellite radio"
3."Jump to:"
As soon as information about the selected
region becomes available, it is broadcast.
A new panel appears in the display.
Page 182 of 312
CD/DVD player and CD/DVD changer
180
Audio playback
Selecting the track using the button
Press the button for the corresponding
direction repeatedly until you reach the desired
track.
Selecting the track using iDrive
Audio CDs
1."CD/Multimedia"
2."CD/DVD"
3.Select the desired CD or DVD.
4.Select the desired track to begin playback.
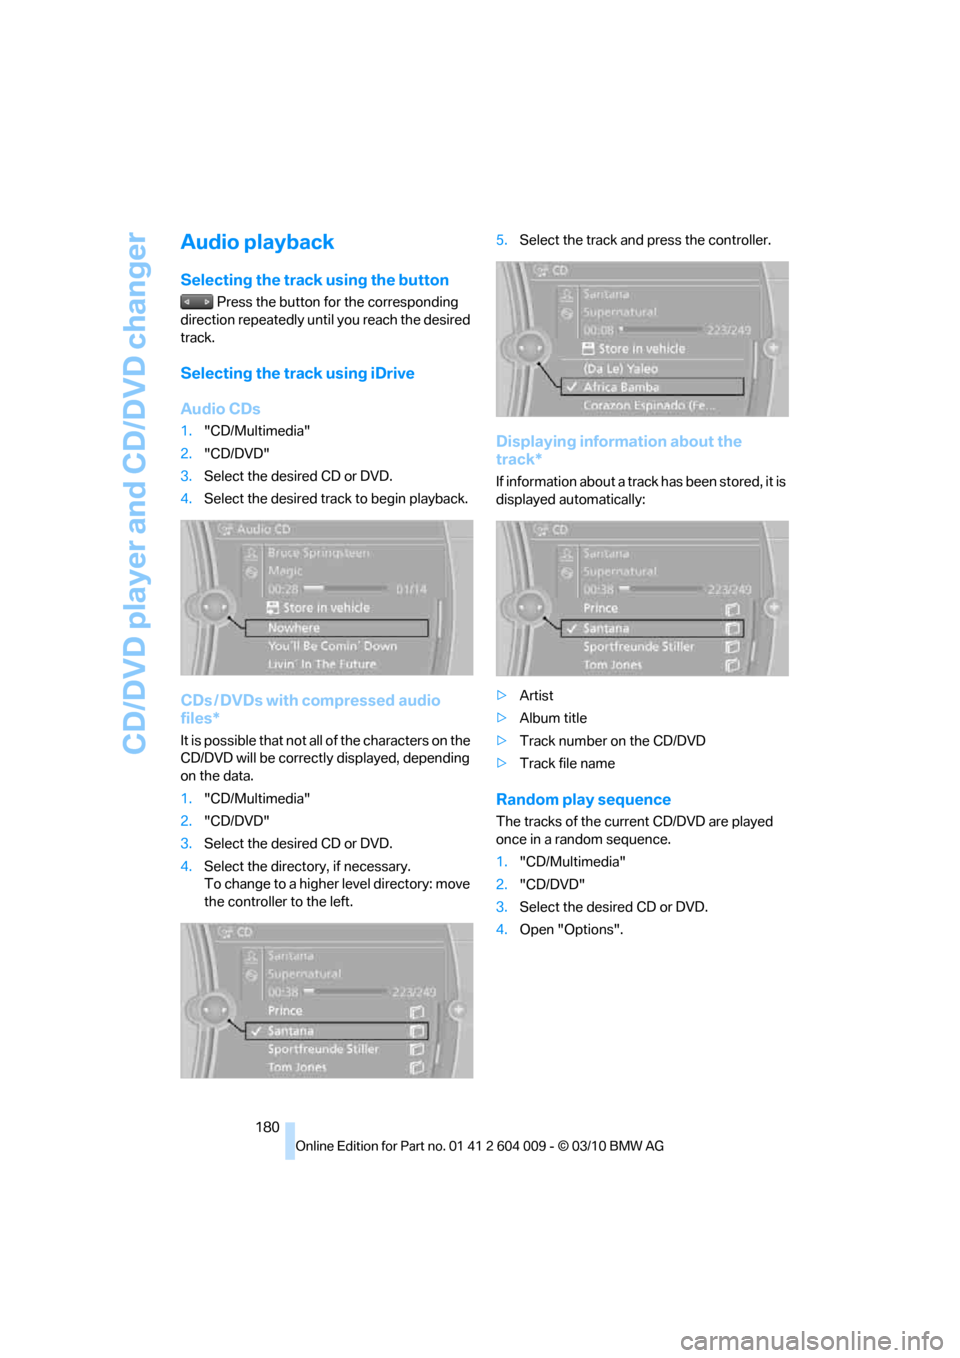
CDs / DVDs with compressed audio
files*
It is possible that not all of the characters on the
CD/DVD will be correctly displayed, depending
on the data.
1."CD/Multimedia"
2."CD/DVD"
3.Select the desired CD or DVD.
4.Select the directory, if necessary.
To change to a higher level directory: move
the controller to the left.5.Select the track and press the controller.
Displaying information about the
track*
If information about a track has been stored, it is
displayed automatically:
>Artist
>Album title
>Track number on the CD/DVD
>Track file name
Random play sequence
The tracks of the current CD/DVD are played
once in a random sequence.
1."CD/Multimedia"
2."CD/DVD"
3.Select the desired CD or DVD.
4.Open "Options".
Page 183 of 312
Navigation
Entertainment
Driving tips
181Reference
At a glance
Controls
Communications
Mobility
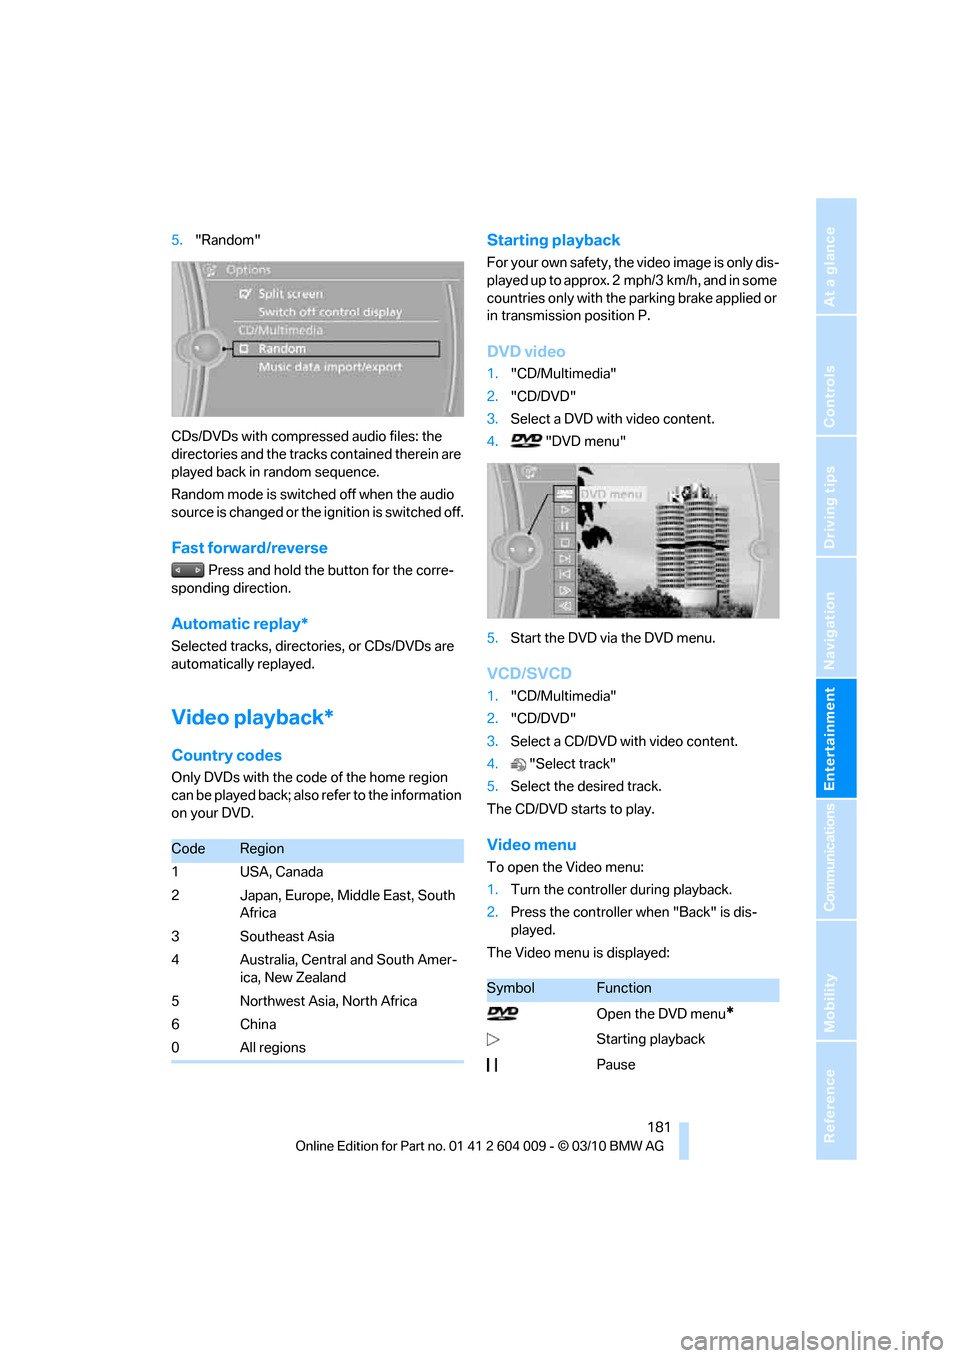
5."Random"
CDs/DVDs with compressed audio files: the
directories and the tracks contained therein are
played back in random sequence.
Random mode is switched off when the audio
source is changed or the ignition is switched off.
Fast forward/reverse
Press and hold the button for the corre-
sponding direction.
Automatic replay*
Selected tracks, directories, or CDs/DVDs are
automatically replayed.
Video playback*
Country codes
Only DVDs with the code of the home region
can be played back; also refer to the information
on your DVD.
Starting playback
For your own safety, the video image is only dis-
played up to approx. 2 mph/3 km/h, and in some
countries only with the parking brake applied or
in transmission position P.
DVD video
1."CD/Multimedia"
2."CD/DVD"
3.Select a DVD with video content.
4. "DVD menu"
5.Start the DVD via the DVD menu.
VCD/SVCD
1."CD/Multimedia"
2."CD/DVD"
3.Select a CD/DVD with video content.
4."Select track"
5.Select the desired track.
The CD/DVD starts to play.
Video menu
To open the Video menu:
1.Turn the controller during playback.
2.Press the controller when "Back" is dis-
played.
The Video menu is displayed:
CodeRegion
1USA, Canada
2 Japan, Europe, Middle East, South
Africa
3 Southeast Asia
4 Australia, Central and South Amer-
ica, New Zealand
5 Northwest Asia, North Africa
6China
0 All regions
SymbolFunction
Open the DVD menu
*
Starting playback
Pause
Page 184 of 312
CD/DVD player and CD/DVD changer
182 In fast forward/reverse: the speed increases
every time the controller is pressed. To stop,
start playback.
DVD menu
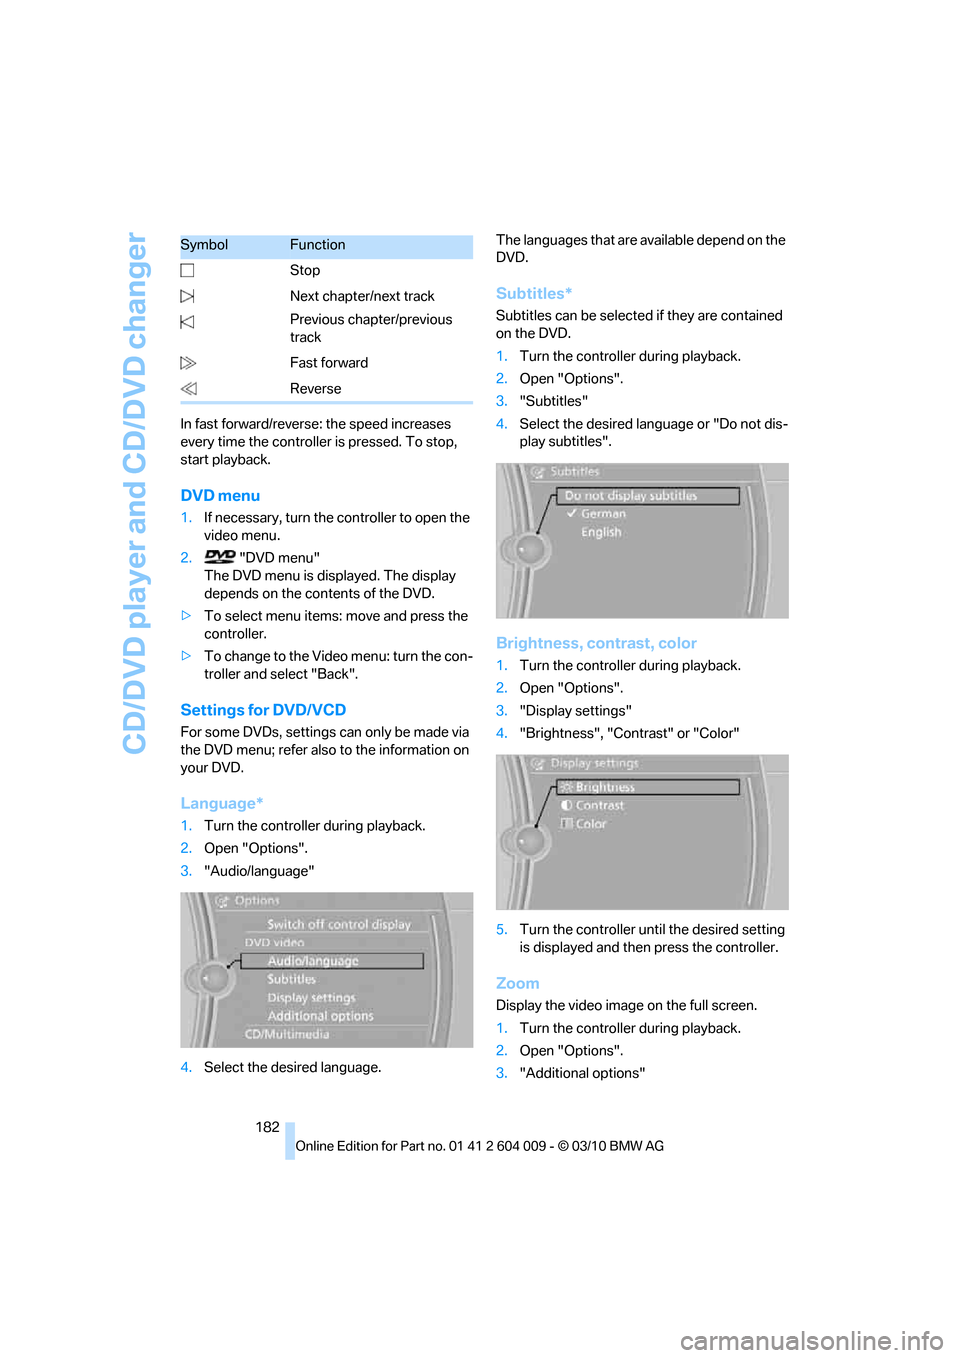
1.If necessary, turn the controller to open the
video menu.
2. "DVD menu"
The DVD menu is displayed. The display
depends on the contents of the DVD.
>To select menu items: move and press the
controller.
>To change to the Video menu: turn the con-
troller and select "Back".
Settings for DVD/VCD
For some DVDs, settings can only be made via
the DVD menu; refer also to the information on
your DVD.
Language*
1.Turn the controller during playback.
2.Open "Options".
3."Audio/language"
4.Select the desired language.The languages that are available depend on the
DVD.
Subtitles*
Subtitles can be selected if they are contained
on the DVD.
1.Turn the controller during playback.
2.Open "Options".
3."Subtitles"
4.Select the desired language or "Do not dis-
play subtitles".
Brightness, contrast, color
1.Turn the controller during playback.
2.Open "Options".
3."Display settings"
4."Brightness", "Contrast" or "Color"
5.Turn the controller until the desired setting
is displayed and then press the controller.
Zoom
Display the video image on the full screen.
1.Turn the controller during playback.
2.Open "Options".
3."Additional options" Stop
Next chapter/next track
Previous chapter/previous
track
Fast forward
Reverse
SymbolFunction