Light switch BMW X5 2016 F15 Workshop Manual
[x] Cancel search | Manufacturer: BMW, Model Year: 2016, Model line: X5, Model: BMW X5 2016 F15Pages: 275, PDF Size: 6.46 MB
Page 134 of 275
▷LED lights up orange or goes out respec‐
tive to their individual settings.
Adjust as needed. Individual settings are
stored for the profile currently used.
Press button again:
▷All Intelligent Safety systems are
activated.▷The LED lights up green.
Hold down button:
▷All Intelligent Safety systems are
turned off.▷The LED goes out.
Display
Lamp in the exterior mirror housing
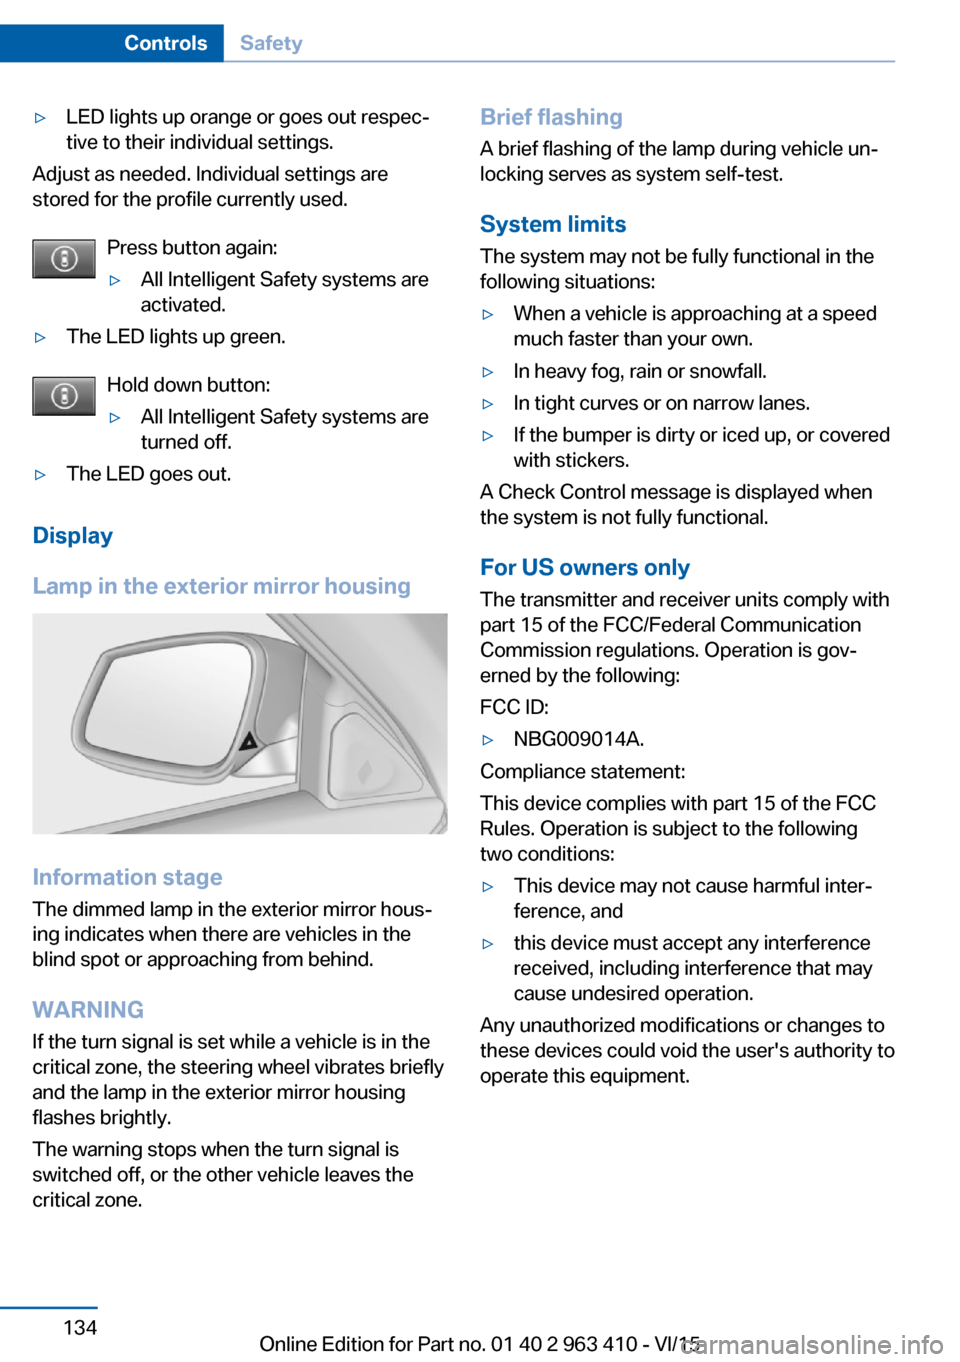
Information stage
The dimmed lamp in the exterior mirror hous‐
ing indicates when there are vehicles in the
blind spot or approaching from behind.
WARNING If the turn signal is set while a vehicle is in the
critical zone, the steering wheel vibrates briefly
and the lamp in the exterior mirror housing
flashes brightly.
The warning stops when the turn signal is
switched off, or the other vehicle leaves the
critical zone.
Brief flashing
A brief flashing of the lamp during vehicle un‐
locking serves as system self-test.
System limits
The system may not be fully functional in the
following situations:▷When a vehicle is approaching at a speed
much faster than your own.▷In heavy fog, rain or snowfall.▷In tight curves or on narrow lanes.▷If the bumper is dirty or iced up, or covered
with stickers.
A Check Control message is displayed when
the system is not fully functional.
For US owners only The transmitter and receiver units comply with
part 15 of the FCC/Federal Communication
Commission regulations. Operation is gov‐
erned by the following:
FCC ID:
▷NBG009014A.
Compliance statement:
This device complies with part 15 of the FCC
Rules. Operation is subject to the following
two conditions:
▷This device may not cause harmful inter‐
ference, and▷this device must accept any interference
received, including interference that may
cause undesired operation.
Any unauthorized modifications or changes to
these devices could void the user's authority to
operate this equipment.
Seite 134ControlsSafety134
Online Edition for Part no. 01 40 2 963 410 - VI/15
Page 135 of 275
Brake force display
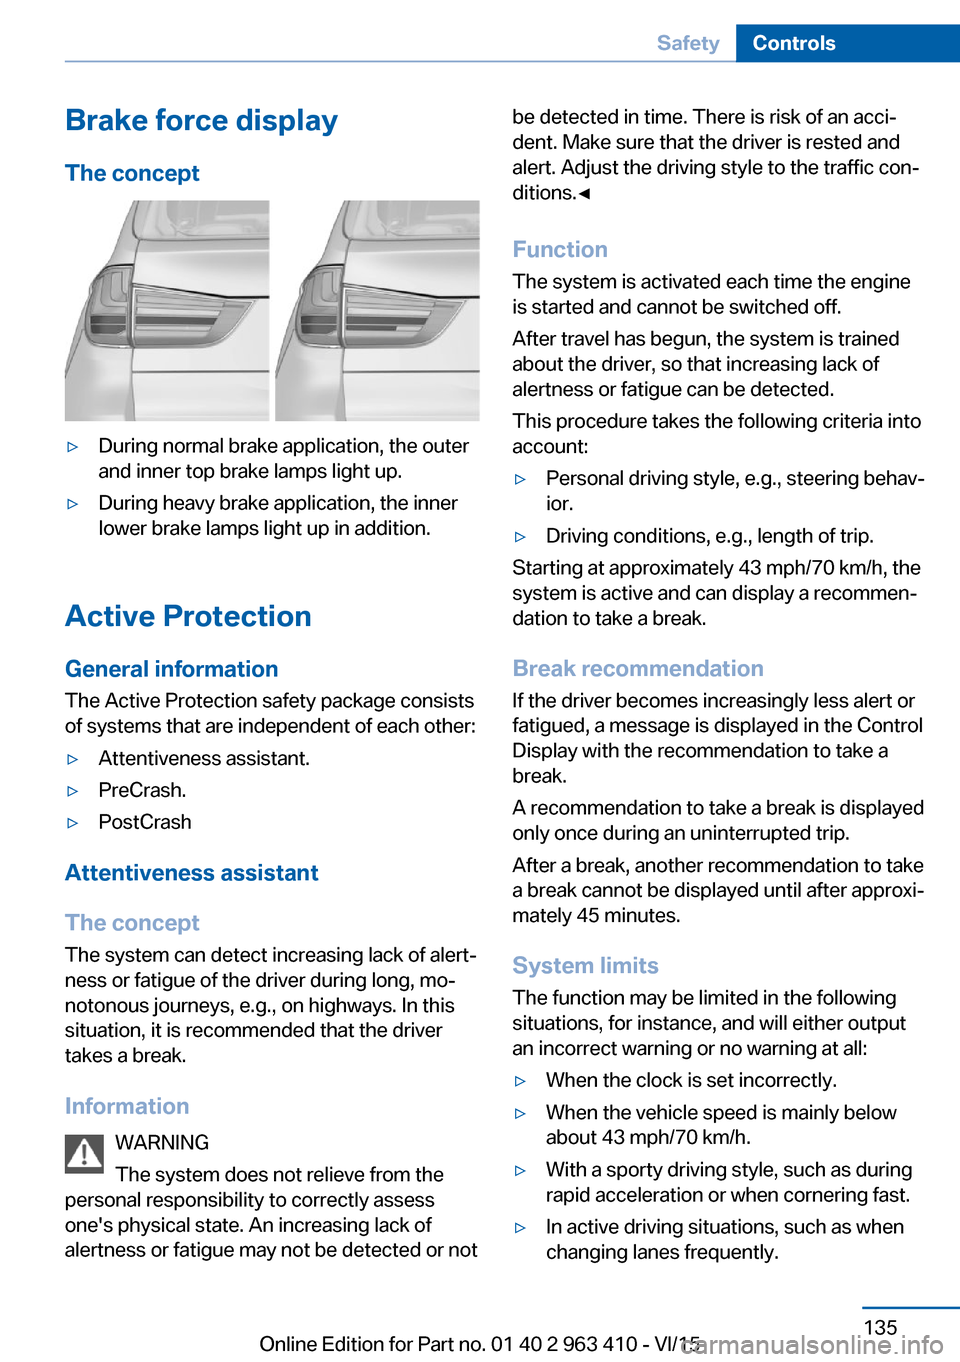
The concept▷During normal brake application, the outer
and inner top brake lamps light up.▷During heavy brake application, the inner
lower brake lamps light up in addition.
Active Protection
General information
The Active Protection safety package consists
of systems that are independent of each other:
▷Attentiveness assistant.▷PreCrash.▷PostCrash
Attentiveness assistant
The concept The system can detect increasing lack of alert‐
ness or fatigue of the driver during long, mo‐
notonous journeys, e.g., on highways. In this situation, it is recommended that the driver
takes a break.
Information WARNING
The system does not relieve from the
personal responsibility to correctly assess
one's physical state. An increasing lack of
alertness or fatigue may not be detected or not
be detected in time. There is risk of an acci‐
dent. Make sure that the driver is rested and
alert. Adjust the driving style to the traffic con‐
ditions.◀
Function
The system is activated each time the engine
is started and cannot be switched off.
After travel has begun, the system is trained
about the driver, so that increasing lack of
alertness or fatigue can be detected.
This procedure takes the following criteria into
account:▷Personal driving style, e.g., steering behav‐
ior.▷Driving conditions, e.g., length of trip.
Starting at approximately 43 mph/70 km/h, the
system is active and can display a recommen‐
dation to take a break.
Break recommendation
If the driver becomes increasingly less alert or
fatigued, a message is displayed in the Control
Display with the recommendation to take a
break.
A recommendation to take a break is displayed
only once during an uninterrupted trip.
After a break, another recommendation to take
a break cannot be displayed until after approxi‐
mately 45 minutes.
System limits
The function may be limited in the following
situations, for instance, and will either output
an incorrect warning or no warning at all:
▷When the clock is set incorrectly.▷When the vehicle speed is mainly below
about 43 mph/70 km/h.▷With a sporty driving style, such as during
rapid acceleration or when cornering fast.▷In active driving situations, such as when
changing lanes frequently.Seite 135SafetyControls135
Online Edition for Part no. 01 40 2 963 410 - VI/15
Page 138 of 275
curve to the wheel on the outside of the curve
or vice-versa.
To increase the maneuverability, the rear
wheel on the outside of the curve is acceler‐
ated when the driving style is correspondingly
sporty.
The steering responds directly; simultane‐
ously, the understeering tendency of the four-
wheel drive is reduced.
With the oversteering tendency, the system
exerts a stabilizing effect by accelerating the
rear wheel on the inside of the curve.
The system noticeably improves the traction
and simultaneously increases the driving
safety, especially on road surfaces having fluc‐
tuating coefficients of friction.
DSC Dynamic Stability
Control
The concept
DSC prevents traction loss in the power
wheels when driving off and accelerating.
DSC also recognizes unstable vehicle condi‐
tions such as fishtailing or nose-diving. Within the physical limits DSC helps to keep the vehi‐
cle on a steady course by reducing engine
speed and by applying brakes to the individual
wheels.
Information
Adapt your driving style to the situation, for an
appropriate driving style is always the respon‐
sibility of the driver.
The laws of physics cannot be repealed, not
even with DSC.
Therefore, do not reduce the additional safety
margin by driving in a risky manner.
WARNING
When driving with roof load, e.g. with
roof-mounted luggage rack, driving safety may
not be ensured in driving-critical situations dueto the elevated center of gravity. There is risk
of accidents or risk of property damage. Do not
deactivate Dynamic Stability Control DSC
when driving with roof load.◀
Overview
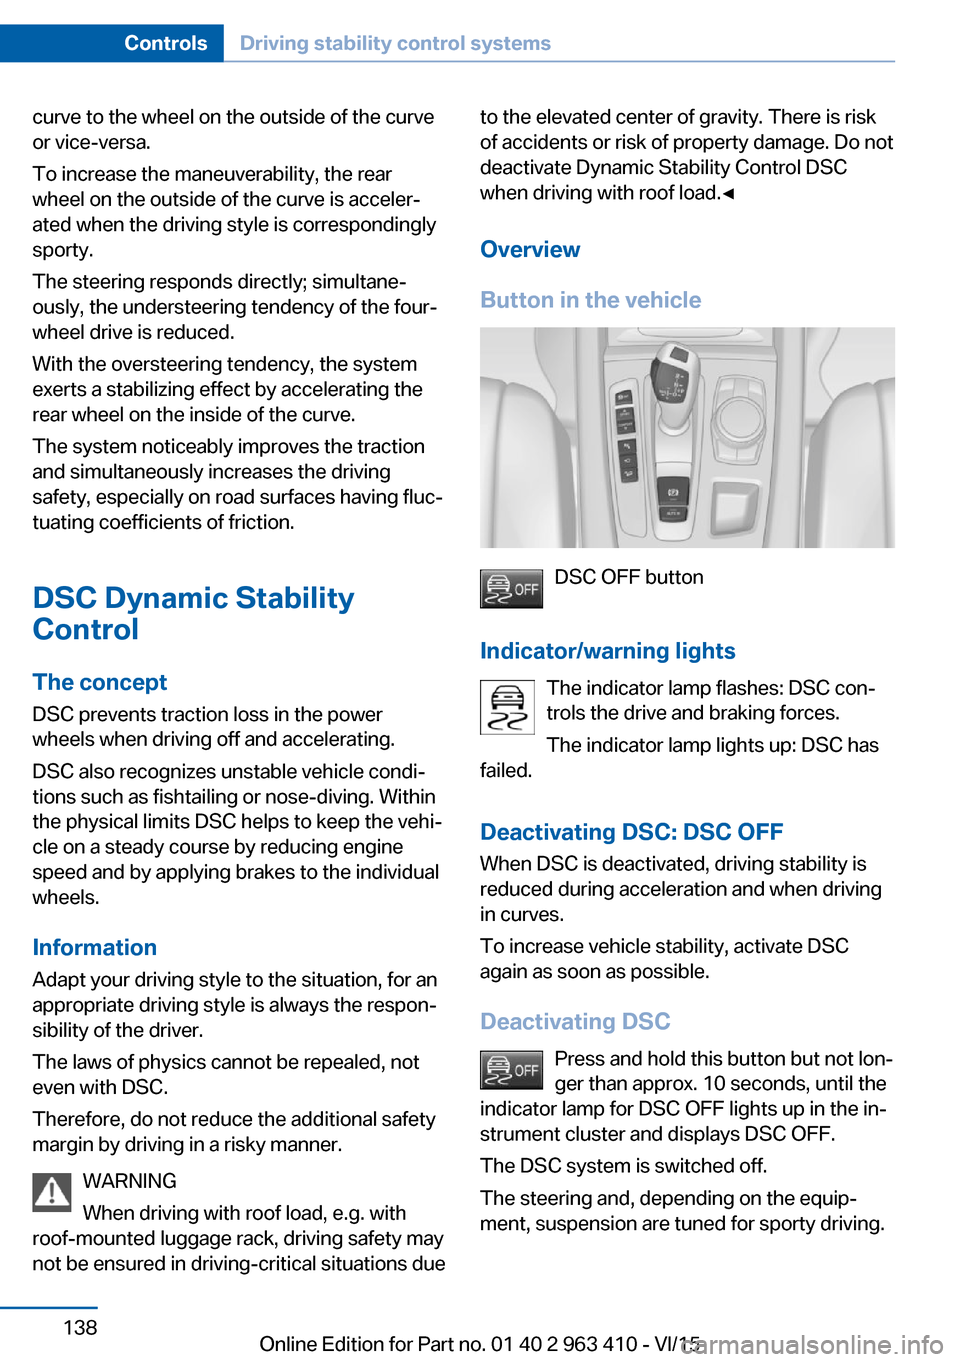
Button in the vehicle
DSC OFF button
Indicator/warning lights The indicator lamp flashes: DSC con‐
trols the drive and braking forces.
The indicator lamp lights up: DSC has
failed.
Deactivating DSC: DSC OFF
When DSC is deactivated, driving stability is
reduced during acceleration and when driving
in curves.
To increase vehicle stability, activate DSC
again as soon as possible.
Deactivating DSC Press and hold this button but not lon‐
ger than approx. 10 seconds, until the
indicator lamp for DSC OFF lights up in the in‐
strument cluster and displays DSC OFF.
The DSC system is switched off.
The steering and, depending on the equip‐
ment, suspension are tuned for sporty driving.
Seite 138ControlsDriving stability control systems138
Online Edition for Part no. 01 40 2 963 410 - VI/15
Page 140 of 275
Displaying distribution of the drive
torque1."Vehicle info"2."xDrive status"3. "Torque distribution"
HDC Hill Descent Control
The concept HDC is a downhill driving assistant that auto‐
matically controls vehicle speed on steep
downhill gradients. Without applying the
brakes, the vehicle moves at slightly more than
walking speed.
Hill Descent Control can be activated at
speeds below approx. 22 mph/35 km/h. When
driving downhill, the vehicle reduces its speed
to approx. walking speed and then keeps its
speed constant.
As long as there is active braking, the system
is on standby. The system does not brake the
vehicle during this time.
Only use HDC in low gears or in selector lever
position D or R.
Increasing or decreasing vehicle
speed
Specify desired speed in the range from ap‐
prox. 4 mph/6 km/h to approx. 15 mph/25 km/h
using the rocker switch of the cruise control on
the steering wheel. Vehicle speed can be
changed by lightly accelerating.
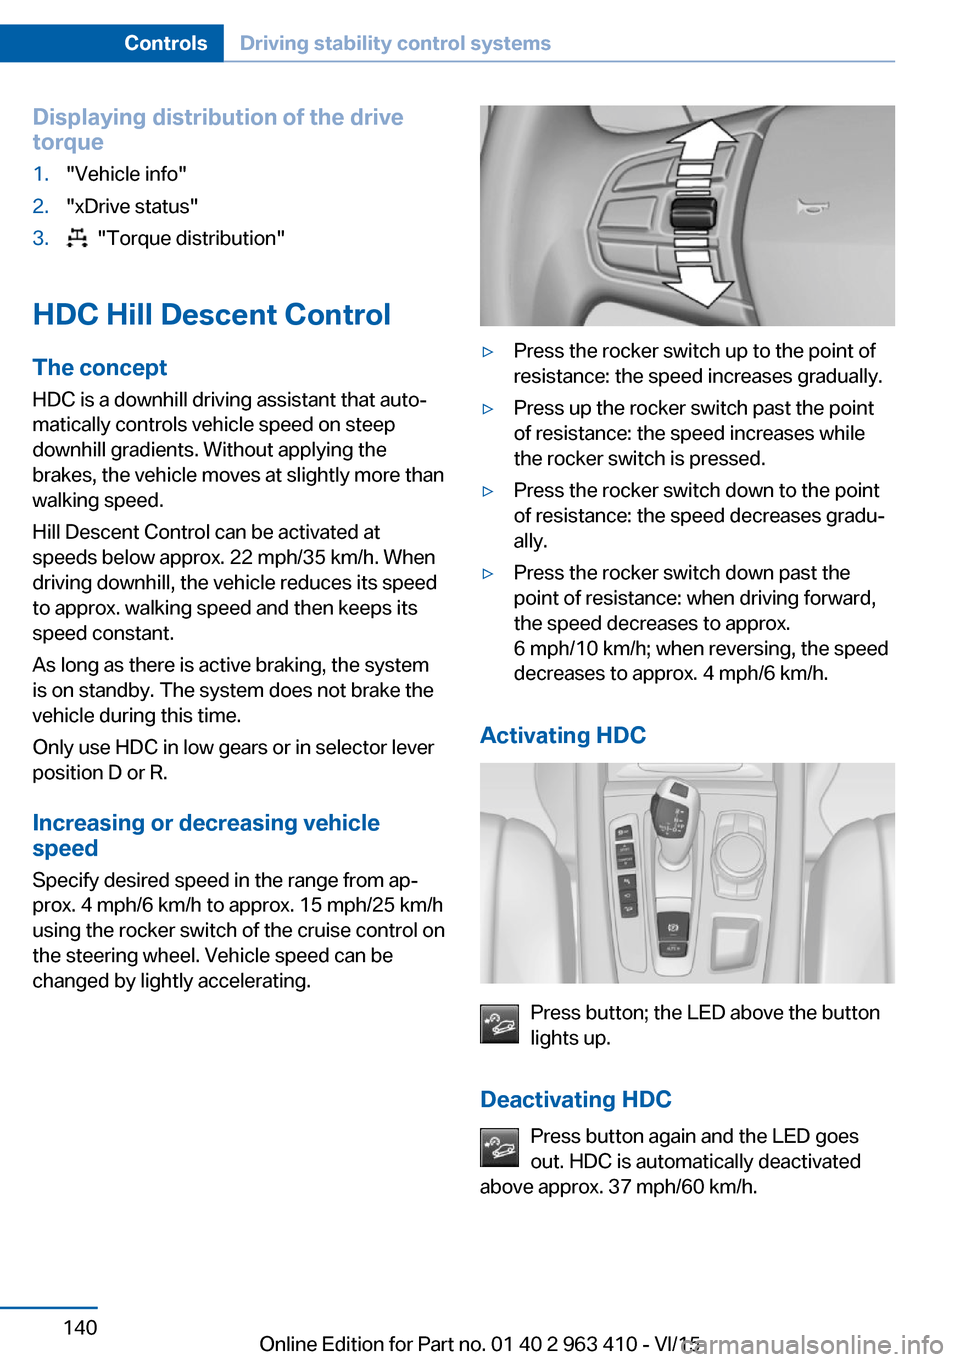
▷Press the rocker switch up to the point of
resistance: the speed increases gradually.▷Press up the rocker switch past the point
of resistance: the speed increases while
the rocker switch is pressed.▷Press the rocker switch down to the point
of resistance: the speed decreases gradu‐
ally.▷Press the rocker switch down past the
point of resistance: when driving forward,
the speed decreases to approx.
6 mph/10 km/h; when reversing, the speed
decreases to approx. 4 mph/6 km/h.
Activating HDC
Press button; the LED above the button
lights up.
Deactivating HDC Press button again and the LED goes
out. HDC is automatically deactivated
above approx. 37 mph/60 km/h.
Seite 140ControlsDriving stability control systems140
Online Edition for Part no. 01 40 2 963 410 - VI/15
Page 142 of 275
The system ensures consistent comfort by
keeping spring travel constant in all driving sit‐
uations.
Malfunction
A Check Control message is displayed. The system is disrupted. Vehicle handling may be altered and driving comfort may be noticeably
reduced. Visit the nearest dealer’s service cen‐ ter or another qualified service center or repair
shop.
Driving Dynamics Control
The concept The Driving Dynamics Control can be used to
adjust the driving dynamics of the vehicle. For
this purpose various programs are available for
selection that are activated via the two buttons
of the Driving Dynamics Control and the DSC
OFF-button.
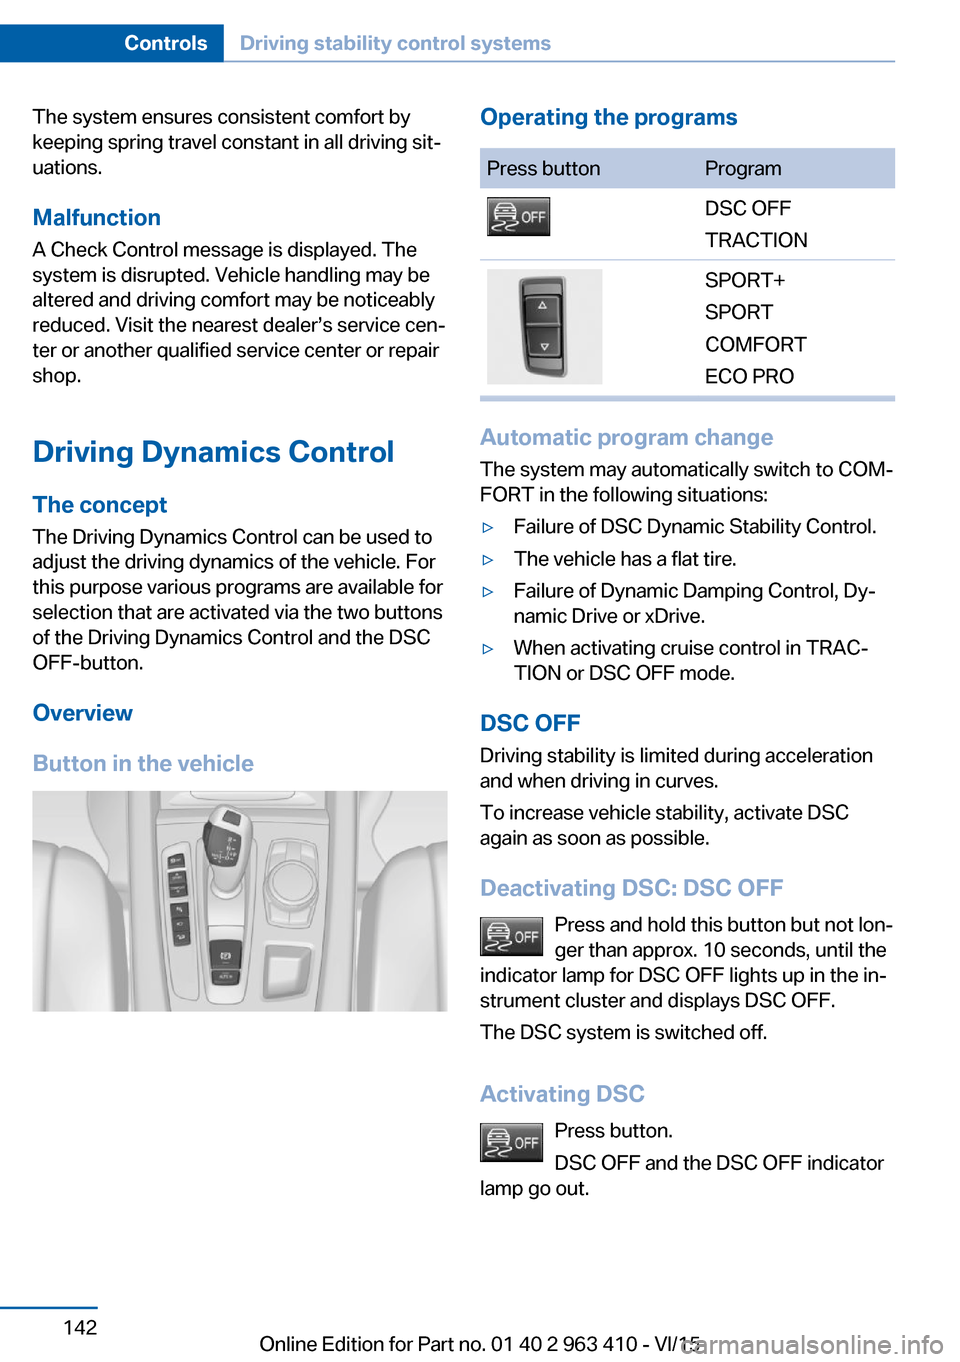
Overview
Button in the vehicleOperating the programsPress buttonProgramDSC OFF
TRACTIONSPORT+
SPORT
COMFORT
ECO PRO
Automatic program change
The system may automatically switch to COM‐
FORT in the following situations:
▷Failure of DSC Dynamic Stability Control.▷The vehicle has a flat tire.▷Failure of Dynamic Damping Control, Dy‐
namic Drive or xDrive.▷When activating cruise control in TRAC‐
TION or DSC OFF mode.
DSC OFF
Driving stability is limited during acceleration
and when driving in curves.
To increase vehicle stability, activate DSC
again as soon as possible.
Deactivating DSC: DSC OFF Press and hold this button but not lon‐
ger than approx. 10 seconds, until the
indicator lamp for DSC OFF lights up in the in‐
strument cluster and displays DSC OFF.
The DSC system is switched off.
Activating DSC Press button.
DSC OFF and the DSC OFF indicator
lamp go out.
Seite 142ControlsDriving stability control systems142
Online Edition for Part no. 01 40 2 963 410 - VI/15
Page 143 of 275
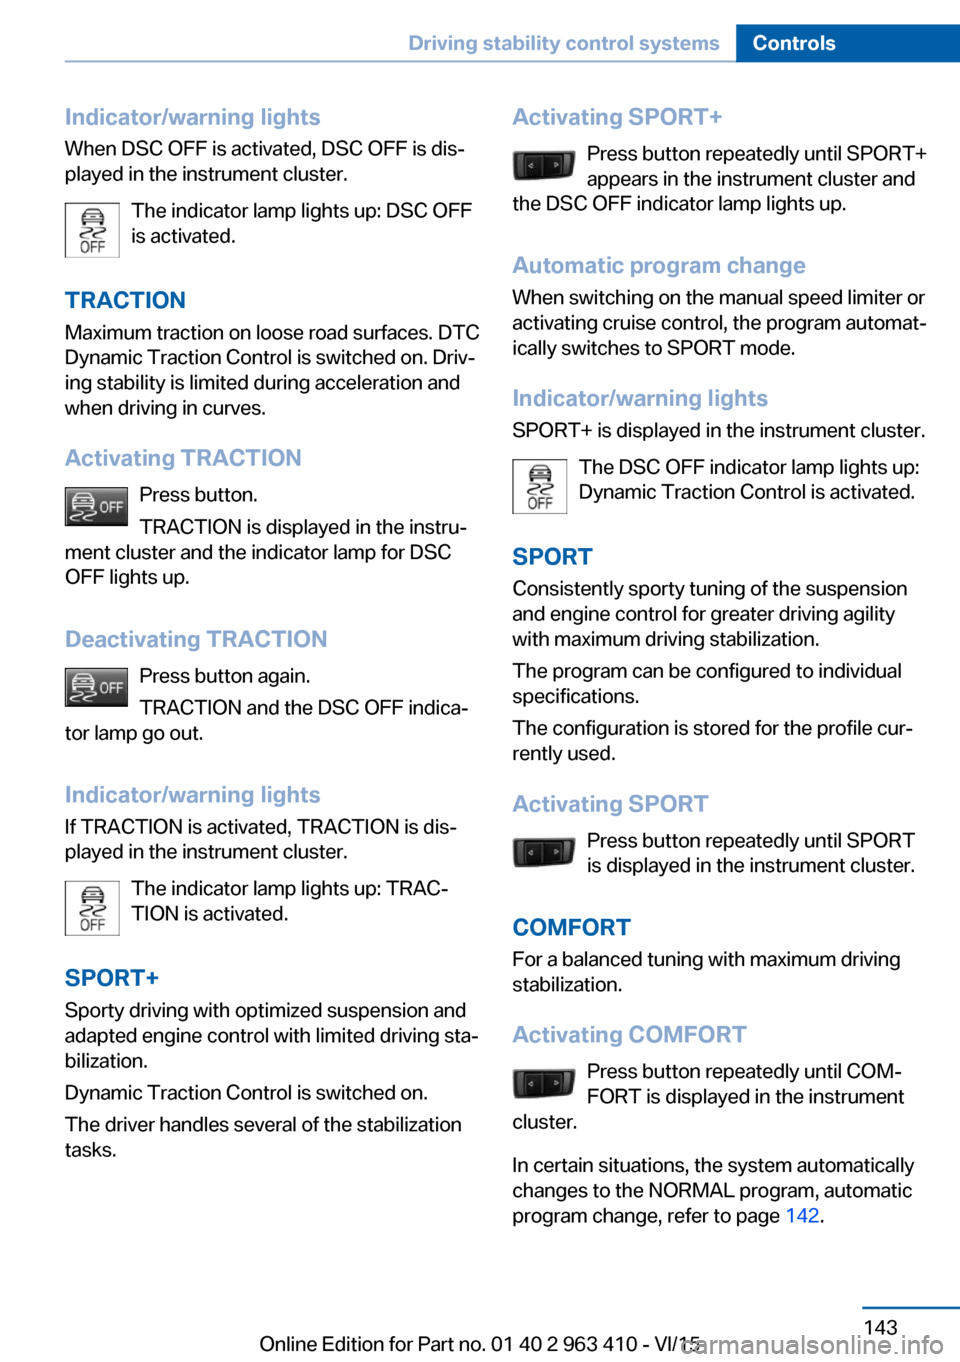
Indicator/warning lights
When DSC OFF is activated, DSC OFF is dis‐
played in the instrument cluster.
The indicator lamp lights up: DSC OFF
is activated.
TRACTION Maximum traction on loose road surfaces. DTC
Dynamic Traction Control is switched on. Driv‐
ing stability is limited during acceleration and
when driving in curves.
Activating TRACTION Press button.
TRACTION is displayed in the instru‐
ment cluster and the indicator lamp for DSC
OFF lights up.
Deactivating TRACTION Press button again.
TRACTION and the DSC OFF indica‐
tor lamp go out.
Indicator/warning lights
If TRACTION is activated, TRACTION is dis‐
played in the instrument cluster.
The indicator lamp lights up: TRAC‐
TION is activated.
SPORT+ Sporty driving with optimized suspension and
adapted engine control with limited driving sta‐
bilization.
Dynamic Traction Control is switched on. The driver handles several of the stabilization
tasks.Activating SPORT+
Press button repeatedly until SPORT+
appears in the instrument cluster and
the DSC OFF indicator lamp lights up.
Automatic program change When switching on the manual speed limiter or
activating cruise control, the program automat‐
ically switches to SPORT mode.
Indicator/warning lights
SPORT+ is displayed in the instrument cluster.
The DSC OFF indicator lamp lights up:
Dynamic Traction Control is activated.
SPORT Consistently sporty tuning of the suspension
and engine control for greater driving agility
with maximum driving stabilization.
The program can be configured to individual
specifications.
The configuration is stored for the profile cur‐
rently used.
Activating SPORT Press button repeatedly until SPORT
is displayed in the instrument cluster.
COMFORT
For a balanced tuning with maximum driving
stabilization.
Activating COMFORT Press button repeatedly until COM‐
FORT is displayed in the instrument
cluster.
In certain situations, the system automatically
changes to the NORMAL program, automatic
program change, refer to page 142.Seite 143Driving stability control systemsControls143
Online Edition for Part no. 01 40 2 963 410 - VI/15
Page 146 of 275
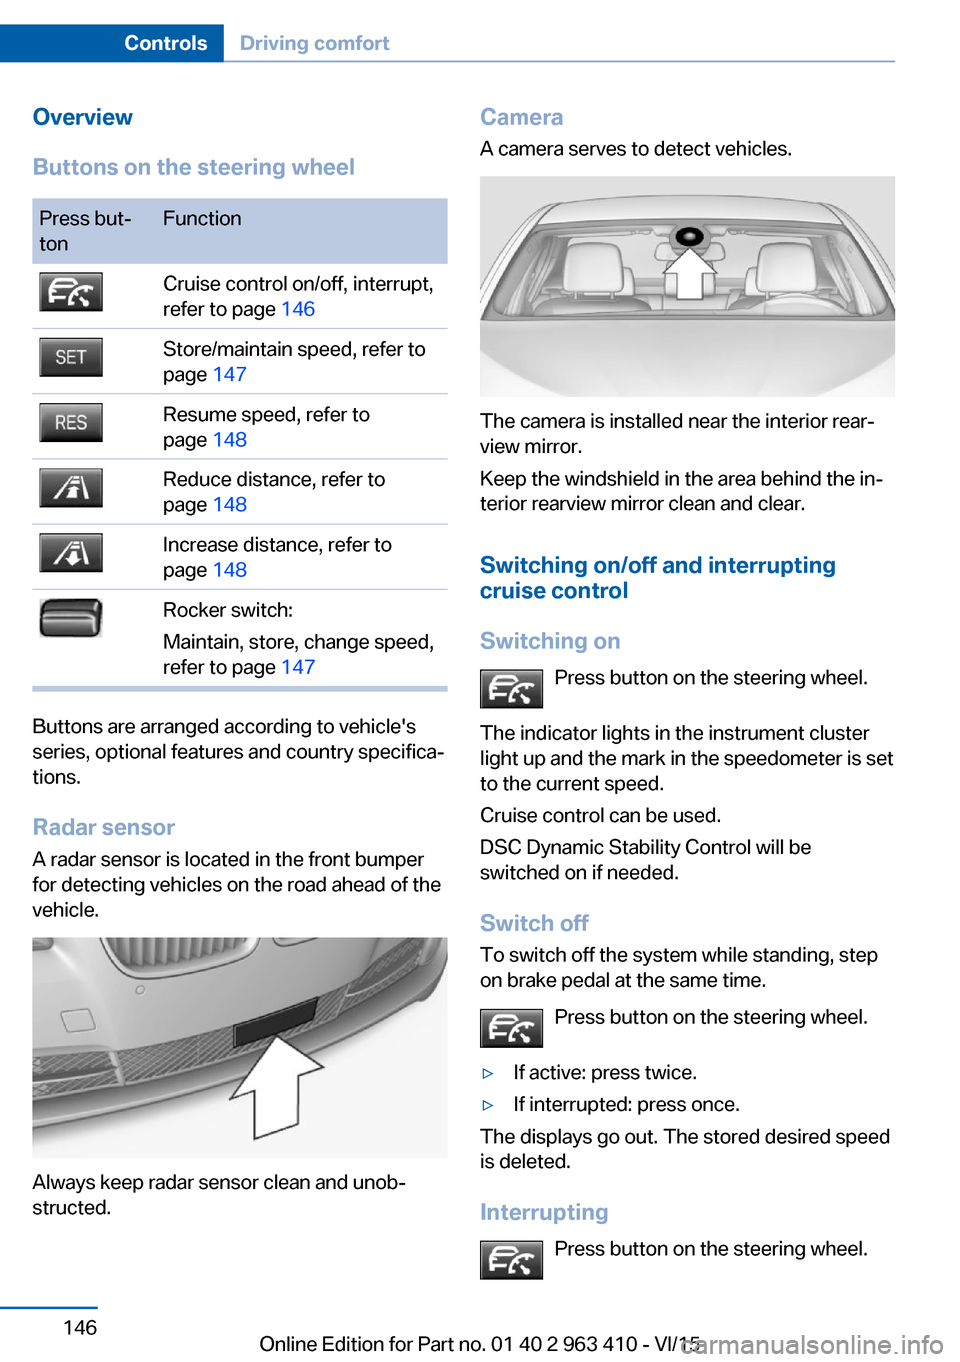
Overview
Buttons on the steering wheelPress but‐
tonFunctionCruise control on/off, interrupt,
refer to page 146Store/maintain speed, refer to
page 147Resume speed, refer to
page 148Reduce distance, refer to
page 148Increase distance, refer to
page 148Rocker switch:
Maintain, store, change speed,
refer to page 147
Buttons are arranged according to vehicle's
series, optional features and country specifica‐
tions.
Radar sensor
A radar sensor is located in the front bumper for detecting vehicles on the road ahead of the
vehicle.
Always keep radar sensor clean and unob‐
structed.
Camera
A camera serves to detect vehicles.
The camera is installed near the interior rear‐
view mirror.
Keep the windshield in the area behind the in‐
terior rearview mirror clean and clear.
Switching on/off and interrupting
cruise control
Switching on Press button on the steering wheel.
The indicator lights in the instrument cluster
light up and the mark in the speedometer is set
to the current speed.
Cruise control can be used.
DSC Dynamic Stability Control will be
switched on if needed.
Switch off To switch off the system while standing, step
on brake pedal at the same time.
Press button on the steering wheel.
▷If active: press twice.▷If interrupted: press once.
The displays go out. The stored desired speed
is deleted.
Interrupting Press button on the steering wheel.
Seite 146ControlsDriving comfort146
Online Edition for Part no. 01 40 2 963 410 - VI/15
Page 148 of 275
▷Each time the rocker switch is pressed
past the point of resistance, the desired
speed increases or decreases by a maxi‐
mum of 5 mph/10 km/h.
Hold the rocker switch in position to repeat the
action.
Distance WARNING
The system does not relieve from the
personal responsibility. Due to the system lim‐
its, braking can be late. There is risk of acci‐
dents or risk of property damage. Be aware to
the traffic situation at all times. Adjust the dis‐
tance to the traffic and weather conditions and
maintain the prescribed safety distance, possi‐
bly by braking.◀
Reduce distance Press button repeatedly until the de‐
sired distance is set.
Instrument cluster will display selected dis‐
tance, refer to page 149.
Increase distance Press button repeatedly until the de‐
sired distance is set.
Instrument cluster will display selected dis‐
tance, refer to page 149.
Calling up the desired speed and distance
While driving Press button with the system
switched on.
In the following cases, the stored speed value
is deleted and cannot be called up again:
▷When the system is switched off.▷When the ignition is switched off.While standing
The system brought the vehicle to a complete
standstill:▷Green marking in the speedometer:
Your vehicle accelerates automatically as
soon as the vehicle in the range of the ra‐
dar sensor moves off.▷Speedometer markings turn orange: no au‐
tomatic driving off.
To accelerate to the desired speed auto‐
matically, press the accelerator or press
the RES or SET button.
Rolling bars in the distance display indicate
that the vehicle detected by the radar sensor
has driven off.
The system was paused or your vehicle was
brought to a halt actively through stepping on
the brake pedal and it is standing behind an‐
other vehicle:
1. Press button to call up a stored
desired speed.2.Release the brake pedal.3.Step on the accelerator briefly, or press the
RES rocker switch when the vehicle ahead
of you drives away.
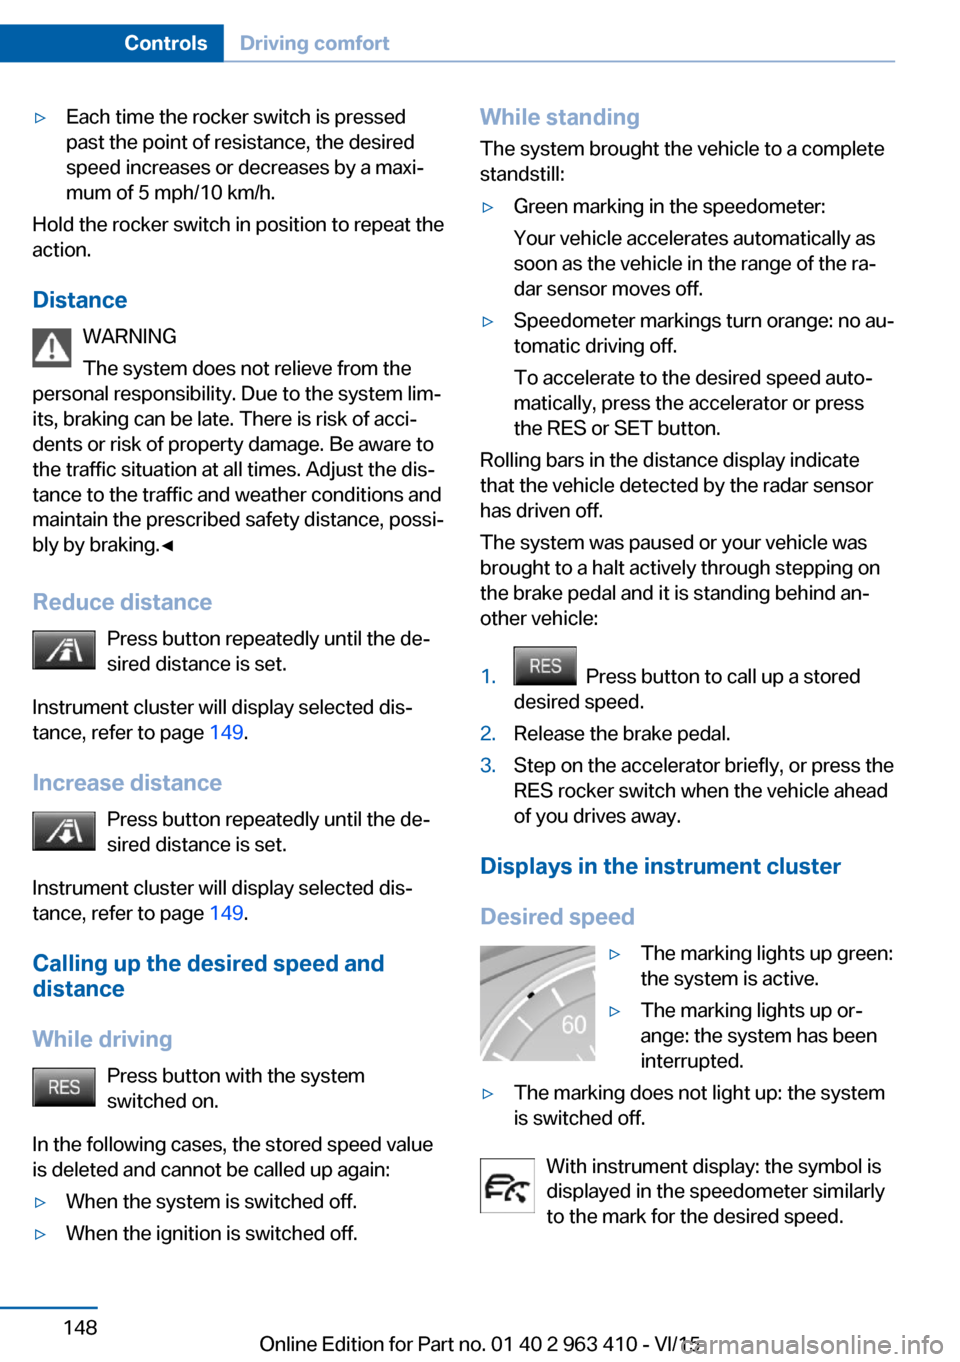
Displays in the instrument cluster
Desired speed
▷The marking lights up green:
the system is active.▷The marking lights up or‐
ange: the system has been
interrupted.▷The marking does not light up: the system
is switched off.
With instrument display: the symbol is
displayed in the speedometer similarly
to the mark for the desired speed.
Seite 148ControlsDriving comfort148
Online Edition for Part no. 01 40 2 963 410 - VI/15
Page 149 of 275
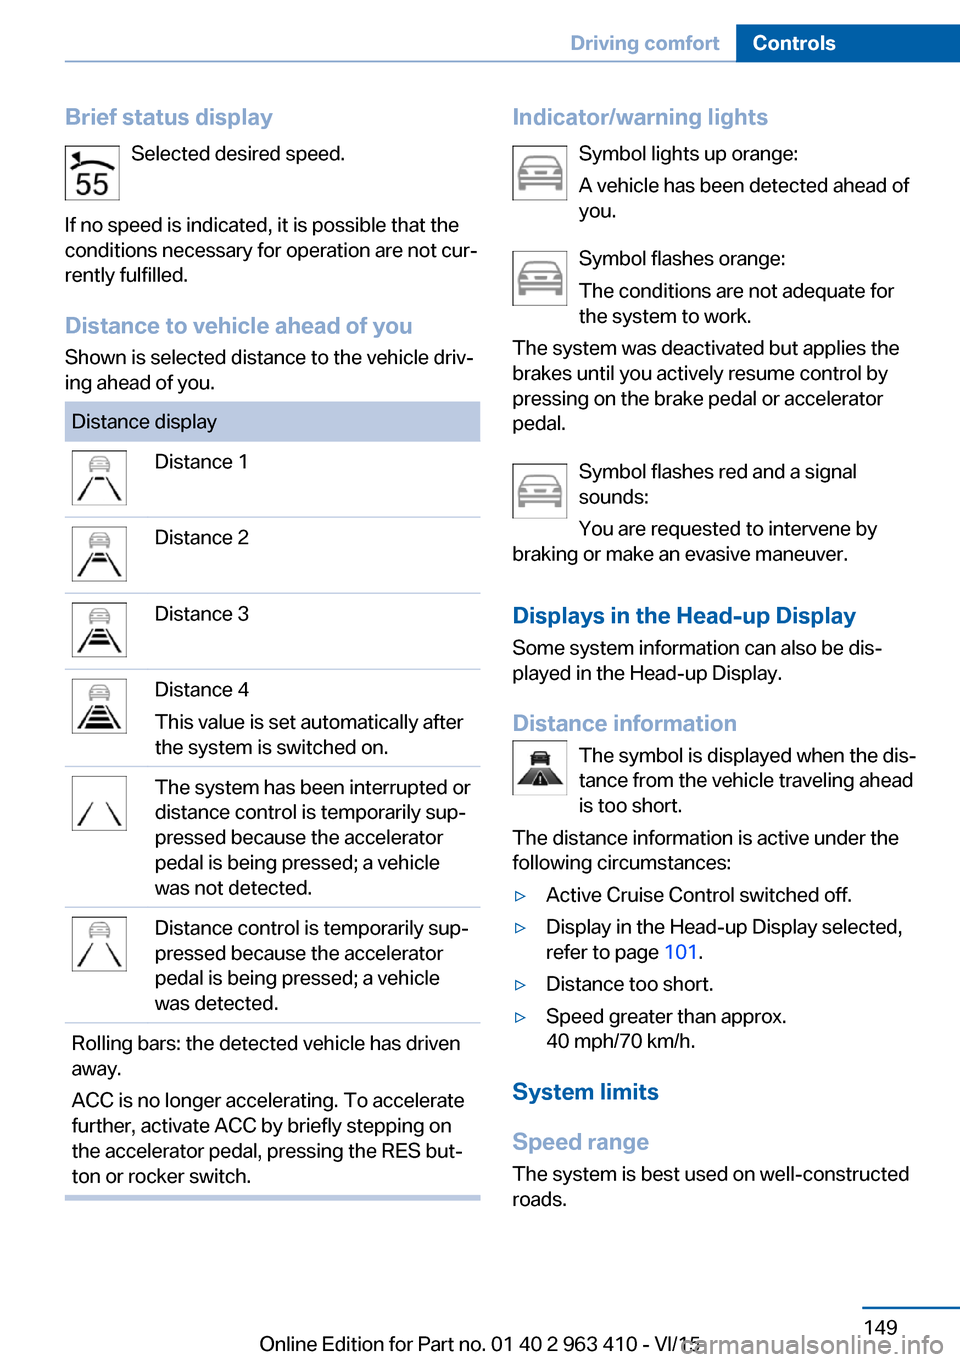
Brief status displaySelected desired speed.
If no speed is indicated, it is possible that the
conditions necessary for operation are not cur‐
rently fulfilled.
Distance to vehicle ahead of you Shown is selected distance to the vehicle driv‐
ing ahead of you.Distance displayDistance 1Distance 2Distance 3Distance 4
This value is set automatically after
the system is switched on.The system has been interrupted or
distance control is temporarily sup‐
pressed because the accelerator
pedal is being pressed; a vehicle
was not detected.Distance control is temporarily sup‐
pressed because the accelerator
pedal is being pressed; a vehicle
was detected.Rolling bars: the detected vehicle has driven
away.
ACC is no longer accelerating. To accelerate
further, activate ACC by briefly stepping on
the accelerator pedal, pressing the RES but‐
ton or rocker switch.Indicator/warning lights
Symbol lights up orange:
A vehicle has been detected ahead of
you.
Symbol flashes orange:
The conditions are not adequate for
the system to work.
The system was deactivated but applies the
brakes until you actively resume control by
pressing on the brake pedal or accelerator
pedal.
Symbol flashes red and a signal
sounds:
You are requested to intervene by
braking or make an evasive maneuver.
Displays in the Head-up Display Some system information can also be dis‐
played in the Head-up Display.
Distance information The symbol is displayed when the dis‐
tance from the vehicle traveling ahead
is too short.
The distance information is active under the
following circumstances:▷Active Cruise Control switched off.▷Display in the Head-up Display selected,
refer to page 101.▷Distance too short.▷Speed greater than approx.
40 mph/70 km/h.
System limits
Speed range The system is best used on well-constructedroads.
Seite 149Driving comfortControls149
Online Edition for Part no. 01 40 2 963 410 - VI/15
Page 153 of 275
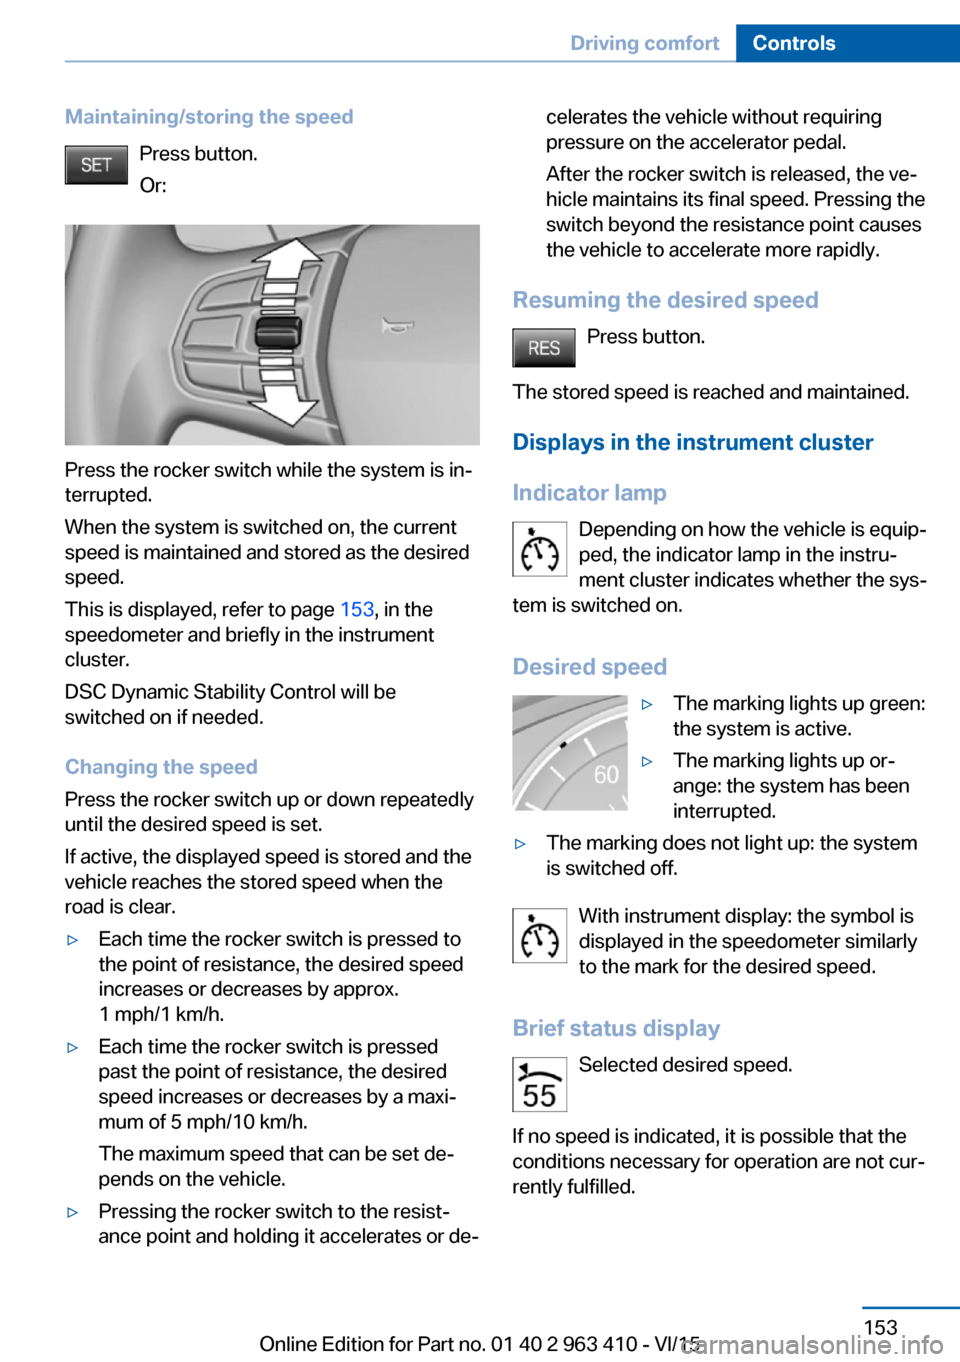
Maintaining/storing the speedPress button.
Or:
Press the rocker switch while the system is in‐
terrupted.
When the system is switched on, the current
speed is maintained and stored as the desired
speed.
This is displayed, refer to page 153, in the
speedometer and briefly in the instrument
cluster.
DSC Dynamic Stability Control will be
switched on if needed.
Changing the speed
Press the rocker switch up or down repeatedly
until the desired speed is set.
If active, the displayed speed is stored and the
vehicle reaches the stored speed when the
road is clear.
▷Each time the rocker switch is pressed to
the point of resistance, the desired speed
increases or decreases by approx.
1 mph/1 km/h.▷Each time the rocker switch is pressed
past the point of resistance, the desired
speed increases or decreases by a maxi‐
mum of 5 mph/10 km/h.
The maximum speed that can be set de‐
pends on the vehicle.▷Pressing the rocker switch to the resist‐
ance point and holding it accelerates or de‐celerates the vehicle without requiring
pressure on the accelerator pedal.
After the rocker switch is released, the ve‐
hicle maintains its final speed. Pressing the
switch beyond the resistance point causes
the vehicle to accelerate more rapidly.
Resuming the desired speed
Press button.
The stored speed is reached and maintained. Displays in the instrument cluster
Indicator lamp Depending on how the vehicle is equip‐
ped, the indicator lamp in the instru‐
ment cluster indicates whether the sys‐
tem is switched on.
Desired speed
▷The marking lights up green:
the system is active.▷The marking lights up or‐
ange: the system has been
interrupted.▷The marking does not light up: the system
is switched off.
With instrument display: the symbol is
displayed in the speedometer similarly
to the mark for the desired speed.
Brief status display Selected desired speed.
If no speed is indicated, it is possible that the
conditions necessary for operation are not cur‐
rently fulfilled.
Seite 153Driving comfortControls153
Online Edition for Part no. 01 40 2 963 410 - VI/15