ECO mode BMW X5 3.0I 2002 Owners Manual
[x] Cancel search | Manufacturer: BMW, Model Year: 2002, Model line: X5 3.0I, Model: BMW X5 3.0I 2002Pages: 185, PDF Size: 2.7 MB
Page 3 of 185

Congratulations, and thank you for choosing a BMW.
Thorough familiarity with your vehicle will provide you with enhanced control and
security when you drive it. We therefore have this request:
Please take the time to read this Owner's Manual and familiarize yourself with the
information that we have compiled for you before starting off in your new vehicle. It
contains important data and instructions intended to assist you in gaining maximum
use and satisfaction from the unique range of technical features on your BMW. The
manual also contains information on vehicle maintenance designed to enhance
operating safety and contribute to maintaining the value of your BMW throughout an
extended service life.
For additional information refer to the supplemental manuals.
This Owner's Manual should be considered a permanent part of this vehicle. It
should stay with the vehicle when sold to provide the next owner with important
operating, safety and maintenance information.
This manual is supplemented by a Service and Warranty Information Booklet
(US models) or a Warranty and Service Guide Booklet (Canadian models).
We recommend that you read this publication thoroughly.
Your BMW is covered by the following warranties:
Ð New Vehicle Limited Warranty
Ð Limited Rust Perforation Warranty
Ð Federal Emissions System Defect Warranty
Ð Federal Emissions Performance Warranty
Ð California Emission Control System Limited Warranty
Detailed information about these warranties is listed in the Service and Warranty
Information Booklet (US models) or in the Warranty and Service Guide Booklet
(Canadian models).
We wish you an enjoyable driving experience.
BMW AG
Vorwort
Page 33 of 185
33n
OverviewControlsMaintenanceRepairsDataIndex
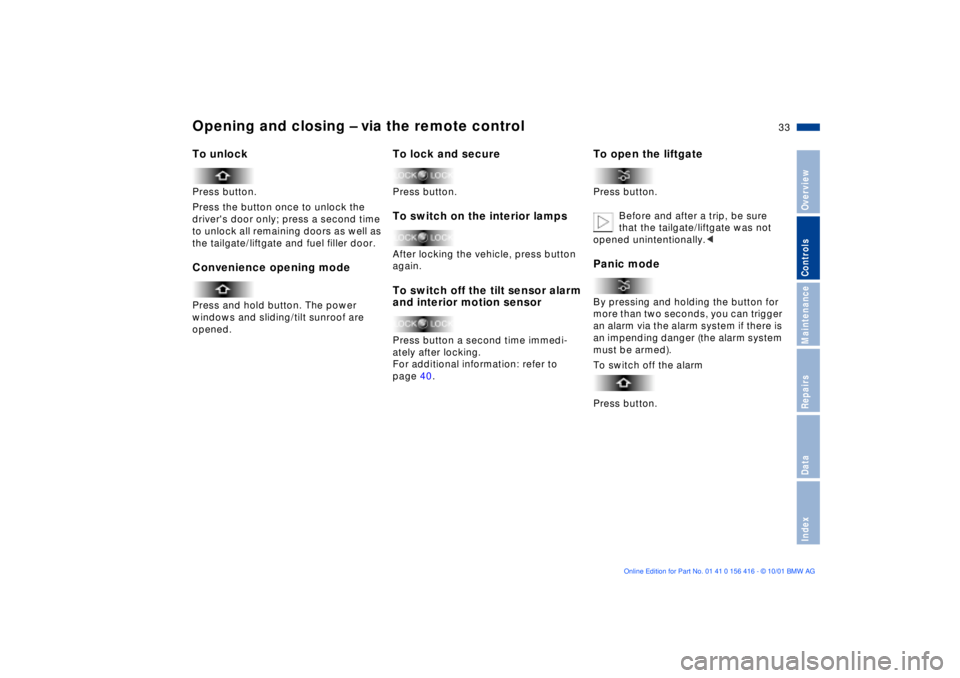
Opening and closing Ð via the remote controlTo unlock Press button.
Press the button once to unlock the
driver's door only; press a second time
to unlock all remaining doors as well as
the tailgate/liftgate and fuel filler door. Convenience opening mode Press and hold button. The power
windows and sliding/tilt sunroof are
opened.
To lock and secure Press button. To switch on the interior lamps After locking the vehicle, press button
again. To switch off the tilt sensor alarm
and interior motion sensorPress button a second time immedi-
ately after locking.
For additional information: refer to
page 40.
To open the liftgate Press button.
Before and after a trip, be sure
that the tailgate/liftgate was not
opened unintentionally.< Panic modeBy pressing and holding the button for
more than two seconds, you can trigger
an alarm via the alarm system if there is
an impending danger (the alarm system
must be armed).
To switch off the alarm
Press button.
Page 63 of 185
63n
OverviewControlsMaintenanceRepairsDataIndex
Starting the engine Do not press the accelerator pedal
while starting the engine.
BMW X5 3.0i:
Do not actuate the starter for too
short a time. Do not turn it for more
than approx. 20 seconds. Release the
ignition key immediately as soon as the
engine starts.
BMW X5 4.4i, 4.6is:
Your BMW is equipped with the conve-
nience starting feature. Simply turn the
key to position 3 (starter) and then
release it immediately.
The starter actuation continues to
operate automatically for a certain
period of time and is stopped automati-
cally as soon as the engine has started.
The automatic starting mode will not
operate if the battery voltage is low.
The engine can be started by means of
jump-starting, refer to page 164.<
Do not allow the engine to warm up
by leaving it running while the vehicle
remains stationary. Instead, begin to
drive immediately at a moderate engine
speed.
Should the engine fail to start on the
first attempt (if it is very hot or cold, for
instance):
>Press the accelerator pedal halfway
down while engaging the starter.
Cold starts at very low temperatures,
from approx. +5 7 (Ð15 6) and at alti-
tudes above 3,300 ft (1,000 meters):
>For the initial start attempt, allow the
starter to remain engaged somewhat
longer (approx. 10 seconds).
Engine idle speed is controlled by the
engine computer system. Increased
speeds at start-up are normal and
should decrease as the engine warms
up. If engine speed does not decrease,
service is required.
To prevent the battery from discharging,
always switch off electrical devices that
are not in use. Switch the ignition off
when the vehicle is not being driven.Extended starting attempts, char-
acterized by excessively frequent
or long periods with the starter
engaged, can lead to damage of the
catalytic converter.<
When driving, standing at idle,
and parking the vehicle, take care
to avoid contact between the hot
exhaust system and flammable mate-
rials (grass, hay, leaves, etc.). Such
contact could lead to a fire, resulting in
serious personal injury and property
damage.<
Page 68 of 185
68n
Automatic transmission with Steptronic
*
Indicator/Headlamp flasher
Upshifts or downshifts will only be
carried out at appropriate engine
speeds and road speeds. If the engine
speed is too high, for instance, the
downshift will not be executed. The
gear selected will appear briefly in the
instrument cluster followed by the
current gear.
If you are driving in the manual
mode and wish to accelerate
rapidly Ð to pass another vehicle, for
example Ð shift down manually or with
the kickdown function.<
You can only change from M/S to
selector lever positions "P", "R" and "N"
via the "D" position.
Electronic transmission control
module
If the indicator lamp comes on
or the message "TRANS.FAIL-
SAFE PROG" appears in the
Check Control
*, there is a fault in the
transmission system.
Bring the vehicle to a stop. Move the
transmission selector lever to "P". Set
the parking brake and switch the engine
off (ignition key to position 0).
Wait a few seconds, then start the
engine.
If the indicator lamp goes out after a
few seconds, normal transmission
performance has been restored. You
may continue to drive as usual. If the
indicator lamp does not go out, you can
place the selector lever in all positions.
However, the vehicle will now only drive
forward with limited gear selection.
If this happens, avoid extreme engine
loads and consult the nearest
BMW Sports Activity Vehicle center.
Do not work in the engine
compartment when a drive gear
(forward or reverse) is engaged. If you
do this, the vehicle could move.<
Information on jump-starting, tow-
starting and towing begins on
page 164.
Page 70 of 185
70n
Washer/Wiper system Intermittent mode or rain sensor
*
Intermittent mode:
You can set the wipe interval to four
stages with rotary dial 7.
In addition, the wipe interval is varied
automatically depending on road
speed.
Rain sensor:
The rain sensor is positioned on the
windshield, directly in front of the inte-
rior rearview mirror.
To activate the rain sensor:
Move the lever to position 1 with the
ignition key in position 1 or higher. The
wipers travel once across the wind-
shield, regardless of the weather
conditions.
You can leave the lever permanently in
position 1. It is then only necessary to
activate the rain sensor from ignition
key position 1 and up. To do this, turn
rotary dial 7 briefly.
To adjust the sensitivity of the rain
sensor:
Turn rotary dial 7.
Deactivating the rain sensor:
Move lever to position 0.Switch the rain sensor off in auto-
matic car washes. If you do not,
damage may occur if the wipers switch
on unintentionally.<
Normal wipe The system switches automatically to
intermittent mode when the vehicle is
not moving (not on vehicles with rain
sensor
*).
Fast wipe The wipers operate at normal speed
when the vehicle is not moving (not on
vehicles with rain sensor
*).
Clean the windshield The system sprays washer fluid against
the windshield and activates the wipers
for a brief period. Special wash program
*
As at 5; there are also several additional
wash cycles, and the headlamps are
cleaned
*.
This program is recommended after you
have driven on extremely dirty roads.
Clean the headlamps
*
>With the special wash program 6
>With every fifth actuation of clean the
windshield 5 when the vehicle's
lighting is switched on.
Do not use the washers if there is
any danger that the fluid will
freeze on the windshield. If you do so,
your vision could be obscured. For this
reason, use an antifreeze agent, refer to
page 143.
Do not use the washers when the reser-
voir is empty. This could cause damage
to the washer pump.< Windshield washer jetsThe windshield washer jets are warmed
automatically when the ignition key is in
position 2.
Page 71 of 185
71n
OverviewControlsMaintenanceRepairsDataIndex
Washer/Wiper system Cruise control
*
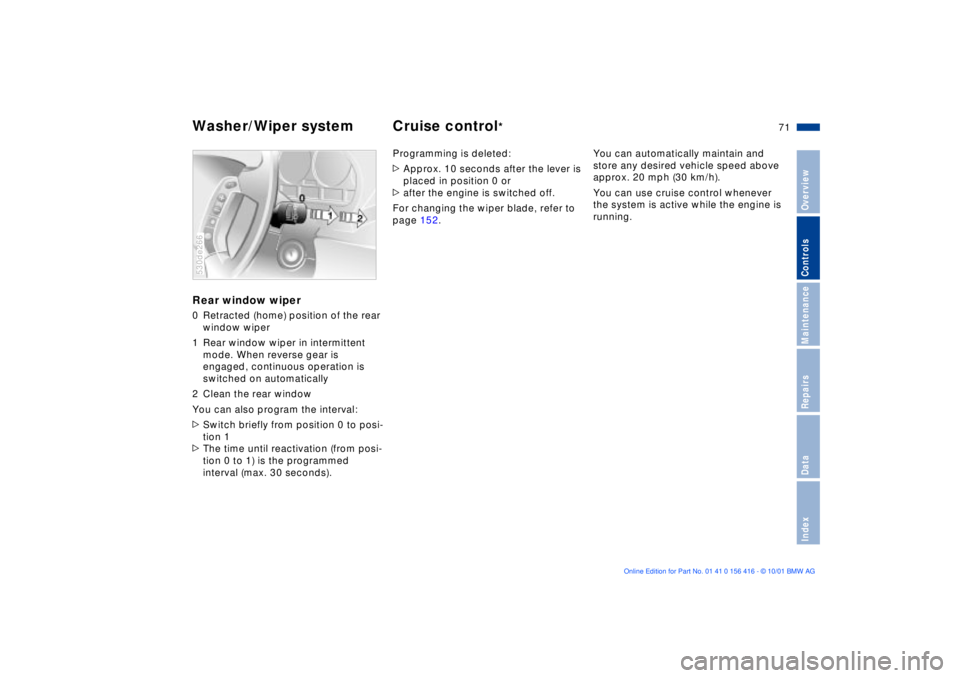
Rear window wiper 0 Retracted (home) position of the rear
window wiper
1 Rear window wiper in intermittent
mode. When reverse gear is
engaged, continuous operation is
switched on automatically
2 Clean the rear window
You can also program the interval:
>Switch briefly from position 0 to posi-
tion 1
>The time until reactivation (from posi-
tion 0 to 1) is the programmed
interval (max. 30 seconds). 530de266
Programming is deleted:
>Approx. 10 seconds after the lever is
placed in position 0 or
>after the engine is switched off.
For changing the wiper blade, refer to
page 152.You can automatically maintain and
store any desired vehicle speed above
approx. 20 mph (30 km/h).
You can use cruise control whenever
the system is active while the engine is
running.
Page 75 of 185
75n
OverviewControlsMaintenanceRepairsDataIndex
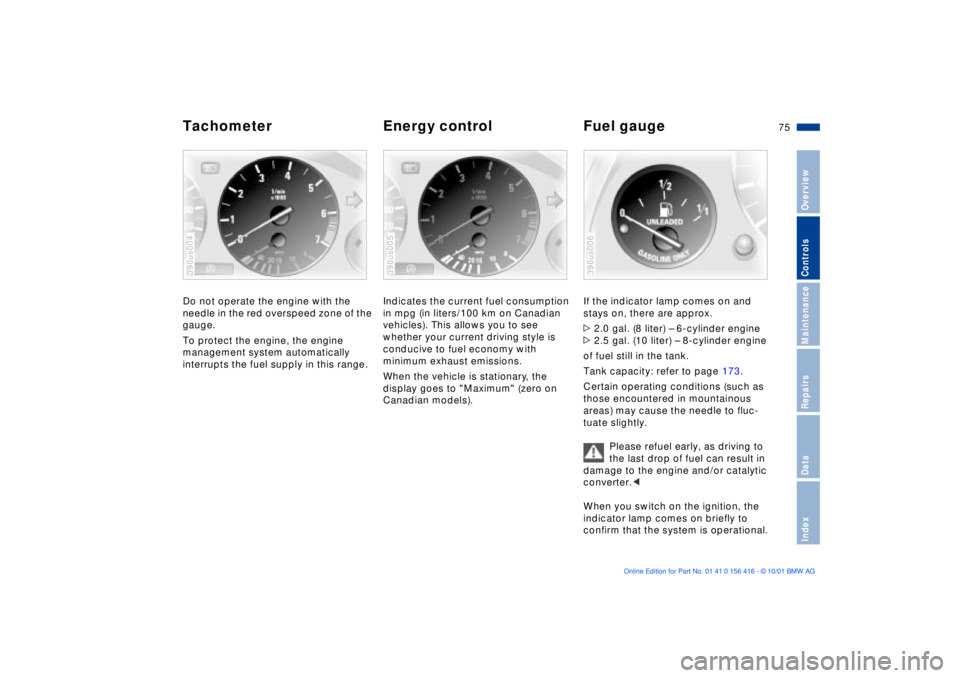
Tachometer Energy control Fuel gauge Do not operate the engine with the
needle in the red overspeed zone of the
gauge.
To protect the engine, the engine
management system automatically
interrupts the fuel supply in this range.390us004
Indicates the current fuel consumption
in mpg (in liters/100 km on Canadian
vehicles). This allows you to see
whether your current driving style is
conducive to fuel economy with
minimum exhaust emissions.
When the vehicle is stationary, the
display goes to "Maximum" (zero on
Canadian models).390us005
If the indicator lamp comes on and
stays on, there are approx.
>2.0 gal. (8 liter) Ð 6-cylinder engine
>2.5 gal. (10 liter) Ð 8-cylinder engine
of fuel still in the tank.
Tank capacity: refer to page 173.
Certain operating conditions (such as
those encountered in mountainous
areas) may cause the needle to fluc-
tuate slightly.
Please refuel early, as driving to
the last drop of fuel can result in
damage to the engine and/or catalytic
converter.<
When you switch on the ignition, the
indicator lamp comes on briefly to
confirm that the system is operational.390us006
Page 97 of 185
97n
OverviewControlsMaintenanceRepairsDataIndex
Variable Ride Height on both axles
*
LoweringAvailable with key in position 2.
From "Standard" to "Access":
1. Press button 2 while traveling at less
than approx. 50 mph (80 km/h). The
system enters its preselection mode.
The preselection mode is canceled
>by pressing button 1
>automatically once the vehicle
exceeds a speed of approx.
50 mph (80 km/h) or roughly
60 seconds after button 2 is
pressed
2. Reduce speed to below
approx. 15 mph (25 km/h) within
roughly 60 seconds after pressing
button 2.
When you press button 2 at
speeds below approx. 15 mph
(25 km/h) the system automatically
lowers the vehicle to the "Access"
level.<
From "Off-Road" to "Standard":
>Press button 2 or
>automatically once you exceed a
speed of approx. 30 mph (50 km/h).
Page 104 of 185
104n
Air conditioner Temperature
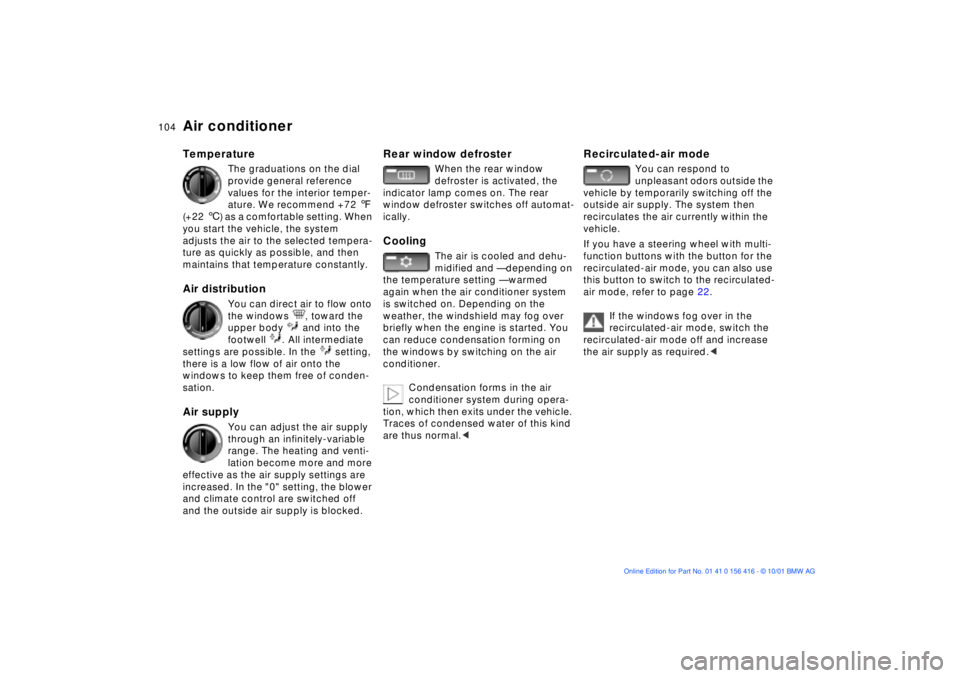
The graduations on the dial
provide general reference
values for the interior temper-
ature. We recommend +72 7
(+22 6) as a comfortable setting. When
you start the vehicle, the system
adjusts the air to the selected tempera-
ture as quickly as possible, and then
maintains that temperature constantly.
Air distribution
You can direct air to flow onto
the windows , toward the
upper body and into the
footwell . All intermediate
settings are possible. In the setting,
there is a low flow of air onto the
windows to keep them free of conden-
sation.
Air supply
You can adjust the air supply
through an infinitely-variable
range. The heating and venti-
lation become more and more
effective as the air supply settings are
increased. In the "0" setting, the blower
and climate control are switched off
and the outside air supply is blocked.
Rear window defroster
When the rear window
defroster is activated, the
indicator lamp comes on. The rear
window defroster switches off automat-
ically.
Cooling
The air is cooled and dehu-
midified and Ñ depending on
the temperature setting Ñ warmed
again when the air conditioner system
is switched on. Depending on the
weather, the windshield may fog over
briefly when the engine is started. You
can reduce condensation forming on
the windows by switching on the air
conditioner.
Condensation forms in the air
conditioner system during opera-
tion, which then exits under the vehicle.
Traces of condensed water of this kind
are thus normal.<
Recirculated-air mode
You can respond to
unpleasant odors outside the
vehicle by temporarily switching off the
outside air supply. The system then
recirculates the air currently within the
vehicle.
If you have a steering wheel with multi-
function buttons with the button for the
recirculated-air mode, you can also use
this button to switch to the recirculated-
air mode, refer to page 22.
If the windows fog over in the
recirculated-air mode, switch the
recirculated-air mode off and increase
the air supply as required.<
Page 108 of 185
108n
Automatic climate control
*
Tips for pleasant drivingUse the automatic system; that is press
AUTO button 6. Select an interior
temperature that is comfortable for you.
Detailed setting options are described
for you in the following section.
Your vehicle is set in such a
manner that, when you unlock the
vehicle via remote control with your
personalized key, your own setting for
the automatic climate control is initi-
ated.< Automatic air distribution
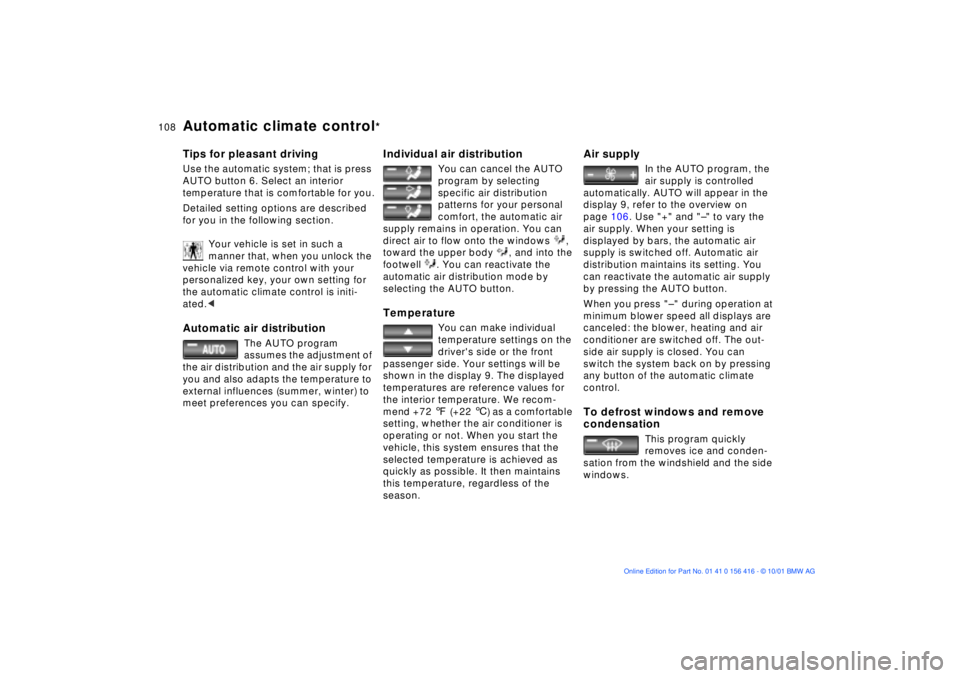
The AUTO program
assumes the adjustment of
the air distribution and the air supply for
you and also adapts the temperature to
external influences (summer, winter) to
meet preferences you can specify.
Individual air distribution
You can cancel the AUTO
program by selecting
specific air distribution
patterns for your personal
comfort, the automatic air
supply remains in operation. You can
direct air to flow onto the windows ,
toward the upper body , and into the
footwell . You can reactivate the
automatic air distribution mode by
selecting the AUTO button.
Temperature
You can make individual
temperature settings on the
driver's side or the front
passenger side. Your settings will be
shown in the display 9. The displayed
temperatures are reference values for
the interior temperature. We recom-
mend +72 7 (+22 6) as a comfortable
setting, whether the air conditioner is
operating or not. When you start the
vehicle, this system ensures that the
selected temperature is achieved as
quickly as possible. It then maintains
this temperature, regardless of the
season.
Air supply
In the AUTO program, the
air supply is controlled
automatically. AUTO will appear in the
display 9, refer to the overview on
page 106. Use "+" and "Ð" to vary the
air supply. When your setting is
displayed by bars, the automatic air
supply is switched off. Automatic air
distribution maintains its setting. You
can reactivate the automatic air supply
by pressing the AUTO button.
When you press "Ð " during operation at
minimum blower speed all displays are
canceled: the blower, heating and air
conditioner are switched off. The out-
side air supply is closed. You can
switch the system back on by pressing
any button of the automatic climate
control.
To defrost windows and remove
condensation
This program quickly
removes ice and conden-
sation from the windshield and the side
windows.