Heat BMW X5 3.0I 2006 E53 Owner's Manual
[x] Cancel search | Manufacturer: BMW, Model Year: 2006, Model line: X5 3.0I, Model: BMW X5 3.0I 2006 E53Pages: 202, PDF Size: 4.13 MB
Page 4 of 202
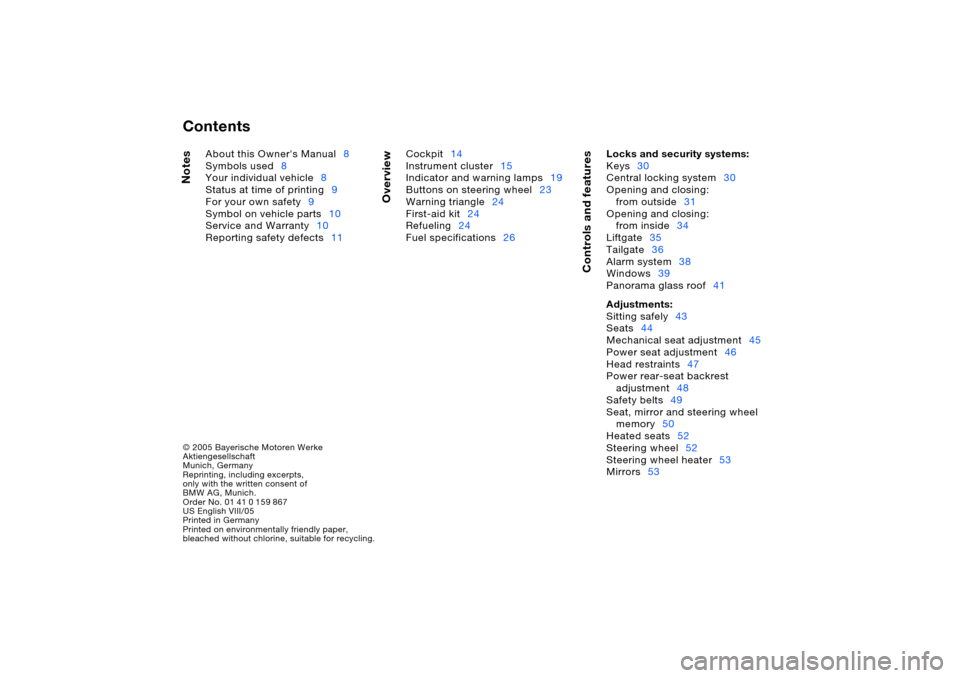
Contents© 2005 Bayerische Motoren Werke
Aktiengesellschaft
Munich, Germany
Reprinting, including excerpts,
only with the written consent of
BMW AG, Munich.
Order No. 01 41 0 159 867
US English VIII/05
Printed in Germany
Printed on environmentally friendly paper,
bleached without chlorine, suitable for recycling.Notes
Overview
Controls and features
About this Owner's Manual8
Symbols used8
Your individual vehicle8
Status at time of printing9
For your own safety9
Symbol on vehicle parts10
Service and Warranty10
Reporting safety defects11Cockpit14
Instrument cluster15
Indicator and warning lamps19
Buttons on steering wheel23
Warning triangle24
First-aid kit24
Refueling24
Fuel specifications26Locks and security systems:
Keys30
Central locking system30
Opening and closing:
from outside31
Opening and closing:
from inside34
Liftgate35
Tailgate36
Alarm system38
Windows39
Panorama glass roof41
Adjustments:
Sitting safely43
Seats44
Mechanical seat adjustment45
Power seat adjustment46
Head restraints47
Power rear-seat backrest
adjustment48
Safety belts49
Seat, mirror and steering wheel
memory50
Heated seats52
Steering wheel52
Steering wheel heater53
Mirrors53
Page 19 of 202
19n
OverviewControlsMaintenanceRepairsDataIndex
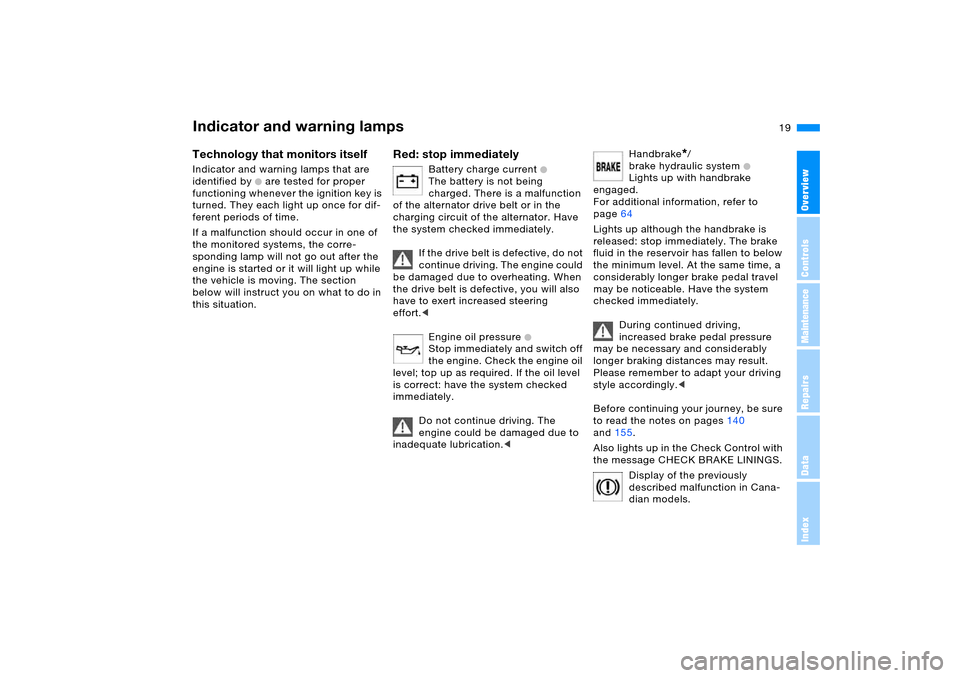
Indicator and warning lamps Technology that monitors itself Indicator and warning lamps that are
identified by
+ are tested for proper
functioning whenever the ignition key is
turned. They each light up once for dif-
ferent periods of time.
If a malfunction should occur in one of
the monitored systems, the corre-
sponding lamp will not go out after the
engine is started or it will light up while
the vehicle is moving. The section
below will instruct you on what to do in
this situation.
Red: stop immediately
Battery charge current
+
The battery is not being
charged. There is a malfunction
of the alternator drive belt or in the
charging circuit of the alternator. Have
the system checked immediately.
If the drive belt is defective, do not
continue driving. The engine could
be damaged due to overheating. When
the drive belt is defective, you will also
have to exert increased steering
effort.<
Engine oil pressure
+
Stop immediately and switch off
the engine. Check the engine oil
level; top up as required. If the oil level
is correct: have the system checked
immediately.
Do not continue driving. The
engine could be damaged due to
inadequate lubrication.<
Handbrake
*/
brake hydraulic system
+
Lights up with handbrake
engaged.
For additional information, refer to
page64
Lights up although the handbrake is
released: stop immediately. The brake
fluid in the reservoir has fallen to below
the minimum level. At the same time, a
considerably longer brake pedal travel
may be noticeable. Have the system
checked immediately.
During continued driving,
increased brake pedal pressure
may be necessary and considerably
longer braking distances may result.
Please remember to adapt your driving
style accordingly.<
Before continuing your journey, be sure
to read the notes on pages140
and155.
Also lights up in the Check Control with
the message CHECK BRAKE LININGS.
Display of the previously
described malfunction in Cana-
dian models.
Page 20 of 202
20n
Indicator and warning lamps
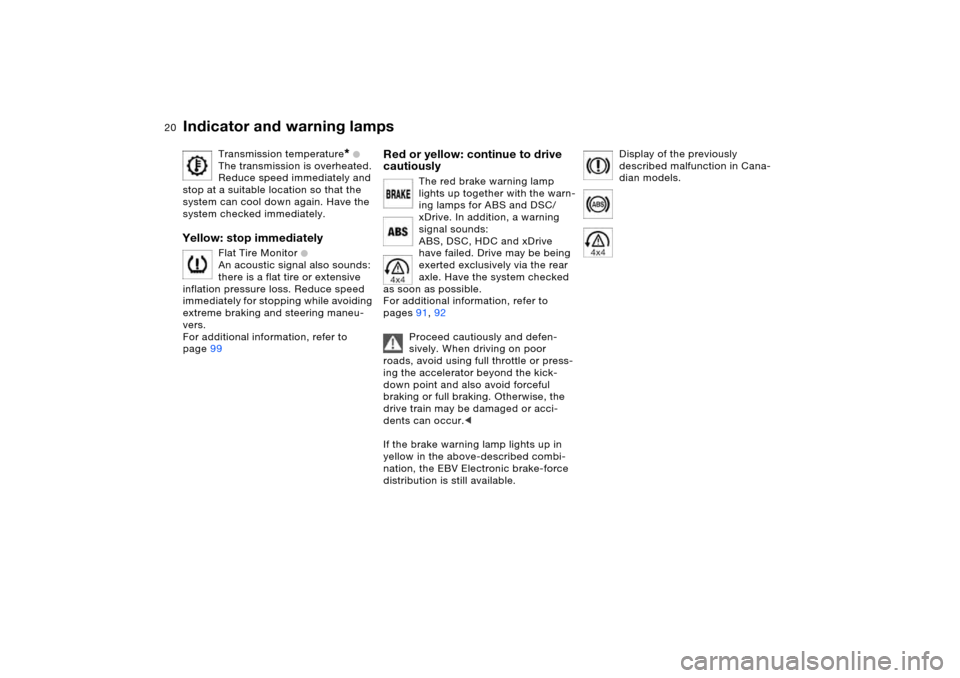
Transmission temperature
* +
The transmission is overheated.
Reduce speed immediately and
stop at a suitable location so that the
system can cool down again. Have the
system checked immediately.
Yellow: stop immediately
Flat Tire Monitor
+
An acoustic signal also sounds:
there is a flat tire or extensive
inflation pressure loss. Reduce speed
immediately for stopping while avoiding
extreme braking and steering maneu-
vers.
For additional information, refer to
page99
Red or yellow: continue to drive
cautiously
The red brake warning lamp
lights up together with the warn-
ing lamps for ABS and DSC/
xDrive. In addition, a warning
signal sounds:
ABS, DSC, HDC and xDrive
have failed. Drive may be being
exerted exclusively via the rear
axle. Have the system checked
as soon as possible.
For additional information, refer to
pages91, 92
Proceed cautiously and defen-
sively. When driving on poor
roads, avoid using full throttle or press-
ing the accelerator beyond the kick-
down point and also avoid forceful
braking or full braking. Otherwise, the
drive train may be damaged or acci-
dents can occur.<
If the brake warning lamp lights up in
yellow in the above-described combi-
nation, the EBV Electronic brake-force
distribution is still available.
Display of the previously
described malfunction in Cana-
dian models.
Page 23 of 202
23n
OverviewControlsMaintenanceRepairsDataIndex
Buttons on steering wheel
*
The buttons integrated into the steering
wheel are provided so that you can
operate a number of accessories
quickly and without being distracted
from traffic conditions. You may oper-
ate:
>selected functions of the audio
sources
*
>the recirculated-air mode of the air
conditioner
* or the steering-wheel
heater
*
>the cruise control
>selected phone functions
* and
>the voice command system*.
In order to operate a system, the
corresponding system must be
switched on.<
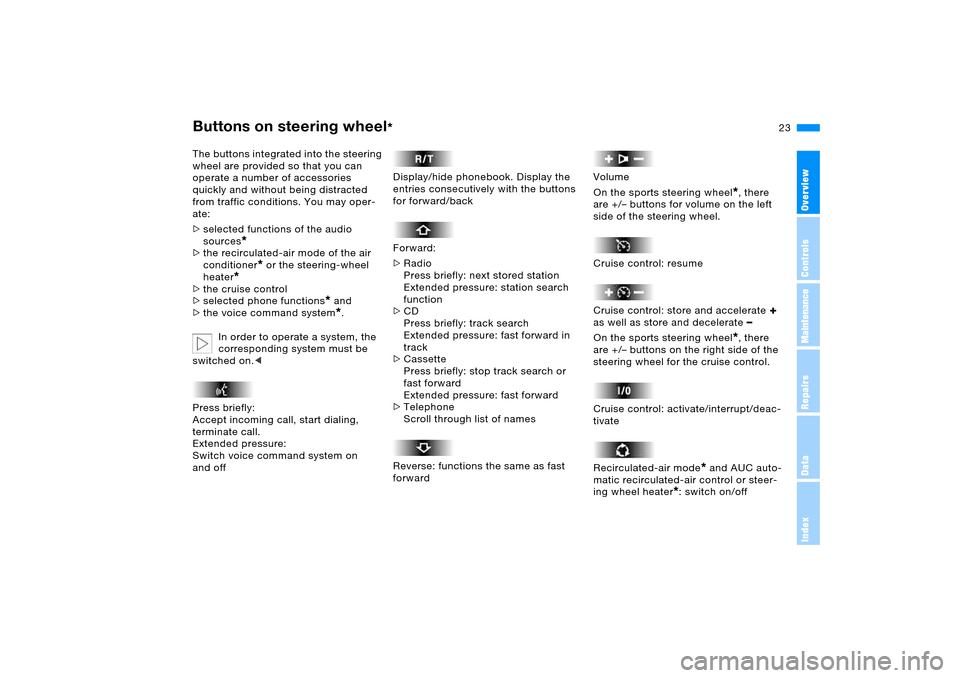
Press briefly:
Accept incoming call, start dialing,
terminate call.
Extended pressure:
Switch voice command system on
and off
Display/hide phonebook. Display the
entries consecutively with the buttons
for forward/back
Forward:
>Radio
Press briefly: next stored station
Extended pressure: station search
function
>CD
Press briefly: track search
Extended pressure: fast forward in
track
>Cassette
Press briefly: stop track search or
fast forward
Extended pressure: fast forward
>Telephone
Scroll through list of names
Reverse: functions the same as fast
forward
Volume
On the sports steering wheel
*, there
are +/– buttons for volume on the left
side of the steering wheel.
Cruise control: resume
Cruise control: store and accelerate
+
as well as store and decelerate
–
On the sports steering wheel
*, there
are +/– buttons on the right side of the
steering wheel for the cruise control.
Cruise control: activate/interrupt/deac-
tivate
Recirculated-air mode
* and AUC auto-
matic recirculated-air control or steer-
ing wheel heater
*: switch on/off
Page 35 of 202
35n
OverviewControlsMaintenanceRepairsDataIndex
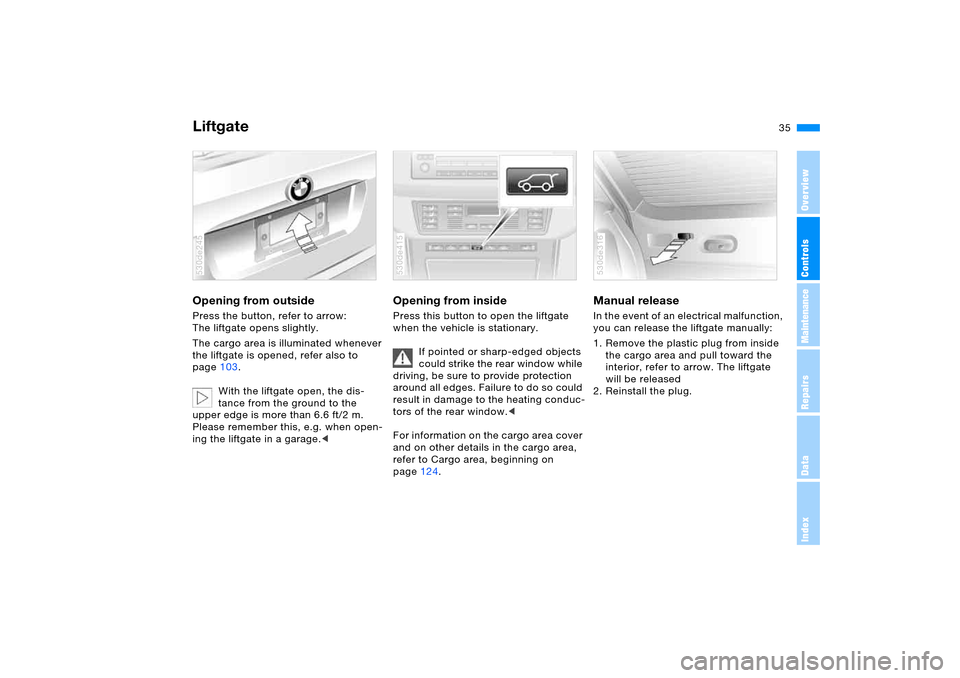
LiftgateOpening from outside Press the button, refer to arrow:
The liftgate opens slightly.
The cargo area is illuminated whenever
the liftgate is opened, refer also to
page103.
With the liftgate open, the dis-
tance from the ground to the
upper edge is more than 6.6 ft/2 m.
Please remember this, e.g. when open-
ing the liftgate in a garage.<530de245
Opening from inside Press this button to open the liftgate
when the vehicle is stationary.
If pointed or sharp-edged objects
could strike the rear window while
driving, be sure to provide protection
around all edges. Failure to do so could
result in damage to the heating conduc-
tors of the rear window.<
For information on the cargo area cover
and on other details in the cargo area,
refer to Cargo area, beginning on
page124.530de415
Manual release In the event of an electrical malfunction,
you can release the liftgate manually:
1. Remove the plastic plug from inside
the cargo area and pull toward the
interior, refer to arrow. The liftgate
will be released
2. Reinstall the plug. 530de316
Page 52 of 202
52n
Heated seats
*
Steering wheel
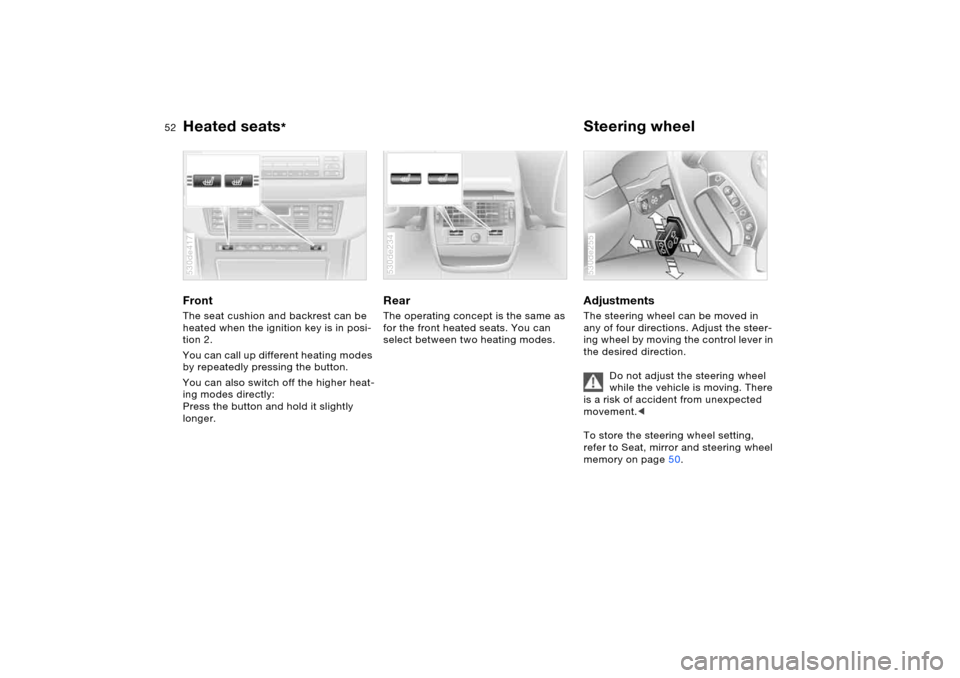
Front The seat cushion and backrest can be
heated when the ignition key is in posi-
tion 2.
You can call up different heating modes
by repeatedly pressing the button.
You can also switch off the higher heat-
ing modes directly:
Press the button and hold it slightly
longer.530de417
Rear The operating concept is the same as
for the front heated seats. You can
select between two heating modes.530de234
Adjustments The steering wheel can be moved in
any of four directions. Adjust the steer-
ing wheel by moving the control lever in
the desired direction.
Do not adjust the steering wheel
while the vehicle is moving. There
is a risk of accident from unexpected
movement.<
To store the steering wheel setting,
refer to Seat, mirror and steering wheel
memory on page50. 530de255
Page 53 of 202
53n
OverviewControlsMaintenanceRepairsDataIndex
Steering wheel Steering wheel heater
*
Mirrors
Automatic steering wheel
adjustmentonly in conjunction with seat, mirror and
steering wheel memory
In or der to m a ke it e asie r t o get in to an d
out of the vehicle, the steering wheel
automatically moves into the top posi-
tion and returns to the driving or mem-
ory position.
This automatic feature is influenced by
the position of the ignition key and by
the driver's door.
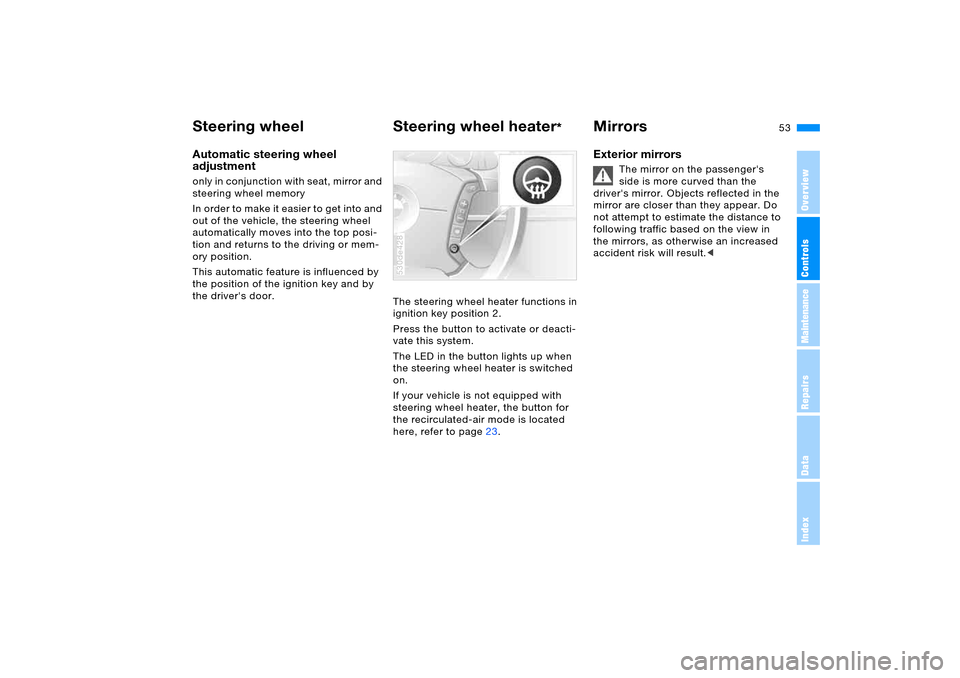
The steering wheel heater functions in
ignition key position 2.
Press the button to activate or deacti-
vate this system.
The LED in the button lights up when
the steering wheel heater is switched
on.
If your vehicle is not equipped with
steering wheel heater, the button for
the recirculated-air mode is located
here, refer to page23.
530de428
Exterior mirrors
The mirror on the passenger's
side is more curved than the
driver's mirror. Objects reflected in the
mirror are closer than they appear. Do
not attempt to estimate the distance to
following traffic based on the view in
the mirrors, as otherwise an increased
accident risk will result.<
Page 54 of 202
54n
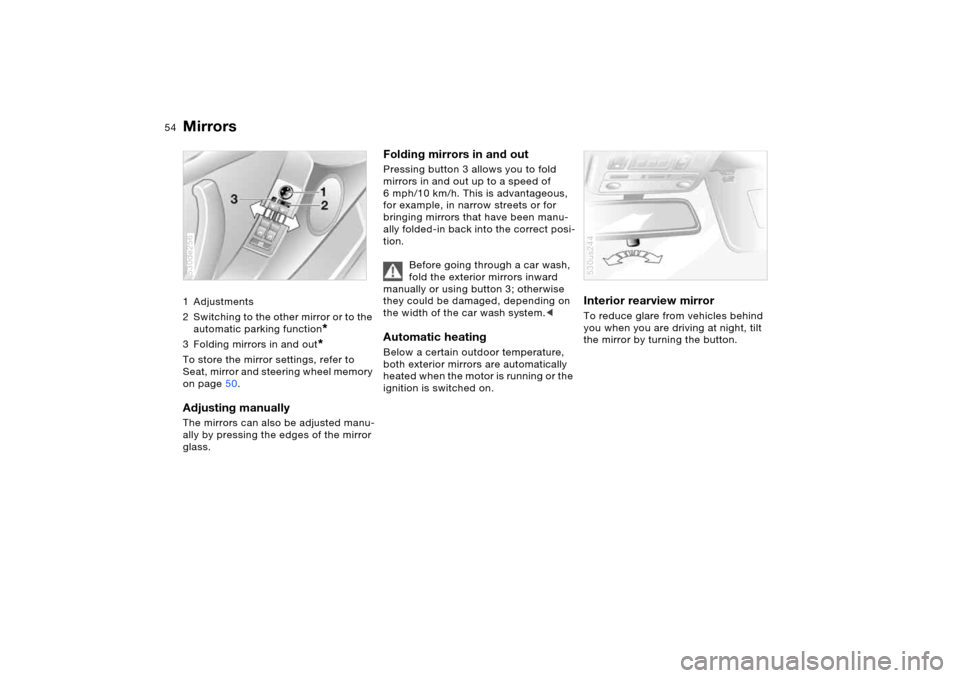
Mirrors1 Adjustments
2 Switching to the other mirror or to the
automatic parking function
*
3 Folding mirrors in and out
*
To store the mirror settings, refer to
Seat, mirror and steering wheel memory
on page50.Adjusting manuallyThe mirrors can also be adjusted manu-
ally by pressing the edges of the mirror
glass.530de256
Folding mirrors in and out Pressing button 3 allows you to fold
mirrors in and out up to a speed of
6 mph/10 km/h. This is advantageous,
for example, in narrow streets or for
bringing mirrors that have been manu-
ally folded-in back into the correct posi-
tion.
Before going through a car wash,
fold the exterior mirrors inward
manually or using button 3; otherwise
they could be damaged, depending on
the width of the car wash system.
heated when the motor is running or the
ignition is switched on.
Interior rearview mirror To reduce glare from vehicles behind
you when you are driving at night, tilt
the mirror by turning the button.530us244
Page 70 of 202
70n
Washer/wiper system/rain sensor
*
To adjust the sensitivity of the rain
sensor:
Turn the knurled wheel 7.
To deactivate the rain sensor:
Move the lever to position 0.
Deactivate the rain sensor when
passing through an automatic car
wash. Failure to do so could result in
damage caused by undesired wiper
activation.< Normal wipe The system switches automatically to
intermittent mode when the vehicle is
stationary, not on vehicles with rain
sensor. Fast wipe The wipers operate at normal speed
when the vehicle is not moving, not on
vehicles with rain sensor. Windshield washing The system sprays washer fluid against
the windshield and activates the wipers
for a brief period.
Special wash program
*
As with 5; several additional wash
cycles are carried out and the head-
lamps are cleaned
*.
This program is recommended after you
have driven on extremely dirty roads.
Headlamp washing
*
>With the special wash program 6
>At appropriate intervals, the head-
lamps will also be cleaned upon actu-
ation of the windshield washer func-
tion 5 while the vehicle's headlamps
are switched on.
Do not use the washers if there
is any danger that the fluid will
freeze on the windshield. If you do so,
your vision could be obscured. Use
antifreeze to prevent this, refer to
page152.
Do not actuate washer systems when
the fluid reservoir is empty, otherwise,
the washer pump will be damaged.<
Windshield washer nozzles The windshield washer jets are heated
automatically when the ignition key is in
position 2.
Page 76 of 202
76n
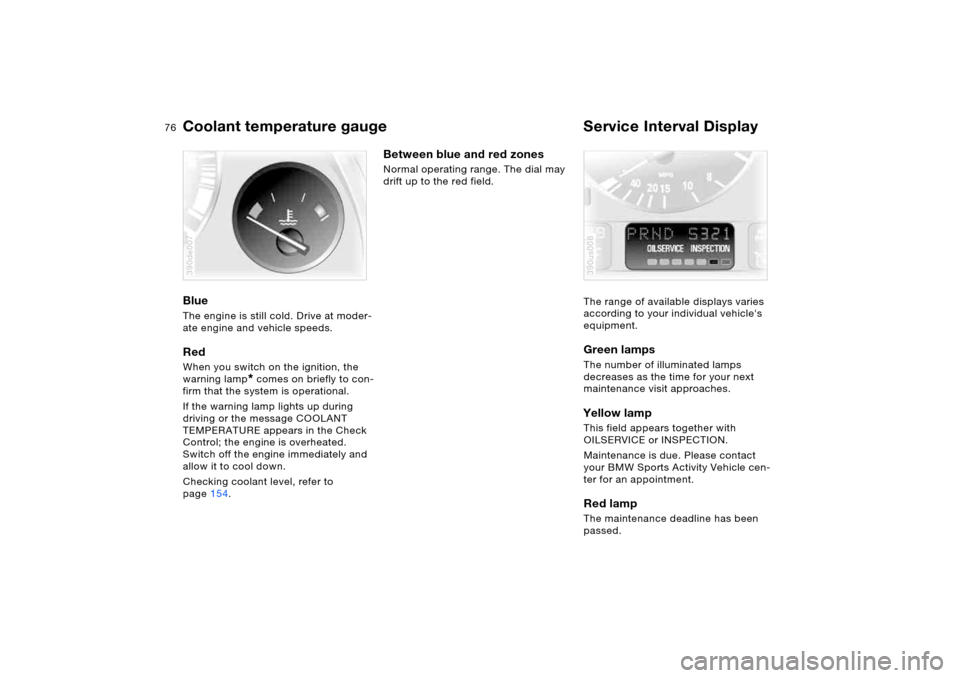
Coolant temperature gauge Service Interval Display Blue The engine is still cold. Drive at moder-
ate engine and vehicle speeds.Red When you switch on the ignition, the
warning lamp
* comes on briefly to con-
firm that the system is operational.
If the warning lamp lights up during
driving or the message COOLANT
TEMPERATURE appears in the Check
Control; the engine is overheated.
Switch off the engine immediately and
allow it to cool down.
Checking coolant level, refer to
page154.
390de007
Between blue and red zones Normal operating range. The dial may
drift up to the red field.
The range of available displays varies
according to your individual vehicle's
equipment.
Green lamps The number of illuminated lamps
decreases as the time for your next
maintenance visit approaches.Yellow lamp This field appears together with
OILSERVICE or INSPECTION.
Maintenance is due. Please contact
your BMW Sports Activity Vehicle cen-
ter for an appointment.Red lamp The maintenance deadline has been
passed.390us008