display BMW X5 4.4I 2000 Owners Manual
[x] Cancel search | Manufacturer: BMW, Model Year: 2000, Model line: X5 4.4I, Model: BMW X5 4.4I 2000Pages: 201, PDF Size: 1.93 MB
Page 10 of 201
Contents
Overview
Controls and features
Cockpit16
Instrument cluster18
Indicator and warning lamps22
Multifunction steering wheel26
Sports steering wheel27
Hazard warning flashers28
Warning triangle28
First-aid kit28
Refueling29
Fuel specifications30
Tire inflation pressure30
Locks and security systems:
Keys34
Electronic vehicle
immobilizer35
Central locking system36
Opening and closing
Ð from the outside36
Using the key36
Using the remote control37
Opening and closing
Ð from the inside40
Liftgate41
Tailgate41
Alarm system43
Electric power windows45
Sliding/Tilt sunroof with glass
moonroof46
Adjustments:
Seats48
Steering wheel51
Mirrors52
Seat, mirror and steering wheel
memory54
Car Memory, Key Memory55
Passenger safety systems:
Safety belts56
Airbags57
Child restraints60
Child seat security61
Child-safety locks62
Driving:
Steering/Ignition lock63
Starting the engine64
Switching off the engine65
Parking brake65
Automatic transmission with
Steptronic66
Turn signal indicator/Headlamp
flasher69
Washer/Wiper system/Rain
sensor69
Rear window defroster71
Cruise control72
Everything under control:
Odometer, outside temperature
display74
Tachometer75
Energy control75
Fuel gauge75
Coolant temperature gauge76
Service Interval Display76
Check Control77
Onboard computer80
Technology for safety and
driving convenience:
Park Distance Control (PDC)82
Dynamic Stability Control
(DSC)83
Hill Descent Control (HDC)84
Contents
Page 19 of 201
IndexDataTechnologyRepairsCar careControlsOverview
19n
Instrument cluster
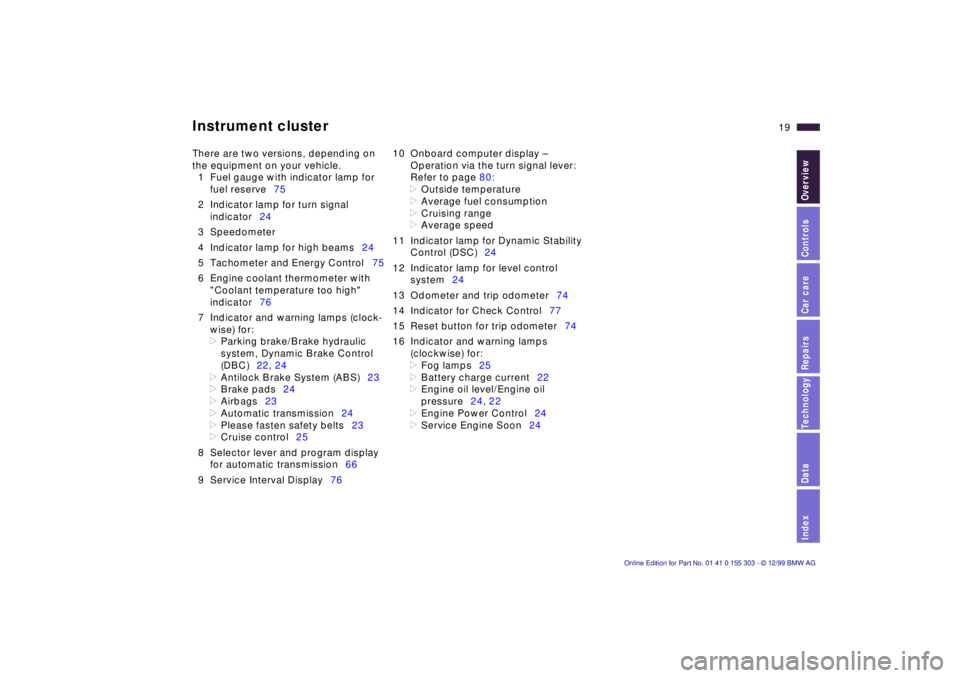
There are two versions, depending on
the equipment on your vehicle.
1 Fuel gauge with indicator lamp for
fuel reserve75
2 Indicator lamp for turn signal
indicator24
3 Speedometer
4 Indicator lamp for high beams24
5 Tachometer and Energy Control75
6 Engine coolant thermometer with
"Coolant temperature too high"
indicator76
7 Indicator and warning lamps (clock-
wise) for:
>
Parking brake/Brake hydraulic
system, Dynamic Brake Control
(DBC)22, 24
>
Antilock Brake System (ABS)23
>
Brake pads24
>
Airbags23
>
Automatic transmission24
>
Please fasten safety belts23
>
Cruise control25
8 Selector lever and program display
for automatic transmission66
9 Service Interval Display7610 Onboard computer display Ð
Operation via the turn signal lever:
Refer to page 80:
>
Outside temperature
>
Average fuel consumption
>
Cruising range
>
Average speed
11 Indicator lamp for Dynamic Stability
Control (DSC)24
12 Indicator lamp for level control
system24
13 Odometer and trip odometer74
14 Indicator for Check Control77
15 Reset button for trip odometer74
16 Indicator and warning lamps
(clockwise) for:
>
Fog lamps25
>
Battery charge current22
>
Engine oil level/Engine oil
pressure24, 22
>
Engine Power Control24
>
Service Engine Soon24
Page 21 of 201
IndexDataTechnologyRepairsCar careControlsOverview
21n
Instrument cluster
*
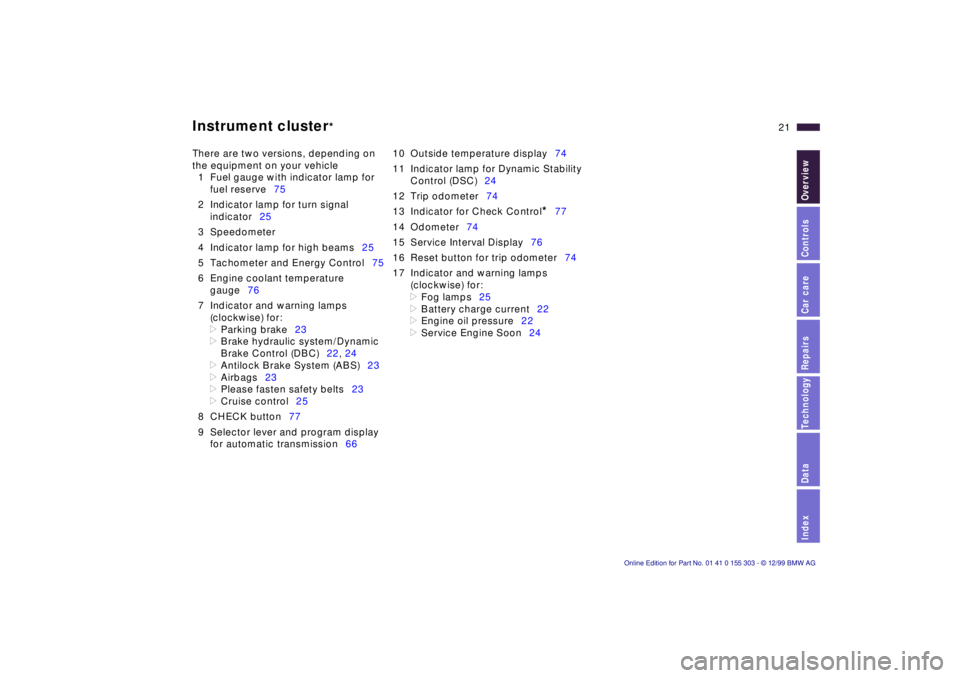
There are two versions, depending on
the equipment on your vehicle
1 Fuel gauge with indicator lamp for
fuel reserve75
2 Indicator lamp for turn signal
indicator25
3 Speedometer
4 Indicator lamp for high beams25
5 Tachometer and Energy Control75
6 Engine coolant temperature
gauge76
7 Indicator and warning lamps
(clockwise) for:
>
Parking brake23
>
Brake hydraulic system/Dynamic
Brake Control (DBC)22, 24
>
Antilock Brake System (ABS)23
>
Airbags23
>
Please fasten safety belts23
>
Cruise control25
8 CHECK button77
9 Selector lever and program display
for automatic transmission6610 Outside temperature display74
11 Indicator lamp for Dynamic Stability
Control (DSC)24
12 Trip odometer74
13 Indicator for Check Control
*
77
14 Odometer74
15 Service Interval Display76
16 Reset button for trip odometer74
17 Indicator and warning lamps
(clockwise) for:
>
Fog lamps25
>
Battery charge current22
>
Engine oil pressure22
>
Service Engine Soon24
Page 32 of 201
32n
Locks and security systems:
Keys34
Electronic vehicle
immobilizer35
Central locking system36
Opening and closing
Ð from the outside36
Using the key36
Using the remote control37
Opening and closing
Ð from the inside40
Liftgate41
Tailgate41
Alarm system43
Electric power windows45
Sliding/Tilt sunroof with glass
moonroof46
Adjustments:
Seats48
Steering wheel51
Mirrors52
Seat, mirror and steering wheel
memory54
Car Memory, Key Memory55
Passenger safety systems:
Safety belts56
Airbags57
Child restraints60
Child seat security61
Child-safety locks62Driving:
Steering/Ignition lock63
Starting the engine64
Switching off the engine65
Parking brake65
Automatic transmission with
Steptronic66
Turn signal indicator/Headlamp
flasher69
Washer/Wiper system/Rain
sensor69
Rear window defroster71
Cruise control72
Everything under control:
Odometer, outside temperature
display74
Tachometer75
Energy control75
Fuel gauge75
Coolant temperature gauge76
Service Interval Display76
Check Control77
Onboard computer80
Technology for safety and
driving convenience:
Park Distance Control (PDC)82
Dynamic Stability Control
(DSC)83
Hill Descent Control (HDC)84
Controls
Page 43 of 201
IndexDataTechnologyRepairsCar careControlsOverview
43n
Alarm system The concept The vehicle alarm system responds:
>When a door, the hood, or the liftgate
is opened.
>To movement inside the vehicle (inte-
rior motion sensor).
>To variations in the vehicle tilt sensor
such as occur during attempts to
steal the wheels or tow the vehicle.
>To interruption of battery voltage.
The system responds to unauthorized
vehicle entry and attempted theft by
simultaneously activating the following:
>Sounding an acoustical alarm for
30 seconds.
>The hazard warning flashers are acti-
vated for approx. five minutes.
>The high beams flash on and off in
the same rhythm.
To activate and deactivate the
alarm system When the vehicle is locked or unlocked
with the key or the remote control, the
alarm system is also simultaneously
armed or disarmed.
The interior motion sensor is activated
approx. 30 seconds after you have fin-
ished locking the vehicle.
The system indicates that it has been
correctly armed by switching on the
hazard flashers for a single cycle and
by emitting an acoustical signal.
You can have different acknowl-
edgment signals set to confirm
system arming and disarming.<
You can still open the liftgate after the
system has been armed by pressing
button 3 of the remote control. Refer to
page 39. When you close the liftgate,
the system is secured again.
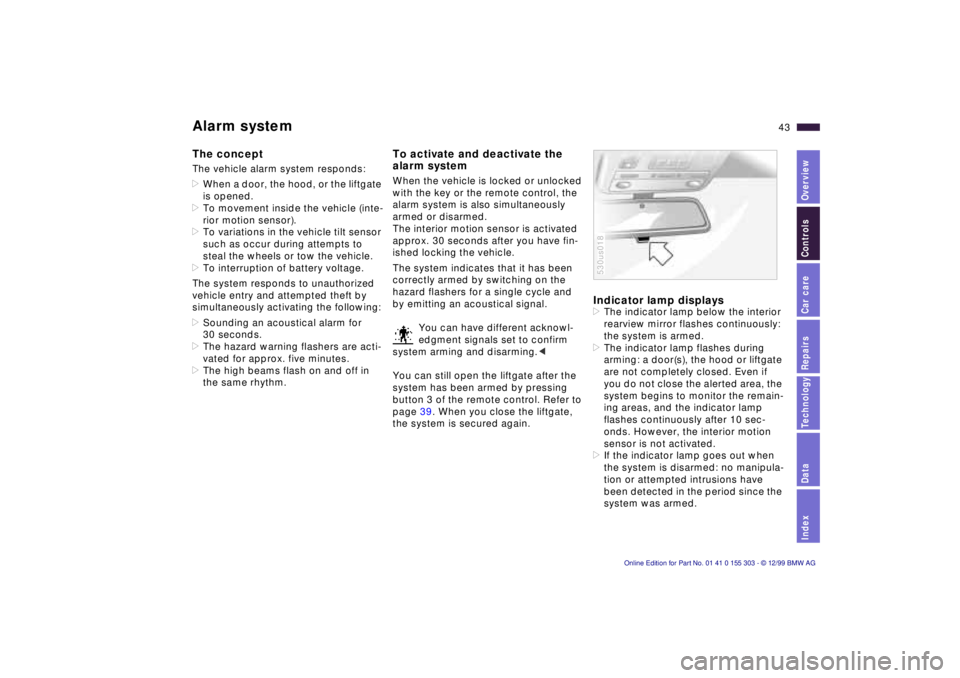
Indicator lamp displays >The indicator lamp below the interior
rearview mirror flashes continuously:
the system is armed.
>The indicator lamp flashes during
arming: a door(s), the hood or liftgate
are not completely closed. Even if
you do not close the alerted area, the
system begins to monitor the remain-
ing areas, and the indicator lamp
flashes continuously after 10 sec-
onds. However, the interior motion
sensor is not activated.
>If the indicator lamp goes out when
the system is disarmed: no manipula-
tion or attempted intrusions have
been detected in the period since the
system was armed. 530us018
Page 58 of 201

58n
Airbags Indicator lamp
The indicator lamp displays the
operational status of the airbag
system from ignition key posi-
tion 1 and up.
System operational:
>The indicator lamp comes on briefly
then goes out.
System malfunction:
>The indicator lamp fails to come on.
>The indicator lamp comes on briefly
before going out and then lighting up
again.
A system malfunction could prevent the
system from responding to an impact
occurring within its normal response
range.
Please have your authorized BMW cen-
ter inspect and repair the system as
soon as possible.
Sitting correctly with airbags
For your safety, comply with the
following instructions for the air-
bags. If you do not, the airbags may not
be able to provide their maximum pro-
tection. All passengers in the vehicle
should be aware of and comply with
this information:
The airbags are supplemental restraint
devices designed to provide extra pro-
tection; they are not a substitute for
safety belts. Wear your safety belt at all
times. The airbags will not be triggered
in the event of a minor accident, a vehi-
cle roll-over, or collisions from the rear.
In these instances, the safety belt pro-
vides optimal protection.
Airbags are located under cover panels
in the steering wheel, in the dashboard,
in the side trim panels in the front and
rear*, and in the windshield pillars and
the sides of the headliner.
Adjust your seat to a position that pro-
vides maximum distance between you
and the steering wheel, the instrument
panel and the door while still allowing
comfortable and safe access to all
vehicle controls.
To avoid sustaining hand and arm inju-
ries, always grasp the steering wheel
on
the rim with the hands at the 9 and
3 o'clock positions. Do not place your
hands on the center pad.
Never allow any objects to obstruct the
area between the airbag and an occu-
pant.
Do not use the cover panel above the
passenger-side airbag as a storage
area.
Do not apply adhesive materials to the
cover panels of the airbags, cover them
or modify them in any other way.
Do not install a rear-facing child re-
straint system in the front passenger
seat of this vehicle.
Children under 13 years of age and
children less than 5 feet (150 cm) tall
should ride only in the rear seat.
Infants or small children should never
be held on the lap of a passenger.
If your vehicle is equipped with side air-
bags in the rear passenger area, be
sure that child restraints are mounted
correctly and provided with the great-
est-possible distance between the air-
bags in the side trim panels. Do not al-
low children to lean out of the child's
seat in the direction of the side trim
panels. If they do so, serious injuries
can occur if the airbag is triggered.<
Page 66 of 201
66n
Automatic transmission with Steptronic You can drive as with a normal auto-
matic transmission. In addition, you can
also shift manually.
When you move the selector lever from
the "D" position to the left into the M/S
range, the performance-oriented shift
programs of the automatic transmission
are engaged. As soon as you briefly
touch the selector lever in the "+" or "Ð"
direction, Steptronic changes the gear.
The manual mode is engaged. When
you wish to use the automatic transmis-
sion mode again, move the selector
lever to the right into the "D" position.
The automatic transmission of your
BMW is equipped with Adaptive Trans-
mission Control (ATC), a system which
reacts with precision to your individual
driving style and the driving conditions. 530us040
To achieve this, different shift programs
are automatically engaged.
For additional details concerning the
ATC, please refer to the chapter de-
scribing "Advanced technology" on
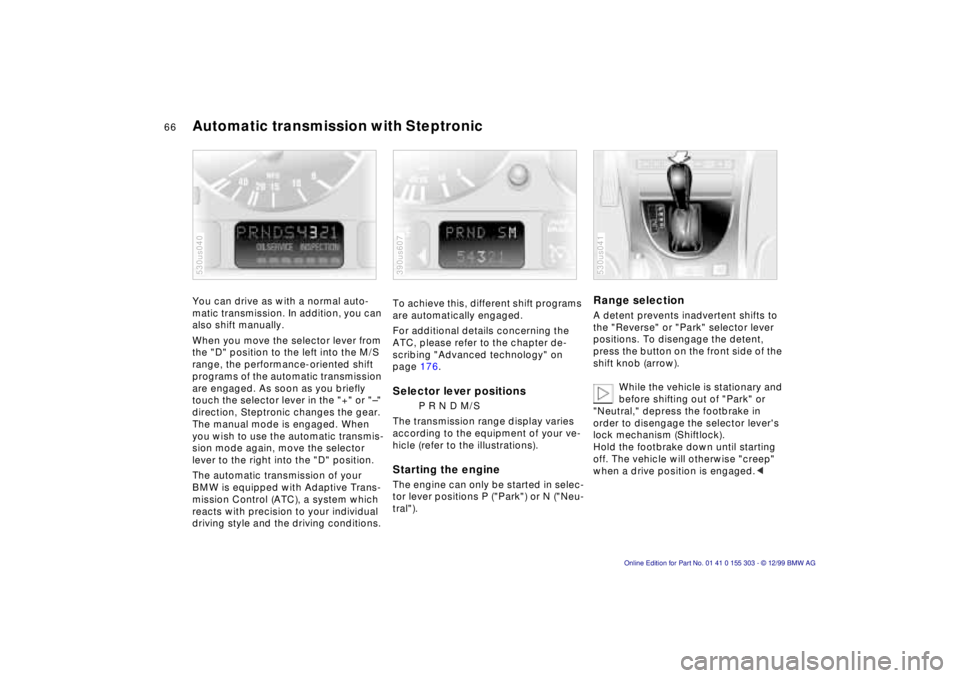
page 176. Selector lever positions
P R N D M/S
The transmission range display varies
according to the equipment of your ve-
hicle (refer to the illustrations).
Starting the engine The engine can only be started in selec-
tor lever positions P ("Park") or N ("Neu-
tral"). 390us607
Range selection A detent prevents inadvertent shifts to
the "Reverse" or "Park" selector lever
positions. To disengage the detent,
press the button on the front side of the
shift knob (arrow).
While the vehicle is stationary and
before shifting out of "Park" or
"Neutral," depress the footbrake in
order to disengage the selector lever's
lock mechanism (Shiftlock).
Hold the footbrake down until starting
off. The vehicle will otherwise "creep"
when a drive position is engaged.< 530us041
Page 67 of 201
IndexDataTechnologyRepairsCar careControlsOverview
67n
Automatic transmission with Steptronic
If you leave the vehicle with the
engine running, move the selector
lever to the "Park" or "Neutral" position
and apply the parking brake. If you fail
to do this, the vehicle could move.
Do not leave the vehicle unattended
with the engine running. An unattended
vehicle with a running engine repre-
sents a potential safety hazard.<
P Ñ Park Select "Park" only when the vehicle is
completely stopped. The transmission
locks to prevent the rear wheels from
turning. R Ñ Reverse Select "Reverse" only when the vehicle
is completely stopped.
When you select "Reverse", the backup
lamps will turn on automatically when
the ignition key is in position 2. N Ñ Neutral Select "Neutral" only if your journey is
interrupted for a longer period.
D Ñ Drive
(automatic shift program) This position is designed for driving
under all normal operating conditions.
All forward gears are available. "Kickdown" In the "Kickdown" mode, you achieve
maximum performance.
Depress the accelerator pedal past the
increased resistance point at the full-
throttle position.
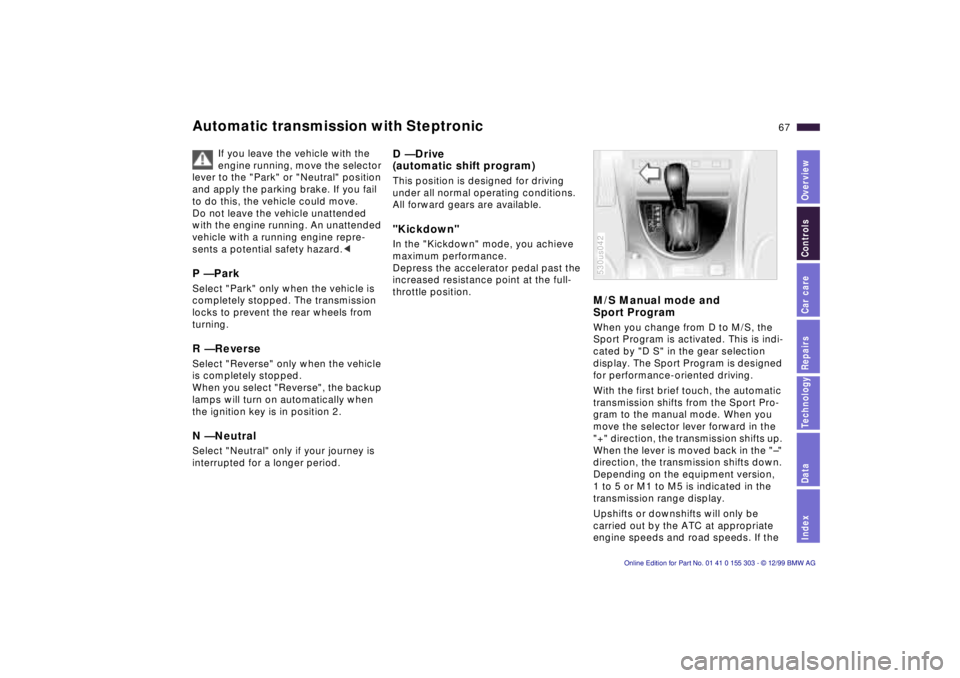
M/S Manual mode and
Sport Program When you change from D to M/S, the
Sport Program is activated. This is indi-
cated by "D S" in the gear selection
display. The Sport Program is designed
for performance-oriented driving.
With the first brief touch, the automatic
transmission shifts from the Sport Pro-
gram to the manual mode. When you
move the selector lever forward in the
"+" direction, the transmission shifts up.
When the lever is moved back in the "Ð"
direction, the transmission shifts down.
Depending on the equipment version,
1 to 5 or M1 to M5 is indicated in the
transmission range display.
Upshifts or downshifts will only be
carried out by the ATC at appropriate
engine speeds and road speeds. If the 530us042
Page 74 of 201
74n
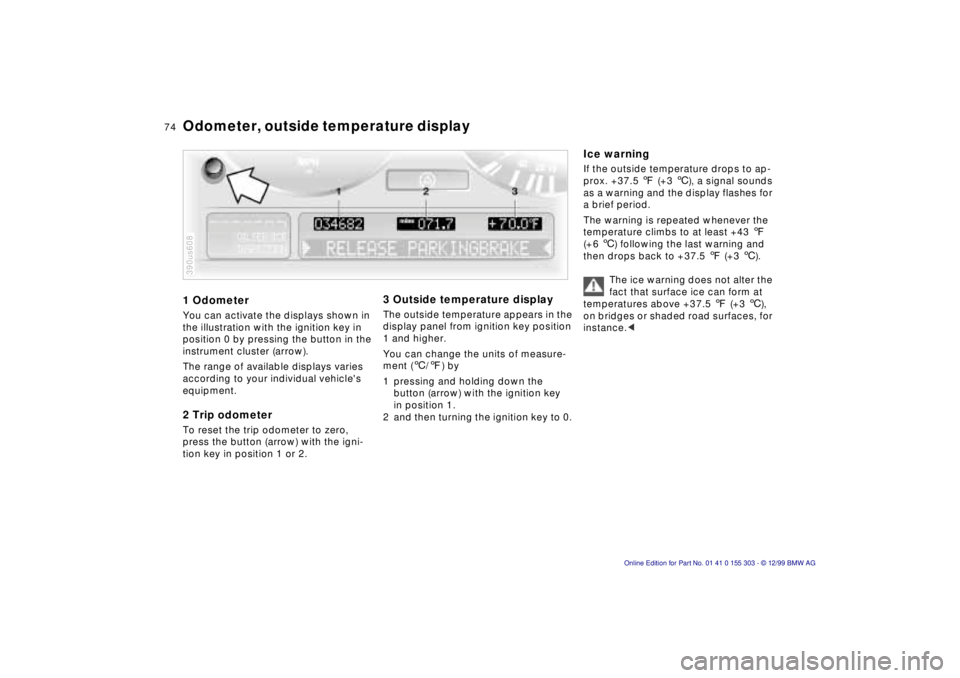
1 Odometer You can activate the displays shown in
the illustration with the ignition key in
position 0 by pressing the button in the
instrument cluster (arrow).
The range of available displays varies
according to your individual vehicle's
equipment. 2 Trip odometer To reset the trip odometer to zero,
press the button (arrow) with the igni-
tion key in position 1 or 2. 390us608
3 Outside temperature display The outside temperature appears in the
display panel from ignition key position
1 and higher.
You can change the units of measure-
ment (6/7) by
1 pressing and holding down the
button (arrow) with the ignition key
in position 1.
2 and then turning the ignition key to 0.
Ice warning If the outside temperature drops to ap-
prox. +37.5 7 (+3 6), a signal sounds
as a warning and the display flashes for
a brief period.
The warning is repeated whenever the
temperature climbs to at least +43 7
(+6 6) following the last warning and
then drops back to +37.5 7 (+3 6).
The ice warning does not alter the
fact that surface ice can form at
temperatures above +37.5 7 (+3 6),
on bridges or shaded road surfaces, for
instance.<
Odometer, outside temperature display
Page 75 of 201
IndexDataTechnologyRepairsCar careControlsOverview
75n
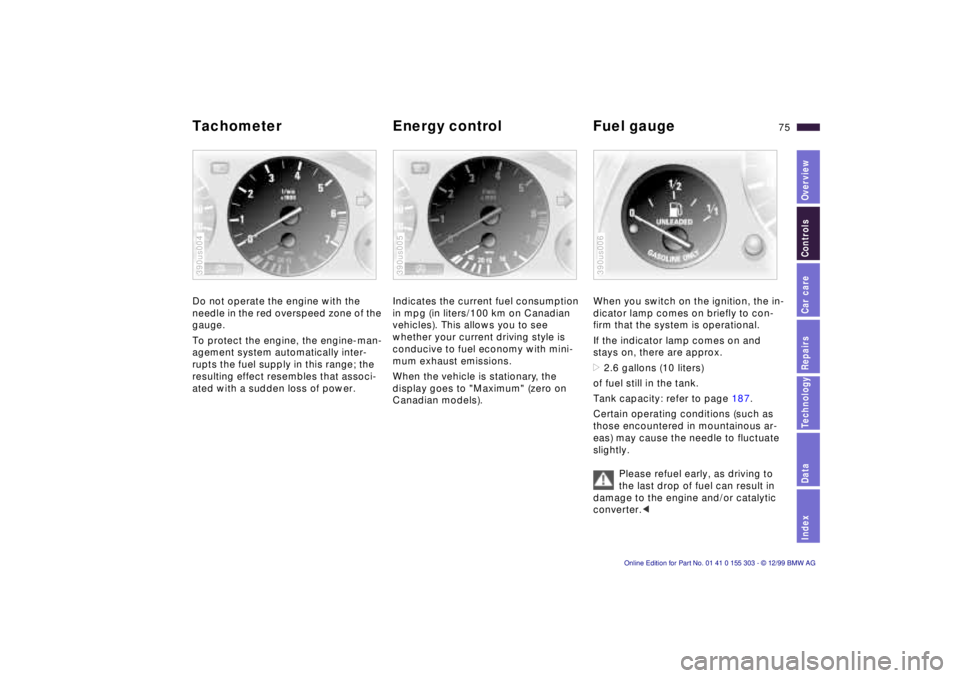
Tachometer Energy control Fuel gauge Do not operate the engine with the
needle in the red overspeed zone of the
gauge.
To protect the engine, the engine-man-
agement system automatically inter-
rupts the fuel supply in this range; the
resulting effect resembles that associ-
ated with a sudden loss of power. 390us004
Indicates the current fuel consumption
in mpg (in liters/100 km on Canadian
vehicles). This allows you to see
whether your current driving style is
conducive to fuel economy with mini-
mum exhaust emissions.
When the vehicle is stationary, the
display goes to "Maximum" (zero on
Canadian models). 390us005
When you switch on the ignition, the in-
dicator lamp comes on briefly to con-
firm that the system is operational.
If the indicator lamp comes on and
stays on, there are approx.
>2.6 gallons (10 liters)
of fuel still in the tank.
Tank capacity: refer to page 187.
Certain operating conditions (such as
those encountered in mountainous ar-
eas) may cause the needle to fluctuate
slightly.
Please refuel early, as driving to
the last drop of fuel can result in
damage to the engine and/or catalytic
converter.< 390us006