ignition BMW X5 4.4I 2000 Owners Manual
[x] Cancel search | Manufacturer: BMW, Model Year: 2000, Model line: X5 4.4I, Model: BMW X5 4.4I 2000Pages: 201, PDF Size: 1.93 MB
Page 10 of 201

Contents
Overview
Controls and features
Cockpit16
Instrument cluster18
Indicator and warning lamps22
Multifunction steering wheel26
Sports steering wheel27
Hazard warning flashers28
Warning triangle28
First-aid kit28
Refueling29
Fuel specifications30
Tire inflation pressure30
Locks and security systems:
Keys34
Electronic vehicle
immobilizer35
Central locking system36
Opening and closing
Ð from the outside36
Using the key36
Using the remote control37
Opening and closing
Ð from the inside40
Liftgate41
Tailgate41
Alarm system43
Electric power windows45
Sliding/Tilt sunroof with glass
moonroof46
Adjustments:
Seats48
Steering wheel51
Mirrors52
Seat, mirror and steering wheel
memory54
Car Memory, Key Memory55
Passenger safety systems:
Safety belts56
Airbags57
Child restraints60
Child seat security61
Child-safety locks62
Driving:
Steering/Ignition lock63
Starting the engine64
Switching off the engine65
Parking brake65
Automatic transmission with
Steptronic66
Turn signal indicator/Headlamp
flasher69
Washer/Wiper system/Rain
sensor69
Rear window defroster71
Cruise control72
Everything under control:
Odometer, outside temperature
display74
Tachometer75
Energy control75
Fuel gauge75
Coolant temperature gauge76
Service Interval Display76
Check Control77
Onboard computer80
Technology for safety and
driving convenience:
Park Distance Control (PDC)82
Dynamic Stability Control
(DSC)83
Hill Descent Control (HDC)84
Contents
Page 32 of 201
32n
Locks and security systems:
Keys34
Electronic vehicle
immobilizer35
Central locking system36
Opening and closing
Ð from the outside36
Using the key36
Using the remote control37
Opening and closing
Ð from the inside40
Liftgate41
Tailgate41
Alarm system43
Electric power windows45
Sliding/Tilt sunroof with glass
moonroof46
Adjustments:
Seats48
Steering wheel51
Mirrors52
Seat, mirror and steering wheel
memory54
Car Memory, Key Memory55
Passenger safety systems:
Safety belts56
Airbags57
Child restraints60
Child seat security61
Child-safety locks62Driving:
Steering/Ignition lock63
Starting the engine64
Switching off the engine65
Parking brake65
Automatic transmission with
Steptronic66
Turn signal indicator/Headlamp
flasher69
Washer/Wiper system/Rain
sensor69
Rear window defroster71
Cruise control72
Everything under control:
Odometer, outside temperature
display74
Tachometer75
Energy control75
Fuel gauge75
Coolant temperature gauge76
Service Interval Display76
Check Control77
Onboard computer80
Technology for safety and
driving convenience:
Park Distance Control (PDC)82
Dynamic Stability Control
(DSC)83
Hill Descent Control (HDC)84
Controls
Page 34 of 201
34n
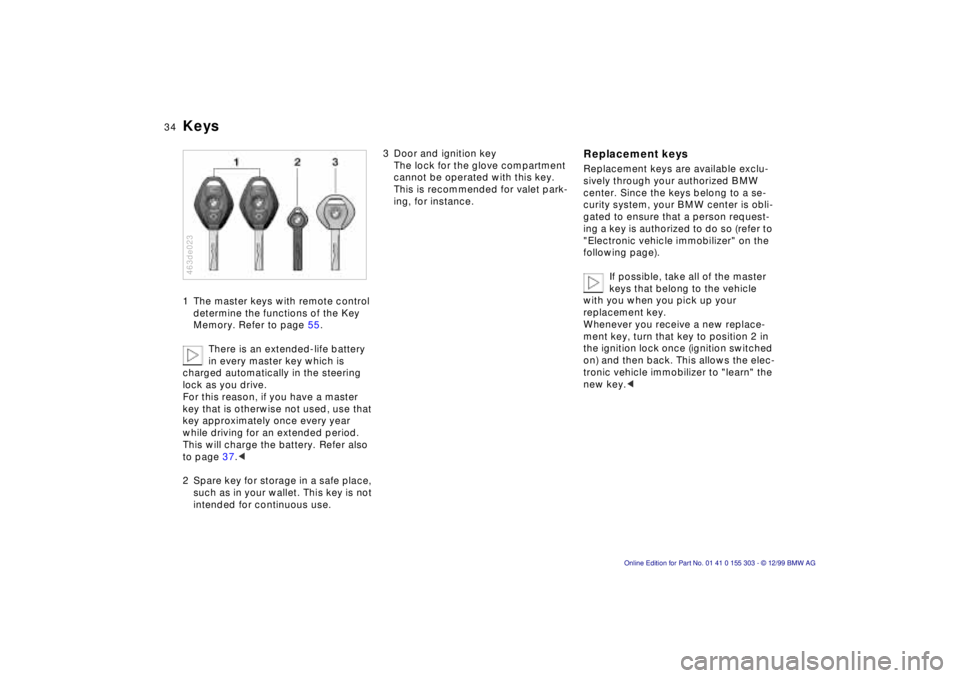
Keys 1 The master keys with remote control
determine the functions of the Key
Memory. Refer to page 55.
There is an extended-life battery
in every master key which is
charged automatically in the steering
lock as you drive.
For this reason, if you have a master
key that is otherwise not used, use that
key approximately once every year
while driving for an extended period.
This will charge the battery. Refer also
to page 37.<
2 Spare key for storage in a safe place,
such as in your wallet. This key is not
intended for continuous use. 463de023
3 Door and ignition key
The lock for the glove compartment
cannot be operated with this key.
This is recommended for valet park-
ing, for instance.
Replacement keys Replacement keys are available exclu-
sively through your authorized BMW
center. Since the keys belong to a se-
curity system, your BMW center is obli-
gated to ensure that a person request-
ing a key is authorized to do so (refer to
"Electronic vehicle immobilizer" on the
following page).
If possible, take all of the master
keys that belong to the vehicle
with you when you pick up your
replacement key.
Whenever you receive a new replace-
ment key, turn that key to position 2 in
the ignition lock once (ignition switched
on) and then back. This allows the elec-
tronic vehicle immobilizer to "learn" the
new key.<
Page 35 of 201
IndexDataTechnologyRepairsCar careControlsOverview
35n
Electronic vehicle immobilizer The key to security Your BMW is equipped with a passive
anti-theft system. This electronic immo-
bilization system is designed to reduce
the susceptibility of the vehicle to theft
by making it impossible to start the
engine using any means other than the
special keys furnished with the vehicle.
Your BMW center can cancel the elec-
tronic system authorization for individ-
ual keys (in the event of loss, for in-
stance). A deactivated key can no
longer be used to start the engine. 463de042
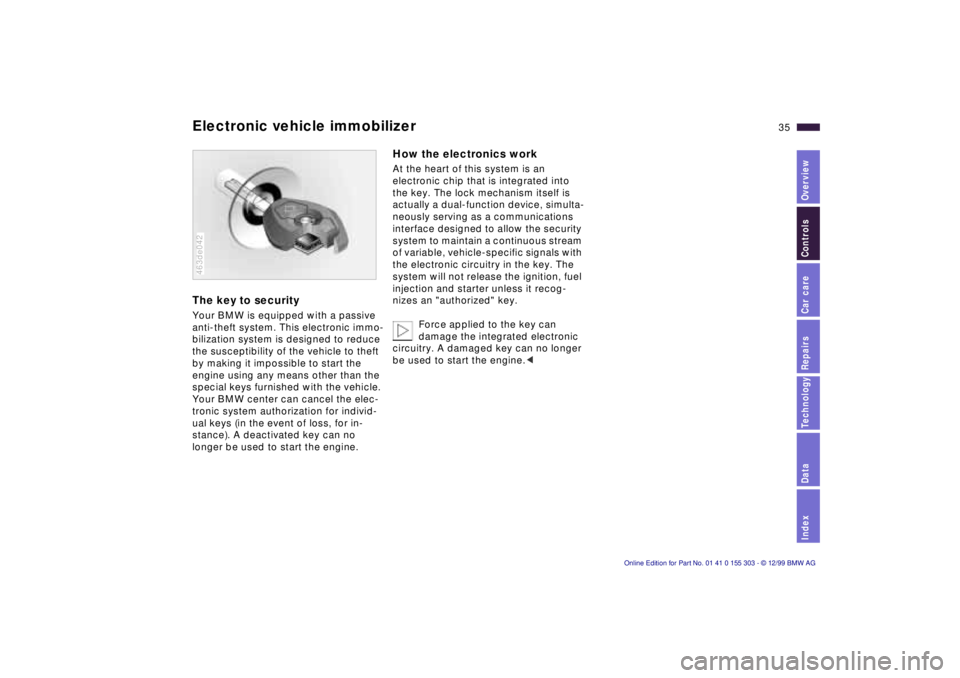
How the electronics work At the heart of this system is an
electronic chip that is integrated into
the key. The lock mechanism itself is
actually a dual-function device, simulta-
neously serving as a communications
interface designed to allow the security
system to maintain a continuous stream
of variable, vehicle-specific signals with
the electronic circuitry in the key. The
system will not release the ignition, fuel
injection and starter unless it recog-
nizes an "authorized" key.
Force applied to the key can
damage the integrated electronic
circuitry. A damaged key can no longer
be used to start the engine.<
Page 37 of 201
IndexDataTechnologyRepairsCar careControlsOverview
37n
Opening and closing Ð from the outside Using the remote control The remote control makes opening and
locking the doors of your vehicle very
convenient. Furthermore, it provides
three additional functions that you can
only execute by means of the remote
control:
>Switch on the interior lamps
With this function, you can also
"search for" your vehicle Ñ when
parked in an underground garage, for
instance.
>Open the liftgate
The liftgate will open slightly, regard-
less of whether it was previously
locked or unlocked.
>Panic Mode
In case of danger, you can trigger an
alarm.
When the vehicle is unlocked, the anti-
theft protection is deactivated and the
alarm system is disarmed; when the
vehicle is locked, the systems are acti-
vated or armed.
The interior lamps are switched on
when the vehicle is unlocked.
You can have an acknowledgment
signal set to confirm that the vehi-
cle is correctly closed.<
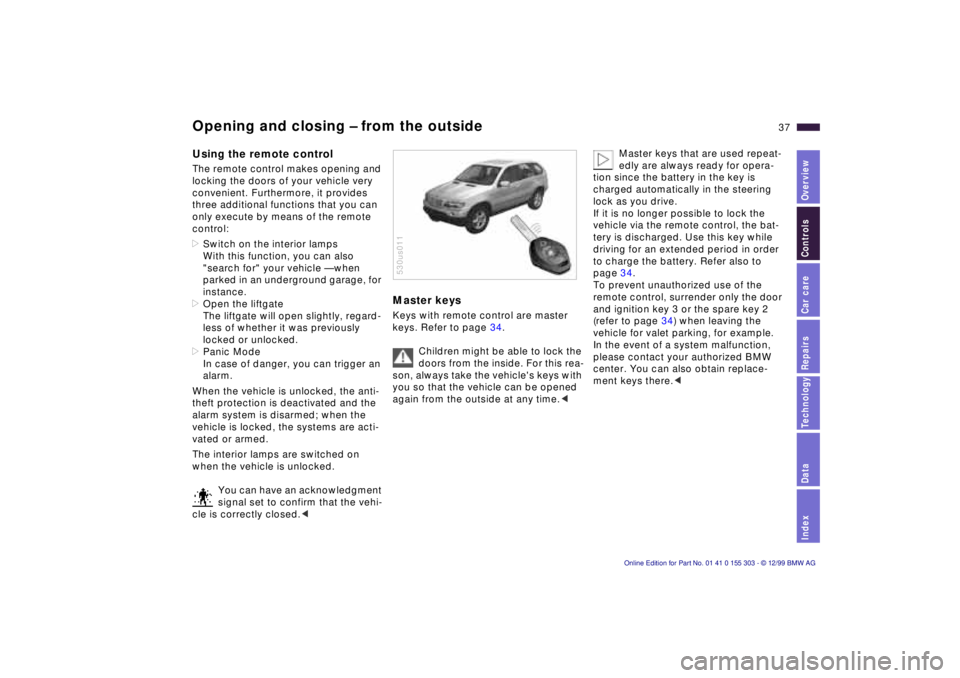
Master keys Keys with remote control are master
keys. Refer to page 34.
Children might be able to lock the
doors from the inside. For this rea-
son, always take the vehicle's keys with
you so that the vehicle can be opened
again from the outside at any time.< 530us011
Master keys that are used repeat-
edly are always ready for opera-
tion since the battery in the key is
charged automatically in the steering
lock as you drive.
If it is no longer possible to lock the
vehicle via the remote control, the bat-
tery is discharged. Use this key while
driving for an extended period in order
to charge the battery. Refer also to
page 34.
To prevent unauthorized use of the
remote control, surrender only the door
and ignition key 3 or the spare key 2
(refer to page 34) when leaving the
vehicle for valet parking, for example.
In the event of a system malfunction,
please contact your authorized BMW
center. You can also obtain replace-
ment keys there.<
Page 45 of 201
IndexDataTechnologyRepairsCar careControlsOverview
45n
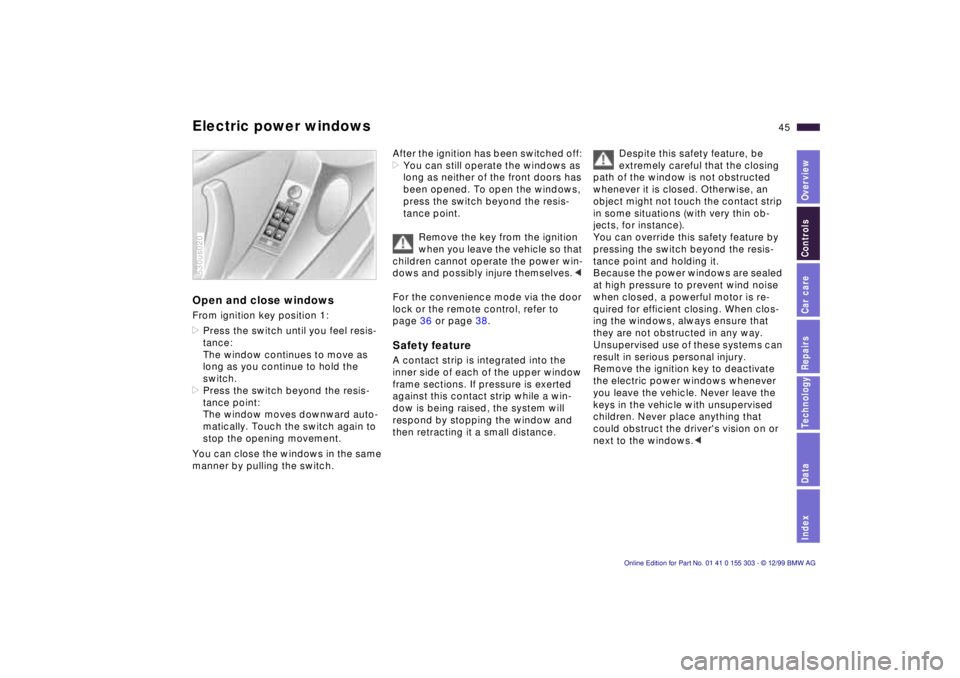
Electric power windows Open and close windows From ignition key position 1:
>Press the switch until you feel resis-
tance:
The window continues to move as
long as you continue to hold the
switch.
>Press the switch beyond the resis-
tance point:
The window moves downward auto-
matically. Touch the switch again to
stop the opening movement.
You can close the windows in the same
manner by pulling the switch. 530us020
After the ignition has been switched off:
>You can still operate the windows as
long as neither of the front doors has
been opened. To open the windows,
press the switch beyond the resis-
tance point.
Remove the key from the ignition
when you leave the vehicle so that
children cannot operate the power win-
dows and possibly injure themselves.<
For the convenience mode via the door
lock or the remote control, refer to
page 36 or page 38. Safety feature A contact strip is integrated into the
inner side of each of the upper window
frame sections. If pressure is exerted
against this contact strip while a win-
dow is being raised, the system will
respond by stopping the window and
then retracting it a small distance.
Despite this safety feature, be
extremely careful that the closing
path of the window is not obstructed
whenever it is closed. Otherwise, an
object might not touch the contact strip
in some situations (with very thin ob-
jects, for instance).
You can override this safety feature by
pressing the switch beyond the resis-
tance point and holding it.
Because the power windows are sealed
at high pressure to prevent wind noise
when closed, a powerful motor is re-
quired for efficient closing. When clos-
ing the windows, always ensure that
they are not obstructed in any way.
Unsupervised use of these systems can
result in serious personal injury.
Remove the ignition key to deactivate
the electric power windows whenever
you leave the vehicle. Never leave the
keys in the vehicle with unsupervised
children. Never place anything that
could obstruct the driver's vision on or
next to the windows.<
Page 46 of 201
46n
Electric power windows Sliding/Tilt sunroof with glass moonroof
*
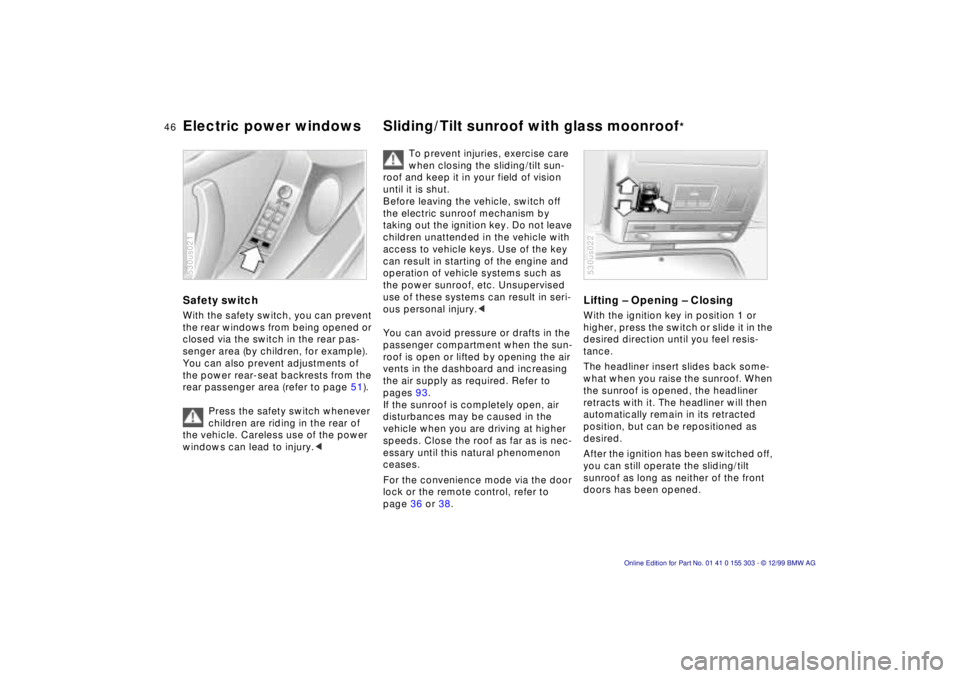
Safety switch With the safety switch, you can prevent
the rear windows from being opened or
closed via the switch in the rear pas-
senger area (by children, for example).
You can also prevent adjustments of
the power rear-seat backrests from the
rear passenger area (refer to page 51).
Press the safety switch whenever
children are riding in the rear of
the vehicle. Careless use of the power
windows can lead to injury.< 530us021
To prevent injuries, exercise care
when closing the sliding/tilt sun-
roof and keep it in your field of vision
until it is shut.
Before leaving the vehicle, switch off
the electric sunroof mechanism by
taking out the ignition key. Do not leave
children unattended in the vehicle with
access to vehicle keys. Use of the key
can result in starting of the engine and
operation of vehicle systems such as
the power sunroof, etc. Unsupervised
use of these systems can result in seri-
ous personal injury.<
You can avoid pressure or drafts in the
passenger compartment when the sun-
roof is open or lifted by opening the air
vents in the dashboard and increasing
the air supply as required. Refer to
pages 93.
If the sunroof is completely open, air
disturbances may be caused in the
vehicle when you are driving at higher
speeds. Close the roof as far as is nec-
essary until this natural phenomenon
ceases.
For the convenience mode via the door
lock or the remote control, refer to
page 36 or 38.
Lifting Ð Opening Ð Closing With the ignition key in position 1 or
higher, press the switch or slide it in the
desired direction until you feel resis-
tance.
The headliner insert slides back some-
what when you raise the sunroof. When
the sunroof is opened, the headliner
retracts with it. The headliner will then
automatically remain in its retracted
position, but can be repositioned as
desired.
After the ignition has been switched off,
you can still operate the sliding/tilt
sunroof as long as neither of the front
doors has been opened. 530us022
Page 52 of 201
52n
Adjusting steering wheel Mirrors Automatic steering wheel
adjustment In order to make it easier to get into and
out of the vehicle, the steering wheel
automatically moves into the top posi-
tion and returns to the driving (memory)
position.
This automatic feature is controlled by
the position of the ignition key and by
the driver's door.
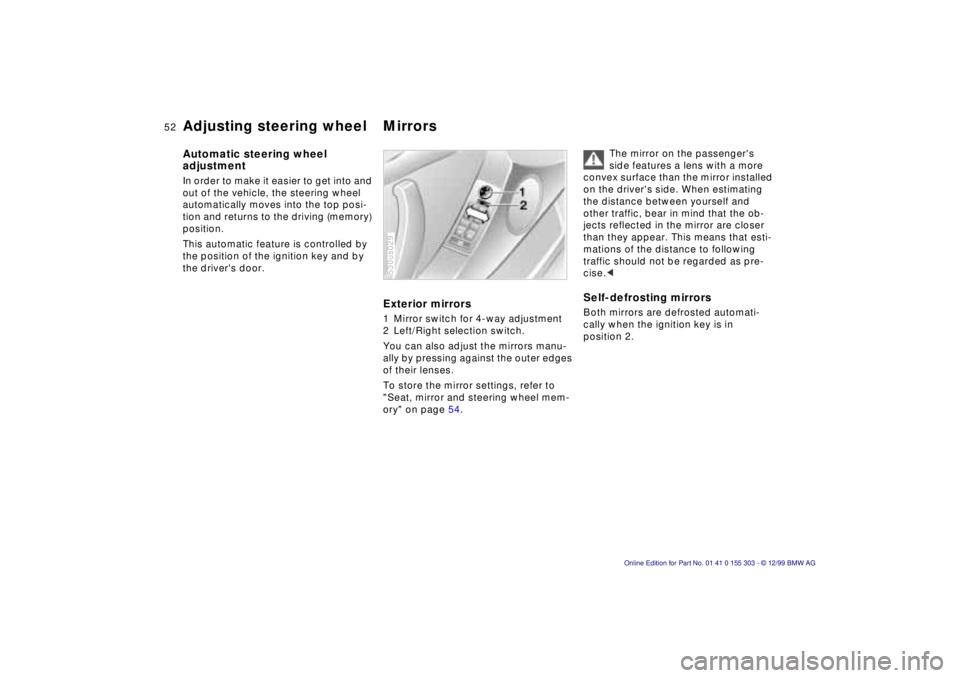
Exterior mirrors 1 Mirror switch for 4-way adjustment
2 Left/Right selection switch.
You can also adjust the mirrors manu-
ally by pressing against the outer edges
of their lenses.
To store the mirror settings, refer to
"Seat, mirror and steering wheel mem-
ory" on page 54. 530us029
The mirror on the passenger's
side features a lens with a more
convex surface than the mirror installed
on the driver's side. When estimating
the distance between yourself and
other traffic, bear in mind that the ob-
jects reflected in the mirror are closer
than they appear. This means that esti-
mations of the distance to following
traffic should not be regarded as pre-
cise.<
Self-defrosting mirrors Both mirrors are defrosted automati-
cally when the ignition key is in
position 2.
Page 53 of 201
IndexDataTechnologyRepairsCar careControlsOverview
53n
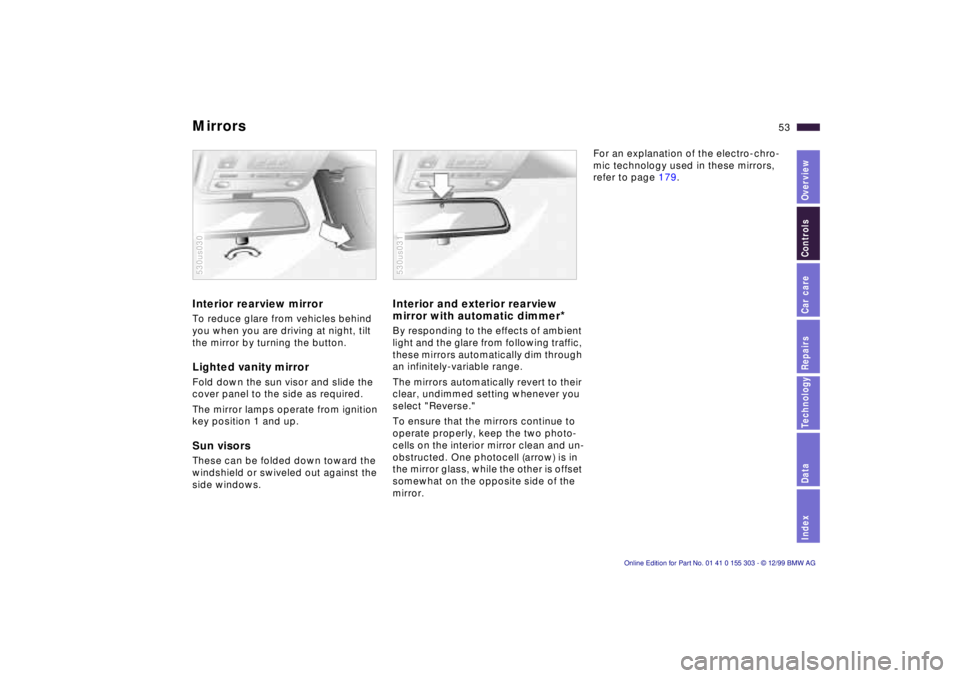
Mirrors Interior rearview mirror To reduce glare from vehicles behind
you when you are driving at night, tilt
the mirror by turning the button. Lighted vanity mirror Fold down the sun visor and slide the
cover panel to the side as required.
The mirror lamps operate from ignition
key position 1 and up. Sun visors These can be folded down toward the
windshield or swiveled out against the
side windows. 530us030
Interior and exterior rearview
mirror with automatic dimmer
*
By responding to the effects of ambient
light and the glare from following traffic,
these mirrors automatically dim through
an infinitely-variable range.
The mirrors automatically revert to their
clear, undimmed setting whenever you
select "Reverse."
To ensure that the mirrors continue to
operate properly, keep the two photo-
cells on the interior mirror clean and un-
obstructed. One photocell (arrow) is in
the mirror glass, while the other is offset
somewhat on the opposite side of the
mirror. 530us031
For an explanation of the electro-chro-
mic technology used in these mirrors,
refer to page 179.
Page 54 of 201
54n
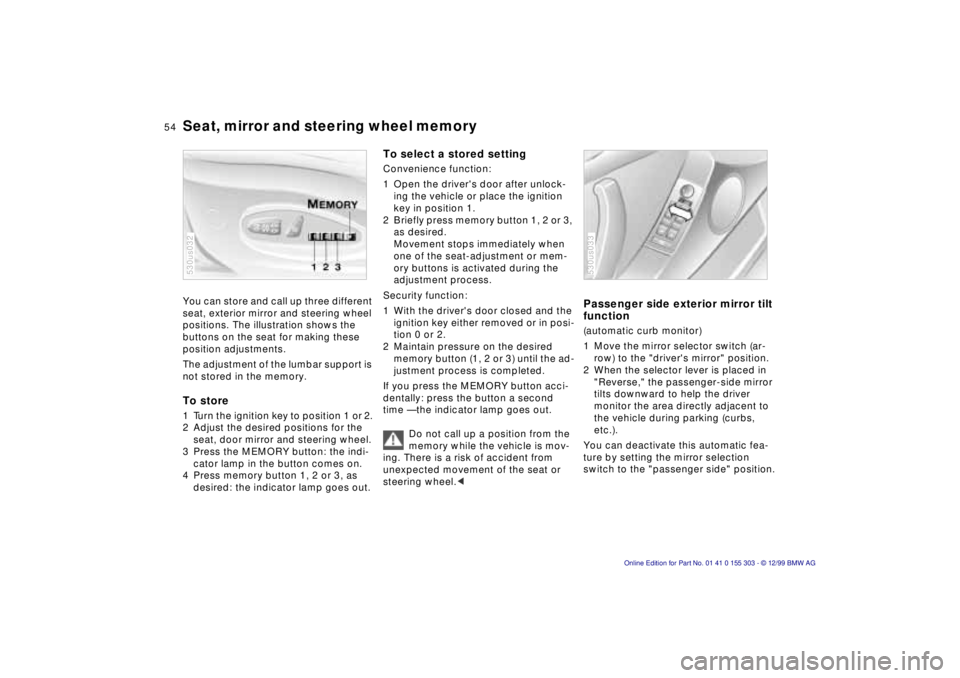
Seat, mirror and steering wheel memory You can store and call up three different
seat, exterior mirror and steering wheel
positions. The illustration shows the
buttons on the seat for making these
position adjustments.
The adjustment of the lumbar support is
not stored in the memory. To store 1 Turn the ignition key to position 1 or 2.
2 Adjust the desired positions for the
seat, door mirror and steering wheel.
3 Press the MEMORY button: the indi-
cator lamp in the button comes on.
4 Press memory button 1, 2 or 3, as
desired: the indicator lamp goes out. 530us032
To select a stored settingConvenience function:
1 Open the driver's door after unlock-
ing the vehicle or place the ignition
key in position 1.
2 Briefly press memory button 1, 2 or 3,
as desired.
Movement stops immediately when
one of the seat-adjustment or mem-
ory buttons is activated during the
adjustment process.
Security function:
1 With the driver's door closed and the
ignition key either removed or in posi-
tion 0 or 2.
2 Maintain pressure on the desired
memory button (1, 2 or 3) until the ad-
justment process is completed.
If you press the MEMORY button acci-
dentally: press the button a second
time Ñ the indicator lamp goes out.
Do not call up a position from the
memory while the vehicle is mov-
ing. There is a risk of accident from
unexpected movement of the seat or
steering wheel.<
Passenger side exterior mirror tilt
function(automatic curb monitor)
1 Move the mirror selector switch (ar-
row) to the "driver's mirror" position.
2 When the selector lever is placed in
"Reverse," the passenger-side mirror
tilts downward to help the driver
monitor the area directly adjacent to
the vehicle during parking (curbs,
etc.).
You can deactivate this automatic fea-
ture by setting the mirror selection
switch to the "passenger side" position.530us033