key BMW X5 4.4I 2005 E53 Owner's Guide
[x] Cancel search | Manufacturer: BMW, Model Year: 2005, Model line: X5 4.4I, Model: BMW X5 4.4I 2005 E53Pages: 200, PDF Size: 3.55 MB
Page 82 of 200
82n
Check Control Computer>TRANS. FAILSAFE PROG
*
Please consult the nearest BMW
Sports Activity Vehicle center, refer to
page69
>CHECK BRAKE LININGS
Have the brake pads inspected by
your BMW Sports Activity Vehicle
center, refer to page140
>CHECK COOLANT LEVEL
Coolant too low, top off at the next
opportunity, refer to page152
>ENGINE FAILSAFE PROG
Fault in the engine electronics.
You can continue to drive with
reduced engine output or engine
speed.
Please have the system inspected by
your BMW Sports Activity Vehicle
center.
Displays after completion of trip All of the malfunctions registered during
the trip appear consecutively when the
ignition key is turned to position 0.
The following displays will appear when
appropriate:
>LIGHTS ON
>KEY IN IGNITION LOCK
>CHECK ENGINE OIL LEV
Top up engine oil at the next oppor-
tunity, e.g. while refueling, refer to
page150. This display appears when you open
the driver's door after parking the vehi-
cle. A supplementary acoustic signal is
also heard.
Status messages remain available with
the CHECK button 3 for a period of
approx. three minutes after the display
goes out and the key is removed from
the ignition lock. If there were multiple
messages, press the CHECK button
repeatedly to view them all in
sequence.
Checking Check Control Press the CHECK button 3 with the
ignition key in position 2:
CHECK CONTROL OK appears in the
display.
No malfunctions are present in the
monitored systems. Computer You can find a description of the com-
puter on pages82 and88 as well as in
the Owner's Manual for Onboard Com-
puter.
You can have the Check Control
and computer messages dis-
played in a different language.<
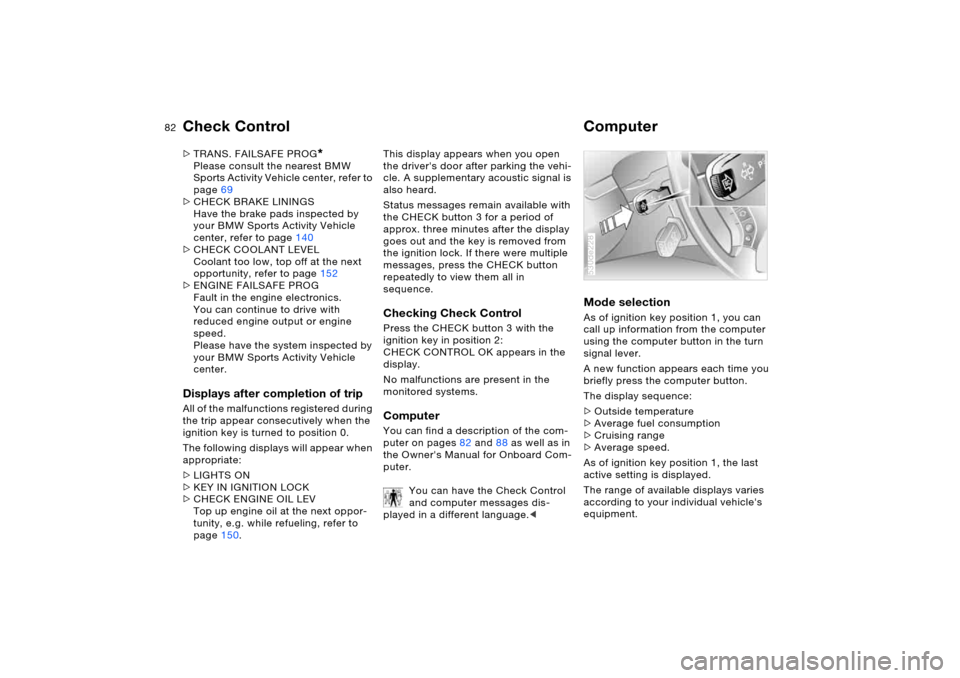
Mode selection As of ignition key position 1, you can
call up information from the computer
using the computer button in the turn
signal lever.
A new function appears each time you
briefly press the computer button.
The display sequence:
>Outside temperature
>Average fuel consumption
>Cruising range
>Average speed.
As of ignition key position 1, the last
active setting is displayed.
The range of available displays varies
according to your individual vehicle's
equipment.530de228
Page 83 of 200
83n
OverviewControlsMaintenanceRepairsDataIndex
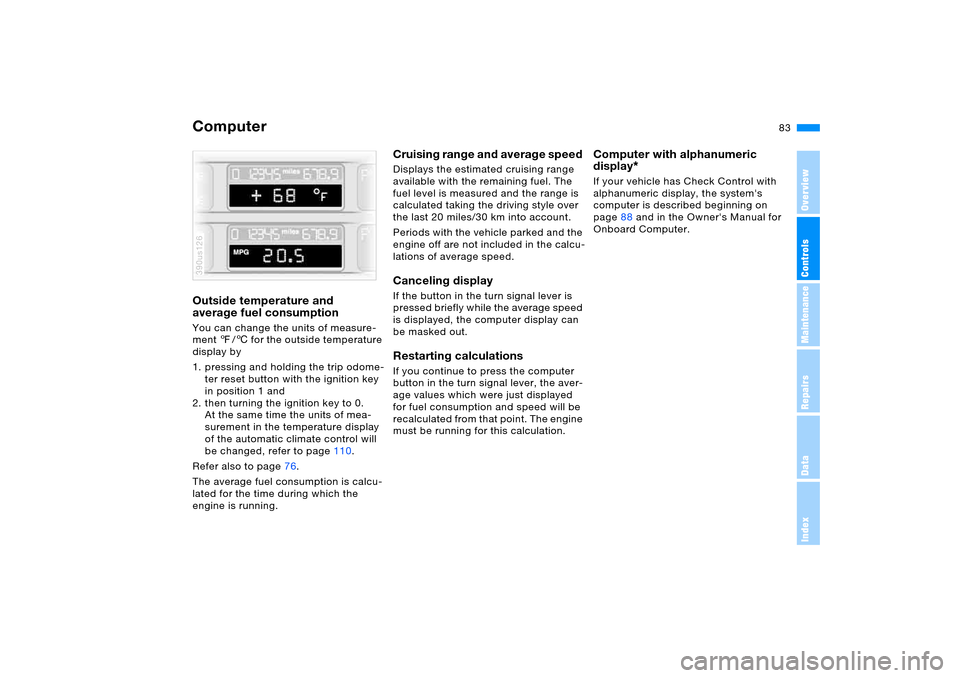
ComputerOutside temperature and
average fuel consumption You can change the units of measure-
ment 7/6 for the outside temperature
display by
1. pressing and holding the trip odome-
ter reset button with the ignition key
in position 1 and
2. then turning the ignition key to 0.
At the same time the units of mea-
surement in the temperature display
of the automatic climate control will
be changed, refer to page110.
Refer also to page76.
The average fuel consumption is calcu-
lated for the time during which the
engine is running.390us126
Cruising range and average speed Displays the estimated cruising range
available with the remaining fuel. The
fuel level is measured and the range is
calculated taking the driving style over
the last 20 miles/30 km into account.
Periods with the vehicle parked and the
engine off are not included in the calcu-
lations of average speed.Canceling display If the button in the turn signal lever is
pressed briefly while the average speed
is displayed, the computer display can
be masked out. Restarting calculations If you continue to press the computer
button in the turn signal lever, the aver-
age values which were just displayed
for fuel consumption and speed will be
recalculated from that point. The engine
must be running for this calculation.
Computer with alphanumeric
display
*
If your vehicle has Check Control with
alphanumeric display, the system's
computer is described beginning on
page88 and in the Owner's Manual for
Onboard Computer.
Page 86 of 200
86n
Digital clock in MIDReminder signal You can program a reminder signal –
memo – to be heard every hour, so that
you are sure not to miss a news broad-
cast.
Press the left side of the button.
Press:
MEMO OFF appears in the display for
entry and call-up buttons, and the tone
symbol will appear in the upper right of
the display.
A signal is then heard 15 seconds
before each hour.
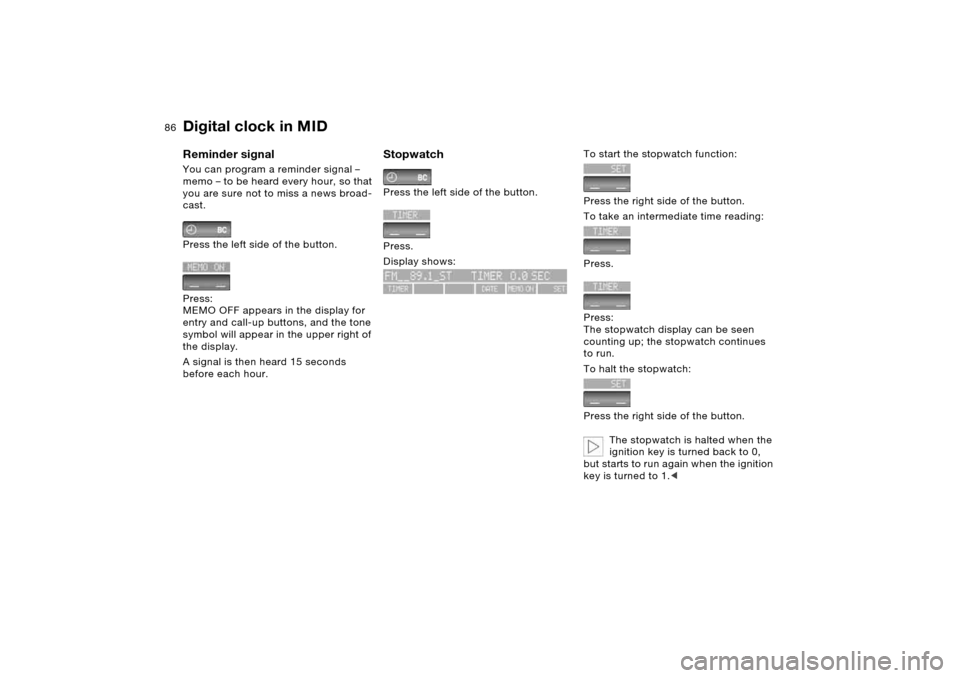
Stopwatch Press the left side of the button.
Press.
Display shows:
To start the stopwatch function:
Press the right side of the button.
To take an intermediate time reading:
Press.
Press:
The stopwatch display can be seen
counting up; the stopwatch continues
to run.
To halt the stopwatch:
Press the right side of the button.
The stopwatch is halted when the
ignition key is turned back to 0,
but starts to run again when the ignition
key is turned to 1.<
Page 87 of 200
87n
OverviewControlsMaintenanceRepairsDataIndex
Digital clock in MIDEntering switch-on times for
independent ventilation You can enter two different switch-on
times.
The ventilation will switch off automati-
cally after 30 minutes.
Please follow the instructions for
operating the independent ventila-
tion that start on page116.<
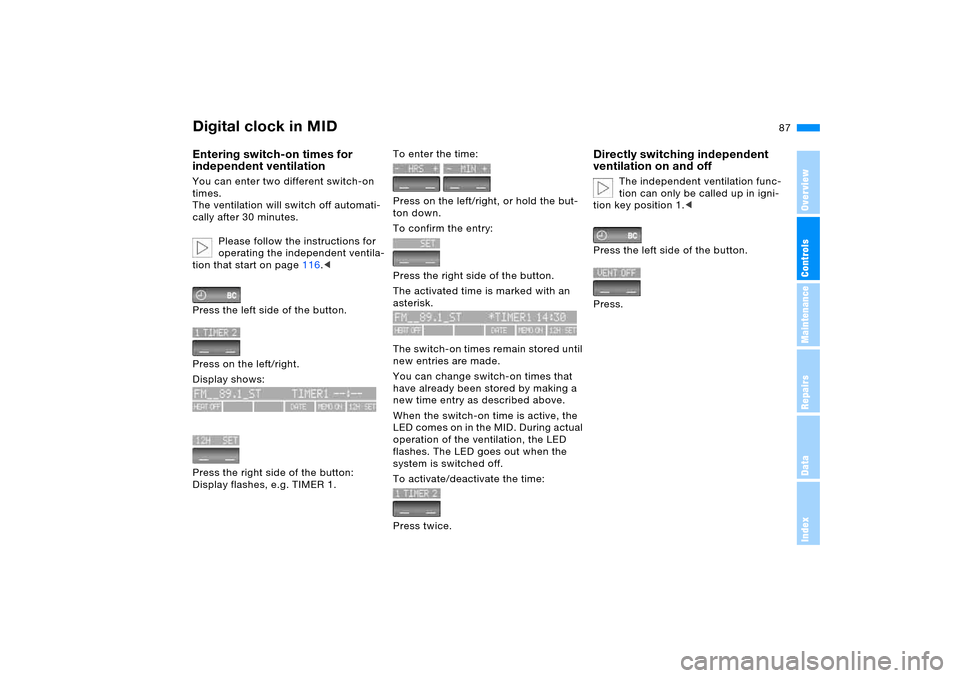
Press the left side of the button.
Press on the left/right.
Display shows:
Press the right side of the button:
Display flashes, e.g. TIMER 1.
To enter the time:
Press on the left/right, or hold the but-
ton down.
To confirm the entry:
Press the right side of the button.
The activated time is marked with an
asterisk.
The switch-on times remain stored until
new entries are made.
You can change switch-on times that
have already been stored by making a
new time entry as described above.
When the switch-on time is active, the
LED comes on in the MID. During actual
operation of the ventilation, the LED
flashes. The LED goes out when the
system is switched off.
To activate/deactivate the time:
Press twice.
Directly switching independent
ventilation on and off
The independent ventilation func-
tion can only be called up in igni-
tion key position 1.<
Press the left side of the button.
Press.
Page 91 of 200
91n
OverviewControlsMaintenanceRepairsDataIndex
Computer
* in MID
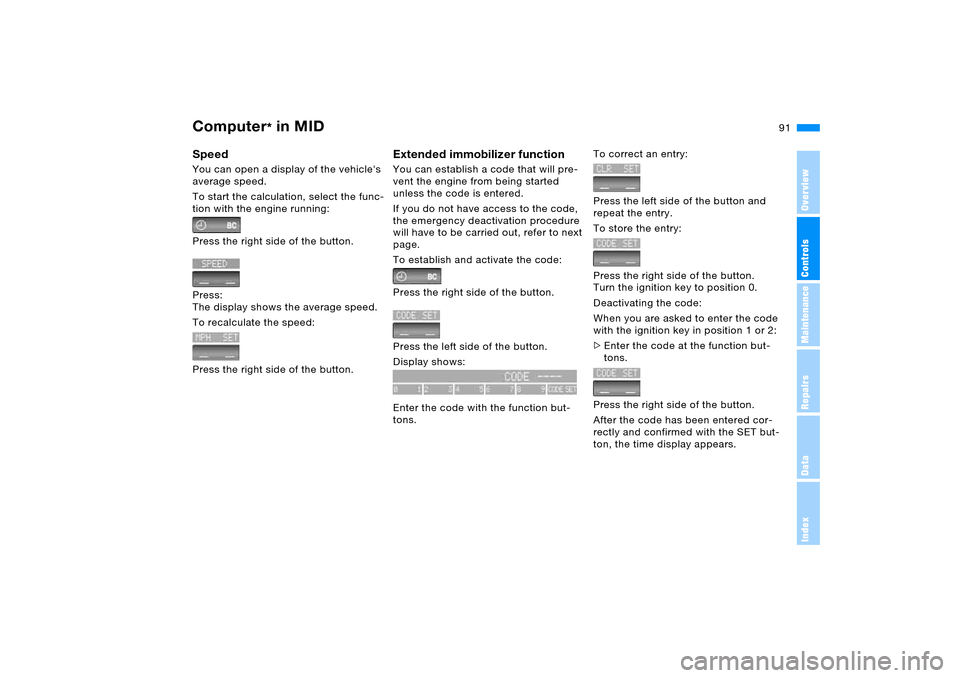
Speed You can open a display of the vehicle's
average speed.
To start the calculation, select the func-
tion with the engine running:
Press the right side of the button.
Press:
The display shows the average speed.
To recalculate the speed:
Press the right side of the button.
Extended immobilizer function You can establish a code that will pre-
vent the engine from being started
unless the code is entered.
If you do not have access to the code,
the emergency deactivation procedure
will have to be carried out, refer to next
page.
To establish and activate the code:
Press the right side of the button.
Press the left side of the button.
Display shows:
Enter the code with the function but-
tons.
To correct an entry:
Press the left side of the button and
repeat the entry.
To store the entry:
Press the right side of the button.
Turn the ignition key to position 0.
Deactivating the code:
When you are asked to enter the code
with the ignition key in position 1 or 2:
>Enter the code at the function but-
tons.
Press the right side of the button.
After the code has been entered cor-
rectly and confirmed with the SET but-
ton, the time display appears.
Page 92 of 200
92n
Computer
* in MID
After three incorrect code entries, or
three attempts to start the engine with-
out a code entry, the alarm will sound
for 30 seconds on vehicles fitted with
an alarm system.
Deactivating the alarm in an emer-
gency:
If you have forgotten the code, proceed
as follows:
1. Disconnect the battery, wait approx.
2 minutes, then reconnect it. Note
that on vehicles with an alarm sys-
tem, the alarm will sound
2. Set the ignition key to position 1: the
time display will count down for the
next ten minutes
3. After ten minutes, start the engine.
If the code becomes available
again in the meantime, it can be
entered during the waiting period after
pressing the CODE button.<
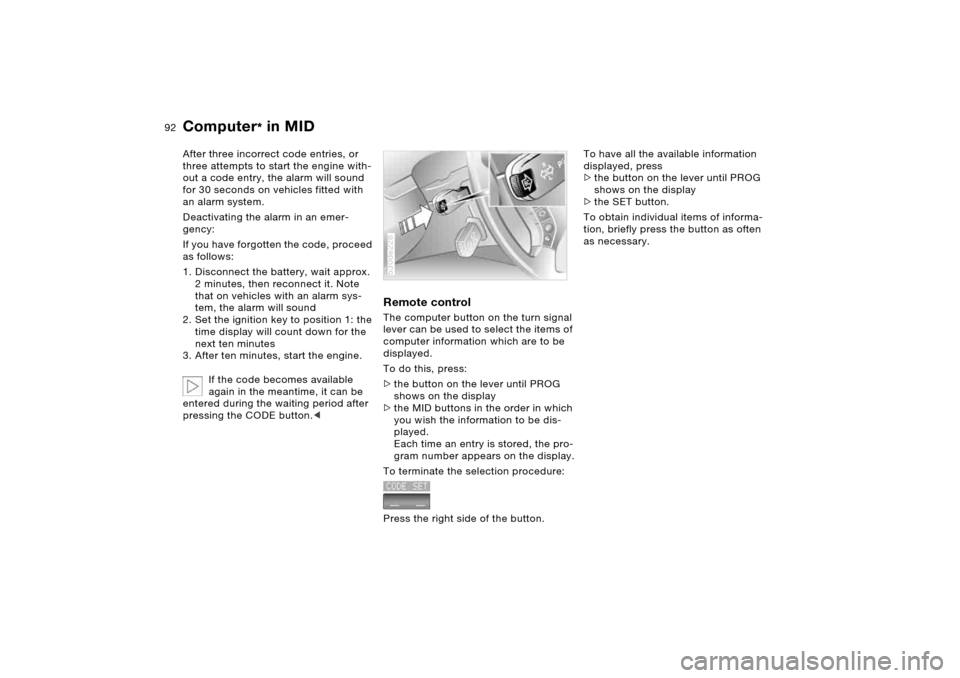
Remote controlThe computer button on the turn signal
lever can be used to select the items of
computer information which are to be
displayed.
To do this, press:
>the button on the lever until PROG
shows on the display
>the MID buttons in the order in which
you wish the information to be dis-
played.
Each time an entry is stored, the pro-
gram number appears on the display.
To terminate the selection procedure:
Press the right side of the button.530de228
To have all the available information
displayed, press
>the button on the lever until PROG
shows on the display
>the SET button.
To obtain individual items of informa-
tion, briefly press the button as often
as necessary.
Page 93 of 200
93n
OverviewControlsMaintenanceRepairsDataIndex
PDC Park Distance Control
*
The concept PDC provides extra safety and conve-
nience during parking maneuvers. Sig-
nal tones indicate the current distance
to an object behind or in front of your
vehicle. To do this, four ultrasonic sen-
sors in the front and rear bumpers each
measure the distance to the nearest
object. The detection range of the front
sensors and the two sensors located at
the ends of the rear bumper is approx.
2 ft/60 cm, while the rear center sen-
sors can detect objects to a distance
of approx. 5 ft/1.50 m.
PDC is a parking aid that can
indicate objects when they are
approached slowly, as is usually the
case when parking. Avoid approaching
objects too fast, otherwise the system
may give warning of physical obstacles
too late.<
Automatic operationThe system starts to operate automati-
cally approx. one second after you
select reverse or move the selector
lever into the R position with the ignition
key in position 2. Wait this short period
before backing up. The system
switches off when you shift back out
of reverse.
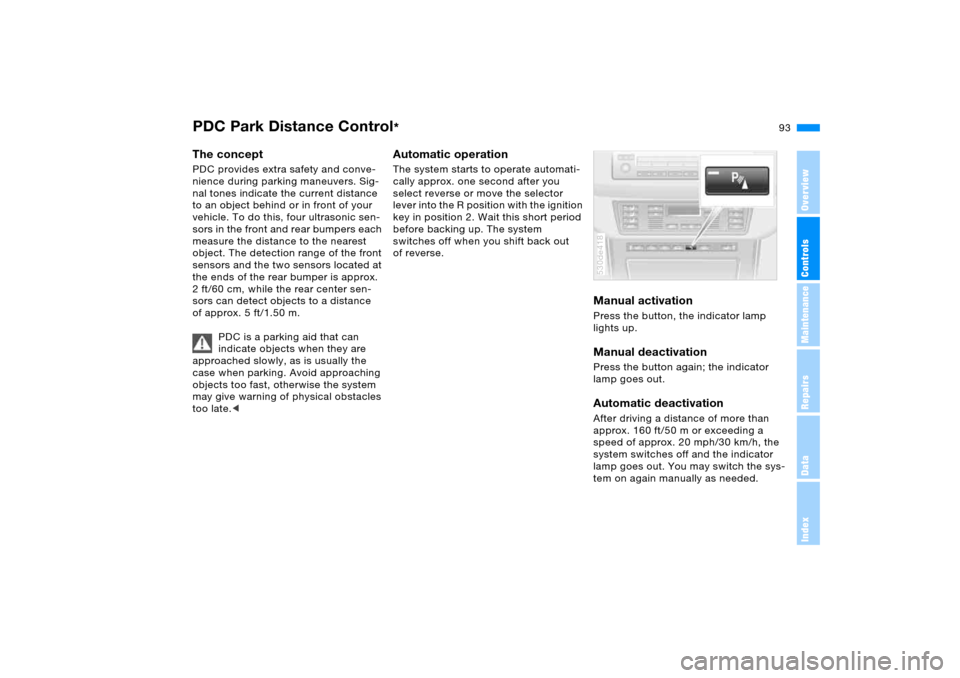
Manual activation Press the button, the indicator lamp
lights up. Manual deactivation Press the button again; the indicator
lamp goes out.Automatic deactivationAfter driving a distance of more than
approx. 160 ft/50 m or exceeding a
speed of approx. 20 mph/30 km/h, the
system switches off and the indicator
lamp goes out. You may switch the sys-
tem on again manually as needed. 530de418
Page 100 of 200
100n
2-axle self-leveling suspension
*
>LED for current ride height flashes for
roughly 3 seconds when you press
the button: change in ride height is
not possible.
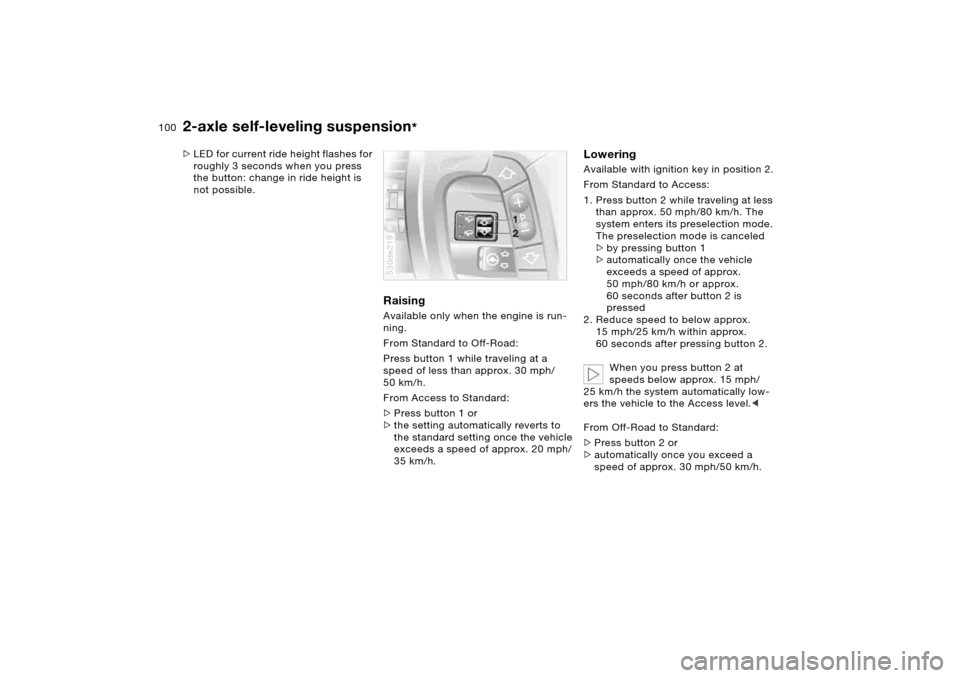
Raising Available only when the engine is run-
ning.
From Standard to Off-Road:
Press button 1 while traveling at a
speed of less than approx. 30 mph/
50 km/h.
From Access to Standard:
>Press button 1 or
>the setting automatically reverts to
the standard setting once the vehicle
exceeds a speed of approx. 20 mph/
35 km/h.530de219
Lowering Available with ignition key in position 2.
From Standard to Access:
1. Press button 2 while traveling at less
than approx. 50 mph/80 km/h. The
system enters its preselection mode.
The preselection mode is canceled
>by pressing button 1
>automatically once the vehicle
exceeds a speed of approx.
50 mph/80 km/h or approx.
60 seconds after button 2 is
pressed
2. Reduce speed to below approx.
15 mph/25 km/h within approx.
60 seconds after pressing button 2.
When you press button 2 at
speeds below approx. 15 mph/
25 km/h the system automatically low-
ers the vehicle to the Access level.<
From Off-Road to Standard:
>Press button 2 or
>automatically once you exceed a
speed of approx. 30 mph/50 km/h.
Page 103 of 200
103n
OverviewControlsMaintenanceRepairsDataIndex
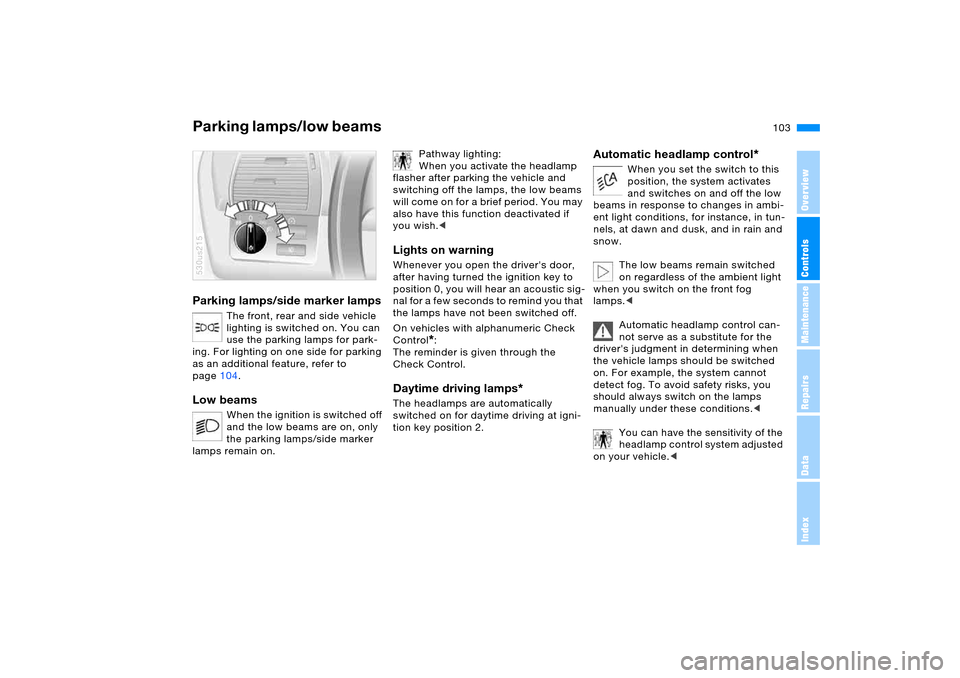
Parking lamps/side marker lamps
The front, rear and side vehicle
lighting is switched on. You can
use the parking lamps for park-
ing. For lighting on one side for parking
as an additional feature, refer to
page104.
Low beams
When the ignition is switched off
and the low beams are on, only
the parking lamps/side marker
lamps remain on.
530us215
Pathway lighting:
When you activate the headlamp
flasher after parking the vehicle and
switching off the lamps, the low beams
will come on for a brief period. You may
also have this function deactivated if
you wish.<
Lights on warning Whenever you open the driver's door,
after having turned the ignition key to
position 0, you will hear an acoustic sig-
nal for a few seconds to remind you that
the lamps have not been switched off.
On vehicles with alphanumeric Check
Control
*:
The reminder is given through the
Check Control.
Daytime driving lamps
*
The headlamps are automatically
switched on for daytime driving at igni-
tion key position 2.
Automatic headlamp control
*
When you set the switch to this
position, the system activates
and switches on and off the low
beams in response to changes in ambi-
ent light conditions, for instance, in tun-
nels, at dawn and dusk, and in rain and
snow.
The low beams remain switched
on regardless of the ambient light
when you switch on the front fog
lamps.<
Automatic headlamp control can-
not serve as a substitute for the
driver's judgment in determining when
the vehicle lamps should be switched
on. For example, the system cannot
detect fog. To avoid safety risks, you
should always switch on the lamps
manually under these conditions.<
You can have the sensitivity of the
headlamp control system adjusted
on your vehicle.<
Parking lamps/low beams
Page 104 of 200
104n
Adaptive Head Light
*
High beams/roadside parking lamps
The concept Adaptive Head Light is a variable head-
lamp control system that enables better
illumination of the road surface.
Depending on the steering angle and
other assumptions, the light from the
headlamp follows the course of the
road.Activating Adaptive Head Light
In ignition key position 2, turn
the light switch to the position
'Automatic headlamp control',
refer to page103.
To avoid blinding oncoming traffic, the
Adaptive Head Light
>is not active when driving in reverse
>is active only when pointing toward
the passenger side.
MalfunctionThe LED next to the symbol for auto-
matic headlamp control flashes. Adap-
tive Head Light is faulty or has failed.
Have the system checked as soon as
possible.
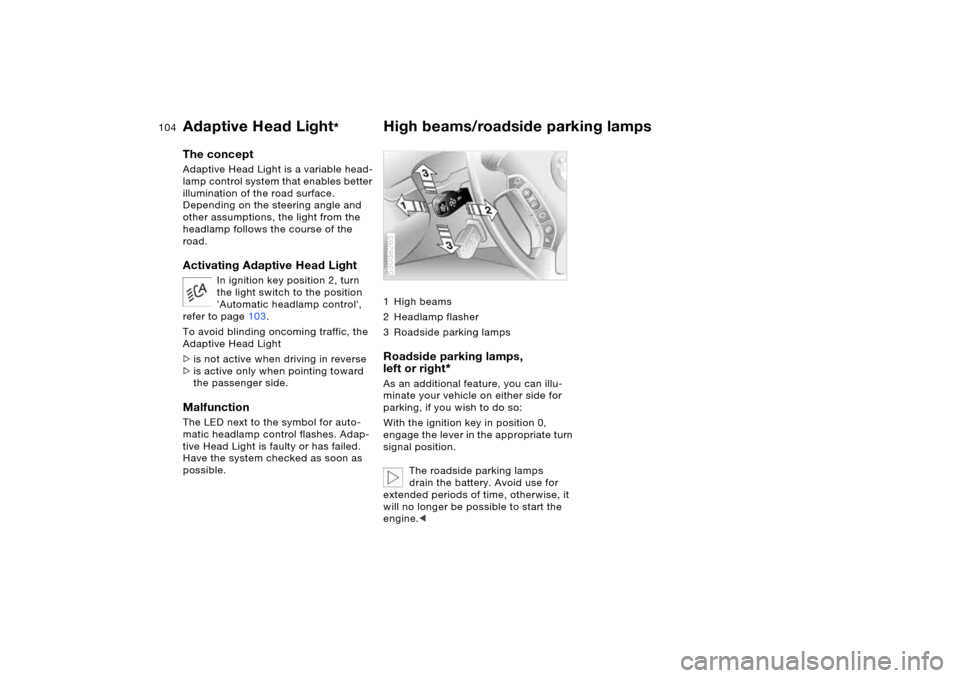
1High beams
2 Headlamp flasher
3 Roadside parking lamps Roadside parking lamps,
left or right
*
As an additional feature, you can illu-
minate your vehicle on either side for
parking, if you wish to do so:
With the ignition key in position 0,
engage the lever in the appropriate turn
signal position.
The roadside parking lamps
drain the battery. Avoid use for
extended periods of time, otherwise, it
will no longer be possible to start the
engine.<530de265