flat tire BMW X5 4.6IS 2003 User Guide
[x] Cancel search | Manufacturer: BMW, Model Year: 2003, Model line: X5 4.6IS, Model: BMW X5 4.6IS 2003Pages: 183, PDF Size: 2.31 MB
Page 136 of 183

136n
Tire replacement TemperatureThe temperature grades are A, the
highest, B, and C, representing the
tire's resistance to the generation of
heat and its ability to dissipate heat
when tested under controlled condi-
tions on a specified indoor laboratory
test wheel.
Sustained high temperature can cause
the material of the tire to degenerate
and reduce tire life, and excessive tem-
perature can lead to a sudden flat tire.
The grade C corresponds to a level of
performance which all passenger car
tires must meet under the Federal
Motor Car Safety Standard No. 109.
Grades B and A represent higher levels
of performance on the laboratory test
wheel than the minimum required by
law.
The temperature grade for this tire
is established for a tire that is
properly inflated and not overloaded.
Excessive speed, underinflation, or
excessive loading, either separately or
in combination, can cause heat buildup
and possible a tire failure.<
Uniform Tire Quality Grading Quality grades can be found where
applicable on the tire sidewall between
tread shoulder and maximum section
width. For example:
Tread wear 200
Traction AA
Temperature A
Tire age BMW recommends the replacement of
all tires Ð i.e. also of the spare tire, inde-
pendently of actual wear Ð when the
tires are no more than 6 years old, even
if a tire life of 10 years is possible.
The date on which the tire was manu-
factured is indicated by the code on the
sidewall:
DOT ... 2602 indicates that the tire was
manufactured in week 26 of 2002.
Page 137 of 183
137n
OverviewControlsMaintenanceRepairsDataIndex
Wheel and tire combinations The right choice
Use only wheels and tires
approved by BMW for the corre-
sponding vehicle model, as otherwise
the tires may make contact with the
body as the result of tolerances despite
the same nominal size being used,
resulting in serious accidents. If non-
approved wheels and tires are used,
BMW cannot evaluate their suitability,
and therefore cannot be held liable for
driving safety.<
BMW tests certain tire brands for each
tire size, classifies them as road-safe
and approves them. Consult your
BMW Sports Activity Vehicle center for
more information. Observe any regula-
tions applicable in the country of use,
e.g. requiring entry in the vehicle docu-
ments.
The correct wheel and tire combi-
nation affects different systems
such as ABS, ATC and DSC. The func-
tion of these systems is impaired if
improper wheel and tire combinations
are used.
For this reason, use only tires of the
same brand and tread pattern on the
vehicle and, for example, restore the
approved wheel and tire combination
following a flat tire as soon as
possible.<
The use of rims and lug bolts that
do not meet the specifications of
the original factory-installed equipment
will affect the safe operation of your
vehicle and may cause an accident and
personal injury.
Never mix tires of different design, such
as steel-belted radials with radial bias
belted or bias-ply tires, etc. Mixing tire
types will adversely affect roadholding
and can lead to loss of vehicle
control.<
Storage Store wheels or tires in a cool, dry
place, protecting them against light
whenever possible. Protect the tires
against contact with oil, grease and
fuel.
Page 138 of 183

138n
Winter tires Snow chains
*
Choosing the right tire BMW recommends winter tires Ð M+S
radial tires Ð for operation under
inclement winter driving conditions.
While so-called all-season tires with
M+S designation provide better winter
traction than summer tires with the load
ratings H, V, W, Y and ZR, they gener-
ally do not achieve the performance of
winter tires.
In the interests of safe tracking and
steering response, install radial tires
made by the same manufacturer and
with the same tread configuration on all
four wheels if you elect to mount winter
tires.
Do not exceed specified
maximum speeds
Never exceed the maximum speed
for which the tires are rated.
Unprofessional attempts by laymen to
service tires can lead to damage and
accidents.
Have this work performed by skilled
professionals only. Your BMW Sports
Activity Vehicle center will be glad to
assist you with both their expertise and
the proper equipment for your vehicle.<
Tire condition, tire pressureWinter tires display a perceptible loss in
their ability to cope with winter driving
conditions once the tread wears to
below 0.16 in/4 mm, and should thus
be replaced.
Comply with the specified tire inflation
pressures Ñ and be sure to have the
wheel and tire assemblies balanced
every time you change the tires.
Only certain snow chains have been
tested by BMW and classified and
approved as safe. Consult your BMW
Sports Activity Vehicle center for
details. The use of narrow-link BMW
snow chains is approved only in pairs
on the rear wheels and only with the
following tire sizes.
BMW X5 4.6is: 255/55 R18
All other models: 235/65 R 17.
Comply with all manufacturer's safety
precautions when mounting the chains.
Do not exceed a maximum speed of
30 mph/50 km/h.
Page 154 of 183
154n
Lamps and bulbs Changing a wheel License plate lamps 5 watt bulb
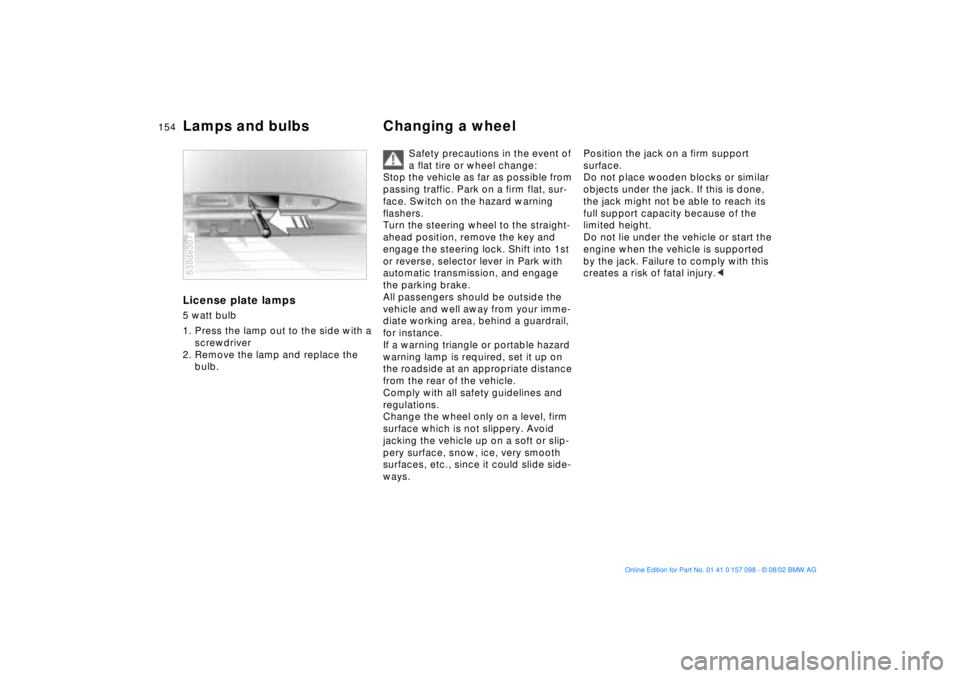
1. Press the lamp out to the side with a
screwdriver
2. Remove the lamp and replace the
bulb. 530de307
Safety precautions in the event of
a flat tire or wheel change:
Stop the vehicle as far as possible from
passing traffic. Park on a firm flat, sur-
face. Switch on the hazard warning
flashers.
Turn the steering wheel to the straight-
ahead position, remove the key and
engage the steering lock. Shift into 1st
or reverse, selector lever in Park with
automatic transmission, and engage
the parking brake.
All passengers should be outside the
vehicle and well away from your imme-
diate working area, behind a guardrail,
for instance.
If a warning triangle or portable hazard
warning lamp is required, set it up on
the roadside at an appropriate distance
from the rear of the vehicle.
Comply with all safety guidelines and
regulations.
Change the wheel only on a level, firm
surface which is not slippery. Avoid
jacking the vehicle up on a soft or slip-
pery surface, snow, ice, very smooth
surfaces, etc., since it could slide side-
ways.
Position the jack on a firm support
surface.
Do not place wooden blocks or similar
objects under the jack. If this is done,
the jack might not be able to reach its
full support capacity because of the
limited height.
Do not lie under the vehicle or start the
engine when the vehicle is supported
by the jack. Failure to comply with this
creates a risk of fatal injury.<
Page 158 of 183
158n
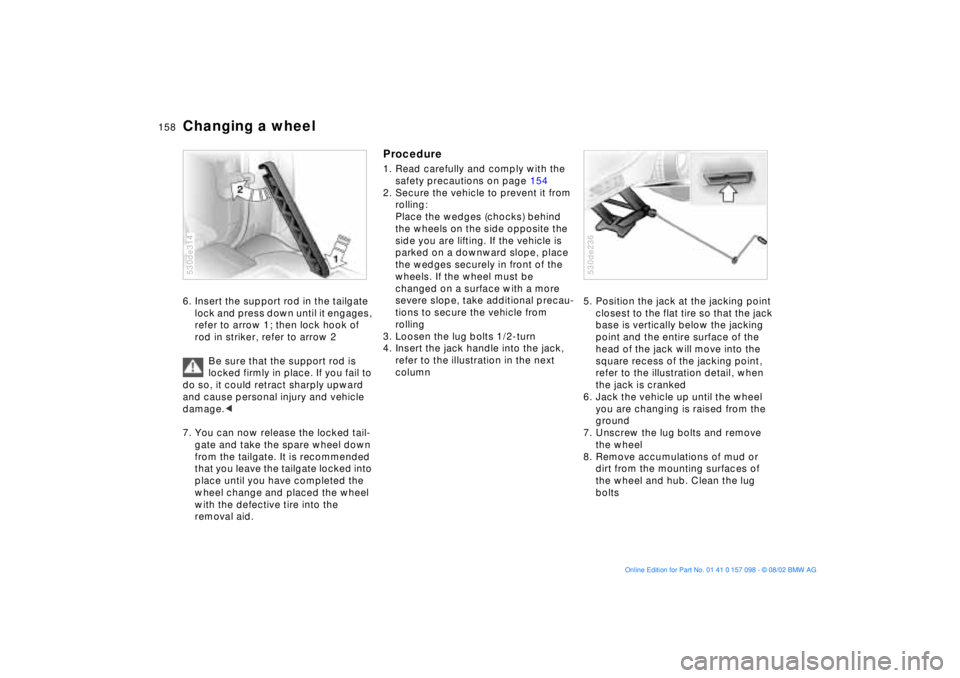
Changing a wheel 6. Insert the support rod in the tailgate
lock and press down until it engages,
refer to arrow 1; then lock hook of
rod in striker, refer to arrow 2
Be sure that the support rod is
locked firmly in place. If you fail to
do so, it could retract sharply upward
and cause personal injury and vehicle
damage.<
7. You can now release the locked tail-
gate and take the spare wheel down
from the tailgate. It is recommended
that you leave the tailgate locked into
place until you have completed the
wheel change and placed the wheel
with the defective tire into the
removal aid. 530de314
Procedure1. Read carefully and comply with the
safety precautions on page 154
2. Secure the vehicle to prevent it from
rolling:
Place the wedges (chocks) behind
the wheels on the side opposite the
side you are lifting. If the vehicle is
parked on a downward slope, place
the wedges securely in front of the
wheels. If the wheel must be
changed on a surface with a more
severe slope, take additional precau-
tions to secure the vehicle from
rolling
3. Loosen the lug bolts 1/2-turn
4. Insert the jack handle into the jack,
refer to the illustration in the next
column5. Position the jack at the jacking point
closest to the flat tire so that the jack
base is vertically below the jacking
point and the entire surface of the
head of the jack will move into the
square recess of the jacking point,
refer to the illustration detail, when
the jack is cranked
6. Jack the vehicle up until the wheel
you are changing is raised from the
ground
7. Unscrew the lug bolts and remove
the wheel
8. Remove accumulations of mud or
dirt from the mounting surfaces of
the wheel and hub. Clean the lug
bolts
530de236
Page 159 of 183
159n
OverviewControlsMaintenanceRepairsDataIndex
Changing a wheel9. Position the spare wheel. Secure
the wheel by turning at least two
lug bolts into opposite bolt holes
10. Screw in the remaining lug bolts.
Tighten all the bolts securely
11. Lower the jack and remove it from
beneath the vehicle
12. Tighten the lug bolts in a diagonal
pattern
13. Check and correct the tire inflation
pressure at the earliest opportunity.
Vehicles with Tire Pressure Monitor
RDC
*:
After mounting the spare wheel or
correcting the tire inflation pres-
sure, reactivate the system, refer to
page 97.
Protect valve stems and valves from dirt
using screw-on valve stem caps. Dirt in
the valve stems frequently leads to slow
leaks.The vehicle jack is designed for
changing wheels only. Do not
attempt to raise another vehicle model
with it or to raise any load of any kind.
To do so could cause accidents and
personal injury.
To ensure continued safety, have the
tightness of the lug bolts checked with
a calibrated lug wrench Ð torque speci-
fication: 101 lb-ft/140 Nm Ð at the
earliest opportunity.<
Store the wheel and the tools in the
order opposite that for removal.
Before removing the support rod,
be sure that the tailgate is held
down firmly. If you fail to do so, it could
retract sharply upward and cause per-
sonal injury and vehicle damage.
After you remove the rod, close the tail-
gate carefully. Continue to hold it firmly
until it is completely closed.<
If light-alloy wheels other than original
BMW light-alloy wheels have been
mounted, it may be necessary to use
different lug bolts for those wheels.
Replace the defective tire as soon as
possible and have the new wheel/tire
balanced. Driving with spare wheel
With certain wheel-and-tire com-
binations the size of the spare
wheel differs from that of the other
wheels. The spare wheel is equivalent
to these in all speed and load ranges.
However, to restore the original state,
the normal wheel should be remounted
as soon as possible.
When the spare wheel is mounted, the
maximum speed rating is 130 mph/
210 km/h.<
Page 176 of 183

Everything from A to ZEngine compartment
essentials140
Engine coolant143
Engine oil141, 142
consumption141
grades142
level20
pressure19
Estimated time of arrival87
Exterior mirrors53
Exterior rearview mirrors,
automatic dimming
feature54FFailure of an electrical
accessory160
Filling the windshield washer
reservoir141
First-aid kit24
Fittings, tow-starting and
towing164
Flashlight115
Flat tire98, 134, 155
Fog lamps100
bulb replacement152
Folding rear backrest120
Footbrake133
Front area lighting101
Front fog lamps100
Front seat adjustment44Frost protection,
radiator143
Fuel26
capacity171
display75
gauge75
quality26
specifications26
Fuel consumption87
average87
Fuel filler door24
electrical malfunction24
Fuses160
GGarage-door opener112
Gasoline26
General driving notes132
Glasses compartment117
Glove compartment115
Gross vehicle weight170
Ground clearance131HHandbrake64
Hands-free system116
Hazard warning flashers14
Hazard warning triangle24
HDC Hill Descent
Control93Head restraints47
Headlamp flasher68
Headlamp washer
system69, 141
Heated seats51
Heated steering wheel53
Heating and
ventilation102, 105
Heating while stopped109
Heavy cargo126
Height169
Height adjustment
seats46
steering wheel52
High beams22, 100
bulb replacement151
High-mount brake lamp153
Hill Descent Control
HDC93
Holder for cans, refer to
beverage holder116
Hood139
Hood release139
Hydraulic Brake Assistant
refer to DBC21
Hydroplaning132, 134
IIce warning73
Identification, tires137
Ignition key30
Ignition lock62
Imprint4
Independent ventilation
system84, 111
switching on and off84
Indicator lamps19
Inflation pressures,
tires134
monitoring97
INSPECTION76
Instrument
cluster15, 16, 17, 18
Instrument lighting100
Instrument
panel15, 16, 17, 18
Intensive cleaning
system69
Interior lamps101
remote control32
Interior mirrors54
Interior motion sensor40
Interior rearview mirror,
automatic dimming
feature54
Interlock62
Intermittent wipe68
Page 177 of 183
Everything from A to Z
177n
OverviewControlsMaintenanceRepairsDataIndex
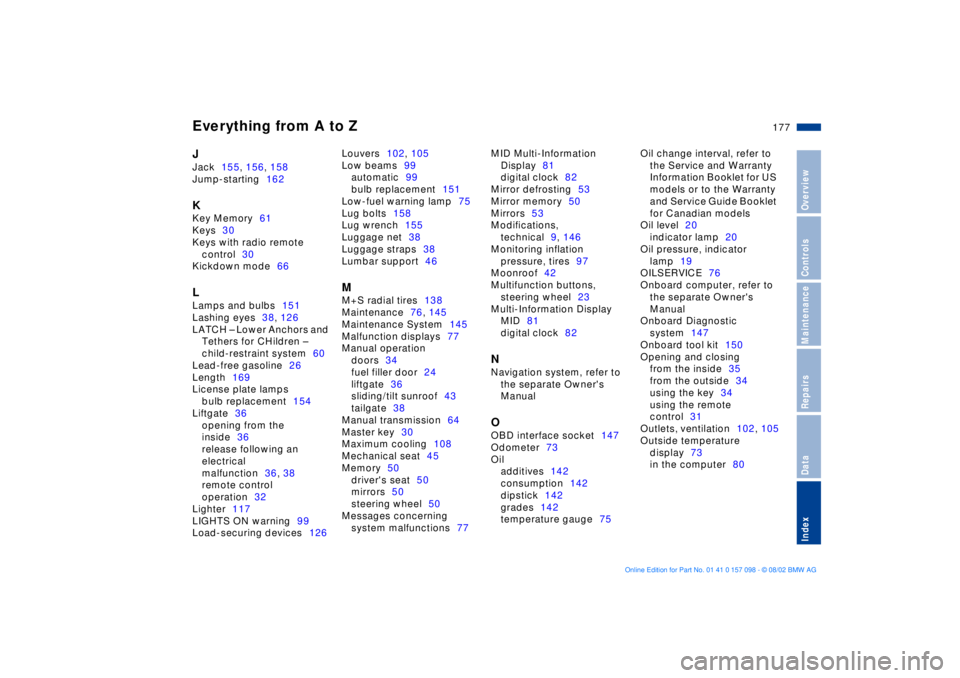
JJack155, 156, 158
Jump-starting162KKey Memory61
Keys30
Keys with radio remote
control30
Kickdown mode66LLamps and bulbs151
Lashing eyes38, 126
LATCH Ð Lower Anchors and
Tethers for CHildren Ð
child-restraint system60
Lead-free gasoline26
Length169
License plate lamps
bulb replacement154
Liftgate36
opening from the
inside36
release following an
electrical
malfunction36, 38
remote control
operation32
Lighter117
LIGHTS ON warning99
Load-securing devices126Louvers102, 105
Low beams99
automatic99
bulb replacement151
Low-fuel warning lamp75
Lug bolts158
Lug wrench155
Luggage net38
Luggage straps38
Lumbar support46
MM+S radial tires138
Maintenance76, 145
Maintenance System145
Malfunction displays77
Manual operation
doors34
fuel filler door24
liftgate36
sliding/tilt sunroof43
tailgate38
Manual transmission64
Master key30
Maximum cooling108
Mechanical seat45
Memory50
driver's seat50
mirrors50
steering wheel50
Messages concerning
system malfunctions77MID Multi-Information
Display81
digital clock82
Mirror defrosting53
Mirror memory50
Mirrors53
Modifications,
technical9, 146
Monitoring inflation
pressure, tires97
Moonroof42
Multifunction buttons,
steering wheel23
Multi-Information Display
MID81
digital clock82
NNavigation system, refer to
the separate Owner's
ManualOOBD interface socket147
Odometer73
Oil
additives142
consumption142
dipstick142
grades142
temperature gauge75Oil change interval, refer to
the Service and Warranty
Information Booklet for US
models or to the Warranty
and Service Guide Booklet
for Canadian models
Oil level20
indicator lamp20
Oil pressure, indicator
lamp19
OILSERVICE76
Onboard computer, refer to
the separate Owner's
Manual
Onboard Diagnostic
system147
Onboard tool kit150
Opening and closing
from the inside35
from the outside34
using the key34
using the remote
control31
Outlets, ventilation102, 105
Outside temperature
display73
in the computer80
Page 179 of 183
Everything from A to Z
179n
OverviewControlsMaintenanceRepairsDataIndex
Side lamps99
bulb replacement152
Sitting safely with
airbags44
Sitting safely with safety
belts44
Ski bag119
Sliding/tilt sunroof42
closing following an
electrical malfunction43
convenience operation34
power loss43
remote control32
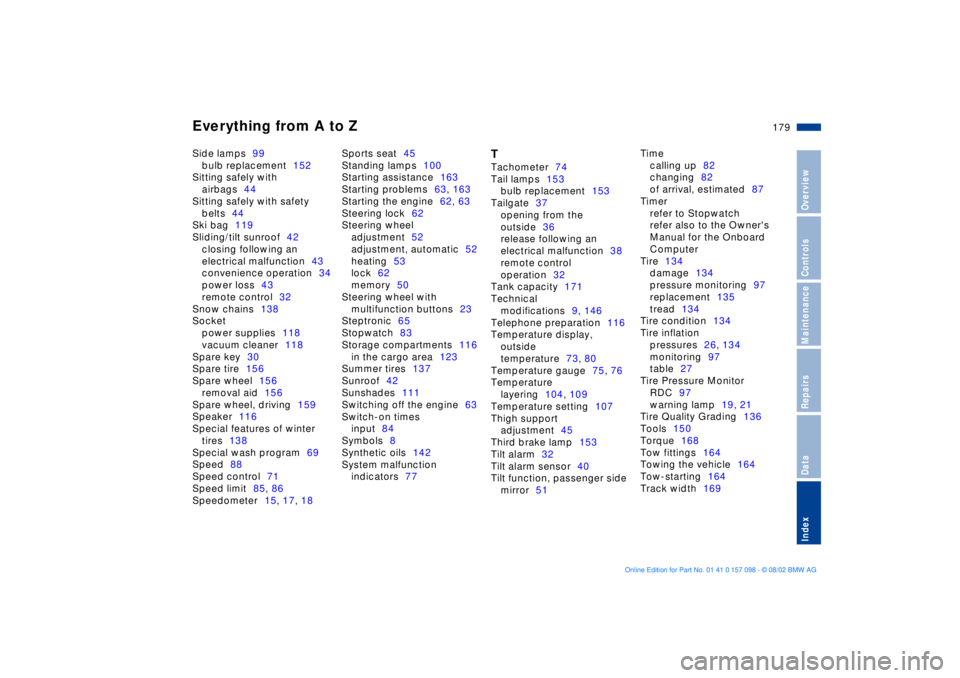
Snow chains138
Socket
power supplies118
vacuum cleaner118
Spare key30
Spare tire156
Spare wheel156
removal aid156
Spare wheel, driving159
Speaker116
Special features of winter
tires138
Special wash program69
Speed88
Speed control71
Speed limit85, 86
Speedometer15, 17, 18Sports seat45
Standing lamps100
Starting assistance163
Starting problems63, 163
Starting the engine62, 63
Steering lock62
Steering wheel
adjustment52
adjustment, automatic52
heating53
lock62
memory50
Steering wheel with
multifunction buttons23
Steptronic65
Stopwatch83
Storage compartments116
in the cargo area123
Summer tires137
Sunroof42
Sunshades111
Switching off the engine63
Switch-on times
input84
Symbols8
Synthetic oils142
System malfunction
indicators77
TTachometer74
Tail lamps153
bulb replacement153
Tailgate37
opening from the
outside36
release following an
electrical malfunction38
remote control
operation32
Tank capacity171
Technical
modifications9, 146
Telephone preparation116
Temperature display,
outside
temperature73, 80
Temperature gauge75, 76
Temperature
layering104, 109
Temperature setting107
Thigh support
adjustment45
Third brake lamp153
Tilt alarm32
Tilt alarm sensor40
Tilt function, passenger side
mirror51Time
calling up82
changing82
of arrival, estimated87
Timer
refer to Stopwatch
refer also to the Owner's
Manual for the Onboard
Computer
Tire134
damage134
pressure monitoring97
replacement135
tread134
Tire condition134
Tire inflation
pressures26, 134
monitoring97
table27
Tire Pressure Monitor
RDC97
warning lamp19, 21
Tire Quality Grading136
Tools150
Torque168
Tow fittings164
Towing the vehicle164
Tow-starting164
Track width169
Page 181 of 183
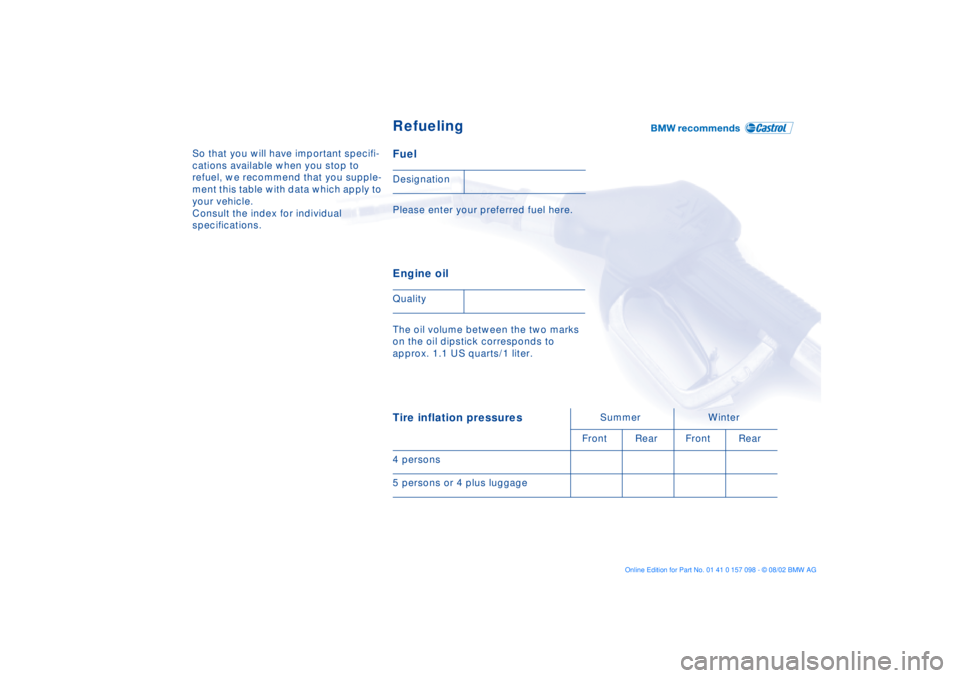
So that you will have important specifi-
cations available when you stop to
refuel, we recommend that you supple-
ment this table with data which apply to
your vehicle.
Consult the index for individual
specifications.
Fuel Please enter your preferred fuel here. Engine oil The oil volume between the two marks
on the oil dipstick corresponds to
approx. 1.1 US quarts/1 liter. Designation
QualityTire inflation pressures
Summer Winter
Front Rear Front Rear
4 persons
5 persons or 4 plus luggage
Refueling