navigation BMW X5M 2016 F85 User Guide
[x] Cancel search | Manufacturer: BMW, Model Year: 2016, Model line: X5M, Model: BMW X5M 2016 F85Pages: 255, PDF Size: 6.73 MB
Page 92 of 255
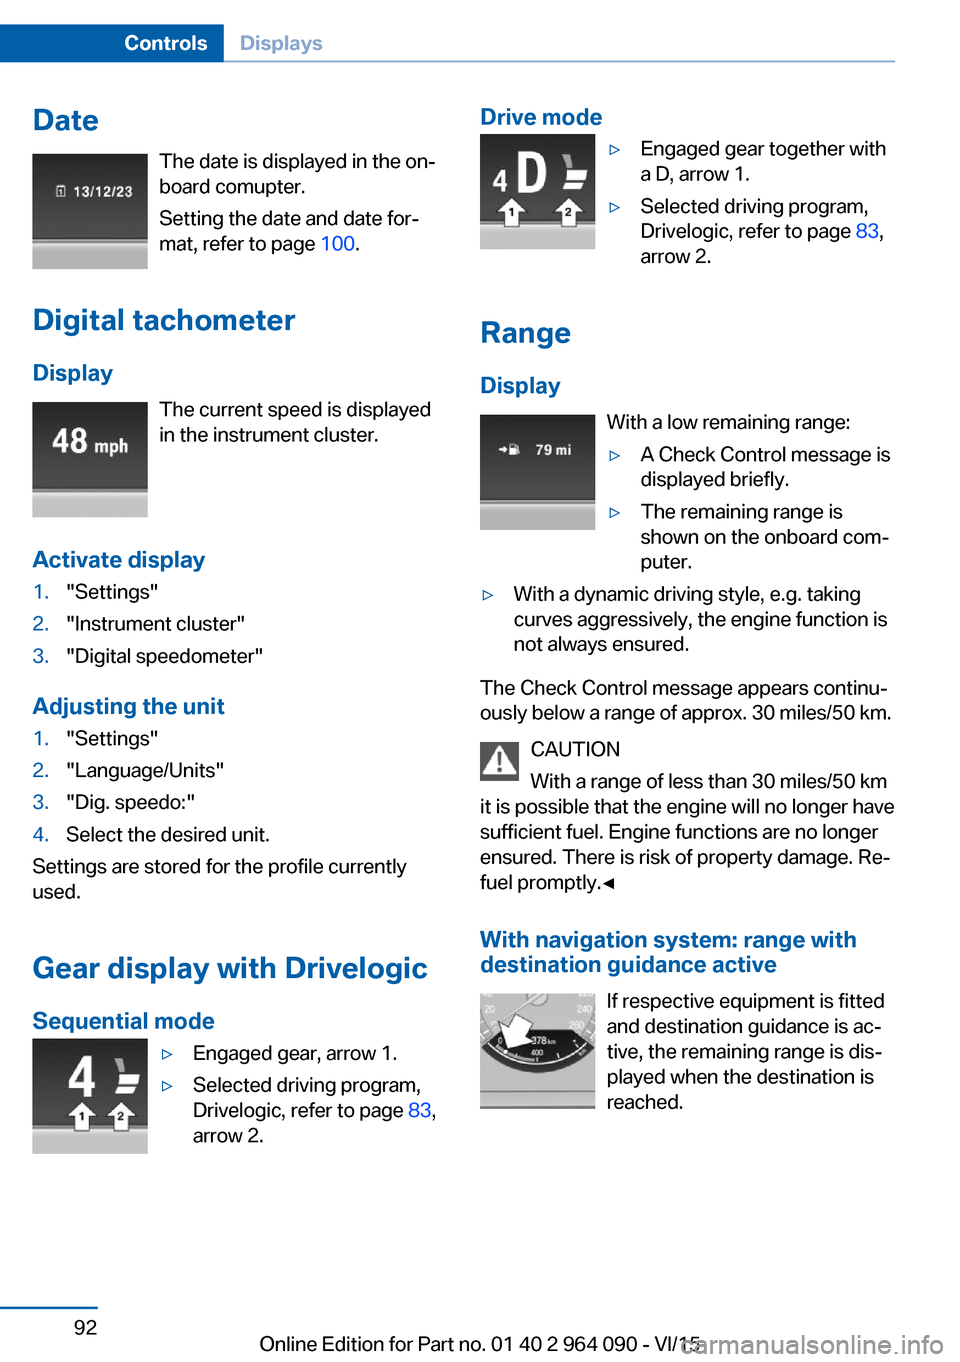
DateThe date is displayed in the on-
board comupter.
Setting the date and date for‐
mat, refer to page 100.
Digital tachometer
Display The current speed is displayed
in the instrument cluster.
Activate display1."Settings"2."Instrument cluster"3."Digital speedometer"
Adjusting the unit
1."Settings"2."Language/Units"3."Dig. speedo:"4.Select the desired unit.
Settings are stored for the profile currently
used.
Gear display with Drivelogic
Sequential mode
▷Engaged gear, arrow 1.▷Selected driving program,
Drivelogic, refer to page 83,
arrow 2.Drive mode▷Engaged gear together with
a D, arrow 1.▷Selected driving program,
Drivelogic, refer to page 83,
arrow 2.
Range
Display With a low remaining range:
▷A Check Control message is
displayed briefly.▷The remaining range is
shown on the onboard com‐
puter.▷With a dynamic driving style, e.g. taking
curves aggressively, the engine function is
not always ensured.
The Check Control message appears continu‐
ously below a range of approx. 30 miles/50 km.
CAUTION
With a range of less than 30 miles/50 km
it is possible that the engine will no longer have
sufficient fuel. Engine functions are no longer
ensured. There is risk of property damage. Re‐
fuel promptly.◀
With navigation system: range with
destination guidance active
If respective equipment is fitted
and destination guidance is ac‐
tive, the remaining range is dis‐
played when the destination is
reached.
Seite 92ControlsDisplays92
Online Edition for Part no. 01 40 2 964 090 - VI/15
Page 95 of 255
On the Control Display:1."Vehicle info"2."Vehicle status"3.Open "Options".4."Last Service Request"
Gear shift indicatorThe conceptThe system recommends the most fuel effi‐
cient gear for the current driving situation.
General information
The gear shift indicator is active in the sequen‐
tial mode of the M Steptronic Sport transmis‐
sion.
Suggestions to shift gear up or down are dis‐
played in the instrument cluster.
On vehicles without a gear shift indicator, the
engaged gear is displayed.
Displays
SymbolDescriptionShift up to fuel efficient gear.Shift down to fuel efficient gear.
Speed limit detection
The concept
Speed limit detection
Speed limit detection shows the current maxi‐
mum permitted speed in the instrument clus‐
ter. The camera in the area of the interior rear‐
view mirror detects traffic signs at the edge of
the road as well as variable overhead sign
posts. Traffic signs with extra symbols for wet
road conditions, etc. are also detected and
compared with the vehicle's onboard data,
such as for the rain sensor, and will be dis‐
played depending on the situation. The system
takes into account the information stored in
the navigation system and also displays speed
limits present on routes without signs.
Information WARNING
The system does not relieve from the
personal responsibility to correctly assess visi‐
bility and traffic situation. There is risk of an ac‐
cident. Adjust the driving style to the traffic
conditions. Watch traffic closely and actively
interfere in the respective situations.◀
Overview
Camera
The camera is installed near the interior rear‐
view mirror.
Keep the windshield in the area behind the in‐
terior rearview mirror clean and clear.
Switching on/offOn the Control Display:
1."Settings"2."Instrument cluster"3."Speed limit information"Seite 95DisplaysControls95
Online Edition for Part no. 01 40 2 964 090 - VI/15
Page 96 of 255
If speed limit detection is switched on, it can
be displayed on the info display in the instru‐
ment cluster via the on-board comupter.
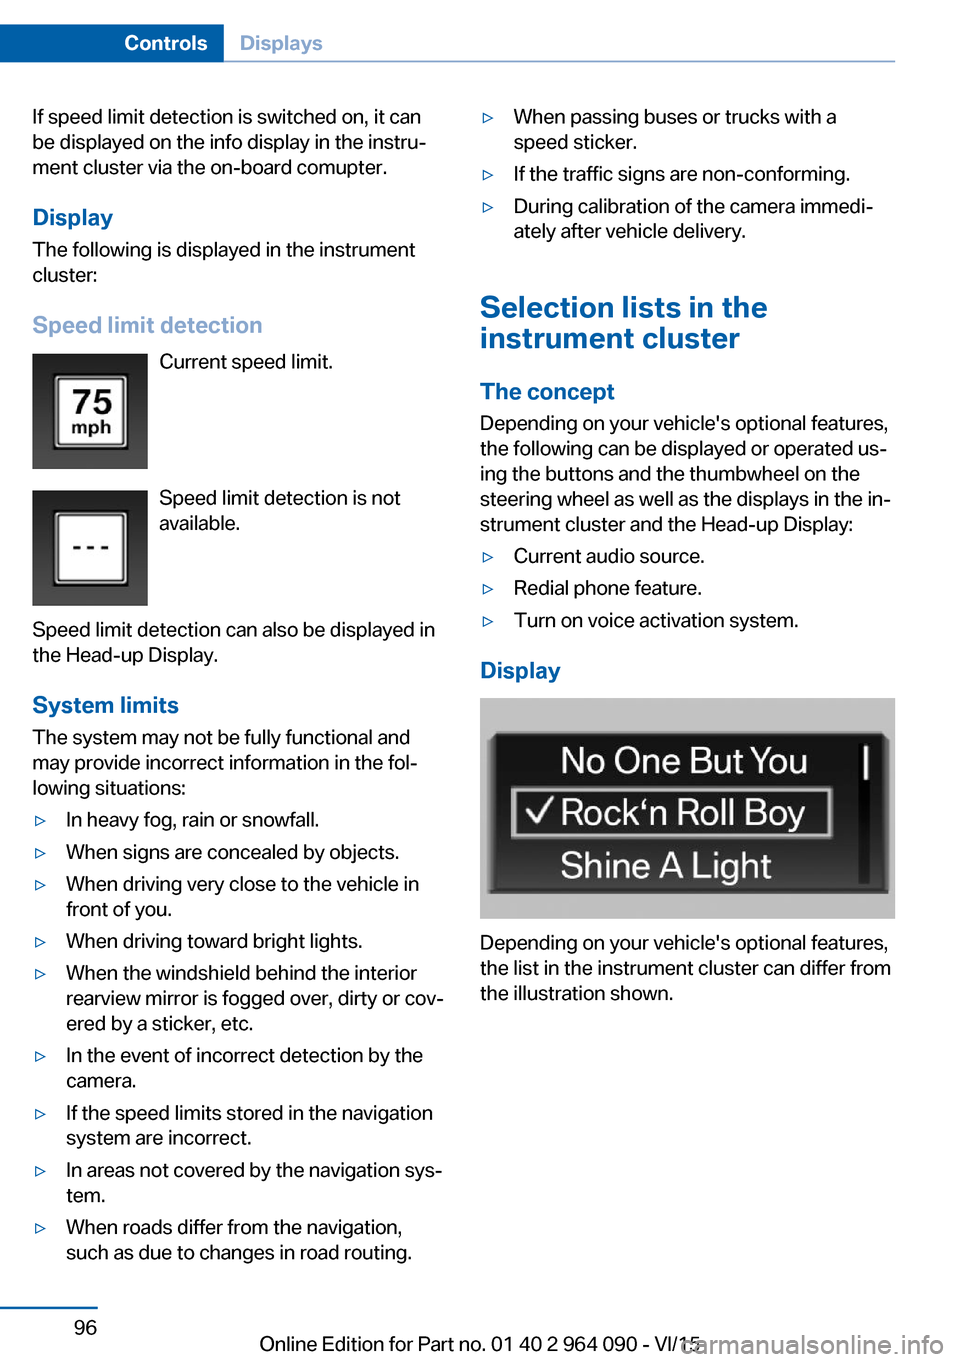
Display The following is displayed in the instrument
cluster:
Speed limit detection Current speed limit.
Speed limit detection is not available.
Speed limit detection can also be displayed in
the Head-up Display.
System limits
The system may not be fully functional and
may provide incorrect information in the fol‐
lowing situations:▷In heavy fog, rain or snowfall.▷When signs are concealed by objects.▷When driving very close to the vehicle in
front of you.▷When driving toward bright lights.▷When the windshield behind the interior
rearview mirror is fogged over, dirty or cov‐
ered by a sticker, etc.▷In the event of incorrect detection by the
camera.▷If the speed limits stored in the navigation
system are incorrect.▷In areas not covered by the navigation sys‐
tem.▷When roads differ from the navigation,
such as due to changes in road routing.▷When passing buses or trucks with a
speed sticker.▷If the traffic signs are non-conforming.▷During calibration of the camera immedi‐
ately after vehicle delivery.
Selection lists in the
instrument cluster
The concept Depending on your vehicle's optional features,
the following can be displayed or operated us‐
ing the buttons and the thumbwheel on the
steering wheel as well as the displays in the in‐
strument cluster and the Head-up Display:
▷Current audio source.▷Redial phone feature.▷Turn on voice activation system.
Display
Depending on your vehicle's optional features,
the list in the instrument cluster can differ from
the illustration shown.
Seite 96ControlsDisplays96
Online Edition for Part no. 01 40 2 964 090 - VI/15
Page 97 of 255
Activating a list and adjusting the
setting
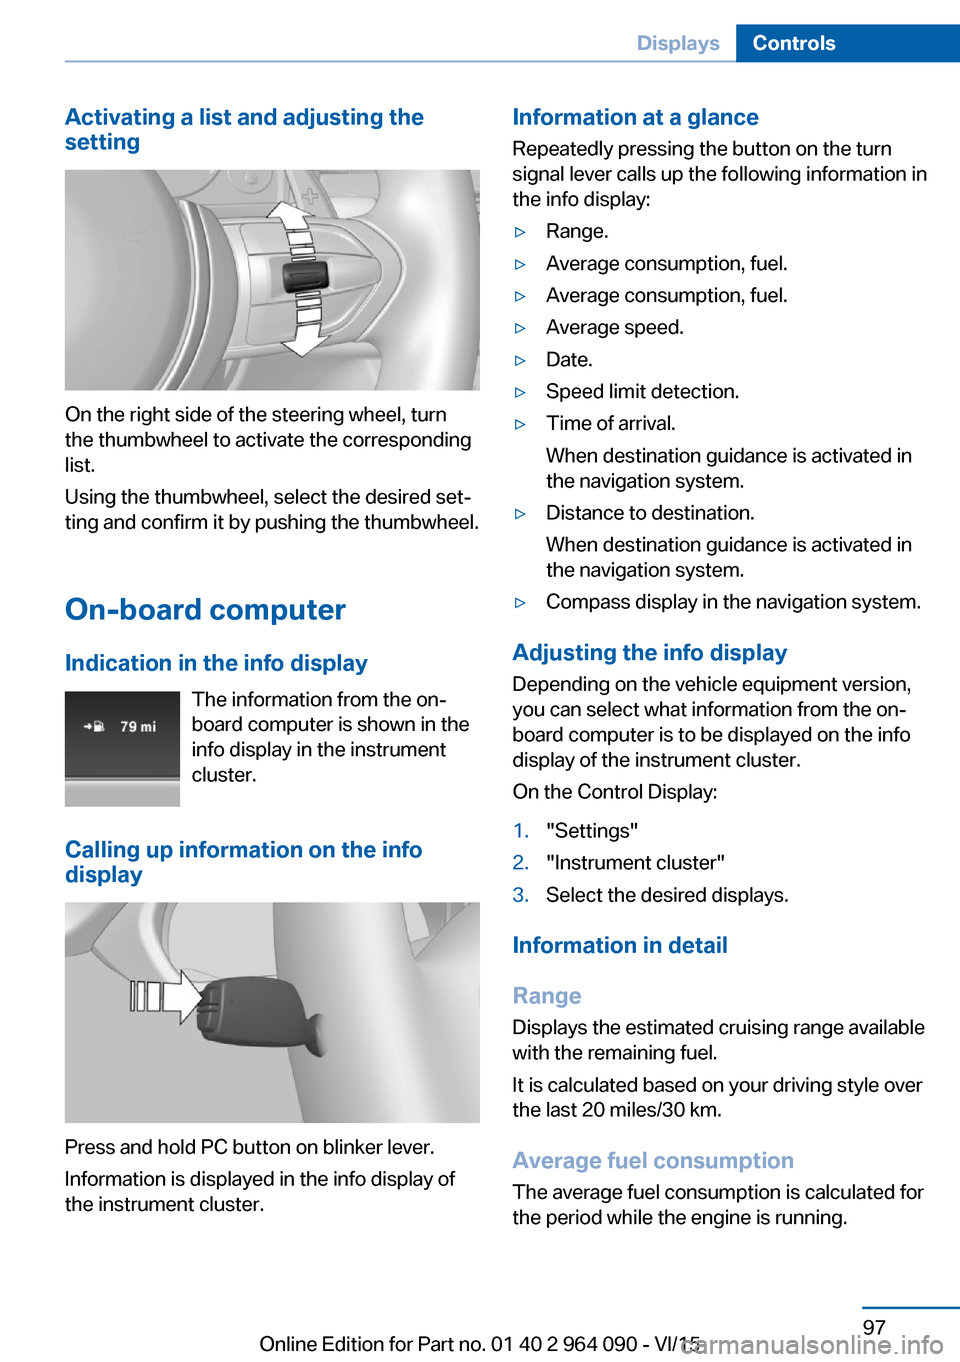
On the right side of the steering wheel, turn
the thumbwheel to activate the corresponding
list.
Using the thumbwheel, select the desired set‐
ting and confirm it by pushing the thumbwheel.
On-board computer
Indication in the info display The information from the on-
board computer is shown in the
info display in the instrument
cluster.
Calling up information on the info
display
Press and hold PC button on blinker lever.
Information is displayed in the info display of
the instrument cluster.
Information at a glance
Repeatedly pressing the button on the turn
signal lever calls up the following information in
the info display:▷Range.▷Average consumption, fuel.▷Average consumption, fuel.▷Average speed.▷Date.▷Speed limit detection.▷Time of arrival.
When destination guidance is activated in
the navigation system.▷Distance to destination.
When destination guidance is activated in
the navigation system.▷Compass display in the navigation system.
Adjusting the info display
Depending on the vehicle equipment version,
you can select what information from the on-
board computer is to be displayed on the info
display of the instrument cluster.
On the Control Display:
1."Settings"2."Instrument cluster"3.Select the desired displays.
Information in detail
Range
Displays the estimated cruising range available
with the remaining fuel.
It is calculated based on your driving style over
the last 20 miles/30 km.
Average fuel consumption
The average fuel consumption is calculated for
the period while the engine is running.
Seite 97DisplaysControls97
Online Edition for Part no. 01 40 2 964 090 - VI/15
Page 98 of 255
The average fuel consumption is calculated for
the distance traveled since the last reset by the
on-board comupter.
Average speed
Periods in which the vehicle is parked with the
engine manually stopped are not included in
the calculation of the average speed.
Resetting average values
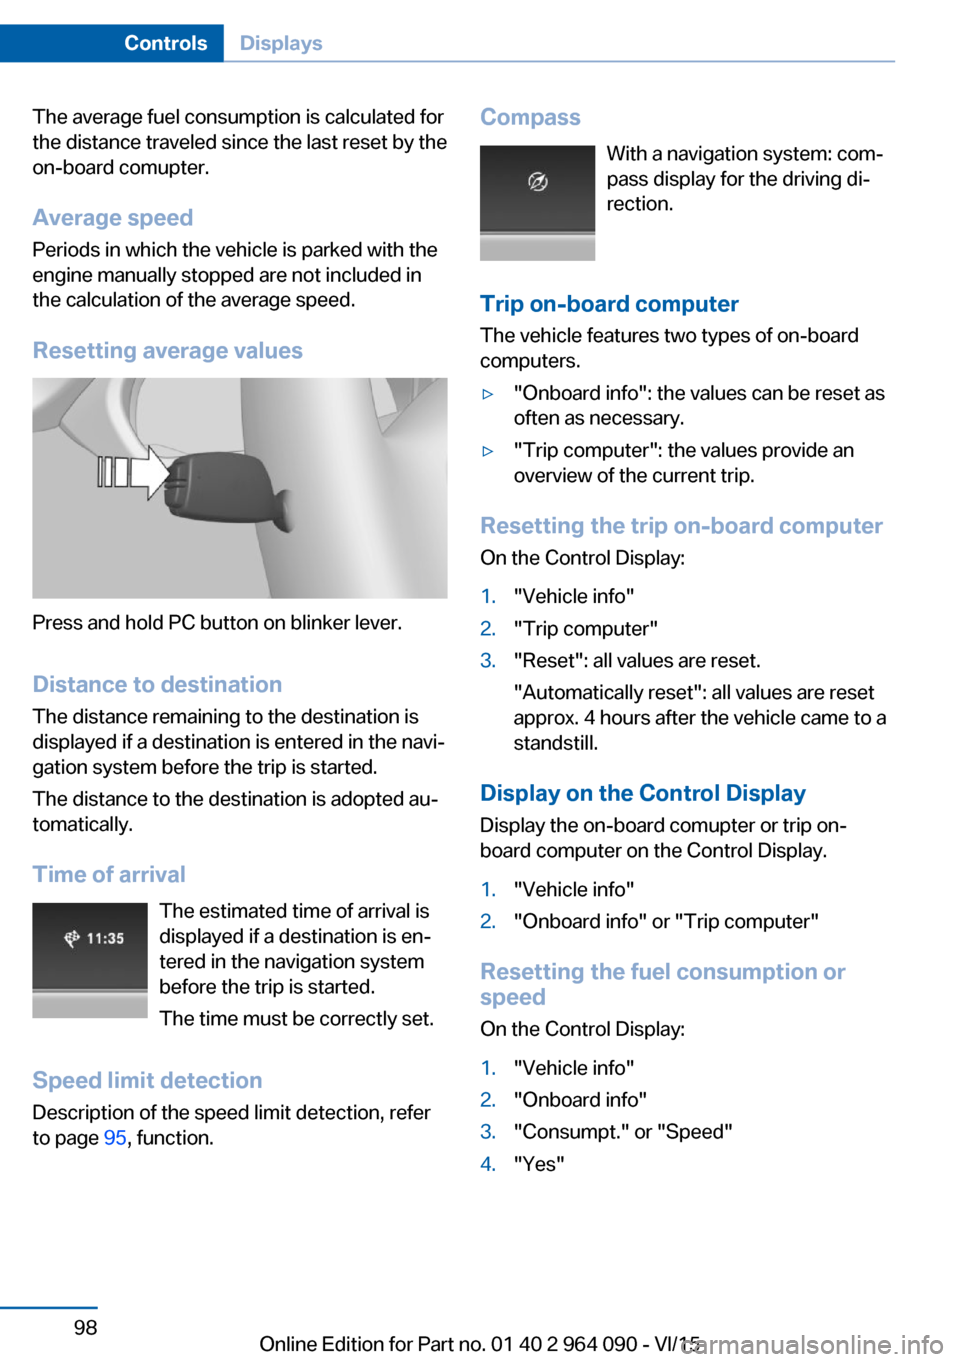
Press and hold PC button on blinker lever.
Distance to destination
The distance remaining to the destination is
displayed if a destination is entered in the navi‐
gation system before the trip is started.
The distance to the destination is adopted au‐
tomatically.
Time of arrival The estimated time of arrival is
displayed if a destination is en‐
tered in the navigation system
before the trip is started.
The time must be correctly set.
Speed limit detection
Description of the speed limit detection, refer
to page 95, function.
Compass
With a navigation system: com‐
pass display for the driving di‐
rection.
Trip on-board computer
The vehicle features two types of on-board
computers.▷"Onboard info": the values can be reset as
often as necessary.▷"Trip computer": the values provide an
overview of the current trip.
Resetting the trip on-board computer
On the Control Display:
1."Vehicle info"2."Trip computer"3."Reset": all values are reset.
"Automatically reset": all values are reset
approx. 4 hours after the vehicle came to a
standstill.
Display on the Control Display
Display the on-board comupter or trip on-
board computer on the Control Display.
1."Vehicle info"2."Onboard info" or "Trip computer"
Resetting the fuel consumption or
speed
On the Control Display:
1."Vehicle info"2."Onboard info"3."Consumpt." or "Speed"4."Yes"Seite 98ControlsDisplays98
Online Edition for Part no. 01 40 2 964 090 - VI/15
Page 101 of 255
Head-up Display
Overview
The concept
This system projects important information
into the driver's field of vision, e. g., the speed.
The driver can get information without averting
his or her eyes from the road.
Information Follow the instructions for cleaning the Head-
up Display, refer to page 236.
Display visibility The visibility of the displays in the Head-up
Display is influenced by the following factors:
▷Certain sitting positions.▷Objects on the cover of the Head-up Dis‐
play.▷Sunglasses with certain polarization filters.▷Wet roads.▷Unfavorable light conditions.
If the image is distorted, have the basic set‐
tings checked by a dealer’s service center or
another qualified service center or repair shop.
Switching on/off
1."Settings"2."Head-Up Display"3."Head-Up Display"Display
Standard view The following information is displayed on the
Head-up Display:▷Speed.▷Navigation system.▷Check Control messages.▷Selection list from the instrument cluster.▷Driver assistance systems.
Some of this information is only displayed
briefly as needed.
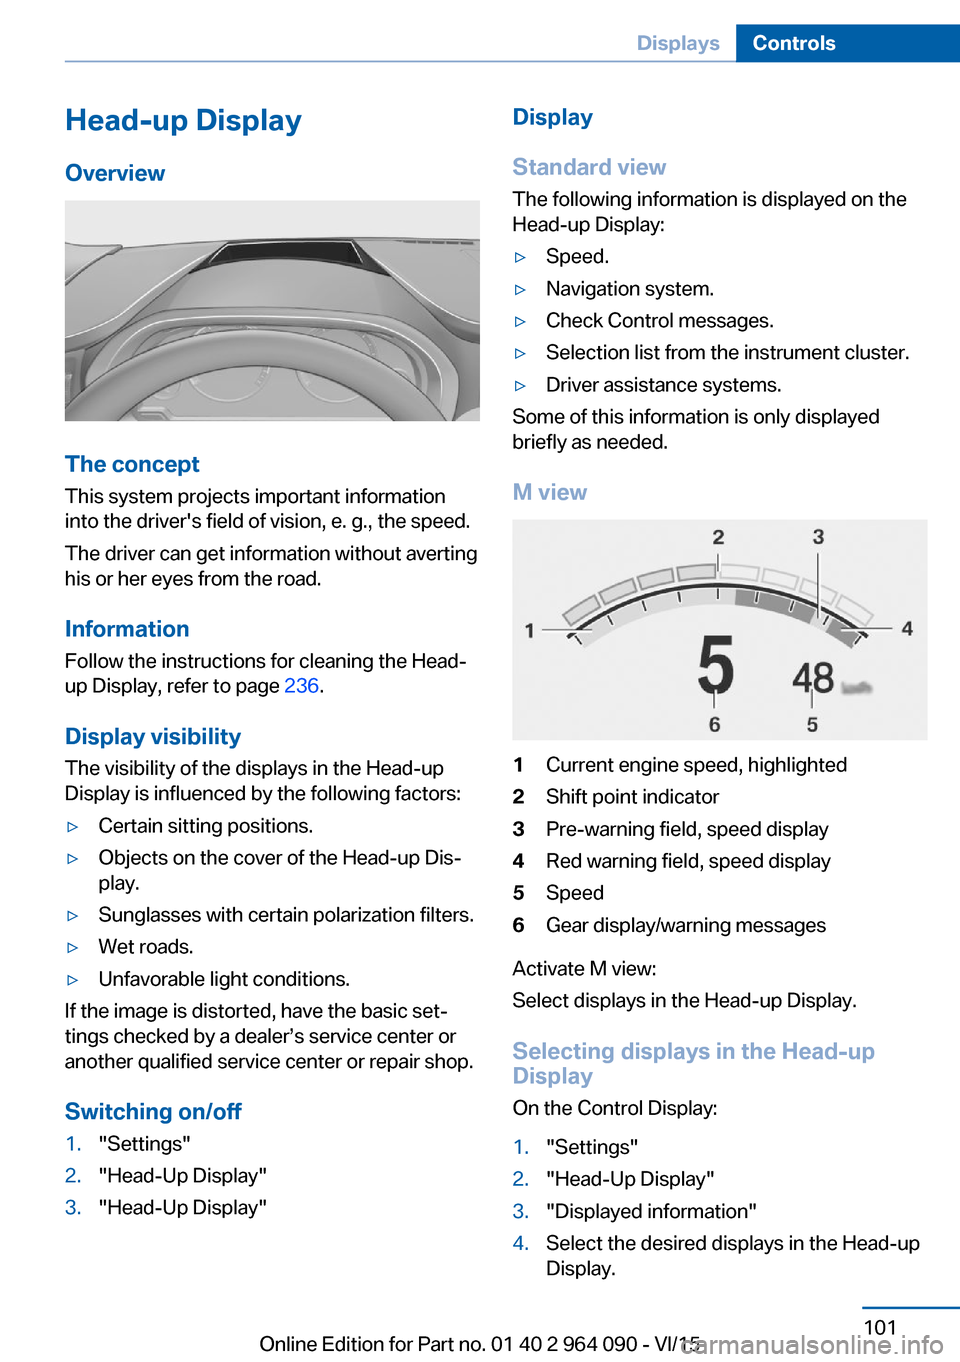
M view
1Current engine speed, highlighted2Shift point indicator3Pre-warning field, speed display4Red warning field, speed display5Speed6Gear display/warning messages
Activate M view:
Select displays in the Head-up Display.
Selecting displays in the Head-up
Display
On the Control Display:
1."Settings"2."Head-Up Display"3."Displayed information"4.Select the desired displays in the Head-up
Display.Seite 101DisplaysControls101
Online Edition for Part no. 01 40 2 964 090 - VI/15
Page 136 of 255
Via M DriveOn the Control Display:1."Settings"2."M Drive 1" or "M Drive 2"3. Select the symbol.4."DSC OFF"
To open M Drive with the selected settings,
press the corresponding button on the steer‐
ing wheel:
▷▷
A message appears in the instrument cluster.
This message is confirmed by pressing the
button again.
Indicator/warning lights
When DSC is deactivated, DSC OFF is dis‐
played in the instrument cluster.
The indicator lamp lights up: DSC is
deactivated.
xDrive xDrive is the all-wheel-drive system of your ve‐
hicle. Concerted action by the xDrive and DSC
further optimize traction and driving dynamics.
The xDrive all-wheel-drive system variably dis‐
tributes the drive forces to the front and rear
axles as demanded by the driving situation and
road surface.
Display on the Control Display
Displaying xDrive view
1."Vehicle info"2."xDrive status"3. "xDrive view"
The following information is displayed:
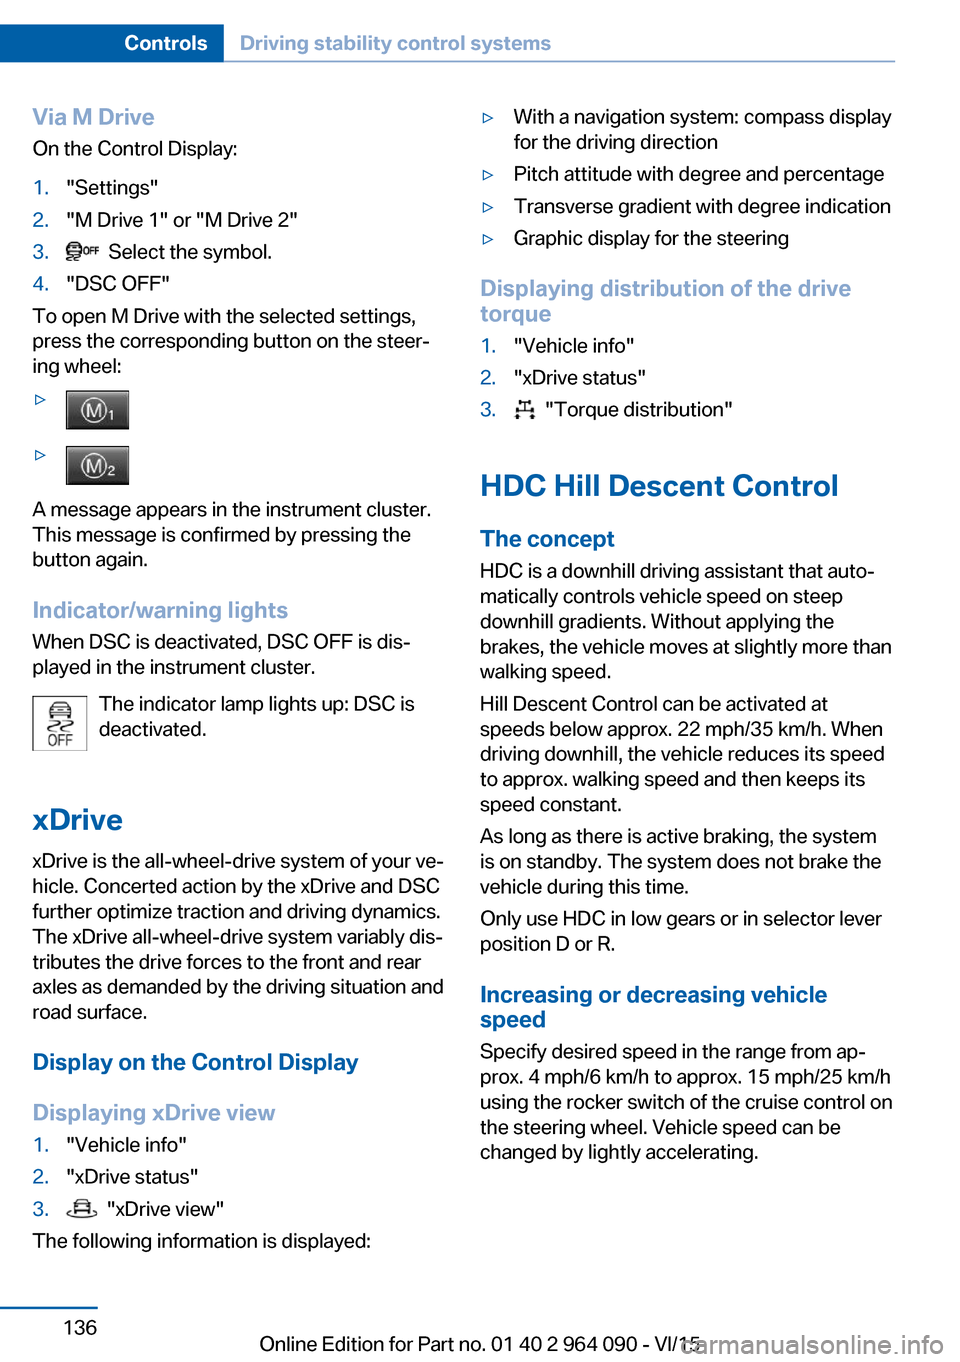
▷With a navigation system: compass display
for the driving direction▷Pitch attitude with degree and percentage▷Transverse gradient with degree indication▷Graphic display for the steering
Displaying distribution of the drive
torque
1."Vehicle info"2."xDrive status"3. "Torque distribution"
HDC Hill Descent Control
The concept HDC is a downhill driving assistant that auto‐
matically controls vehicle speed on steep
downhill gradients. Without applying the
brakes, the vehicle moves at slightly more than
walking speed.
Hill Descent Control can be activated at
speeds below approx. 22 mph/35 km/h. When
driving downhill, the vehicle reduces its speed
to approx. walking speed and then keeps its
speed constant.
As long as there is active braking, the system
is on standby. The system does not brake the
vehicle during this time.
Only use HDC in low gears or in selector lever
position D or R.
Increasing or decreasing vehicle
speed
Specify desired speed in the range from ap‐
prox. 4 mph/6 km/h to approx. 15 mph/25 km/h
using the rocker switch of the cruise control on
the steering wheel. Vehicle speed can be
changed by lightly accelerating.
Seite 136ControlsDriving stability control systems136
Online Edition for Part no. 01 40 2 964 090 - VI/15
Page 167 of 255
USB interface for data
transfer
The concept Connection for importing and exporting data
on USB devices, e.g.:▷Personal Profile settings, refer to page 35.▷Music collection, see user's manual for
Navigation, Entertainment and Communi‐
cation.
Information
Observe the following when connecting:
▷Do not use force when plugging the con‐
nector into the USB interface.▷Do not connect devices such as fans or
lights to the USB interface.▷Do not connect USB hard drives.▷Do not use the USB interface for recharg‐
ing external devices.
With navigation system Professional
or TV: at a glance
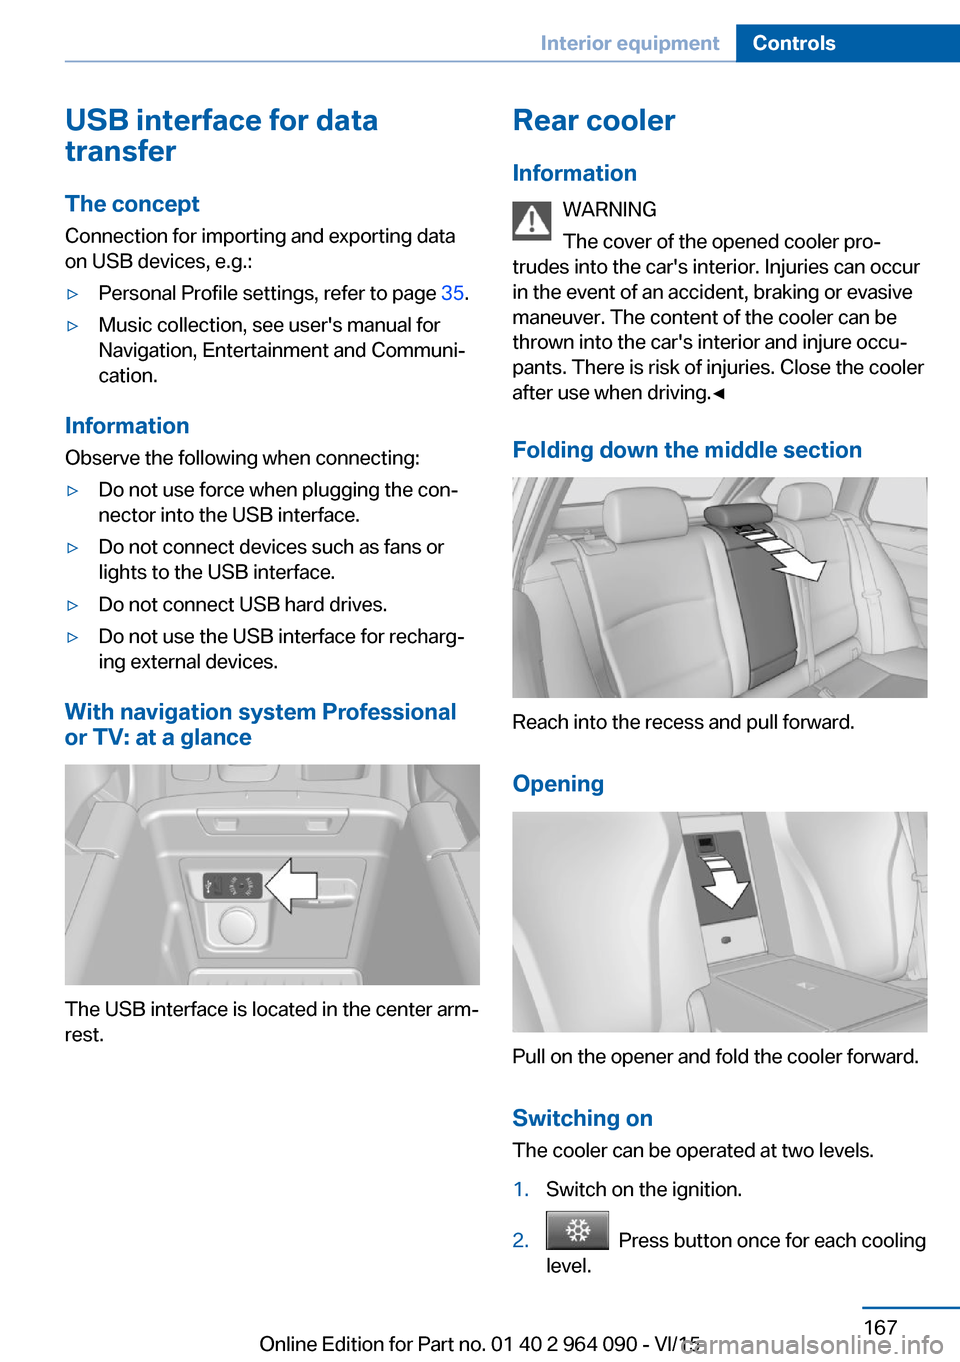
The USB interface is located in the center arm‐
rest.
Rear cooler
Information WARNING
The cover of the opened cooler pro‐
trudes into the car's interior. Injuries can occur
in the event of an accident, braking or evasive
maneuver. The content of the cooler can be
thrown into the car's interior and injure occu‐
pants. There is risk of injuries. Close the cooler
after use when driving.◀
Folding down the middle section
Reach into the recess and pull forward.
Opening
Pull on the opener and fold the cooler forward. Switching onThe cooler can be operated at two levels.
1.Switch on the ignition.2. Press button once for each cooling
level.
Seite 167Interior equipmentControls167
Online Edition for Part no. 01 40 2 964 090 - VI/15
Page 244 of 255
Everything from A to Z
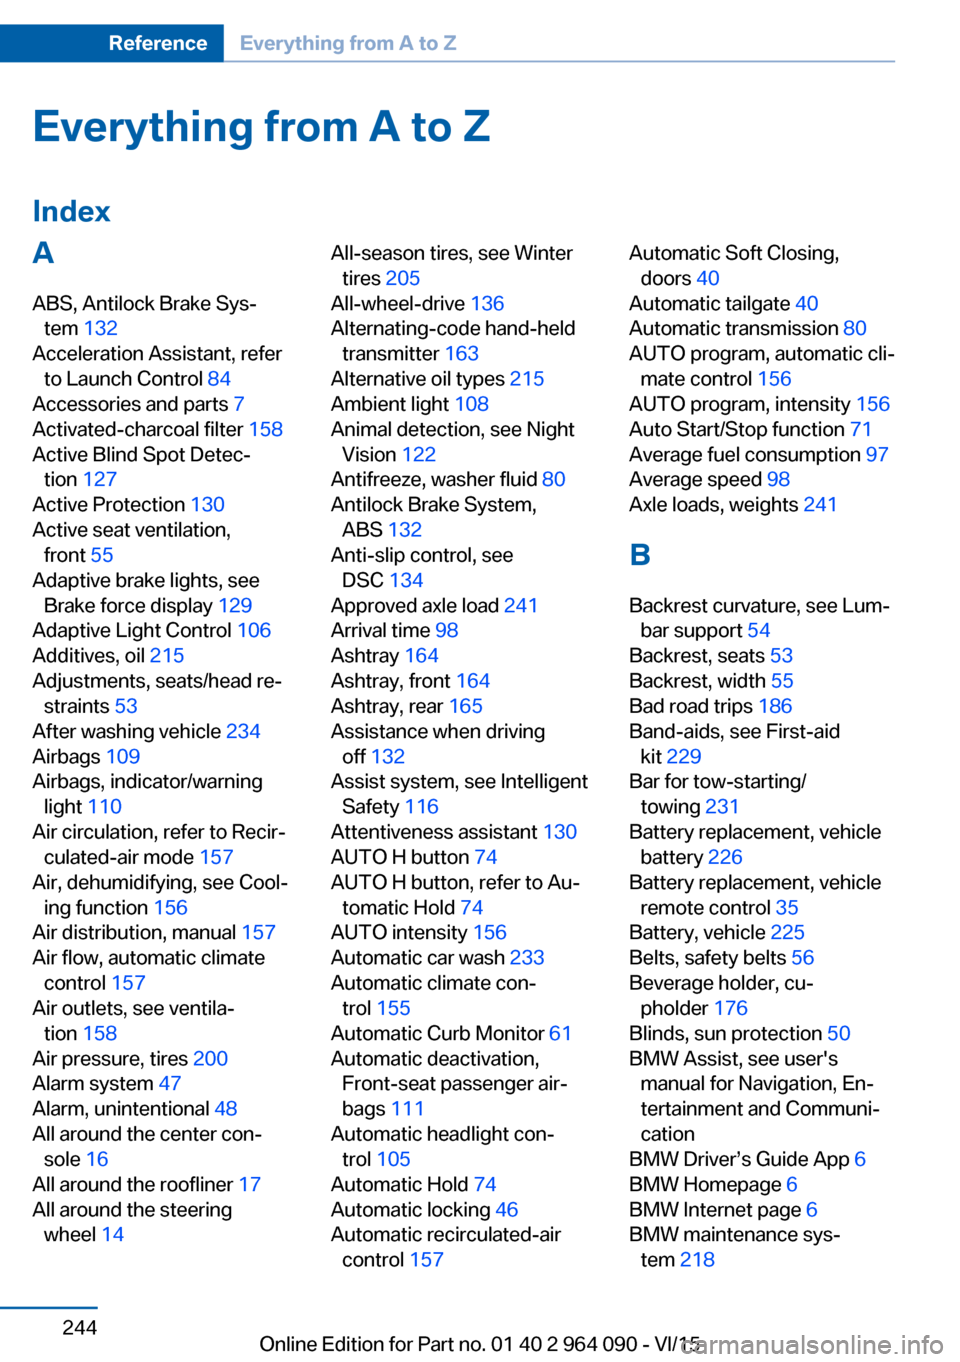
IndexA ABS, Antilock Brake Sys‐ tem 132
Acceleration Assistant, refer to Launch Control 84
Accessories and parts 7
Activated-charcoal filter 158
Active Blind Spot Detec‐ tion 127
Active Protection 130
Active seat ventilation, front 55
Adaptive brake lights, see Brake force display 129
Adaptive Light Control 106
Additives, oil 215
Adjustments, seats/head re‐ straints 53
After washing vehicle 234
Airbags 109
Airbags, indicator/warning light 110
Air circulation, refer to Recir‐ culated-air mode 157
Air, dehumidifying, see Cool‐ ing function 156
Air distribution, manual 157
Air flow, automatic climate control 157
Air outlets, see ventila‐ tion 158
Air pressure, tires 200
Alarm system 47
Alarm, unintentional 48
All around the center con‐ sole 16
All around the roofliner 17
All around the steering wheel 14 All-season tires, see Winter
tires 205
All-wheel-drive 136
Alternating-code hand-held transmitter 163
Alternative oil types 215
Ambient light 108
Animal detection, see Night Vision 122
Antifreeze, washer fluid 80
Antilock Brake System, ABS 132
Anti-slip control, see DSC 134
Approved axle load 241
Arrival time 98
Ashtray 164
Ashtray, front 164
Ashtray, rear 165
Assistance when driving off 132
Assist system, see Intelligent Safety 116
Attentiveness assistant 130
AUTO H button 74
AUTO H button, refer to Au‐ tomatic Hold 74
AUTO intensity 156
Automatic car wash 233
Automatic climate con‐ trol 155
Automatic Curb Monitor 61
Automatic deactivation, Front-seat passenger air‐
bags 111
Automatic headlight con‐ trol 105
Automatic Hold 74
Automatic locking 46
Automatic recirculated-air control 157 Automatic Soft Closing,
doors 40
Automatic tailgate 40
Automatic transmission 80
AUTO program, automatic cli‐ mate control 156
AUTO program, intensity 156
Auto Start/Stop function 71
Average fuel consumption 97
Average speed 98
Axle loads, weights 241
B Backrest curvature, see Lum‐ bar support 54
Backrest, seats 53
Backrest, width 55
Bad road trips 186
Band-aids, see First-aid kit 229
Bar for tow-starting/ towing 231
Battery replacement, vehicle battery 226
Battery replacement, vehicle remote control 35
Battery, vehicle 225
Belts, safety belts 56
Beverage holder, cu‐ pholder 176
Blinds, sun protection 50
BMW Assist, see user's manual for Navigation, En‐
tertainment and Communi‐
cation
BMW Driver’s Guide App 6
BMW Homepage 6
BMW Internet page 6
BMW maintenance sys‐ tem 218 Seite 244ReferenceEverything from A to Z244
Online Edition for Part no. 01 40 2 964 090 - VI/15
Page 245 of 255
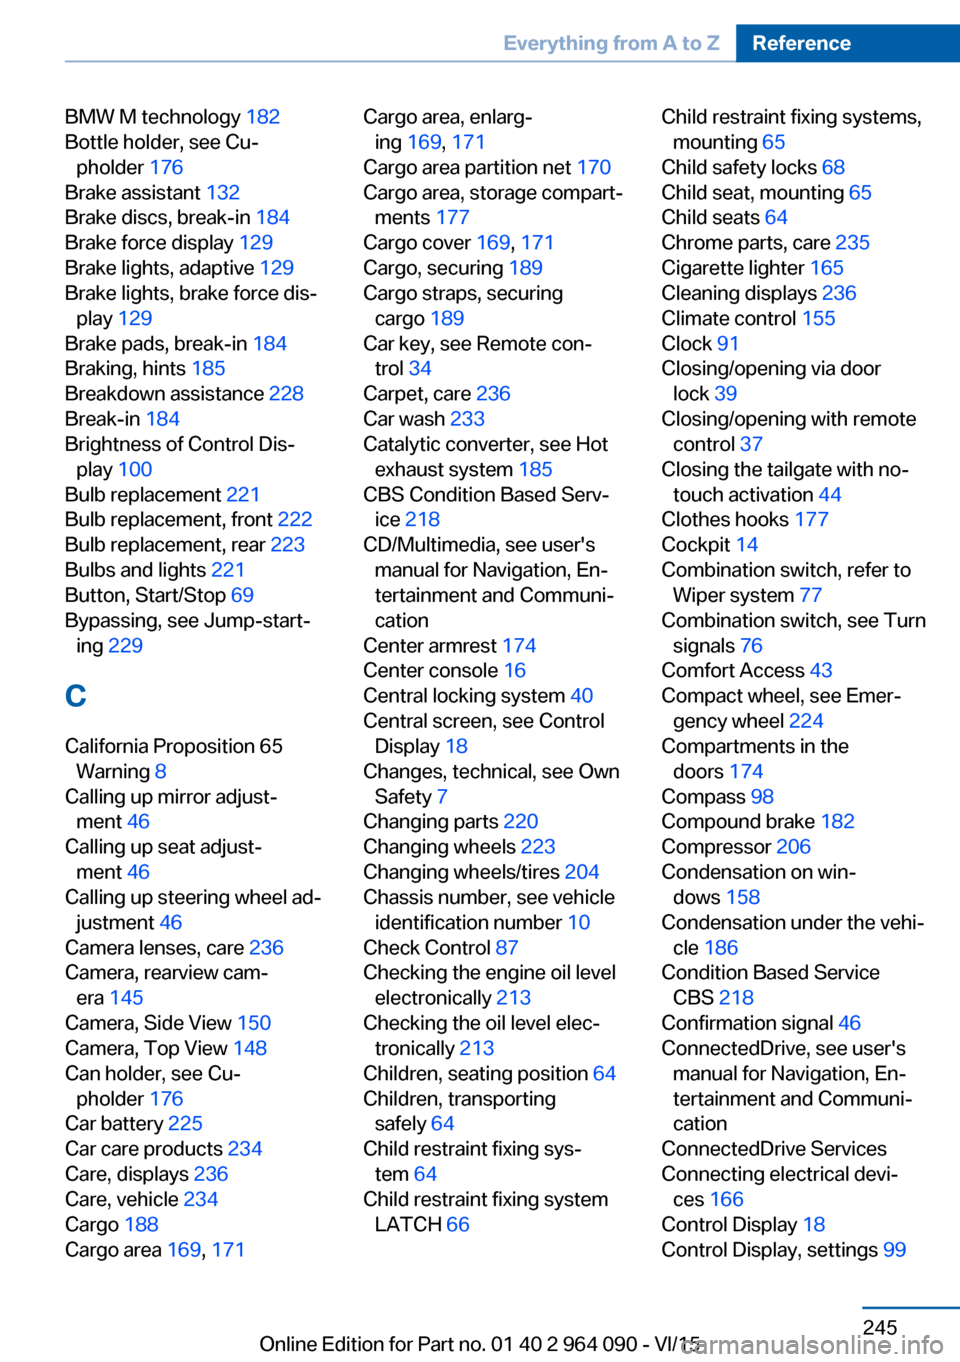
BMW M technology 182
Bottle holder, see Cu‐ pholder 176
Brake assistant 132
Brake discs, break-in 184
Brake force display 129
Brake lights, adaptive 129
Brake lights, brake force dis‐ play 129
Brake pads, break-in 184
Braking, hints 185
Breakdown assistance 228
Break-in 184
Brightness of Control Dis‐ play 100
Bulb replacement 221
Bulb replacement, front 222
Bulb replacement, rear 223
Bulbs and lights 221
Button, Start/Stop 69
Bypassing, see Jump-start‐ ing 229
C
California Proposition 65 Warning 8
Calling up mirror adjust‐ ment 46
Calling up seat adjust‐ ment 46
Calling up steering wheel ad‐ justment 46
Camera lenses, care 236
Camera, rearview cam‐ era 145
Camera, Side View 150
Camera, Top View 148
Can holder, see Cu‐ pholder 176
Car battery 225
Car care products 234
Care, displays 236
Care, vehicle 234
Cargo 188
Cargo area 169, 171 Cargo area, enlarg‐
ing 169 , 171
Cargo area partition net 170
Cargo area, storage compart‐ ments 177
Cargo cover 169, 171
Cargo, securing 189
Cargo straps, securing cargo 189
Car key, see Remote con‐ trol 34
Carpet, care 236
Car wash 233
Catalytic converter, see Hot exhaust system 185
CBS Condition Based Serv‐ ice 218
CD/Multimedia, see user's manual for Navigation, En‐
tertainment and Communi‐
cation
Center armrest 174
Center console 16
Central locking system 40
Central screen, see Control Display 18
Changes, technical, see Own Safety 7
Changing parts 220
Changing wheels 223
Changing wheels/tires 204
Chassis number, see vehicle identification number 10
Check Control 87
Checking the engine oil level electronically 213
Checking the oil level elec‐ tronically 213
Children, seating position 64
Children, transporting safely 64
Child restraint fixing sys‐ tem 64
Child restraint fixing system LATCH 66 Child restraint fixing systems,
mounting 65
Child safety locks 68
Child seat, mounting 65
Child seats 64
Chrome parts, care 235
Cigarette lighter 165
Cleaning displays 236
Climate control 155
Clock 91
Closing/opening via door lock 39
Closing/opening with remote control 37
Closing the tailgate with no- touch activation 44
Clothes hooks 177
Cockpit 14
Combination switch, refer to Wiper system 77
Combination switch, see Turn signals 76
Comfort Access 43
Compact wheel, see Emer‐ gency wheel 224
Compartments in the doors 174
Compass 98
Compound brake 182
Compressor 206
Condensation on win‐ dows 158
Condensation under the vehi‐ cle 186
Condition Based Service CBS 218
Confirmation signal 46
ConnectedDrive, see user's manual for Navigation, En‐
tertainment and Communi‐
cation
ConnectedDrive Services
Connecting electrical devi‐ ces 166
Control Display 18
Control Display, settings 99 Seite 245Everything from A to ZReference245
Online Edition for Part no. 01 40 2 964 090 - VI/15