display screen BMW X6 2016 F16 Owner's Manual
[x] Cancel search | Manufacturer: BMW, Model Year: 2016, Model line: X6, Model: BMW X6 2016 F16Pages: 265, PDF Size: 6.17 MB
Page 21 of 265
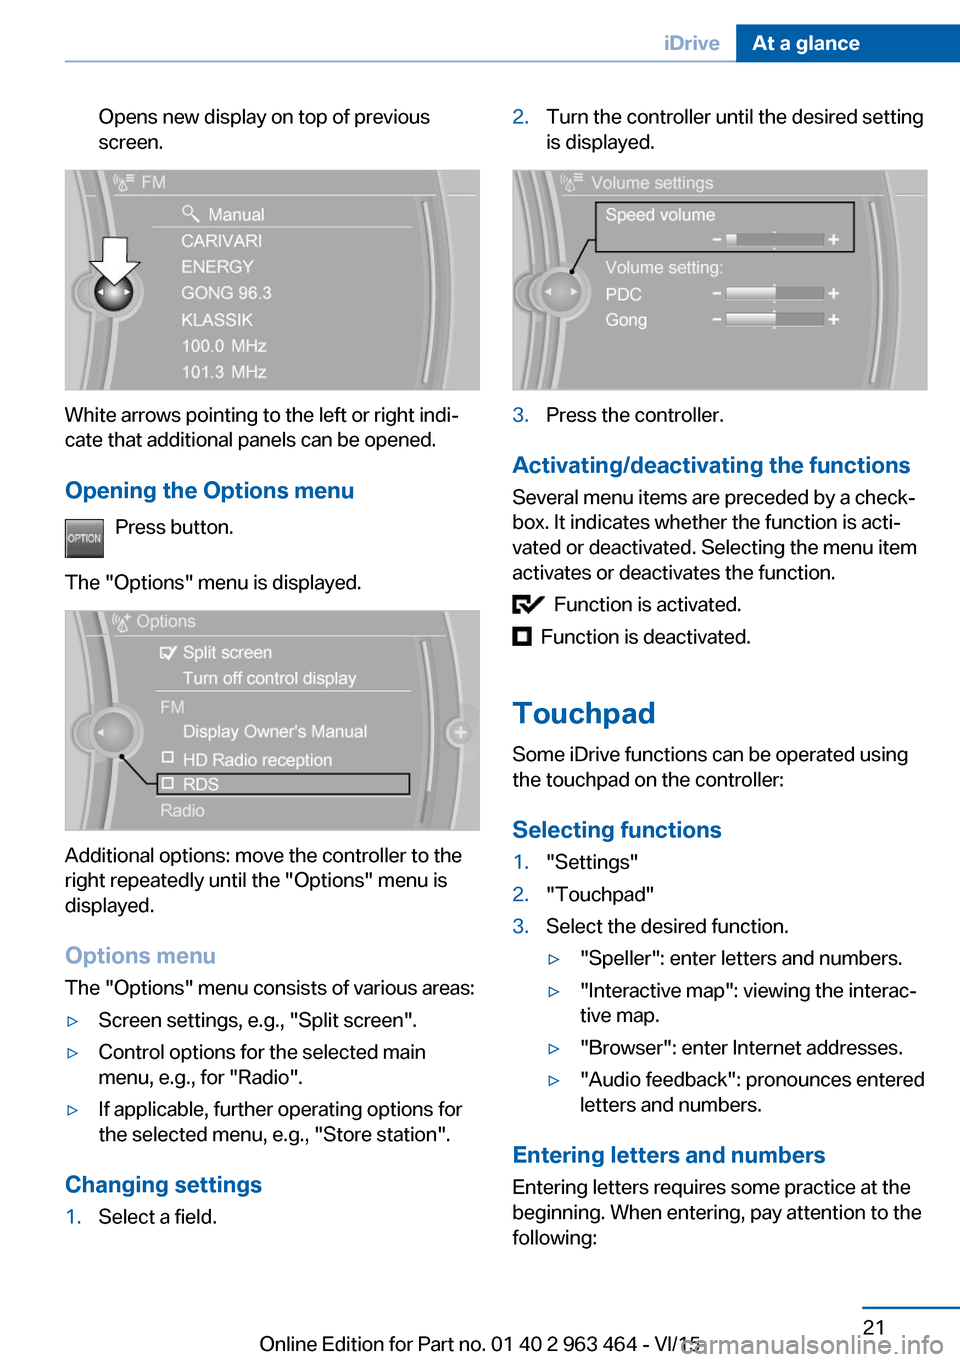
Opens new display on top of previous
screen.
White arrows pointing to the left or right indi‐
cate that additional panels can be opened.
Opening the Options menu Press button.
The "Options" menu is displayed.
Additional options: move the controller to the
right repeatedly until the "Options" menu is
displayed.
Options menu The "Options" menu consists of various areas:
▷Screen settings, e.g., "Split screen".▷Control options for the selected main
menu, e.g., for "Radio".▷If applicable, further operating options for
the selected menu, e.g., "Store station".
Changing settings
1.Select a field.2.Turn the controller until the desired setting
is displayed.3.Press the controller.
Activating/deactivating the functions
Several menu items are preceded by a check‐
box. It indicates whether the function is acti‐
vated or deactivated. Selecting the menu item
activates or deactivates the function.
Function is activated.
Function is deactivated.
Touchpad Some iDrive functions can be operated using
the touchpad on the controller:
Selecting functions
1."Settings"2."Touchpad"3.Select the desired function.▷"Speller": enter letters and numbers.▷"Interactive map": viewing the interac‐
tive map.▷"Browser": enter Internet addresses.▷"Audio feedback": pronounces entered
letters and numbers.
Entering letters and numbers
Entering letters requires some practice at the
beginning. When entering, pay attention to the
following:
Seite 21iDriveAt a glance21
Online Edition for Part no. 01 40 2 963 464 - VI/15
Page 23 of 265
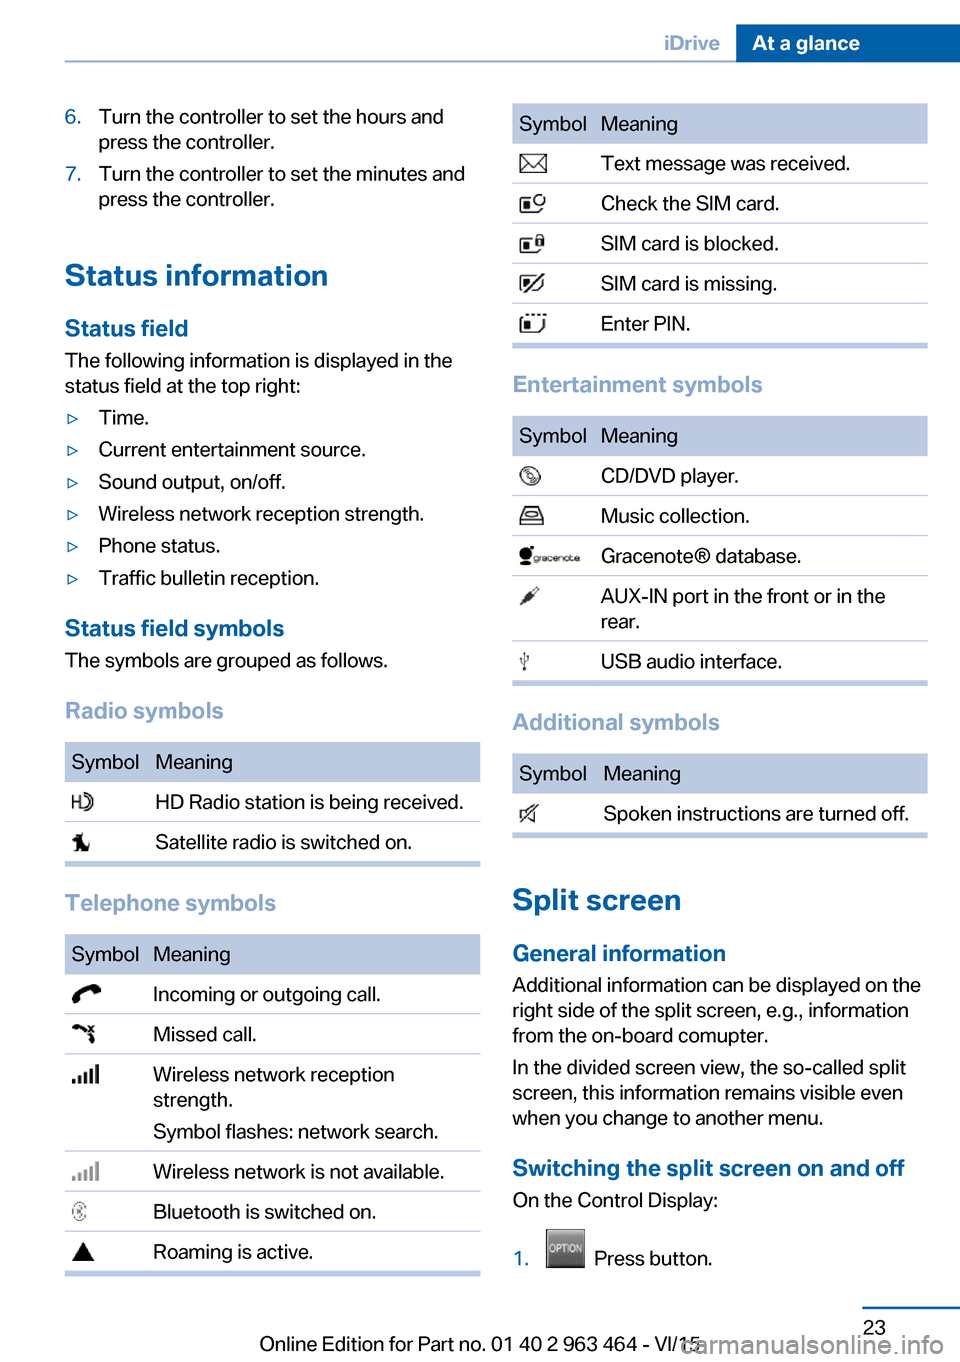
6.Turn the controller to set the hours and
press the controller.7.Turn the controller to set the minutes and
press the controller.
Status information
Status field The following information is displayed in the
status field at the top right:
▷Time.▷Current entertainment source.▷Sound output, on/off.▷Wireless network reception strength.▷Phone status.▷Traffic bulletin reception.
Status field symbols
The symbols are grouped as follows.
Radio symbols
SymbolMeaning HD Radio station is being received. Satellite radio is switched on.
Telephone symbols
SymbolMeaning Incoming or outgoing call. Missed call. Wireless network reception
strength.
Symbol flashes: network search. Wireless network is not available. Bluetooth is switched on. Roaming is active.SymbolMeaning Text message was received. Check the SIM card. SIM card is blocked. SIM card is missing. Enter PIN.
Entertainment symbols
SymbolMeaning CD/DVD player. Music collection. Gracenote® database. AUX-IN port in the front or in the
rear. USB audio interface.
Additional symbols
SymbolMeaning Spoken instructions are turned off.
Split screen
General information Additional information can be displayed on the
right side of the split screen, e.g., information
from the on-board comupter.
In the divided screen view, the so-called split
screen, this information remains visible even when you change to another menu.
Switching the split screen on and off On the Control Display:
1. Press button.
Seite 23iDriveAt a glance23
Online Edition for Part no. 01 40 2 963 464 - VI/15
Page 24 of 265
2."Split screen"
Selecting the display
On the Control Display:
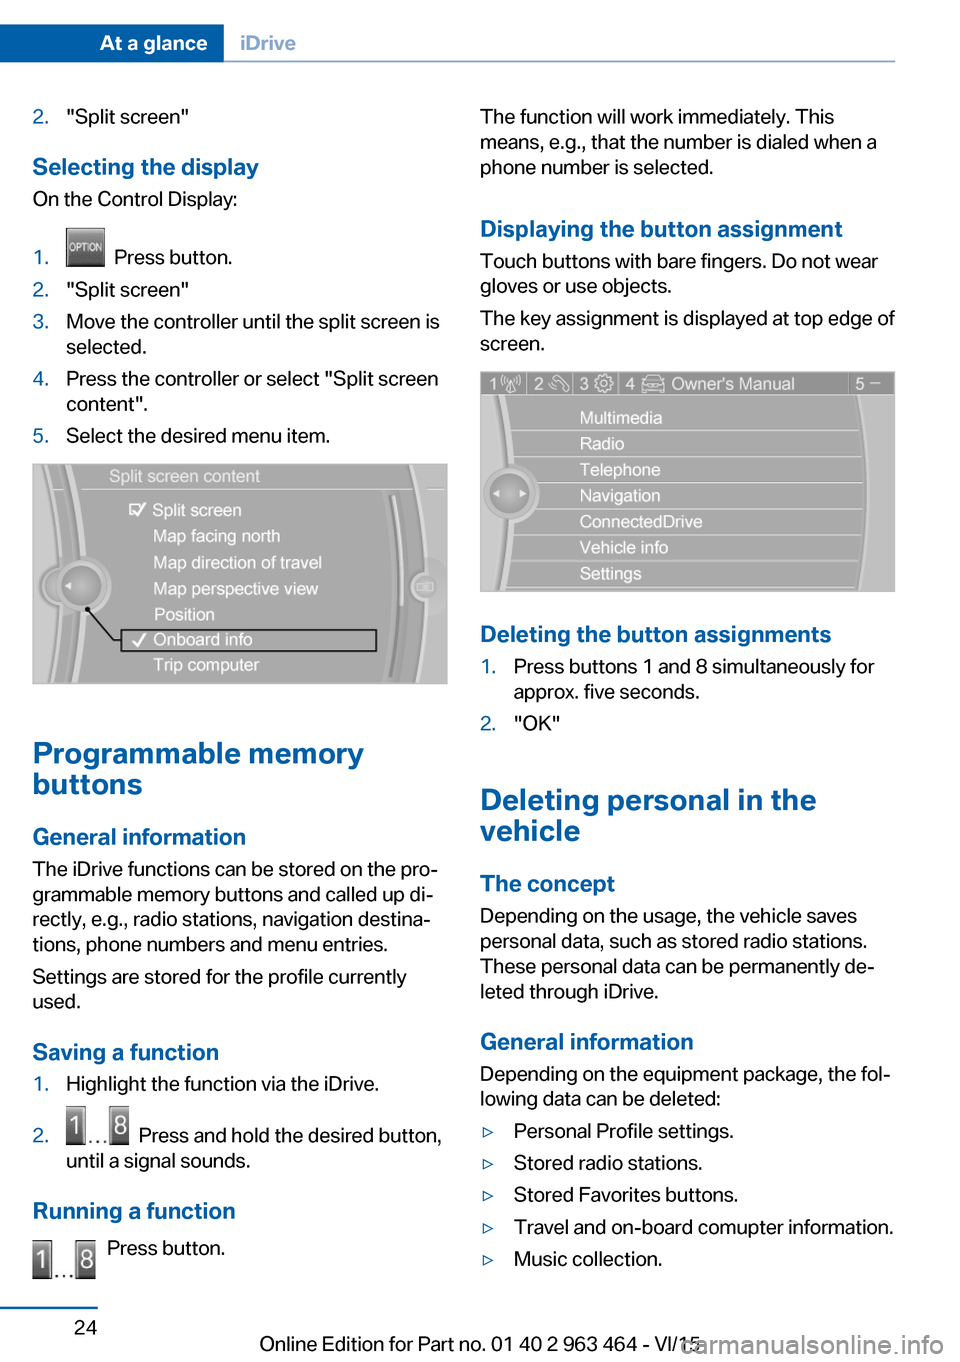
1. Press button.2."Split screen"3.Move the controller until the split screen is
selected.4.Press the controller or select "Split screen
content".5.Select the desired menu item.
Programmable memory
buttons
General information
The iDrive functions can be stored on the pro‐
grammable memory buttons and called up di‐
rectly, e.g., radio stations, navigation destina‐
tions, phone numbers and menu entries.
Settings are stored for the profile currently
used.
Saving a function
1.Highlight the function via the iDrive.2. Press and hold the desired button,
until a signal sounds.
Running a function
Press button.
The function will work immediately. This
means, e.g., that the number is dialed when a
phone number is selected.
Displaying the button assignment
Touch buttons with bare fingers. Do not wear
gloves or use objects.
The key assignment is displayed at top edge of
screen.
Deleting the button assignments
1.Press buttons 1 and 8 simultaneously for
approx. five seconds.2."OK"
Deleting personal in the
vehicle
The concept
Depending on the usage, the vehicle saves
personal data, such as stored radio stations.
These personal data can be permanently de‐
leted through iDrive.
General information
Depending on the equipment package, the fol‐
lowing data can be deleted:
▷Personal Profile settings.▷Stored radio stations.▷Stored Favorites buttons.▷Travel and on-board comupter information.▷Music collection.Seite 24At a glanceiDrive24
Online Edition for Part no. 01 40 2 963 464 - VI/15
Page 100 of 265
Setting the rotation
The screen of the Head-up Display can be ro‐
tated around its own axis.
On the Control Display:1."Settings"2."Head-Up Display"3."Rotation"4.Turn the controller until the desired setting
is selected.5.Press the controller.
Settings are stored for the profile currently
used.
Special windshield
The windshield is part of the system.
The shape of the windshield makes it possible
to display a precise image.
A film in the windshield prevents double im‐
ages from being displayed.
For this reason, it is strongly suggested to
have the special windshield replaced by a
dealer’s service center or another qualified
service center or repair shop.
Seite 100ControlsDisplays100
Online Edition for Part no. 01 40 2 963 464 - VI/15
Page 128 of 265
Small animals are not detected by the object
detection function, even if they are clearly visi‐
ble in the image.
Limited detection, e.g. in the following circum‐
stances:▷People or animals who are fully or partially
covered, especially when their heads are
covered.▷People who are not in an upright position,
e.g., lying down.▷Cyclists on unconventional bicycles (e.g.,
recumbent bicycles).▷After physical damage to the system, e.g.,
after an accident.
No display on the rear screen
The image from Night Vision cannot be dis‐
played on the rear screen.
Lane departure warning The concept Starting at a specific speed, this system alerts
you when the vehicle on streets with lane
markings is about to leave the lane. This
speed, depending on the country version, is
between 35 mph/55 km/h and
45 mph/70 km/h.
The steering wheel begins vibrating gently in
the event of warnings. The time of the warning
may vary depending on the current driving sit‐
uation.
The system does not provide a warning if the
turn signal is set before leaving the lane.
Information WARNING
The system does not relieve from the
personal responsibility to correctly assess
route and traffic situation. There is risk of an
accident. Adjust the driving style to the traffic
conditions. Watch traffic closely and actively
interfere in the respective situations. In the
event of a warning, do not unnecessarily jerk
the steering wheel.◀
Overview
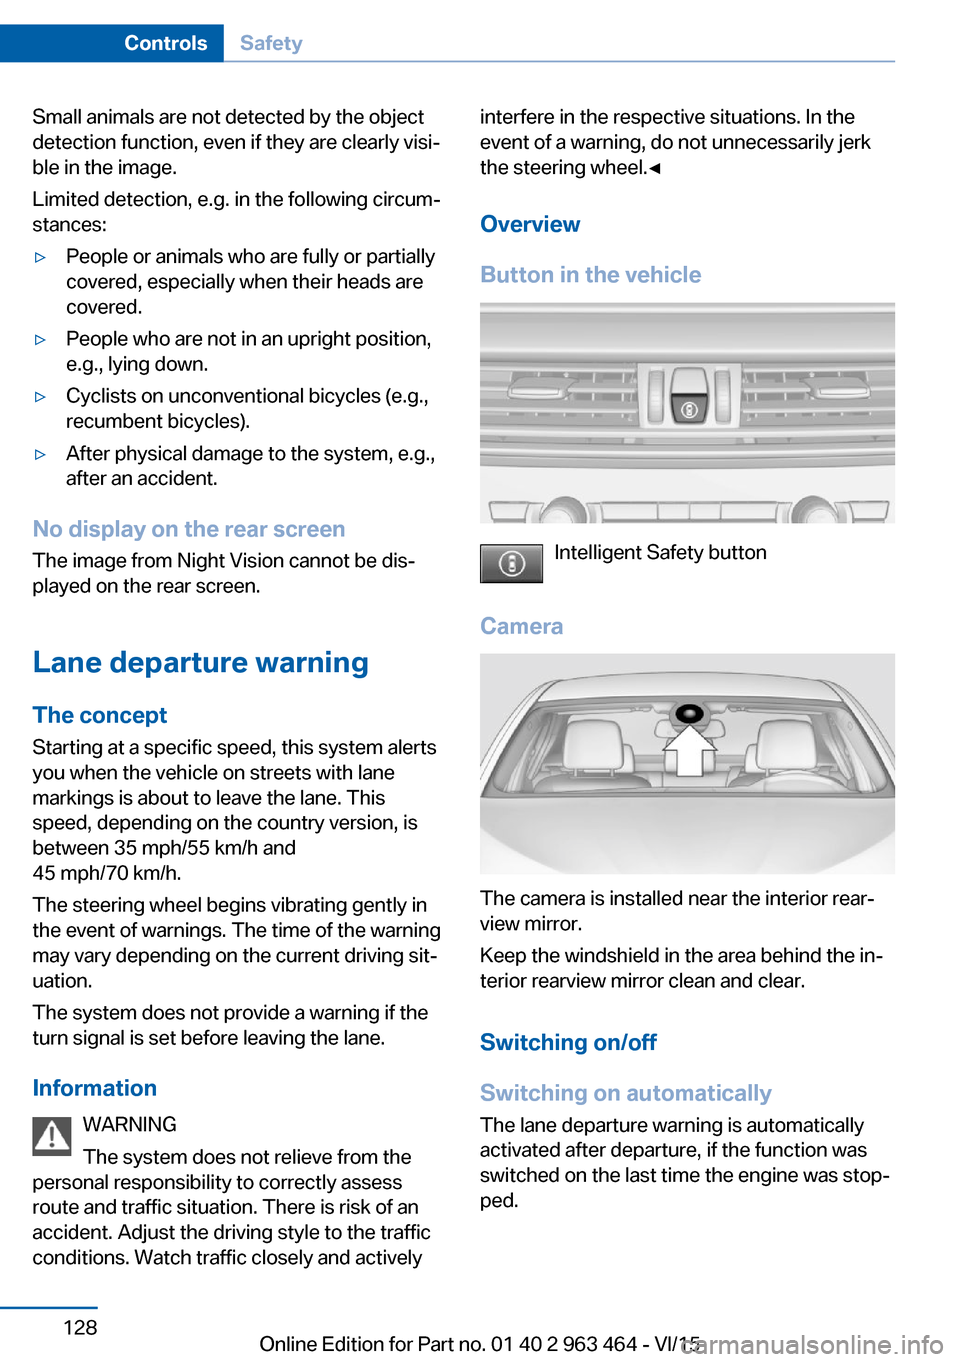
Button in the vehicle
Intelligent Safety button
Camera
The camera is installed near the interior rear‐
view mirror.
Keep the windshield in the area behind the in‐
terior rearview mirror clean and clear.
Switching on/off
Switching on automatically The lane departure warning is automatically
activated after departure, if the function was
switched on the last time the engine was stop‐
ped.
Seite 128ControlsSafety128
Online Edition for Part no. 01 40 2 963 464 - VI/15
Page 158 of 265
2.Turn the controller until the desired setting
is reached, and press the controller.
Displaying the turning radius and
pathway lines
▷The static, red turning radius line shows
the space needed to the side of the vehicle
when the steering wheel is turned all the
way.▷The variable, green pathway line assists
you in assessing the amount of space ac‐
tually needed to the side of the vehicle.
The lane line depends on the engaged
gear and the current steering angle. The
track line is continuously adjusted for the
steering wheel movement.
"Parking aid lines"
Turning circle and pathway lines are displayed.
System limits
A Check Control message is displayed when a
camera is not working.
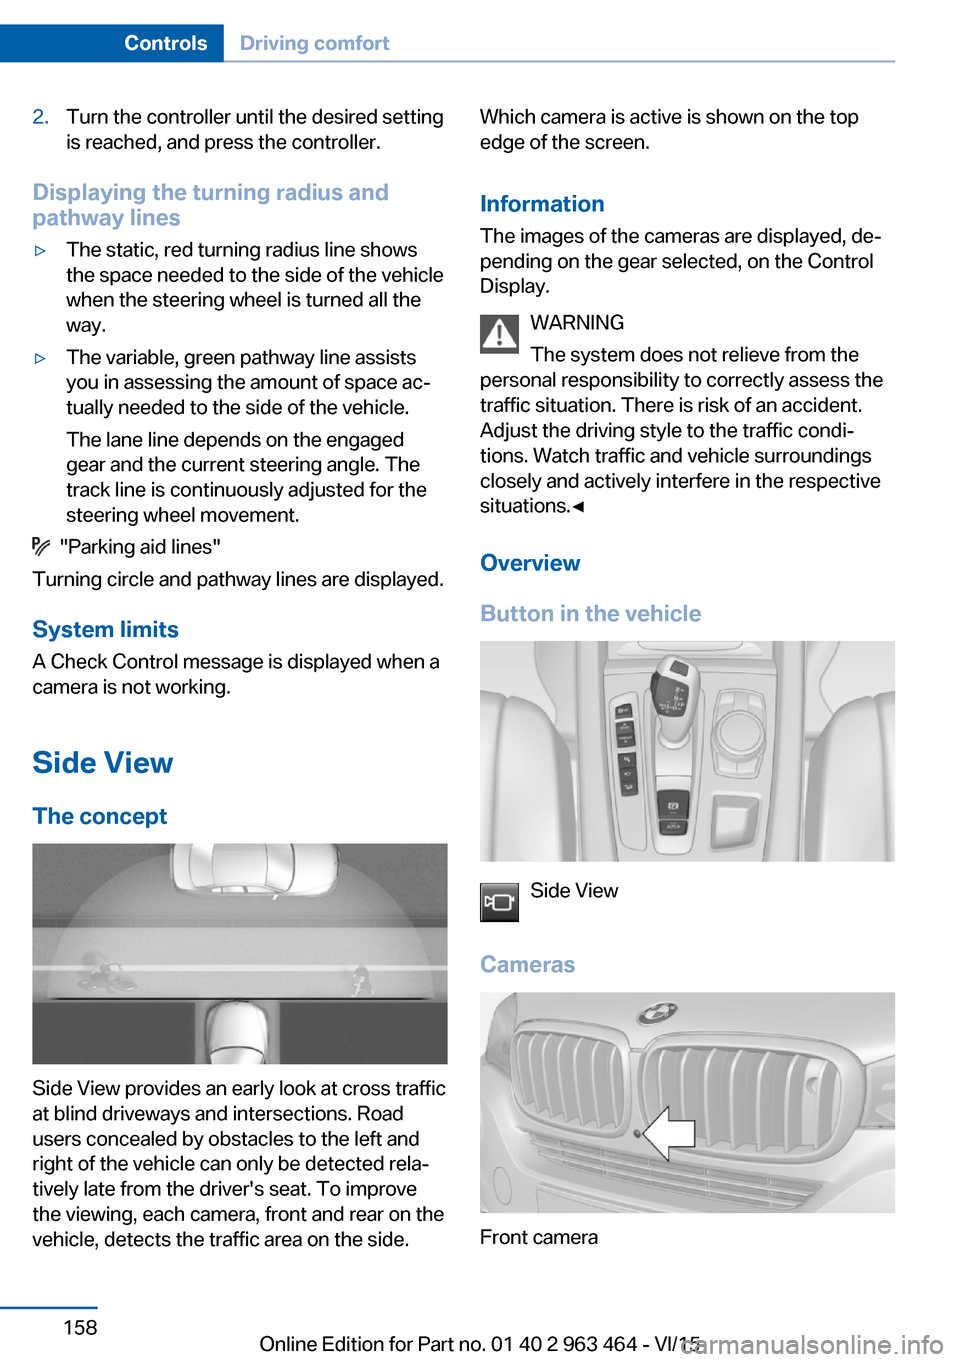
Side View The concept
Side View provides an early look at cross traffic
at blind driveways and intersections. Road
users concealed by obstacles to the left and
right of the vehicle can only be detected rela‐
tively late from the driver's seat. To improve
the viewing, each camera, front and rear on the
vehicle, detects the traffic area on the side.
Which camera is active is shown on the top
edge of the screen.
Information The images of the cameras are displayed, de‐
pending on the gear selected, on the Control
Display.
WARNING
The system does not relieve from the
personal responsibility to correctly assess the
traffic situation. There is risk of an accident.
Adjust the driving style to the traffic condi‐
tions. Watch traffic and vehicle surroundings
closely and actively interfere in the respective
situations.◀
Overview
Button in the vehicle
Side View
Cameras
Front camera
Seite 158ControlsDriving comfort158
Online Edition for Part no. 01 40 2 963 464 - VI/15
Page 246 of 265
Safety belts
Dirty belt straps impede the reeling action and
thus have a negative impact on safety.
WARNING
Chemical cleansers can destroy the
safety belt webbing. Missing protective effect
of the safety belts. There is risk of injuries or
danger to life. Use only a mild soapy solution
for cleaning the safety belts.◀
Use only a mild soapy solution, with the safety
belts clipped into their buckles.
Do not allow the switchs to retract the safety
belts until they are dry.
Carpets and floor mats WARNING
Objects in the driver's floor area can limit
the pedal distance or block a depressed pedal.
There is risk of an accident. Stow objects in
the vehicle such that they are secured and
cannot enter into the driver's floor area. Use
floor mats that are suitable for the vehicle and
can be safely attached to the floor. Do not use
loose floor mats and do not layer several floor
mats. Make sure that there is sufficient clear‐
ance for the pedals. Ensure that the floor mats
are securely fastened again after they were re‐
moved, e.g. for cleaning.◀
Floor mats can be removed from the car's inte‐
rior for cleaning.
If the floor carpets are very dirty, clean with a
microfiber cloth and water or a textile cleaner.
To prevent matting of the carpet, rub back and
forth in the direction of travel only.
Sensor/camera lenses
To clean sensors and camera lenses, use a
cloth moistened with a small amount of glass
detergent.Displays/Screens/protective glass of
the Head-up Display
CAUTION
Chemical cleansers, moisture or fluids of
any kind can damage the surface of displays
and screens. There is risk of property damage.
Clean with a clean, antistatic microfiber cloth.◀
CAUTION
The surface of displays can be damaged
with improper cleaning. There is risk of prop‐
erty damage. Avoid pressure that is too high
and do not use any scratching materials.◀
Clean with a clean, antistatic microfiber cloth.
Clean the protective glass of the Head-up Dis‐
play using a microfiber cloth and commercially
available dish-washing soap.
Long-term
When the vehicle is shut down for longer than
three months, special measures must be
taken. Further information is available from a
dealer’s service center or another qualified
service center or repair shop.Seite 246MobilityCare246
Online Edition for Part no. 01 40 2 963 464 - VI/15
Page 255 of 265
Blinds, sun protection 49
BMW Assist, see user's manual for Navigation, En‐
tertainment and Communi‐
cation
BMW Driver’s Guide App 6
BMW Homepage 6
BMW Internet page 6
BMW maintenance sys‐ tem 228
Bonus range, ECO PRO 197
Bottle holder, see Cu‐ pholder 183
Brake assistant 134
Brake assistant, adaptive 134
Brake discs, break-in 188
Brake force display 132
Brake lights, adaptive 132
Brake lights, brake force dis‐ play 132
Brake pads, break-in 188
Braking, hints 189
Breakdown assistance 238
Break-in 188
Brightness of Control Dis‐ play 98
Bulb replacement 231
Bulb replacement, front 232
Bulb replacement, rear 234
Bulbs and lights 231
Button, RES 145
Button, Start/Stop 67
Bypassing, see Jump-start‐ ing 239
C
California Proposition 65 Warning 8
Calling up mirror adjust‐ ment 46
Calling up seat adjust‐ ment 46
Calling up steering wheel ad‐ justment 46
Camera lenses, care 246 Camera, rearview cam‐
era 154
Camera, Side View 158
Camera, Top View 157
Can holder, see Cu‐ pholder 183
Car battery 236
Car care products 244
Care, displays 246
Care, vehicle 244
Cargo 192
Cargo area 178
Cargo area, enlarging 178
Cargo area, storage compart‐ ments 184
Cargo cover 178
Cargo, securing 193
Cargo straps, securing cargo 193
Car key, see Remote con‐ trol 34
Carpet, care 246
Car wash 243
Catalytic converter, see Hot exhaust system 189
CBS Condition Based Serv‐ ice 228
CD/Multimedia, see user's manual for Navigation, En‐
tertainment and Communi‐
cation
Center armrest 181
Center console 16
Central locking system 40
Central screen, see Control Display 18
Changes, technical, see Own Safety 7
Changing parts 230
Changing wheels 234
Changing wheels/tires 213
Chassis number, see vehicle identification number 10
Check Control 86
Checking the engine oil level electronically 222 Checking the oil level elec‐
tronically 222
Children, seating position 62
Children, transporting safely 62
Child restraint fixing sys‐ tem 62
Child restraint fixing system LATCH 64
Child restraint fixing systems, mounting 63
Child safety locks 65
Child seat, mounting 63
Child seats 62
Chrome parts, care 245
Cigarette lighter 174
Cleaning displays 246
Climate control 164
Climate control wind‐ shield 189
Clock 91
Closing/opening via door lock 39
Closing/opening with remote control 37
Closing the tailgate with no- touch activation 44
Clothes hooks 184
Coasting 199
Coasting with engine decou‐ pled, coasting 199
Coasting with idling en‐ gine 199
Cockpit 14
Combination switch, refer to Wiper system 75
Combination switch, see Turn signals 74
Comfort Access 42
COMFORT program, Driving Dynamics Control 140
Compact wheel, see Emer‐ gency wheel 234
Compartments in the doors 181
Compass 96 Seite 255Everything from A to ZReference255
Online Edition for Part no. 01 40 2 963 464 - VI/15
Page 256 of 265
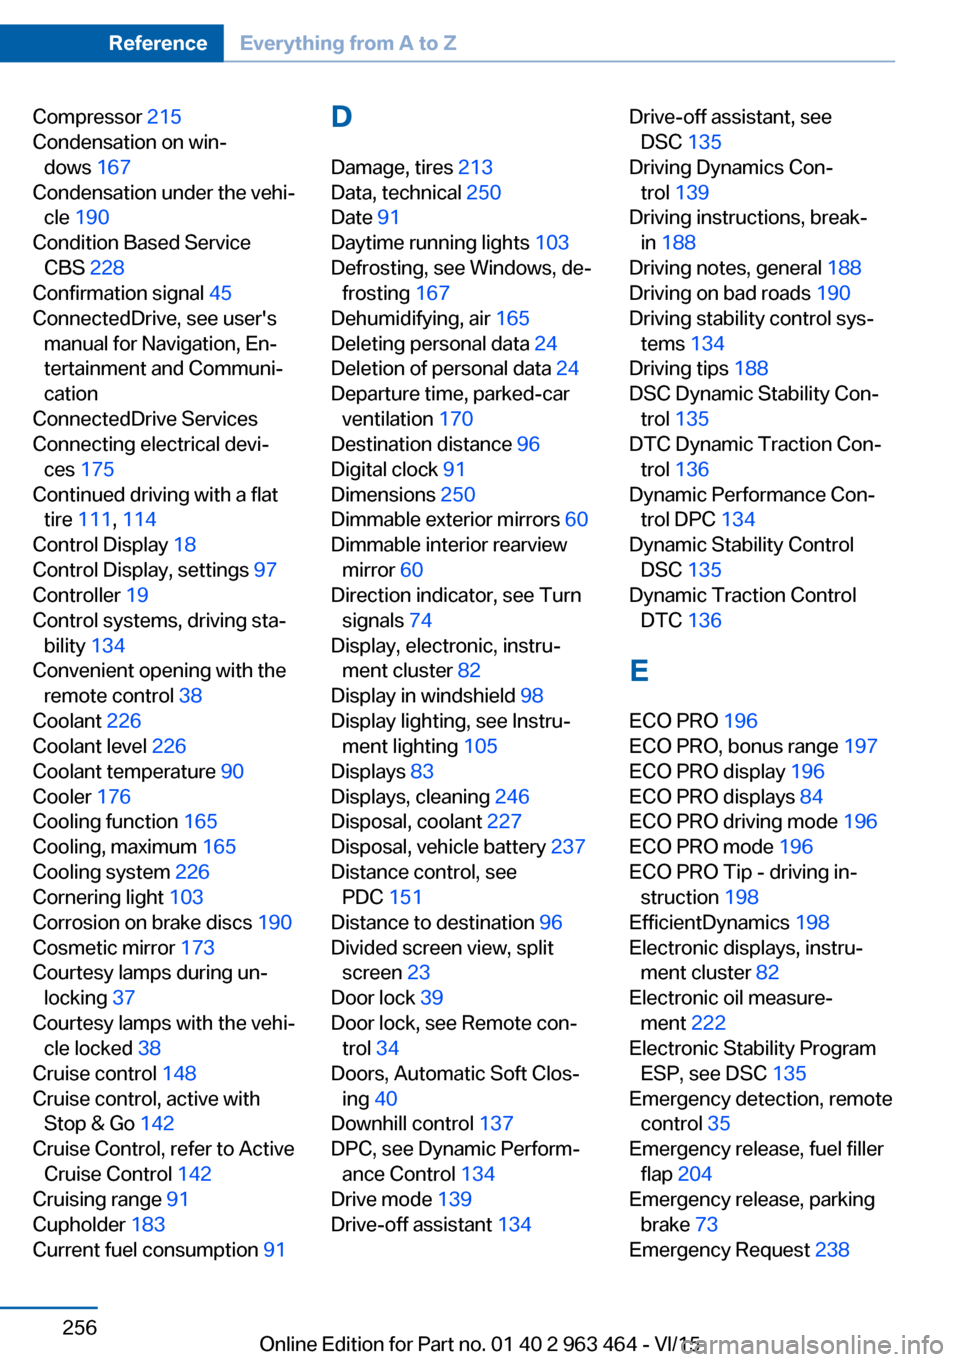
Compressor 215
Condensation on win‐ dows 167
Condensation under the vehi‐ cle 190
Condition Based Service CBS 228
Confirmation signal 45
ConnectedDrive, see user's manual for Navigation, En‐
tertainment and Communi‐
cation
ConnectedDrive Services
Connecting electrical devi‐ ces 175
Continued driving with a flat tire 111 , 114
Control Display 18
Control Display, settings 97
Controller 19
Control systems, driving sta‐ bility 134
Convenient opening with the remote control 38
Coolant 226
Coolant level 226
Coolant temperature 90
Cooler 176
Cooling function 165
Cooling, maximum 165
Cooling system 226
Cornering light 103
Corrosion on brake discs 190
Cosmetic mirror 173
Courtesy lamps during un‐ locking 37
Courtesy lamps with the vehi‐ cle locked 38
Cruise control 148
Cruise control, active with Stop & Go 142
Cruise Control, refer to Active Cruise Control 142
Cruising range 91
Cupholder 183
Current fuel consumption 91 D
Damage, tires 213
Data, technical 250
Date 91
Daytime running lights 103
Defrosting, see Windows, de‐ frosting 167
Dehumidifying, air 165
Deleting personal data 24
Deletion of personal data 24
Departure time, parked-car ventilation 170
Destination distance 96
Digital clock 91
Dimensions 250
Dimmable exterior mirrors 60
Dimmable interior rearview mirror 60
Direction indicator, see Turn signals 74
Display, electronic, instru‐ ment cluster 82
Display in windshield 98
Display lighting, see Instru‐ ment lighting 105
Displays 83
Displays, cleaning 246
Disposal, coolant 227
Disposal, vehicle battery 237
Distance control, see PDC 151
Distance to destination 96
Divided screen view, split screen 23
Door lock 39
Door lock, see Remote con‐ trol 34
Doors, Automatic Soft Clos‐ ing 40
Downhill control 137
DPC, see Dynamic Perform‐ ance Control 134
Drive mode 139
Drive-off assistant 134 Drive-off assistant, see
DSC 135
Driving Dynamics Con‐ trol 139
Driving instructions, break- in 188
Driving notes, general 188
Driving on bad roads 190
Driving stability control sys‐ tems 134
Driving tips 188
DSC Dynamic Stability Con‐ trol 135
DTC Dynamic Traction Con‐ trol 136
Dynamic Performance Con‐ trol DPC 134
Dynamic Stability Control DSC 135
Dynamic Traction Control DTC 136
E
ECO PRO 196
ECO PRO, bonus range 197
ECO PRO display 196
ECO PRO displays 84
ECO PRO driving mode 196
ECO PRO mode 196
ECO PRO Tip - driving in‐ struction 198
EfficientDynamics 198
Electronic displays, instru‐ ment cluster 82
Electronic oil measure‐ ment 222
Electronic Stability Program ESP, see DSC 135
Emergency detection, remote control 35
Emergency release, fuel filler flap 204
Emergency release, parking brake 73
Emergency Request 238 Seite 256ReferenceEverything from A to Z256
Online Edition for Part no. 01 40 2 963 464 - VI/15
Page 261 of 265
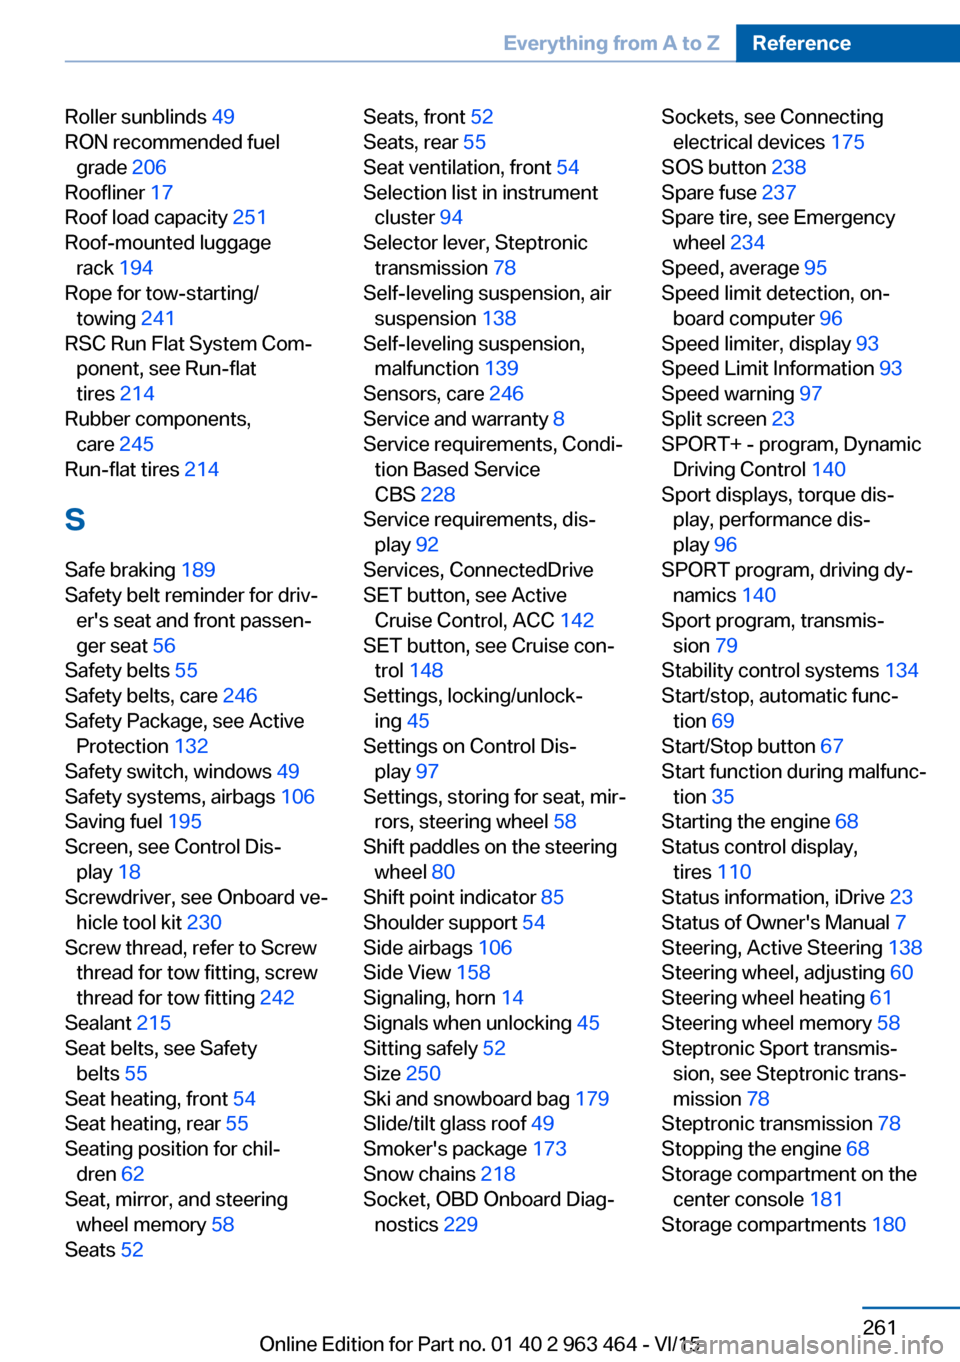
Roller sunblinds 49
RON recommended fuel grade 206
Roofliner 17
Roof load capacity 251
Roof-mounted luggage rack 194
Rope for tow-starting/ towing 241
RSC Run Flat System Com‐ ponent, see Run-flat
tires 214
Rubber components, care 245
Run-flat tires 214
S Safe braking 189
Safety belt reminder for driv‐ er's seat and front passen‐
ger seat 56
Safety belts 55
Safety belts, care 246
Safety Package, see Active Protection 132
Safety switch, windows 49
Safety systems, airbags 106
Saving fuel 195
Screen, see Control Dis‐ play 18
Screwdriver, see Onboard ve‐ hicle tool kit 230
Screw thread, refer to Screw thread for tow fitting, screw
thread for tow fitting 242
Sealant 215
Seat belts, see Safety belts 55
Seat heating, front 54
Seat heating, rear 55
Seating position for chil‐ dren 62
Seat, mirror, and steering wheel memory 58
Seats 52 Seats, front 52
Seats, rear 55
Seat ventilation, front 54
Selection list in instrument cluster 94
Selector lever, Steptronic transmission 78
Self-leveling suspension, air suspension 138
Self-leveling suspension, malfunction 139
Sensors, care 246
Service and warranty 8
Service requirements, Condi‐ tion Based Service
CBS 228
Service requirements, dis‐ play 92
Services, ConnectedDrive
SET button, see Active Cruise Control, ACC 142
SET button, see Cruise con‐ trol 148
Settings, locking/unlock‐ ing 45
Settings on Control Dis‐ play 97
Settings, storing for seat, mir‐ rors, steering wheel 58
Shift paddles on the steering wheel 80
Shift point indicator 85
Shoulder support 54
Side airbags 106
Side View 158
Signaling, horn 14
Signals when unlocking 45
Sitting safely 52
Size 250
Ski and snowboard bag 179
Slide/tilt glass roof 49
Smoker's package 173
Snow chains 218
Socket, OBD Onboard Diag‐ nostics 229 Sockets, see Connecting
electrical devices 175
SOS button 238
Spare fuse 237
Spare tire, see Emergency wheel 234
Speed, average 95
Speed limit detection, on- board computer 96
Speed limiter, display 93
Speed Limit Information 93
Speed warning 97
Split screen 23
SPORT+ - program, Dynamic Driving Control 140
Sport displays, torque dis‐ play, performance dis‐
play 96
SPORT program, driving dy‐ namics 140
Sport program, transmis‐ sion 79
Stability control systems 134
Start/stop, automatic func‐ tion 69
Start/Stop button 67
Start function during malfunc‐ tion 35
Starting the engine 68
Status control display, tires 110
Status information, iDrive 23
Status of Owner's Manual 7
Steering, Active Steering 138
Steering wheel, adjusting 60
Steering wheel heating 61
Steering wheel memory 58
Steptronic Sport transmis‐ sion, see Steptronic trans‐
mission 78
Steptronic transmission 78
Stopping the engine 68
Storage compartment on the center console 181
Storage compartments 180 Seite 261Everything from A to ZReference261
Online Edition for Part no. 01 40 2 963 464 - VI/15