turn signal BMW Z3 2002 Owners Manual
[x] Cancel search | Manufacturer: BMW, Model Year: 2002, Model line: Z3, Model: BMW Z3 2002Pages: 187, PDF Size: 2.73 MB
Page 10 of 187
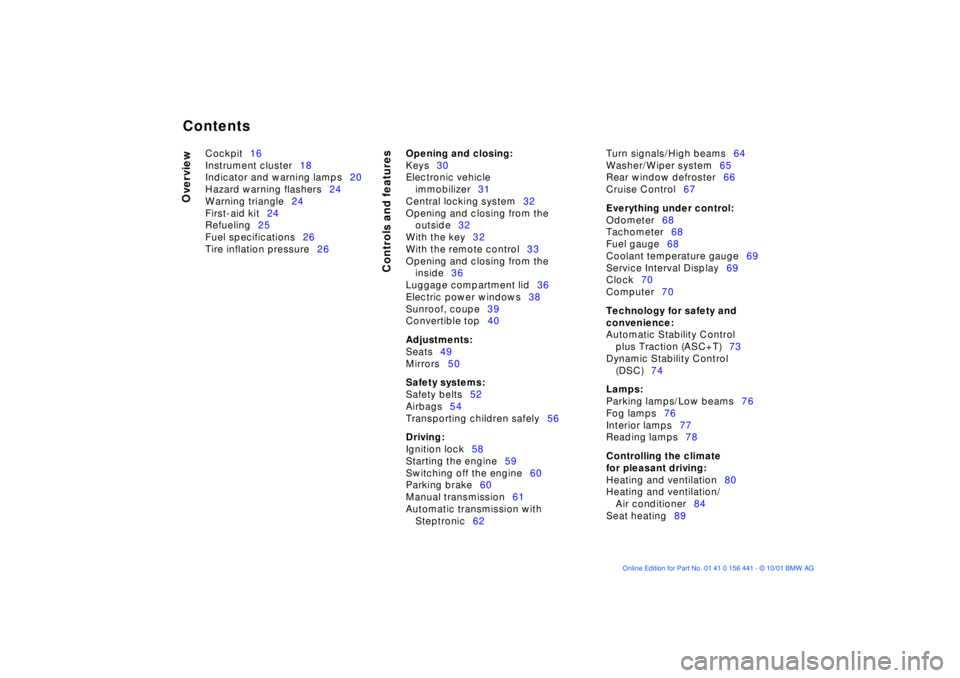
Contents
Overview
Controls and features
Cockpit16
Instrument cluster18
Indicator and warning lamps20
Hazard warning flashers24
Warning triangle24
First-aid kit24
Refueling25
Fuel specifications26
Tire inflation pressure26
Opening and closing:
Keys30
Electronic vehicle
immobilizer31
Central locking system32
Opening and closing from the
outside32
With the key32
With the remote control33
Opening and closing from the
inside36
Luggage compartment lid36
Electric power windows38
Sunroof, coupe39
Convertible top40
Adjustments:
Seats49
Mirrors50
Safety systems:
Safety belts52
Airbags54
Transporting children safely56
Driving:
Ignition lock58
Starting the engine59
Switching off the engine60
Parking brake60
Manual transmission61
Automatic transmission with
Steptronic62Turn signals/High beams64
Washer/Wiper system65
Rear window defroster66
Cruise Control67
Everything under control:
Odometer68
Tachometer68
Fuel gauge68
Coolant temperature gauge69
Service Interval Display69
Clock70
Computer70
Technology for safety and
convenience:
Automatic Stability Control
plus Traction (ASC+T)73
Dynamic Stability Control
(DSC)74
Lamps:
Parking lamps/Low beams76
Fog lamps76
Interior lamps77
Reading lamps78
Controlling the climate
for pleasant driving:
Heating and ventilation80
Heating and ventilation/
Air conditioner84
Seat heating89
Contents
Page 17 of 187

17n
IndexDataTechnologyRepairsMaintenanceControlsOverview
1 Parking lamps/Low beams76
2 Horn
3 Washer/Wiper system65
4 Hazard warning flashers24
5 Cruise control
*
67
6
>
Turn signals64
>
High beams64
>
Headlamp flasher64
>
Computer
*
70
7 Fog lamps76
8 Hood release118
Cockpit
Page 19 of 187
19n
IndexDataTechnologyRepairsMaintenanceControlsOverview
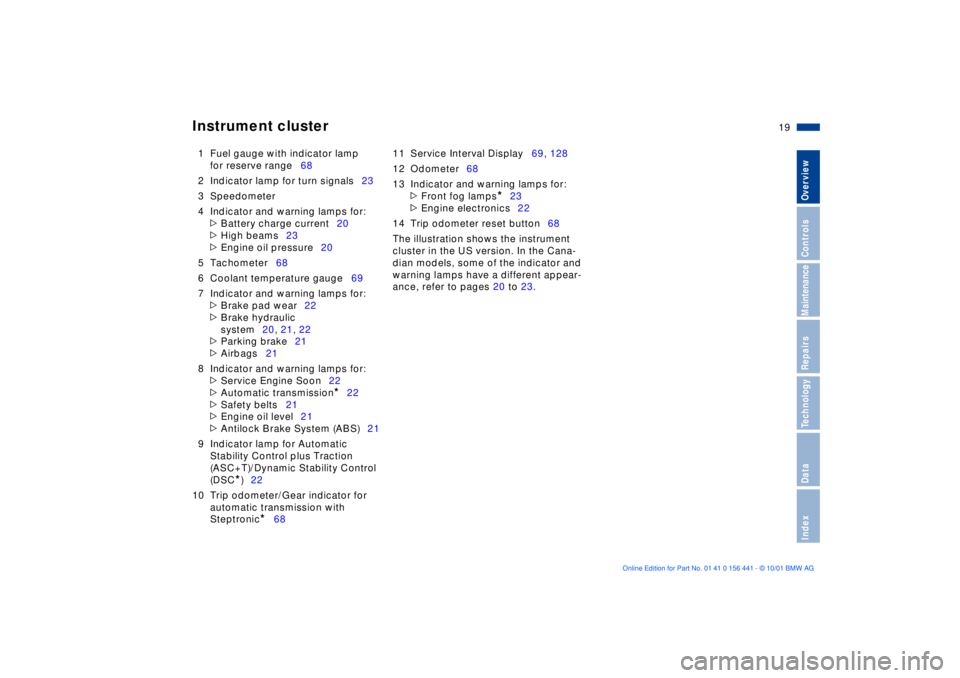
Instrument cluster
1 Fuel gauge with indicator lamp
for reserve range68
2 Indicator lamp for turn signals23
3 Speedometer
4 Indicator and warning lamps for:
>
Battery charge current20
>
High beams23
>
Engine oil pressure20
5 Tachometer68
6 Coolant temperature gauge69
7 Indicator and warning lamps for:
>
Brake pad wear22
>
Brake hydraulic
system20, 21, 22
>
Parking brake21
>
Airbags21
8 Indicator and warning lamps for:
>
Service Engine Soon22
>
Automatic transmission
*
22
>
Safety belts21
>
Engine oil level21
>
Antilock Brake System (ABS)21
9 Indicator lamp for Automatic
Stability Control plus Traction
(ASC+T)/Dynamic Stability Control
(DSC
*
)22
10 Trip odometer/Gear indicator for
automatic transmission with
Steptronic
*
6811 Service Interval Display69, 128
12 Odometer68
13 Indicator and warning lamps for:
>
Front fog lamps
*
23
>
Engine electronics22
14 Trip odometer reset button68
The illustration shows the instrument
cluster in the US version. In the Cana-
dian models, some of the indicator and
warning lamps have a different appear-
ance, refer to pages 20 to 23.
Page 23 of 187
23n
IndexDataTechnologyRepairsMaintenanceControlsOverview
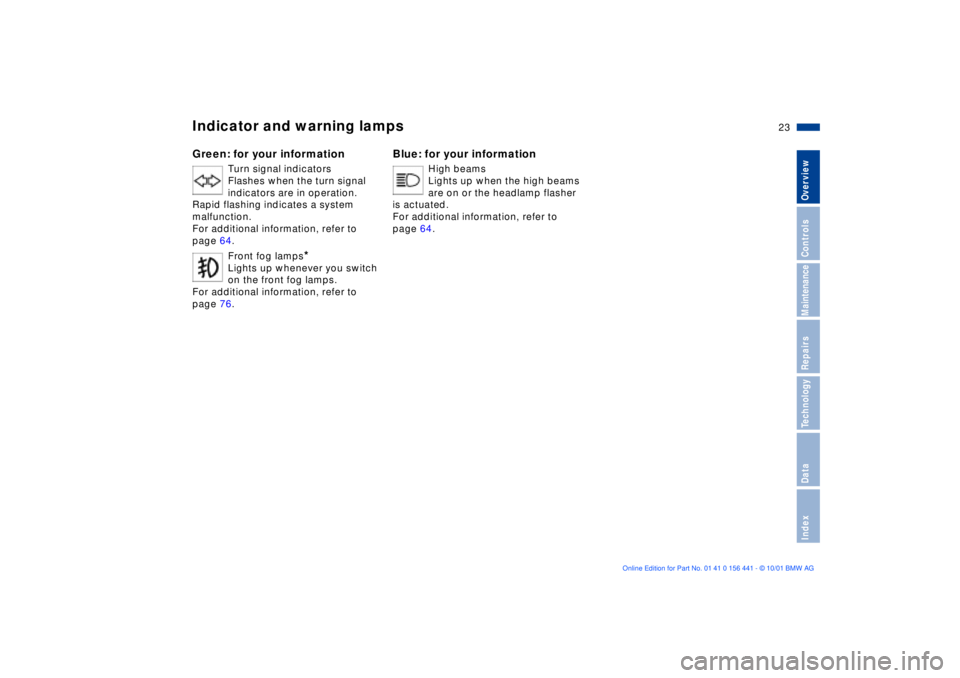
Indicator and warning lampsGreen: for your information
Turn signal indicators
Flashes when the turn signal
indicators are in operation.
Rapid flashing indicates a system
malfunction.
For additional information, refer to
page 64.
Front fog lamps
*
Lights up whenever you switch
on the front fog lamps.
For additional information, refer to
page 76.
Blue: for your information
High beams
Lights up when the high beams
are on or the headlamp flasher
is actuated.
For additional information, refer to
page 64.
Page 29 of 187
Overview
Controls and features
Operation, maintenance
Owner service procedures
Technical data
Index Advanced technology
29n
IndexDataTechnologyRepairsMaintenanceControlsOverview
Turn signals/High beams64
Washer/Wiper system65
Rear window defroster66
Cruise control67
Everything under control:
Odometer68
Tachometer68
Fuel gauge68
Coolant temperature gauge69
Service Interval Display69
Clock70
Computer70
Technology for safety
and convenience:
Automatic Stability Control
plus Traction (ASC+T)73
Dynamic Stability Control
(DSC)74
Lamps:
Parking lamps/Low beams76
Fog lamps76
Interior lamps77
Reading lamps78
Controlling the climate
for pleasant driving:
Heating and ventilation80
Heating and ventilation/
Air conditioner84
Seat heating89Cabin convenience:
Glove compartment90
Storage compartments90
Storage boxes90
Beverage holder91
Ashtray91
Cigarette lighter92
Loading and transporting
cargo:
coupe:
Roll-up cover93
Partition net93
Cargo loading94
Roof-mounted luggage
rack95
Page 60 of 187
60n
Switching off the engine Parking brakeTurn the ignition key to position 1 or 0.
Do not remove the ignition key
while the vehicle is rolling. The
steering locks and it is impossible to
steer the vehicle.
Always remove the ignition key and
engage the steering lock before leaving
the vehicle.
Vehicles with manual transmission:
Always engage the parking brake when
parking on slopes and inclined
surfaces, since even placing the gear-
shift lever in 1st gear or reverse may not
provide adequate resistance to rolling.
Vehicles with automatic transmission:
Place the selector lever in "P".<
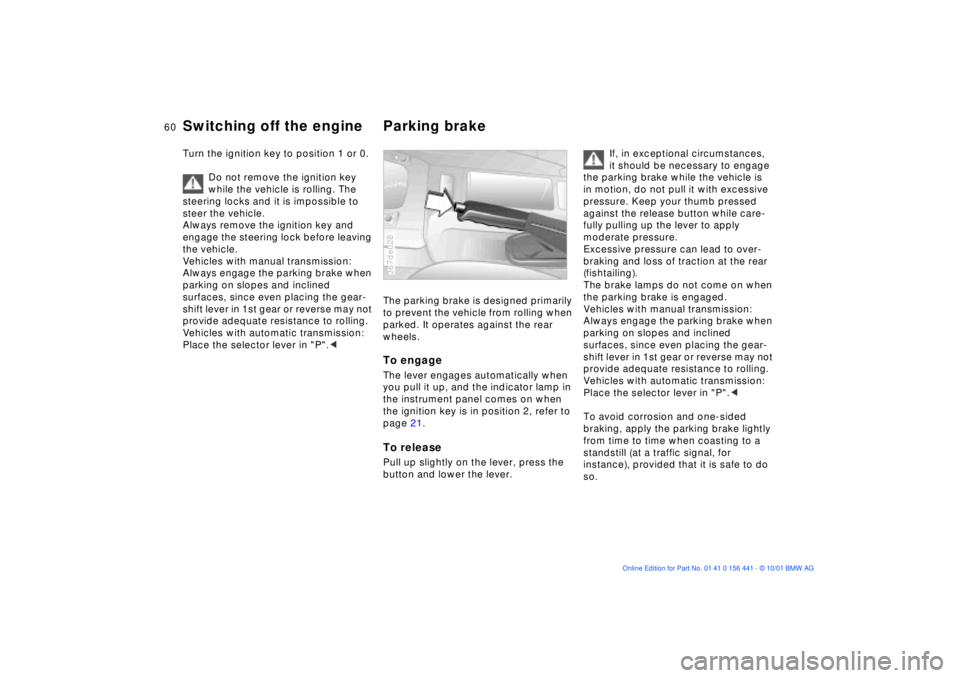
The parking brake is designed primarily
to prevent the vehicle from rolling when
parked. It operates against the rear
wheels.To engageThe lever engages automatically when
you pull it up, and the indicator lamp in
the instrument panel comes on when
the ignition key is in position 2, refer to
page 21.To releasePull up slightly on the lever, press the
button and lower the lever.367de028
If, in exceptional circumstances,
it should be necessary to engage
the parking brake while the vehicle is
in motion, do not pull it with excessive
pressure. Keep your thumb pressed
against the release button while care-
fully pulling up the lever to apply
moderate pressure.
Excessive pressure can lead to over-
braking and loss of traction at the rear
(fishtailing).
The brake lamps do not come on when
the parking brake is engaged.
Vehicles with manual transmission:
Always engage the parking brake when
parking on slopes and inclined
surfaces, since even placing the gear-
shift lever in 1st gear or reverse may not
provide adequate resistance to rolling.
Vehicles with automatic transmission:
Place the selector lever in "P".<
To avoid corrosion and one-sided
braking, apply the parking brake lightly
from time to time when coasting to a
standstill (at a traffic signal, for
instance), provided that it is safe to do
so.
Page 64 of 187
64n
Automatic transmission with Steptronic
*
Turn signals/High beams
Available displays
S M1 M2 M3 M4 M5
Electronic transmission control
module
If the indicator lamp comes on
there is a fault in the transmis-
sion system.
All of the selector lever positions can
continue to be used; in the forward
drive positions, however, the vehicle
will be operating with restricted gear
availability.
If this happens, avoid extreme engine
loads and consult the nearest BMW
center.
367us723
Do not work in the engine
compartment when a drive gear
(forward or reverse) is engaged. If you
do so, the vehicle could move.<
Information on jump-starting, tow-
starting and towing, refer to
pages 158, 159.
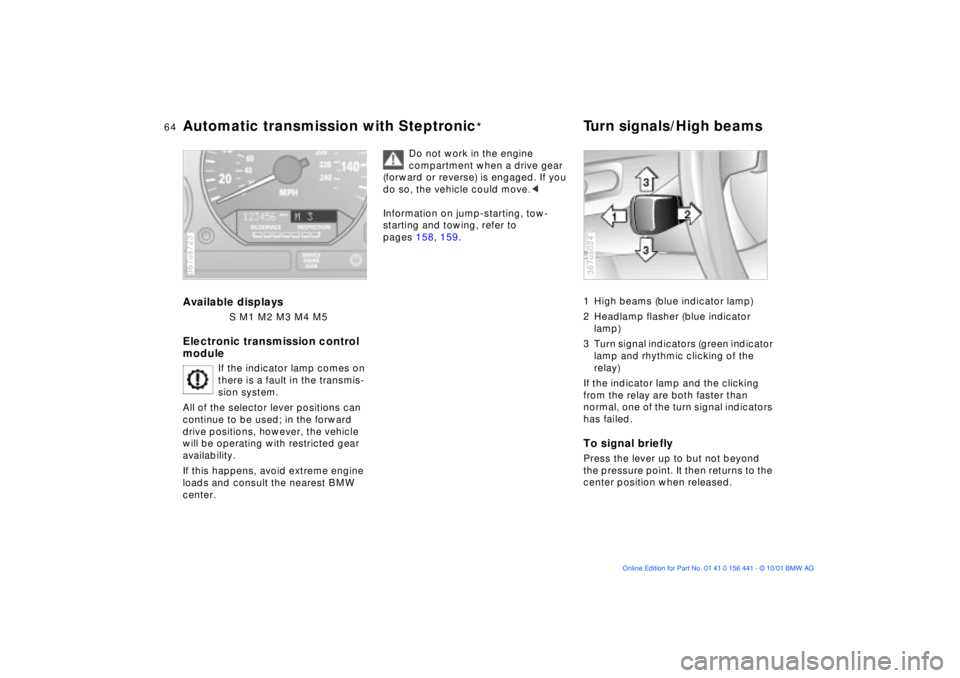
1 High beams (blue indicator lamp)
2 Headlamp flasher (blue indicator
lamp)
3 Turn signal indicators (green indicator
lamp and rhythmic clicking of the
relay)
If the indicator lamp and the clicking
from the relay are both faster than
normal, one of the turn signal indicators
has failed.To signal brieflyPress the lever up to but not beyond
the pressure point. It then returns to the
center position when released.367us024
Page 76 of 187
76n
Parking lamps/Low beams Fog lampsParking lamps (position lamps/
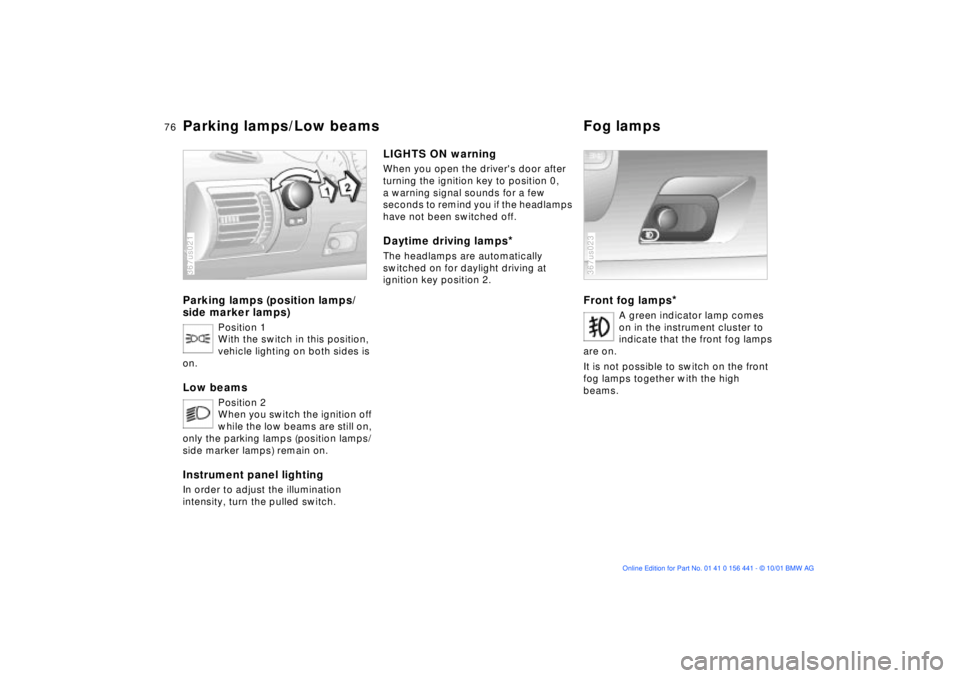
side marker lamps)
Position 1
With the switch in this position,
vehicle lighting on both sides is
on.
Low beams
Position 2
When you switch the ignition off
while the low beams are still on,
only the parking lamps (position lamps/
side marker lamps) remain on.
Instrument panel lightingIn order to adjust the illumination
intensity, turn the pulled switch. 367us021
LIGHTS ON warningWhen you open the driver's door after
turning the ignition key to position 0,
a warning signal sounds for a few
seconds to remind you if the headlamps
have not been switched off.Daytime driving lamps
*
The headlamps are automatically
switched on for daylight driving at
ignition key position 2.
Front fog lamps
*
A green indicator lamp comes
on in the instrument cluster to
indicate that the front fog lamps
are on.
It is not possible to switch on the front
fog lamps together with the high
beams.
367us023
Page 138 of 187
138n
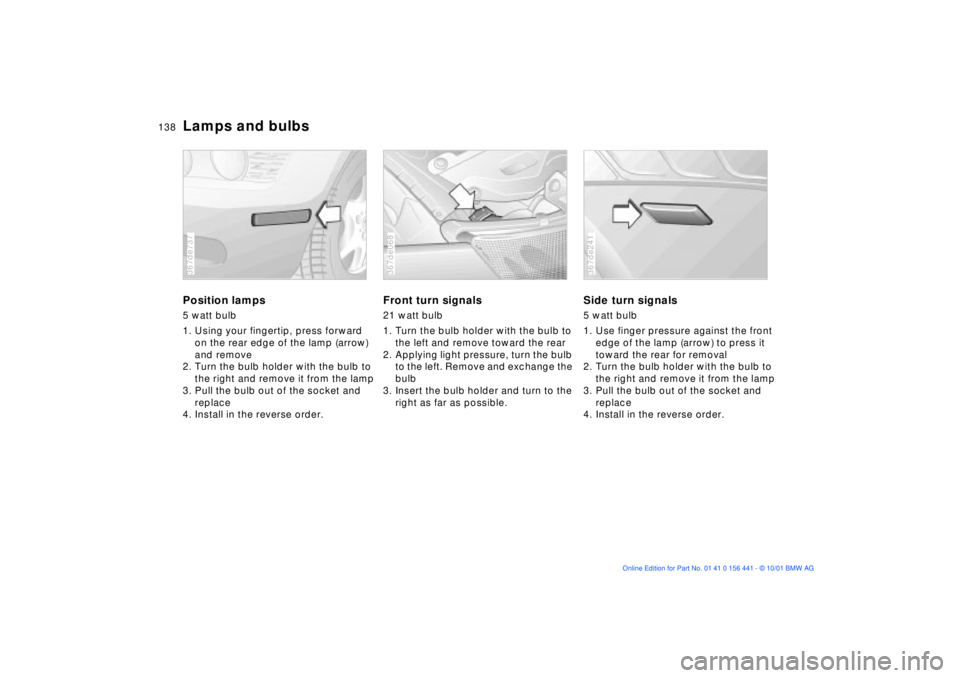
Lamps and bulbsPosition lamps5 watt bulb
1. Using your fingertip, press forward
on the rear edge of the lamp (arrow)
and remove
2. Turn the bulb holder with the bulb to
the right and remove it from the lamp
3. Pull the bulb out of the socket and
replace
4. Install in the reverse order.367de737
Front turn signals21 watt bulb
1. Turn the bulb holder with the bulb to
the left and remove toward the rear
2. Applying light pressure, turn the bulb
to the left. Remove and exchange the
bulb
3. Insert the bulb holder and turn to the
right as far as possible.367de068
Side turn signals5 watt bulb
1. Use finger pressure against the front
edge of the lamp (arrow) to press it
toward the rear for removal
2. Turn the bulb holder with the bulb to
the right and remove it from the lamp
3. Pull the bulb out of the socket and
replace
4. Install in the reverse order.367de241
Page 139 of 187
139n
IndexDataTechnologyRepairsMaintenanceControlsOverview
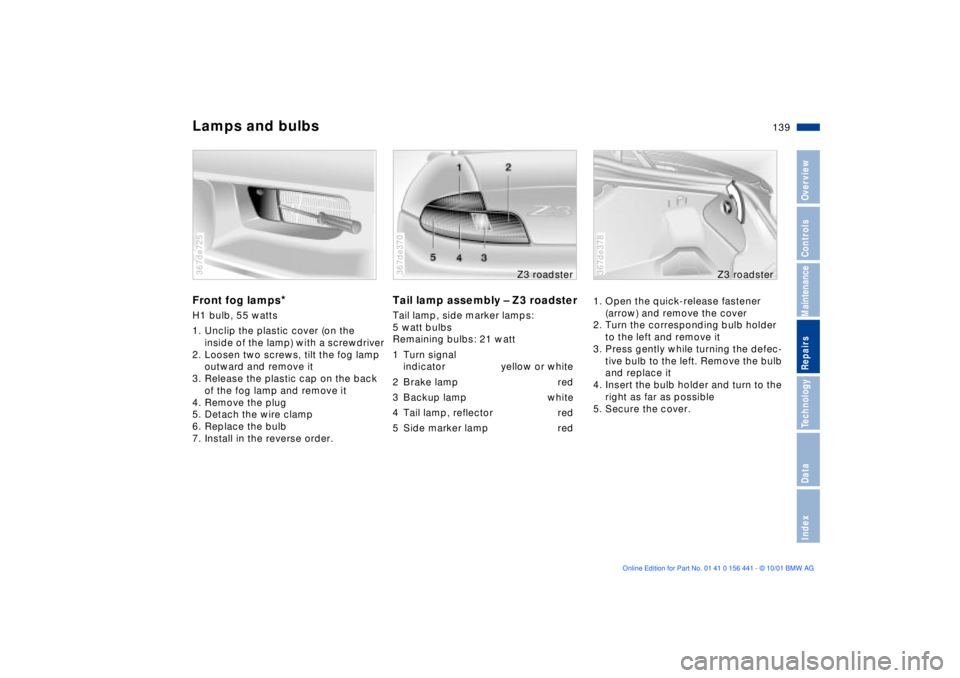
Lamps and bulbsFront fog lamps
*
H1 bulb, 55 watts
1. Unclip the plastic cover (on the
inside of the lamp) with a screwdriver
2. Loosen two screws, tilt the fog lamp
outward and remove it
3. Release the plastic cap on the back
of the fog lamp and remove it
4. Remove the plug
5. Detach the wire clamp
6. Replace the bulb
7. Install in the reverse order.367de725
Tail lamp assembly Ð Z3 roadsterTail lamp, side marker lamps:
5 watt bulbs
Remaining bulbs: 21 watt
1 Turn signal
indicator yellow or white
2 Brake lamp red
3 Backup lamp white
4 Tail lamp, reflector red
5 Side marker lamp red367de370
Z3 roadster
1. Open the quick-release fastener
(arrow) and remove the cover
2. Turn the corresponding bulb holder
to the left and remove it
3. Press gently while turning the defec-
tive bulb to the left. Remove the bulb
and replace it
4. Insert the bulb holder and turn to the
right as far as possible
5. Secure the cover.367de378
Z3 roadster