steering BMW Z4 3.0SI ROADSTER 2007 E85 User Guide
[x] Cancel search | Manufacturer: BMW, Model Year: 2007, Model line: Z4 3.0SI ROADSTER, Model: BMW Z4 3.0SI ROADSTER 2007 E85Pages: 132, PDF Size: 3.14 MB
Page 53 of 132
Reference
At a glance
Controls
Driving tips
Mobility
51
Technology for driving comfort and safety
Driving stability control
systems
Your BMW is equipped with a s eries of systems
that help maintain driving stability even in
adverse driving situations.
Antilock Brake System ABS
ABS keeps the wheels from locking during
braking. Steering stability is maintained even
during full brake applications. In this way, active
safety is enhanced.
ABS is operational each time the engine is
started. Braking safely, refer to page75.
Electronic brake-force distribution
The system controls brake-force application at
the rear wheels in order to obtain increased sta-
bility in the vehicle's braking response.
Dynamic Brake Control DBC
When you apply the brakes rapidly, this system
automatically produces the maximum braking
force boost and thus helps to achieve the short-
est possible braking distance during full brak-
ing. At the same time, the benefits of the ABS
are also exploited.
As long as you want full braking to continue, do
not reduce pressure on the brake.
Dynamic Stability Control DSC
DSC prevents slip at the drive wheels while
starting off and accelerating the vehicle. DSC
also recognizes unstable vehicle conditions,
such as fishtailing or nose-diving. In these
cases, and subject to physical limits, DSC helps
to keep the vehicle on a steady course by
reducing engine speed and by applying brakes
at individual wheels.
The laws of physics cannot be repealed
even with DSC. It will always be the
driver's responsibility to drive in a manner that
matches road conditions. Therefore, do not limit the additional safety margin by practicing
risky driving.<
Deactivating DSC
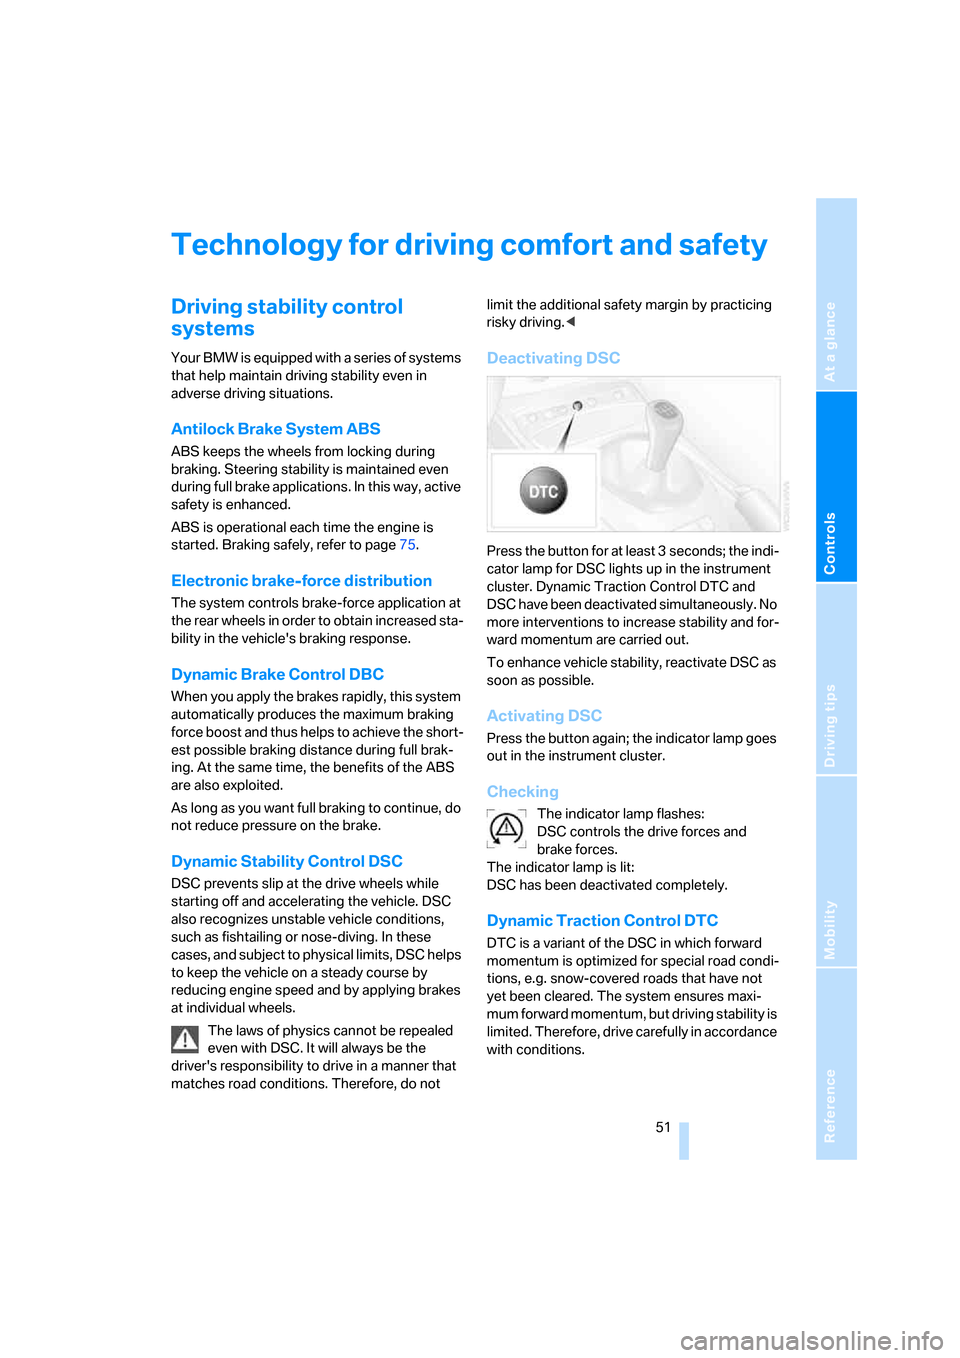
Press the button for at least 3 seconds; the indi-
cator lamp for DSC lights up in the instrument
cluster. Dynamic Traction Control DTC and
DSC have been deactivated simultaneously. No
more interventions to increase stability and for-
ward momentum are carried out.
To enhance vehicle stability, reactivate DSC as
soon as possible.
Activating DSC
Press the button again; the indicator lamp goes
out in the instrument cluster.
Checking
The indicator lamp flashes:
DSC controls the drive forces and
brake forces.
The indicator lamp is lit:
DSC has been deactivated completely.
Dynamic Traction Control DTC
DTC is a variant of the DSC in which forward
momentum is optimized for special road condi-
tions, e.g. snow-covered roads that have not
yet been cleared. The system ensures maxi-
mum forward momentum, but driving stability is
limited. Therefore, drive carefully in accordance
with conditions.
Page 55 of 132
Reference
At a glance
Controls
Driving tips
Mobility
53
Malfunction
The warning lamp for the brake system
lights up in yellow. The drive-off assis-
tant has failed. The car will not be held
in place after the brake is released. Have the
system checked as soon as possible.
Flat Tire Monitor FTM*
The concept
The Flat Tire Monitor monitors tire pressures
while the car is being driven. The system
reports any significant loss of pressure in one
tire in relation to another.
In the event of tire pressure loss, the rolling
radius of the tire changes, thereby affecting the
rotational speed of the wheels. This change is
detected, and a flat tire warning is issued to the
driver.
System requirements
To ensure a reliable flat tire warning, the system
must be initialized with the correct tire inflation
pressures.
The system must be reinitialized each
time a tire inflation pressure has been cor-
rected or a wheel or tire has been changed.<
System limitations
The Flat Tire Monitor is unable to warn
the driver of sudden, severe tire damage
caused by external factors, nor can it identify
the gradual loss of pressure that will inevitably
occur in all four tires over a lengthy period of
time.<
The system could issue a false warning or func-
tion in a delayed manner in the following situa-
tions:
>System was not initialized
>Driving on a snow-covered or slippery road
surface
>Performance-oriented driving: slip at the
drive wheels, high levels of lateral accelera-
tion
>Driving with snow chains attached
Initializing the system
The initialization is completed while you
are driving, and can be interrupted at any
time. Initialization is continued automatically
when you continue driving.
When driving with snow chains, do not initialize
the system.<
1.Start the engine immediately before pulling
away, but do not drive off yet.
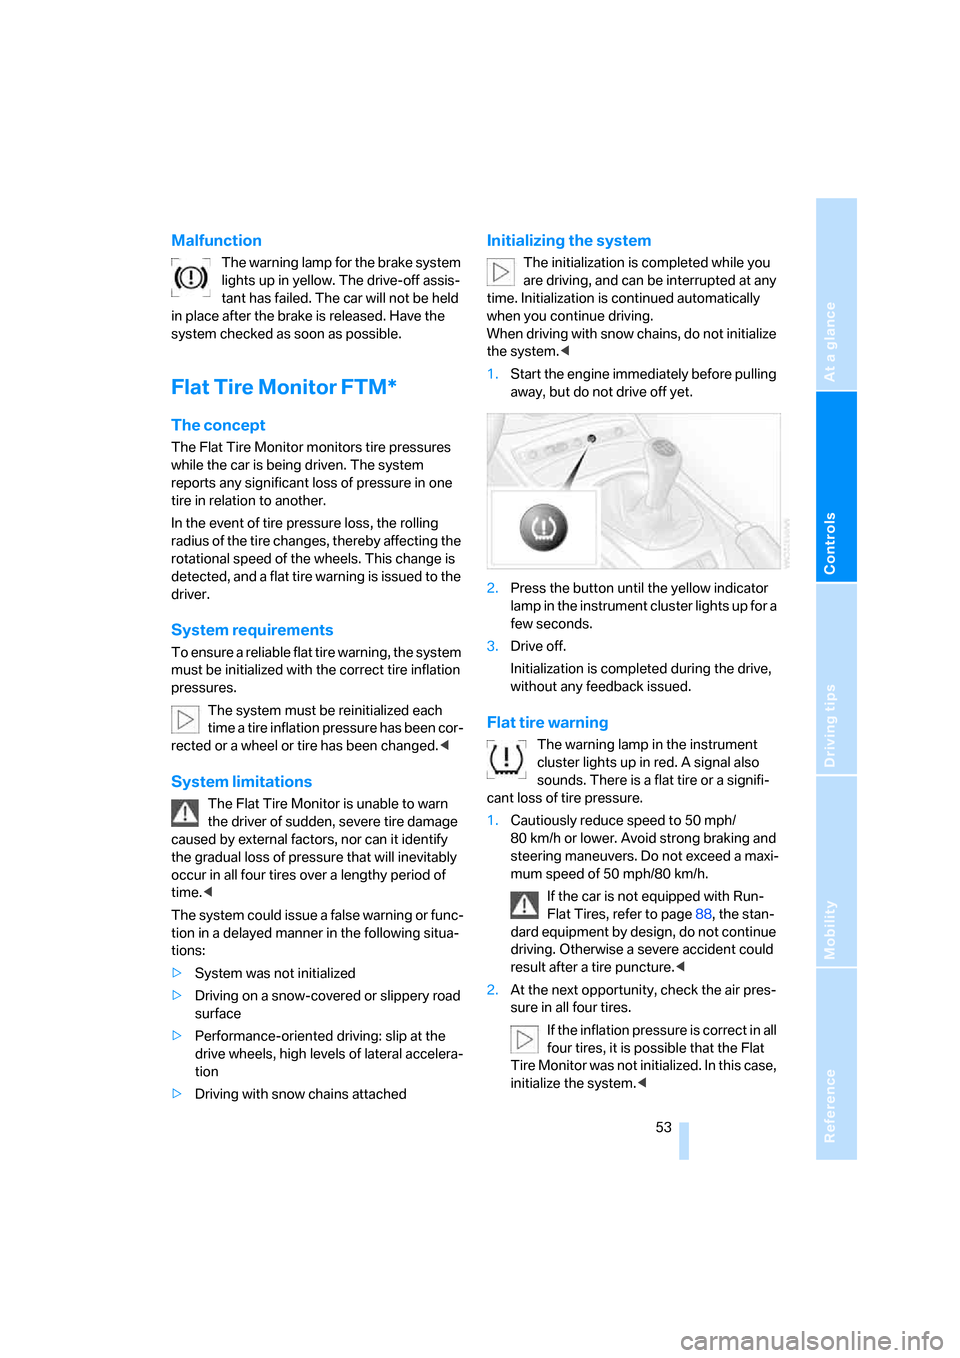
2.Press the button until the yellow indicator
lamp in the instrument cluster lights up for a
few seconds.
3.Drive off.
Initialization is completed during the drive,
without any feedback issued.
Flat tire warning
The warning lamp in the instrument
cluster lights up in red. A signal also
sounds. There is a flat tire or a signifi-
cant loss of tire pressure.
1.Cautiously reduce speed to 50 mph/
80 km/h or lower. Avoid strong braking and
steering maneuvers. Do not exceed a maxi-
mum speed of 50 mph/80 km/h.
If the car is not equipped with Run-
Flat Tires, refer to page88, the stan-
dard equipment by design, do not continue
driving. Otherwise a severe accident could
result after a tire puncture.<
2.At the next opportunity, check the air pres-
sure in all four tires.
If the inflation pressure is correct in all
four tires, it is possible that the Flat
Tire Monitor was not initialized. In this case,
initialize the system.<
Page 56 of 132
Technology for driving comfort and safety
54 3.In the event of complete tire pressure loss,
0 psi/0 kilopascal, you can estimate the
possible distance for continued driving on
the basis of the following guidelines:
>With a light load:
1 person without luggage:
approx. 155 miles/250 km
>With a medium load:
1 person, cargo bay full,
or
2 persons without luggage:
approx. 90 miles/150 km
>With a full load:
2 persons, cargo bay full:
approx. 30 miles/50 km
Drive cautiously. Do not exceed a speed
of 50 mph/80 km/h. Driving characteris-
tics change if there is a loss of tire pressure.
This includes reduced tracking stability in brak-
ing, extended braking distance and altered nat-
ural steering characteristics.
If unusual vibration or loud noises occur during
the journey, this may be an indication that the
damaged tire has finally failed. Reduce your
speed and pull over to the side of the road at the
earliest opportunity. Otherwise, parts of the tire
could come loose and cause an accident. Do
not continue driving. Contact a BMW center.<
Tire Pressure Monitor TPM*
The concept
TPM monitors the tire inflation pressure in all
four mounted tires. The system reports if infla-
tion pressure has dropped significantly in one
or more of the tires.
System requirements
To ensure a reliable flat tire warning, the system
must have been reset while tire inflation pres-
sures were correct.
Always use tires with TPM electronics to
ensure that the system operates properly.The system must be reset each time a tire
inflation pressure has been corrected or a
wheel or tire has been changed.<
System limitations
TPM cannot report sudden serious tire
damage due to external causes.<
The system will not operate correctly if it was
not reset, e.g. it may report a flat tire even if the
tire inflation pressures are correct.
The system is inactive and cannot indicate a flat
tire if a wheel without TPM electronics is
mounted or if other systems or devices that use
the same radio frequency temporarily interfere
with the TPM system.
Resetting the system
The system must be reset each time a tire
inflation pressure has been corrected or a
wheel or tire has been changed.<
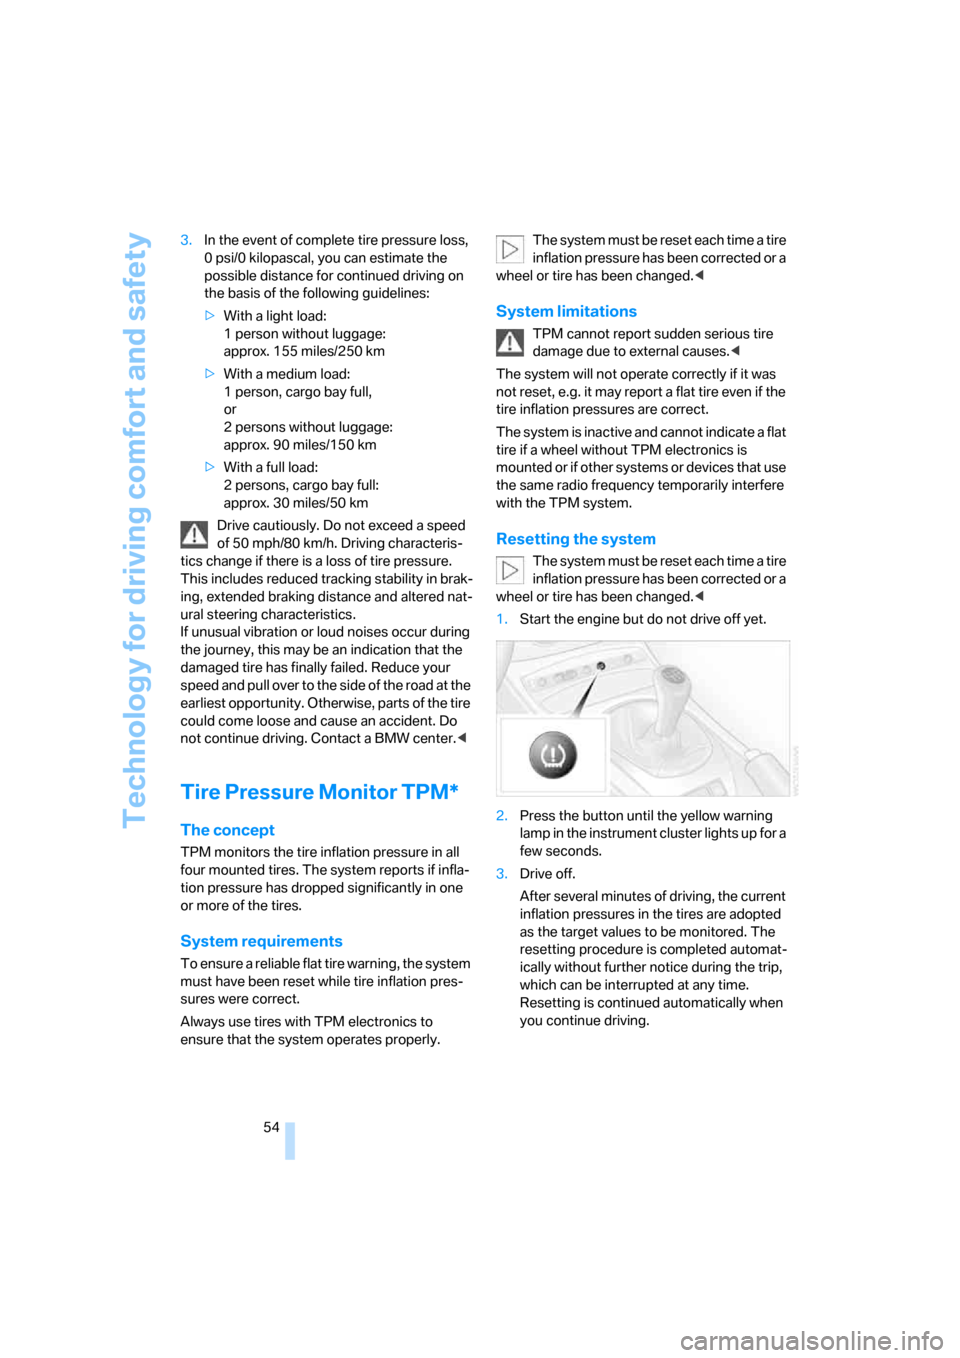
1.Start the engine but do not drive off yet.
2.Press the button until the yellow warning
lamp in the instrument cluster lights up for a
few seconds.
3.Drive off.
After several minutes of driving, the current
inflation pressures in the tires are adopted
as the target values to be monitored. The
resetting procedure is completed automat-
ically without further notice during the trip,
which can be interrupted at any time.
Resetting is continued automatically when
you continue driving.
Page 57 of 132
Reference
At a glance
Controls
Driving tips
Mobility
55
Warning of low tire inflation pressure
The warning lamp lights up in yellow. A
signal also sounds. There is a flat tire or
a significant loss of tire pressure in one
or more tires.
1.Cautiously reduce speed to 50 mph/
80 km/h or lower. Avoid strong braking and
steering maneuvers. Do not exceed a maxi-
mum speed of 50 mph/80 km/h.
If the car is not equipped with Run-
Flat Tires, which is the standard
equipment by design, refer to page88, then
do not continue driving. Doing so after a tire
puncture may result in a severe accident.<
2.In the event of complete tire pressure loss,
0 psi/0 kilopascal, you can estimate how far
you can continue driving on the basis of the
following guidelines:
>With a light load:
1 person without luggage:
approx. 155 miles/250 km
>With a medium load:
1 person, cargo bay full,
or
2 persons without luggage:
approx. 90 miles/150 km
>With a full load:
2 persons, cargo bay full:
approx. 30 miles/50 km
Drive cautiously. Do not exceed a speed
of 50 mph/80 km/h. Driving characteris-
tics change if there is a loss of tire pressure.
This includes reduced tracking stability in brak-
ing, extended braking distance and altered nat-
ural steering characteristics.
If unusual vibration or loud noises occur during
the journey, this may be an indication that the
damaged tire has finally failed. Reduce your
speed and pull over to the side of the road at a
suitable location at the earliest opportunity.
Otherwise, parts of the tire could come loose
and cause an accident. Do not continue driving.
Contact a BMW center.<
Malfunction
The yellow warning lamp flashes and
then lights up continuously. A flat tire
cannot be detected.
This warning is displayed under the following
circumstances:
>If there is a malfunction;
have the system checked.
>If a wheel without TPM electronics is
mounted.
>If other systems or devices that use the
same radio frequency temporarily interfere
with the TPM.
Declaration according to NHTSA/
FMVSS 138 Tire Pressure Monitoring
System
Each tire should be checked monthly when cold
and inflated to the inflation pressure recom-
mended by the vehicle manufacturer on the
vehicle placard or tire inflation pressure label. If
your vehicle has tires of a different size than the
size indicated on the vehicle placard or tire infla-
tion pressure label, you should determine the
proper tire inflation pressure for those tires. As
an added safety feature, your vehicle has been
equipped with a tire pressure monitoring sys-
tem, TPMS, that illuminates a low tire pressure
telltale when one or more of your tires are signif-
icantly under-inflated. Accordingly, when the
low tire pressure telltale illuminates, you should
stop and check your tires as soon as possible,
and inflate them to the proper pressure. Driving
on a significantly underinflated tire causes the
tire to overheat and can lead to tire failure.
Under-inflation also reduces fuel efficiency and
tire tread life, and may affect the vehicle’s han-
dling and stopping ability. Please note that the
TPMS is not a substitute for proper tire mainte-
nance, and it is the driver’s responsibility to
maintain correct tire pressure, even if under-
inflation has not reached the level to trigger illu-
mination of the TPMS low tire pressure telltale.
The TPMS malfunction indicator is combined
with the low tire pressure telltale. When the sys-
tem detects a malfunction, the telltale will flash
for approximately one minute and then remain
Page 58 of 132
Technology for driving comfort and safety
56 continuously illuminated. This sequence will
continue upon subsequent vehicle startups as
long as the malfunction exists. When the mal-
function indicator is illuminated, the system
may not be able to detect or signal low tire pres-
sure as intended. TPMS malfunctions may
occur for a variety of reasons, including the
installation of replacement or alternate tires or
wheels on the vehicle that prevent the TPMS
from functioning properly. Always check the
TPMS malfunction telltale after replacing one or
more tires or wheels on your vehicle to ensure
that the replacement or alternate tires and
wheels allow the TPMS to continue to function
properly.
Electric Power Steering EPS
The concept
The electric power steering is a direct, sporting
steering system. A special combination of elec-
tric motor and transmission helps you steer
more easily. As your speed increases, steering
power assistance is reduced.
Malfunction
The indicator lamp stays lit:
The system is malfunctioning or defec-
tive.
Steering remains operational.
Have the system checked as soon as possible.
Brake Force Display
Left: normal braking.
Right: hard braking.
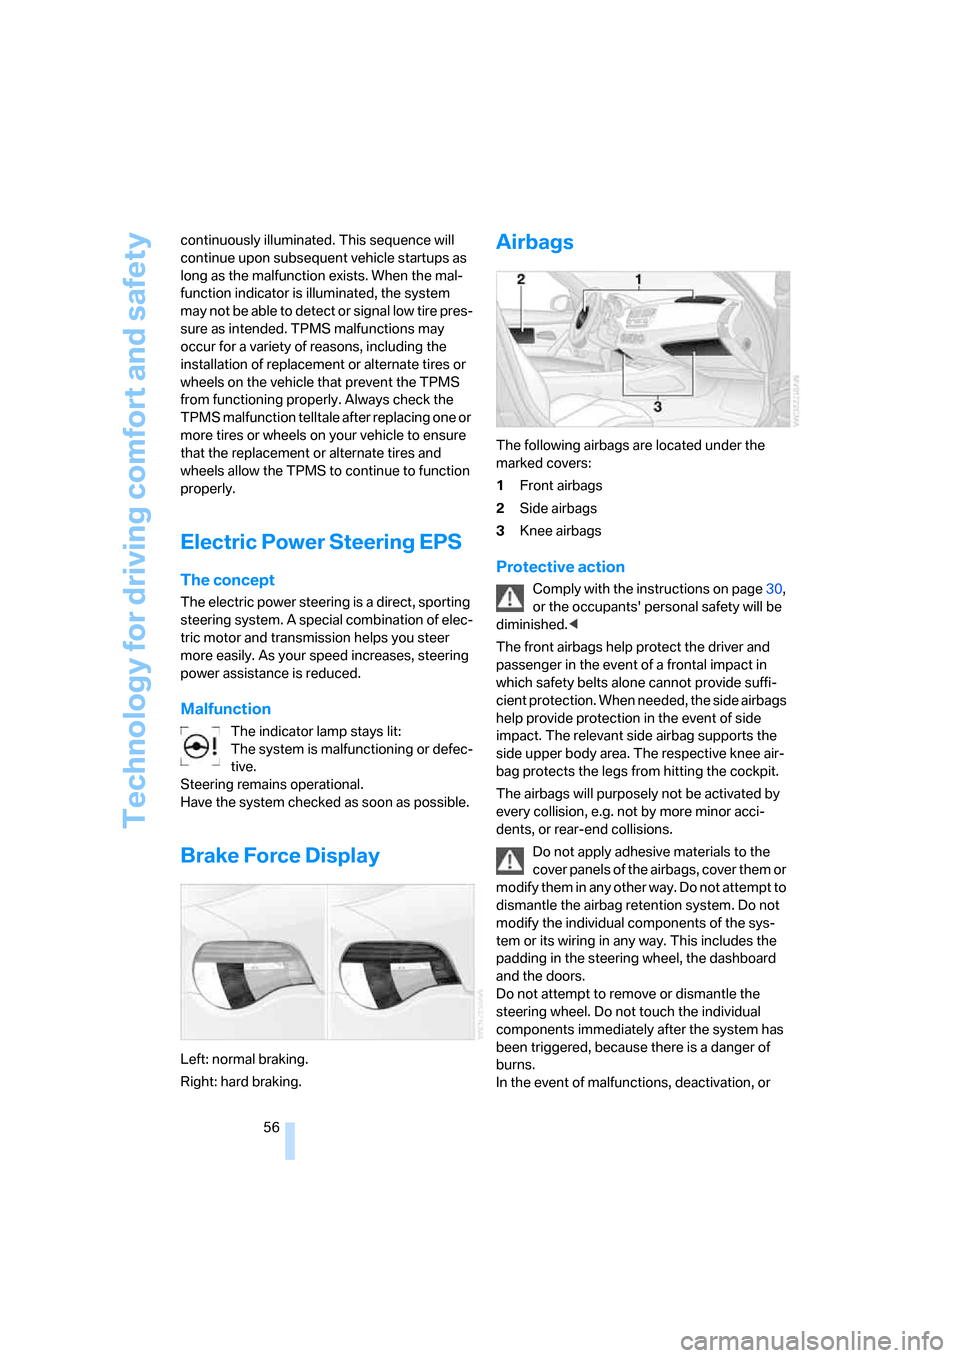
Airbags
The following airbags are located under the
marked covers:
1Front airbags
2Side airbags
3Knee airbags
Protective action
Comply with the instructions on page30,
or the occupants' personal safety will be
diminished.<
The front airbags help protect the driver and
passenger in the event of a frontal impact in
which safety belts alone cannot provide suffi-
cient protection. When needed, the side airbags
help provide protection in the event of side
impact. The relevant side airbag supports the
side upper body area. The respective knee air-
bag protects the legs from hitting the cockpit.
The airbags will purposely not be activated by
every collision, e.g. not by more minor acci-
dents, or rear-end collisions.
Do not apply adhesive materials to the
cover panels of the airbags, cover them or
modify them in any other way. Do not attempt to
dismantle the airbag retention system. Do not
modify the individual components of the sys-
tem or its wiring in any way. This includes the
padding in the steering wheel, the dashboard
and the doors.
Do not attempt to remove or dismantle the
steering wheel. Do not touch the individual
components immediately after the system has
been triggered, because there is a danger of
burns.
In the event of malfunctions, deactivation, or
Page 73 of 132
Reference
At a glance
Controls
Driving tips
Mobility
71
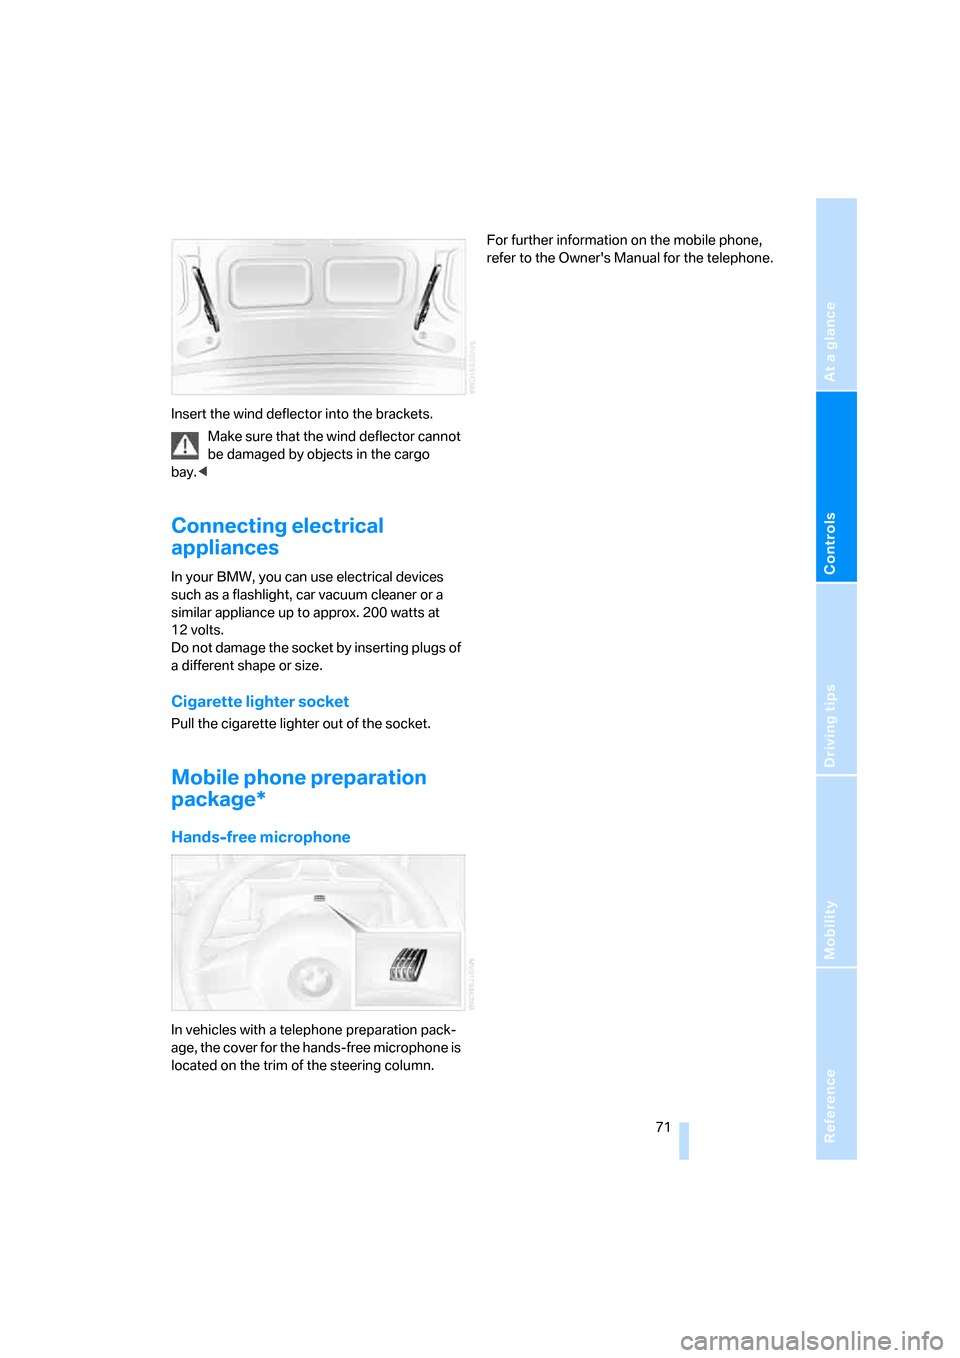
Insert the wind deflector into the brackets.
Make sure that the wind deflector cannot
be damaged by objects in the cargo
bay.<
Connecting electrical
appliances
In your BMW, you can use electrical devices
such as a flashlight, car vacuum cleaner or a
similar appliance up to approx. 200 watts at
12 volts.
Do not damage the socket by inserting plugs of
a different shape or size.
Cigarette lighter socket
Pull the cigarette lighter out of the socket.
Mobile phone preparation
package*
Hands-free microphone
In vehicles with a telephone preparation pack-
age, the cover for the hands-free microphone is
located on the trim of the steering column.For further information on the mobile phone,
refer to the Owner's Manual for the telephone.
Page 77 of 132
Reference
At a glance
Controls
Driving tips
Mobility
75
cannot be ruled out that vehicle electronics and
the mobile communications device interfere
with one another. In addition, it is not ensured
that the radio waves emitted during transmis-
sion are directed outside of the vehicle inte-
rior.<
Hydroplaning
When driving on wet or slushy roads,
reduce vehicle speed. If you do not, a
wedge of water may form between the tires and
the road surface. This situation, known as
hydroplaning, means that the tire can com-
pletely lose contact with the road surface, so
that neither the car can be steered nor the brake
be properly applied.<
The risk of hydroplaning increases with declin-
ing tread depth on the tires, refer also to Mini-
mum tread depth on page87.
Driving through water
Drive through water on the road only if it is
not deeper than 1 ft/30 cm, and then only
at walking speed at the most. Otherwise, the
vehicle's engine, the electrical systems and the
transmission may be damaged.<
Moisture inside the vehicle
Make sure that the passenger compart-
ment does not become wet and that liq-
uids are transported in closed containers.
Otherwise, moisture could penetrate and dam-
age electronic components inside the vehicle.<
Use the parking brake on inclines
On inclines, keep the vehicle from rolling
by using the parking brake rather than by
slipping the clutch, which would lead to a high
degree of clutch wear.<
Braking safely
Your BMW is equipped with ABS as a standard
feature. Applying the brakes fully is the most
effective way of braking in situations in which
this is necessary. Since the vehicle maintains
steering responsiveness, you can still avoid possible obstacles with a minimum of steering
effort.
Pulsation at the brake pedal combines with
sounds from the hydraulic circuits to indicate to
the driver that ABS is in its active mode.
Wet roads
When roads are wet or there is heavy rain,
briefly exert gentle pressure on the brake pedal
every few miles. Watch traffic conditions to
ensure that this maneuver does not endanger
other road users. The resulting heat dries the
brake rotors and brake pads. Immediate braking
force is then available if necessary.
Inclines
To prevent overheating and, as a result,
diminished braking effectiveness, drive
down long or steep downhill grades in the gear
that requires the least braking. Otherwise, even
light but consistent pedal pressure can lead to
high temperatures, brake wear and possibly
even brake failure.<
You can increase the engine's braking effect by
shifting down, all the way to first gear if neces-
sary. This strategy helps you avoid placing
excessive loads on the brake system. Down-
shifting in manual mode of the automatic trans-
mission, refer to page43.
Never drive with the clutch held down,
with the transmission in idle or with the
engine switched off; otherwise, engine braking
action will not be present or there will be no
power assistance to the brakes or steering.
Never allow floor mats, carpets or any other
objects to protrude into the area around the
pedals, otherwise pedal function could be
impaired.<
Corrosion on the brake rotors
Limited vehicle use, extended periods with the
vehicle parked or in storage, and operating con-
ditions in which braking is restricted to gentle,
low-pressure applications will all increase the
tendency for corrosion to form on the rotors and
contamination to accumulate on the brake
pads. This occurs because the minimal pres-
Page 104 of 132
Replacing components
102
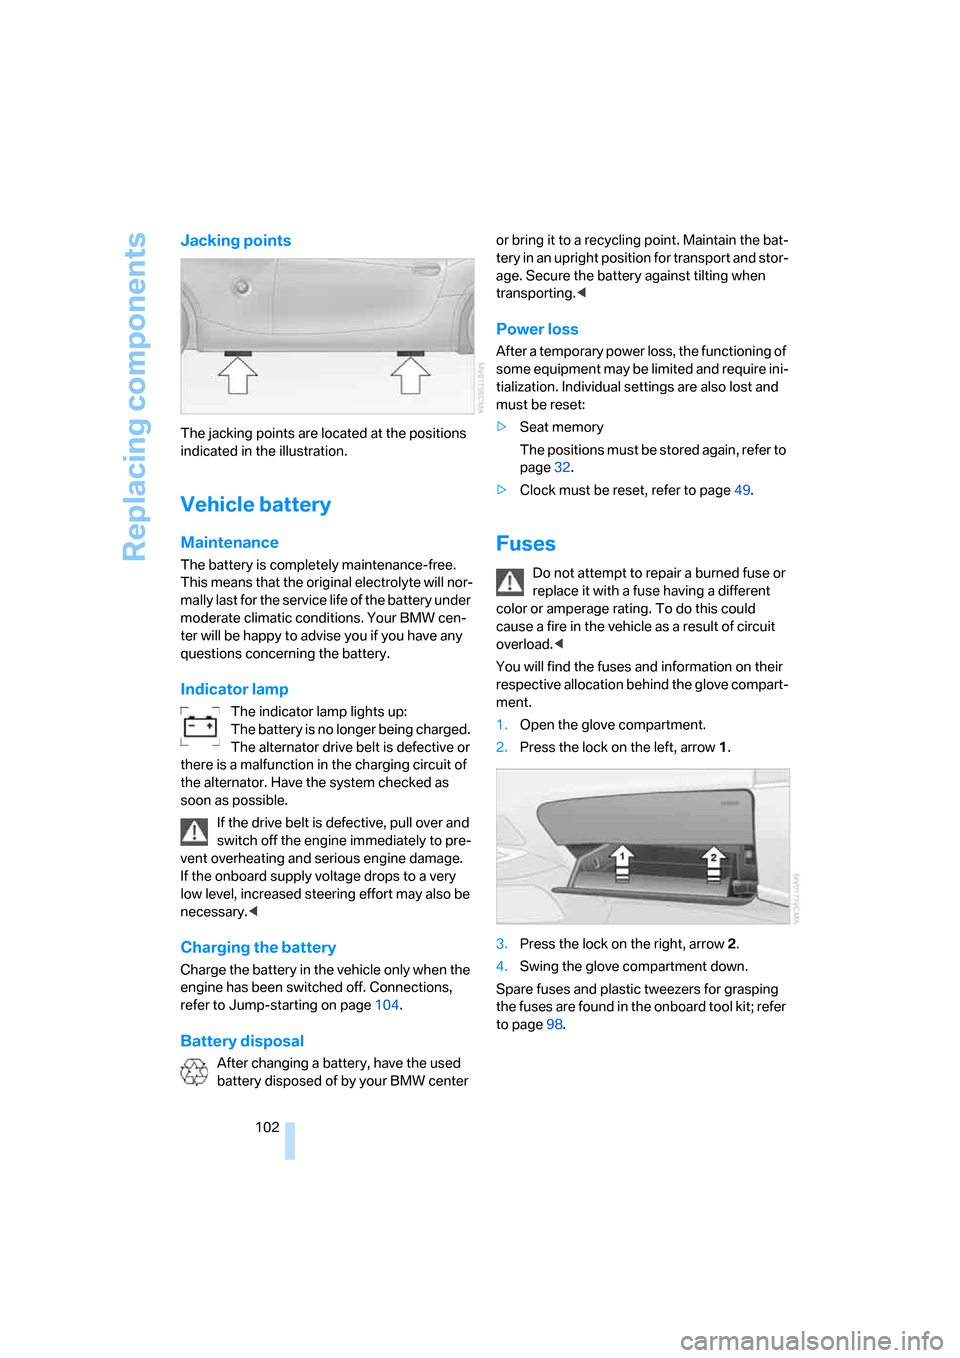
Jacking points
The jacking points are located at the positions
indicated in the illustration.
Vehicle battery
Maintenance
The battery is completely maintenance-free.
This means that the original electrolyte will nor-
mally last for the service life of the battery under
moderate climatic conditions. Your BMW cen-
ter will be happy to advise you if you have any
questions concerning the battery.
Indicator lamp
The indicator lamp lights up:
The battery is no longer being charged.
The alternator drive belt is defective or
there is a malfunction in the charging circuit of
the alternator. Have the system checked as
soon as possible.
If the drive belt is defective, pull over and
switch off the engine immediately to pre-
vent overheating and serious engine damage.
If the onboard supply voltage drops to a very
low level, increased steering effort may also be
necessary.<
Charging the battery
Charge the battery in the vehicle only when the
engine has been switched off. Connections,
refer to Jump-starting on page104.
Battery disposal
After changing a battery, have the used
battery disposed of by your BMW center or bring it to a recycling point. Maintain the bat-
tery in an upright position for transport and stor-
age. Secure the battery against tilting when
transporting.<
Power loss
After a temporary power loss, the functioning of
some equipment may be limited and require ini-
tialization. Individual settings are also lost and
must be reset:
>Seat memory
The positions must be stored again, refer to
page32.
>Clock must be reset, refer to page49.
Fuses
Do not attempt to repair a burned fuse or
replace it with a fuse having a different
color or amperage rating. To do this could
cause a fire in the vehicle as a result of circuit
overload.<
You will find the fuses and information on their
respective allocation behind the glove compart-
ment.
1.Open the glove compartment.
2.Press the lock on the left, arrow1.
3.Press the lock on the right, arrow2.
4.Swing the glove compartment down.
Spare fuses and plastic tweezers for grasping
the fuses are found in the onboard tool kit; refer
to page98.
Page 108 of 132
Giving and receiving assistance
106
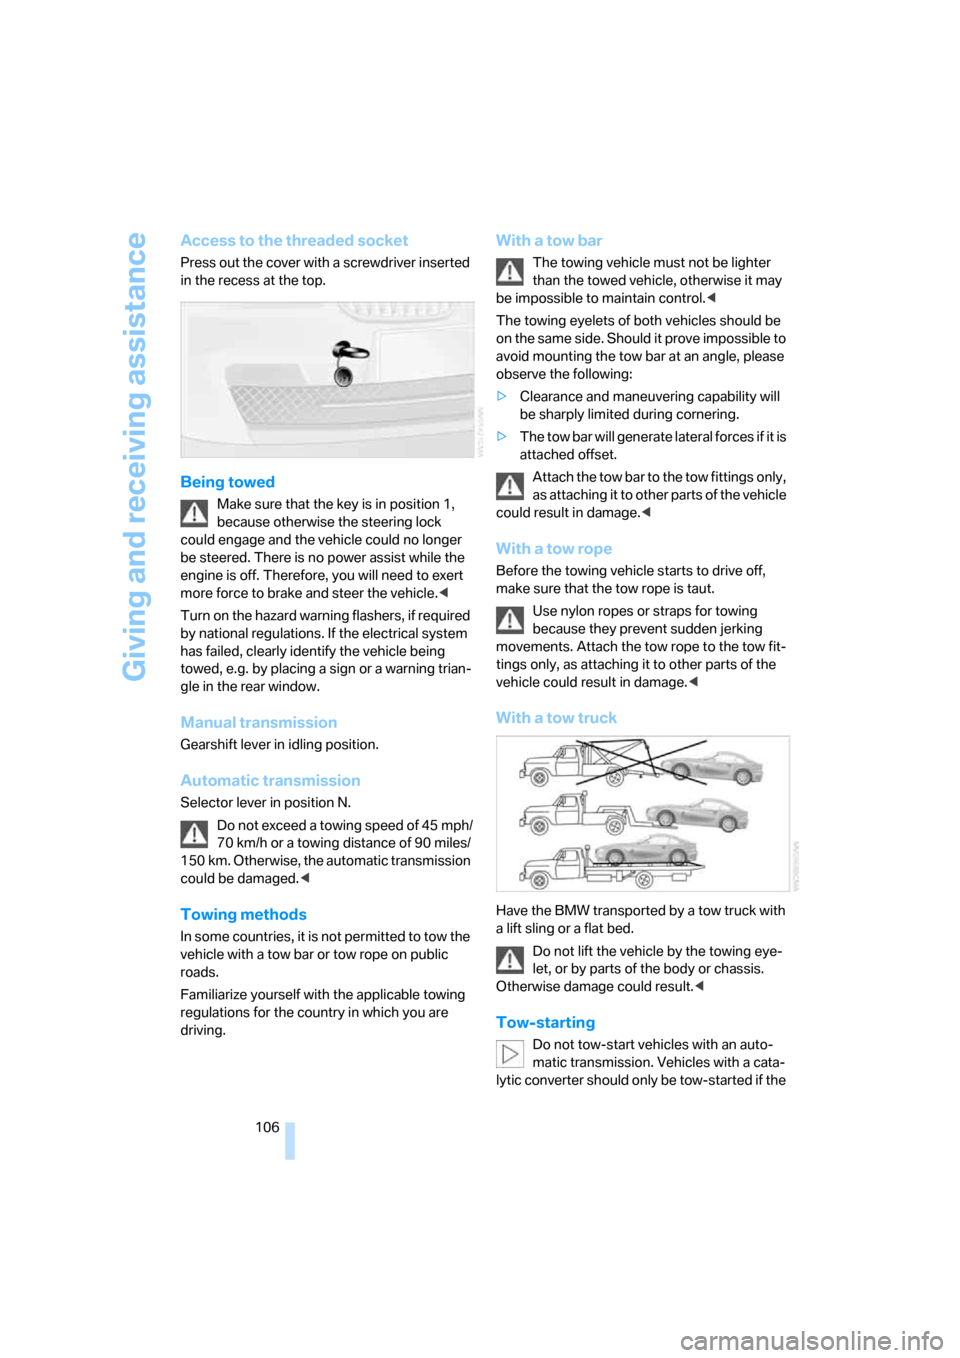
Access to the threaded socket
Press out the cover with a screwdriver inserted
in the recess at the top.
Being towed
Make sure that the key is in position 1,
because otherwise the steering lock
could engage and the vehicle could no longer
be steered. There is no power assist while the
engine is off. Therefore, you will need to exert
more force to brake and steer the vehicle.<
Turn on the hazard warning flashers, if required
by national regulations. If the electrical system
has failed, clearly identify the vehicle being
towed, e.g. by placing a sign or a warning trian-
gle in the rear window.
Manual transmission
Gearshift lever in idling position.
Automatic transmission
Selector lever in position N.
Do not exceed a towing speed of 45 mph/
70 km/h or a towing distance of 90 miles/
150 km. Otherwise, the automatic transmission
could be damaged.<
Towing methods
In some countries, it is not permitted to tow the
vehicle with a tow bar or tow rope on public
roads.
Familiarize yourself with the applicable towing
regulations for the country in which you are
driving.
With a tow bar
The towing vehicle must not be lighter
than the towed vehicle, otherwise it may
be impossible to maintain control.<
The towing eyelets of both vehicles should be
on the same side. Should it prove impossible to
avoid mounting the tow bar at an angle, please
observe the following:
>Clearance and maneuvering capability will
be sharply limited during cornering.
>The tow bar will generate lateral forces if it is
attached offset.
Attach the tow bar to the tow fittings only,
as attaching it to other parts of the vehicle
could result in damage.<
With a tow rope
Before the towing vehicle starts to drive off,
make sure that the tow rope is taut.
Use nylon ropes or straps for towing
because they prevent sudden jerking
movements. Attach the tow rope to the tow fit-
tings only, as attaching it to other parts of the
vehicle could result in damage.<
With a tow truck
Have the BMW transported by a tow truck with
a lift sling or a flat bed.
Do not lift the vehicle by the towing eye-
let, or by parts of the body or chassis.
Otherwise damage could result.<
Tow-starting
Do not tow-start vehicles with an auto-
matic transmission. Vehicles with a cata-
lytic converter should only be tow-started if the
Page 118 of 132
Everything from A to Z
116
Everything from A to Z
Index
A
ABS Antilock Brake
System51
– indicator lamp12
Accident, refer to Emergency
call103
Acknowledgment signal for
locking/unlocking vehicle19
Activated-charcoal filter for
automatic climate control67
Additives
– coolant94
– engine oil94
Adjusting
– seats30
Adjusting the thigh support32
Airbags56
– deactivating37
– indicator/warning lamp13
– passenger airbags indicator
lamp37
– reactivation37
– safe seating position30
Airbag switch, refer to Key
switch for passenger
airbags36
Air conditioning62
Air-conditioning operation,
refer to Cooling
function63,66
Air distribution
– air conditioning63
– automatic66
– automatic climate control66
– individual63,66
– manual66
Air flow rate
– air conditioning63
– automatic climate control66
Airing out, refer to
Ventilation63,67Air outlets, refer to
Ventilation63,67
Air pressure, refer to Tire
inflation pressure84
Air recirculation, refer to
Recirculated-air
mode63,67
AKI, refer to Fuel
specifications83
Alarm system23
– avoiding unintentional
alarms24
– interior motion sensor24
– switching off an alarm24
– tilt alarm sensor24
All-season tires, refer to
Winter tires87,89
Ambient air, refer to
Recirculated-air
mode63,67
Ambient temperature
display48
Antenna, refer to the Caring
for your vehicle brochure
Antifreeze46,94
– coolant94
– washer fluids46
Antilock Brake System
ABS51
– indicator/warning lamp12
– indicator lamp13
Anti-theft alarm system, refer
to Alarm system23
Anti-theft protection19,23
Approved engine oils94
Artificial leather, refer to the
Caring for your vehicle
brochure
Ashtray69
Assistance systems, refer to
Driving stability control
systems51AUC Automatic recirculated-
air control67
Audio device, external68
Automatic
– air distribution66
– air flow rate66
– cruise control46
– headlamp control59
– luggage compartment lid
operation22
– recirculated-air control
AUC67
– tailgate operation21
Automatic car wash, refer to
the Caring for your vehicle
brochure
Automatic climate control65
Automatic convertible top27
Automatic lamps59
Automatic transmission with
Steptronic42
– indicator lamp13
– interlock40,42
– selector lever43
– selector lever lock42
– shiftlock42
– shift paddles on steering
wheel43
– towing the vehicle106
– tow-starting106
AUTO program for automatic
climate control66
AUX-In jack68
Average fuel consumption50
– setting unit of measure50
Average speed50
– setting unit of measure50
Avoiding unintentional
alarms24
Axle loads, refer to
Weights113