ESP BMW Z8 2000 Owners Manual
[x] Cancel search | Manufacturer: BMW, Model Year: 2000, Model line: Z8, Model: BMW Z8 2000Pages: 172, PDF Size: 1.9 MB
Page 5 of 172
4n
For your own safety
Use unleaded gasoline only. Fuels
containing up to and including
10 % ethanol or other oxygenates with
up to 2.8 % oxygen by weight (i. e. 15 %
MTBE or 3 % methanol plus an equiva-
lent amount of co-solvent) will not void
the applicable warranties respecting
defects in materials or workmanship.
Field experience has indicated signifi-
cant differences in fuel quality (volatility,
composition, additives, others) among
gasolines offered for sale in the United
States and Canada. The use of poor-
quality fuels may result in driveability,
starting and stalling problems espe-
cially under certain environmental con-
ditions such as high ambient tempera-
ture and high altitude.
Should you encounter driveability prob-
lems which you suspect could be re-
lated to the fuel you are using, we rec-
ommend that you respond by switching
to a recognized high-quality brand.
Failure to comply with these recom-
mendations may result in unscheduled
maintenance.
Follow the relevant safety rules when
you are handling gasoline.
<
Important safety information.
For your own safety, use genuine parts
and accessories approved by BMW.
When you purchase accessories tested
and approved by BMW and Original
BMW Parts, you simultaneously acquire
the assurance that they have been thor-
oughly tested by BMW to ensure opti-
mum performance when installed on
your vehicle.
BMW warrants these parts to be free
from defects in material and workman-
ship.
BMW will not accept any liability for
damage resulting from installation of
parts and accessories not approved by
BMW.
BMW cannot test every product made
by other manufacturers to verify if it can
be used on a BMW safely and without
risk to either the vehicle, its operation,
or its occupants.
Original BMW Parts, BMW Accessories
and other products approved by BMW,
together with professional advice on
using these items, are available from all
BMW centers.
Installation and operation of non-BMW
approved accessories such as alarms,
radios, amplifiers, radar detectors,
wheels, suspension components, brake
dust shields, telephones (including
operation of any portable cellular phone
from within the vehicle without using an
externally mounted antenna) or trans-
ceiver equipment (such as C.B., walkie-
talkie, ham radio or similar) may cause
extensive damage to the vehicle, com-
promise its safety, interfere with the
vehicle's electrical system or affect the
validity of the BMW Limited Warranty.
See your BMW center for additional
information.
<
Maintenance, replacement, or re-
pair of the emission control de-
vices and systems may be performed
by any automotive repair establishment
or individual using any certified auto-
motive part.
<
Symbol for vehicle parts
Indicates that you should consult
the relevant section of this
Owner's Manual for information on a
particular part or assembly.
For your own safety
Page 19 of 172
18n
Indicator and warning lamps
Technology that monitors itself
Many of the systems for your BMW
monitor themselves automatically, both
during engine starts and while you are
driving. Indicator and warning lamps
that are identified by "
l
" are tested for
proper functioning whenever the igni-
tion key is turned. They each light up
once for different periods of time.
If a fault should occur in one of these
systems, the corresponding lamp does
not go out after the engine is started, or
it lights up while the vehicle is moving.
You will see how to react to this below.
Red: stop immediately
Battery charge current
The battery is no longer being
charged. There is a malfunction
in the alternator V-belt or in the charg-
ing circuit of the alternator. Please con-
tact the nearest BMW center.
If the V-belt is defective, do not
continue driving. The engine could
be damaged due to overheating. If the
V-belt is defective, increased steering
effort is also required.
<
Engine oil pressure
l
Stop vehicle and switch off en-
gine immediately. Check the en-
gine oil level and top off as required. If
the oil level is correct, please contact
the nearest BMW center.
Do not continue driving. The en-
gine could be damaged because
of inadequate lubrication.
<
Tire Pressure Warning (RDW)
l
Flashing warning lamp in addi-
tion to an acoustic signal: a tire
failure has occurred. Carefully reduce
speed to less than 50 mph (80 km/h),
thus preventing any hard braking or
steering maneuvers.
For additional information, refer to
page 65.
Brake warning indicator
l
If the lamp comes on when the
parking brake is not engaged,
check the brake fluid level. Before driv-
ing further, be sure to read the notes on
pages 89 and 112.
Brake warning lamp for Cana-
dian models.
Page 31 of 172
30n
Central locking system Opening and closing Ð from outside The conceptThe central locking system is ready for
operation whenever the driver's door is
closed. The system engages and re-
leases the locks on the:
>Doors
>Luggage compartment lid
>Fuel filler door
>Glove compartment
>Storage shelf for the cellular phone.
The central locking system can be
operated:
>From outside via the driver's door
lock, or by using the remote control
>From inside by pressing a button.
If you initiate central locking from in-
side, neither the fuel filler door, glove
compartment, nor the storage shelf for
the cellular phone are locked (refer to
page 34).
If you do set it from outside, the anti-
theft alarm is automatically activated as
well. This prevents the door handles
from unlocking the doors. The alarm
system is also activated or deactivated.
If locked from inside, the central locking
system unlocks automatically in the
event of an accident. In addition, the
hazard warning flashers and interior
lamps come on.
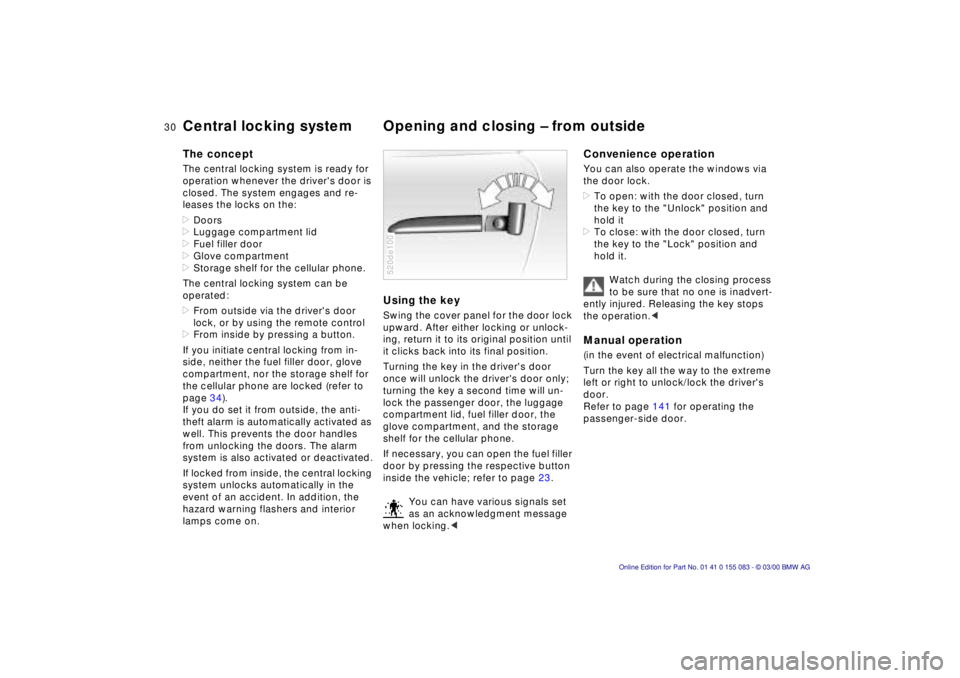
Using the keySwing the cover panel for the door lock
upward. After either locking or unlock-
ing, return it to its original position until
it clicks back into its final position.
Turning the key in the driver's door
once will unlock the driver's door only;
turning the key a second time will un-
lock the passenger door, the luggage
compartment lid, fuel filler door, the
glove compartment, and the storage
shelf for the cellular phone.
If necessary, you can open the fuel filler
door by pressing the respective button
inside the vehicle; refer to page 23.
You can have various signals set
as an acknowledgment message
when locking.<520de100
Convenience operationYou can also operate the windows via
the door lock.
>To open: with the door closed, turn
the key to the "Unlock" position and
hold it
>To close: with the door closed, turn
the key to the "Lock" position and
hold it.
Watch during the closing process
to be sure that no one is inadvert-
ently injured. Releasing the key stops
the operation.
left or right to unlock/lock the driver's
door.
Refer to page 141 for operating the
passenger-side door.
Page 37 of 172
36n
Alarm systemThe conceptThe vehicle alarm system responds:
>When a door, the hood or the lug-
gage compartment lid is opened,
>To movement inside the vehicle
(interior motion sensor)
>To variations in the vehicle tilt sensor
such as those occuring during at-
tempts to steal the wheels or tow
the vehicle
>To interruption of battery voltage.
The system responds to unauthorized
vehicle entry and attempted theft by
simultaneously activating the following:
>Sounding an acoustical alarm for
30 seconds
>Activating the hazard warning flash-
ers for approx. five minutes
>Flashing the high beams on and off in
sync with the hazard warning flashers.
To activate and deactivate the
alarm systemWhen the vehicle is locked or unlocked
via a door lock or with the remote con-
trol, the alarm system is also simulta-
neously armed or disarmed.
The interior motion sensor and tilt alarm
sensor are activated approx. 30 sec-
onds after you have finished locking the
vehicle.
The system indicates that it has been
correctly armed by switching on the haz-
ard warning flashers for a single cycle
and by emitting an acoustical signal.
You can have different signals set
as acknowledgment messages for
arming and disarming.<
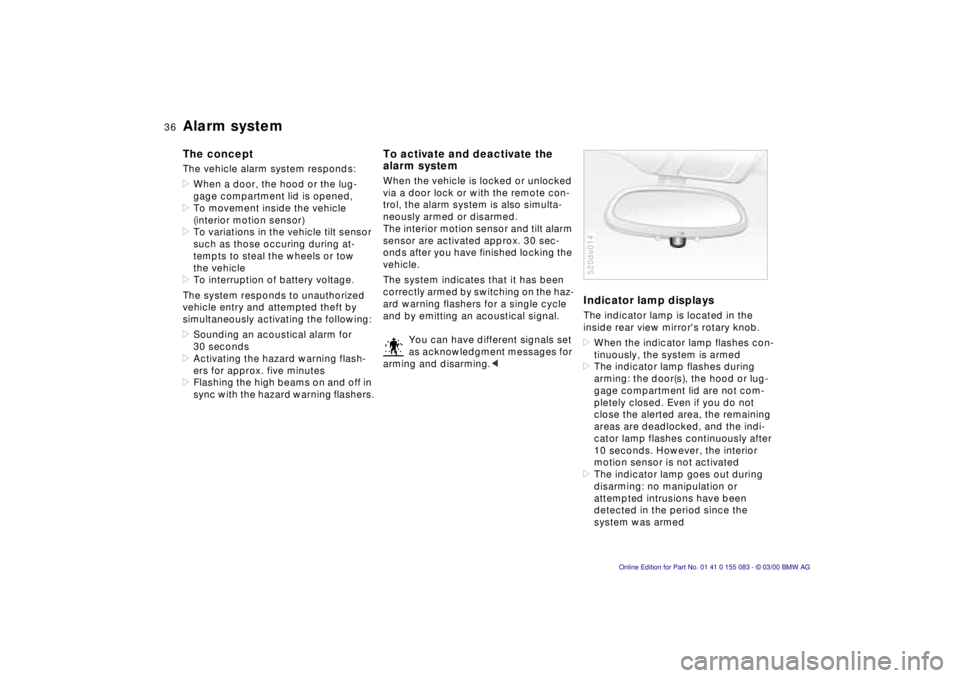
Indicator lamp displaysThe indicator lamp is located in the
inside rear view mirror's rotary knob.
>When the indicator lamp flashes con-
tinuously, the system is armed
>The indicator lamp flashes during
arming: the door(s), the hood or lug-
gage compartment lid are not com-
pletely closed. Even if you do not
close the alerted area, the remaining
areas are deadlocked, and the indi-
cator lamp flashes continuously after
10 seconds. However, the interior
motion sensor is not activated
>The indicator lamp goes out during
disarming: no manipulation or
attempted intrusions have been
detected in the period since the
system was armed520de014
Page 42 of 172
41n
IndexDataTechnologyRepairsCar careControlsOverview
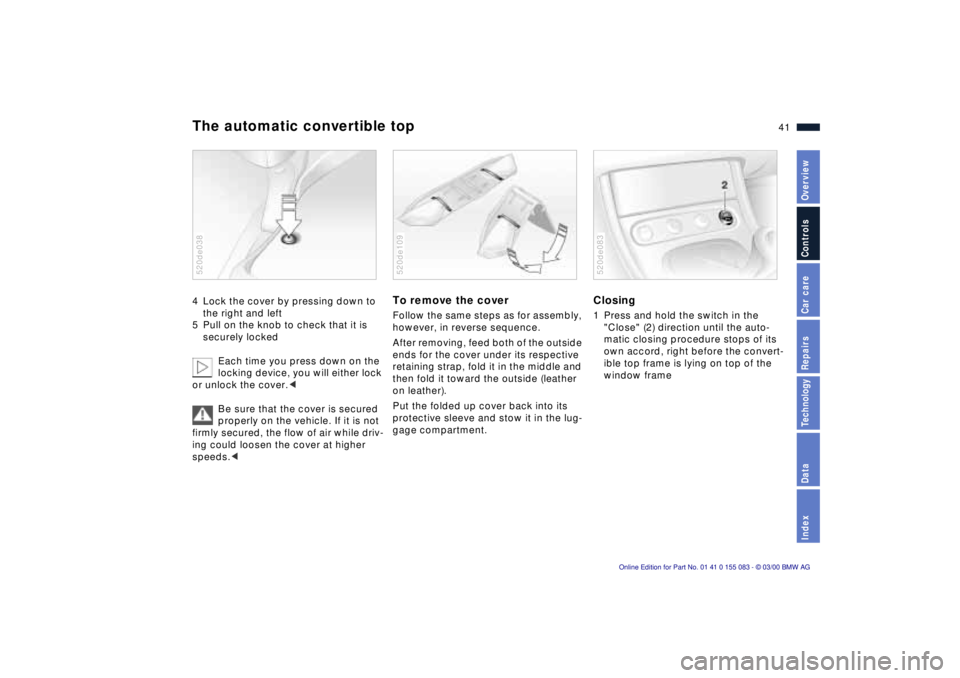
The automatic convertible top4 Lock the cover by pressing down to
the right and left
5 Pull on the knob to check that it is
securely locked
Each time you press down on the
locking device, you will either lock
or unlock the cover.<
Be sure that the cover is secured
properly on the vehicle. If it is not
firmly secured, the flow of air while driv-
ing could loosen the cover at higher
speeds.<520de038
To remove the cover Follow the same steps as for assembly,
however, in reverse sequence.
After removing, feed both of the outside
ends for the cover under its respective
retaining strap, fold it in the middle and
then fold it toward the outside (leather
on leather).
Put the folded up cover back into its
protective sleeve and stow it in the lug-
gage compartment.520de109
Closing1 Press and hold the switch in the
"Close" (2) direction until the auto-
matic closing procedure stops of its
own accord, right before the convert-
ible top frame is lying on top of the
window frame520de083
Page 44 of 172
43n
IndexDataTechnologyRepairsCar careControlsOverview
For maximum safety when adjusting the
seating position, please observe the
following:
Never try to adjust your seat while
driving the vehicle. The seat could
respond with an unexpected move-
ment, and the ensuing loss of vehicle
control could lead to an accident.
Be sure that the safety belt remains
firmly against your body at all times. In
the event of a frontal impact, a loose lap
belt could slide over the hips, leading to
abdominal injury. In addition, the safety
belt's restraint effectiveness is reduced
if the belt is worn loosely.
Never ride with the backrest reclined to
an extreme angle (especially important
for the passenger to remember). If you
do so, there is a risk that you will slide
under the safety belt in an accident,
thus reducing the protection provided
by the safety belt.<
Correct sitting postureTo reduce strain on the spinal column,
sit all the way back in the seat and rest
your back fully against the backrest.
The ideal sitting posture is achieved
with your head extending from your
spine in a straight line.
For long-distance driving, you may wish
to increase the backrest tilt-angle
slightly to reduce muscular tension.
You should be able to grasp the steer-
ing wheel at its highest point with your
arms slightly bent.
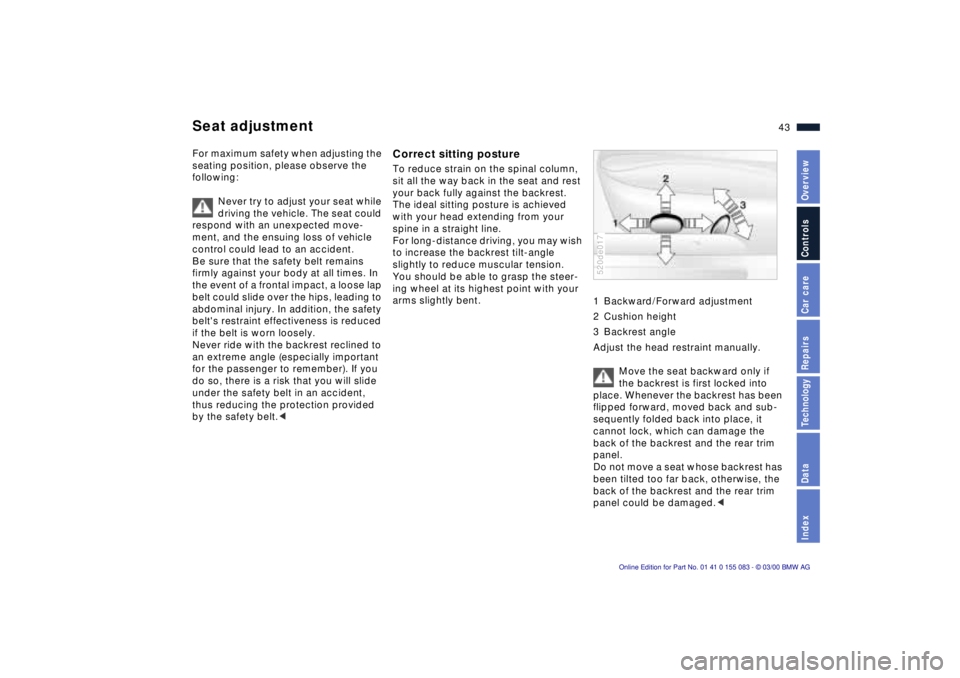
1 Backward/Forward adjustment
2 Cushion height
3 Backrest angle
Adjust the head restraint manually.
Move the seat backward only if
the backrest is first locked into
place. Whenever the backrest has been
flipped forward, moved back and sub-
sequently folded back into place, it
cannot lock, which can damage the
back of the backrest and the rear trim
panel.
Do not move a seat whose backrest has
been tilted too far back, otherwise, the
back of the backrest and the rear trim
panel could be damaged.<
520de017
Seat adjustment
Page 47 of 172
46n
Mirrors Car Memory, Key MemoryInterior rearview mirror with
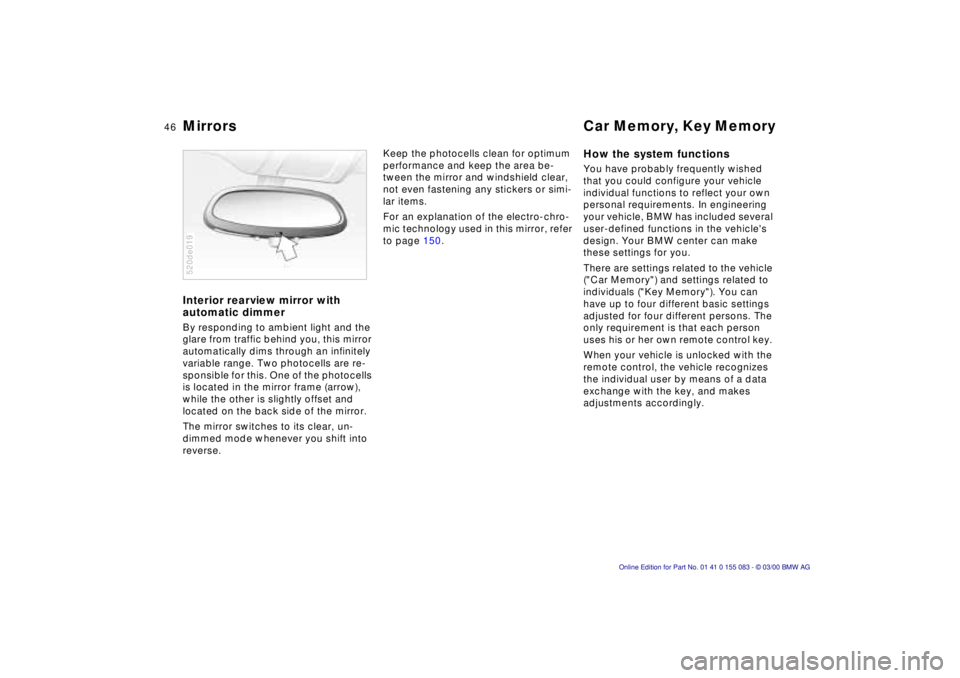
automatic dimmer By responding to ambient light and the
glare from traffic behind you, this mirror
automatically dims through an infinitely
variable range. Two photocells are re-
sponsible for this. One of the photocells
is located in the mirror frame (arrow),
while the other is slightly offset and
located on the back side of the mirror.
The mirror switches to its clear, un-
dimmed mode whenever you shift into
reverse. 520de019
Keep the photocells clean for optimum
performance and keep the area be-
tween the mirror and windshield clear,
not even fastening any stickers or simi-
lar items.
For an explanation of the electro-chro-
mic technology used in this mirror, refer
to page 150.
How the system functions You have probably frequently wished
that you could configure your vehicle
individual functions to reflect your own
personal requirements. In engineering
your vehicle, BMW has included several
user-defined functions in the vehicle's
design. Your BMW center can make
these settings for you.
There are settings related to the vehicle
("Car Memory") and settings related to
individuals ("Key Memory"). You can
have up to four different basic settings
adjusted for four different persons. The
only requirement is that each person
uses his or her own remote control key.
When your vehicle is unlocked with the
remote control, the vehicle recognizes
the individual user by means of a data
exchange with the key, and makes
adjustments accordingly.
Page 50 of 172
49n
IndexDataTechnologyRepairsCar careControlsOverview
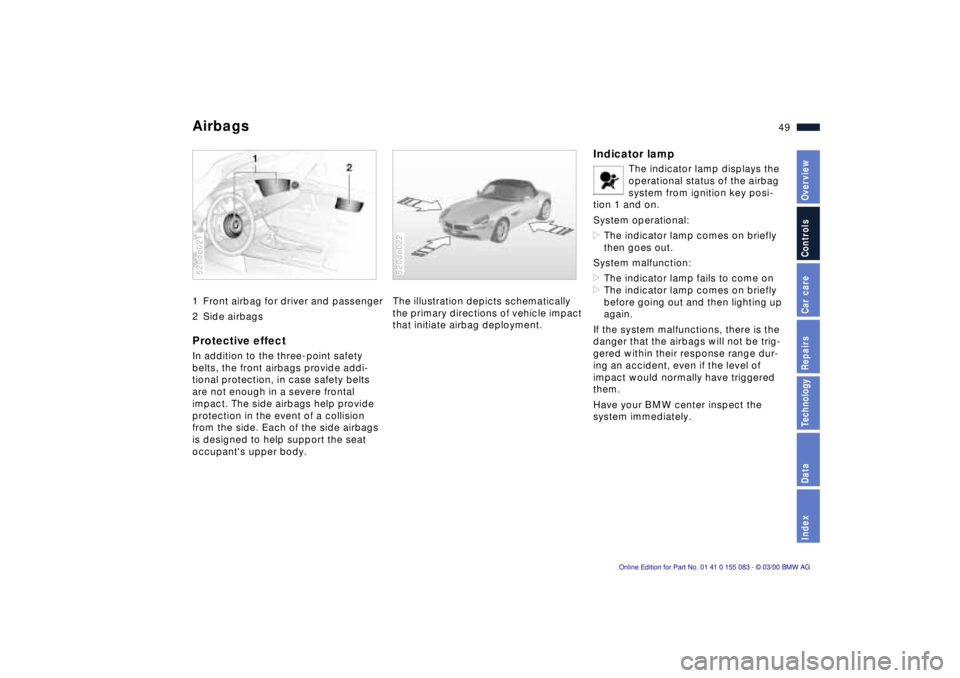
Airbags 1 Front airbag for driver and passenger
2 Side airbagsProtective effectIn addition to the three-point safety
belts, the front airbags provide addi-
tional protection, in case safety belts
are not enough in a severe frontal
impact. The side airbags help provide
protection in the event of a collision
from the side. Each of the side airbags
is designed to help support the seat
occupant's upper body.520de021
The illustration depicts schematically
the primary directions of vehicle impact
that initiate airbag deployment.520de022
Indicator lamp
The indicator lamp displays the
operational status of the airbag
system from ignition key posi-
tion 1 and on.
System operational:
>The indicator lamp comes on briefly
then goes out.
System malfunction:
>The indicator lamp fails to come on
>The indicator lamp comes on briefly
before going out and then lighting up
again.
If the system malfunctions, there is the
danger that the airbags will not be trig-
gered within their response range dur-
ing an accident, even if the level of
impact would normally have triggered
them.
Have your BMW center inspect the
system immediately.
Page 62 of 172
61n
IndexDataTechnologyRepairsCar careControlsOverview
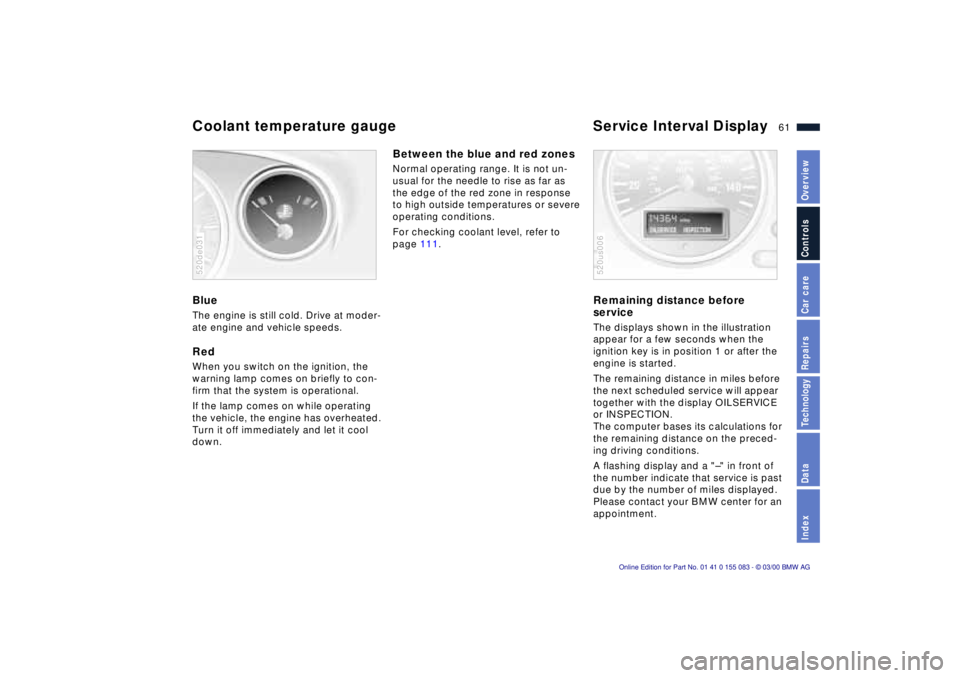
Coolant temperature gauge Service Interval Display BlueThe engine is still cold. Drive at moder-
ate engine and vehicle speeds.RedWhen you switch on the ignition, the
warning lamp comes on briefly to con-
firm that the system is operational.
If the lamp comes on while operating
the vehicle, the engine has overheated.
Turn it off immediately and let it cool
down.520de031
Between the blue and red zonesNormal operating range. It is not un-
usual for the needle to rise as far as
the edge of the red zone in response
to high outside temperatures or severe
operating conditions.
For checking coolant level, refer to
page 111.
Remaining distance before
serviceThe displays shown in the illustration
appear for a few seconds when the
ignition key is in position 1 or after the
engine is started.
The remaining distance in miles before
the next scheduled service will appear
together with the display OILSERVICE
or INSPECTION.
The computer bases its calculations for
the remaining distance on the preced-
ing driving conditions.
A flashing display and a "Ð" in front of
the number indicate that service is past
due by the number of miles displayed.
Please contact your BMW center for an
appointment.520us006
Page 65 of 172
64n
Dynamic Stability Control Dynamic Driving ControlTo reactivate the systemPress the button again; the indicator
lamp goes out.
The laws of physics cannot be
repealed, even with DSC. An
appropriate driving style remains the
responsibility of the driver. For this rea-
son, do not use the additional safety
margin provided by the system as an
excuse to take risks.
Do not make any modifications to the
DSC system. Service procedures on
the system are to be performed by
authorized technicians only.<
For additional details concerning DSC,
please refer to the chapter "Advanced
technology" on page 149.
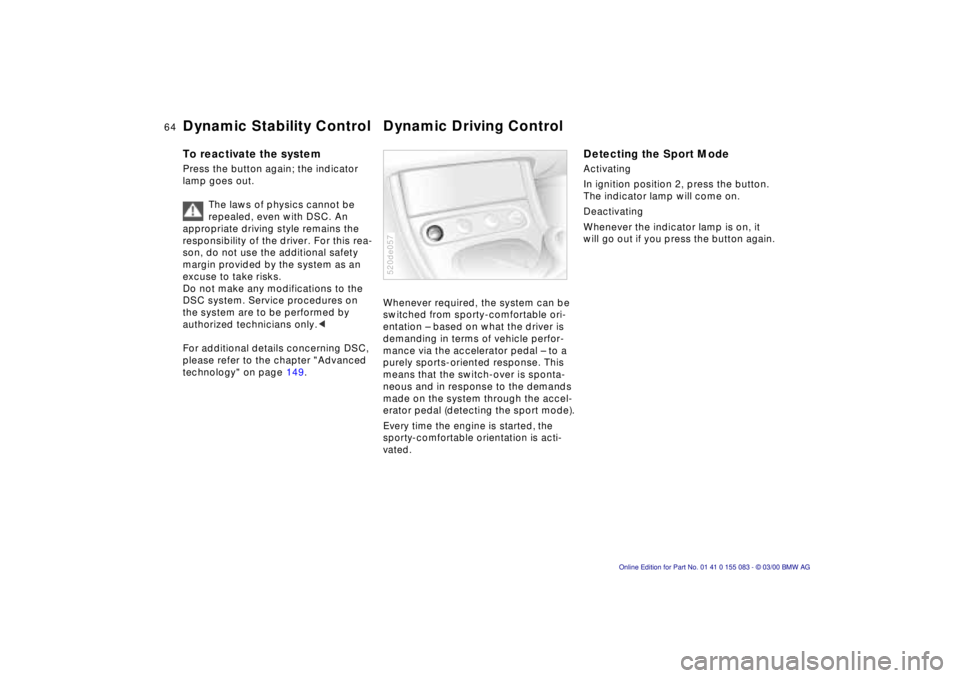
Whenever required, the system can be
switched from sporty-comfortable ori-
entation Ð based on what the driver is
demanding in terms of vehicle perfor-
mance via the accelerator pedal Ð to a
purely sports-oriented response. This
means that the switch-over is sponta-
neous and in response to the demands
made on the system through the accel-
erator pedal (detecting the sport mode).Every time the engine is started, the
sporty-comfortable orientation is acti-
vated.520de057
Detecting the Sport ModeActivating
In ignition position 2, press the button.
The indicator lamp will come on.
Deactivating
Whenever the indicator lamp is on, it
will go out if you press the button again.