start stop button BUICK CASCADA 2016 Owner's Manual
[x] Cancel search | Manufacturer: BUICK, Model Year: 2016, Model line: CASCADA, Model: BUICK CASCADA 2016Pages: 381, PDF Size: 5.52 MB
Page 20 of 381

Buick Cascada Owner Manual (GMNA-Localizing-U.S-9186636) - 2016 - crc -
3/9/16
In Brief 19
instrument cluster and the
appropriate DIC message is
displayed.
. Press
gagain to turn on both
systems. The appropriate DIC
message is displayed.
See Traction Control/Electronic
Stability Control 0239.
Tire Pressure Monitor
This vehicle may have a Tire
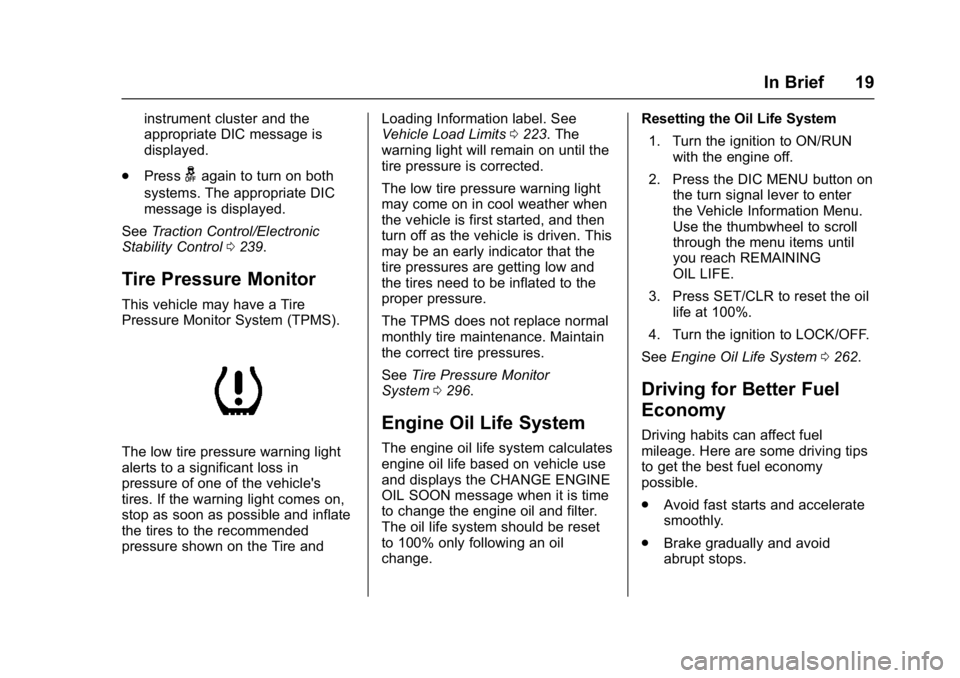
Pressure Monitor System (TPMS).
The low tire pressure warning light
alerts to a significant loss in
pressure of one of the vehicle's
tires. If the warning light comes on,
stop as soon as possible and inflate
the tires to the recommended
pressure shown on the Tire and Loading Information label. See
Vehicle Load Limits
0223. The
warning light will remain on until the
tire pressure is corrected.
The low tire pressure warning light
may come on in cool weather when
the vehicle is first started, and then
turn off as the vehicle is driven. This
may be an early indicator that the
tire pressures are getting low and
the tires need to be inflated to the
proper pressure.
The TPMS does not replace normal
monthly tire maintenance. Maintain
the correct tire pressures.
See Tire Pressure Monitor
System 0296.
Engine Oil Life System
The engine oil life system calculates
engine oil life based on vehicle use
and displays the CHANGE ENGINE
OIL SOON message when it is time
to change the engine oil and filter.
The oil life system should be reset
to 100% only following an oil
change. Resetting the Oil Life System
1. Turn the ignition to ON/RUN with the engine off.
2. Press the DIC MENU button on the turn signal lever to enter
the Vehicle Information Menu.
Use the thumbwheel to scroll
through the menu items until
you reach REMAINING
OIL LIFE.
3. Press SET/CLR to reset the oil life at 100%.
4. Turn the ignition to LOCK/OFF.
See Engine Oil Life System 0262.
Driving for Better Fuel
Economy
Driving habits can affect fuel
mileage. Here are some driving tips
to get the best fuel economy
possible.
.
Avoid fast starts and accelerate
smoothly.
. Brake gradually and avoid
abrupt stops.
Page 95 of 381

Buick Cascada Owner Manual (GMNA-Localizing-U.S-9186636) - 2016 - crc -
3/9/16
94 Instruments and Controls
Heated Steering Wheel
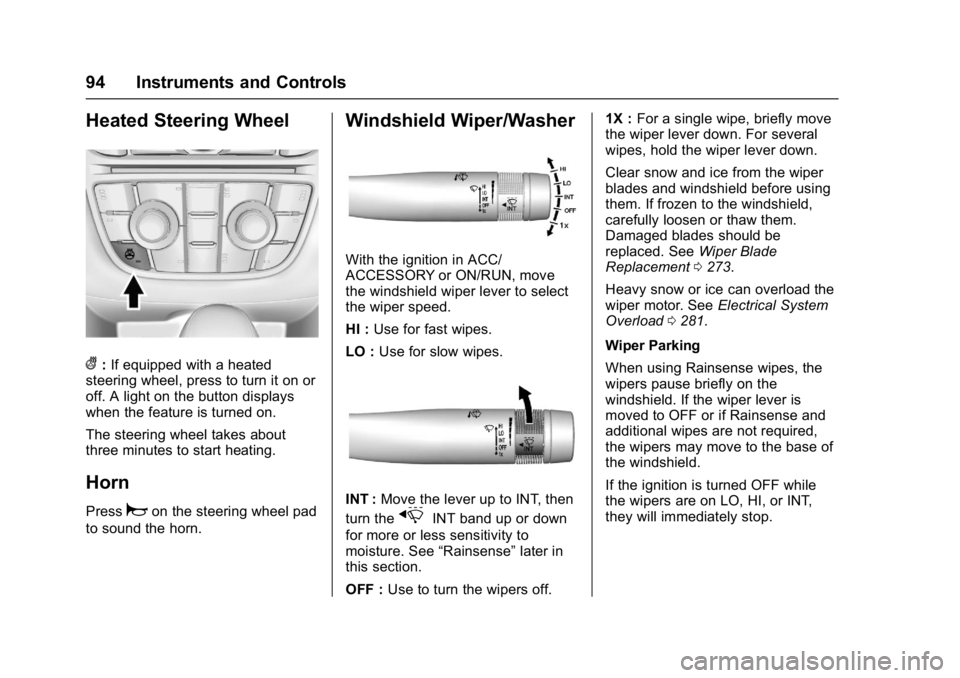
(:If equipped with a heated
steering wheel, press to turn it on or
off. A light on the button displays
when the feature is turned on.
The steering wheel takes about
three minutes to start heating.
Horn
Pressaon the steering wheel pad
to sound the horn.
Windshield Wiper/Washer
With the ignition in ACC/
ACCESSORY or ON/RUN, move
the windshield wiper lever to select
the wiper speed.
HI : Use for fast wipes.
LO : Use for slow wipes.
INT : Move the lever up to INT, then
turn the
xINT band up or down
for more or less sensitivity to
moisture. See “Rainsense”later in
this section.
OFF : Use to turn the wipers off. 1X :
For a single wipe, briefly move
the wiper lever down. For several
wipes, hold the wiper lever down.
Clear snow and ice from the wiper
blades and windshield before using
them. If frozen to the windshield,
carefully loosen or thaw them.
Damaged blades should be
replaced. See Wiper Blade
Replacement 0273.
Heavy snow or ice can overload the
wiper motor. See Electrical System
Overload 0281.
Wiper Parking
When using Rainsense wipes, the
wipers pause briefly on the
windshield. If the wiper lever is
moved to OFF or if Rainsense and
additional wipes are not required,
the wipers may move to the base of
the windshield.
If the ignition is turned OFF while
the wipers are on LO, HI, or INT,
they will immediately stop.
Page 189 of 381

Buick Cascada Owner Manual (GMNA-Localizing-U.S-9186636) - 2016 - crc -
3/9/16
188 Infotainment System
Previously stored bread crumbs can
be loaded from the Saved menu
item, and then displayed by
selecting Show on Map.
Route Simulation
Select to display a route simulation.
Use Last Known Position :Select
to start the simulation from the last
known position.
Use Previous Destination : Select
to start the simulation from a
previous destination.
Use Specified Location : Select to
start the simulation from a specified
location.
Once the starting position for the
simulation is selected, select
Navigation and the Map display will
be in Simulation mode. SIMis
displayed on the map.
Select and enter the destination as
for a normal journey and select Start
Guidance to calculate the route in
Simulation mode.
Touch Next to skip to the next turn,
or touch Stop to pause the
simulation. To stop the simulation, press DEST
and select Cancel Guidance.
To exit from Simulation mode, return
to the Navigation Settings menu,
select Route Simulation, then select
Cancel Route Simulation.
Vehicle Settings
See
Vehicle Personalization 0113.
Display Settings
Touch Config on the Home Page or
press CONFIG on the faceplate,
then select Display Settings from
the list.
The following options may display:
Home Page Menu : Touch to
customize the first page of the
Home Page.
Rear Camera Options : Touch to
enable or disable Symbols and
Guide Lines..
Display Off : Touch to turn off the
display. The display will return when
any radio buttons are pressed or the
screen is touched (if equipped). Map Settings :
Touch to enter the
submenu to change Map Display
settings and enable Speed Limit
display on map.
Map Display : Touch to change the
screen background.
. The Automatic setting adjusts
the screen background
automatically depending on the
exterior lighting conditions.
. The Day setting brightens the
map background.
. The Night setting darkens the
map background.
To change the overall brightness
setting for the display, use the
vehicle interior lighting instrument
panel illumination control.
Speed Limits : Touch to enable or
disable displayed speed limits on
the map.