coolant level BUICK CENTURY 1994 Owners Manual
[x] Cancel search | Manufacturer: BUICK, Model Year: 1994, Model line: CENTURY, Model: BUICK CENTURY 1994Pages: 308, PDF Size: 16.3 MB
Page 188 of 308
I
I.
A
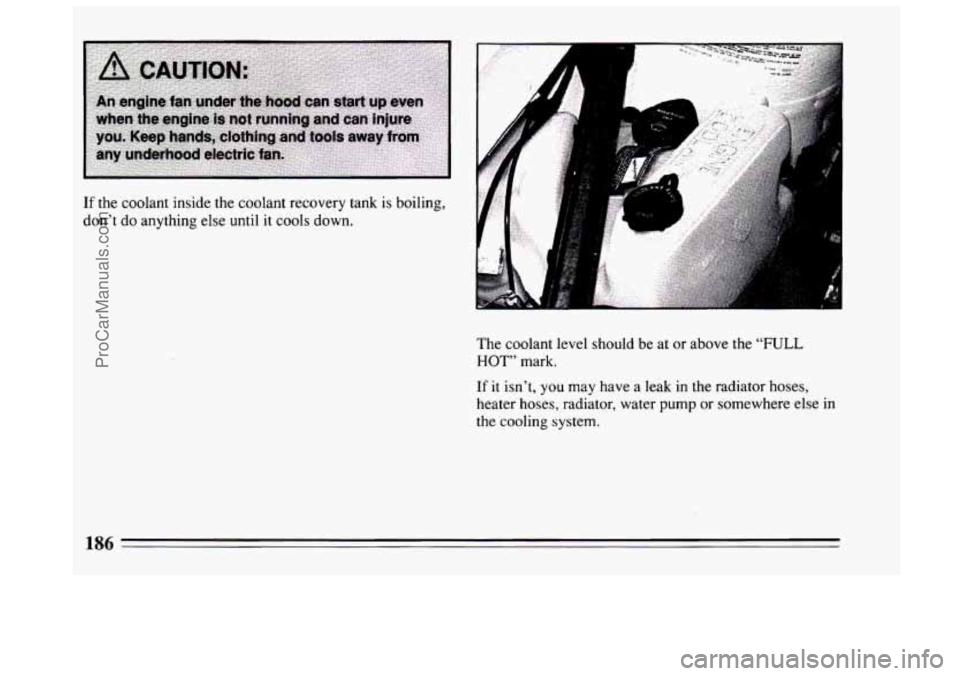
If the coolant inside the coolant recovery tank is boiling,
don’t do anything else until it cools down.
The coolant level should be at or above the
“FULL
HOT” mark.
If it isn’t, you may have a leak in the radiator hoses,
heater hoses, radiator, water pump or somewhere else
in
the cooling system.
186
ProCarManuals.com
Page 189 of 308
1 NOTICE: I
I
Engine damage from running your engine
without coolant isn’t covered by your warranty.
If there seems to be no leak, check to see if the electric
engine fan is running. If the engine
is overheating, the
fan should be running. If
it isn’t, your vehicle needs
service.
How to Add Coolant to the Coolant
Recovery Tank
If you haven’t found a problem yet, but the coolant level
isn’t at or above the
“ADD” mark, add a 50/50 mixture of
clean water (preferably distilled) and a proper antifreeze at \
the coolant recovery
tank. (See “Engine Coolant” in the
Index for more information about the proper coolant mix.)
187
ProCarManuals.com
Page 194 of 308
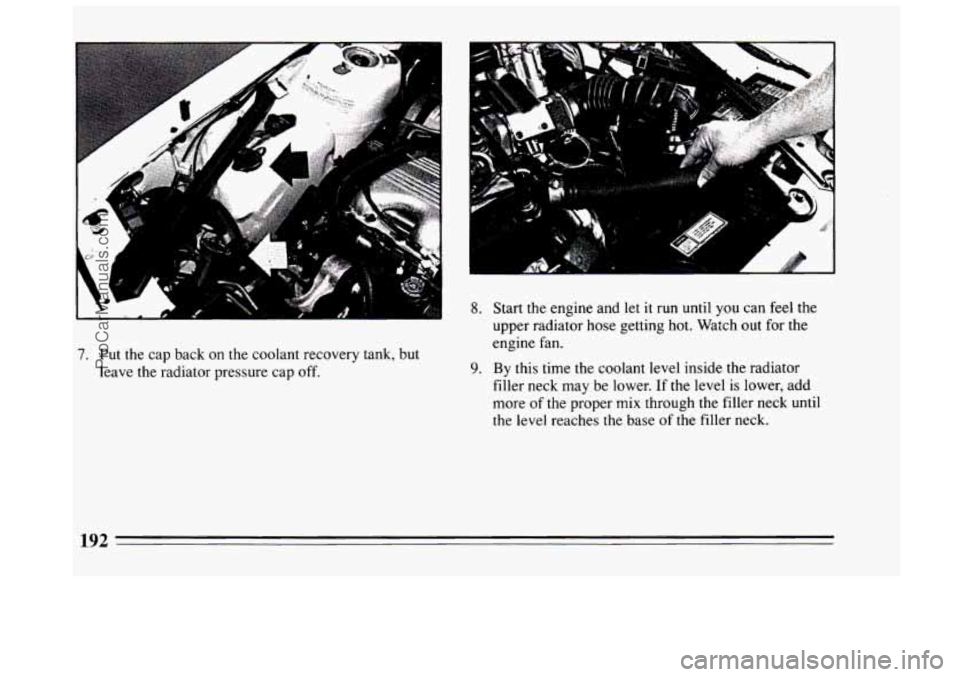
7. Put the cap back on the coolant recovery tank, but
leave the radiator pressure cap off.
8. Start the engine and let it run until you can feel the
upper radiator hose getting hot. Watch out for the
engine fan.
9. By this time the coolant level inside the radiator
filler neck may be lower. If the level is lower, add
more of the proper
mix through the filler neck until
the level reaches the base of the filler neck.
192
ProCarManuals.com
Page 195 of 308
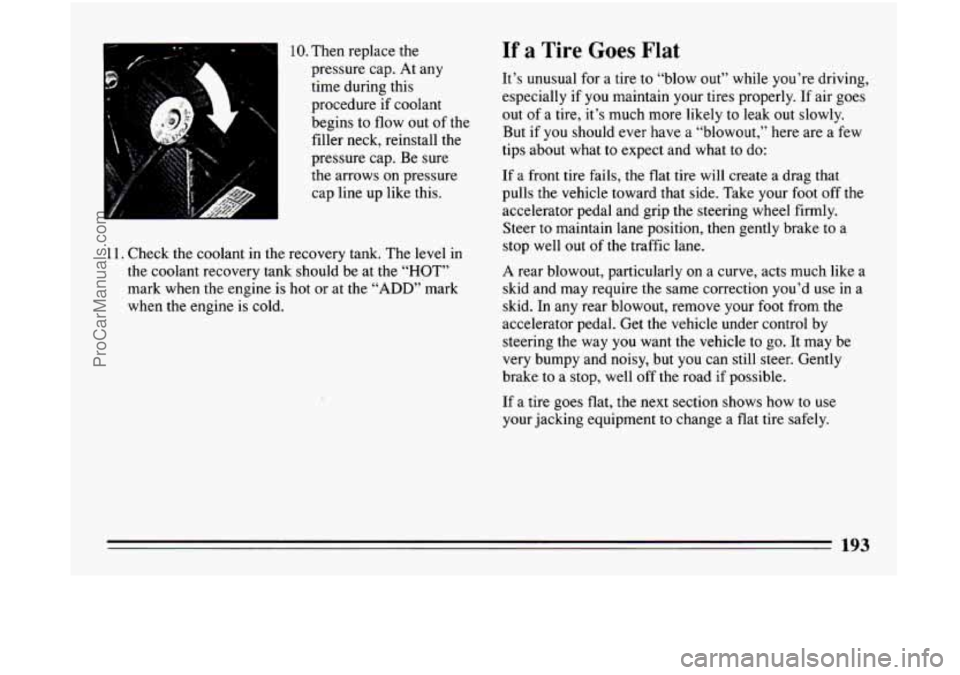
10. Then replace the
pressure cap. At any
time during this
procedure if coolant
begins to flow
out of the
filler neck, reinstall the
pressure cap. Be sure
the arrows on pressure cap line up like this.
11. Check the coolant in the recovery tank. The level in
the coolant recovery tank should be at the
“HOT”
mark when the engine is hot or at the “ADD” mark
when the engine
is cold.
If a Tire Goes Flat
It’s unusual for a tire to “blow out” while you’re driving,
especially
if you maintain your tires properly. If air goes
out
of a tire, it’s much more likely to leak out slowly.
But if you should ever have a “blowout,” here are
a few
tips about what
to expect and what to do:
If a front tire fails, the flat tire will create a drag that
pulls the vehicle toward that side. Take your
foot off the
accelerator pedal and grip the steering wheel firmly.
Steer to maintain lane position, then gently brake to a
stop well out
of the traffic lane.
A rear blowout, particularly on a curve, acts much like a
skid and may require the same correction you’d use in a
skid.
In any rear blowout, remove your foot from the
accelerator pedal. Get the vehicle under control by
steering the way
you want the vehicle to go. It may be
very bumpy and noisy, but
you can still steer. Gently
brake to
a stop, well off the road if possible.
If a tire goes flat, the next section shows how to use
your jacking equipment to change a flat tire safely.
193
ProCarManuals.com
Page 209 of 308
.
@) Part 6 Service and Appearance Care
~ ~~~~~
Here you will find information about the care of your Buick . This part begins with service and fuel information.
and then
it shows how to check important fluid and lubricant levels . There is also technical information about your
vehicle. and a section devoted to its appearance care
.
Part 6 includes:
Service ........................................................................\
..
Fuel ........................................................................\
.....
HoodRelease .....................................................................
EngineOil ....................................................................... \
Aircleaner ....................................................................... \
TransaxleFluid ....................................................................
Enginecoolant ....................................................................
Powersteering ....................................................................
Windshield Washer Fluid ............................................................
Brakes ........................................................................\
...
Battery ........................................................................\
..
BulbReplacement .................................................................
LoadingYourVehicle ...............................................................
Tires ........................................................................\
....
Appearancecare ..................................................................
Vehicle Identification Number (VIN) ..................................................
Fuses and Circuit Breakers ...........................................................
ReplacementBulbs .................................................................
Capacities and Specifications .........................................................
208
209
212
213 218
220
223
226
227
228
231
232
236 238
245
253
254 258
259
207
ProCarManuals.com
Page 225 of 308
How to Add Fluid
Refer to the Maintenance Schedule to determine what
kind of transaxle fluid
to use. See “Recommended
Fluids and Lubricants” in the Index.
Engine Coolant
If the fluid level is low, add only enough of the proper
fluid to bring the level into the cross-hatched area on the
dipstick.
1. Pull
out the dipstick.
2. Using a long-neck funnel, add enough fluid at the
It doesn’t take much fluid, generally less than a pint
(OSL).
Don’t overfill. We recommend you use only
fluid labeled DEXRON@-I11 or DEXRON@-IIE,
because fluids with that label are made especially for
your automatic transaxle. Damage caused by fluid other
than DEXRON@-I11 or DEXRON@-IIE is
not covered
by your new vehicle warranty. dipstick
hole
to bring it to the proper level.
After adding fluid, recheck the fluid level as
described under “How to Check.”
0 When the correct fluid level is obtained, push the
dipstick back in all the way. The following explains
your cooling system and how to
add coolant when it is low. If you have a problem with
engine overheating or if
you need to add coolant to your
radiator, see “Engine Overheating” in the Index.
The proper coolant for your Buick will:
0 Give freezing protection down to -34°F (-37°C).
0 Give boiling protection up to 262 “F ( 128 “C).
0 Protect against rust and corrosion.
Help keep the proper engine temperature.
0 Let the warning lights work as they should.
What to Use
Use a mixture of one-half clean water (preferably
distilled) and one-half antifreeze that meets “GM
Specification 1825-M,” which won’t damage aluminum
parts.
You can also use a recycled coolant conforming to
GM Specification 1825-M with a complete coolant flush
and refill. If you use this mixture,
you don’t need to add
anything else.
223
ProCarManuals.com
Page 227 of 308
To Check Coolant
When your engine is cold, the coolant level should be at
“ADD” or a little higher. When your engine is warm, the
level should be up to
“FULL HOT’’ or a little higher.
To Add Coolant
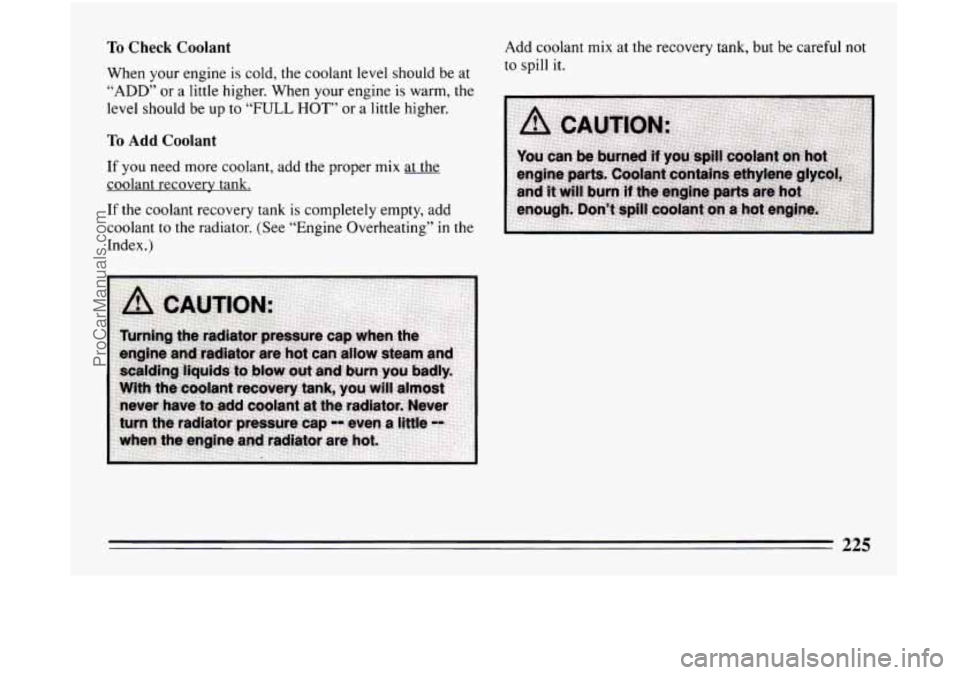
If you need more coolant, add the proper mix at the
coolant recovery tank.
If the coolant recovery tank is completely empty, add
coolant to the radiator. (See “Engine Overheating” in the
Index.) Add
coolant mix at the recovery tank, but be careful not
to spill it.
225
ProCarManuals.com
Page 228 of 308
Radiator Pressure Cap
I NOTICE:
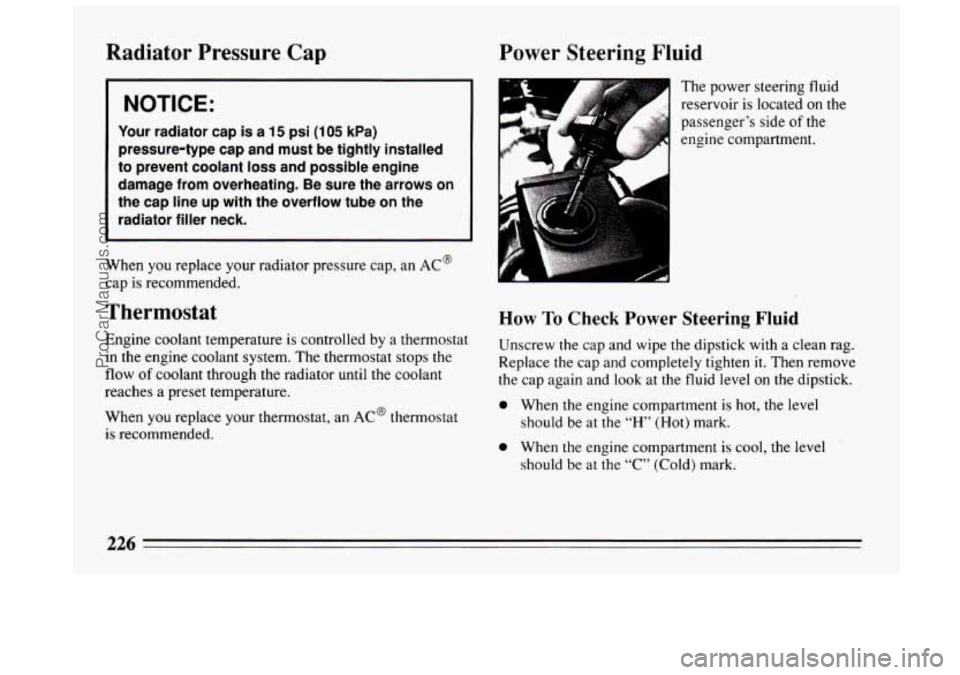
Your radiator cap is a 15 psi (105 kPa)
pressure-type cap and must be tightly installed
to prevent coolant
loss and possible engine
damage from overheating. Be sure the arrows on
the cap line up with the overflow tube on the radiator filler neck.
When you replace your radiator pressure cap, an AC@
cap is recommended.
Thermostat
Engine coolant temperature is controlled by a thermostat
in the engine coolant system. The thermostat stops the
flow
of coolant through the radiator until the coolant
reaches a preset temperature.
When
you replace your thermostat, an AC@ thermostat
is recommended.
Power Steering Fluid
The power steering fluid
reservoir
is located on the
passenger’s side
of the
engine compartment.
How To Check Power Steering Fluid
Unscrew the cap and wipe the dipstick with a clean rag.
Replace the cap and completely tighten it. Then remove
the cap again and look at the fluid level
on the dipstick.
0 When the engine compartment is hot, the level
should be at the
“H” (Hot) mark.
0 When the engine compartment is cool, the level
should be at the “C” (Cold) mark.
ProCarManuals.com
Page 272 of 308
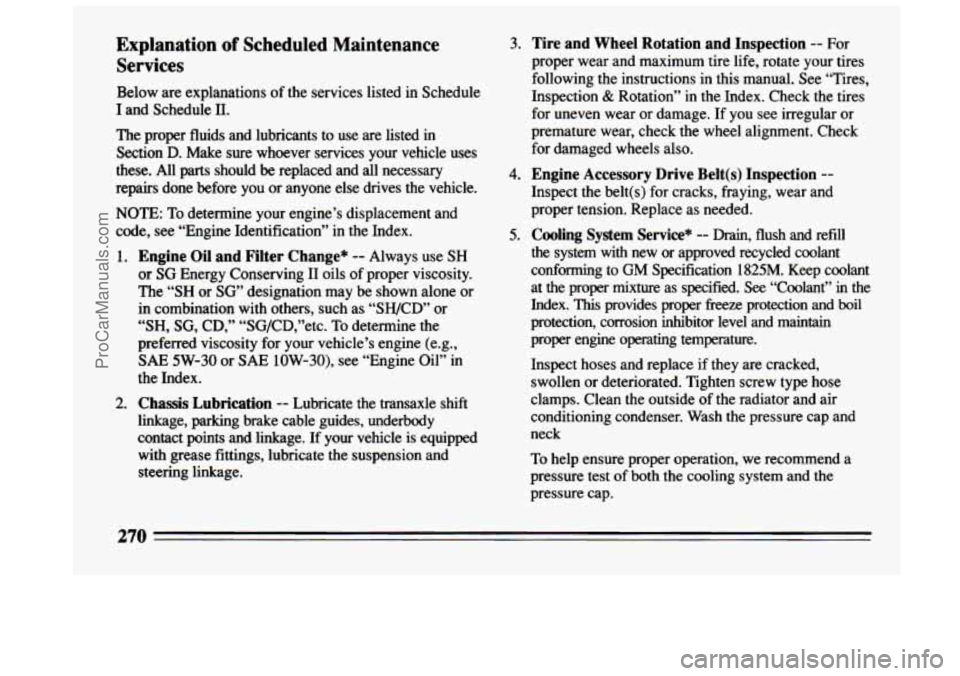
Explanation of Scheduled Maintenance
Services
Below are explanations of the services listed in Schedule
I and Schedule
11.
The proper fluids and lubricants to use are listed in
Section D. Make sure whoever services your vehicle uses
these. All parts should
be replaced and all necessary
repairs done before you or anyone else drives the vehicle.
NOTE: To determine your engine’s displacement and
code, see “Engine Identification” in the Index.
1. Engine Oil and Filter Change* -- Always use SH
or SG Energy Conserving I1 oils of proper viscosity.
The
“SH or SG’ designation may be shown alone or
in combination with others, such as “SH/CD’ or
“SH, SG, CD,” “SG/CD,”etc. To determine the
preferred viscosity for your vehicle’s engine (e.g.,
SAE 5W-30 or SAE 10W-30), see “Engine Oil” in
the Index.
2. Chassis Lubrication -- Lubricate the transaxle shift
linkage, parking brake cable guides, underbody
contact points and linkage. If your vehicle is equipped with grease fittings, lubricate the suspension and steering linkage. 3.
Tire and Wheel Rotation and Inspection -- For
proper wear and maximum tire life, rotate your tires
following the instructions in this manual. See “Tires,
Inspection
& Rotation” in the Index. Check the tires
for uneven wear or damage. If you see irregular or
premature wear, check the wheel alignment. Check
for damaged wheels also.
4. Engine Accessory Drive Belt(s) Inspection --
Inspect the belt(s) for cracks, fraying, wear and
proper tension. Replace as needed.
5. Cooling System Service* -- Drain, flush and refill
the system with new or approved recycled coolant
conforming to GM Specification 1825M. Keep coolant
at the proper mixture as specified.
See “Coolant” in the
Index.
This provides proper freeze protection and boil
protection, corrosion inhibitor level and maintain
proper engine operating temperature.
Inspect hoses and replace if they are cracked,
swollen or deteriorated. Tighten screw type hose
clamps. Clean the outside of the radiator and air
conditioning condenser. Wash the pressure cap and
neck
To help ensure proper operation, we recommend a
pressure test
of both the cooling system and the
pressure cap.
270
ProCarManuals.com
Page 274 of 308
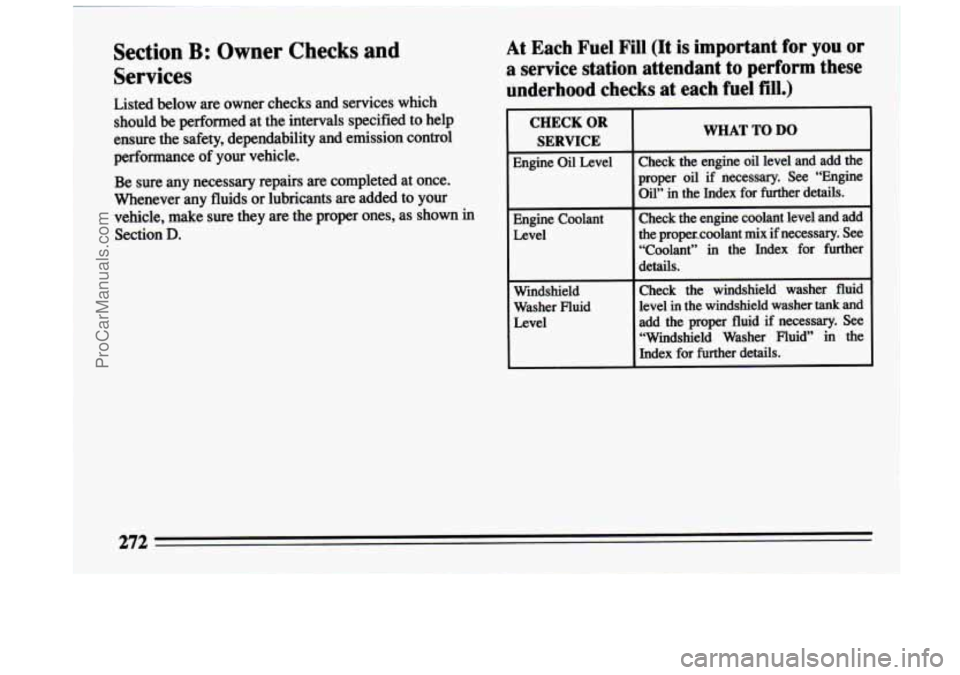
Section B: Owner Checks and
Services
Listed below are owner checks and services which should
be performed at the intervals specified to help
ensure the safety, dependability and emission control
performance of your vehicle.
Be sure any necessary repairs are completed at once.
Whenever any fluids
or lubricants are added to your
vehicle, make sure they are the proper ones, as shown in Section
D.
At Each Fuel Fill (It is important for you or
a service station attendant to perform these
underhood checks at each fuel fill.)
WHAT TO DO
~
Engine Oil Level
Engine Coolant Level
Windshield
Washer Fluid Level Check the engine oil level and add the
proper oil if necessary. See “Engine
Oil” in the Index for further details.
Check the engine coolant level and add
the propexcoolant mix if necessary. See “Coolant” in the Index for further
details.
Check the windshield washer fluid
level in the windshield washer
tank and
add the proper fluid if necessary. See “Windshield Washer Fluid” in the
Index for further details.
272
ProCarManuals.com