fuel cap BUICK CENTURY 1996 Owners Manual
[x] Cancel search | Manufacturer: BUICK, Model Year: 1996, Model line: CENTURY, Model: BUICK CENTURY 1996Pages: 340, PDF Size: 17.61 MB
Page 114 of 340
If the Light Is Flashing If the Light Is On Steady
The following may prevent more serious damage to
your vehicle:
Reduce vehicle speed.
Avoid hard accelerations.
Avoid steep uphill grades.
If towing a trailer, reduce the amount of cargo being
hauled as soon
as it is possible.
If the light stops flashing and remains on steady, see
“If
the Light Is On Steady” following.
If the light continues to flash, when it is safe to do
so,
stop the vehicle. Put your vehicle in PARK (P). Turn the
key off, wait at least
10 seconds and restart the engine.
If the light remains on steady, see “If the Light
Is On
Steady” following. If the light
is still flashing follow the
previous steps, and drive the vehicle
to your dealer or
qualified service center for service. You
may be able to correct the emission system
malfunction by considering the following:
Did you just put fuel into your vehicle?
If
so, reinstall the fuel cap, making sure to fully install
the cap. The diagnostic system can determine if the fuel
cap has been left off or improperly installed. This will
allow fuel to evaporate into the atmosphere. A few
driving trips should turn the light off.
Did you just drive through a deep puddle
of water?
If
so, your electrical system may be wet. The condition
will usually be corrected when the electrical system
dries out. A few driving trips should turn the light
off.
Are you low on fuel?
As your engine starts to run out of fuel, your engine may
not run as efficiently
as designed since small amounts of
air are sucked into the
fuel line causing a misfire. The
system can detect this. Adding fuel should correct this
condition. Make sure to install the fuel
cap properly. It
will take a few driving trips to turn the light off.
ProCarManuals.com
Page 117 of 340
Fuel Gage
Eg 0
BUNLEADED FUEL ONLY
II
Domestic Canadian
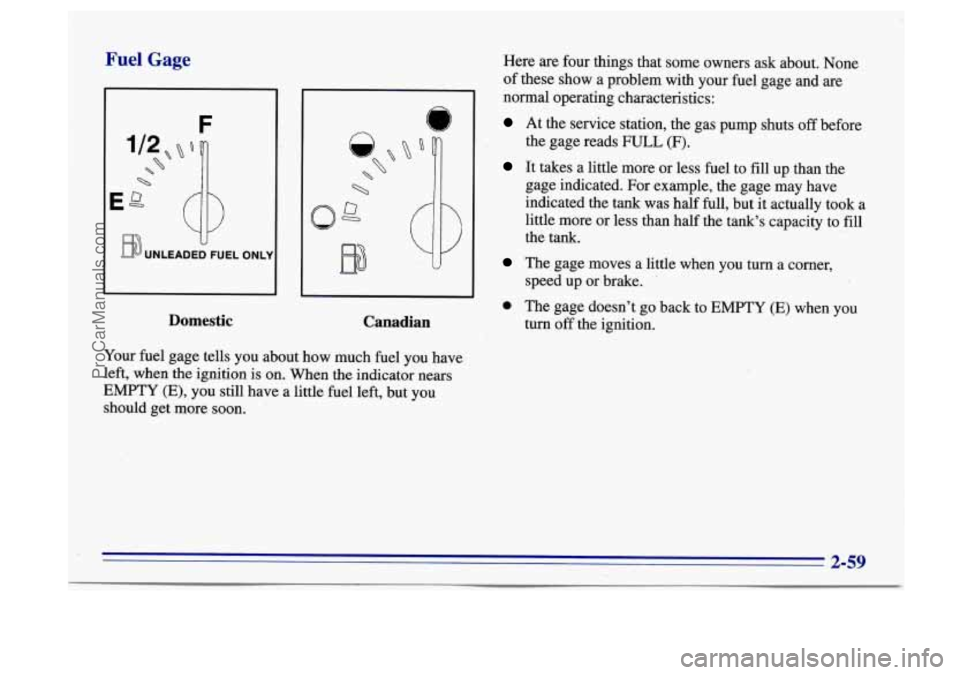
Your fuel gage tells you about how much fuel you have
left, when the ignition is on. When the indicator nears
EMPTY (E), you still have a little fuel left, but you
should get more soon. Here are four
things that some owners ask about. None
of these show a problem with your fuel gage and
are
normal operating characteristics:
At the service station, the gas pump shuts off before
the gage reads FULL (F).
It takes a little more or less fuel to fill up than the
gage indicated. For example, the gage may have
indicated the tank was half full, but it actually took
a
little more or less than half the tank's capacity to fill
the tank.
The gage moves a little when you turn a corner,
0 The gage doesn't go back to EMPTY (E) when you
speed
up or brake.
turn
off the ignition.
I
2-59
ProCarManuals.com
Page 120 of 340
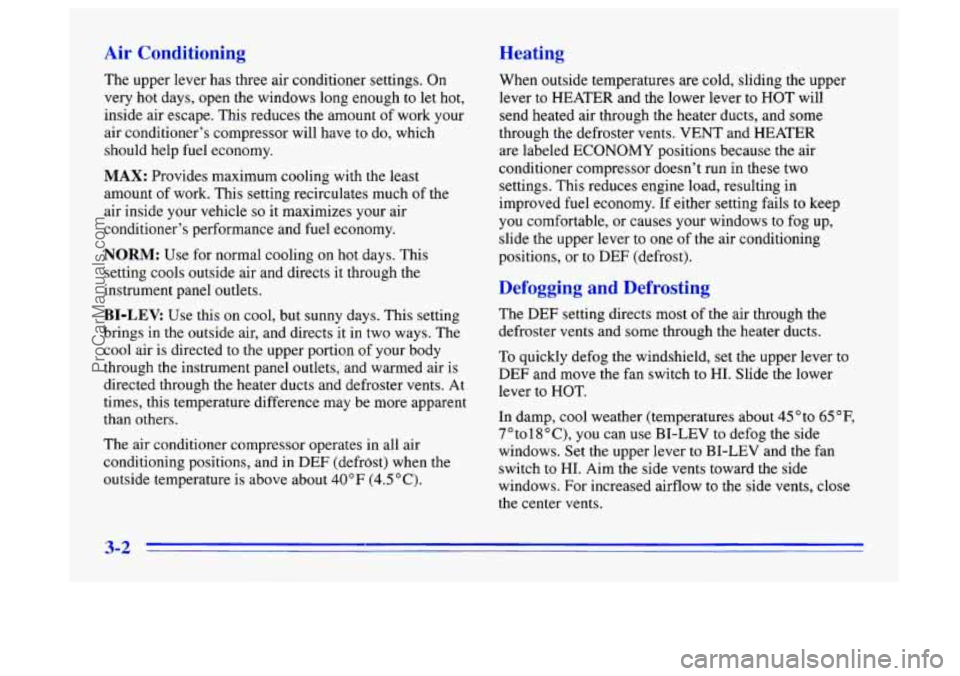
When outside temperatures are cold, sliding the upper
lever to HEATER and the lower lever to HOT will
send heated air through the heater ducts, and some
through the defroster vents. VENT and
HEATER
are labeled ECONOMY positions because the air
conditioner compressor doesn't run
in these two
settings. This reduces engine load, resulting in
improved fuel economy. If either setting fails to keep
you comfortable, or causes your windows to fog up,
slide the upper lever to one
of the air conditioning
positions, or to DEF (defrost).
The
upper lever has three air conditioner settings. On
very hot days, open the windows long enough to let hot,
inside air escape. This reduces the amount
of work your
air conditioner's compressor will have
to do, which
should help fuel economy.
MAX: Provides maximum cooling with the least
amount
of work. This setting recirculates much of the
air inside your vehicle
so it maximizes your air
conditioner's performance and fuel economy.
NORM: Use for normal cooling on hot days. This
setting cools outside air and directs it through the
instrument panel outlets.
BI-LEV: Use this on cool, but sunny days. This setting
brings
in the outside air, and directs it in two ways. The
cool air is directed to the upper portion of your body
through the instrument panel outlets, and warmed air is
directed through the heater ducts and defroster vents. At
times, this temperature difference may be more apparent
than others.
The air conditioner compressor operates in all air
conditioning positions, and in
DEF (defrdst) when the
outside temperature is above about
40°F (4.5"C).
r gii
The DEF setting directs most of the air through the
defroster vents and some through the heater dl
s.
To quickly defog the windshield, set the upper le ~ r to
DEF and move the fan switch to HI. Slide the lower
lever to HOT.
In damp, cool weather (temperatures about 45"to
65"F,
7 " to 18 " C), you can use BI-LEV to defog the side
windows. Set the upper lever to BI-LEV and the fan
switch to HI. Aim the side vents toward the side
windows, For increased airflow to the side vents, close
the center vents.
3-2
ProCarManuals.com
Page 158 of 340
Loading Your Vehicle
TIRE-LOADING INFORMATION VEHICLE CAP.
WT.
FRT. CTR. RR. TOTAL LBS.
MAX. LOADING & GVWR SAME AS VEHICLE
CAPACITY WEIGHT
XXX COLD TIRE
TIRE SIZE SPEED PRESSURE
RTG PSI/KPa
FRT.
RR.
SPA.
IF TIRES ARE HOT, ADD 4PS1/28KPa
SEE OWNER’S MANUAL FOR ADDITIONAL
INFORMATION
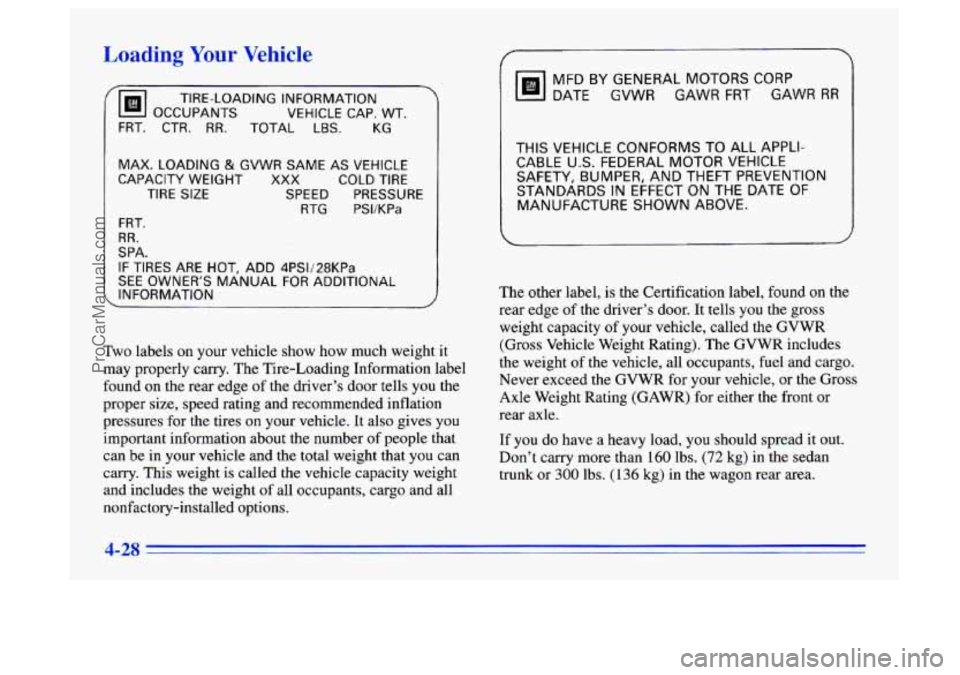
Two labels on your vehicle show how much weight it
may properly carry. The Tire-Loading Information label
found on the rear edge of the driver’s door tells you the
proper size, speed rating and recommended inflation
pressures for the tires on your vehicle. It also gives
you
important information about the number of people that
can be in your vehicle and
the total weight that you can
carry. This weight
is called the vehicle capacity weight
and includes the weight
of all occupants, cargo and all
nonfactory-installed options.
MFD BY GENERAL MOTORS CORP
DATE GVWR GAWR FRT GAWR RR
THIS VEHICLE CONFORMS TO ALL APPLI-
CABLE
U.S. FEDERAL MOTOR VEHICLE
SAFETY, BUMPER,
AND THEFT PREVENTION
STANDARDS
IN EFFECT ON THE DATE OF
MANUFACTURE SHOWN ABOVE.
I
The other label, is the Certification label, found on the
rear edge of
the driver’s door. It tells you the gross
weight capacity of your vehicle, called the GVWR
(Gross Vehicle Weight Rating). The GVWR includes
the weight
of the vehicle, all occupants, fuel and cargo.
Never exceed the GVWR for your vehicle, or the Gross
Axle Weight Rating (GAWR) for either the front or
rear axle.
If
you do have a heavy load, you should spread it out.
Don’t carry more than 160 lbs.
(72 kg) in the sedan
trunk or
300 lbs. (136 kg) in the wagon rear area.
ProCarManuals.com
Page 160 of 340
lg a Trailer Do not tow a trailer if your vehicle is equipped with a
2.2L (VIN Code 4) engine.
A CAUTION:
If you don’t use the correct equipment and drive
properly, you can lose control when you pull a
trailer.
For example, if the trailer is too heavy, the
brakes may not work
well -- or even at all. You
and your passengers could be seriously injured.
Pull
a trailer only if you have followed all the
steps in this section. Ask your Buick dealer for
advice and information about towing
a trailer
with your vehicle.
NOTICE:
Pulling a trailer improperly can damage your
vehicle and result in costly repairs not covered by
your warranty.
To pull a trailer correctly, follow
the advice in this part, and see your Buick dealer
for important information about towing a trailer
with your vehicle. Your
vehicle can tow
a trailer if it is equipped with the
3.1L V6 (VTN Code M) engine and proper trailer towing
equipment.
To identify what the vehicle trailering
capacity
is for your vehicle, you should read the
information
in “Weight of the Trailer” that appears later
in this section. But trailering is different than just
driving your vehicle by itself. Trailering means changes
in handling, durability and fuel economy. Successful,
safe trailering takes correct equipment, and it has to be
used properly.
That’s the reason for this part. In
it are many
time-tested, important trailering tips
and safety rules.
Many of these are important for your safety and that
of
your passengers. So please read this section carefully
before you pull
a trailer.
Load-pulling components such
as the engine, transaxle,
wheel assemblies and tires are forced to work harder
against the drag of the added weight. The engine is
required to operate
at relatively higher speeds and under
greater loads, generating extra heat. What’s more, the
trailer adds considerably to wind resistance, increasing
the pulling requirements.
ProCarManuals.com
Page 211 of 340
- -
Gasoline vapor is highly flammable. It burns
violently, and that can cause very bad injuries.
Don’t smoke
if you’re near gasoline or refueling
your vehicle. Keep sparks, flames, and smoking
materials away from gasoline.
I ne cap is behind a hinged door on the left side of
your vehicle.
To take off the cap, turn it slowly to the left
(counterclockwise). I
If you get gasoline on yourself and then
something ignites it, you could
be badly burned.
Gasoline can spray out on you
if you open, the
fuel filler cap too quickly.
This spray can happen
if your tank is nearly full, and is more likely in
hot weather. Open the fuel filler cap slowly and
wait for any “hiss” noise to stop. Then unscrew
the cap all the way.
I Be careful not to spill gasoline. Clean gasoline from
painted surfaces as soon as possible. See “Cleaning the
Outside
of Your Buick” in the Index.
6-5
ProCarManuals.com
Page 212 of 340
When you put the cap back on, turn it to the right until
you hear at least three clicks. Make sure
you fully install
the cap. The diagnostic system can determine
if the fuel
cap has been left
off or improperly installed. This would
allow fuel to evaporate into the atmosphere.
See
“Malfunction Indicator Lamp” in the Index.
I NOTICE:
If you need a new cap, be sure to get the right
type.
Your dealer can get one for you. If you get
the wrong type, it may not fit or have proper
venting, and your fuel tank and emissions system
might be damaged.
Checking Things Under the Hood
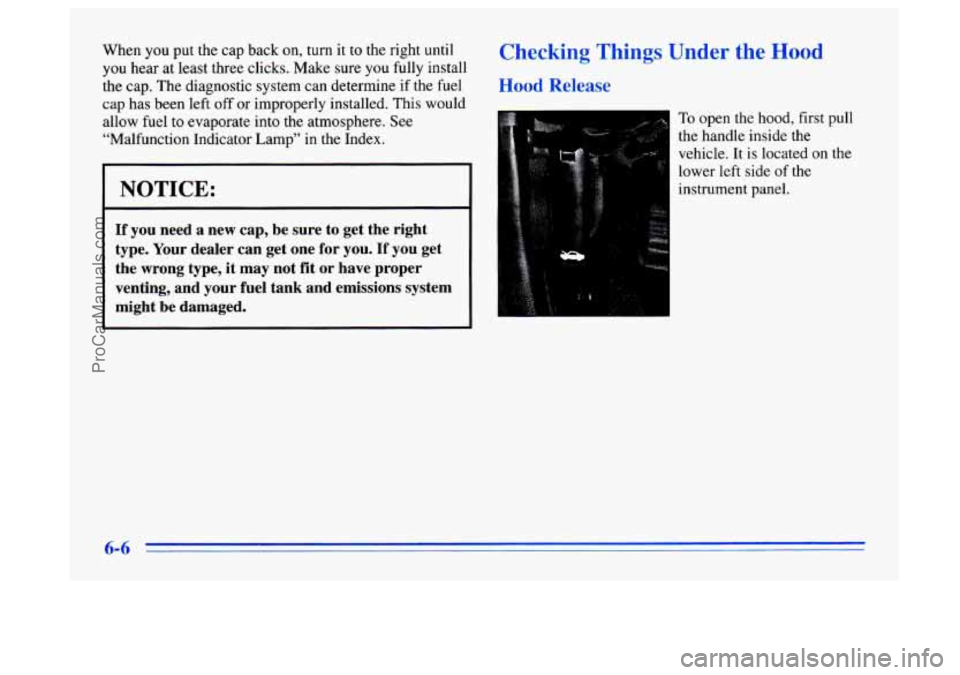
Hood Release
To open the hood, first pull
the handle inside
the
vehicle. It is located on the
lower left side of the
instrument panel.
6-6
ProCarManuals.com
Page 216 of 340
Things that burn can get on hot engine parts and
start a fire. These include liquids like gasoline,
oil, coolant, brake fluid, windshield washer and
other fluids, and plastic or rubber. You or others
could be burned. Be careful not
to drop or spill
Underhood Lamp
Your underhood lamp is designed to come on whenever
you raise the hood.
Engine Oil
It's a good idea to check your engine oil every time you
get fuel. In order
to get an accurate reading, the oil must
be warm and the vehicle must be on level ground.
things that will burn onto a hot engine. Turn off the engine and give the oil a few minutes to
drain back into the oil pan. If you don't, the oil dipstick
Before closing the hood, be sure all the filler caps
are on properly.
Then lift the hood
to relieve pressure on the hood prop.
Remove the hood prop from the slot in the hood and
return the prop
to its retainer. Then just let the hood
down and close
it firmly. might
not show the actual level.
Checking Engine Oil
Pull out the dipstick and clean it with a paper towel or
cloth, then push it back in all the way. Remove it again,
keeping the tip down, and check the level.
6-10
ProCarManuals.com
Page 227 of 340
How to Add Fluid
Refer to the Maintenance Schedule to determine what
kind of transaxle fluid to
use. See “Recommended
Fluids and Lubricants” in the Index.
If the fluid level is low, add only enough of the proper
fluid to bring the level into the cross-hatched area
on
the dipstick.
1. Pull out the dipstick.
2. Using a long-neck funnel, add enough fluid at the
It doesn’t take much fluid, generally less than a pint
(0.5
L). Don’t overfiill. We recommend you use only
fluid labeled
DEXRON@-111, because fluid with that
label
is made especially for your automatic transaxle.
Damage caused by fluid other than
DEXRON-I11 is not
covered by your new vehicle warranty.
0 After adding fluid, recheck the fluid level as
dipstick hole
to bring it to the proper level.
described under “How to Check.”
0 When the correct fluid level is obtained, push the
dipstick back in all
the way.
Superlift Shock Absc :rs (Option)
If you have this option, you can level your vehicle for
different loads. As you need to, add air to the rear shock
absorbers through the air valve, located next to the fuel
filler cap behind the fuel filler door. Always keep
a
minimum pressure of 10- 15 psi (70- 105 kPa).
After you load your vehicle, you can add pressure until
the rear gets back to its normal riding height, but don’t
go above 90 psi (620 kPa).
NOTICE:
Do not use superlifts to raise your vehicle above
its normal riding height.
You can damage your
superlifts or other parts if you drive that way for
long periods.
ProCarManuals.com
Page 245 of 340
Inflation -- Tire Pressure
The Tire-Loading Information label, which is on the
rear edge of the driver’s door, shows the correct
inflation pressures for your tires when they’re cold.
“Cold” means your vehicle
has been sitting for at least
three hours or driven no more than 1 mile (1.6 km).
NOTICE:
Don’t let anyone tell you that, underinflation or
overinflation
is all right. It’s not. If your tires
don’t have enough air (underinflation), you can
get the following:
0 Too much flexing
Too much heat
0 Tire overloading
0 Bad wear
0. Bad handling
0 Bad fuel economy.
NOTICE: (Continued)
NOTICE: (Continued)
If your tires have too much air (overinflation),
you can get the following:
Unusual wear
Bad handling
Rough ride
Needless damage from road hazards.
When to Check
Check your tires once a month or more.
Don’t forget your compact spare tire.
It should be at
60 psi (420 Pa).
How to Check
Use a good quality pocket-type gage to check tire
pressure. You can’t
tell if your tires are properly inflated
simply by looking .at them. Radial tires may look
properly inflated even when they’re underinflated.
Be sure to put the valve caps back
on the valve stems.
They help prevent leaks by keeping out
dirt and moisture.
6-39
ProCarManuals.com