lights BUICK CENTURY 1996 Owners Manual
[x] Cancel search | Manufacturer: BUICK, Model Year: 1996, Model line: CENTURY, Model: BUICK CENTURY 1996Pages: 340, PDF Size: 17.61 MB
Page 12 of 340
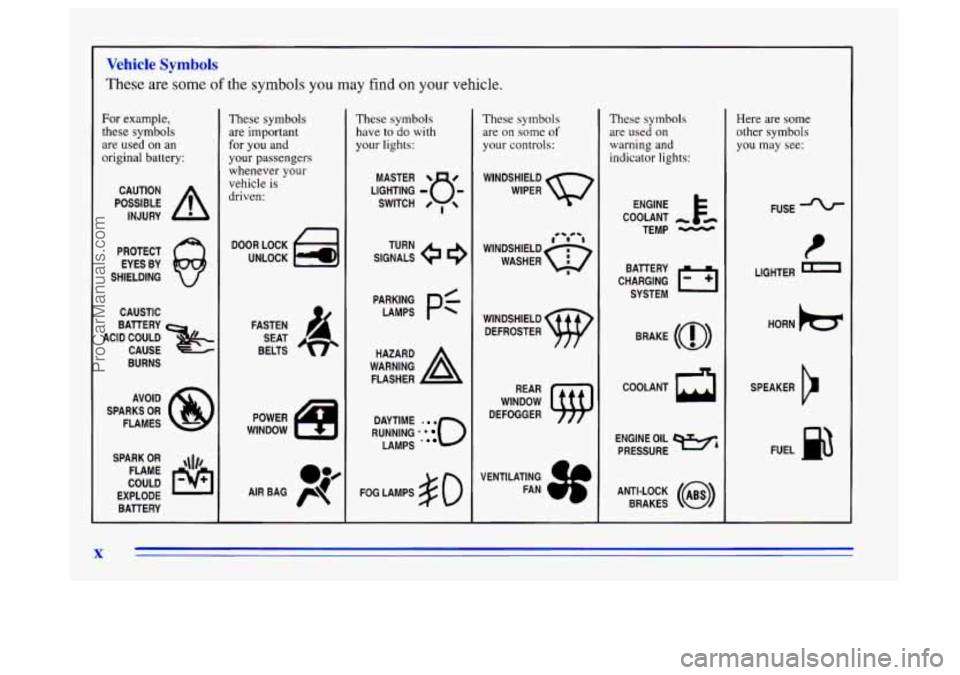
Vehicle Symbols
These are some of the symbols you may find on your vehicle.
For example,
these symbols
are used on an
original battery:
POSSIBLE A
CAUTION
INJURY
PROTECT EYES BY
SHIELDING
CAUSTIC
ACID COULD BATTERY
CAUSE
BURNS
SPARK
OR ,111,
COULD FLAME
EXPLODE BATTERY
These symbols
are important
for you and
your passengers
whenever your
vehicle is
driven:
DOOR LOCK
UNLOCK
POWER
WINDOW
These symbols have
to do with
your lights:
SIGNALS e e3
TURN
RUNNING
* ' 0
DAYTIME - a
LAMPS '
FOG LAMPS # 0
These symbols
are on some of
your controls:
WINDSHIELD
WIPER
WINDSHIELD DEFROSTER
VENTILATING FAN
These symbols are used on
warning and
indicator lights:
COOLANT
TEMP
-
CHARGING I-1
BATTERY
SYSTEM
BRAKE
(a)
COOLANT a
ENGINE OIL w,
PRESSURE
ANTI-LOCK
(@)
BRAKES
Here are some
other
symbols
you may see:
FUSE
P
LIGHTER
HORN
SPEAKER FUEL
p3
ProCarManuals.com
Page 69 of 340
OFF (C): Unlocks the steering wheel, ignition, and
transaxle, but does not send electrical power
to any
accessories. Use this position if your vehicle must be
pushed
or towed, but never try to push-start your
vehicle.
A warning chime will sound if you open the
driver’s door when the ignition is off and the key is in
the ignition.
RUN (D): Position to which the switch returns after you
start your engine and release the switch. The switch
stays in the RUN position when the engine is running.
But even when the engine is not running, you can
use
RUN to operate your electrical power accessories, and
to display some instrument panel warning lights.
START (E): Starts the engine. When the engine starts,
release the key. The ignition switch will return
to RUN
for normal driving.
NOTICE:
If your key seems stuck in LOCK and you can’t
turn it, be sure it is all the way in.
If it is, then
turn the steering wheel left and right while you
turn the key hard. But turn the key only with
your hand. Using a tool to force it could break
the key or the ignition switch.
If none of this
works, then your vehicle needs service.
2-11
ProCarManuals.com
Page 91 of 340
Passing Another Vehicle While Using Cruise Control
Use the accelerator pedal to increase your speed. When
you take your foot off the pedal, your vehicle will slow
down
to the cruise control speed you set earlier.
Using Cruise Control on Hills
How well your cruise control will work on hills depends
upon your speed, load and the steepness
of the hills.
When going up steep hills, you may have to step
on the
accelerator pedal to maintain your speed. When going
downhill, you may have to brake or shift
to a lower gear
to keep your speed down. Of course, applying the brake
takes you out
of cruise control. Many drivers find this to
be
too much trouble and don’t use cruise control on
steep hills.
Ending Cruise Control
There are two ways to turn off the cruise control:
Step lightly on the brake pedal; or
Move the cruise switch to OFF.
Erasing Cruise Speed Memory
When you turn off the cruise control or the ignition,
your cruise control set speed memory is erased.
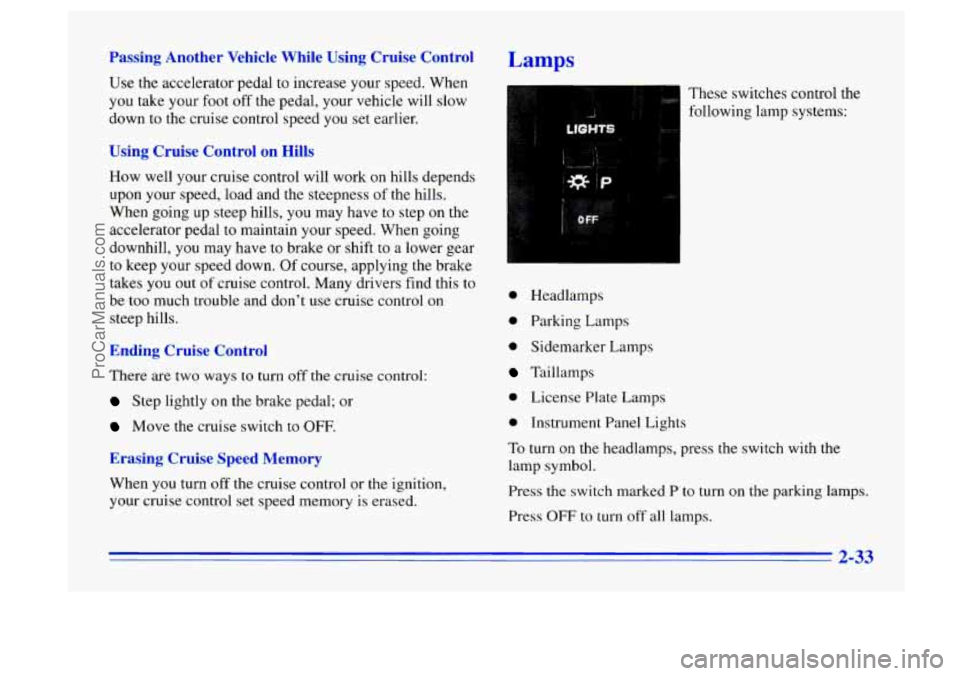
Lamps
..
li
LtOWtS
0 Headlamps
0 Parking Lamps
0 Sidemarker Lamps
Taillamps
0 License Plate Lamps
0 Instrument Panel Lights
To turn on the headlamps, press the switch with the
lamp symbol.
Press
the switch marked P to turn on the parking lamps.
Press
OFF to turn off all lamps.
2-33
ProCarManuals.com
Page 92 of 340
Headlamps on Warning
If you open the door while leaving the lamps on, you
will hear a warning chime.
Daytime Running Lamps (Option)
Daytime Running Lamps (DRL) can make it easier for
others to see the front of your vehicle during the day.
DRL can be helpful in many different driving
conditions, but they can be especially helpful in the
short periods after dawn and before sunset.
A light sensor in the instrument panel cluster makes the
DRL work, so be sure it isn’t covered.
The DRL system will make your low-beam headlamps
come on at reduced brightness when:
the ignition is on,
the headlamp switch is off, and
the parking brake is released.
When the
DRL are on, only your low-beam headlamps
will be
on. The taillamps, sidemarker and other lamps
won’t be on. Your instrument panel won’t be lit up either.
When it’s dark enough outside, your headlamps will
come on to full brightness. The other lamps that come
on with your headlamps will also come on. When
it’s bright enough outside, the regular lamps will
go off, and your low-beam headlamps will come
on at a
reduced brightness.
To idle your vehicle with the DRL off, set the parking
brake while the ignition is in the
OFF or LOCK
position. Then start the vehicle. The DRL will stay off
until you release the parking brake.
As with any vehicle, you should turn on the regular
headlamp system when
you need it.
Interior Lamps
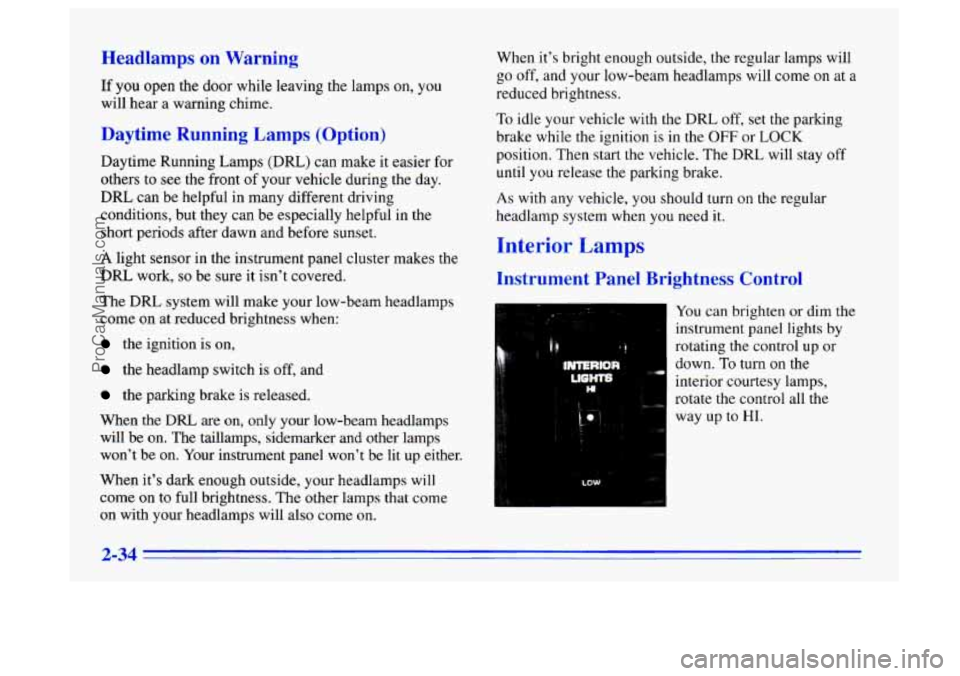
Instrument Panel Brightness Control
., . I. .
1.r
LOW
You can brighten or dim the
instrument panel lights by
rotating the control up or
down.
To turn on the
interior courtesy lamps,
rotate the control all the way
up to HI.
2-34
ProCarManuals.com
Page 95 of 340
Mirrors
Inside Daymight Rearview M ror
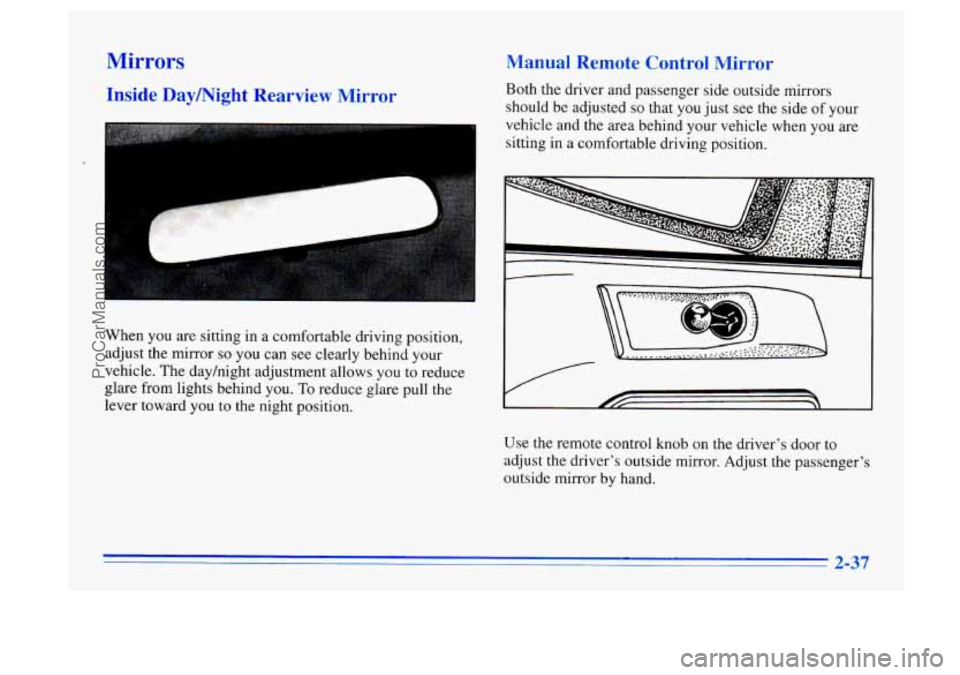
When you are sitting in a comfortable driving position,
adjust the mirror
so you can see clearly behind your
vehicle. The dayhight adjustment allows you to reduce
glare from lights behind you.
To reduce glare pull the
lever toward
you to the night position.
Manual Remote Control Mirror
Both the driver and passenger side outside mirrors
should
be adjusted so that you just see the side of your
vehicle and the area behind your vehicle when you are
sitting
in a comfortable driving position.
Use the remote control knob on the driver's door to
adjust the driver's outside mirror. Adjust the passenger's
outside mirror by hand.
2-37
ProCarManuals.com
Page 106 of 340
Speedometer and Odometer
Your speedometer lets you see your speed in both miles
per hour (mph) and kilometers per hour (kmh). Your
odometer shows how far your vehicle has been driven,
in either miles (used in the United States) or kilometers
(used in Canada).
Your Buick has a “tamper-resistant odometer.” If
you
can see very noticeable bright silver lines between the
numbers, someone has probably tried to turn it back.
The numbers may not be true.
You may wonder what happens if a vehicle has to have
a new odometer installed. If possible, the new one has
to be set
to the same reading as the old one. If it can’t
be, then it’s set at zero, and a label on the driver’s door
must show the old reading and when the new one
was installed.
Trip Odometer
The trip odometer can tell you how many miles you
have driven since
you last set it to zero. To reset it, push
the button
on the instrument cluster.
Warning Lights, Gages and Indicators
This part describes the warning lights and gages that may
be
on your vehicle. The pictures will help you locate them.
Warning lights and gages can signal that something is
wrong before it becomes serious enough to cause an
expensive repair or replacement. Paying attention
to
your warning lights and gages could also save you or
others from injury.
Warning lights come on when there may be or is a
problem with one of your vehicle’s hnctions.
As you will
see in the details
on the next few pages, some warning
lights come on briefly when you
start the engine just to let
you know they’re working. If you are familiar with this
section, you should not be alarmed when this happens.
Gages can indicate when there may be or is a problem
with one
of your vehicle’s functions. Often gages and
warning lights work together to
let you know when
there’s a problem with your vehicle.
When one of the warning lights comes on and stays on
when
you are driving, or when one of the gages shows
there may be a problem, check the section that tells you
what to do about it. Please follow this manual’s advice.
Waiting to do repairs can be costly
-- and even
dangerous.
So please get to know your warning lights
and gages. They’re a big help.
2-48
ProCarManuals.com
Page 109 of 340
A CAUTION:
--
Your brake system may not be working properly
if the brake system warning light is on. Driving
with the brake system warning light on can lead
to an accident.
If the light is still on or if the
anti-lock brake system warning light
is flashing
after you’ve pulled off the road and stopped
carefully, have the vehicle towed for service.
When the ignition is on, the brake system warning light
will also come
on when you set your parking brake. The
light will stay
on if your parking brake doesn’t release
fully.
If it stays on after your parking brake is fully
released, it means you have
a brake problem.
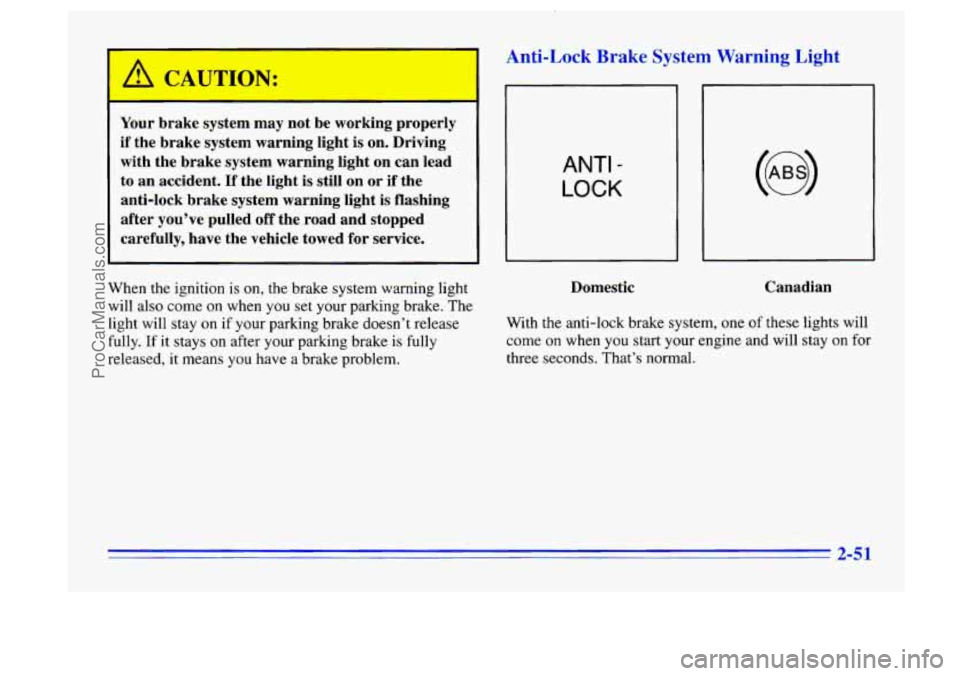
Anti-Lock Brake System Warning Light
ANTI -
LOCK
Domestic
~~
Canadian
With the anti-lock brake system, one of these lights will
come on when you start your engine and will stay
on for
three seconds. That’s normal.
2-51
ProCarManuals.com
Page 145 of 340
Uight ;ion
No one can see as well at night as in the daytime. But as
we get older these differences increase.
A 50-year-old
driver may require at least twice as much light to
see the
same thing
at night as a 20-year-old.
What
you do in the daytime can also affect your night
vision. For example, if you spend the day
in bright
sunshine
you are wise to wear sunglasses. Your eyes will
have less trouble adjusting to night. But if you’re
driving, don’t wear sunglasses at night. They may cut
down on glare from headlamps, but they also make a lot
of things invisible.
You can be temporarily blinded by approaching
headlamps. It can take a second or two, or even several
seconds, for your eyes to readjust to the dark. When
you are faced with severe glare (as from a driver who
doesn’t lower the high beams, or a vehicle with
misaimed headlamps), slow down a little. Avoid
staring directly into the approaching headlamps. Keep your windshield and all the glass
on your vehicle
clean
-- inside and out. Glare at night is made much
worse by dirt
on the glass. Even the inside of the glass
can build up a film caused by dust. Dirty glass makes
lights dazzle and flash more than clean glass would,
making the pupils
of your eyes contract repeatedly.
Remember that your headlamps light up far less
of a
roadway when
you are in a turn or curve. Keep your
eyes moving; that way, it’s easier
to pick out dimly
lighted objects. Just as your headlamps should
be
checked regularly for proper aim, so should your eyes
be examined regularly. Some drivers suffer from night
blindness
-- the inability to see in dim light -- and
aren’t even aware of it.
4-15
ProCarManuals.com
Page 266 of 340
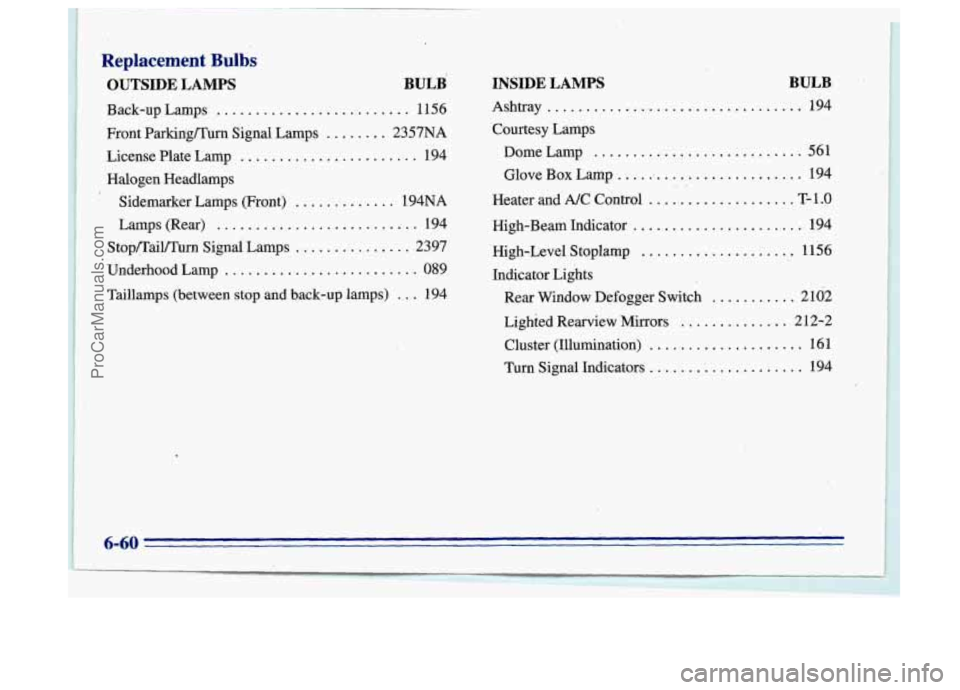
Replacement Bulbs
'OUTSIDE LAMPS BULB INSIDE LAMPS BULB
'.Back-up
Lamps . , . . . . . . . . . . . . . . . .. . . . . . . . 1156
Front ParkingEurn Signal Lamps
. . . . . . . . 2357NA Courtesy' Lamps
194 Dome Lamp
. . . . . . . . . . . . . . . . . . . . . . . . . . . 561
,License Plate Lamp . . . . . . . . , . . . . . . . . . . . . . .
Halogen Headlamps Glove
Box Lamp . . . . .<. . . . . . . . . . . . . . . . . . . 194
' Sidemarker Lamps (Front) . . . . , , . . . . . . . 194NA Heater and A/C Control . . . . .. . . . . . . . . . . . . . . T-1 .o
Ashtray ................................. 194
.. I I.
Lamps (Rear) . . . . . . . . . . , . . . . . . . . . . . . . . . 194
Stop/TaiVTurn Signai Lamps
. . . . . . . . . . . . . . . 2397
Underhood Lamp
. . . . . . . . . . . . . . . . . . . . . . . . . 089
Taillamps (between stop and back-up lamps) . . . 194
High-Beam Indicator . . . . . . . . . . . , . . . . . . . . . . 194
High-Level Stoplamp
. . . . . . . . . . . . . . . . , . . . 1156
Indicator Lights Rear Window Defogger Switch
. . . . . . . . . . . 2102
Lighted Rearview Mirrors
, . . . . . . . . . . . . . 212-2
Cluster (Illumination)
. . . . . . . . . . . . . . . . . . . . 161
Turn Signal Indicators . . . . . . . ; . . . . . . . . . . . . 194
6-60
ProCarManuals.com
Page 333 of 340
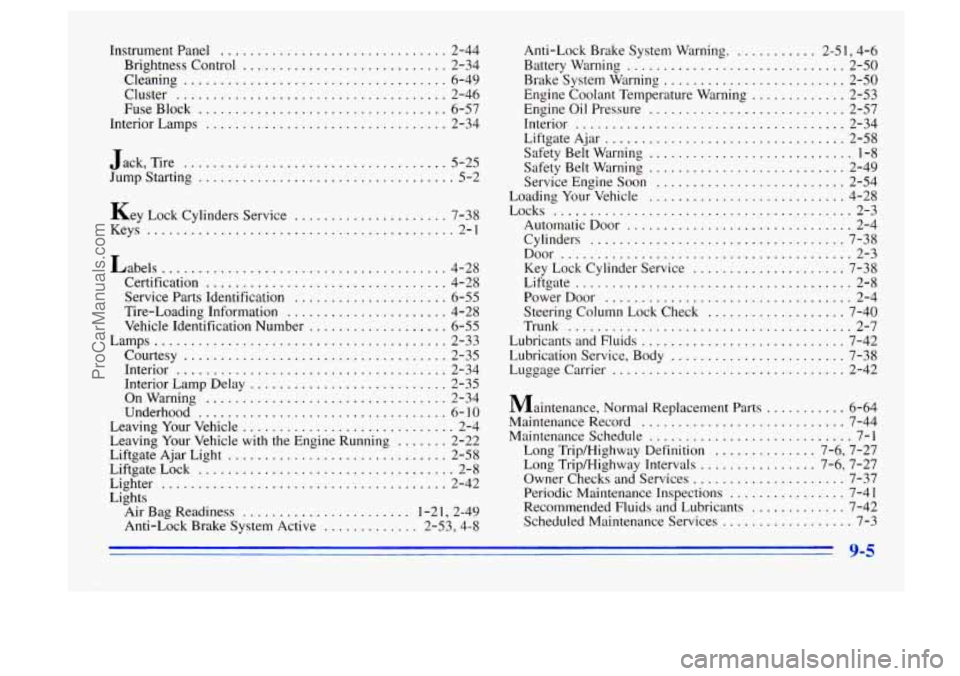
Instrument Panel ............................... 2-44
Brightness Control
............................ 2-34
Cleaning
.................................... 6-49
Cluster
..................................... 2-46
FuseBlock
.................................. 6-57
Interior Lamps
................................. 2-34
Jack. Tire
.................................... 5-25
Jump Starting
................................... 5-2
Key Lock Cylinders Service
..................... 7-38
Keys
.......................................... 2-1
Labels
....................................... 4-28
Certification
................................. 4-28
Service Parts Identification
..................... 6-55
Tire-Loading Information
...................... 4-28
Vehicle Identification Number
................... 6-55
Lamps
........................................ 2-33
Interior
..................................... 2-34
Interior Lamp Delay
........................... 2-35
Onwarning
................................. 2-34
Underhood
.................................. 6-10
Leaving Your Vehicle
............................. 2-4
Liftgate Ajar Light .............................. 2-58
LiftgateLock
................................... 2-8
Lighter
....................................... 2-42
Lights Courtesy
.................................... 2-35
Leaving Your Vehicle with the Engine Running
....... 2-22
Air Bag Readiness
....................... 1-2 1 . 2-49
Anti-Lock Brake System Active
............. 2-53. 4.8
Anti-Lock Brake System Warning ............ 2-5 1. 4-6
Engine Coolant Temperature Warning
............. 2-53
Battery Warning .............................. 2-50
Brake System Warning
......................... 2-50
Engine Oil Pressure
........................... 2-57
Interior
..................................... 2-34
Liftgate Ajar
................................. 2-58
Safety Belt Warning
............................ 1-8
Safety Belt Warning ........................... 2-49
Service Engine Soon
.......................... 2-54
Loading Your Vehicle
........................... 4-28
Locks
......................................... 2-3
Automatic Door
............................... 2-4
Cylinders
................................... 7-38
Door
........................................ 2-3
Key Lock Cylinder Service
..................... 7-38
Liftgate
...................................... 2-8
PowerDoor
.................................. 2-4
Steering Column Lock Check
................... 7-40
Trunk
....................................... 2-7
Lubricants and Fluids
............................ 7-42
Lubrication Service. Body
........................ 7-38
Luggage Carrier
................................ 2-42
Maintenance. Normal Replacement Parts ........... 6-64
Maintenance Record
............................ 7-44
Maintenance Schedule
............................ 7-1
Long Trip/Highway Definition
.............. 7-6. 7-27
Long Trip/Highway Intervals
................ 7-6. 7-27
Owner Checks and Services
..................... 7-37
Periodic Maintenance Inspections
................ 7-41
Recommended Fluids and Lubricants
............. 7-42
Scheduled Maintenance Services
.................. 7-3
. 9-5
ProCarManuals.com