low oil pressure BUICK CENTURY 2003 Owner's Manual
[x] Cancel search | Manufacturer: BUICK, Model Year: 2003, Model line: CENTURY, Model: BUICK CENTURY 2003Pages: 344, PDF Size: 2.57 MB
Page 107 of 344
Instrument Panel Overview...............................3-2
Hazard Warning Flashers................................3-3
Other Warning Devices...................................3-4
Horn.............................................................3-4
Tilt Wheel.....................................................3-4
Turn Signal/Multifunction Lever.........................3-5
Exterior Lamps.............................................3-11
Interior Lamps..............................................3-14
Auxiliary Power Connection
(Power Drop)............................................3-16
Ashtrays and Cigarette Lighter........................3-16
Climate Controls............................................3-17
Dual Climate Control System..........................3-17
Outlet Adjustment.........................................3-20
Passenger Compartment Air Filter...................3-20
Warning Lights, Gages and Indicators.............3-22
Instrument Panel Cluster................................3-23
Speedometer and Odometer...........................3-24
Safety Belt Reminder Light.............................3-24
Air Bag Readiness Light................................3-25
Charging System Light..................................3-26
Brake System Warning Light..........................3-27
Anti-Lock Brake System Warning Light.............3-28
Enhanced Traction System Warning Light.........3-28
Low Traction Light........................................3-29Engine Coolant Temperature Warning Light......3-29
Engine Coolant Temperature Gage..................3-30
Tire Pressure Light.......................................3-30
Malfunction Indicator Lamp.............................3-31
Oil Pressure Light.........................................3-34
Low Oil Level Light.......................................3-35
Change Engine Oil Light................................3-35
Security Light...............................................3-36
Cruise Control Light......................................3-36
Low Washer Fluid Warning Light.....................3-36
Door/Trunk Ajar Warning Light........................3-36
Service Vehicle Soon Light............................3-37
Fuel Gage...................................................3-37
Low Fuel Warning Light.................................3-38
Audio System(s).............................................3-39
Setting the Time...........................................3-39
AM-FM Radio...............................................3-40
Radio with Cassette and CD..........................3-42
Theft-Deterrent Feature..................................3-48
Audio Steering Wheel Controls.......................3-50
Understanding Radio Reception......................3-50
Care of Your Cassette Tape Player.................3-51
Care of Your CDs.........................................3-52
Care of Your CD Player................................3-52
Fixed Mast Antenna......................................3-52
Section 3 Instrument Panel
3-1
Page 140 of 344
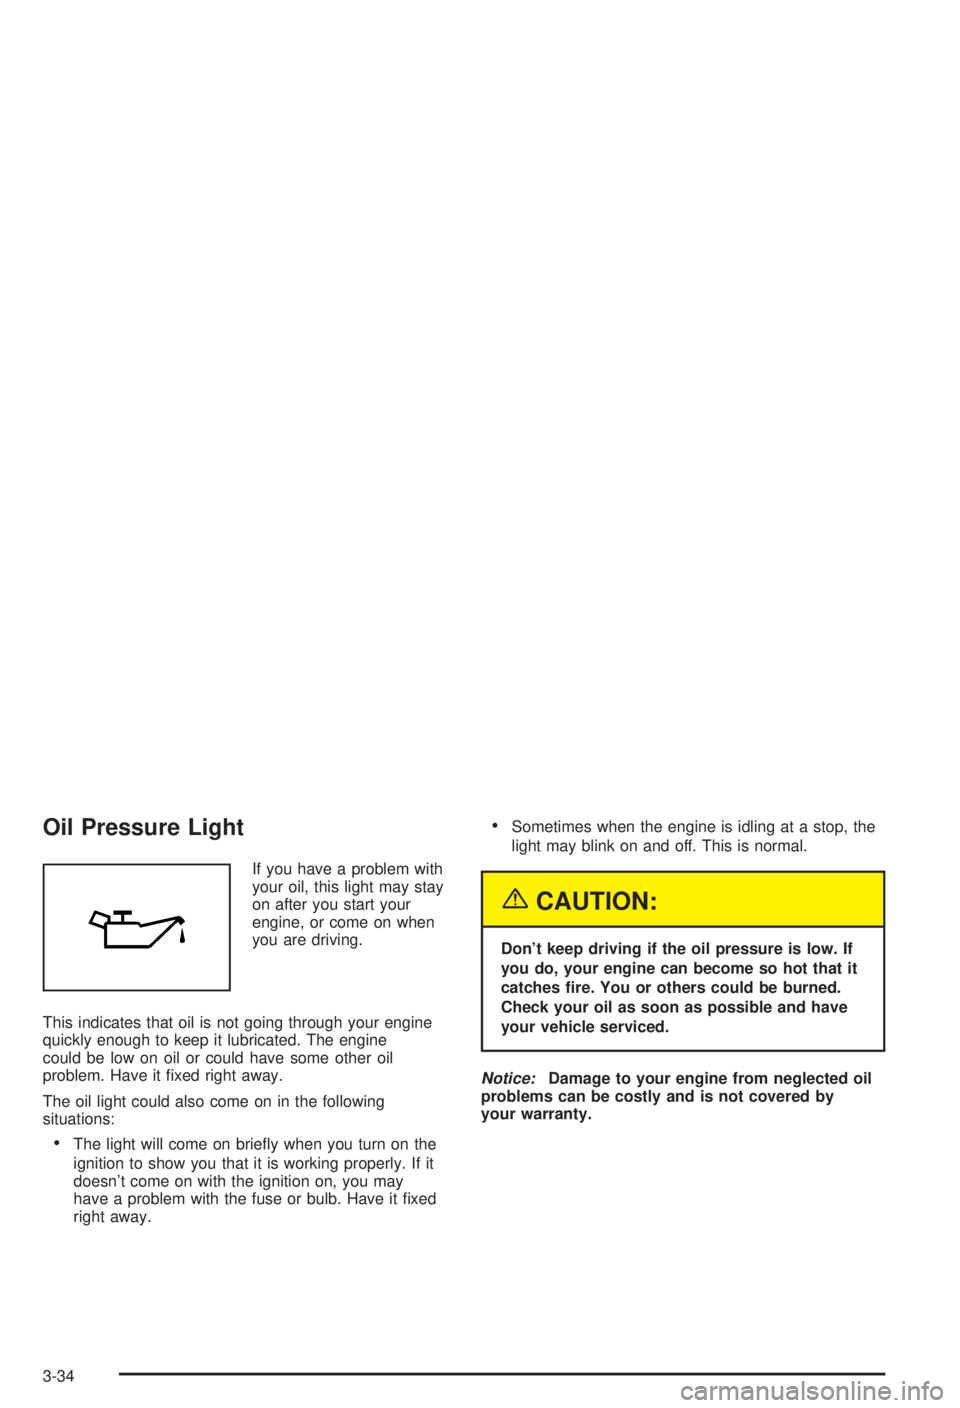
Oil Pressure Light
If you have a problem with
your oil, this light may stay
on after you start your
engine, or come on when
you are driving.
This indicates that oil is not going through your engine
quickly enough to keep it lubricated. The engine
could be low on oil or could have some other oil
problem. Have it ®xed right away.
The oil light could also come on in the following
situations:
·The light will come on brie¯y when you turn on the
ignition to show you that it is working properly. If it
doesn't come on with the ignition on, you may
have a problem with the fuse or bulb. Have it ®xed
right away.
·Sometimes when the engine is idling at a stop, the
light may blink on and off. This is normal.
{CAUTION:
Don't keep driving if the oil pressure is low. If
you do, your engine can become so hot that it
catches ®re. You or others could be burned.
Check your oil as soon as possible and have
your vehicle serviced.
Notice:Damage to your engine from neglected oil
problems can be costly and is not covered by
your warranty.
3-34
Page 181 of 344
Once you are moving on the freeway, make certain you
allow a reasonable following distance.
Expect to move slightly slower at night.
When you want to leave the freeway, move to the
proper lane well in advance. If you miss your exit, do
not, under any circumstances, stop and back up. Drive
on to the next exit.
The exit ramp can be curved, sometimes quite sharply.
The exit speed is usually posted. Reduce your speed
according to your speedometer, not to your sense
of motion. After driving for any distance at higher
speeds, you may tend to think you are going slower
than you actually are.
Before Leaving on a Long Trip
Make sure you're ready. Try to be well rested. If you
must start when you're not fresh Ð such as after a day's
work Ð don't plan to make too many miles that ®rst
part of the journey. Wear comfortable clothing and shoes
you can easily drive in.
Is your vehicle ready for a long trip? If you keep it
serviced and maintained, it's ready to go. If it needs
service, have it done before starting out. Of course,
you'll ®nd experienced and able service experts in GM
dealerships all across North America. They'll be
ready and willing to help if you need it.Here are some things you can check before a trip:
·Windshield Washer Fluid:Is the reservoir full? Are
all windows clean inside and outside?
·Wiper Blades:Are they in good shape?
·Fuel, Engine Oil, Other Fluids:Have you checked
all levels?
·Lamps:Are they all working? Are the lenses clean?
·Tires:They are vitally important to a safe,
trouble-free trip. Is the tread good enough for
long-distance driving? Are the tires all in¯ated to the
recommended pressure?
·Weather Forecasts:What's the weather outlook
along your route? Should you delay your trip a
short time to avoid a major storm system?
·Maps:Do you have up-to-date maps?
4-23
Page 213 of 344
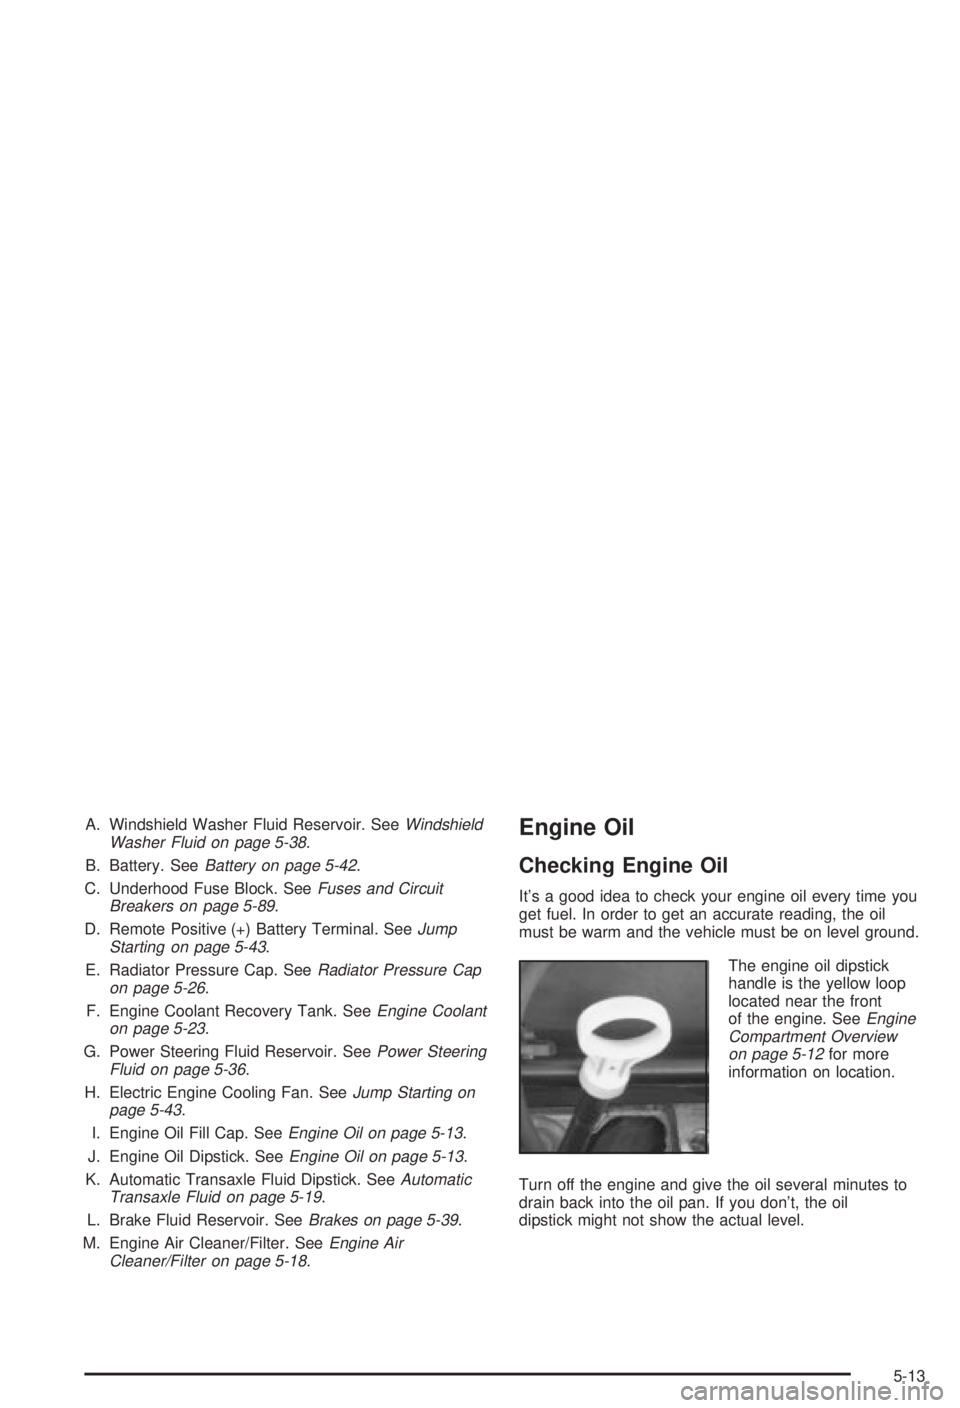
A. Windshield Washer Fluid Reservoir. SeeWindshield
Washer Fluid on page 5-38.
B. Battery. See
Battery on page 5-42.
C. Underhood Fuse Block. See
Fuses and Circuit
Breakers on page 5-89.
D. Remote Positive (+) Battery Terminal. See
Jump
Starting on page 5-43.
E. Radiator Pressure Cap. See
Radiator Pressure Cap
on page 5-26.
F. Engine Coolant Recovery Tank. See
Engine Coolant
on page 5-23.
G. Power Steering Fluid Reservoir. See
Power Steering
Fluid on page 5-36.
H. Electric Engine Cooling Fan. See
Jump Starting on
page 5-43.
I. Engine Oil Fill Cap. See
Engine Oil on page 5-13.
J. Engine Oil Dipstick. See
Engine Oil on page 5-13.
K. Automatic Transaxle Fluid Dipstick. See
Automatic
Transaxle Fluid on page 5-19.
L. Brake Fluid Reservoir. See
Brakes on page 5-39.
M. Engine Air Cleaner/Filter. See
Engine Air
Cleaner/Filter on page 5-18.
Engine Oil
Checking Engine Oil
It's a good idea to check your engine oil every time you
get fuel. In order to get an accurate reading, the oil
must be warm and the vehicle must be on level ground.
The engine oil dipstick
handle is the yellow loop
located near the front
of the engine. See
Engine
Compartment Overview
on page 5-12
for more
information on location.
Turn off the engine and give the oil several minutes to
drain back into the oil pan. If you don't, the oil
dipstick might not show the actual level.
5-13
Page 226 of 344
Radiator Pressure Cap
Notice:Your radiator cap is a pressure-type cap
and must be tightly installed to prevent coolant loss
and possible engine damage from overheating.
Be sure the arrows on the cap line up with the
over¯ow tube on the radiator ®ller neck.
The radiator pressure cap is located near the front of
the engine compartment on the passenger's side of the
vehicle. See
Engine Compartment Overview on
page 5-12for more information on location.
Engine Overheating
You will ®nd a coolant temperature gage and a hot
engine warning light on your instrument panel.
See
Engine Coolant Temperature Gage on page 3-30andEngine Coolant Temperature Warning Light on
page 3-29.
Overheated Engine Protection
Operating Mode
The emergency engine protection operating mode
allows your vehicle to be driven to a safe place in an
emergency situation. If an overheated engine condition
exists, this protection mode alternates ®ring groups
of cylinders to help prevent engine damage. In
this mode, you will notice a signi®cant loss in power and
engine performance. The engine coolant temperature
gage indicator will move to the red area, showing that an
overheated engine condition exists. Driving extended
miles (km) and/or towing a trailer in the overheated
protection mode should be avoided.
Notice:After driving in the overheated engine
protection operating mode, to avoid engine damage,
allow the engine to cool before attempting any repair.
The engine oil will be severely degraded. Repair the
cause of coolant loss, change the oil and reset the oil
life system. See ªEngine Oilº in the Index.
5-26
Page 336 of 344
LATCH System (cont.)
Securing a Child Restraint Designed for the
LATCH System........................................1-45
Leaving Your Vehicle With the Engine Running . . . 2-28
Leaving Your Vehicle.......................................2-12
Lighted Visor Vanity Mirrors..............................2-16
Light.............................................................3-25
Air Bag Readiness.......................................3-25
Anti-Lock Brake System Warning...................3-28
Brake System Warning.................................3-27
Change Engine Oil......................................3-35
Charging System.........................................3-26
Cruise Control.............................................3-36
Door/Trunk Ajar Warning...............................3-36
Engine Coolant Temperature Warning.............3-29
Enhanced Traction System (ETS) Warning
Light......................................................3-28
Low Fuel Warning.......................................3-38
Low Oil Level.............................................3-35
Low Traction...............................................3-29
Low Washer Fluid Warning...........................3-36
Malfunction Indicator....................................3-31
Oil Pressure...............................................3-34
Safety Belt Reminder...................................3-24
Security.....................................................3-36
Service Vehicle Soon...................................3-37
Tire Pressure..............................................3-30
Loading Your Vehicle.......................................4-33
Lockout Protection..........................................2-12
Locks............................................................2-10Door..........................................................2-10
Leaving Your Vehicle....................................2-12
Lockout Protection.......................................2-12
Power Door................................................2-11
Programmable Automatic Door Locks.............2-11
Loss of Control...............................................4-15
Low Fuel Warning Light...................................3-38
Low Traction Light..........................................3-29
Low Washer Fluid Warning Light.......................3-36
M
Maintenance, Normal Replacement Parts............5-95
Maintenance Schedule.....................................6-10
At Each Fuel Fill.........................................6-10
At Least Once a Month................................6-10
At Least Once a Year..................................6-11
At Least Twice a Year..................................6-11
Brake System Inspection..............................6-15
Engine Cooling System Inspection.................6-14
Exhaust System Inspection...........................6-14
Fuel System Inspection................................6-14
How This Section is Organized....................... 6-3
Introduction.................................................. 6-2
Maintenance Requirements............................. 6-2
Part A - Scheduled Maintenance Services......... 6-4
Part B - Owner Checks and Services.............6-10
Part C - Periodic MaintenanceInspections......6-14
Part D - Recommended Fluids and Lubricants . . . 6-16
8
Page 337 of 344
Maintenance Schedule (cont.)
Part E - Maintenance Record........................6-17
Scheduled Maintenance................................. 6-5
Steering, Suspension and Front Drive Axle
Boot and Seal Inspection..........................6-14
Throttle System Inspection............................6-15
Using Your................................................... 6-4
Your Vehicle and the Environment................... 6-2
Maintenance When Trailer Towing.....................4-41
Making Turns.................................................4-39
Malfunction Indicator Light................................3-31
Manual Operation...........................................3-17
Manual Seats................................................... 1-2
Matching Transmitter(s) to Your Vehicle............... 2-8
Mexico, Central America and Caribbean Islands/
Countries (Except Puerto Rico and U.S. Virgin
Islands) ± Customer Assistance........................ 7-5
Mirrors..........................................................2-32
Manual Rearview Mirror with OnStar
ž.............2-32
Manual Rearview Mirror................................2-32
Outside Convex Mirror.................................2-33
Outside Power Mirrors..................................2-33
MyGMLink.com................................................ 7-4
N
New Vehicle Break-In......................................2-19
Normal Maintenance Replacement Parts............5-95
O
Odometer......................................................3-24
Off-Road Recovery..........................................4-13
Oil ................................................................3-35
Change Engine Oil Light...............................3-35
Engine.......................................................5-13
Low Oil Level Light......................................3-35
Pressure Light.............................................3-34
Older Children, Restraints................................1-30
Online Owner Center........................................ 7-4
OnStar
žPersonal Calling.................................2-35
OnStaržServices............................................2-34
OnStaržSystem.............................................2-34
OnStaržVirtual Advisor....................................2-35
Operation Tips................................................3-20
9