mirror BUICK CENTURY 2003 Owner's Manual
[x] Cancel search | Manufacturer: BUICK, Model Year: 2003, Model line: CENTURY, Model: BUICK CENTURY 2003Pages: 344, PDF Size: 2.57 MB
Page 1 of 344
Seats and Restraint Systems........................... 1-1
Front Seats
............................................... 1-2
Rear Seats
............................................... 1-6
Safety Belts
.............................................. 1-7
Child Restraints
.......................................1-30
Air Bag Systems
......................................1-53
Restraint System Check
............................1-63
Features and Controls..................................... 2-1
Keys
........................................................ 2-2
Doors and Locks
......................................2-10
Windows
.................................................2-15
Theft-Deterrent Systems
............................2-17
Starting and Operating Your Vehicle
...........2-19
Mirrors
....................................................2-32
OnStar
žSystem
......................................2-34
Storage Areas
.........................................2-35
Instrument Panel............................................. 3-1
Instrument Panel Overview
.......................... 3-2
Climate Controls
......................................3-17
Warning Lights, Gages and Indicators
.........3-22
Audio System(s)
.......................................3-39Driving Your Vehicle....................................... 4-1
Your Driving, the Road, and Your Vehicle
..... 4-2
Towing
...................................................4-32
Service and Appearance Care.......................... 5-1
Service
..................................................... 5-3
Fuel
......................................................... 5-5
Checking Things Under the Hood
...............5-10
Headlamp Aiming
.....................................5-49
Bulb Replacement
....................................5-51
Windshield Wiper Blade Replacement
.........5-56
Tires
......................................................5-57
Appearance Care
.....................................5-79
Vehicle Identi®cation
.................................5-87
Electrical System
......................................5-88
Capacities and Speci®cations
.....................5-94
Normal Maintenance Replacement Parts
......5-95
Maintenance Schedule..................................... 6-1
Maintenance Schedule
................................ 6-2
Customer Assistance Information.................... 7-1
Customer Assistance Information
.................. 7-2
Reporting Safety Defects
...........................7-10
Index................................................................ 1
2003 Buick Century Owner ManualM
Page 71 of 344
Keys...............................................................2-2
Remote Keyless Entry System.........................2-4
Remote Keyless Entry System Operation...........2-5
Doors and Locks............................................2-10
Door Locks..................................................2-10
Power Door Locks........................................2-11
Programmable Automatic Door Locks..............2-11
Lockout Protection........................................2-12
Leaving Your Vehicle....................................2-12
Trunk..........................................................2-13
Windows........................................................2-15
Power Windows............................................2-16
Sun Visors...................................................2-16
Theft-Deterrent Systems..................................2-17
PASS-Key
žII ...............................................2-17
Starting and Operating Your Vehicle................2-19
New Vehicle Break-In....................................2-19
Ignition Positions..........................................2-19Starting Your Engine.....................................2-20
Engine Coolant Heater..................................2-21
Automatic Transaxle Operation.......................2-23
Parking Brake..............................................2-26
Shifting Into Park (P).....................................2-26
Shifting Out of Park (P).................................2-29
Parking Over Things That Burn.......................2-29
Engine Exhaust............................................2-30
Running Your Engine While You Are Parked. . . .2-31
Mirrors...........................................................2-32
Manual Rearview Mirror.................................2-32
Manual Rearview Mirror with OnStar
ž..............2-32
Outside Power Mirrors...................................2-33
Outside Convex Mirror...................................2-33
OnStar
žSystem.............................................2-34
Storage Areas................................................2-35
Glove Box...................................................2-35
Convenience Net..........................................2-35
Section 2 Features and Controls
2-1
Page 86 of 344
Power Windows
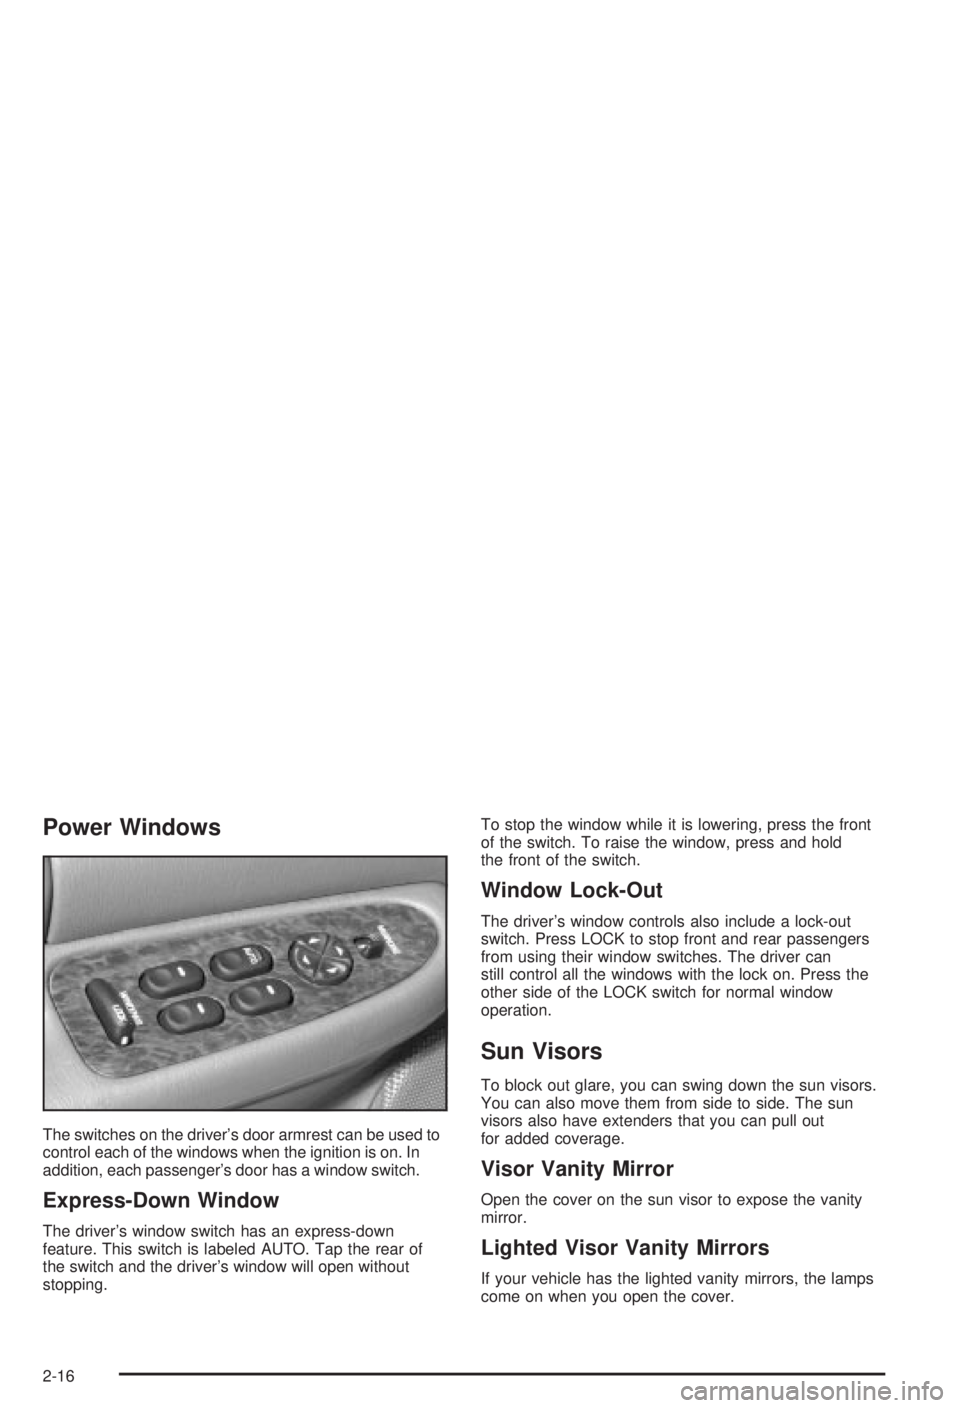
The switches on the driver's door armrest can be used to
control each of the windows when the ignition is on. In
addition, each passenger's door has a window switch.
Express-Down Window
The driver's window switch has an express-down
feature. This switch is labeled AUTO. Tap the rear of
the switch and the driver's window will open without
stopping.To stop the window while it is lowering, press the front
of the switch. To raise the window, press and hold
the front of the switch.
Window Lock-Out
The driver's window controls also include a lock-out
switch. Press LOCK to stop front and rear passengers
from using their window switches. The driver can
still control all the windows with the lock on. Press the
other side of the LOCK switch for normal window
operation.
Sun Visors
To block out glare, you can swing down the sun visors.
You can also move them from side to side. The sun
visors also have extenders that you can pull out
for added coverage.
Visor Vanity Mirror
Open the cover on the sun visor to expose the vanity
mirror.
Lighted Visor Vanity Mirrors
If your vehicle has the lighted vanity mirrors, the lamps
come on when you open the cover.
2-16
Page 102 of 344
Mirrors
Manual Rearview Mirror
Adjust all the mirrors so you can see clearly when you
are sitting in a comfortable driving position.
To reduce glare from lamps behind you, pull the lever at
the bottom of the mirror toward you, to the night
position. To return the mirror to the day position, push
the lever away from you.
Manual Rearview Mirror with
OnStar
ž
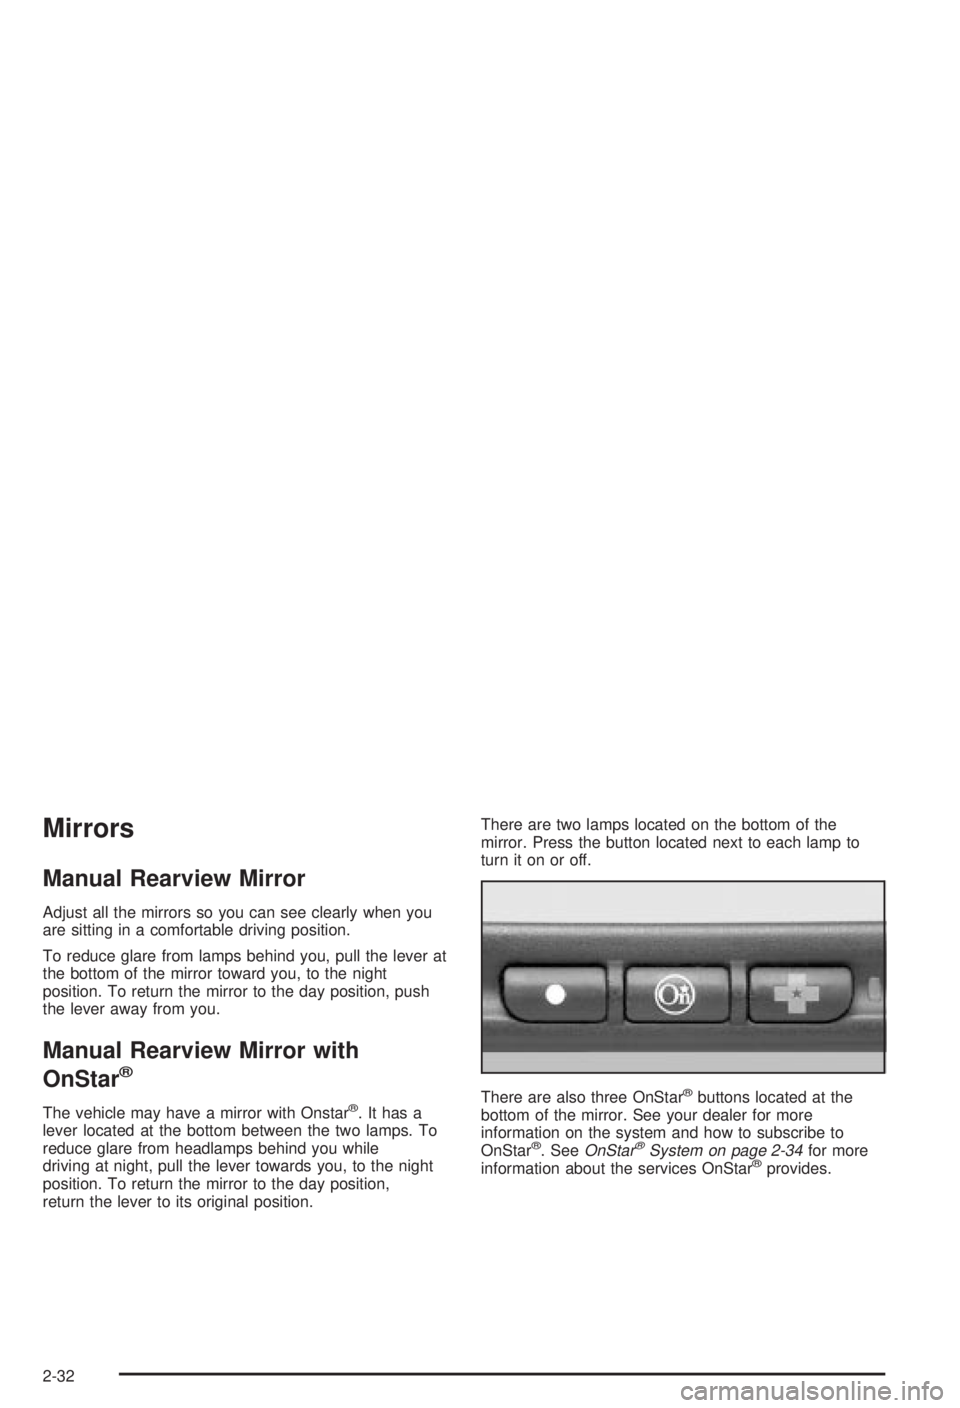
The vehicle may have a mirror with Onstarž. It has a
lever located at the bottom between the two lamps. To
reduce glare from headlamps behind you while
driving at night, pull the lever towards you, to the night
position. To return the mirror to the day position,
return the lever to its original position.There are two lamps located on the bottom of the
mirror. Press the button located next to each lamp to
turn it on or off.
There are also three OnStar
žbuttons located at the
bottom of the mirror. See your dealer for more
information on the system and how to subscribe to
OnStar
ž. SeeOnStaržSystem on page 2-34for more
information about the services OnStaržprovides.
2-32
Page 103 of 344
Outside Power Mirrors
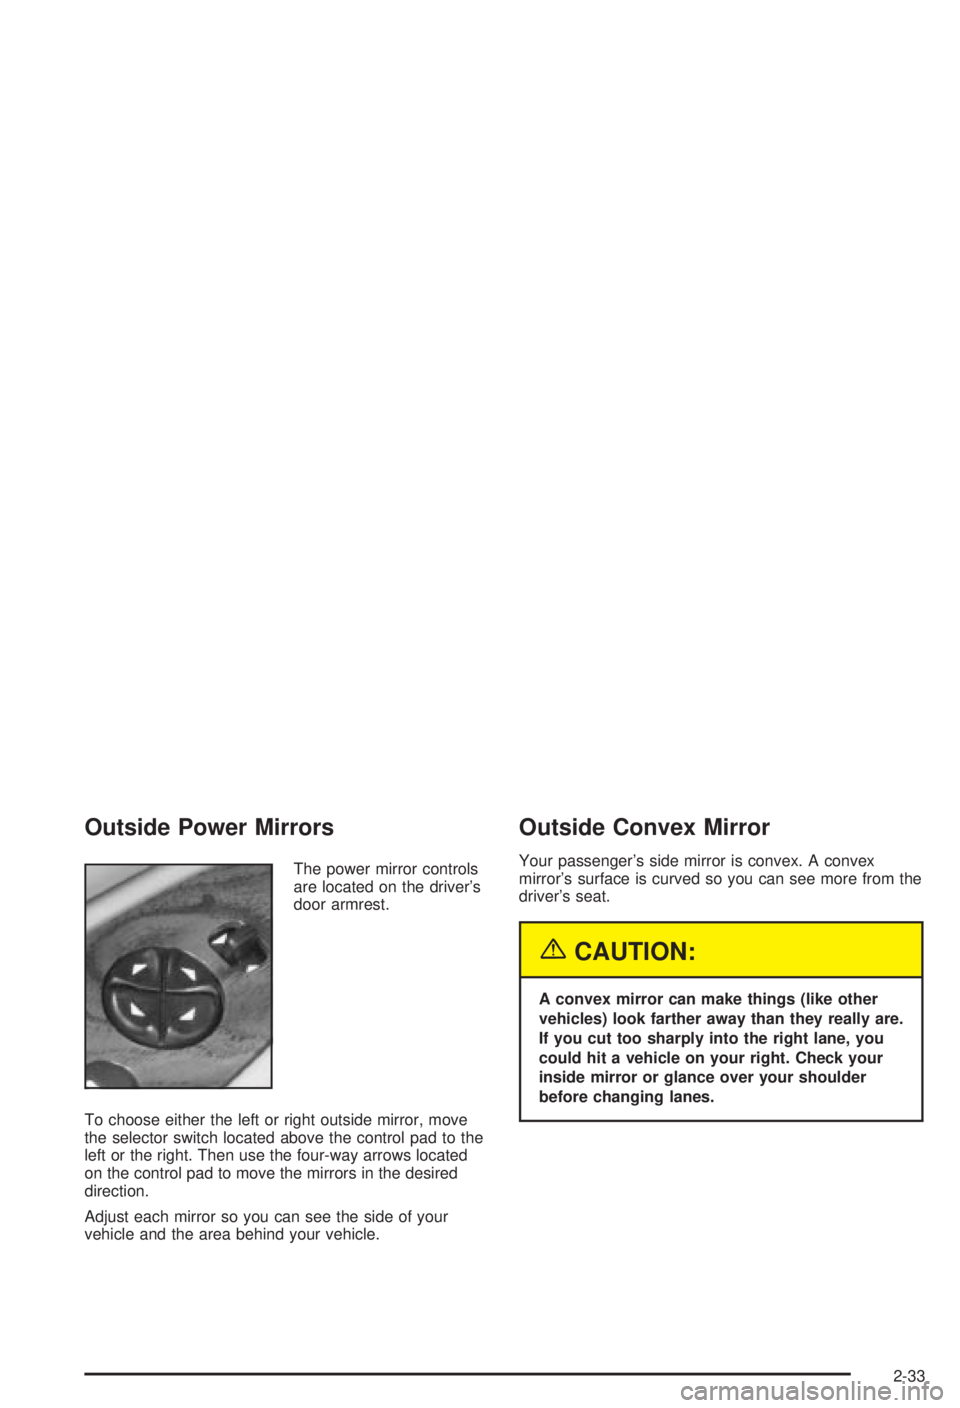
The power mirror controls
are located on the driver's
door armrest.
To choose either the left or right outside mirror, move
the selector switch located above the control pad to the
left or the right. Then use the four-way arrows located
on the control pad to move the mirrors in the desired
direction.
Adjust each mirror so you can see the side of your
vehicle and the area behind your vehicle.
Outside Convex Mirror
Your passenger's side mirror is convex. A convex
mirror's surface is curved so you can see more from the
driver's seat.
{CAUTION:
A convex mirror can make things (like other
vehicles) look farther away than they really are.
If you cut too sharply into the right lane, you
could hit a vehicle on your right. Check your
inside mirror or glance over your shoulder
before changing lanes.
2-33
Page 121 of 344
Delayed Exit Lighting
This feature illuminates the interior for a period of time
after the ignition key is removed from the ignition.
The ignition must be off for delayed exit lighting to work.
When the ignition key is removed, interior illumination
will activate and remain on until one of the following
occurs:
·The ignition is in RUN, or
·the power door locks are activated, or
·an illumination period of 25 seconds has elapsed.
If during the illumination period a door is opened,
the timed illumination period will be canceled and the
interior lamps will remain on.
Reading Lamps
The reading lamps are located on the underside of the
rearview mirror.
Press the button next to each lamp to turn it on and off.
Dome Lamp
The dome lamp will come on when you open a door.
Battery Rundown Protection
The vehicle has a feature to help prevent draining the
battery in case the interior courtesy lamps, reading
lamps, visor vanity lamps, trunk lamp, underhood lamp
or glove box lamps are left on when the ignition is in
OFF. If any of these lamps are left on, they will
automatically turn off after 20 minutes. The lamps won't
come back on again until you do one of the following:
·Turn the ignition on,
·turn the exterior lamps control off, then on, or
·open a door.
If your vehicle has less than 15 miles (25 km) on the
odometer, the battery saver will turn off the lamps after
only three minutes.
3-15
Page 173 of 344
·Check your mirrors, glance over your shoulder, and
start your left lane change signal before moving out
of the right lane to pass. When you are far enough
ahead of the passed vehicle to see its front in your
inside mirror, activate your right lane change signal
and move back into the right lane. (Remember that
your right outside mirror is convex. The vehicle you
just passed may seem to be farther away from you
than it really is.)
·Try not to pass more than one vehicle at a time on
two-lane roads. Reconsider before passing the next
vehicle.
·Don't overtake a slowly moving vehicle too rapidly.
Even though the brake lamps are not ¯ashing, it may
be slowing down or starting to turn.
·If you're being passed, make it easy for the following
driver to get ahead of you. Perhaps you can ease a
little to the right.
Loss of Control
Let's review what driving experts say about what happens
when the three control systems (brakes, steering and
acceleration) don't have enough friction where the tires
meet the road to do what the driver has asked.
In any emergency, don't give up. Keep trying to steer and
constantly seek an escape route or area of less danger.
Skidding
In a skid, a driver can lose control of the vehicle.
Defensive drivers avoid most skids by taking reasonable
care suited to existing conditions, and by not
ªoverdrivingº those conditions. But skids are always
possible.
The three types of skids correspond to your vehicle's
three control systems. In the braking skid, your wheels
aren't rolling. In the steering or cornering skid, too much
speed or steering in a curve causes tires to slip and lose
cornering force. And in the acceleration skid, too much
throttle causes the driving wheels to spin.
A cornering skid and an acceleration skid are best
handled by easing your foot off the accelerator pedal.
If your vehicle starts to slide, ease your foot off the
accelerator pedal and quickly steer the way you want
the vehicle to go. If you start steering quickly enough,
your vehicle may straighten out. Always be ready
for a second skid if it occurs.
4-15
Page 174 of 344
Of course, traction is reduced when water, snow, ice,
gravel or other material is on the road. For safety, you'll
want to slow down and adjust your driving to these
conditions. It is important to slow down on slippery
surfaces because stopping distance will be longer and
vehicle control more limited.
While driving on a surface with reduced traction, try
your best to avoid sudden steering, acceleration
or braking (including engine braking by shifting to a
lower gear). Any sudden changes could cause the tires
to slide. You may not realize the surface is slippery
until your vehicle is skidding. Learn to recognize warning
clues Ð such as enough water, ice or packed snow
on the road to make a ªmirrored surfaceº Ð and slow
down when you have any doubt.
If you have the anti-lock braking system, remember:
It helps avoid only the braking skid. If you do not have
anti-lock, then in a braking skid (where the wheels
are no longer rolling), release enough pressure on the
brakes to get the wheels rolling again. This restores
steering control. Push the brake pedal down steadily
when you have to stop suddenly. As long as the wheels
are rolling, you will have steering control.Driving at Night
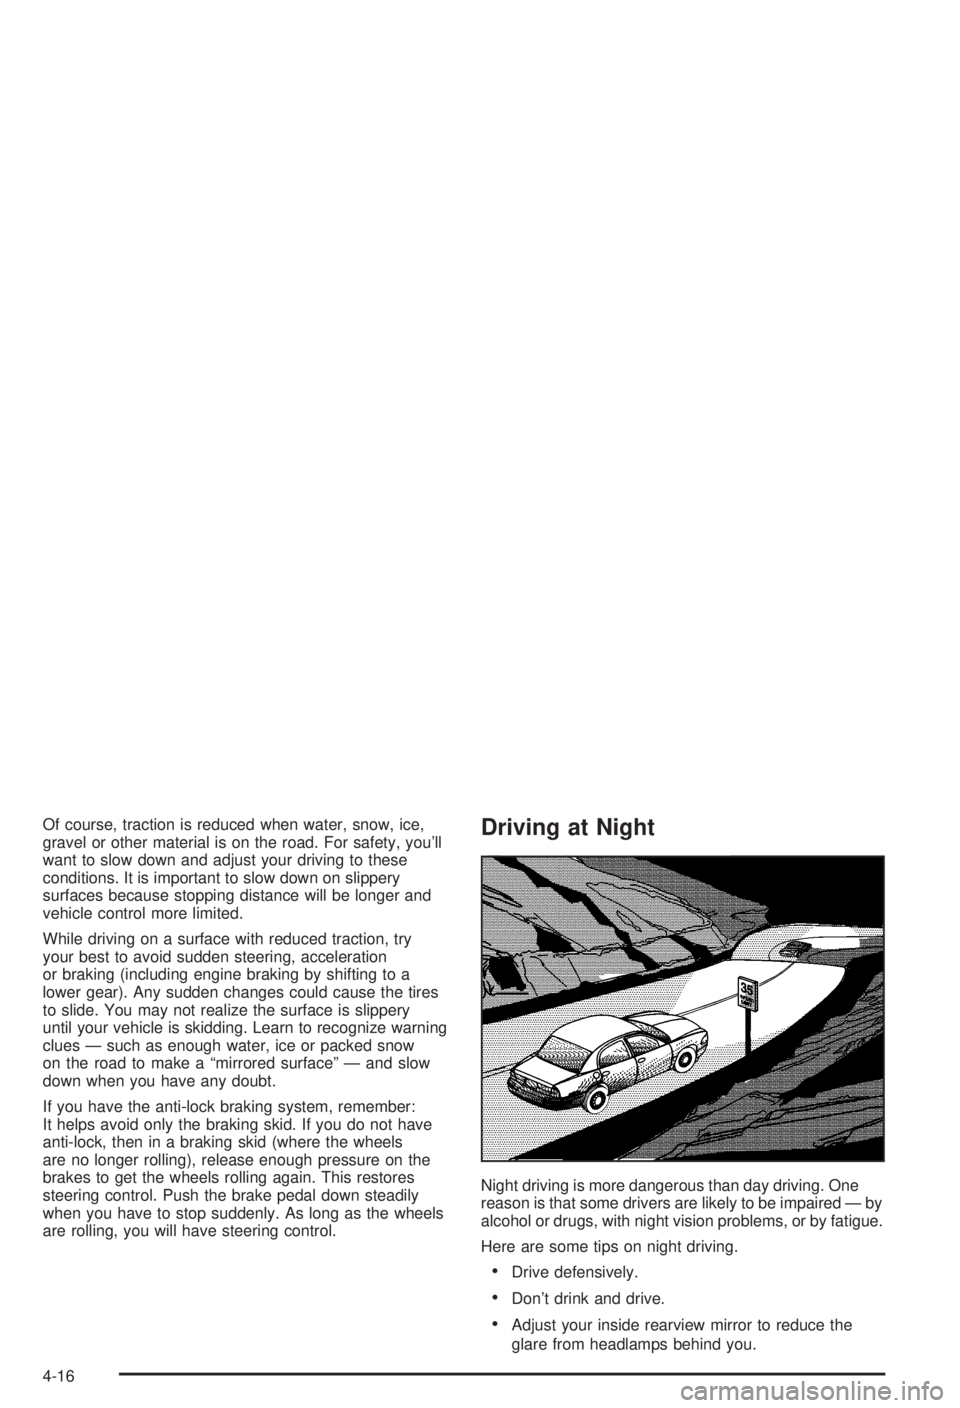
Night driving is more dangerous than day driving. One
reason is that some drivers are likely to be impaired Ð by
alcohol or drugs, with night vision problems, or by fatigue.
Here are some tips on night driving.
·Drive defensively.
·Don't drink and drive.
·Adjust your inside rearview mirror to reduce the
glare from headlamps behind you.
4-16
Page 180 of 344
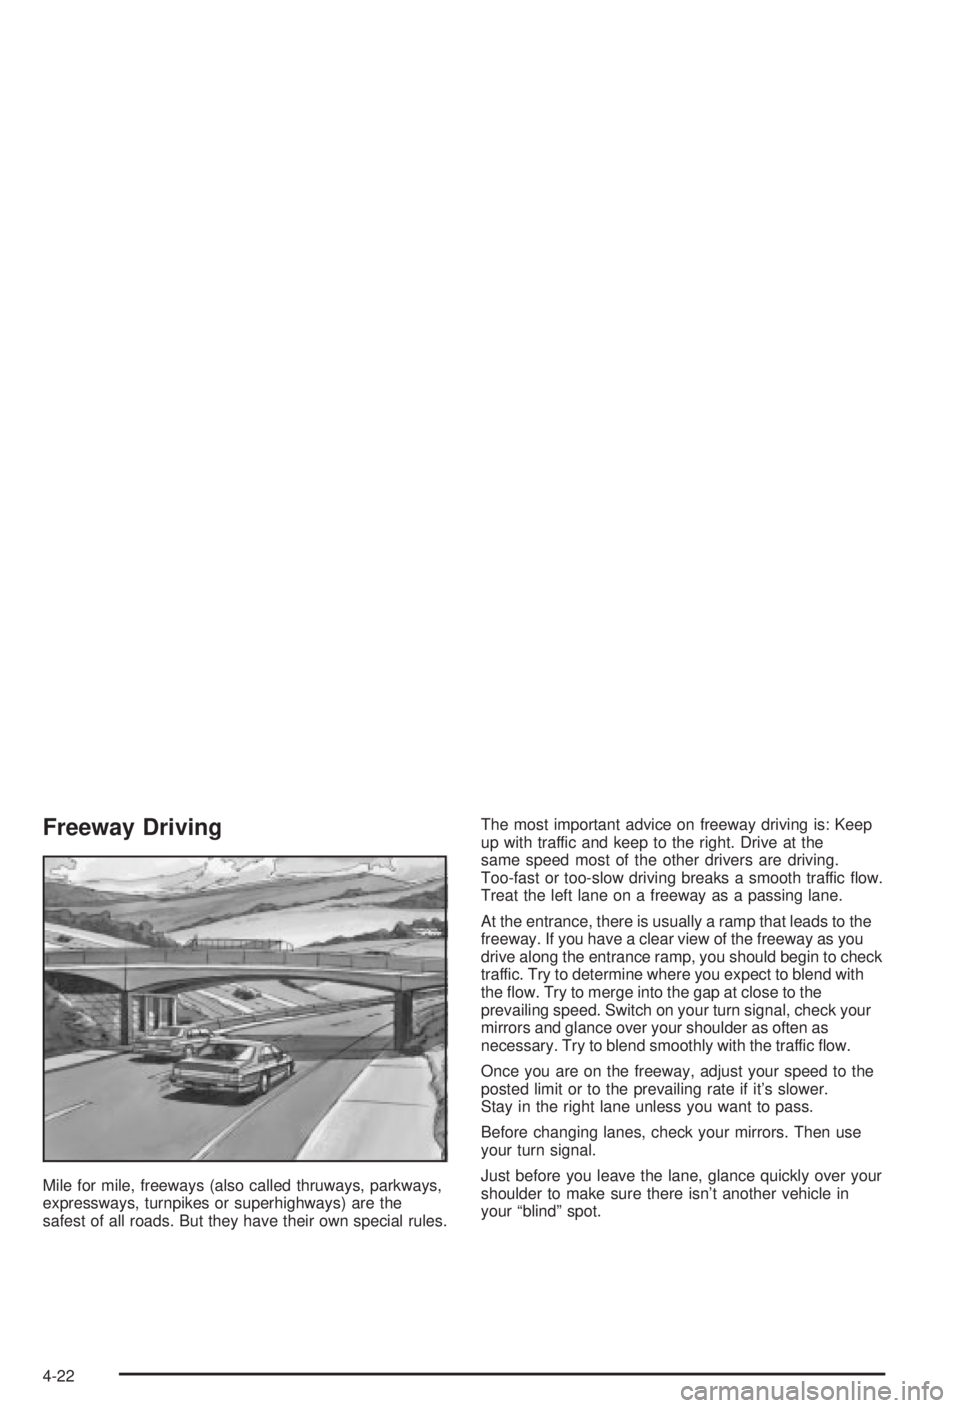
Freeway Driving
Mile for mile, freeways (also called thruways, parkways,
expressways, turnpikes or superhighways) are the
safest of all roads. But they have their own special rules.The most important advice on freeway driving is: Keep
up with traffic and keep to the right. Drive at the
same speed most of the other drivers are driving.
Too-fast or too-slow driving breaks a smooth traffic ¯ow.
Treat the left lane on a freeway as a passing lane.
At the entrance, there is usually a ramp that leads to the
freeway. If you have a clear view of the freeway as you
drive along the entrance ramp, you should begin to check
traffic. Try to determine where you expect to blend with
the ¯ow. Try to merge into the gap at close to the
prevailing speed. Switch on your turn signal, check your
mirrors and glance over your shoulder as often as
necessary. Try to blend smoothly with the traffic ¯ow.
Once you are on the freeway, adjust your speed to the
posted limit or to the prevailing rate if it's slower.
Stay in the right lane unless you want to pass.
Before changing lanes, check your mirrors. Then use
your turn signal.
Just before you leave the lane, glance quickly over your
shoulder to make sure there isn't another vehicle in
your ªblindº spot.
4-22
Page 182 of 344
Highway Hypnosis
Is there actually such a condition as ªhighway hypnosisº?
Or is it just plain falling asleep at the wheel? Call it
highway hypnosis, lack of awareness, or whatever.
There is something about an easy stretch of road with
the same scenery, along with the hum of the tires on the
road, the drone of the engine, and the rush of the
wind against the vehicle that can make you sleepy. Don't
let it happen to you! If it does, your vehicle can leave
the road in
less than a second,and you could crash and
be injured.
What can you do about highway hypnosis?
First, be aware that it can happen.
Then here are some tips:
·Make sure your vehicle is well ventilated,
with a comfortably cool interior.
·Keep your eyes moving. Scan the road ahead and
to the sides. Check your rearview mirrors and your
instruments frequently.
·If you get sleepy, pull off the road into a rest,
service or parking area and take a nap, get some
exercise, or both. For safety, treat drowsiness
on the highway as an emergency.
Hill and Mountain Roads
Driving on steep hills or mountains is different from
driving in ¯at or rolling terrain.
4-24