display BUICK CENTURY 2004 Get To Know Guide
[x] Cancel search | Manufacturer: BUICK, Model Year: 2004, Model line: CENTURY, Model: BUICK CENTURY 2004Pages: 12, PDF Size: 0.32 MB
Page 7 of 12

7
Audio System
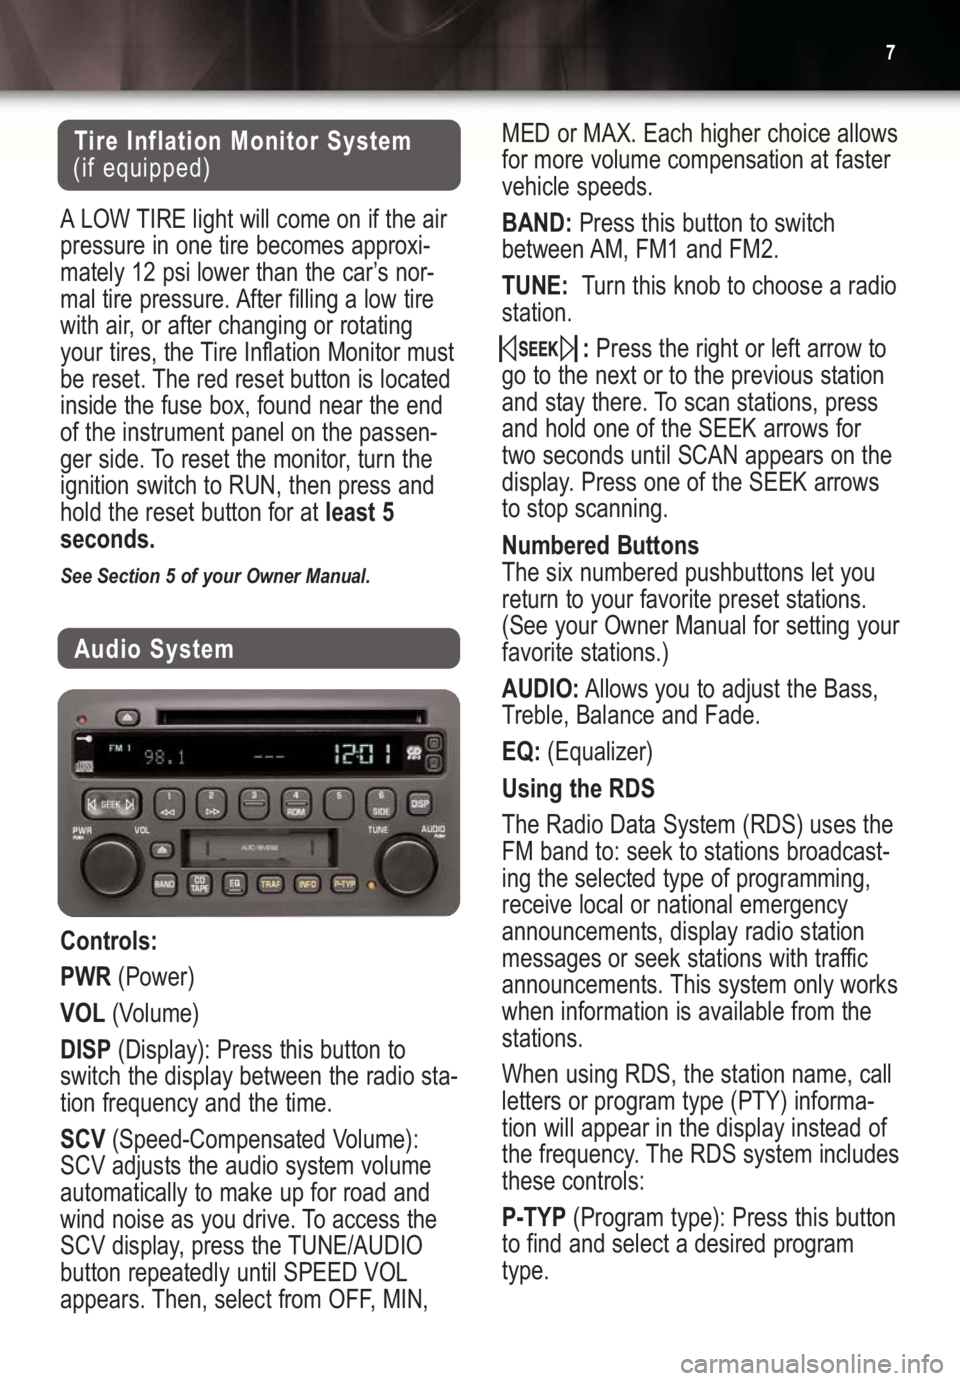
Controls:
PWR(Power)
VOL(Volume)
DISP(Display): Press this button to
switch the display between the radio sta-
tion frequency and the time.
SCV(Speed-Compensated Volume):
SCV adjusts the audio system volume
automatically to make up for road and
wind noise as you drive. To access the
SCV display, press the TUNE/AUDIO
button repeatedly until SPEED VOL
appears. Then, select from OFF, MIN,
Tire Inflation Monitor System
(if equipped)
ALOW TIRE light will come on if the air
pressure in one tire becomes approxi-
mately 12 psi lower than the car’s nor-
mal tire pressure. After filling a low tire
with air, or after changing or rotating
your tires, the Tire Inflation Monitor must
be reset. The red reset button is located
inside the fuse box, found near the end
of the instrument panel on the passen-
ger side. To reset the monitor, turn the
ignition switch to RUN, then press and
hold the reset button for at least 5
seconds.
See Section 5 of your Owner Manual.
MED or MAX. Each higher choice allows
for more volume compensation at faster
vehicle speeds.
BAND:Press this button to switch
between AM, FM1 and FM2.
TUNE:Turn this knob to choose a radio
station.
:Press the right or left arrow to
go to the next or to the previous station
and stay there. To scan stations, press
and hold one of the SEEK arrows for
two seconds until SCAN appears on the
display. Press one of the SEEK arrows
to stop scanning.
Numbered Buttons
The six numbered pushbuttons let you
return to your favorite preset stations.
(See your Owner Manual for setting your
favorite stations.)
AUDIO:Allows you to adjust the Bass,
Treble, Balance and Fade.
EQ:(Equalizer)
Using the RDS
The Radio Data System (RDS) uses the
FM band to: seek to stations broadcast-
ing the selected type of programming,
receive local or national emergency
announcements, display radio station
messages or seek stations with traffic
announcements. This system only works
when information is available from the
stations.
When using RDS, the station name, call
letters or program type (PTY) informa-
tion will appear in the display instead of
the frequency. The RDS system includes
these controls:
P-TYP(Program type): Press this button
to find and select a desired program
type.
Page 8 of 12

Getting to Know Your2004 Century8
Cassette Player (If equipped)
Use the following controls to operate
your cassette player:
(Reverse):Press this button to
reverse the tape rapidly. Press it again
to return to playing speed.
(Forward):Press this button to
advance quickly to another part of the
tape. Press the button again to return to
playing speed.
SIDE:Press this button to play the
other side of the tape.
:Press the left or right arrow to
go to the previous or next selection on
the tape. (See your Owner Manual for
additional SEEK functions.)
BAND:Press this button to listen to the
radio when a cassette is playing.
CD TAPE:Press this button to play a
tape when listening to the radio.
:Press this button to eject a tape.
See Section 3 of your Owner Manual.
INFO(Information): If the current station
has a message, INFO will appear in the
display. Press this button to view the
message.
TRAF(Traffic): Press this button to seek
to a station that broadcasts traffic
announcements.
Playing a Compact Disc
After inserting a CD into the faceplate
slot, use the following controls to oper-
ate the player:
(Reverse):Press/hold this button to
reverse within a track. Release it to play
the passage.
(Forward):Press/hold this button
to advance within a track. Release it to
play the passage.
4 RDM (Random):Press this button to
play tracks in random order. Press RDM
again to turn off random play.
DISP (Display):Press this button to see
which CD track is playing.
:Press the left arrow to go to
the start of the current track. Press the
right arrow to go to the next track.
Holding or pressing either arrow more
than once will advance you either back-
ward or forward within the track.
BAND:Press to listen to the radio when
a CD is playing
CD:Press when the radio is playing to
listen to a CD.
:Press this button to eject a CD.
Page 10 of 12

Getting to Know Your2004 Century10
Trunk Lock Release
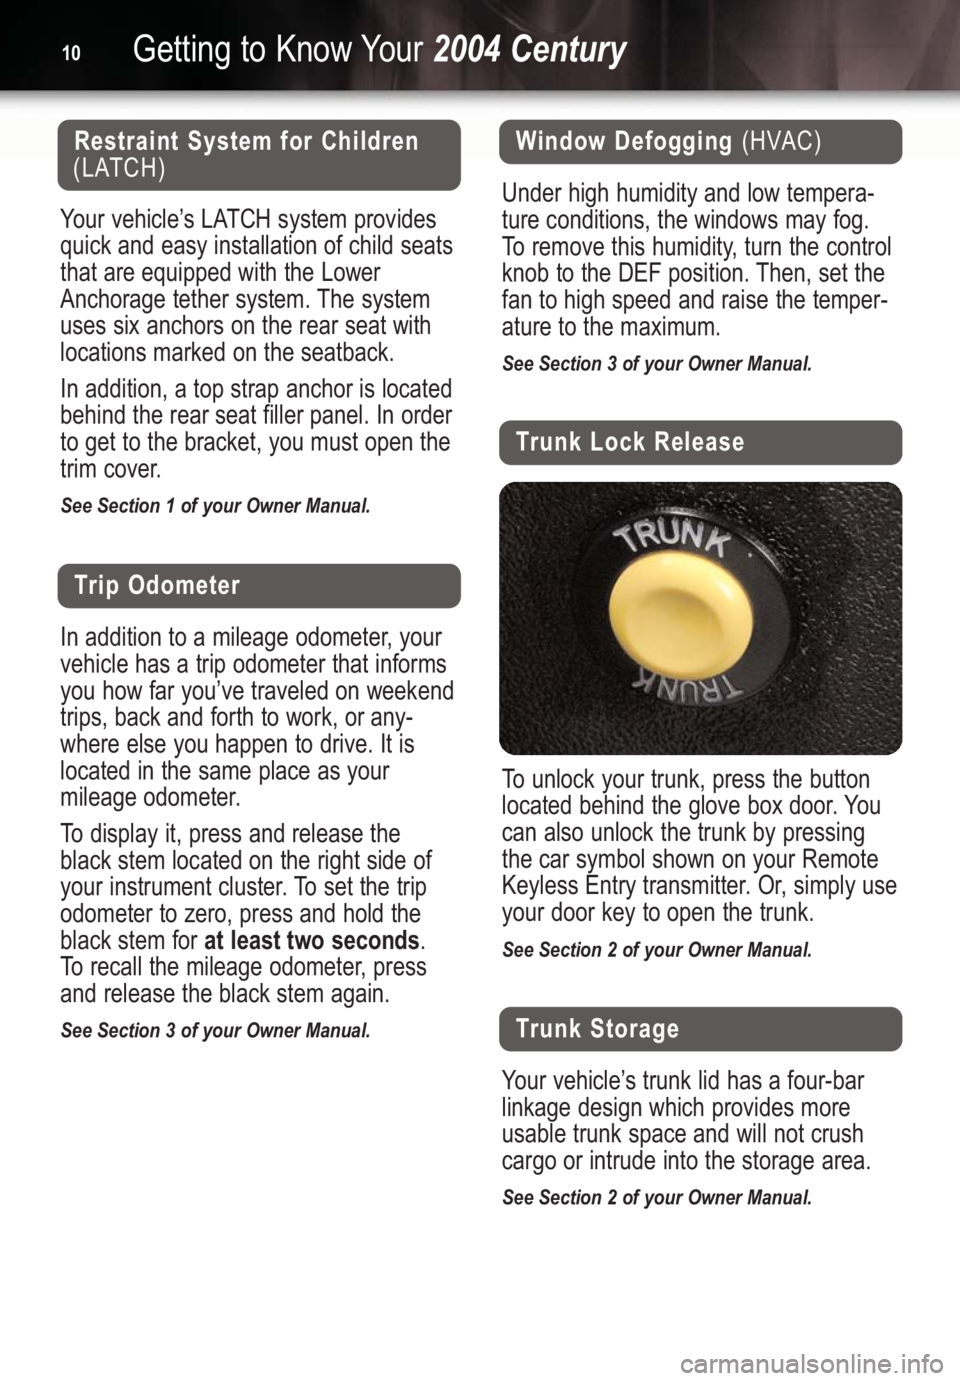
To unlock your trunk, press the button
located behind the glove box door. You
can also unlock the trunk by pressing
the car symbol shown on your Remote
Keyless Entry transmitter. Or, simply use
your door key to open the trunk.
See Section 2 of your Owner Manual.
Window Defogging (HVAC)
Under high humidity and low tempera-
ture conditions, the windows may fog.
To remove this humidity, turn the control
knob to the DEF position. Then, set the
fan to high speed and raise the temper-
ature to the maximum.
See Section 3 of your Owner Manual.
Trunk Storage
Your vehicle’s trunk lid has a four-bar
linkage design which provides more
usable trunk space and will not crush
cargo or intrude into the storage area.
See Section 2 of your Owner Manual.
Restraint System for Children
(LATCH)
Your vehicle’s LATCH system provides
quick and easy installation of child seats
that are equipped with the Lower
Anchorage tether system. The system
uses six anchors on the rear seat with
locations marked on the seatback.
In addition, a top strap anchor is located
behind the rear seat filler panel. In order
to get to the bracket, you must open the
trim cover.
See Section 1 of your Owner Manual.
Trip Odometer
In addition to a mileage odometer, your
vehicle has a trip odometer that informs
you how far you’ve traveled on weekend
trips, back and forth to work, or any-
where else you happen to drive. It is
located in the same place as your
mileage odometer.
To display it, press and release the
black stem located on the right side of
your instrument cluster. To set the trip
odometer to zero, press and hold the
black stem for at least two seconds.
To recall the mileage odometer, press
and release the black stem again.
See Section 3 of your Owner Manual.