warning BUICK ENCLAVE 2010 User Guide
[x] Cancel search | Manufacturer: BUICK, Model Year: 2010, Model line: ENCLAVE, Model: BUICK ENCLAVE 2010Pages: 438, PDF Size: 2.47 MB
Page 38 of 438
2-10 Keys, Doors and Windows
Power Liftgate Operation
The vehicle may have a power
liftgate. The vehicle must be in
P (Park) to use this feature.
The taillamps will flash and a chime
will sound when the power liftgate
is used.
{WARNING
You or others could be injured if
caught in the path of the power
liftgate. Make sure there is no one
in the way of the liftgate as it is
opening and closing.
Notice: If you open the liftgate
without checking for overhead
obstructions such as a garage
door, you could damage the
liftgate or the liftgate glass.
Always check to make sure the
area above and behind the liftgate
is clear before opening it. The power liftgate can be power
opened and closed in the
following ways:
.Press and hold the power liftgate
button on the RKE transmitter.
See
Remote Keyless Entry
(RKE) System Operation
on
page 2‑3for more information.
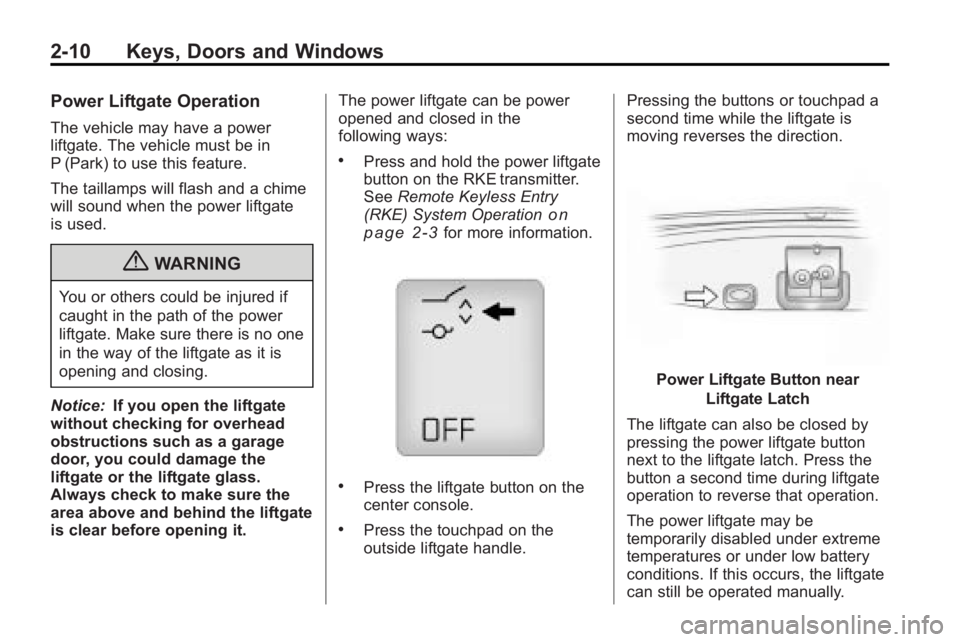
.Press the liftgate button on the
center console.
.Press the touchpad on the
outside liftgate handle. Pressing the buttons or touchpad a
second time while the liftgate is
moving reverses the direction.
Power Liftgate Button near
Liftgate Latch
The liftgate can also be closed by
pressing the power liftgate button
next to the liftgate latch. Press the
button a second time during liftgate
operation to reverse that operation.
The power liftgate may be
temporarily disabled under extreme
temperatures or under low battery
conditions. If this occurs, the liftgate
can still be operated manually.
Page 39 of 438
Keys, Doors and Windows 2-11
If the transmission is shifted out of
P (Park) while the power function is
in progress, the liftgate power
function will continue to completion.
If the transmission is shifted out of
P (Park) and the vehicle accelerates
before the power liftgate latches
closed, the liftgate may reverse to
the open position. Cargo could fall
out of the vehicle. Always make
sure the power liftgate is closed and
latched before you drive away.
If you power open the liftgate and
the liftgate support struts have lost
pressure, the lights will flash and a
chime will sound. The liftgate will
stay open temporarily, then slowly
close. See your dealer/retailer for
service before using the liftgate if
this occurs.
Obstacle Detection Features
A warning chime will sound and the
liftgate will automatically reverse
direction to the full closed or open
position if the liftgate encounters an
obstacle during a power open orclose cycle. After removing the
obstruction, the power liftgate
operation can be used again.
If the liftgate comes across more
obstacles on the same power cycle,
the power function deactivates, and
you must manually open or close
the liftgate. A message displays,
LIFTGATE OPEN, to indicate that
the liftgate is open. See
Driver
Information Center (DIC)
on
page 5‑25for more information.
After removing the obstructions,
manually open the liftgate to the full
open position or close the liftgate to
the fully closed and latched position.
The liftgate resumes normal power
operation.
The vehicle has pinch sensors
located on the side edges of the
liftgate. If an object is caught
between the liftgate and the body
and presses against this sensor, the
liftgate will reverse direction and
open fully. The liftgate will remain
open until it is activated again or closed manually. Do not force the
liftgate open or closed during a
power cycle.
Manual Operation of Power
Liftgate
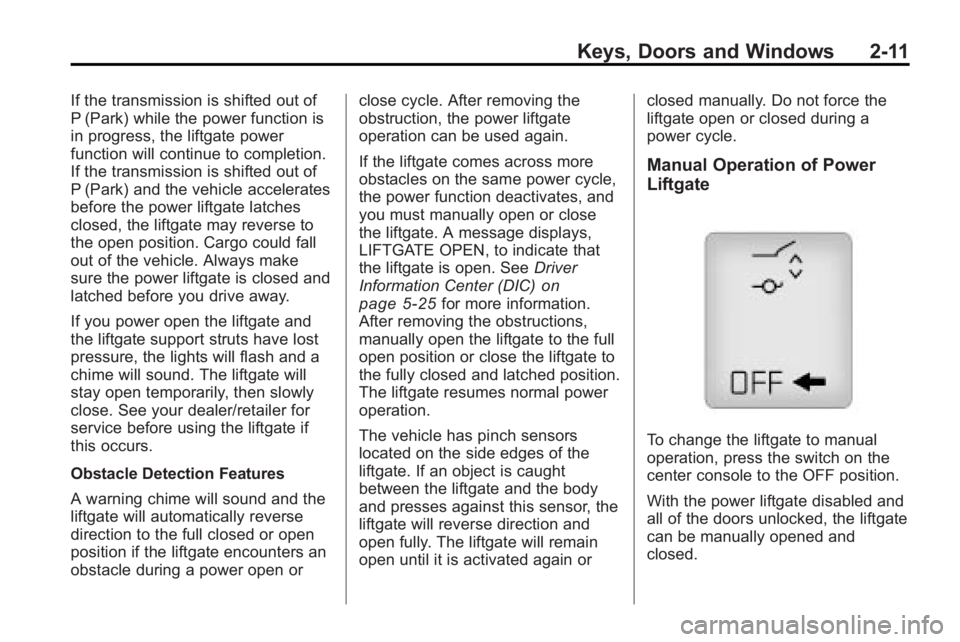
To change the liftgate to manual
operation, press the switch on the
center console to the OFF position.
With the power liftgate disabled and
all of the doors unlocked, the liftgate
can be manually opened and
closed.
Page 43 of 438
Keys, Doors and Windows 2-15
3. After the engine has started, turnthe key to LOCK/OFF, and
remove the key.
4. Insert the key to be programmed and turn it to the ON/RUN
position within five seconds of
the original key being turned to
the LOCK/OFF position.
The security light turns off once
the key has been programmed.
5. Repeat Steps 1 through 4 if additional keys are to be
programmed.
If the PASS-Key
®III+ key is lost or
damaged, see your dealer/retailer
or a locksmith to have a new
key made. The SERVICE THEFT
DETERRENT SYSTEM message
displays on the Driver Information
Center (DIC) when there is a
problem with the theft-deterrent
system. See
Anti-Theft Alarm
System Messages
on page 5‑36for additional information.
Do not leave the key or device that
disarms or deactivates the theft
deterrent system in the vehicle.
Exterior Mirrors
Convex Mirrors
{WARNING
A convex mirror can make things,
like other vehicles, look farther
away than they really are. If you
cut too sharply into the right lane,
you could hit a vehicle on the
right. Check the inside mirror or
glance over your shoulder before
changing lanes.
The passenger side mirror is convex
shaped. A convex mirror's surface is
curved so more can be seen from
the driver seat.
Page 46 of 438
2-18 Keys, Doors and Windows
Interior Mirrors
Automatic Dimming
Rearview Mirror
The vehicle has an automatic
dimming inside rearview mirror.
Automatic dimming reduces the
glare from the headlamps of the
vehicle behind you. The dimming
feature comes on and the indicator
light illuminates each time the
ignition is turned to start.
Vehicles with OnStar
®have three
additional control buttons located at
the bottom of the mirror. See your
dealer/retailer for more information
about OnStar
®and how to
subscribe to it. See the OnStar®
owner guide for more information
about the services OnStar®
provides.
O(On/Off): Press to turn the
dimming feature on or off.
The vehicle may also have a
Rear Vision Camera (RVC). See
Rear Vision Camera (RVC)
on
page 9‑34for more information.
If the vehicle has RVC,
the
Obutton for turning the
dimming feature on or off will not
be available.
Cleaning the Mirror
Do not spray glass cleaner directly
on the mirror. Use a soft towel
dampened with water.
Windows
{WARNING
Leaving children, helpless adults,
or pets in a vehicle with the
windows closed is dangerous.
They can be overcome by the
extreme heat and suffer
permanent injuries or even death
from heat stroke. Never leave a
child, a helpless adult, or a pet
alone in a vehicle, especially with
the windows closed in warm or
hot weather.
Page 47 of 438
Keys, Doors and Windows 2-19
Power Windows
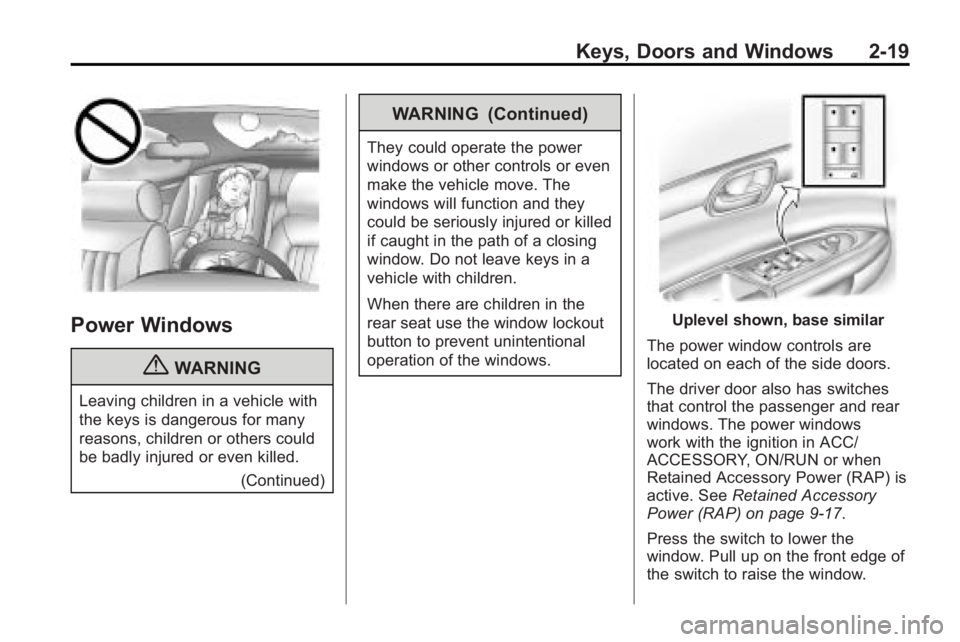
{WARNING
Leaving children in a vehicle with
the keys is dangerous for many
reasons, children or others could
be badly injured or even killed.(Continued)
WARNING (Continued)
They could operate the power
windows or other controls or even
make the vehicle move. The
windows will function and they
could be seriously injured or killed
if caught in the path of a closing
window. Do not leave keys in a
vehicle with children.
When there are children in the
rear seat use the window lockout
button to prevent unintentional
operation of the windows.
Uplevel shown, base similar
The power window controls are
located on each of the side doors.
The driver door also has switches
that control the passenger and rear
windows. The power windows
work with the ignition in ACC/
ACCESSORY, ON/RUN or when
Retained Accessory Power (RAP) is
active. See Retained Accessory
Power (RAP) on page 9‑17.
Press the switch to lower the
window. Pull up on the front edge of
the switch to raise the window.
Page 52 of 438

3-2 Seats and Restraints
Head Restraints
The vehicle's front seats have
adjustable head restraints in the
outboard seating positions.
{WARNING
With head restraints that are not
installed and adjusted properly,
there is a greater chance that
occupants will suffer a neck/
spinal injury in a crash. Do not
drive until the head restraints for
all occupants are installed and
adjusted properly.
Adjust the head restraint so that the
top of the restraint is at the same
height as the top of the occupant's
head. This position reduces the
chance of a neck injury in a crash.1. Pull the head restraint up toraise it. To lower the head
restraint, press the release
button, located on the head
restraint post on the top of the
seatback, while you push the
head restraint down.
2. Push down on the head restraint after the button is released to
make sure that it is locked in
place.
Page 55 of 438
Seats and Restraints 3-5
Power Lumbar
On vehicles with power lumbar, the
controls used to operate this feature
are located on the outboard side of
the seats. See“Power Lumbar”
under Power Seat Adjustment
on
page 3‑3for more information.
To increase or decrease lumbar
support, press and hold the front or
rear of the control (C).
Release the control when the
seatback reaches the desired level
of lumbar support.
The lumbar support may need to be
adjusted when changing the seating
position.
Reclining Seatbacks
Manual Reclining Seatbacks
{WARNING
You can lose control of the
vehicle if you try to adjust a
manual driver's seat while the
vehicle is moving. The sudden
movement could startle and
confuse you, or make you push a
pedal when you do not want to.
Adjust the driver's seat only when
the vehicle is not moving.
{WARNING
If either seatback is not locked, it
could move forward in a sudden
stop or crash. That could cause
injury to the person sitting there.
Always push and pull on the
seatbacks to be sure they are
locked.
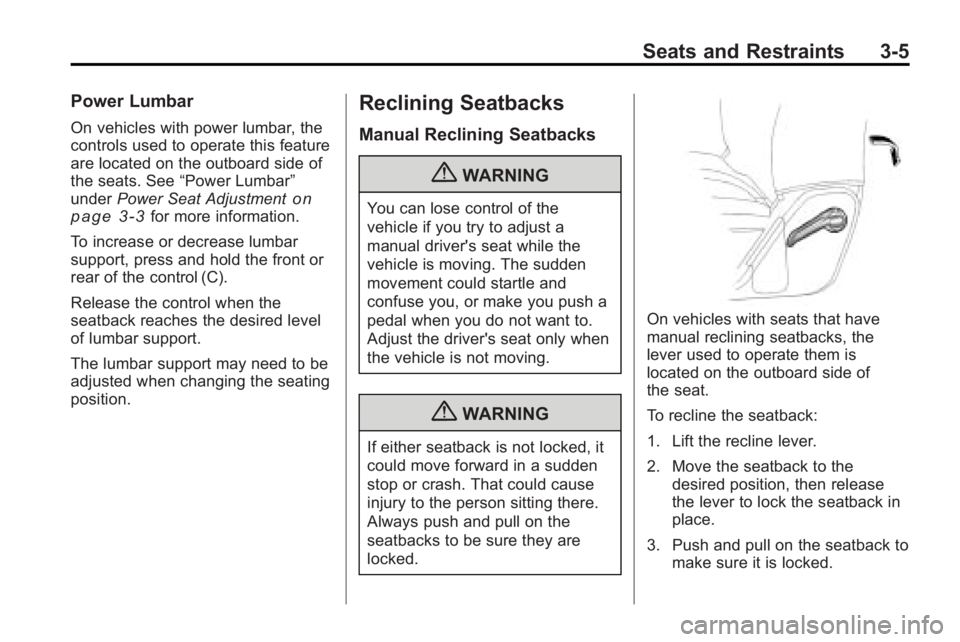
On vehicles with seats that have
manual reclining seatbacks, the
lever used to operate them is
located on the outboard side of
the seat.
To recline the seatback:
1. Lift the recline lever.
2. Move the seatback to the desired position, then release
the lever to lock the seatback in
place.
3. Push and pull on the seatback to make sure it is locked.
Page 56 of 438

3-6 Seats and Restraints
To return the seatback to an upright
position:
1. Lift the lever without applyingpressure to the seatback and the
seatback will return to the
upright position.
2. Push and pull on the seatback to make sure it is locked.
Power Reclining Seatbacks
On vehicles with seats that have
power reclining seatbacks, the
control used to recline them is
located on the outboard side of the
seat behind the power seat control.
See “Reclining Seatbacks” under
Power Seat Adjustment
on
page 3‑3for more information.
.To recline the seatback, tilt the
top of the control (B) rearward.
.To bring the seatback forward,
tilt the top of the control forward.
{WARNING
Sitting in a reclined position when
the vehicle is in motion can be
dangerous. Even when buckled
up, the safety belts cannot do
their job when reclined like this.
The shoulder belt cannot do its
job because it will not be against
your body. Instead, it will be in
front of you. In a crash, you could
go into it, receiving neck or other
injuries.
The lap belt cannot do its job
either. In a crash, the belt could
go up over your abdomen. The
belt forces would be there, not at
your pelvic bones. This could
cause serious internal injuries.
(Continued)
WARNING (Continued)
For proper protection when the
vehicle is in motion, have the
seatback upright. Then sit well
back in the seat and wear the
safety belt properly.
Do not have a seatback reclined if
the vehicle is moving.
Page 57 of 438
Seats and Restraints 3-7
Heated Front Seats
{WARNING
If you cannot feel temperature
change or pain to the skin, the
seat heater may cause burns
even at low temperatures. To
reduce the risk of burns, people
with such a condition should use
care when using the seat heater,
especially for long periods of
time. Do not place anything on
the seat that insulates against
heat, such as a blanket, cushion,
cover or similar item. This may
cause the seat heater to
overheat. An overheated seat
heater may cause a burn or may
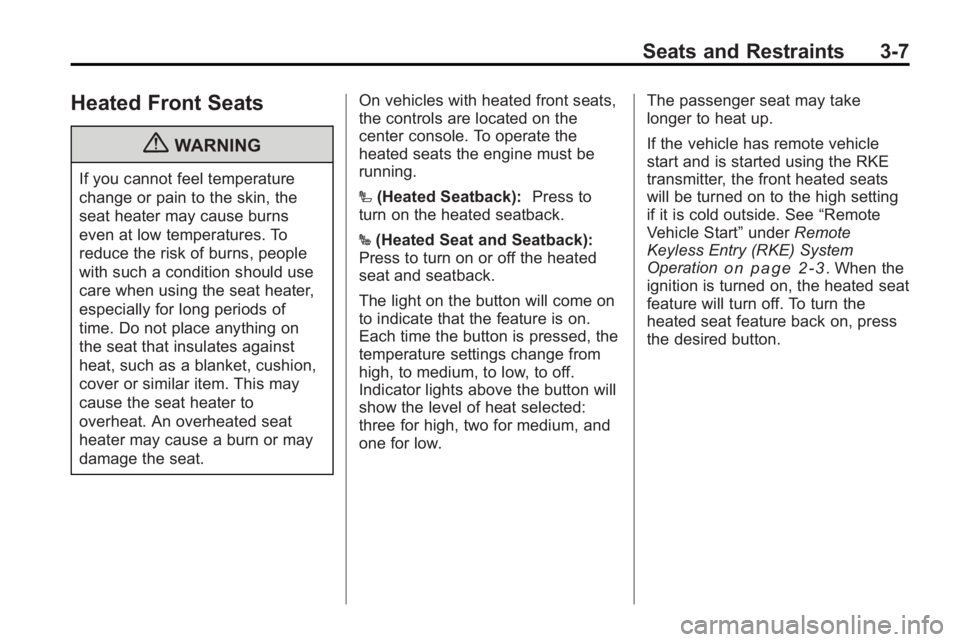
damage the seat.On vehicles with heated front seats,
the controls are located on the
center console. To operate the
heated seats the engine must be
running.
I
(Heated Seatback): Press to
turn on the heated seatback.
J (Heated Seat and Seatback):
Press to turn on or off the heated
seat and seatback.
The light on the button will come on
to indicate that the feature is on.
Each time the button is pressed, the
temperature settings change from
high, to medium, to low, to off.
Indicator lights above the button will
show the level of heat selected:
three for high, two for medium, and
one for low. The passenger seat may take
longer to heat up.
If the vehicle has remote vehicle
start and is started using the RKE
transmitter, the front heated seats
will be turned on to the high setting
if it is cold outside. See
“Remote
Vehicle Start” underRemote
Keyless Entry (RKE) System
Operation
on page 2‑3. When the
ignition is turned on, the heated seat
feature will turn off. To turn the
heated seat feature back on, press
the desired button.
Page 58 of 438
3-8 Seats and Restraints
Heated and Ventilated
Front Seats
{WARNING
If you cannot feel temperature
change or pain to the skin, the
seat heater may cause burns
even at low temperatures. To
reduce the risk of burns, people
with such a condition should use
care when using the seat heater,
especially for long periods of
time. Do not place anything on
the seat that insulates against
heat, such as a blanket, cushion,
cover or similar item. This may
cause the seat heater to
overheat. An overheated seat
heater may cause a burn or may
damage the seat.
On vehicles with the heated and
ventilated seat feature, the controls
are located on the front doors near
the door handle.
H(Ventilated Seat): Press to
ventilate the entire seat.
This symbol appears on the climate
control display to indicate that the
feature is on.
z(Heated Seat and Seatback):
Press to heat the entire seat.
This symbol appears on the climate
control display to indicate that the
feature is on.
For either feature press the button
once for the highest setting. With
each press of the switch, the seat
changes to the next lower setting,
and then the off setting. The lights
indicate three for the highest setting
and one for the lowest.
The heated and ventilated seats are
canceled after the ignition is turned
off. To use the heated and ventilated
seat feature after the vehicle is
started, you will need to press the
appropriate seat button again.
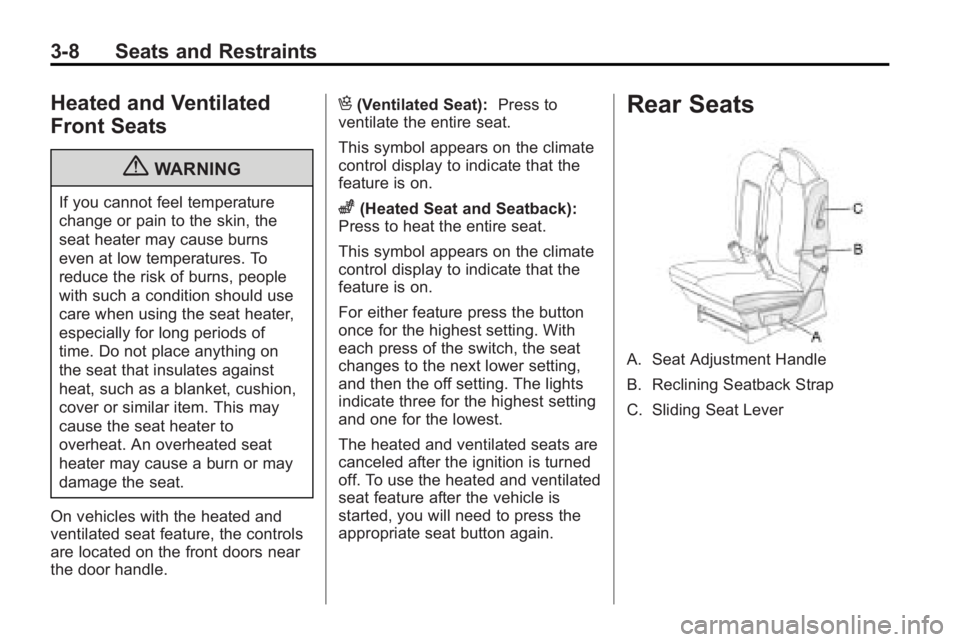
Rear Seats
A. Seat Adjustment Handle
B. Reclining Seatback Strap
C. Sliding Seat Lever