hood release BUICK ENCLAVE 2010 Owner's Manual
[x] Cancel search | Manufacturer: BUICK, Model Year: 2010, Model line: ENCLAVE, Model: BUICK ENCLAVE 2010Pages: 438, PDF Size: 2.47 MB
Page 9 of 438
In Brief 1-3
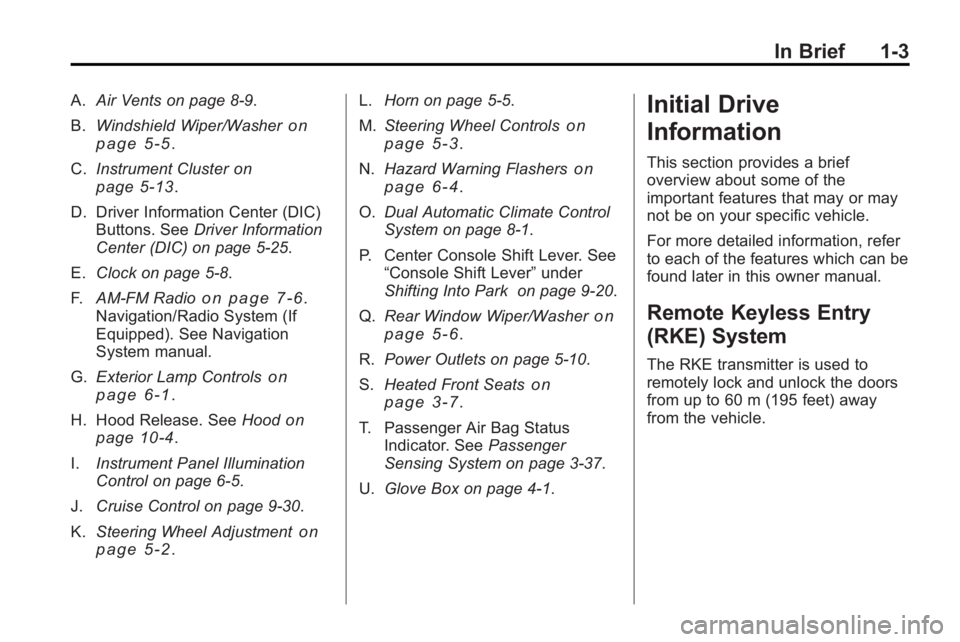
A.Air Vents on page 8‑9.
B. Windshield Wiper/Washer
on
page 5‑5.
C. Instrument Cluster
on
page 5‑13.
D. Driver Information Center (DIC) Buttons. See Driver Information
Center (DIC) on page 5‑25.
E. Clock on page 5‑8.
F. AM-FM Radio
on page 7‑6.
Navigation/Radio System (If
Equipped). See Navigation
System manual.
G. Exterior Lamp Controls
on
page 6‑1.
H. Hood Release. See Hood
on
page 10‑4.
I. Instrument Panel Illumination
Control on page 6‑5.
J. Cruise Control on page 9‑30.
K. Steering Wheel Adjustment
on
page 5‑2. L.
Horn on page 5‑5.
M. Steering Wheel Controls
on
page 5‑3.
N. Hazard Warning Flashers
on
page 6‑4.
O. Dual Automatic Climate Control
System on page 8‑1.
P. Center Console Shift Lever. See “Console Shift Lever” under
Shifting Into Park on page 9‑20.
Q. Rear Window Wiper/Washer
on
page 5‑6.
R. Power Outlets on page 5‑10.
S. Heated Front Seats
on
page 3‑7.
T. Passenger Air Bag Status Indicator. See Passenger
Sensing System on page 3‑37.
U. Glove Box on page 4‑1.
Initial Drive
Information
This section provides a brief
overview about some of the
important features that may or may
not be on your specific vehicle.
For more detailed information, refer
to each of the features which can be
found later in this owner manual.
Remote Keyless Entry
(RKE) System
The RKE transmitter is used to
remotely lock and unlock the doors
from up to 60 m (195 feet) away
from the vehicle.
Page 302 of 438
10-4 Vehicle Care
Vehicle Checks
Doing Your Own
Service Work
{WARNING
You can be injured and the
vehicle could be damaged if you
try to do service work on a vehicle
without knowing enough about it.
.Be sure you have sufficient
knowledge, experience,
the proper replacement
parts, and tools before
attempting any vehicle
maintenance task.
.Be sure to use the proper
nuts, bolts, and other
fasteners. English and metric
fasteners can be easily
confused. If the wrong
fasteners are used, parts can
later break or fall off. You
could be hurt.If doing some of your own service
work, use the proper service
manual. It tells you much more
about how to service the vehicle
than this manual can. To order the
proper service manual, see
Service
Publications Ordering Information
on
page 13‑12.
This vehicle has an airbag system.
Before attempting to do your own
service work, see Airbag System
Check on page 3‑43.
Keep a record with all parts receipts
and list the mileage and the date of
any service work performed. See
Maintenance Records
on
page 11‑9.
Hood
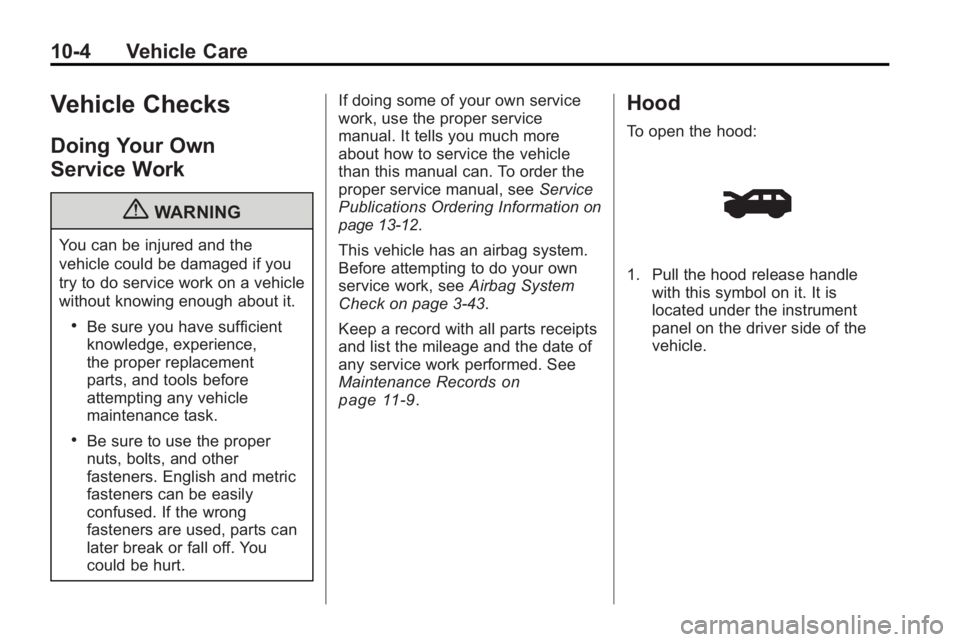
To open the hood:
1. Pull the hood release handle
with this symbol on it. It is
located under the instrument
panel on the driver side of the
vehicle.
Page 303 of 438
Vehicle Care 10-5
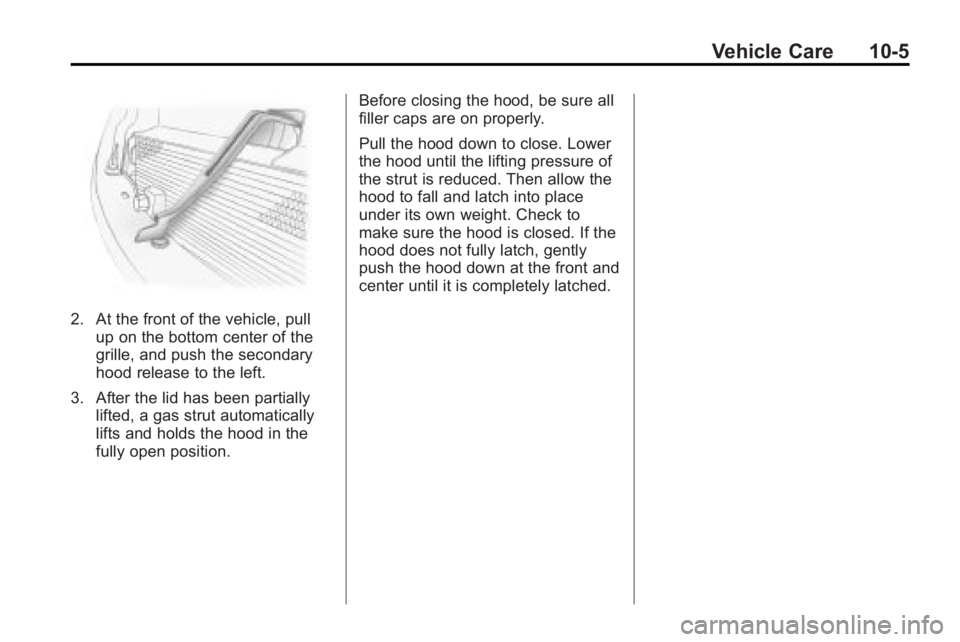
2. At the front of the vehicle, pullup on the bottom center of the
grille, and push the secondary
hood release to the left.
3. After the lid has been partially lifted, a gas strut automatically
lifts and holds the hood in the
fully open position. Before closing the hood, be sure all
filler caps are on properly.
Pull the hood down to close. Lower
the hood until the lifting pressure of
the strut is reduced. Then allow the
hood to fall and latch into place
under its own weight. Check to
make sure the hood is closed. If the
hood does not fully latch, gently
push the hood down at the front and
center until it is completely latched.
Page 384 of 438
10-86 Vehicle Care
Dinghy Towing
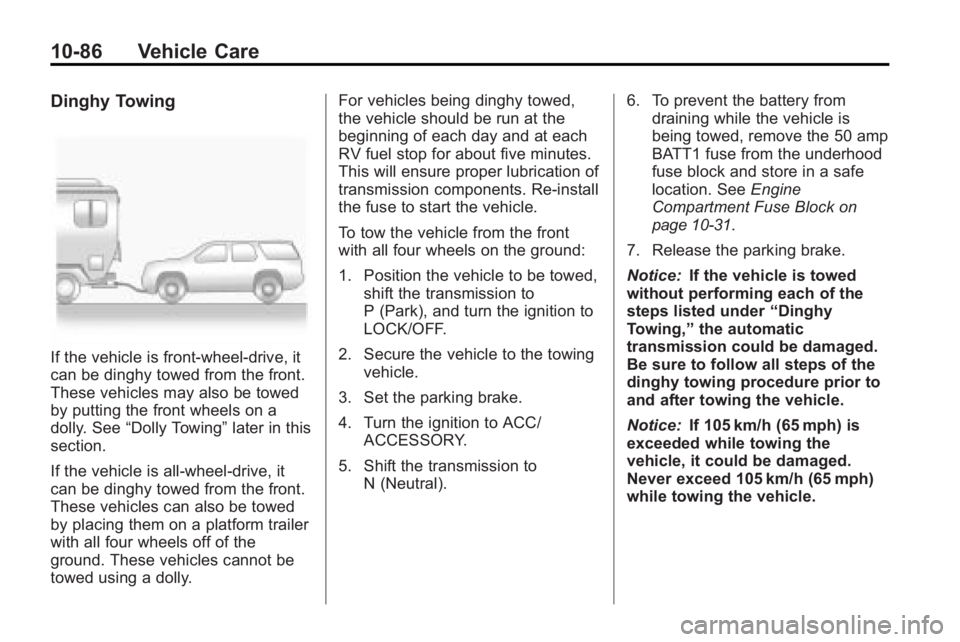
If the vehicle is front-wheel-drive, it
can be dinghy towed from the front.
These vehicles may also be towed
by putting the front wheels on a
dolly. See“Dolly Towing” later in this
section.
If the vehicle is all-wheel-drive, it
can be dinghy towed from the front.
These vehicles can also be towed
by placing them on a platform trailer
with all four wheels off of the
ground. These vehicles cannot be
towed using a dolly. For vehicles being dinghy towed,
the vehicle should be run at the
beginning of each day and at each
RV fuel stop for about five minutes.
This will ensure proper lubrication of
transmission components. Re-install
the fuse to start the vehicle.
To tow the vehicle from the front
with all four wheels on the ground:
1. Position the vehicle to be towed,
shift the transmission to
P (Park), and turn the ignition to
LOCK/OFF.
2. Secure the vehicle to the towing vehicle.
3. Set the parking brake.
4. Turn the ignition to ACC/ ACCESSORY.
5. Shift the transmission to N (Neutral). 6. To prevent the battery from
draining while the vehicle is
being towed, remove the 50 amp
BATT1 fuse from the underhood
fuse block and store in a safe
location. See Engine
Compartment Fuse Block
on
page 10‑31.
7. Release the parking brake.
Notice: If the vehicle is towed
without performing each of the
steps listed under “Dinghy
Towing,” the automatic
transmission could be damaged.
Be sure to follow all steps of the
dinghy towing procedure prior to
and after towing the vehicle.
Notice: If 105 km/h (65 mph) is
exceeded while towing the
vehicle, it could be damaged.
Never exceed 105 km/h (65 mph)
while towing the vehicle.
Page 398 of 438
11-4 Service and Maintenance
.Body hinges and latches, key
lock cylinders, hood latch
assemblies, secondary latches,
pivots, spring anchor and
release pawl, hood and door
hinges, rear folding seats, and
liftgate hinges lubrication. See
Recommended Fluids and
Lubricants
on page 11‑7. More
frequent lubrication may be
required when vehicle is
exposed to a corrosive
environment. Applying silicone
grease on weatherstrips with a
clean cloth makes them last
longer, seal better, and not stick
or squeak.
.Restraint system component
check. See Safety System
Check on page 3‑28.
.Engine air cleaner filter
inspection. See Engine Air
Cleaner/Filter on page 10‑12.
Additional Required Services
At Each Fuel Stop
.Engine oil level check. See
Engine Oil on page 10‑8.
.Engine coolant level check. See
Engine Coolant on page 10‑14.
.Windshield washer fluid level
check. See Washer Fluidon
page 10‑21.
Once a Month
.Tire inflation check. See Tire
Pressure on page 10‑44.
.Tire wear inspection. See Tire
Inspection on page 10‑50.
Once a Year
.See Starter Switch Checkon
page 10‑25.
.See Automatic Transmission
Shift Lock Control System
Check on page 10‑26.
.See Ignition Transmission Lock
Check on page 10‑26.
.See Park Brake and P (Park)
Mechanism Checkon
page 10‑26.
.Engine cooling system and
pressure cap pressure check.
Radiator and air conditioning
condenser outside cleaning. See
Cooling System on page 10‑14.
.Exhaust system and nearby heat
shields inspection for loose or
damaged components.
.Accelerator pedal check for
damage, high effort, or binding.
Replace if needed.
.If the vehicle has a Tire Sealant
and Compressor Kit, check the
sealant expiration date printed
on the instruction label of the kit.
See Tire Sealant and
Compressor Kit on page 10‑60.
First Engine Oil Change After
Every 40 000 km/25,000 Miles
.Fuel system inspection for
damage or leaks.
Page 402 of 438

11-8 Service and Maintenance
UsageFluid/Lubricant
Hood Latch Assembly, Secondary Latch, Pivots, Spring Anchor, and
Release Pawl Lubriplate Lubricant Aerosol (GM Part No. U.S. 12346293, in
Canada 992723) or lubricant meeting requirements of NLGI #2,
Category LB or GC-LB.
Hood and Door Hinges and Rear Folding Seat Multi-Purpose Lubricant, Superlube (GM Part No. U.S. 12346241, in
Canada 10953474).
Weatherstrip Conditioning Weatherstrip Lubricant (GM Part No. U.S. 3634770, in Canada 10953518)
or Dielectric Silicone Grease (GM Part No. U.S. 12345579, in
Canada 992887).
Maintenance Replacement Parts
Replacement parts identified below by name, part number, or specification can be obtained from your dealer/retailer.
Part GM Part Number ACDelco Part Number
Engine Air Cleaner/Filter 15278634 A3083C
Engine Oil Filter 89017524 PF48
Spark Plugs 12611882 41-107
Wiper Blades Front Driver –62.5 cm (24.6 in) 15254805 —
Front Passenger –53.0 cm (20.8 in) 15254804 —
Rear –30.0 cm (11.8 in) 25820122 —