stop start BUICK ENCORE GX 2024 User Guide
[x] Cancel search | Manufacturer: BUICK, Model Year: 2024, Model line: ENCORE GX, Model: BUICK ENCORE GX 2024Pages: 330, PDF Size: 6.72 MB
Page 26 of 330

Buick Encore GX Owner Manual (GMNA-Localizing-U.S./Canada/Mexico-
16897608) - 2024 - CRC - 1/23/23
Keys, Doors, and Windows 25
Kick Zone
To operate, move your foot in a forward
kicking motion near the left side of the rear
bumper at the location of the projected
logo, then pull it back. The kick must come
within 14 cm (6 in) of the rear bumper to
activate. Then step back.
Caution
Splashing water may cause the liftgate to
open. Keep the remote key away from
the rear bumper detection area or turn
the liftgate mode to OFF when cleaning
or working near the rear bumper to avoid
accidental opening.
.Do not sweep your foot side to side.
.Do not keep your foot under the bumper;
the liftgate will not activate.
.Do not touch the liftgate until it has
stopped moving.
When closing the liftgate using this feature,
there will be a short delay. The taillamps
will flash and a chime will sound.
Step away from the liftgate before it starts
moving.
Projected Logo
If equipped with this feature, a vehicle logo
will be projected for one minute onto the
ground near the rear bumper when an
remote key is detected within approximately
2 m (6 ft). The projected logo may not be
visible under brighter daytime conditions.1. 1 m (3 ft) Hands-Free Operation Detection Zone
2. 2 m (6 ft) Projected Logo Detection Zone
The projected logo shows where the kicking
motion is to take place.
The projected logo will only be available for
this remote key after it has been out of
range for at least 20 seconds.
If an remote key is again detected within
approximately 2 m (6 ft) of the liftgate,
or another hands-free operation has been
detected, the one-minute timer will be reset.
Page 46 of 330
Buick Encore GX Owner Manual (GMNA-Localizing-U.S./Canada/Mexico-
16897608) - 2024 - CRC - 1/23/23
Seats and Restraints 45
If equipped, the controls are on the climate
control panel. The engine must be running
to operate the heated seats.
Press
MorLto heat the driver or
passenger seat cushion and seatback.
Press the control once for the highest
setting. With each press of the control, the
heated seat will change to the next lower
setting, and then the off setting. Three
lights indicate the highest setting and one
light the lowest. If the heated seats are on
high, the level may automatically be
lowered after approximately 30 minutes.
The passenger seat may take longer to
heat up.
Remote Start Heated Seats
When it is cold outside, the heated seats
can be turned on automatically during a
remote vehicle start. The heated seats will
be canceled when the ignition is turned on.
Press the heated seat controls to use the
heated seats after the vehicle is started.
The heated seat indicator lights on the
control do not turn on during a remote
start. The temperature performance of an
unoccupied seat may be reduced. This is
normal.
To enable or disable remote start heated
seats, select Settings > Vehicle > Remote
Lock, Unlock, and Start > Remote Start Auto
Heat Seats > ON or OFF.
See
Remote Vehicle Start 017.
Folding Seatback
The front passenger seatback may fold flat.
{Warning
If you fold the seatback forward to carry
longer objects, such as skis, be sure any
such cargo is not near an airbag. In a
crash, an inflating airbag might force that
object toward a person. This could cause
severe injury or even death. Secure
objects away from the area in which an
airbag would inflate. For more
information, see Where Are the Airbags?
0 57 and
Vehicle Load Limits 0159.
{Warning
Things you put on this seatback can
strike and injure people in a sudden stop
or turn, or in a crash. Remove or secure
all items before driving.
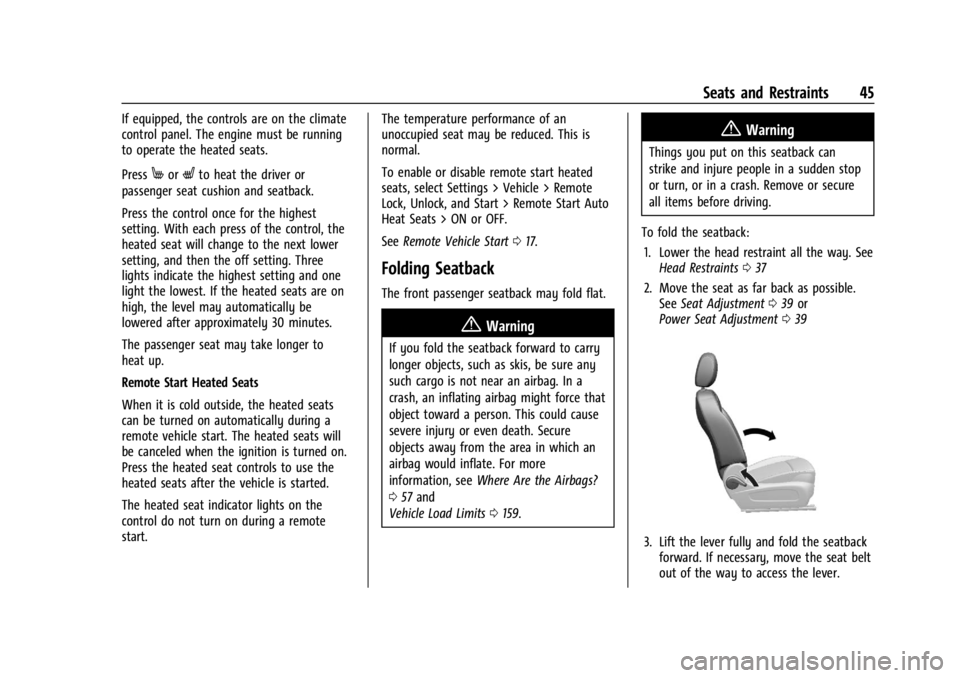
To fold the seatback: 1. Lower the head restraint all the way. See Head Restraints 037
2. Move the seat as far back as possible. See Seat Adjustment 039 or
Power Seat Adjustment 039
3. Lift the lever fully and fold the seatback
forward. If necessary, move the seat belt
out of the way to access the lever.
Page 48 of 330

Buick Encore GX Owner Manual (GMNA-Localizing-U.S./Canada/Mexico-
16897608) - 2024 - CRC - 1/23/23
Seats and Restraints 47
3. Pull the lever on top of the seatback tounlock the seatback.
A red indicator near the seatback lever is
exposed when the seatback is unlocked.
4. Fold the seatback down. Repeat Steps 1–3 for the other seatback,
if desired.
Raising the Seatbacks
{Warning
If either seatback is not locked, it could
move forward in a sudden stop or crash.
That could cause injury to the person
sitting there. Always push and pull on
the seatbacks to be sure they are locked.
{Warning
A seat belt that is improperly routed, not
properly attached, or twisted will not
provide the protection needed in a crash.
The person wearing the belt could be
seriously injured. After raising the rear
seatback, always check to be sure that
the seat belts are properly routed and
attached, and are not twisted.
To raise a seatback: 1. Lift the seatback up and push it rearward to lock it in place.
A red indicator near the seatback lever
retracts when the seatback is locked in
place.
The center rear seat belt may lock when
you raise the seatback. If this happens,
let the belt go back all the way and start
again.
2. Return the head restraint to the upright position. See Head Restraints 037.
3. Push and pull the top of the seatback to be sure it is locked into position.
4. Check if the seat belt is stowed within hook at side. If not, stow seat belt in it
appropriately. 5. Repeat the steps to raise the other
seatback, if necessary.
When the seat is not in use, it should be
kept in the upright, locked position.
Rear Seat Armrest
The rear seat has an armrest in the center
of the seatback. Lower the armrest to access
the cupholders.
To fold, lift the armrest up and push it
rearward until it is flush with the seatback.
Page 50 of 330

Buick Encore GX Owner Manual (GMNA-Localizing-U.S./Canada/Mexico-
16897608) - 2024 - CRC - 1/23/23
Seats and Restraints 49
displays in the Driver Information
Center (DIC) and the vehicle will be delayed
from shifting out of P (Park). Buckle the
driver seat belt to clear the message and
shift out of P (Park). Shifting from P (Park)
will be delayed once for each time the
vehicle is started.
For some fleet vehicles, shifting out of
P (Park) will be delayed each time the driver
attempts to do so while the driver seat belt
is not buckled, whether Teen Driver is ON or
OFF. Turning the vehicle off then on will not
change this condition.
On some models, Buckle to Drive may also
delay shifting out of P (Park) if a front
passenger is unbuckled under similar
conditions. A message displays in the DIC.
Buckle the front passenger seat belt to shift
out of P (Park). This feature may delay the
vehicle from shifting out of P (Park) if an
object, such as a briefcase, handbag, grocery
bag, laptop, or other electronic device, is on
the front passenger seat. If this happens,
remove the object from the seat or buckle
the seat belt to shift out of P (Park).
If the driver, or on some vehicles, the
present front passenger seat belt remains
unbuckled, the DIC message will turn off
after several seconds and the vehicle can beshifted out of P (Park). See
“Seat Belts”and
“Child Restraints” in the Index for
information about the importance of proper
restraint use.
If the driver seat belt or the front passenger
seat belt is unbuckled when driving, the seat
belt reminder chime and light(s) will come
on. See Seat Belt Reminders 0100. This
feature may not function properly if the
airbag readiness light is on. See Airbag
Readiness Light 0100.
How to Wear Seat Belts Properly
Follow these rules for everyone's protection.
There are additional things to know about
seat belts and children, including smaller
children and infants. If a child will be riding
in the vehicle, see Older Children066 or
Infants and Young Children 067. Review
and follow the rules for children in addition
to the following rules.
It is very important for all occupants to
buckle up. Statistics show that unbelted
people are hurt more often in crashes than
those who are wearing seat belts.
There are important things to know about
wearing a seat belt properly.
.Sit up straight and always keep your feet
on the floor in front of you (if possible).
.Wear the lap part of the belt low and
snug on the hips, just touching the
thighs. In a crash, this applies force to the
strong pelvic bones and you would be
less likely to slide under the lap belt.
If you slid under it, the belt would apply
force on your abdomen. This could cause
serious or even fatal injuries.
.Wear the shoulder belt over the shoulder
and across the chest. These parts of the
body are best able to take belt
restraining forces. The shoulder belt locks
if there is a sudden stop or crash.
Page 88 of 330
Buick Encore GX Owner Manual (GMNA-Localizing-U.S./Canada/Mexico-
16897608) - 2024 - CRC - 1/23/23
Storage 87
Caution
Loading cargo on the roof rack that
weighs more than 75 kg (165 lb) or hangs
over the rear or sides of the vehicle may
damage the vehicle. Do not load cargo
exceeding 75 kg (165 lbs) and always load
cargo so that it rests evenly between the
crossrails and does not block the vehicle
lamps or windows. Fasten the cargo
securely.
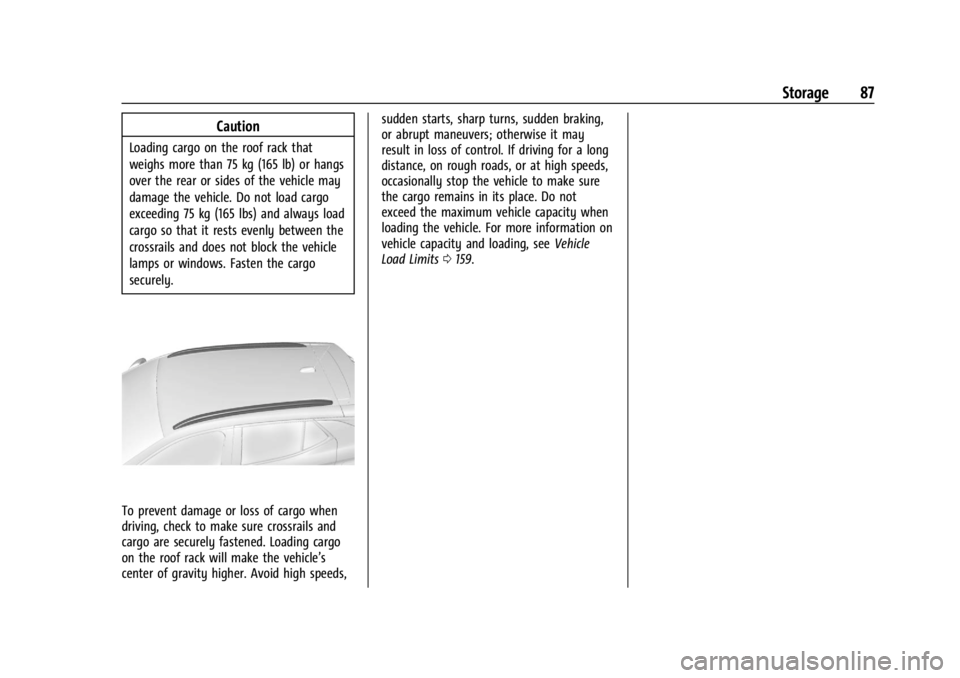
To prevent damage or loss of cargo when
driving, check to make sure crossrails and
cargo are securely fastened. Loading cargo
on the roof rack will make the vehicle’s
center of gravity higher. Avoid high speeds,sudden starts, sharp turns, sudden braking,
or abrupt maneuvers; otherwise it may
result in loss of control. If driving for a long
distance, on rough roads, or at high speeds,
occasionally stop the vehicle to make sure
the cargo remains in its place. Do not
exceed the maximum vehicle capacity when
loading the vehicle. For more information on
vehicle capacity and loading, see
Vehicle
Load Limits 0159.
Page 91 of 330

Buick Encore GX Owner Manual (GMNA-Localizing-U.S./Canada/Mexico-
16897608) - 2024 - CRC - 1/23/23
90 Instruments and Controls
Windshield Wiper with Intermittent Wipes
(INT Shown, Rainsense Similar)
HI :Use for fast wipes.
LO : Use for slow wipes.
INT : Use for intermittent wipes or
Rainsense, if equipped and enabled. To
adjust wipe frequency, turn the band up for
more frequent wipes or down for less
frequent wipes. If Rainsense is enabled, see
“Rainsense” later in this section. OFF :
Use to turn the wipers off.
1X : For a single wipe, briefly move the
wiper lever down. For several wipes, hold
the wiper lever down.
Clear snow and ice from the wiper blades
before using them. If frozen to the
windshield, carefully loosen or thaw them.
Damaged blades should be replaced. See
Wiper Blade Replacement 0235. Heavy snow
or ice can overload the wiper motor.
Wiper Parking
If the ignition is turned off while the wipers
are on LO, HI, or INT, they will
immediately stop.
If the windshield wiper lever is then moved
to OFF before the driver door is opened or
within 10 minutes, the wipers will restart
and move to the base of the windshield.
If the ignition is turned off while the wipers
are performing wipes due to windshield
washing, the wipers continue to run until
they reach the base of the windshield. Rainsense
If equipped with Rainsense, a sensor located
near the top center of the windshield
detects the amount of water on the
windshield and automatically controls the
frequency of the windshield wiper.
When Rainsense is enabled, the normal
intermittent control operates as a sensitivity
control.
Keep this area of the windshield clear of
debris to allow for best system performance.
AUTO :
Move the windshield wiper lever to
AUTO. Turn the band on the wiper lever to
adjust the sensitivity.
.Turn the band up for more sensitivity to
moisture.
.Turn the band down for less sensitivity to
moisture.
Page 95 of 330
Buick Encore GX Owner Manual (GMNA-Localizing-U.S./Canada/Mexico-
16897608) - 2024 - CRC - 1/23/23
94 Instruments and Controls
If equipment is connected using more than
150 watts or a system fault is detected, a
protection circuit shuts off the power supply
and the indicator light turns off. To reset
the circuit, unplug the item and plug it back
in or turn the Retained Accessory Power
(RAP) off and then back on. SeeRetained
Accessory Power (RAP) 0167. The power
restarts when equipment using 150 watts or
less is plugged into the outlet and a system
fault is not detected.
The power outlet is not designed for and
may not work properly, if the following are
plugged in:
.Equipment with high initial peak wattage,
such as compressor-driven refrigerators
and electric power tools
.Other equipment requiring an extremely
stable power supply, such as
microcomputer-controlled electric blankets
and touch sensor lamps
.Medical equipment
Wireless Charging
If equipped and enabled, the vehicle has
wireless charging in the storage bin at the
front of the floor console . The system
operates at 145 kHz and wirelessly charges
one Qi compatible smartphone. The power
output of the system is capable of charging
at a rate up to 3 amp (15 W), as requested
by the compatible smartphone. See Radio
Frequency Statement 0306.
{Warning
Wireless charging may affect the
operation of an implanted pacemaker or
other medical devices. If you have one, it
is recommended to consult with your
doctor before using the wireless charging
system.
The vehicle must be on, in ACC/ACCESSORY,
or Retained Accessory Power (RAP) must be
active. The wireless charging feature may
not correctly indicate charging when the
vehicle is in RAP, during a Bluetooth phone
call, or when phone projection (e.g. Apple
CarPlay / Android Auto) is active. See
Retained Accessory Power (RAP) 0167. The operating temperature is
−40 °C (−40 °F)
to 85 °C (185 °F) for the charging system and
0 °C (32 °F) to 35 °C (95 °F) for the phone.
A charging stopped alert may be displayed
on the infotainment screen, if the wireless
charger or smartphone are outside of
normal operating temperature. Charging will
automatically resume when a normal
operating temperature is reached.
{Warning
Remove all objects from the charger
before charging your compatible
smartphone. Objects, such as coins, keys,
rings, paper clips, or cards, between the
smartphone and charger may become
very hot.
On the rare occasion that the charging
system does not detect an object, and
the object gets wedged between the
smartphone and charger, remove the
smartphone and allow the object to cool
before removing it from the charger, to
prevent burns.
Page 99 of 330
Buick Encore GX Owner Manual (GMNA-Localizing-U.S./Canada/Mexico-
16897608) - 2024 - CRC - 1/23/23
98 Instruments and Controls
The following conditional gauges may be
displayed while in a particular driver mode:
.Engine Oil Temperature
.Engine Oil Pressure
.Voltmeter
.Transmission Temperature
Speed Information
The following options can be turned on or
off using the infotainment display. See
Settings0136.
Digital Speedometer
The speedometer shows how fast the
vehicle is moving in either kilometers per
hour (km/h) or miles per hour (mph). The
speedometer cannot be reset.
Speed Sign
Shows sign information, which comes from a
roadway database in the onboard
navigation, if equipped. The sign will show
“− −” when there is no detected speed limit
or the system is unavailable.
Speed Warning
The overspeeding area within the analog
gauge is shown red. In digital speedometer,
the digital number is shown red.
Speedometer
The speedometer shows the vehicle speed in
either kilometers per hour (km/h) or miles
per hour (mph).
Odometer
The odometer shows how far the vehicle has
been driven, in either kilometers or miles.
Trip Odometer
The trip odometer shows how far the
vehicle has been driven since the trip
odometer was last reset.
The trip odometer is accessed and reset
through the Vehicle Status. See Vehicle
Status 0111.
Tachometer
The tachometer displays the engine speed in
revolutions per minute (rpm).
The tachometer may vary by several
hundred rpm, during Auto Stop mode, when
the engine is shutting off and restarting.
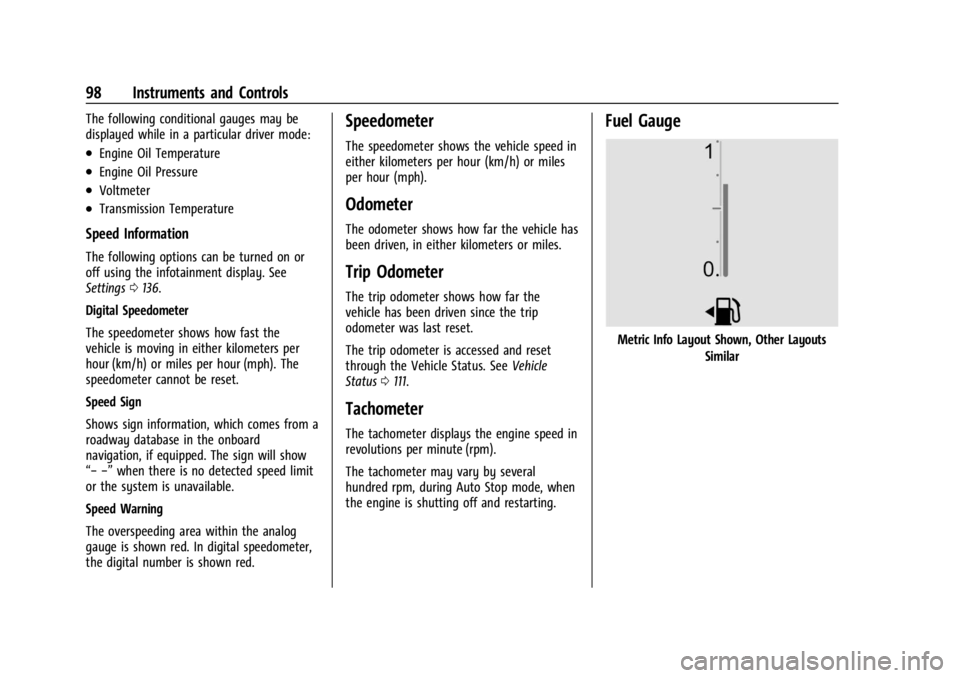
Fuel Gauge
Metric Info Layout Shown, Other Layouts
Similar
Page 103 of 330
Buick Encore GX Owner Manual (GMNA-Localizing-U.S./Canada/Mexico-
16897608) - 2024 - CRC - 1/23/23
102 Instruments and Controls
If a short distance must be driven with the
light on, be sure to turn off all accessories,
such as the radio and air conditioner. Find a
safe place to stop the vehicle.
Malfunction Indicator Lamp
(Check Engine Light)
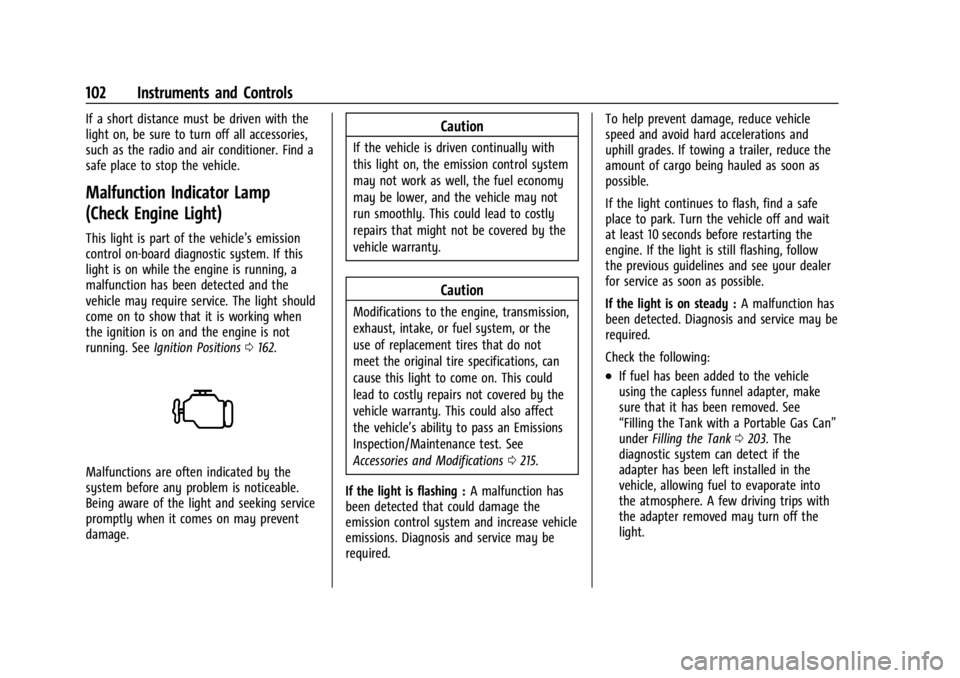
This light is part of the vehicle’s emission
control on-board diagnostic system. If this
light is on while the engine is running, a
malfunction has been detected and the
vehicle may require service. The light should
come on to show that it is working when
the ignition is on and the engine is not
running. SeeIgnition Positions 0162.
Malfunctions are often indicated by the
system before any problem is noticeable.
Being aware of the light and seeking service
promptly when it comes on may prevent
damage.
Caution
If the vehicle is driven continually with
this light on, the emission control system
may not work as well, the fuel economy
may be lower, and the vehicle may not
run smoothly. This could lead to costly
repairs that might not be covered by the
vehicle warranty.
Caution
Modifications to the engine, transmission,
exhaust, intake, or fuel system, or the
use of replacement tires that do not
meet the original tire specifications, can
cause this light to come on. This could
lead to costly repairs not covered by the
vehicle warranty. This could also affect
the vehicle’s ability to pass an Emissions
Inspection/Maintenance test. See
Accessories and Modifications 0215.
If the light is flashing : A malfunction has
been detected that could damage the
emission control system and increase vehicle
emissions. Diagnosis and service may be
required. To help prevent damage, reduce vehicle
speed and avoid hard accelerations and
uphill grades. If towing a trailer, reduce the
amount of cargo being hauled as soon as
possible.
If the light continues to flash, find a safe
place to park. Turn the vehicle off and wait
at least 10 seconds before restarting the
engine. If the light is still flashing, follow
the previous guidelines and see your dealer
for service as soon as possible.
If the light is on steady :
A malfunction has
been detected. Diagnosis and service may be
required.
Check the following:
.If fuel has been added to the vehicle
using the capless funnel adapter, make
sure that it has been removed. See
“Filling the Tank with a Portable Gas Can”
under Filling the Tank 0203. The
diagnostic system can detect if the
adapter has been left installed in the
vehicle, allowing fuel to evaporate into
the atmosphere. A few driving trips with
the adapter removed may turn off the
light.
Page 108 of 330
Buick Encore GX Owner Manual (GMNA-Localizing-U.S./Canada/Mexico-
16897608) - 2024 - CRC - 1/23/23
Instruments and Controls 107
If ESC and TCS are off, the systems do not
assist in controlling the vehicle. Adjust
driving accordingly.
Engine Coolant Temperature
Warning Light
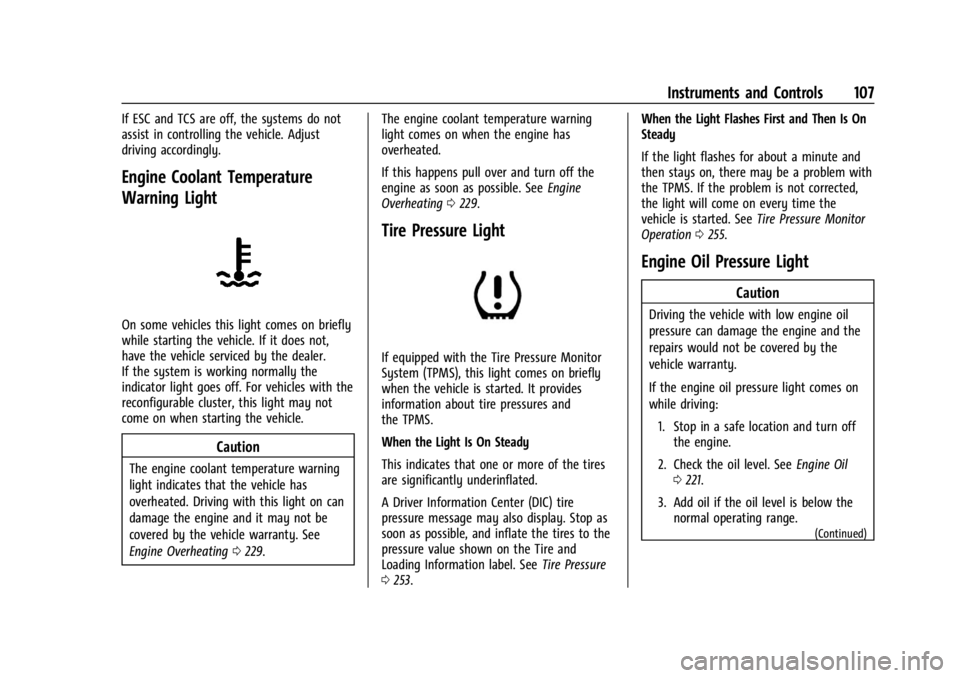
On some vehicles this light comes on briefly
while starting the vehicle. If it does not,
have the vehicle serviced by the dealer.
If the system is working normally the
indicator light goes off. For vehicles with the
reconfigurable cluster, this light may not
come on when starting the vehicle.
Caution
The engine coolant temperature warning
light indicates that the vehicle has
overheated. Driving with this light on can
damage the engine and it may not be
covered by the vehicle warranty. See
Engine Overheating0229. The engine coolant temperature warning
light comes on when the engine has
overheated.
If this happens pull over and turn off the
engine as soon as possible. See
Engine
Overheating 0229.
Tire Pressure Light
If equipped with the Tire Pressure Monitor
System (TPMS), this light comes on briefly
when the vehicle is started. It provides
information about tire pressures and
the TPMS.
When the Light Is On Steady
This indicates that one or more of the tires
are significantly underinflated.
A Driver Information Center (DIC) tire
pressure message may also display. Stop as
soon as possible, and inflate the tires to the
pressure value shown on the Tire and
Loading Information label. See Tire Pressure
0 253. When the Light Flashes First and Then Is On
Steady
If the light flashes for about a minute and
then stays on, there may be a problem with
the TPMS. If the problem is not corrected,
the light will come on every time the
vehicle is started. See
Tire Pressure Monitor
Operation 0255.
Engine Oil Pressure Light
Caution
Driving the vehicle with low engine oil
pressure can damage the engine and the
repairs would not be covered by the
vehicle warranty.
If the engine oil pressure light comes on
while driving:
1. Stop in a safe location and turn off the engine.
2. Check the oil level. See Engine Oil
0 221.
3. Add oil if the oil level is below the normal operating range.
(Continued)