reset BUICK LACROSSE 2009 Get To Know Guide
[x] Cancel search | Manufacturer: BUICK, Model Year: 2009, Model line: LACROSSE, Model: BUICK LACROSSE 2009Pages: 20, PDF Size: 0.81 MB
Page 1 of 20
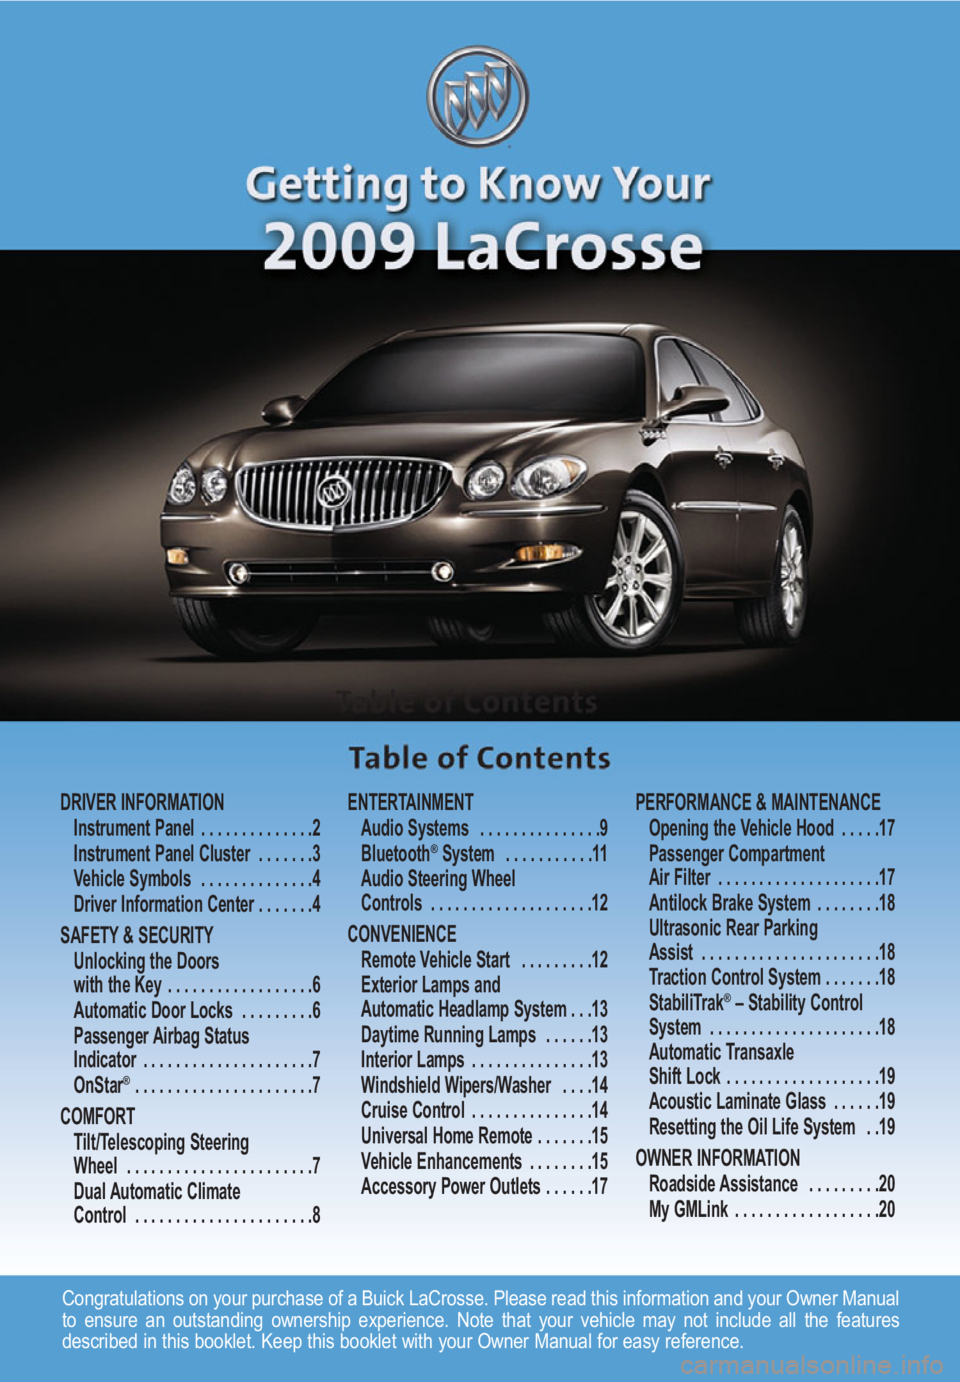
Congratulations on your purchase of a Buick LaCrosse. Please read this information and your Owner Manual
to ensure an outstanding ownership experience. Note that your vehicle may not include all the features
described in this booklet. Keep this booklet with your Owner Manual for easy reference.
DRIVER INFORMATION
Instrument Panel . . . . . . . . . . . . . .2
Instrument Panel Cluster . . . . . . .3
Vehicle Symbols . . . . . . . . . . . . . .4
Driver Information Center . . . . . . .4
SAFETY & SECURITY
Unlocking the Doors
with the Key . . . . . . . . . . . . . . . . . .6
Automatic Door Locks . . . . . . . . .6
Passenger Airbag Status
Indicator . . . . . . . . . . . . . . . . . . . . .7
OnStar
® . . . . . . . . . . . . . . . . . . . . . .7
COMFORT
Tilt/Telescoping Steering
Wheel . . . . . . . . . . . . . . . . . . . . . . .7
Dual Automatic Climate
Control . . . . . . . . . . . . . . . . . . . . . .8ENTERTAINMENT
Audio Systems . . . . . . . . . . . . . . .9
Bluetooth
®System . . . . . . . . . . .11
Audio Steering Wheel
Controls . . . . . . . . . . . . . . . . . . . .12
CONVENIENCE
Remote Vehicle Start . . . . . . . . .12
Exterior Lamps and
Automatic Headlamp System . . .13
Daytime Running Lamps . . . . . .13
Interior Lamps . . . . . . . . . . . . . . .13
Windshield Wipers/Washer . . . .14
Cruise Control . . . . . . . . . . . . . . .14
Universal Home Remote . . . . . . .15
Vehicle Enhancements . . . . . . . .15
Accessory Power Outlets . . . . . .17PERFORMANCE & MAINTENANCE
Opening the Vehicle Hood . . . . .17
Passenger Compartment
Air Filter . . . . . . . . . . . . . . . . . . . .17
Antilock Brake System . . . . . . . .18
Ultrasonic Rear Parking
Assist . . . . . . . . . . . . . . . . . . . . . .18
Traction Control System . . . . . . .18
StabiliTrak
®– Stability Control
System . . . . . . . . . . . . . . . . . . . . .18
Automatic Transaxle
Shift Lock . . . . . . . . . . . . . . . . . . .19
Acoustic Laminate Glass . . . . . .19
Resetting the Oil Life System . .19
OWNER INFORMATION
Roadside Assistance . . . . . . . . .20
My GMLink . . . . . . . . . . . . . . . . . .20
Page 4 of 20
Getting to Know Your LaCrosse4
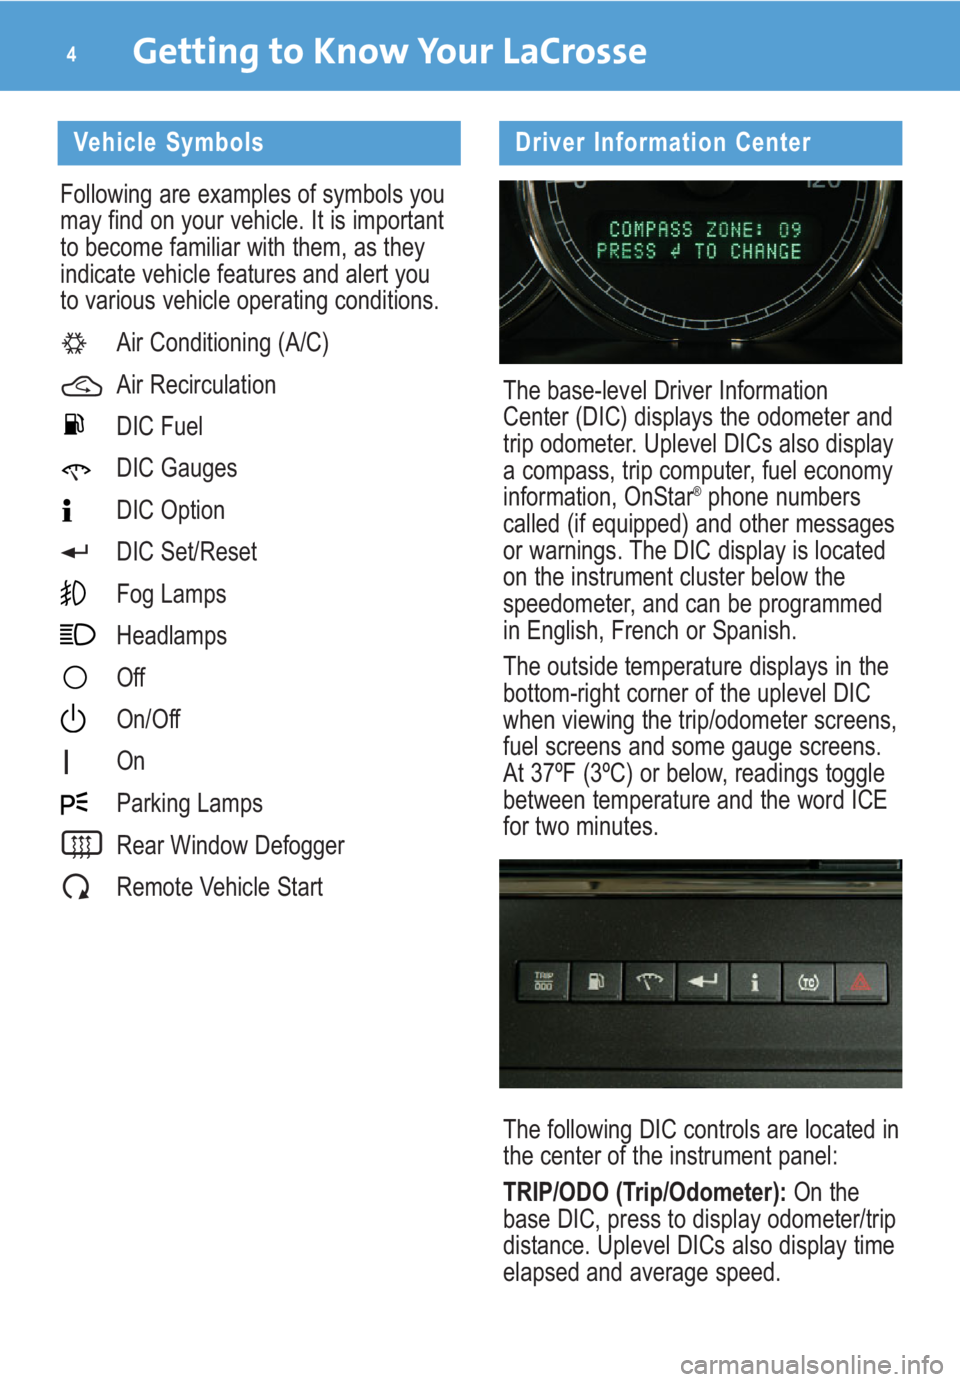
Driver Information Center
The base-level Driver Information
Center (DIC) displays the odometer and
trip odometer. Uplevel DICs also display
a compass, trip computer, fuel economy
information, OnStar
®phone numbers
called (if equipped) and other messages
or warnings. The DIC display is located
on the instrument cluster below the
speedometer, and can be programmed
in English, French or Spanish.
The outside temperature displays in the
bottom-right corner of the uplevel DIC
when viewing the trip/odometer screens,
fuel screens and some gauge screens.
At 37ºF (3ºC) or below, readings toggle
between temperature and the word ICE
for two minutes.
The following DIC controls are located in
the center of the instrument panel:
TRIP/ODO (Trip/Odometer):On the
base DIC, press to display odometer/trip
distance. Uplevel DICs also display time
elapsed and average speed.
Vehicle Symbols
Following are examples of symbols you
may find on your vehicle. It is important
to become familiar with them, as they
indicate vehicle features and alert you
to various vehicle operating conditions.
Air Conditioning (A/C)
Air Recirculation
DIC Fuel
DIC Gauges
DIC Option
DIC Set/Reset
Fog Lamps
Headlamps
Off
On/Off
On
Parking Lamps
Rear Window Defogger
Remote Vehicle Start
Page 5 of 20
5
E/M (English/Metric):On the base DIC,
press to choose English or Metric units.
On uplevel DICs, press the (Option)
button until UNITS appears. Press the
(Set/Reset) button to choose English
or Metric units.
(Set/Reset)(if equipped): Press to
set/reset certain functions and to turn
off/acknowledge DIC messages.
(Gauges)(if equipped): Press to
display battery and oil life.
(Fuel)(if equipped): Press to display
fuel range and average economy.
(Option) (if equipped): Press to dis-
play English/Metric units, language,
personalization, compass zone and
compass calibration.
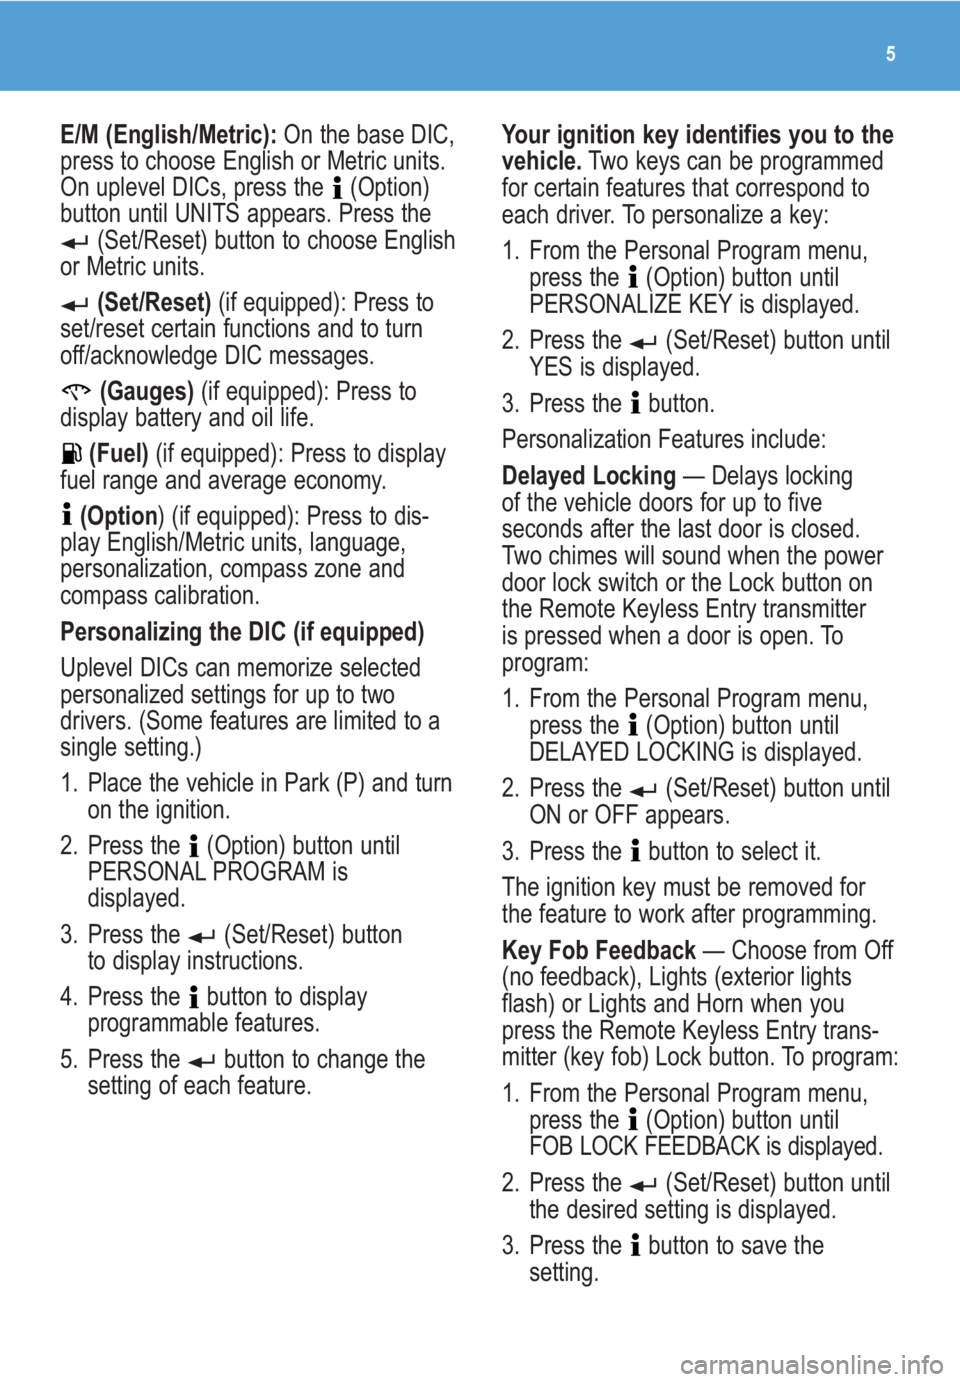
Personalizing the DIC (if equipped)
Uplevel DICs can memorize selected
personalized settings for up to two
drivers. (Some features are limited to a
single setting.)
1. Place the vehicle in Park (P) and turn
on the ignition.
2. Press the (Option) button until
PERSONAL PROGRAM is
displayed.
3. Press the (Set/Reset) button
to display instructions.
4. Press the button to display
programmable features.
5. Press the button to change the
setting of each feature.Your ignition key identifies you to the
vehicle.Two keys can be programmed
for certain features that correspond to
each driver. To personalize a key:
1. From the Personal Program menu,
press the (Option) button until
PERSONALIZE KEY is displayed.
2. Press the (Set/Reset) button until
YES is displayed.
3. Press the button.
Personalization Features include:
Delayed Locking— Delays locking
of the vehicle doors for up to five
seconds after the last door is closed.
Two chimes will sound when the power
door lock switch or the Lock button on
the Remote Keyless Entry transmitter
is pressed when a door is open. To
program:
1. From the Personal Program menu,
press the (Option) button until
DELAYED LOCKING is displayed.
2. Press the (Set/Reset) button until
ON or OFF appears.
3. Press the button to select it.
The ignition key must be removed for
the feature to work after programming.
Key Fob Feedback— Choose from Off
(no feedback), Lights (exterior lights
flash) or Lights and Horn when you
press the Remote Keyless Entry trans-
mitter (key fob) Lock button. To program:
1. From the Personal Program menu,
press the (Option) button until
FOB LOCK FEEDBACK is displayed.
2. Press the (Set/Reset) button until
the desired setting is displayed.
3. Press the button to save the
setting.
Page 6 of 20
Getting to Know Your LaCrosse6
Unlocking the Doors with the Key
Your vehicle’s passenger doors can be
unlocked using the driver’s door key.
With the key in the lock cylinder:
• Turn the key toward the front of the
vehicle to unlock the driver’s door.
• Turn and hold the key toward the
front of the vehicle for two seconds
to unlock all doors.
• Turn and hold the key toward the rear
of the vehicle to lock all doors.
See Section 2 of your Owner Manual.
SAFETY & SECURITY
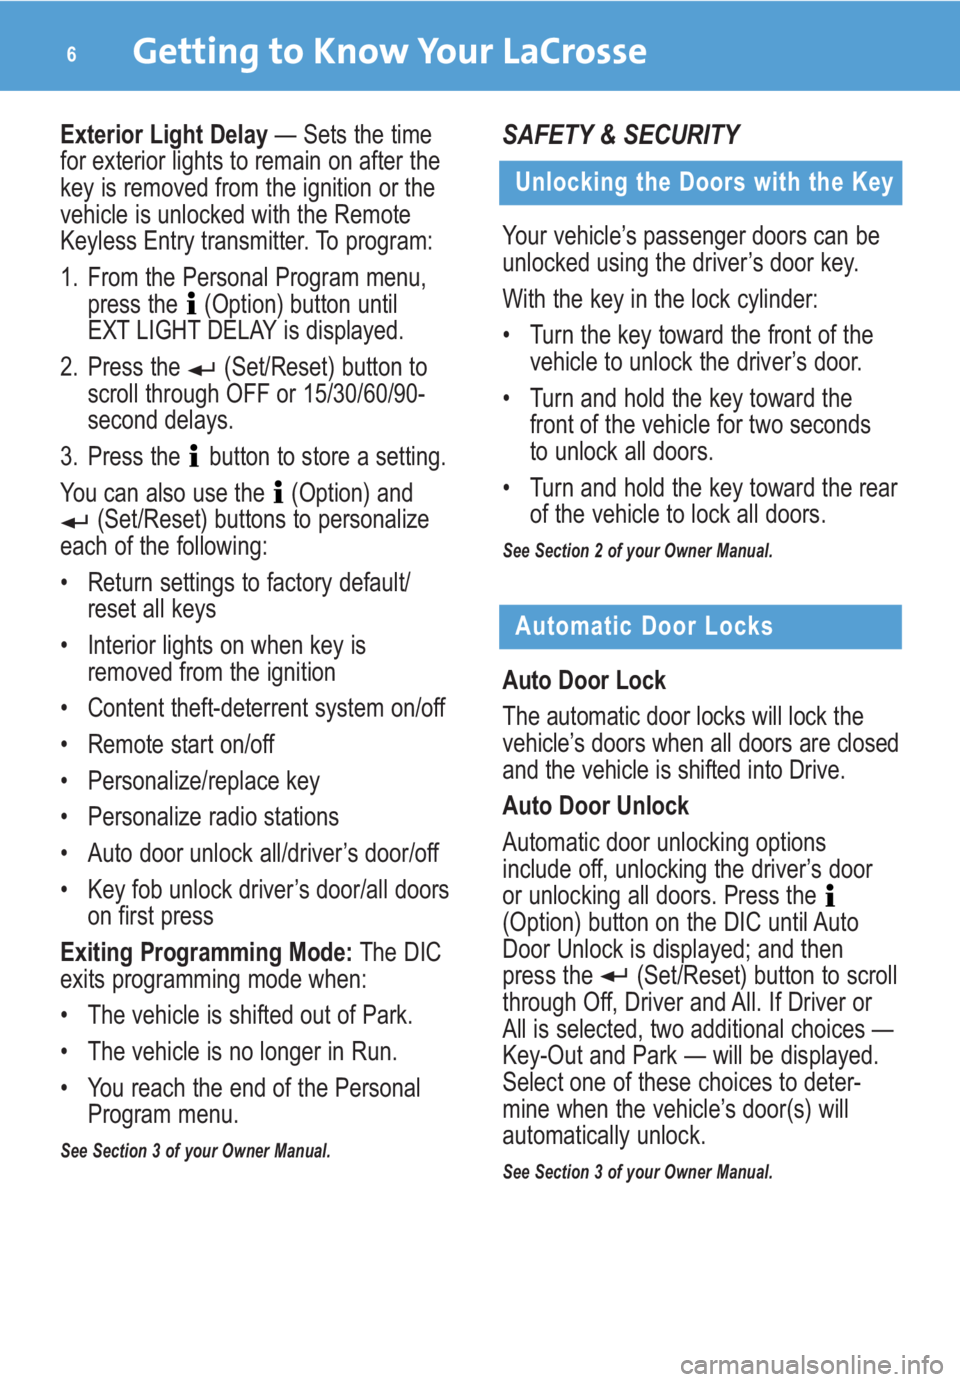
Automatic Door Locks
Auto Door Lock
The automatic door locks will lock the
vehicle’s doors when all doors are closed
and the vehicle is shifted into Drive.
Auto Door Unlock
Automatic door unlocking options
include off, unlocking the driver’s door
or unlocking all doors. Press the
(Option) button on the DIC until Auto
Door Unlock is displayed; and then
press the (Set/Reset) button to scroll
through Off, Driver and All. If Driver or
All is selected, two additional choices —
Key-Out and Park — will be displayed.
Select one of these choices to deter-
mine when the vehicle’s door(s) will
automatically unlock.
See Section 3 of your Owner Manual.
Exterior Light Delay— Sets the time
for exterior lights to remain on after the
key is removed from the ignition or the
vehicle is unlocked with the Remote
Keyless Entry transmitter. To program:
1. From the Personal Program menu,
press the (Option) button until
EXT LIGHT DELAY is displayed.
2. Press the (Set/Reset) button to
scroll through OFF or 15/30/60/90-
second delays.
3. Press the button to store a setting.
You can also use the (Option) and
(Set/Reset) buttons to personalize
each of the following:
• Return settings to factory default/
reset all keys
• Interior lights on when key is
removed from the ignition
• Content theft-deterrent system on/off
• Remote start on/off
• Personalize/replace key
• Personalize radio stations
• Auto door unlock all/driver’s door/off
• Key fob unlock driver’s door/all doors
on first press
Exiting Programming Mode:The DIC
exits programming mode when:
• The vehicle is shifted out of Park.
• The vehicle is no longer in Run.
• You reach the end of the Personal
Program menu.
See Section 3 of your Owner Manual.
Page 9 of 20
9
ENTERTAINMENT
Audio Systems
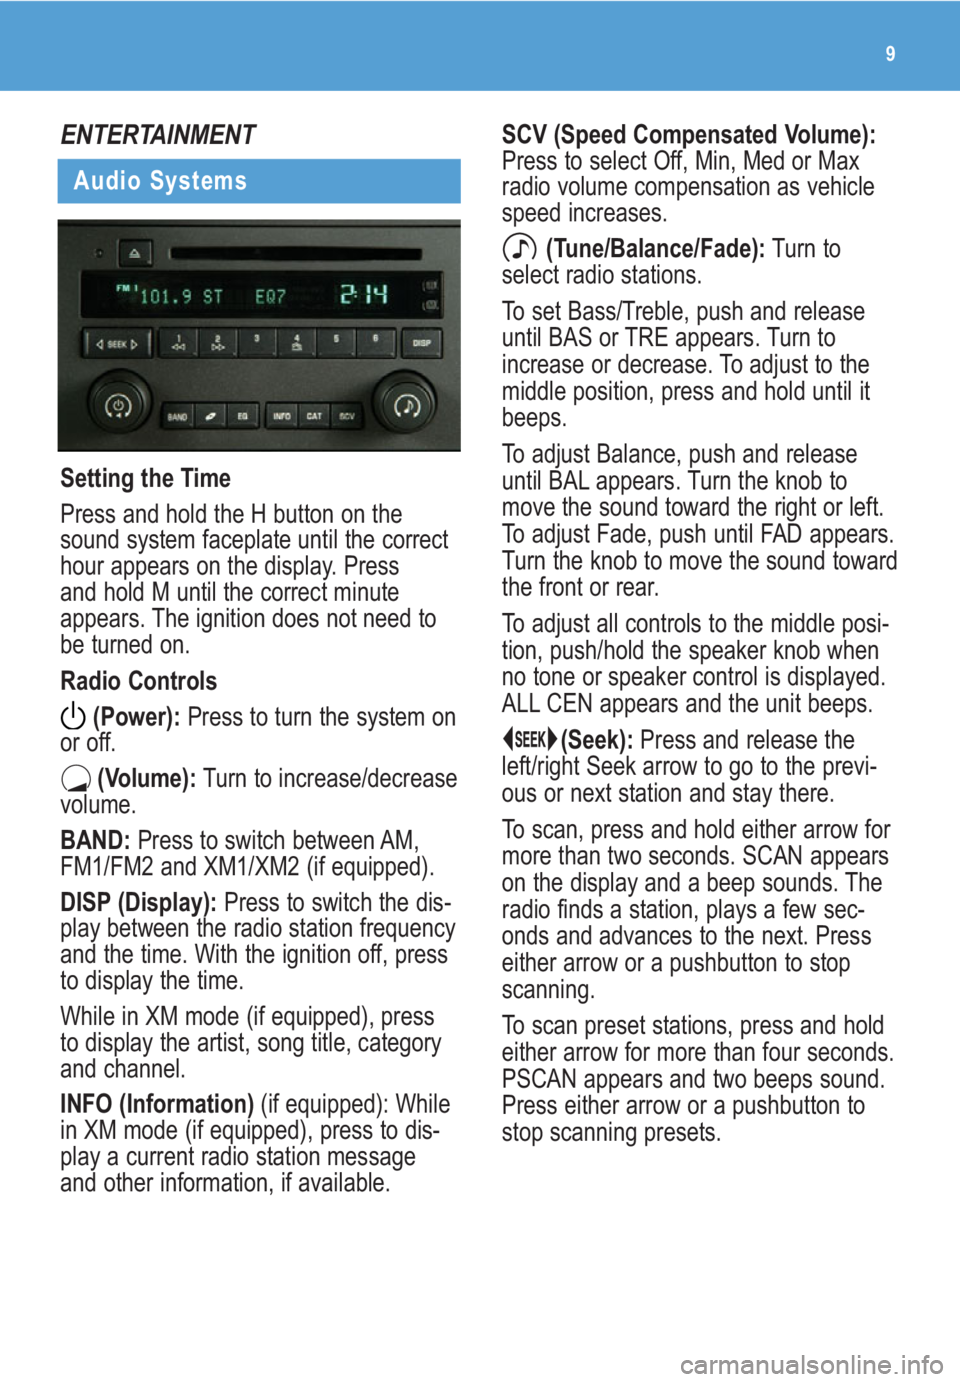
Setting the Time
Press and hold the H button on the
sound system faceplate until the correct
hour appears on the display. Press
and hold M until the correct minute
appears. The ignition does not need to
be turned on.
Radio Controls
(Power):Press to turn the system on
or off.
(Volume):Turn to increase/decrease
volume.
BAND:Press to switch between AM,
FM1/FM2 and XM1/XM2 (if equipped).
DISP (Display): Press to switch the dis-
play between the radio station frequency
and the time. With the ignition off, press
to display the time.
While in XM mode (if equipped), press
to display the artist, song title, category
and channel.
INFO (Information) (if equipped): While
in XM mode (if equipped), press to dis-
play a current radio station message
and other information, if available.
SCV (Speed Compensated Volume):
Press to select Off, Min, Med or Max
radio volume compensation as vehicle
speed increases.
(Tune/Balance/Fade):Turn to
select radio stations.
To set Bass/Treble, push and release
until BAS or TRE appears. Turn to
increase or decrease. To adjust to the
middle position, press and hold until it
beeps.
To adjust Balance, push and release
until BAL appears. Turn the knob to
move the sound toward the right or left.
To adjust Fade, push until FAD appears.
Turn the knob to move the sound toward
the front or rear.
To adjust all controls to the middle posi-
tion, push/hold the speaker knob when
no tone or speaker control is displayed.
ALL CEN appears and the unit beeps.
(Seek):Press and release the
left/right Seek arrow to go to the previ-
ous or next station and stay there.
To scan, press and hold either arrow for
more than two seconds. SCAN appears
on the display and a beep sounds. The
radio finds a station, plays a few sec-
onds and advances to the next. Press
either arrow or a pushbutton to stop
scanning.
To scan preset stations, press and hold
either arrow for more than four seconds.
PSCAN appears and two beeps sound.
Press either arrow or a pushbutton to
stop scanning presets.
Page 10 of 20
Getting to Know Your LaCrosse10
Setting Preset Stations
1. With the radio on, press BAND to
select AM/FM1/FM2 or XM1/XM2
(if equipped).
2. Tune to the desired station.
3. Press EQ to select equalization.
4. Press and hold a numbered push-
button until a beep sounds.
Repeat for each pushbutton of each
band (up to 30 possible stations).
CD Controls
With the ignition on, insert a CD, label
side up, partway into the slot. The player
will pull it in and begin playing. To insert
with ignition off, first press eject or DISP.
1 (Reverse):Press to go to the
start of the current track if more than
eight seconds have played. Hold or
press more than once to move back-
ward through the CD tracks.
2 (Fast Forward):Press to go to
the next track. Hold or press more than
once to forward through the upcoming
CD tracks.
4RDM (Random):Press to hear tracks
in random order. Press again to disable
random play.
(Seek):Press the left arrow to go
to the start of the current track or the
previous track. Press the right arrow to
go to the start of the next track. Press
the arrows for more than two seconds to
search previous or next tracks. Release
to stop searching and play the track.
DISP (Display):Press to display the
current CD track and the elapsed time
the current track has played.BAND:Press to switch to the radio
when a CD is playing. The CD remains
inside the player.
(CD):Press to play a CD when the
radio is playing.
EQ (if equipped): Press to select cus-
tomized equalization settings for C&W,
Jazz, Talk, Pop, Rock and Classical
music. To return to manual mode,
press and release the Tone knob until
MANUAL is displayed.
(Eject):Press to eject a CD, with
the ignition off or on, or the radio off.
Load CDs with the ignition off by press-
ing this button first.
MP3-Capable Uplevel Radio
(if equipped)
Play MP3 files on CD-R CDs. To play,
with the ignition on, insert the disc
partway into the slot, label side up.
The player will pull it in. READING
appears on the display and the disc
plays. Smaller, 3-inch (8-cm) single CDs
may be used with an adapter ring.
3 (Repeat):Press to hear a track
again. RPT is displayed. Press again to
disable repeat play.
5 (Previous Folder):Press to go to
the first track in the previous folder.
Pressing while in Folder Random mode
takes you to the previous folder and
plays random tracks there.
6 (Next Folder):Press to go to the
first track in the next folder. Pressing
while in Folder Random mode takes you
to the next folder and plays random
tracks there.
Page 19 of 20
Acoustic Laminate Glass
Special windshield and front door win-
dow glass composition reduces wind
and road noise. If replacement is neces-
sary, see your dealer or specify acoustic
laminateglass from the supplier. Failure
to do so can result in added wind and
outside noise in the cabin.
Automatic Transaxle Shift Lock
If the battery fails and it is necessary
to move the vehicle, the Automatic
Transaxle Shift Lock can be disabled to
allow the transaxle to be shifted out of
Park. Turn the ignition key to ACC posi-
tion, and shift the transaxle into Neutral.
With the car in Neutral, the vehicle can
be pushed out of a confined area.
See Sections 2 and 5 of your Owner Manual.
Resetting the Oil Life System
The Oil Life System calculates engine oil
life based on vehicle use and displays
CHANGE OIL SOON in the Driver
Information Center (DIC) when it’s nec-
essary to change your engine oil and fil-
ter. The Oil Life System should be reset
to 100% only following an oil change.
To reset the Oil Life System:
1. Turn on the ignition, with the engine
off.
2. Press the (Option) button until
the DIC displays ENGINE OIL
MONITOR.
3. Press the (Set/Reset) button. The
next screen indicates the system has
been reset.
4. Turn off the ignition.
See Section 5 of your Owner Manual.
19