headlamp BUICK LACROSSE 2010 Owner's Manual
[x] Cancel search | Manufacturer: BUICK, Model Year: 2010, Model line: LACROSSE, Model: BUICK LACROSSE 2010Pages: 414
Page 1 of 414
2010 Buick LaCrosse Owner ManualM
Keys, Doors and Windows. . . 1-1
Keys and Locks . . . . . . . . . . . . . . . 1-2
Doors . . . . . . . . . . . . . . . . . . . . . . . . . 1-11
Vehicle Security . . . . . . . . . . . . . . 1-13
Exterior Mirrors . . . . . . . . . . . . . . . 1-15
Interior Mirrors . . . . . . . . . . . . . . . . 1-16
Windows . . . . . . . . . . . . . . . . . . . . . 1-17
Roof . . . . . . . . . . . . . . . . . . . . . . . . . . 1-19
Seats and Restraints . . . . . . . . . 2-1
Head Restraints . . . . . . . . . . . . . . . 2-2
Front Seats . . . . . . . . . . . . . . . . . . . . 2-3
Rear Seats . . . . . . . . . . . . . . . . . . . . 2-9
Safety Belts . . . . . . . . . . . . . . . . . . 2-10
Airbag System . . . . . . . . . . . . . . . . 2-24
Child Restraints . . . . . . . . . . . . . . 2-40
Storage . . . . . . . . . . . . . . . . . . . . . . . 3-1
Storage Compartments . . . . . . . . 3-1
Additional Storage Features . . . 3-2 Instruments and Controls
. . . . 4-1
Instrument Panel Overview . . . . 4-4
Controls . . . . . . . . . . . . . . . . . . . . . . . 4-6
Warning Lights, Gages, and
Indicators . . . . . . . . . . . . . . . . . . . 4-12
Information Displays . . . . . . . . . . 4-25
Vehicle Messages . . . . . . . . . . . . 4-32
Vehicle Personalization . . . . . . . 4-38
OnStar System
®. . . . . . . . . . . . . . 4-43
Universal Remote System . . . . 4-45
Lighting . . . . . . . . . . . . . . . . . . . . . . . 5-1
Exterior Lighting . . . . . . . . . . . . . . . 5-1
Interior Lighting . . . . . . . . . . . . . . . . 5-5
Lighting Features . . . . . . . . . . . . . . 5-6
Infotainment System . . . . . . . . . 6-1
Introduction . . . . . . . . . . . . . . . . . . . . 6-2
Radio . . . . . . . . . . . . . . . . . . . . . . . . . 6-12
Audio Players . . . . . . . . . . . . . . . . 6-20
Rear Seat Infotainment . . . . . . . 6-34
Phone . . . . . . . . . . . . . . . . . . . . . . . . 6-42 Climate Controls
. . . . . . . . . . . . . 7-1
Climate Control Systems . . . . . . 7-1
Air Vents . . . . . . . . . . . . . . . . . . . . . . . 7-8
Maintenance . . . . . . . . . . . . . . . . . . . 7-8
Driving and Operating . . . . . . . . 8-1
Driving Information . . . . . . . . . . . . . 8-2
Starting and Operating . . . . . . . 8-17
Engine Exhaust . . . . . . . . . . . . . . 8-26
Automatic Transmission . . . . . . 8-27
Drive Systems . . . . . . . . . . . . . . . . 8-30
Brakes . . . . . . . . . . . . . . . . . . . . . . . 8-31
Ride Control Systems . . . . . . . . 8-34
Cruise Control . . . . . . . . . . . . . . . . 8-37
Object Detection Systems . . . . 8-40
Fuel . . . . . . . . . . . . . . . . . . . . . . . . . . 8-49
Towing . . . . . . . . . . . . . . . . . . . . . . . 8-54
Conversions and Add-Ons . . . 8-60
Vehicle Care . . . . . . . . . . . . . . . . . . 9-1
General Information . . . . . . . . . . . . 9-2
Vehicle Checks . . . . . . . . . . . . . . . . 9-4
Headlamp Aiming . . . . . . . . . . . . 9-30
Page 5 of 414
Introduction v
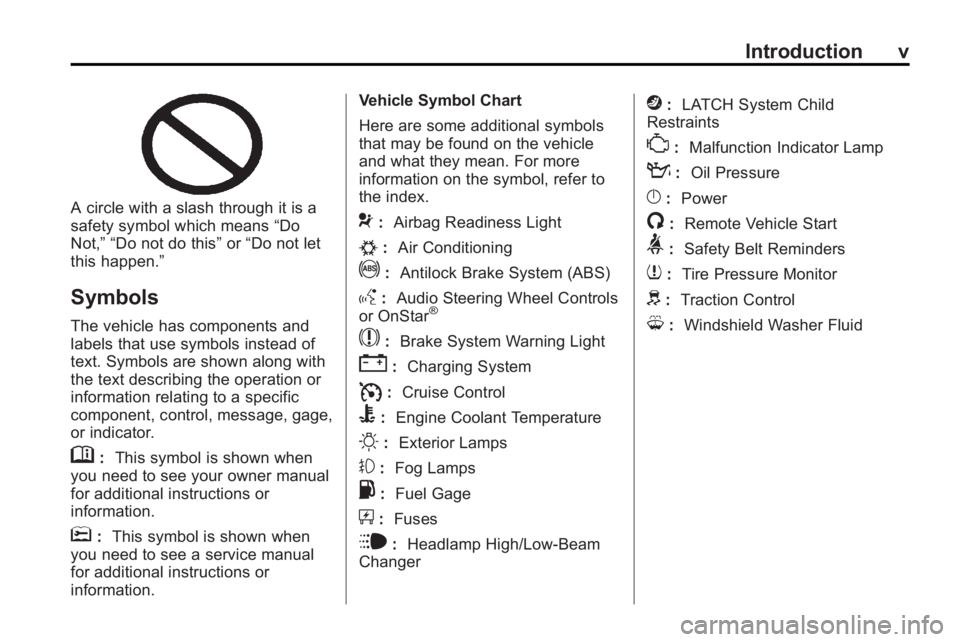
A circle with a slash through it is a
safety symbol which means“Do
Not,” “Do not do this” or“Do not let
this happen.”
Symbols
The vehicle has components and
labels that use symbols instead of
text. Symbols are shown along with
the text describing the operation or
information relating to a specific
component, control, message, gage,
or indicator.
M: This symbol is shown when
you need to see your owner manual
for additional instructions or
information.
*: This symbol is shown when
you need to see a service manual
for additional instructions or
information. Vehicle Symbol Chart
Here are some additional symbols
that may be found on the vehicle
and what they mean. For more
information on the symbol, refer to
the index.
9:
Airbag Readiness Light
#:Air Conditioning
!:Antilock Brake System (ABS)
g:Audio Steering Wheel Controls
or OnStar®
$: Brake System Warning Light
":Charging System
I:Cruise Control
B: Engine Coolant Temperature
O:Exterior Lamps
#:Fog Lamps
.: Fuel Gage
+:Fuses
i: Headlamp High/Low-Beam
Changer
j: LATCH System Child
Restraints
*: Malfunction Indicator Lamp
::Oil Pressure
}:Power
/:Remote Vehicle Start
>:Safety Belt Reminders
7:Tire Pressure Monitor
d:Traction Control
M:Windshield Washer Fluid
Page 21 of 414
Keys, Doors and Windows 1-15
If the keyless access transmitter
appears to be undamaged, try
another keyless access transmitter.
Or, you may try placing the
transmitter in the transmitter pocket
located in the center console. See
“No Remote Detected”underKey
and Lock Messages on page 4‑36.
If the engine does not start with the
other transmitter or when the
transmitter is on the pocket in the
center console, your vehicle needs
service. See your dealer/retailer
who can service the theft-deterrent
system and have a new transmitter
programmed to the vehicle.
Do not leave the key or device that
disarms or deactivates the theft
deterrent system in the vehicle.Exterior Mirrors
Power Mirrors
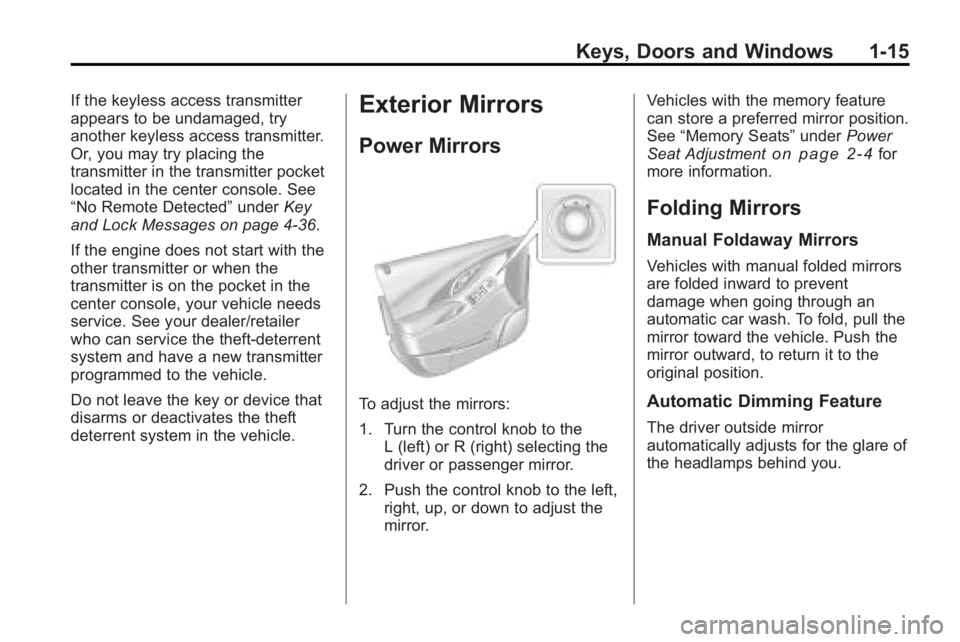
To adjust the mirrors:
1. Turn the control knob to the L (left) or R (right) selecting the
driver or passenger mirror.
2. Push the control knob to the left, right, up, or down to adjust the
mirror. Vehicles with the memory feature
can store a preferred mirror position.
See
“Memory Seats” underPower
Seat Adjustment
on page 2‑4for
more information.
Folding Mirrors
Manual Foldaway Mirrors
Vehicles with manual folded mirrors
are folded inward to prevent
damage when going through an
automatic car wash. To fold, pull the
mirror toward the vehicle. Push the
mirror outward, to return it to the
original position.
Automatic Dimming Feature
The driver outside mirror
automatically adjusts for the glare of
the headlamps behind you.
Page 22 of 414
1-16 Keys, Doors and Windows
Turn Signal Indicator
The vehicle might have a turn signal
indicator lamp that is built into the
mirror housing. The turn signal lamp
flashes with the use of the vehicle's
turn signal and hazard flashers.
Heated Mirrors
For vehicles with heated mirrors:
<(Rear Window Defogger):
Press to heat the mirrors.
See “Rear Window Defogger” under
Automatic Climate Control System
on page 7‑1for more information.
Park Tilt Mirrors
If the vehicle has the memory
package, the outside mirrors have a
park tilt feature. This feature tilts the
outside mirrors to a preselected
position when the vehicle is in
R (Reverse). This allows the driver
to view the curb for parallel parking.
The passenger and driver mirror
returns to its original position when
the vehicle is shifted out of
R (Reverse), or the ignition is turned
off or to OFF/LOCK.
This feature can be turned on or off
through the Driver Information
Center (DIC). See Vehicle
Personalization
on page 4‑38for
more information.
Interior Mirrors
Manual Rearview Mirror
Adjust this mirror for a clear view of
the area behind the vehicle. Hold
the mirror in the center to move it
up, down, or side-to-side. To reduce
headlamp glare during night-time
use, move the lever at the bottom of
the mirror to the right.
Vehicles with OnStar
®have three
additional control buttons located at
the bottom of the mirror. See your
dealer/retailer for more information
on the system and how to subscribe
to OnStar. See OnStar
®Systemon
page 4‑43for more information
about the services OnStar provides.
Page 112 of 414
4-24 Instruments and Controls
If the light comes on and stays on, it
means that oil is not flowing through
the engine properly. The vehicle
could be low on oil and might have
some other system problem. See
your dealer/retailer.
For vehicles with the uplevel cluster
this telltale displays in the Driver
Information Center (DIC) screen.
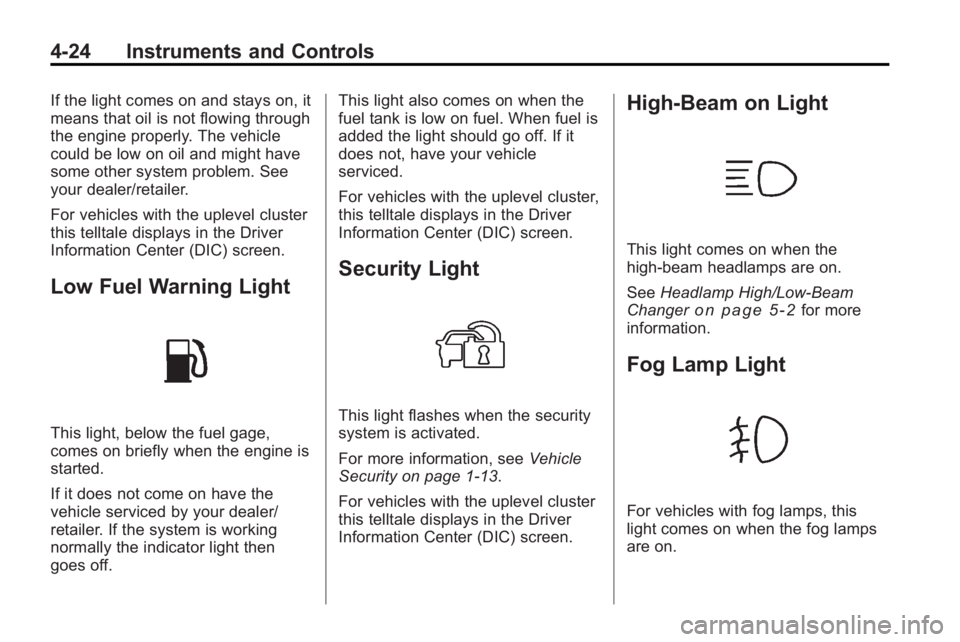
Low Fuel Warning Light
This light, below the fuel gage,
comes on briefly when the engine is
started.
If it does not come on have the
vehicle serviced by your dealer/
retailer. If the system is working
normally the indicator light then
goes off.This light also comes on when the
fuel tank is low on fuel. When fuel is
added the light should go off. If it
does not, have your vehicle
serviced.
For vehicles with the uplevel cluster,
this telltale displays in the Driver
Information Center (DIC) screen.
Security Light
This light flashes when the security
system is activated.
For more information, see
Vehicle
Security on page 1‑13.
For vehicles with the uplevel cluster
this telltale displays in the Driver
Information Center (DIC) screen.
High-Beam on Light
This light comes on when the
high-beam headlamps are on.
See Headlamp High/Low-Beam
Changer
on page 5‑2for more
information.
Fog Lamp Light
For vehicles with fog lamps, this
light comes on when the fog lamps
are on.
Page 139 of 414
Lighting 5-1
Lighting
Exterior Lighting
Exterior Lamp Controls . . . . . . . . 5-1
Exterior Lamps OffReminder . . . . . . . . . . . . . . . . . . . . 5-2
Headlamp High/Low-Beam Changer . . . . . . . . . . . . . . . . . . . . . 5-2
Flash-to-Pass . . . . . . . . . . . . . . . . . 5-2
Daytime Running Lamps (DRL) . . . . . . . . . . . . . . . . 5-2
Automatic Headlamp System . . . . . . . . . . . . . . . . . . . . . . 5-3
Adaptive Forward Lighting (AFL) . . . . . . . . . . . . . . . 5-3 Hazard Warning Flashers . . . . . 5-4
Turn and Lane-Change
Signals . . . . . . . . . . . . . . . . . . . . . . 5-4
Fog Lamps . . . . . . . . . . . . . . . . . . . . 5-5Interior Lighting
Instrument Panel Illumination Control . . . . . . . . . . . . . . . . . . . . . . 5-5
Dome Lamps . . . . . . . . . . . . . . . . . 5-5
Reading Lamps . . . . . . . . . . . . . . . 5-5
Sun Visor Lamps . . . . . . . . . . . . . . 5-5
Lighting Features
Entry Lighting . . . . . . . . . . . . . . . . . 5-6
Exit Lighting . . . . . . . . . . . . . . . . . . . 5-6
Battery Load Management . . . . 5-6
Battery Power Protection . . . . . . 5-7
Exterior Lighting
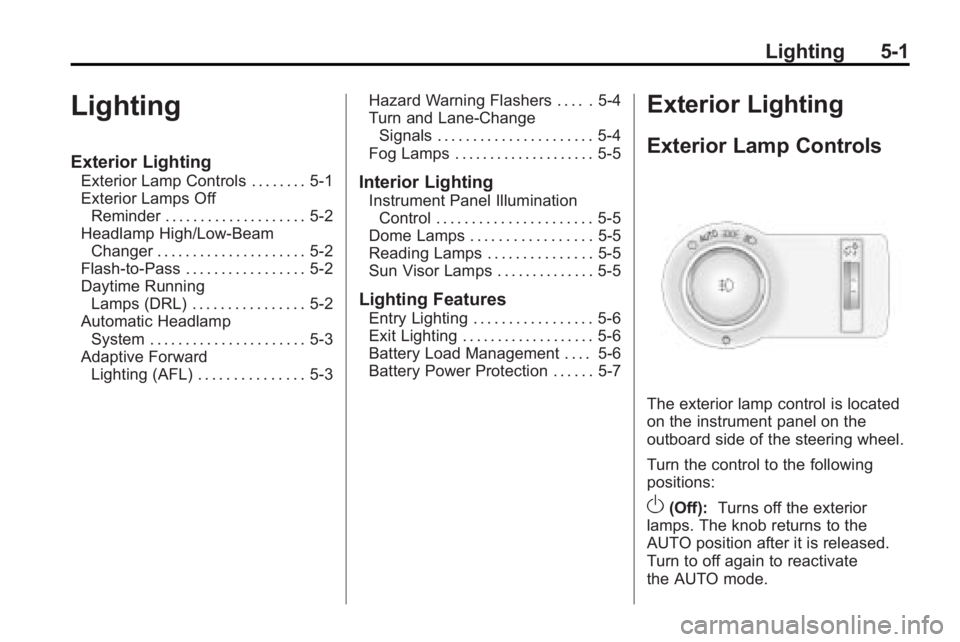
Exterior Lamp Controls
The exterior lamp control is located
on the instrument panel on the
outboard side of the steering wheel.
Turn the control to the following
positions:
O(Off): Turns off the exterior
lamps. The knob returns to the
AUTO position after it is released.
Turn to off again to reactivate
the AUTO mode.
Page 140 of 414
5-2 Lighting
AUTO (Automatic):Automatically
turns the exterior lamps on and off,
depending on outside lighting.
The current status of the AUTO
system is displayed in the Driver
Information Center (DIC) uplevel
display. See Driver Information
Center (DIC) on page 4‑25.
; (Parking Lamps): Turns on the
parking lamps together with the
following:
.Sidemarker Lamps
.Taillamps
.License Plate Lamps
.Instrument Panel Lights
2(Headlamps): Turns on the
headlamps together with the
following:
.Sidemarker Lamps
.Taillamps
.License Plate Lamps
.Instrument Panel Lights
.Parking Lamps
Exterior Lamps Off
Reminder
A warning chime sounds, if the
driver door is opened while the
ignition is off and the exterior lamps
are on.
Headlamp High/
Low-Beam Changer
2 3
Headlamp High/Low Beam
Changer: Push the turn signal/lane
change lever away from you and
release, to turn the high beams on.
Pull the lever towards you to return
to low beams.
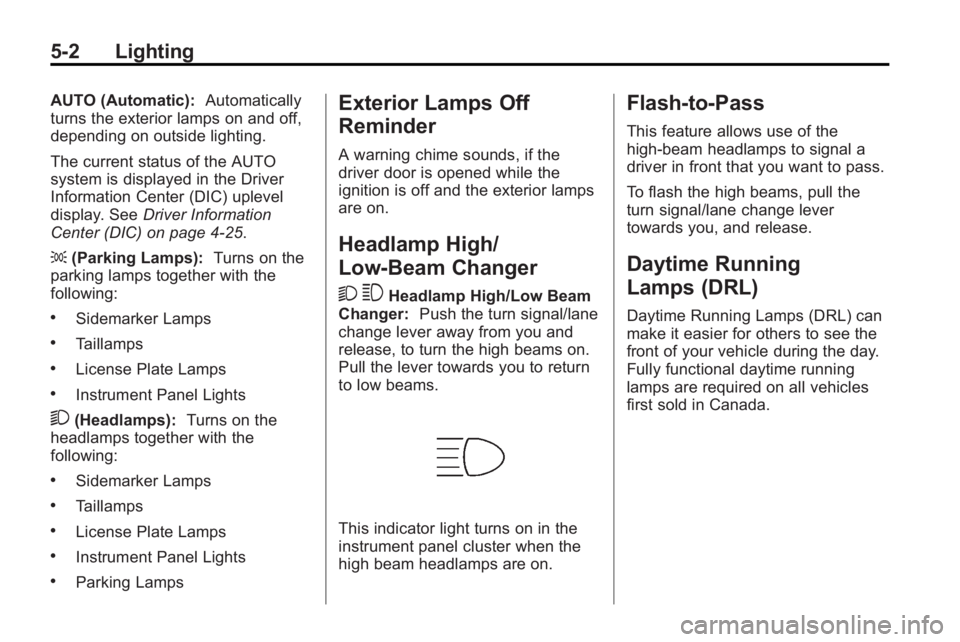
This indicator light turns on in the
instrument panel cluster when the
high beam headlamps are on.
Flash-to-Pass
This feature allows use of the
high-beam headlamps to signal a
driver in front that you want to pass.
To flash the high beams, pull the
turn signal/lane change lever
towards you, and release.
Daytime Running
Lamps (DRL)
Daytime Running Lamps (DRL) can
make it easier for others to see the
front of your vehicle during the day.
Fully functional daytime running
lamps are required on all vehicles
first sold in Canada.
Page 141 of 414
Lighting 5-3
The DRL system turns on the
low-beam headlamps at a reduced
brightness or for vehicles with
High Intensity Discharge (HID)
headlamps, the dedicated
DRL lights will come on when
the following conditions are met:
.The engine is running,
.The exterior lamp band is in
AUTO, and
.The light sensor determines it
is daytime.
When the DRL are on, the
low-beam headlamps will be on.
The taillamps, sidemarker,
instrument panel lights and other
lamps will not be on.
The DRL turn off when the
headlamps are turned to
Oor the
ignition is off.
Automatic Headlamp
System
When the exterior lamp control is
set to AUTO and it is dark enough
outside, the headlamps come on
automatically.
There is a light sensor located on
top of the instrument panel. Do not
cover the sensor or the headlamps
will come on when they are not
needed.
The system may also turn on the
headlamps when driving through a
parking garage or tunnel.
When it is bright enough outside the
headlamps will turn off or may
change to daytime running
lamps (DRL).
The automatic headlamp system
turns off when the exterior lamp
control is turned to
Oor the ignition
is off.
Adaptive Forward
Lighting (AFL)
The Adaptive Forward Lighting
System (AFL) pivots the headlamps
horizontally to provide greater road
illumination while turning. To enable
AFL, set the exterior lamp switch to
the AUTO position. Moving the
switch out of the AUTO position
deactivates the system. AFL
operates when the vehicle speed is
greater than 3 km/h (2 mph).
AFL does not operate when the
transmission is in R (Reverse).
AFL is not immediately operable
after starting the vehicle; driving a
short distance is required to
calibrate the AFL. See Exterior
Lamp Controls on page 5‑1.
Page 143 of 414
Lighting 5-5
Fog Lamps
For vehicles with fog lamps, the
button is located on the exterior
lamp control, on the outboard side
of the steering wheel.
To turn on the fog lamps, the ignition
and the headlamps or parking lamps
must be on.
If the fog lamps are turned on while
the exterior lamp switch is in the
AUTO position, the headlamps
come on automatically.
#:Press to turn on or off. An
indicator light on the instrument
panel cluster comes on when the
fog lamps are on.
Some localities have laws that
require the headlamps to be on
along with the fog lamps.
Interior Lighting
Instrument Panel
Illumination Control
The brightness of the instrument
panel lighting and steering wheel
controls can be adjusted. Use the
thumbwheel located next to the
exterior lamps control on the
outboard side of the steering wheel.
D: Move the thumbwheel up or
down to brighten or dim the lights.
Dome Lamps
The interior lamps control located in
the overhead console controls both
the front and rear interior lamps.
To operate, press the following
buttons:
*(Off): Turns the lamp off.
1Door: Turns the lamp on when
any door is opened.
+ON: Keeps the lamp on all
the time.
Reading Lamps
There are front and rear reading
lamps.
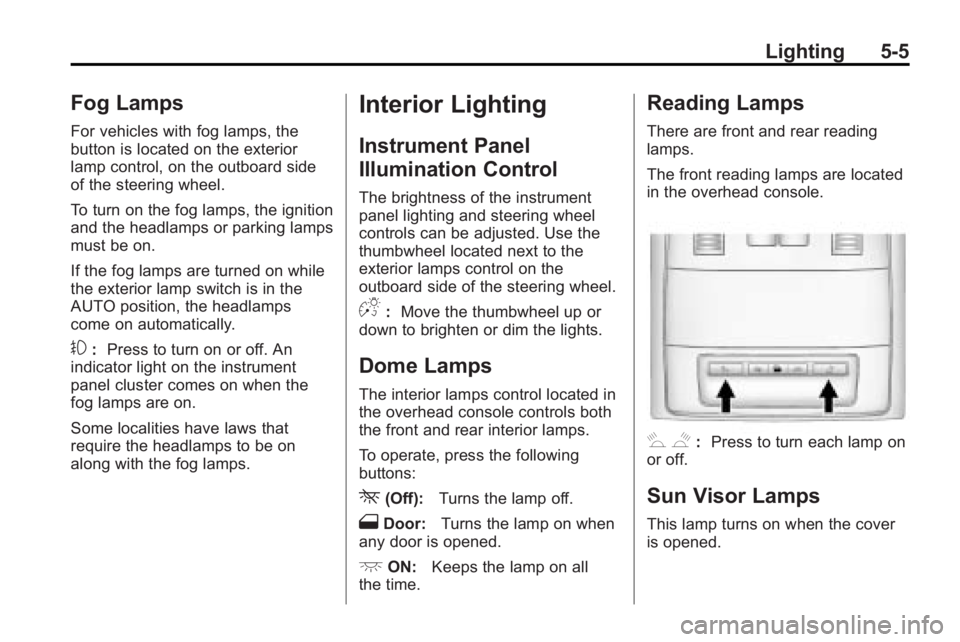
The front reading lamps are located
in the overhead console.
# $: Press to turn each lamp on
or off.
Sun Visor Lamps
This lamp turns on when the cover
is opened.
Page 144 of 414
5-6 Lighting
Lighting Features
Entry Lighting
The headlamps, taillamps, license
plate lamps, reverse lamps, dome
lamps, and most of the interior lights
turn on briefly, when the Remote
Keyless Entry (RKE)
Kis pressed,
or when the door handle is pulled on
a Keyless Access Vehicle. See
Ignition Positions (Key Access)
on
page 8‑18or Ignition Positions
(Keyless Access)on page 8‑19.
After about 30 seconds the exterior
lamps turn off, and then the dome
and remaining interior lights will dim
to off. Entry lighting can be disabled
manually by changing the ignition
out of the OFF position, or by
pressing the Remote Keyless
Entry (RKE)
Qbutton. This feature can be activated or
deactivated in the menu SETTINGS
in the Info Display. Press CONFIG
on the infotainment system to call
up the menu. See
Vehicle
Personalization on page 4‑38.
Exit Lighting
The headlamps, taillamps, parking
lamps, reverse lamps, and license
plate lamps come on at night, or in
areas with limited lighting, when the
key is removed from the ignition.
The dome lamps also come on
when the key is removed from the
ignition. The exterior lights and
dome lamps remain on after the
door is closed for a set amount of
time, then automatically turn off.
For a vehicle with Keyless Access,
the exterior lights and dome lamps
automatically turn on when a door is
opened after the ignition is turned
off. See Ignition Positions (Key
Access)
on page 8‑18or Ignition
Positions (Keyless Access)on
page 8‑19. The exterior lights turn off
immediately by turning the exterior
lamps control to OFF.
The exit lighting feature can be
activated, deactivated, or the
timeframe for the lighting can be
changed in the menu Settings in the
Info. Display. Press CONFIG on the
Infotainment system to access the
menu. See
Vehicle Personalization
on page 4‑38.
Battery Load
Management
The vehicle has Electric Power
Management (EPM) that estimates
the battery's temperature and state
of charge. It then adjusts the voltage
for best performance and extended
life of the battery.
When the battery's state of charge
is low, the voltage is raised slightly
to quickly bring the charge back up.
When the state of charge is high,
the voltage is lowered slightly to
prevent overcharging. If the vehicle