odometer BUICK LESABRE 2004 Owner's Manual
[x] Cancel search | Manufacturer: BUICK, Model Year: 2004, Model line: LESABRE, Model: BUICK LESABRE 2004Pages: 392, PDF Size: 4.3 MB
Page 111 of 392
Instrument Panel Overview...............................3-4
Hazard Warning Flashers................................3-6
Other Warning Devices...................................3-6
Horn.............................................................3-7
Tilt Wheel.....................................................3-7
Turn Signal/Multifunction Lever.........................3-7
Exterior Lamps.............................................3-14
Interior Lamps..............................................3-17
Head-Up Display (HUD).................................3-20
Accessory Power Outlets...............................3-22
Ashtrays and Cigarette Lighter........................3-23
Climate Controls............................................3-24
Climate Control System.................................3-24
Dual Automatic Climate Control System...........3-26
Outlet Adjustment.........................................3-30
Steering Wheel Climate Controls.....................3-31
Climate Controls Personalization.....................3-31
Warning Lights, Gages and Indicators.............3-32
Instrument Panel Cluster................................3-33Speedometer and Odometer...........................3-35
Tachometer.................................................3-35
Safety Belt Reminder Light.............................3-36
Air Bag Readiness Light................................3-36
Battery Warning Light....................................3-37
Brake System Warning Light..........................3-37
Anti-Lock Brake System Warning Light.............3-38
Traction Control System (TCS) Warning Light . . .3-39
Engine Coolant Temperature Gage..................3-40
Malfunction Indicator Lamp.............................3-40
Oil Pressure Light.........................................3-43
Security Light...............................................3-44
Cruise Control Light......................................3-44
Service Vehicle Soon Light............................3-44
Fuel Gage...................................................3-45
Driver Information Center (DIC).......................3-45
DIC Controls and Displays.............................3-46
DIC Warnings and Messages.........................3-49
DIC Vehicle Personalization............................3-50
Section 3 Instrument Panel
3-1
Page 145 of 392
Speedometer and Odometer
Your speedometer lets you see your speed in both
miles per hour (mph) and kilometers per hour (km/h).
Your odometer shows how far your vehicle has
been driven, in either miles or kilometers. Press the
ENG/MET button which is located to the left of the
speedometer to change from mph to km/h.
Your vehicle has a tamper resistant odometer.
You may wonder what happens if your vehicle needs a
new odometer installed. If the new one can be set to
the mileage total of the old odometer, then it must
be. But if it can’t, then it’s set at zero and a label must
be put on the driver’s door to show the old mileage
reading when the new odometer was installed.
Trip Odometer
A trip odometer can tell you how far you have driven
since you last set it to zero. To reset it, push the TRIP
RESET button. If your vehicle is equipped with a
DIC, seeDriver Information Center (DIC) on page 3-45
for information on resetting the trip odometer.
Tachometer
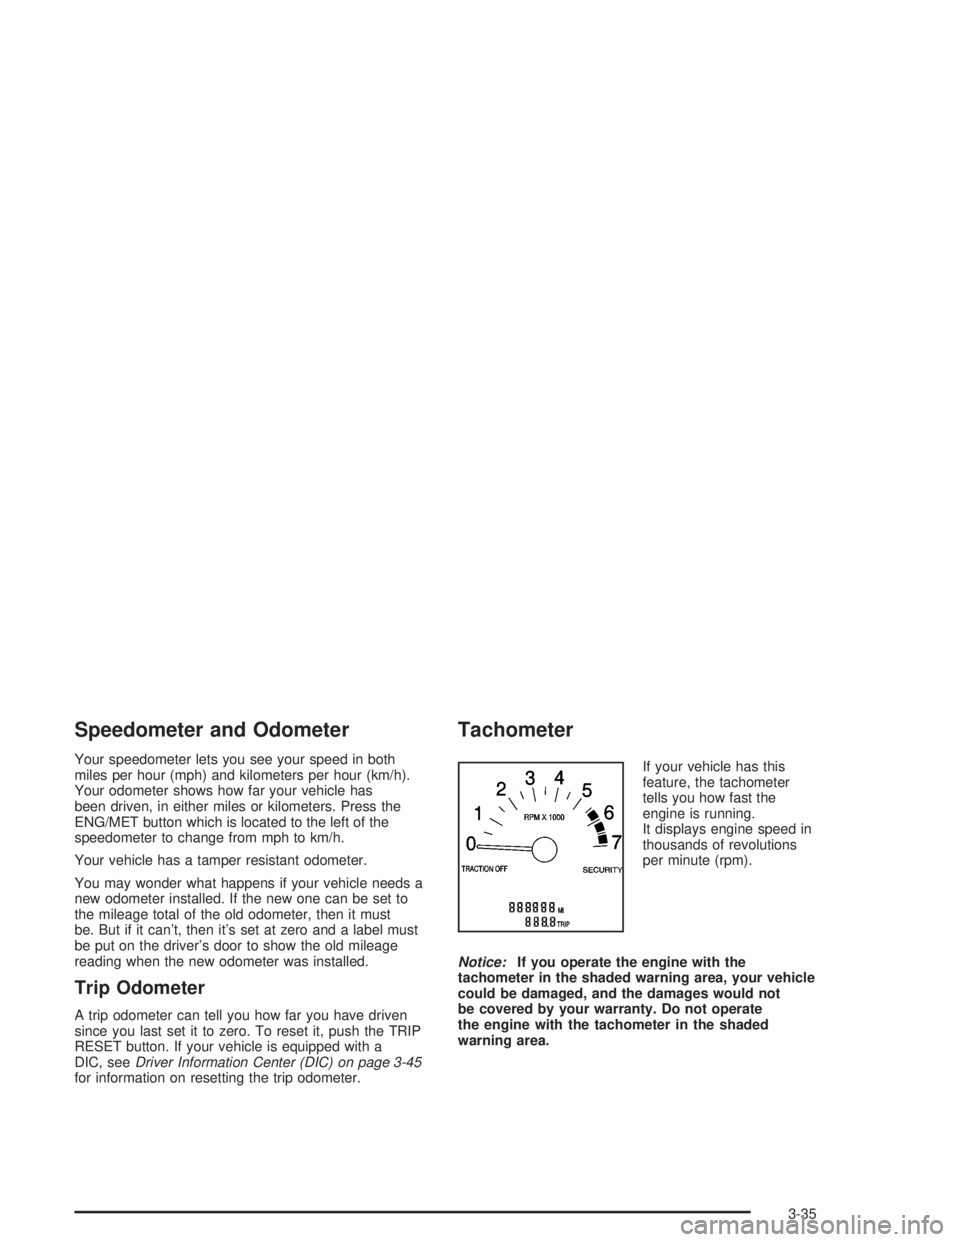
If your vehicle has this
feature, the tachometer
tells you how fast the
engine is running.
It displays engine speed in
thousands of revolutions
per minute (rpm).
Notice:If you operate the engine with the
tachometer in the shaded warning area, your vehicle
could be damaged, and the damages would not
be covered by your warranty. Do not operate
the engine with the tachometer in the shaded
warning area.
3-35
Page 156 of 392
DIC Controls and Displays
When you turn the ignition on, the DIC will display your
DRIVER NUMBER. You can have your dealer
program your name to appear on this display line. See
your dealer for more information.
The system will then perform a status check and display
any messages if a problem is detected. If there are
no problems detected, the display will return to the mode
selected by that driver the last time the ignition was
turned off.
If a problem is detected, a diagnostic message will
appear in the display. The following pages will show the
messages you may see on the DIC display.
The message center is continuously updated with the
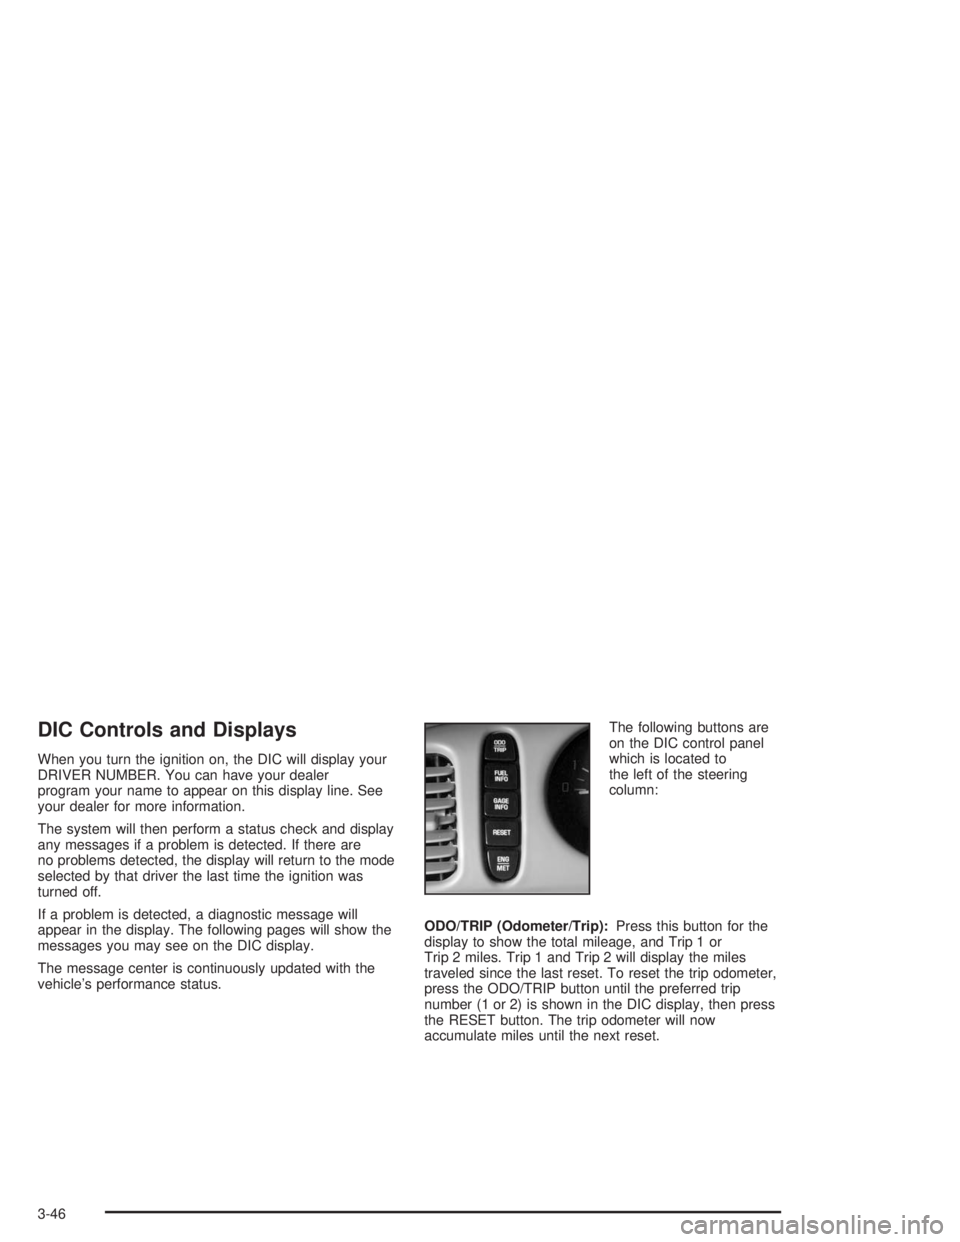
vehicle’s performance status.The following buttons are
on the DIC control panel
which is located to
the left of the steering
column:
ODO/TRIP (Odometer/Trip):Press this button for the
display to show the total mileage, and Trip 1 or
Trip 2 miles. Trip 1 and Trip 2 will display the miles
traveled since the last reset. To reset the trip odometer,
press the ODO/TRIP button until the preferred trip
number (1 or 2) is shown in the DIC display, then press
the RESET button. The trip odometer will now
accumulate miles until the next reset.
3-46
Page 310 of 392
If you need to replace any of your wheels, wheel bolts
or wheel nuts, replace them only with new GM
original equipment parts. This way, you will be sure to
have the right wheel, wheel bolts and wheel nuts
for your vehicle.
{CAUTION:
Using the wrong replacement wheels, wheel
bolts or wheel nuts on your vehicle can be
dangerous. It could affect the braking and
handling of your vehicle, make your tires lose
air and make you lose control. You could have
a collision in which you or others could be
injured. Always use the correct wheel, wheel
bolts and wheel nuts for replacement.
Notice:The wrong wheel can also cause problems
with bearing life, brake cooling, speedometer or
odometer calibration, headlamp aim, bumper height,
vehicle ground clearance and tire or tire chain
clearance to the body and chassis.
SeeChanging a Flat Tire on page 5-74for more
information.
Used Replacement Wheels
{CAUTION:
Putting a used wheel on your vehicle is
dangerous. You can’t know how it’s been used
or how far it’s been driven. It could fail
suddenly and cause a crash. If you have to
replace a wheel, use a new GM original
equipment wheel.
Tire Chains
Notice:Use tire chains only where legal and only
when you must. Use only SAE Class “S” type chains
that are the proper size for your tires. Install them
on the front tires and tighten them as tightly as
possible with the ends securely fastened. Drive
slowly and follow the chain manufacturer’s
instructions. If you can hear the chains contacting
your vehicle, stop and retighten them. If the contact
continues, slow down until it stops. Driving too
fast or spinning the wheels with chains on will
damage your vehicle.
5-72
Page 362 of 392
Part E: Maintenance Record
After the scheduled services are performed, record the date, odometer reading and who performed the service and
any additional information from “Owner Checks and Services” or “Periodic Maintenance” on the following record
pages. Also, you should retain all maintenance receipts.
Maintenance Record
DateOdometer
ReadingServiced By Maintenance Record
6-24
Page 363 of 392
Maintenance Record (cont’d)
DateOdometer
ReadingServiced By Maintenance Record
6-25
Page 364 of 392
Maintenance Record (cont’d)
DateOdometer
ReadingServiced By Maintenance Record
6-26
Page 385 of 392

Maintenance Schedule (cont.)
How This Section is Organized....................... 6-3
Introduction.................................................. 6-2
Long Trip/Highway Scheduled Maintenance.....6-13
Maintenance Requirements............................. 6-2
Part A - Scheduled Maintenance Services......... 6-4
Part B - Owner Checks and Services.............6-17
Part C - Periodic Maintenance Inspections.......6-21
Part D - Recommended Fluids and
Lubricants...............................................6-23
Part E - Maintenance Record........................6-24
Selecting the Right Schedule.......................... 6-5
Short Trip/City Scheduled Maintenance............. 6-6
Steering, Suspension and Front Drive Axle
Boot and Seal Inspection..........................6-21
Throttle System Inspection............................6-22
Using Your................................................... 6-4
Your Vehicle and the Environment................... 6-2
Maintenance When Trailer Towing.....................4-46
Making Turns.................................................4-44
Malfunction Indicator Light................................3-40
Manual Lumbar Controls.................................... 1-3
Manual Operation...........................................3-27
Manual Seats................................................... 1-2
Matching Transmitter(s) to Your Vehicle............... 2-8
Memory Mirrors..............................................2-44
Memory Seat.................................................2-44
Memory Seats................................................3-54Message
DIC Warnings and Messages........................3-49
Mexico, Central America and Caribbean Islands/
Countries (Except Puerto Rico and U.S. Virgin
Islands) – Customer Assistance....................... 7-5
Mirror Operation.....................................2-33, 2-34
Mirrors
Automatic Dimming Rearview........................2-33
Automatic Dimming Rearview with Compass....2-33
Manual Rearview Mirror................................2-33
Memory.....................................................2-44
Outside Automatic Dimming Heated Mirror......2-36
Outside Convex Mirror.................................2-36
Outside Curb View Assist Mirror....................2-36
Outside Power Mirrors..................................2-35
MyGMLink.com................................................ 7-3
N
New Vehicle Break-In......................................2-21
Normal Maintenance Replacement Parts...........5-100
O
Odometer......................................................3-35
Off-Road Recovery..........................................4-13
9
Page 390 of 392

Tire In�ation Check.........................................6-17
Tire Sidewall Labeling......................................5-58
Tire Size.......................................................5-62
Tire Terminology and De�nitions........................5-62
Tires.............................................................5-58
Buying New Tires........................................5-69
Chains.......................................................5-72
Changing a Flat Tire....................................5-74
Check Tire Pressure System.........................5-66
Compact Spare Tire.....................................5-83
If a Tire Goes Flat.......................................5-73
In�ation - Tire Pressure................................5-65
Inspection and Rotation................................5-67
Uniform Tire Quality Grading.........................5-70
Wheel Alignment and Tire Balance.................5-71
Wheel Replacement.....................................5-71
When It Is Time for New Tires......................5-68
To Use the Engine Coolant Heater....................2-24
Top Strap......................................................1-37
Top Strap Anchor Location...............................1-38
Torque Lock...................................................2-30
Total Weight on Your Vehicle’s Tires..................4-42
Towing
Recreational Vehicle.....................................4-32
Towing a Trailer..........................................4-39
Your Vehicle...............................................4-31
Traction
Control System (TCS).................................... 4-9
Control System Warning Light.......................3-39Trailer Brakes.................................................4-43
Trailer Wiring Harness.....................................4-43
Transaxle
Fluid, Automatic...........................................5-21
Transaxle Operation, Automatic.........................2-25
Transmission, Transaxle, Transfer Case Unit
Repair Manual............................................7-11
Transportation Options...................................... 7-8
Trip Odometer................................................3-35
Trunk............................................................2-14
Trunk Lock Release........................................2-14
Trunk Security Override...................................2-15
Trunk-Mounted CD Changer.............................3-73
Turn and Lane-Change Signals.......................... 3-8
Turn Signal/Multifunction Lever........................... 3-7
Turn Signals When Towing a Trailer..................4-44
Twilight Sentinel
®............................................3-16
U
Underbody Flushing Service.............................6-20
Understanding Radio Reception........................3-79
Uniform Tire Quality Grading............................5-70
United States – Customer Assistance.................. 7-4
Used Replacement Wheels..............................5-72
Using Cleaner on Fabric..................................5-85
Using HomeLink
®...........................................2-41
Using RDS....................................................3-58
14