bulb BUICK PARK AVENUE 1993 Owners Manual
[x] Cancel search | Manufacturer: BUICK, Model Year: 1993, Model line: PARK AVENUE, Model: BUICK PARK AVENUE 1993Pages: 340, PDF Size: 18.17 MB
Page 94 of 340
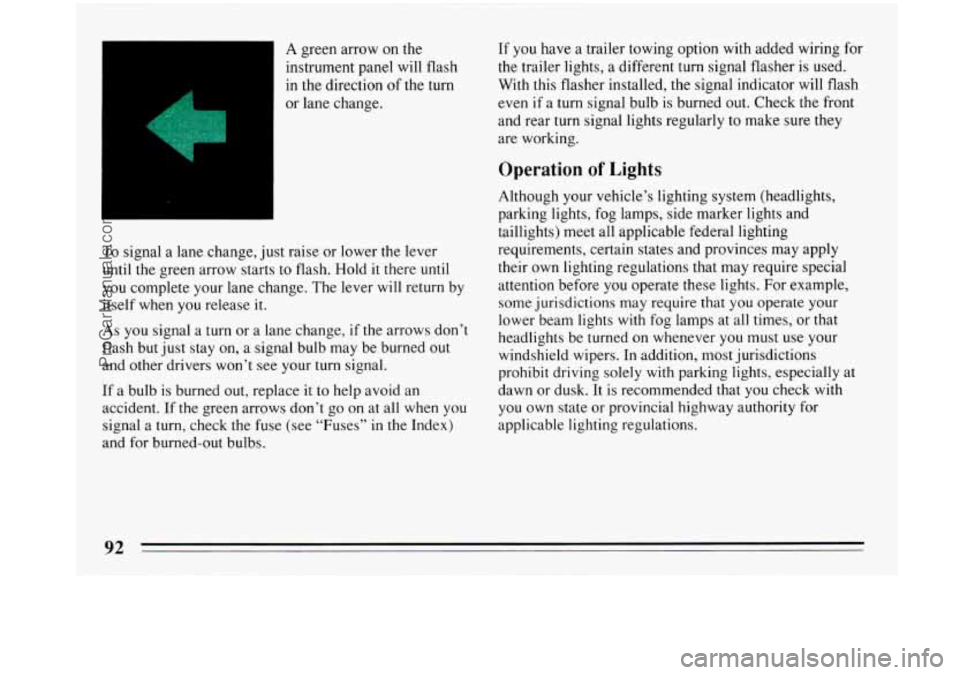
A green arrow on the
instrument panel
will flash
in the direction of the turn
or lane change.
To signal a lane change, just raise or lower the lever
until
the green arrow starts to flash. Hold it there until
you complete your lane change. The lever will return by
itself when you release it.
As you signal a turn or a lane change, if the arrows don’t
flash but just stay on, a signal bulb may be burned out
and other drivers won’t see your turn signal.
If a bulb is burned out, replace it to help avoid an
accident. If
the green arrows don’t go on at all when you
signal a turn, check the fuse (see “Fuses”
in the Index)
and for burned-out bulbs.
If you have a trailer towing option with added wiring for
the trailer lights, a different turn signal flasher is used.
With this flasher installed, the signal indicator will flash
even
if a turn signal bulb is burned out. Check the front
and rear turn signal lights regularly to make sure they
are working.
Operation of Lights
Although your vehicle’s lighting system (headlights,
parking lights, fog lamps, side marker lights and
taillights) meet all applicable federal lighting
requirements, certain states and provinces may apply
their own lighting regulations that may require special
attention before
you operate these lights. For example,
some jurisdictions may require that you operate your
lower beam lights with fog lamps at all times, or that
headlights be turned on whenever you must use your
windshield wipers. In addition, most jurisdictions
prohibit driving solely with parking lights, especially at
dawn or dusk. It is recommended that
you check with
you own state or provincial highway authority for
applicable lighting regulations.
ProCarManuals.com
Page 107 of 340
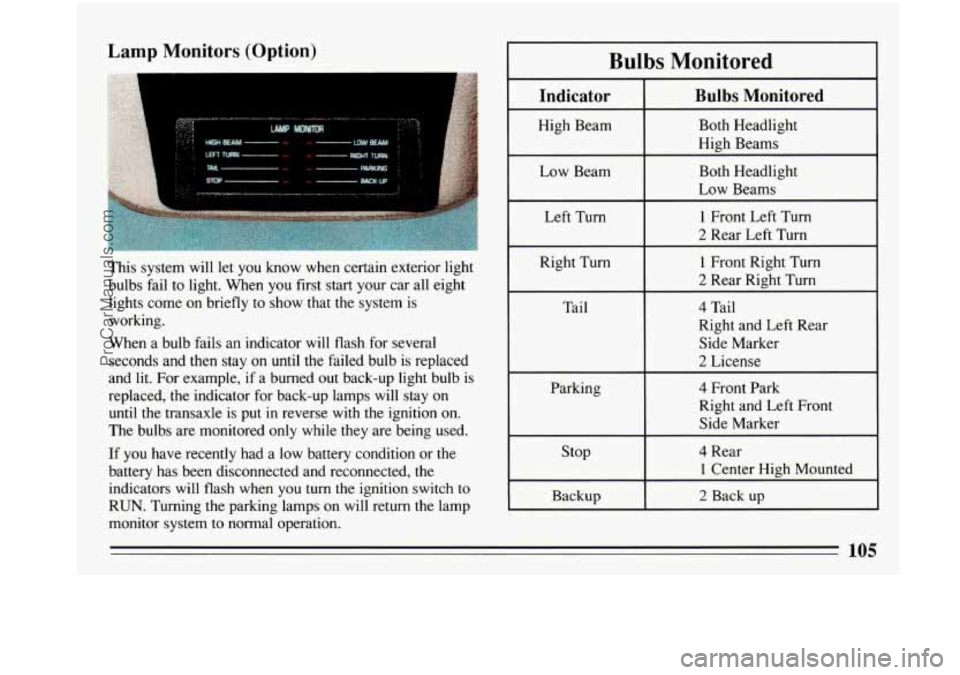
Lamp Monitors (Option)
I
Bulbs Monitored
This system will let you know when certain exterior light
bulbs fail to light. When you first start your car all eight
lights come on briefly
to show that the system is
working.
When a bulb fails an indicator will flash for several
seconds and then stay on until the failed bulb is replaced
and lit. For example, if a burned
out back-up light bulb is
replaced, the indicator for back-up lamps will stay on
until the transaxle is put in reverse with the ignition on.
The bulbs are monitored only while they are being used.
If you have recently had a low battery condition or the
battery has been disconnected and reconnected, the
indicators will flash when you turn the ignition switch to
RUN. Turning the parking lamps on will return the lamp
monitor system to normal operation.
Indicator
High Beam
Low Beam
Left Turn
Right Turn Tail
Parking stop
Backup
Bulbs Monitored
Both Headlight
High Beams
Both Headlight
Low Beams
1 Front Left Turn
2 Rear Left Turn
1 Front Right Turn
2 Rear Right Turn
4 Tail
Right and Left Rear Side Marker
2 License
4 Front Park
Right and Left Front
Side Marker
4 Rear
1 Center High Mounted
2 Back up
ProCarManuals.com
Page 126 of 340
If you’re “idling” at a stop sign, the light may blink
on and then
off.
If you make a hard stop, the light may come on for a
moment.
But, when this light comes on and stays on, it means
oil isn’t going through your engine properly.
You could
be low on oil, or you might have some other oil
problem.
A CAUTION:
Don’t keep driving if the oil pressure is low. If
you
do, your engine can become so hot that it
catches fire. You or others could be burned.
Check your oil as soon as possible and have
your vehicle serviced.
NOTICE:
Damage to your engine from neglected oil
problems can be costly and is not covered by
your warranty.
“Check Oil Level’’ Light (Option)
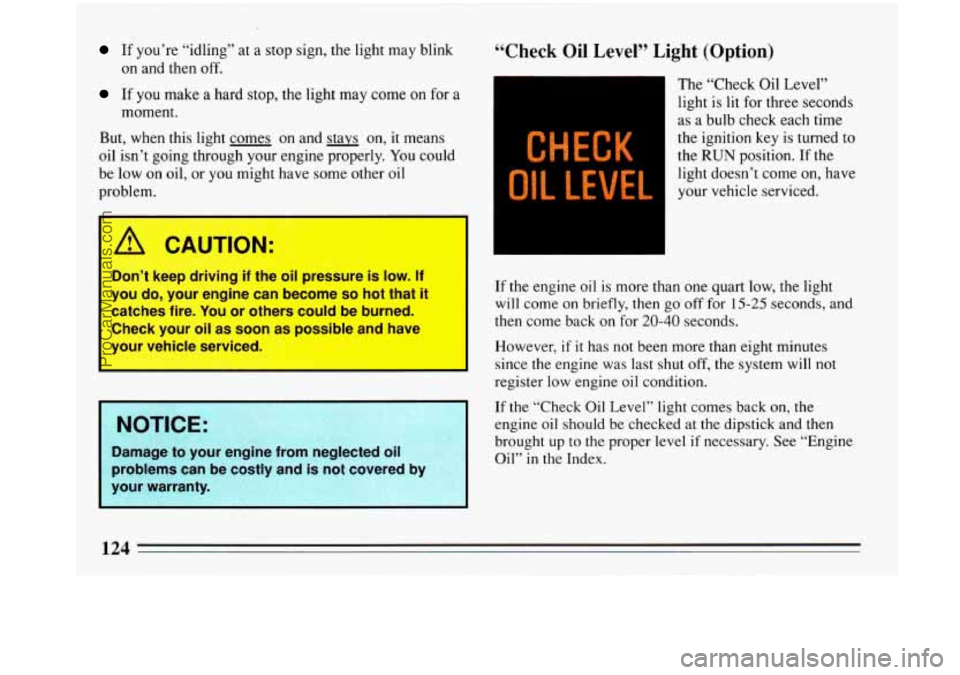
CHECK
OIL LEVEL
The “Check Oil Level”
light is lit for three seconds
as a bulb check each time
the ignition key is turned
to
the RUN position. If the
light doesn’t come on, have
your vehicle serviced.
If the engine oil is more than one quart low, the light
will come on briefly, then go off for 15-25 seconds, and
then come back
on for 20-40 seconds.
However,
if it has not been more than eight minutes
since the engine was last shut
off, the system will not
register low engine oil condition.
If the “Check Oil Level” light comes back on, the
engine
oil should be checked at the dipstick and then
brought up to the proper level if necessary. See “Engine
Oil” in the Index.
ProCarManuals.com
Page 127 of 340
“Change Oil Soon” Light (Option)
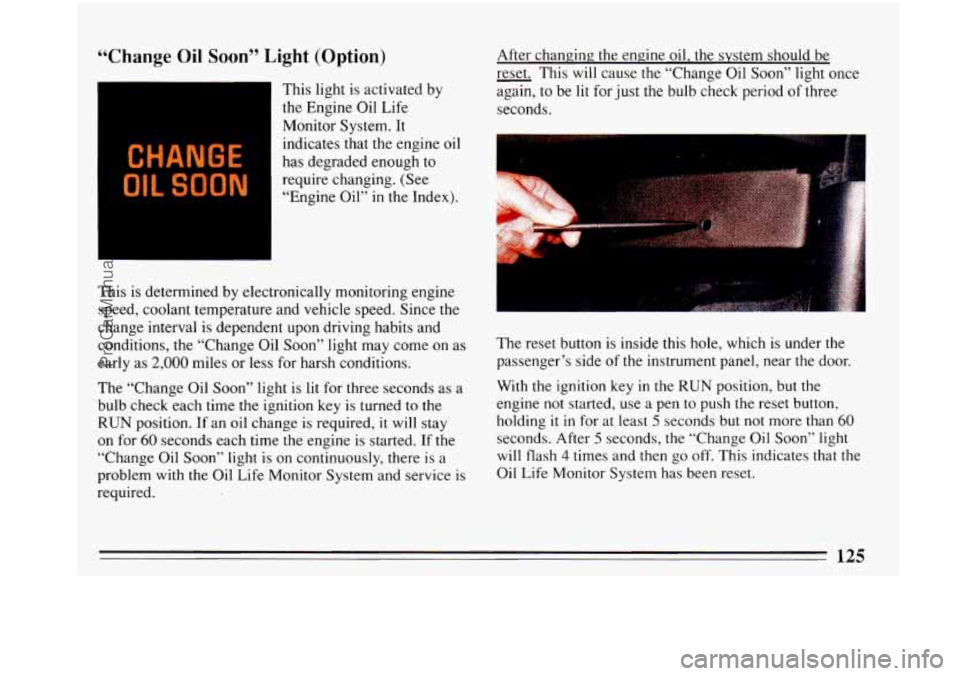
CHANGE
OIL SOON
This light is activated by
the Engine Oil Life
Monitor System. It
indicates that the engine oil
has degraded enough to
require changing. (See
“Engine Oil” in the Index).
This is determined by electronically monitoring engine
speed, coolant temperature and vehicle speed. Since the
change interval is dependent upon driving habits and
conditions, the “Change Oil Soon” light may come on as
early as
2,000 miles or less for harsh conditions.
The “Change Oil Soon” light
is lit for three seconds as a
bulb check each time the ignition key is turned to the
RUN position. If an oil change is required, it will stay
on for
60 seconds each time the engine is started. If the
“Change Oil Soon” light is on continuously, there is a
problem with the Oil Life Monitor System and service is
required. After
changing; the engine oil, the system should be
- reset. This
will cause the “Change Oil Soon” light once
again,
to be lit for just the bulb check period of three
seconds.
The reset button is.inside this hole, which is under the
passenger’s side of the instrument panel, near the door.
With the ignition key in the
RUN position, but the
engine not started, use a pen to push the reset button,
holding
it in for at least 5 seconds but not more than 60
seconds. After 5 seconds, the “Change Oil Soon” light
will flash 4 times and then go off. This indicates that the
Oil Life Monitor System has been reset.
ProCarManuals.com
Page 208 of 340
the trailer lights will also flash, telling other drivers
you’re about to turn, change lanes or stop.
When towing a trailer, the green arrows
on your
instrument panel will flash for turns even
if the bulbs on
the trailer are burned out. Thus, you may think drivers
behind you are seeing your signal when they are not. It’s
important to check occasionally to be sure the trailer
bulbs are still working.
Your vehicle has bulb warning lights. When you plug
trailer lights into your vehicle’s lighting system, its bulb warning lights may not
let you know if one of your
lights goes
out. So, when you have trailer lights plugged
in, be sure
to check your vehicle and trailer lights from
time to time to be sure they’re-all working. Once
you
disconnect the trailer lights, the bulb warning lights
again can
tell you if one of your vehicle lights is out.
Driving On Grades
Reduce speed and shift to a lower gear before you start
down a long
or steep downgrade. If you don’t shift
down, you might have to use your brakes
so much that
they would get hot and no longer work well. On
a long uphill grade, shift down to
“D or 3” (Drive)
and reduce your speed to around
45 mph (70 km/h) to
reduce the possibility of engine and transaxle
overheating.
Parking on Hills
You really should not park your vehicle, with a trailer
attached,
on a hill. If something goes wrong, your rig
could start to move. People can be injured, and both
your vehicle and the trailer can be damaged.
But
if you ever have to park your rig on a hill, here’s
how to do it:
1. Apply your regular brakes, but don’t shift into “F’”
(Park) yet.
2. Have someone place chocks under the trailer wheels.
3. When the wheel chocks are in place, release the
regular brakes until the chocks absorb the load.
4. Reapply the regular brakes. Then apply your parking
brake, and
then shift to “P’ (Park).
5. Release the regular brakes.
ProCarManuals.com
Page 243 of 340
I
I
Here you will find information about the care of your Buick . This part begins with service and fuel information. and
then it shows how to check important fluid and lubricant levels
. There is also technical information about your
vehicle. and a section devoted to its appearance care
.
Part 6 includes:
ServiceTips
......................................................................
Engineoil ....................................................................... \
242
Fuel
........................................................................\
..... 243
Hood Release 248
251
AirFilter
........................................................................\
. 255
Automatic Transaxle Fluid
...........................................................
Enginecoolant .................................................................... 258
PowerSteeringFluid
............................................................... 261
Windshield Washer Fluid
............................................................ 262
Brakes
........................................................................\
... 263
Battery
........................................................................\
... 265
266
268
270
278
Vehicle Identification Number (VIN)
.................................................. 286
Fuses .and Circuit Breakers
........................................................... 287
Capacities and Specifications
.......................................................... 292
.....................................................................
256
BulbReplacement
.................................................................
LoadingYourVehicle ...............................................................
Tires ........................................................................\
....
Appearancecare ..................................................................
241
ProCarManuals.com
Page 267 of 340
balance between your front and rear brakes can change,
for the worse. The braking performance you’ve come to
expect can change
in many other ways if someone puts
in the wrong replacement brake parts.
Battery
Every new Buick has a Delco Freedom@ battery. You
never have to add water to one of these. When it’s time
for a new battery, we recommend a Delco Freedoms
battery. Get one that has the catalog number shown on
the original battery’s label.
Vehicle Storage
If you’re not going to drive your vehicle for 25 days or
more, take
off the black, negative (-) cable from the
battery. This will help keep your battery from running
down.
I
A CAUTION:
Batteries have acid that can burn you and gas
that can explode. You can be badly hurt if you
aren’t careful. See “Jump Starting’’ in the Index
for tips on working around
a battery without
getting hurt.
I
Contact your dealer to learn how to prepare your vehicle
for longer storage periods.
Halogen Bulbs
Halogen bulbs have pressurized gas inside and
can burst
if you drop or scratch the bulb. You or
others could be injured. Take special care when
handling and disposing of halogen bulbs.
ProCarManuals.com
Page 268 of 340
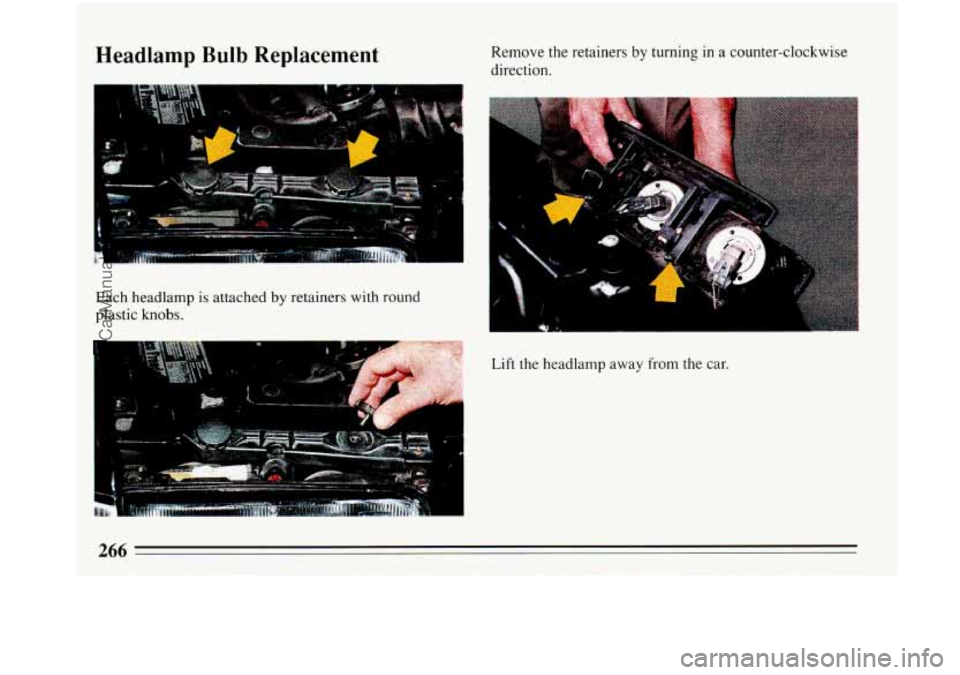
Headlamp Bulb Replacement Remove the retainers by turning in a counter-clockwise
direction.
-.
Each headlamp is attached by retainers with round
plastic knobs.
I
Lift the headlamp away from the car.
ProCarManuals.com
Page 269 of 340
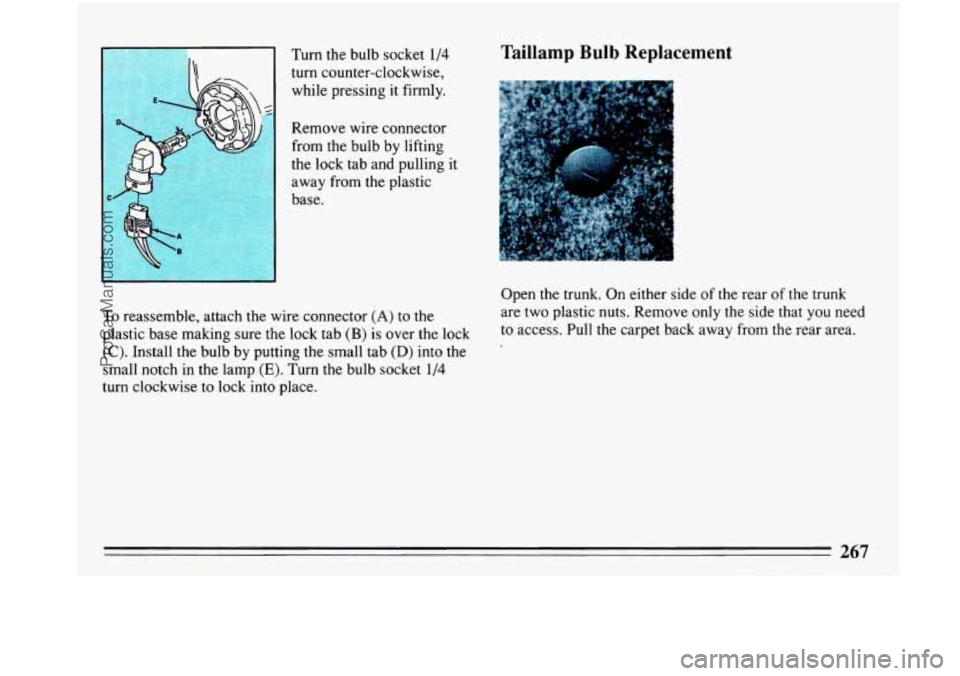
Turn the bulb socket 1/4
turn counter-clockwise,
while pressing it firmly.
Remove wire connector
from the bulb by lifting
the lock tab and pulling it
away from the plastic
base. Taillamp Bulb Replacement
To reassemble, attach the wire connector (A) to the
plastic base making sure the lock tab
(B) is over the lock
(C). Install the bulb by putting the small tab (D) into the
small notch in the lamp
(E). Turn the bulb socket 1/4
turn clockwise to lock into place. Open the trunk. On
either side
of the rear of the trunk
are two plastic nuts. Remove only the side that you need
to access. Pull the carpet back away from the rear area.
ProCarManuals.com
Page 270 of 340
1
Loading Your Vehicle
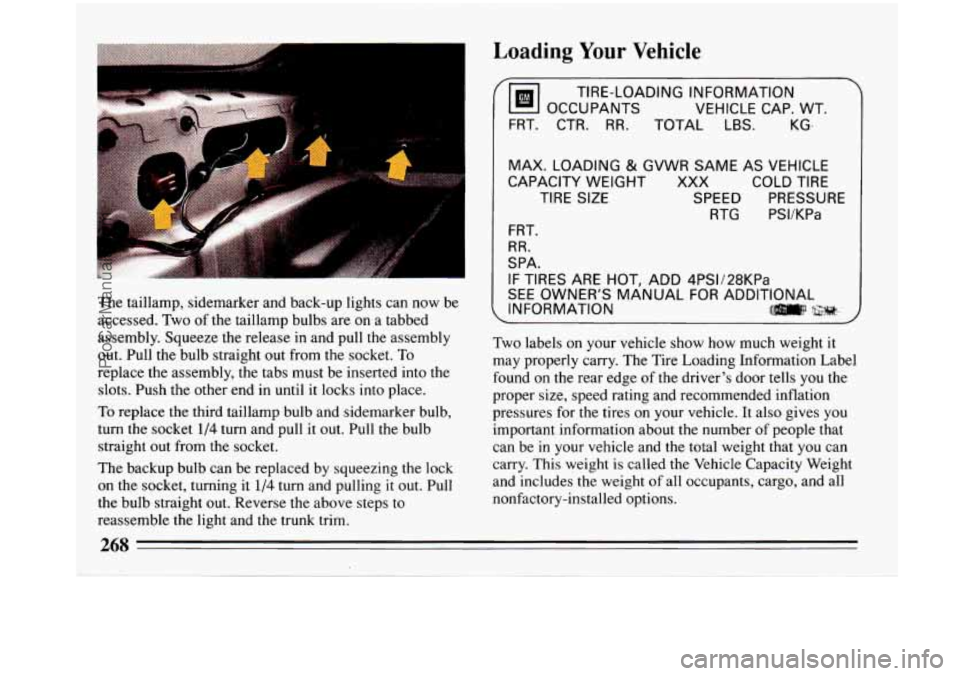
The taillamp, sidemarker and back-up lights can now be
accessed. Two of the taillamp bulbs are on a tabbed
assembly. Squeeze the release in and pull the assembly
out. Pull the bulb straight out from the socket. To
replace the assembly, the tabs must be inserted into the
slots. Push the other end in until it locks into place.
To replace the third taillamp bulb and sidemarker bulb,
turn the socket
1/4 turn and pull it out. Pull the bulb
straight out from the socket.
The backup bulb can be replaced by squeezing the lock
on the socket, turning it
l/4 turn and pulling it out. Pull
the bulb straight out. Reverse the above steps
to
reassemble the light and the trunk trim.
Tm OCCUPANTS
VEHICLE CAP. WT.
TIRE-LOADING INFORMATION
FRT. CTR.
RR. TOTAL LBS.
.~ ~~ . . ~
KG-
MAX. LOADING
& GVWR SAME AS VEHICLE
CAPACITY WEIGHT XXX COLD TIRE
TIRE SIZE SPEED PRESSURE RTG PSVKPa
FRT.
RR.
SPA.
IF TIRES ARE HOT, ADD 4PSV28KPa
SEE OWNER'S MANUAL FOR ADDITIONAL
INFORMATION
ll]m\:l .$$;;r#, : M
Two labels on your vehicle show how much weight it
may properly carry. The Tire Loading Information Label
found on the rear edge of the driver's door tells you the
proper size, speed rating and recommended inflation
pressures for the tires
on your vehicle. It also gives you
important information about the number
of people that
can be in your vehicle and the total weight that you can
carry. This weight
is called the Vehicle Capacity Weight
and includes the weight of all occupants, cargo, and all
nonfactory-installed options.
268
ProCarManuals.com