buttons BUICK PARK AVENUE 1993 Owners Manual
[x] Cancel search | Manufacturer: BUICK, Model Year: 1993, Model line: PARK AVENUE, Model: BUICK PARK AVENUE 1993Pages: 340, PDF Size: 18.17 MB
Page 17 of 340
Memory Seat and Mirrors (Option)
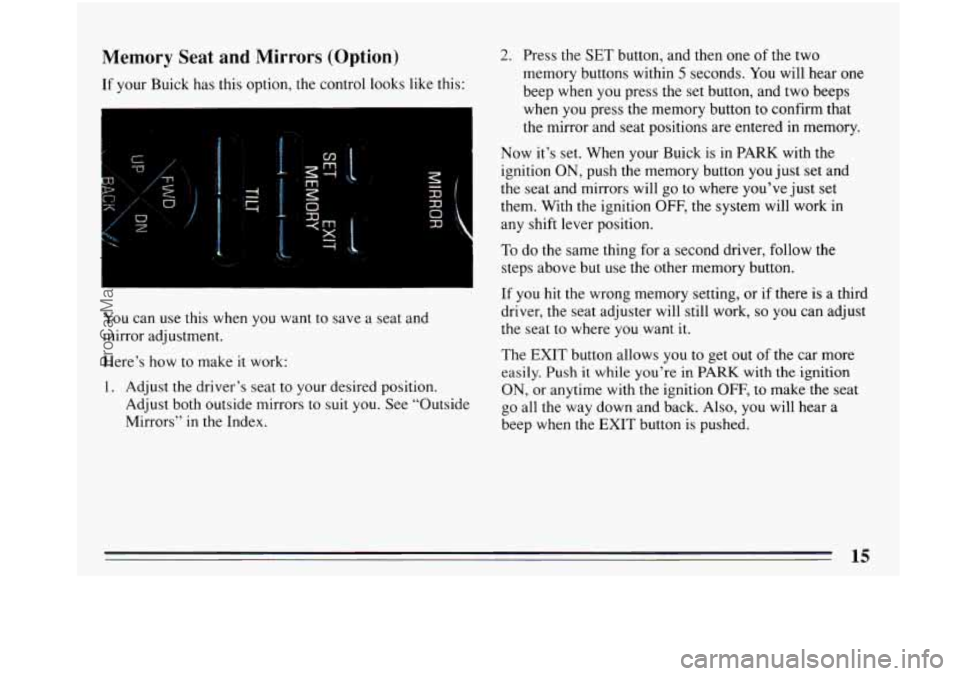
If your Buick has this option, the control looks like this:
I
You can use this when you want to save a seat and
mirror adjustment.
Here’s how to make it work:
1. Adjust the driver’s seat to your desired position.
Adjust both outside mirrors to suit you. See “Outside
Mirrors”
in the Index.
2. Press the SET button, and then one of the two
memory buttons within
5 seconds. You will hear one
beep when you press the set button, and two beeps
when
you press the memory button to confirm that
the mirror and seat positions are entered in memory.
Now it’s set. When your Buick
is in PARK with the
ignition
ON, push the memory button you just set and
the seat and mirrors will go to where you’ve just set
them. With the ignition
OFF, the system will work in
any shift lever position.
To
do the same thing for a second driver, follow the
steps above but use the other memory button.
If you hit the wrong memory setting, or if there is a third
driver, the seat adjuster will still work,
so you can adjust
the seat to where
you want it.
The EXIT button allows you to get out of the car more
easily. Push it while you’re
in PARK with the ignition
ON, or anytime with the ignition OFF, to make the seat
go all the way down and back. Also, you will hear a
beep when the EXIT button is pushed.
15
ProCarManuals.com
Page 135 of 340
Auto Dual Zone
, w. .. . . , ... ,
-*FBr
AUTO
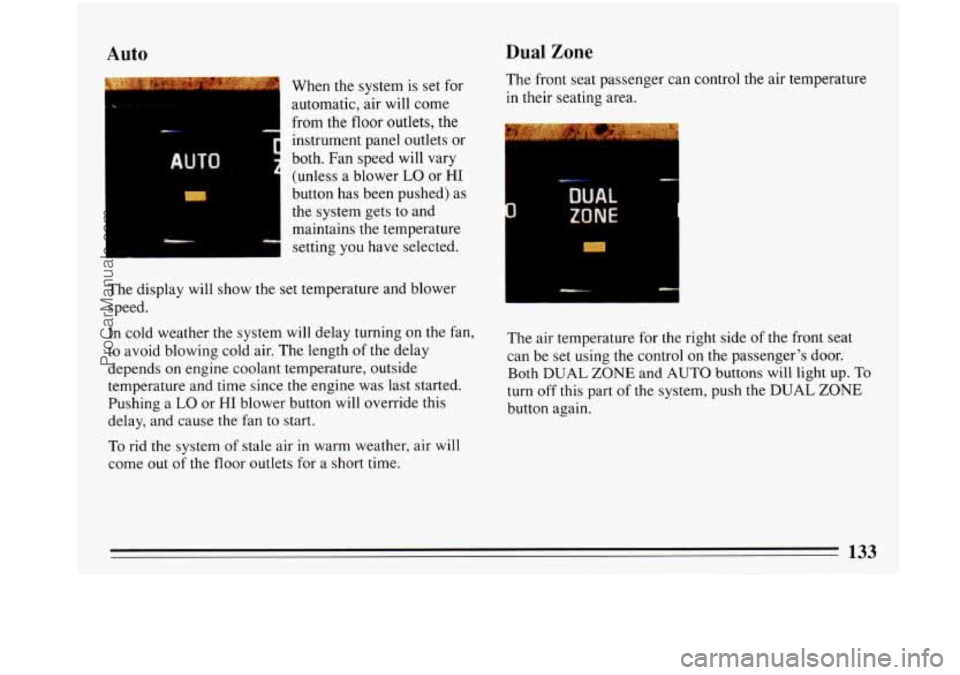
When the system is set for
automatic, air will come
from the
floor outlets, the
instrument panel outlets or
both. Fan speed will vary
(unless a blower
LO or HI
button has been pushed) as
the system gets to and
maintains the temperature
setting you have selected.
The display will show the set temperature and blower
speed.
In cold weather the system will delay turning on the fan,
to avoid blowing cold air. The length of the delay
depends on engine coolant temperature, outside
temperature and time since the engine was last started.
Pushing a
LO or HI blower button will override this
delay, and cause the fan to start.
To rid the system of stale air in warm weather, air will
come out of the floor outlets for
a short time. The
front seat passenger can control the air temperature
in their seating area.
__. ylrr
The air temperature for the right side of the front seat
can be set using the control on the passenger’s door.
Both DUAL
ZONE and AUTO buttons will light up. To
turn off this part of the system, push the DUAL ZONE
button again.
ProCarManuals.com
Page 136 of 340
r
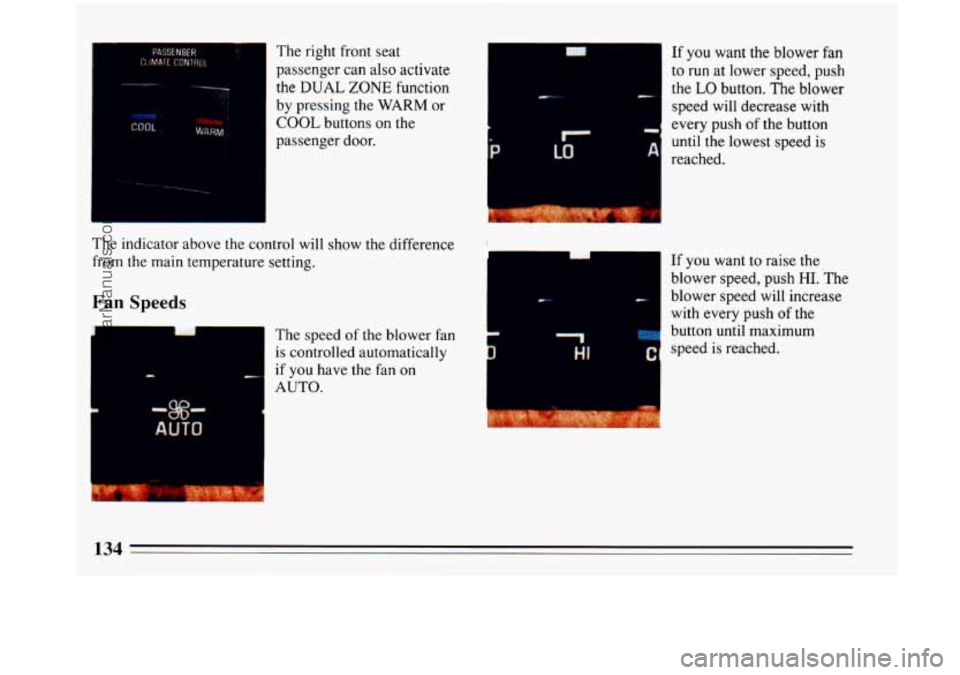
The right front seat
passenger
can also activate
the
DUAL ZONE function
by pressing the
WARM or
COOL buttons on the
passenger door.
The indicator above the control will show the difference
from the main temperature setting.
Fan Speeds
The speed of the blower fan
is controlled automatically
if
you have the fan on
AUTO.
1 .II
W E
If you want the blower fan
to run at lower speed, push
the
LO button. The blower
speed will decrease with
every push of the button
, until the lowest speed is
I
reached*
r.c c-
t 1
HI t
If you want to raise the
blower speed, push HI. The
blower speed will increase
with every push
of the
button until maximum
speed is reached.
ProCarManuals.com
Page 137 of 340
Econ Defog
Htr
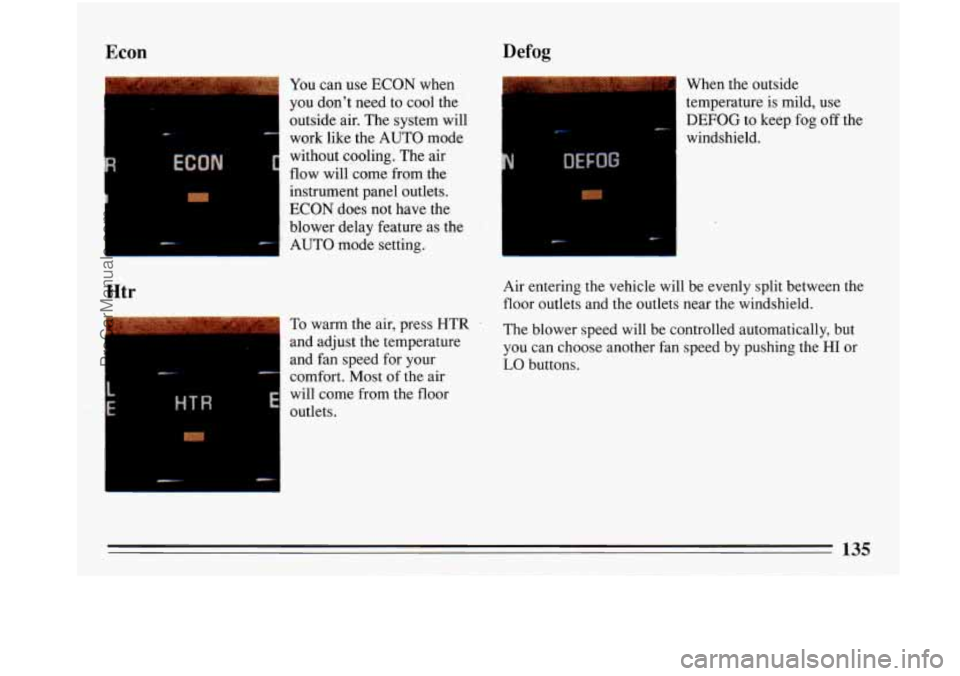
You can use ECON when
you don't need to cool the
outside air. The system will
work like the AUTO mode
without cooling. The air
flow will come from the
instrument panel outlets.
ECON does not have the
blower delay feature as the
AUTO mode setting.
L
E HTR E
To warm the air, press '
and adjust the temperature
and fan speed for your
comfort. Most
of the air
will come from the floor
outlets.
la
c I
When the outside
temperature is mild, use
DEFOG to keep fog off the
windshield.
Air entering the vehicle will be evenly split between the
floor outlets and the outlets near the windshield.
The blower speed will be controlled automatically, but
you can choose another fan speed by pushing the
HI or
LO buttons.
135
ProCarManuals.com
Page 138 of 340
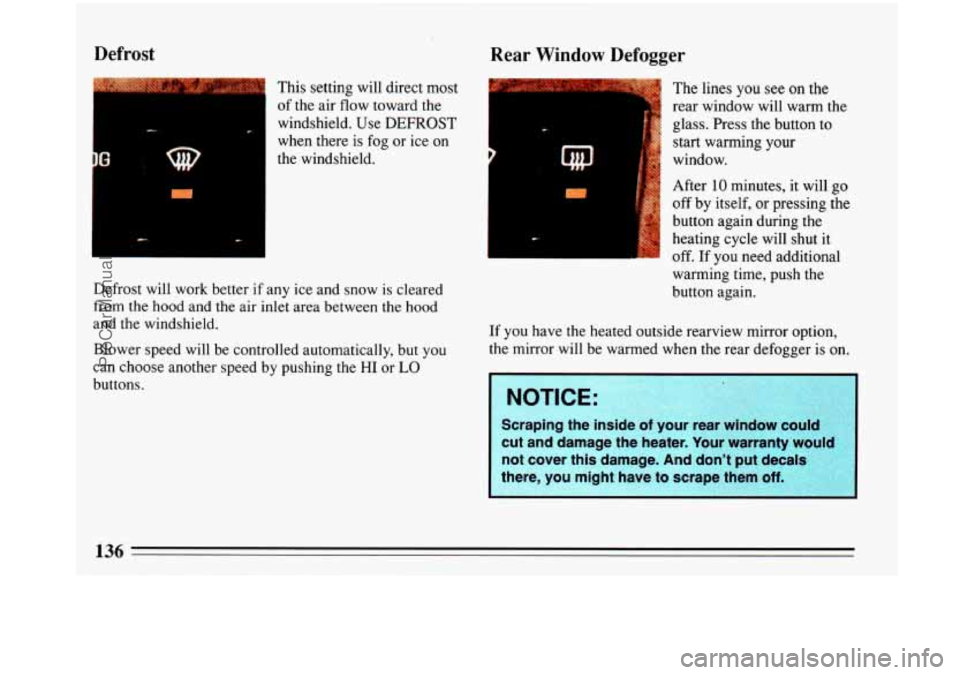
Defrost Rear Window Defogger
This setting will direct most
of the air flow toward the
windshield. Use
DEFROST
when there is fog or ice on
the-windshield.
Defrost will work better if any ice and snow is cleared
from the hood and the air inlet area between the hood
and the windshield.
Blower speed will be controlled automatically, but
you
can choose another speed by pushing the HI or LO
buttons. The
lines
you see on the
rear window will warm the
glass. Press the button to
start warming your
window.
After
10 minutes, it will go
off by itself, or pressing the
button again during the
heating cycle will shut it
off. If you need additional
warming time, push the
button again.
c. i
If you have the heated outside rearview mirror option,
the mirror will be warmed when the rear defogger is on.
1.
i NOTICE: , .' '2 , .. , ,.. ~. , ..~
I: Scraping the inside of your rear window could
cut and damage the heater. Your warranty would
ProCarManuals.com
Page 144 of 340
Pushbuttons Clock
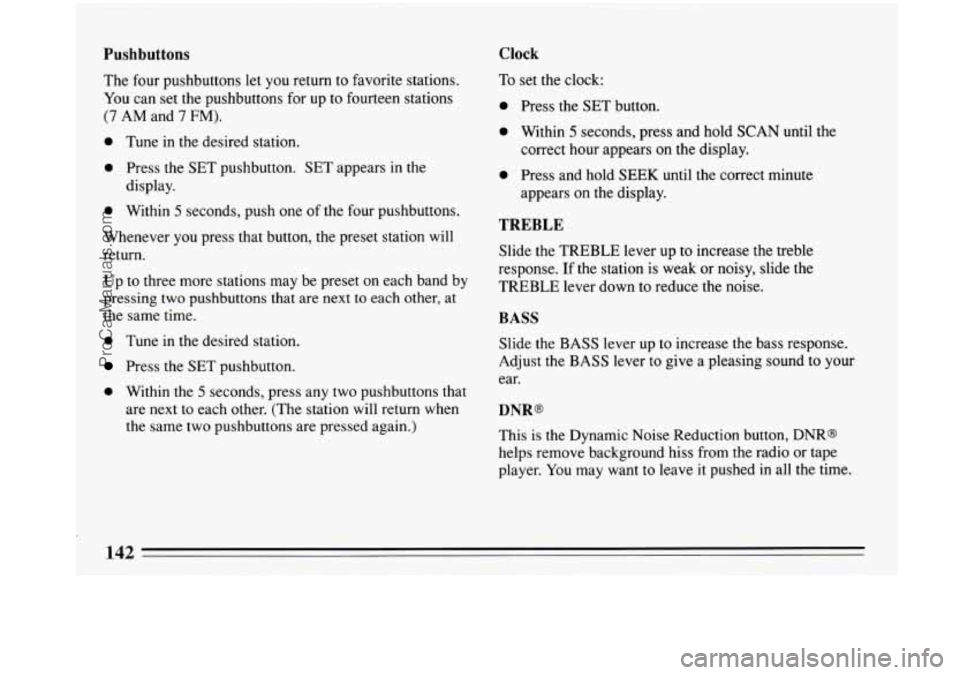
The four pushbuttons let you return to favorite stations.
You can set the pushbuttons for up to fourteen stations
(7 AM and 7 FM).
0 Tune in the desired station.
0 Press the SET pushbutton. SET appears in the
display.
0 Within 5 seconds, push one of the four pushbuttons.
Whenever you press that button, the preset station will
return.
Up to three more stations may be preset on each band by
pressing two pushbuttons that are next to each other, at
the same time.
0 Tune in the desired station.
Press the SET pushbutton.
0 Within the 5 seconds, press any two pushbuttons that
are next to each other. (The station will return when
the same two pushbuttons are pressed again.) To
set the clock:
0 Press the SET button.
0 Within 5 seconds, press and hold SCAN until the
correct hour appears on the display.
0 Press and hold SEEK until the correct minute
appears on the display.
TREBLE
Slide the TREBLE lever up to increase the treble
response. If the station is weak or noisy, slide the
TREBLE lever down to reduce the noise.
BASS
Slide the BASS lever up to increase the bass response.
Adjust the BASS lever to give a pleasing sound to your
ear.
DNR@
This is the Dynamic Noise Reduction button, DNR@
helps remove background hiss from
the radio or tape
player.
You may want to leave it pushed in all the time.
ProCarManuals.com
Page 147 of 340
SCAN
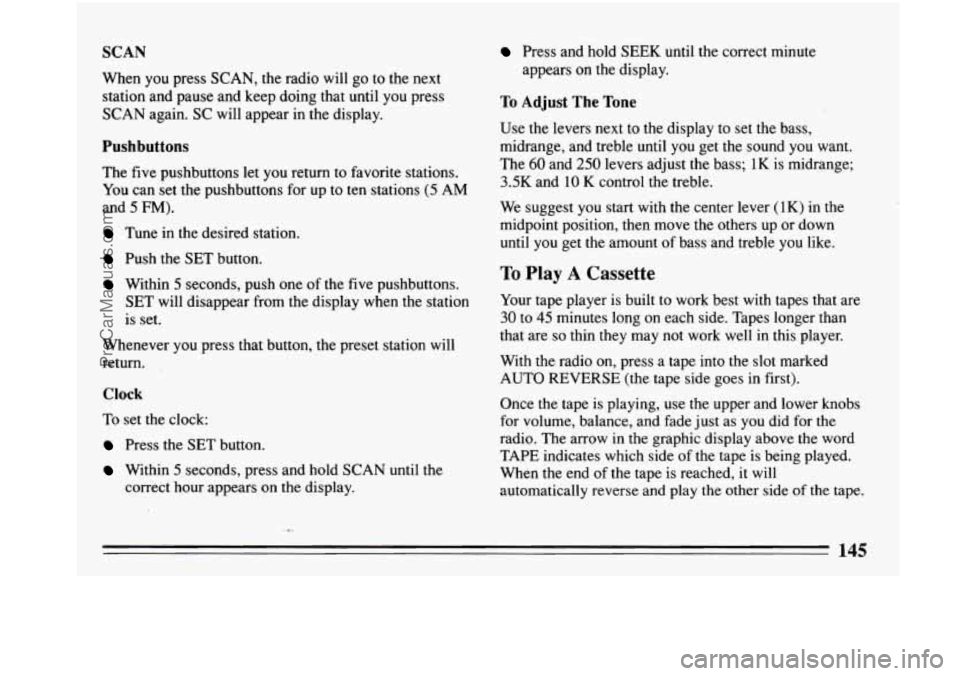
When you press SCAN, the radio will go to the next
station and pause and keep doing that until
you press
SCAN again. SC will appear in the display.
Pushbuttons
The five pushbuttons let you return to favorite stations.
You can set the pushbuttons for up to ten stations (5 AM
and 5 FM).
Tune in the desired station.
Push the SET button.
Within 5 seconds, push one of the five pushbuttons.
SET will disappear from the display when the station
is set.
Whenever you press that button, the preset station will
return.
Clock
To set the clock:
Press the SET button.
Within 5 seconds, press and hold SCAN until the
correct hour appears on the display.
Press and hold SEEK until the correct minute
appears
on the display.
To Adjust The Tone
Use the levers next to the display to set the bass,
midrange, and treble until
you get the sound you want.
The
60 and 250 levers adjust the bass; 1K is midrange;
3.5K and 10 K control the treble.
We suggest you start with the center lever
(1K) in the
midpoint position, then move the others up or down
until you get the amount of bass and treble you like.
To Play A Cassette
Your tape player is built to work best with tapes that are
30 to 45 minutes long on each side. Tapes longer than
that are
so thin they may not work well in this player.
With the radio on, press a tape into the slot marked
AUTO REVERSE (the tape side goes in first).
Once the tape is playing, use the upper and lower knobs
for volume, balance, and fade just as you did for the
radio. The arrow
in the graphic display above the word
TAPE indicates which side
of the tape is being played.
When the end of the tape is reached, it
will
automatically reverse and play the other side of the tape.
. -,
145
ProCarManuals.com
Page 150 of 340
SCAN Clock
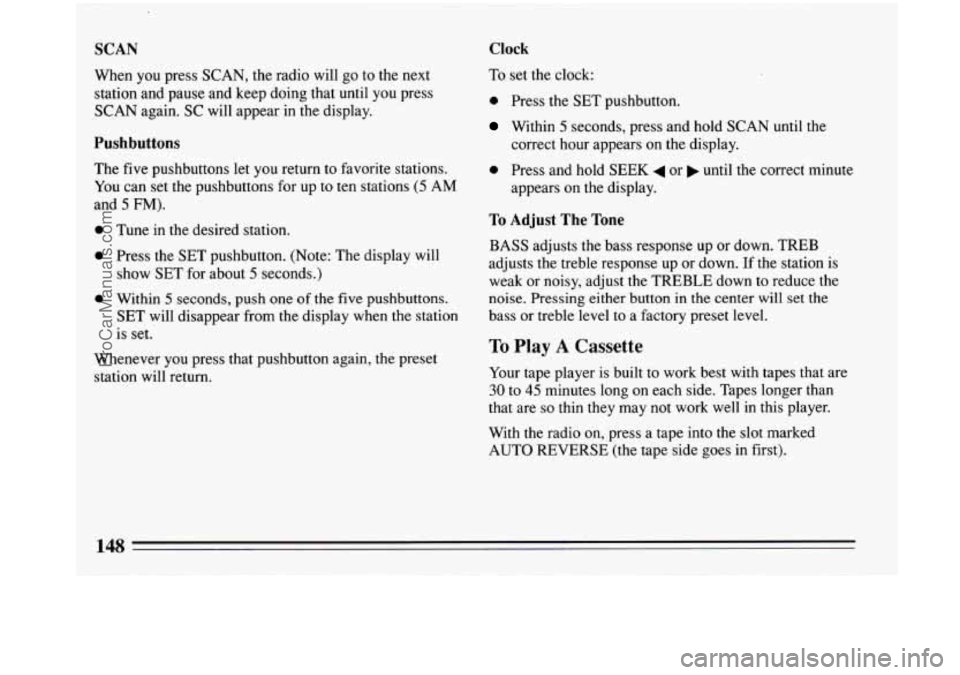
When you press SCAN, the radio will go to the next
station and pause and keep doing that until
you press
SCAN again. SC will appear in the display.
Pushbuttons
The five pushbuttons let you return to favorite stations.
You can set the pushbuttons for up to ten stations
(5 AM
and
5 FM).
0 Tune in the desired station.
0 Press the SET pushbutton. (Note: The display will
shQw SET for about
5 seconds.)
0 Within 5 seconds, push one of the five pushbuttons.
SET will disappear from the display when the station
is set.
Whenever you press that pushbutton again, the preset
station will return. To
set the clock:
0 Press the SET pushbutton.
Within 5 seconds, press and hold SCAN until the
correct hour appears on the display.
0 Press and hold SEEK 4 or until the correct minute
appears on the display.
To Adjust The Tone
BASS adjusts the bass response up or down. TREB
adjusts the treble response up or down. If the station is
weak or noisy, adjust the TREBLE.down to reduce the
noise. Pressing either button in the center will set the
bass or treble
level to a factory preset level.
To Play A Cassette
Your tape player is built to work best with tapes that are
30 to 45 minutes long on each side. Tapes longer than
that are
so thin they may not work well in this player.
With the radio on, press a tape into the
slot marked
AUTO REVERSE (the tape side goes in first).
ProCarManuals.com
Page 153 of 340
SCAN
When you press SCAN, the radio will go to the next
station and pause and keep doing that until you press
SCAN again. SC will appear in the display.
Pushbuttons
The five pushbuttons let you return to favorite stations.
You can set the pushbuttons for up to ten stations (5 AM
and 5 FM).
Tune in the desired station.
Press the SET pushbutton.
0 Within 5 seconds, push one of the five pushbuttons.
SET will disappear from the display when the station
is set.
Whenever
you press that button, the preset station will
return.
Clock
To set the clock:
0 Press the SET pushbutton.
0 Within 5 seconds, press and hold SCAN until the
correct hour appears on the display.
0 Press and hold SEEK or 4 until the correct minute
appears on the display.
To Adjust The Tone
Use the levers next to the display to set the bass,
midrange, and treble until you get the sound you like.
The
60 and 250 levers adjust the bass; 1K is midrange;
-3.5K and 10 K control the treble.
We suggest
you start with the center lever (1K) in the
midpoint position, then move the others up or down
until you get the amount
of bass and treble you like.
To Play A Compact Disc
Before you begin, please note: DO NOT use mini-discs
that are called singles. They won’t eject.
Use full-size
compact discs only.
If the disc player is very hot or if you’re driving on a
very rough road, the disc may come out, or just not play.
ERR will appear
in the display. As soon as things get
back to normal, the disc should play again.
Press PWR to turn the system on.
ProCarManuals.com
Page 155 of 340
Press the PWR button or turn the ignition key off to stop
the disc player. The disc stays in the player and will
resume playing at the point where it stopped.
EJECT
Press EJCT, the disc will eject and the radio will play.
The disc will start at track
1 when you reinsert it.
As a feature to protect the disc,
if you turn the ignition off
with the disc partway out of the slot (after eject), it will be
drawn back into the player in about 30 seconds. The disc
will play at track
1 when the radio is turned on again.
Anti-Theft Feature
Delco-Loc I1 is a security feature for the compact disc
player. It can be used or ignored.
If ignored, the system
plays normally. If it is used, your player won’t be usable
if it’s ever stolen, because it won’t turn on.
The instructions below tell you how to enter your
personal secret code into the system. If your vehicle loses
battery power for any reason, you must unlock the system
with the secret code again before the system will
turn on.
Be sure to read through the entire procedure and become
familiar with
the appropriate buttons and knobs before
starting.
Step
1. Write clown any 6-digit number and keep it in a
safe place. Step
2. Turn
the ignition to the ACC or RUN position.
Step
3. Press PWR to turn the radio off.
Step 4. Press preset 1 and 4 buttons together. Hold them
until
“---” shows on the display (at least 5 seconds).
You are now ready to enter your secret code. If you
pause more than
15 seconds between steps you may
have to start over.
Step
5. Press SET and “000” will appear on the display.
Step 6. Press SEEK and hold
it until the first digit of
your code appears.
Step 7. Rotate the tune knob right or left to make the
next two numbers agree
with your code.
Step
8. Press AM-FM knob and “000” will appear. Now
you are ready to enter the second three digits of the code
according to steps
6 and 7.
Step 9. Press the AM-FM knob. The display will show
“rEP” for
5 seconds, and then “OOO” will appear indicating
that some steps are to
be repeated for verification.
Step
10. Repeat steps 6,7, and 8.
Step 11. Press the AM-FM knob. If the display shows
“SEC”, the verification process was successful and the
system
is SECURE. If the display shows “---”, the
verification steps were not successful and the entire
sequence must be started again.
ProCarManuals.com