radio BUICK PARK AVENUE 1994 Owners Manual
[x] Cancel search | Manufacturer: BUICK, Model Year: 1994, Model line: PARK AVENUE, Model: BUICK PARK AVENUE 1994Pages: 324, PDF Size: 17.01 MB
Page 14 of 324
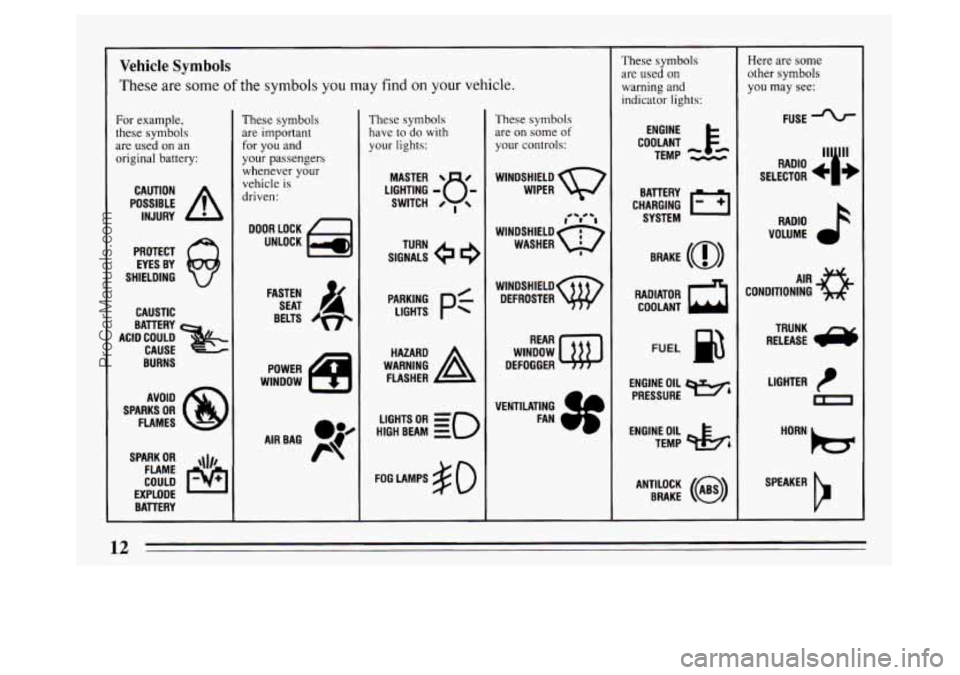
Vehicle Symbols
These are some of the symbols you may find on your vehicle.
For example,
these symbols are used on an
original battery:
POSSIBLE A
CAUTION
INJURY
PROTECT EYES BY
SHIELDING
CAUSTIC
BURNS AVOID
SPARKS
OR
FLAMES
SPARK
OR ,111,
COULD FLAME
EXPLODE BATTERY
These symbols are important
for you and
your passengers
whenever your
vehicle
is
driven:
DOOR LOCK
UNLOCK
FASTEN SEAT
4
BELTS
POWER
WINDOW
These symbols
have to
do with
your lights:
WARNING A
HAZARD
FLASHER
HIGH BEAM OR
= -0
FOG LAMPS $0
These symbols
are on some
of
your controls:
WINoSHIELD WIPER w
WINDSHIELD
DEFROSTER
WINDOW
DEFOGGER
VENTILATING FAN
These symbols
are
used on
warning and indicator lights:
CHARGING 1-1
BATTERY
SYSTEM
RADIATOR
a
COOLANT
FUEL
ENGINE OIL
PRESSURE
Wb
TEMP OIL &
ANTILOCK (a)
BRAKE
Here are some
other symbols you may see:
FUSE
RADIO
"i"
SELECTOR fi
RADIO >
VOLUME
LIGHTER
n
12
ProCarManuals.com
Page 72 of 324
Remote Keyless Entry System
(Option)
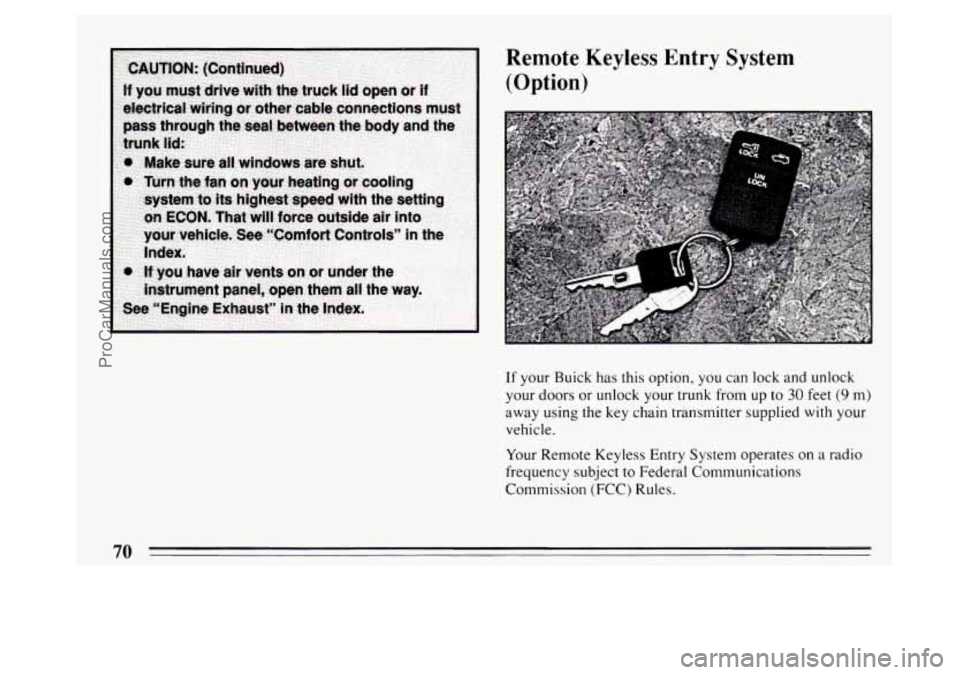
If your Buick has this option, you can lock and unlock
your doors
or unlock your trunk from up to 30 feet (9 m)
away using the key chain transmitter supplied
with your
vehicle.
Your Remote Keyless Entry System operates on a radio
frequency subject to Federal Communications
Commission (FCC) Rules.
70
ProCarManuals.com
Page 82 of 324
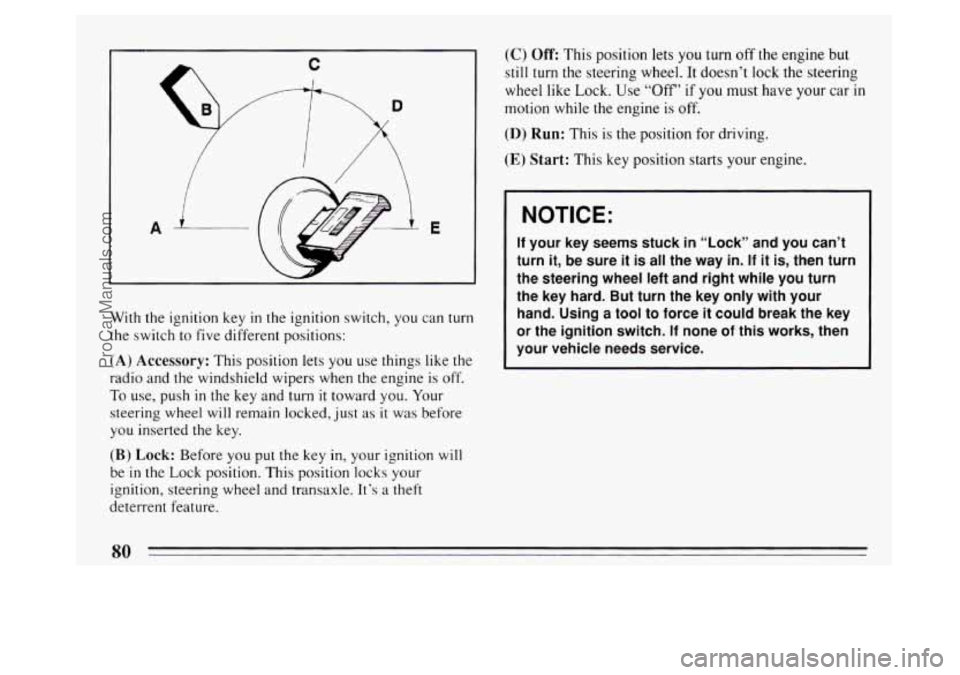
With the ignition key in the ignition switch, you can turn
the switch to five different positions:
(A) Accessory: This position lets you use things like the
radio and the windshield wipers when the engine is off.
To use, push in the key and turn it toward you. Your
steering wheel will remain locked, just as
it was before
you inserted the key.
(B) Lock: Before you put the key in, your ignition will
be
in the Lock position. This position locks your
ignition, steering wheel and transaxle. It’s
a theft
deterrent feature.
(C) Off: This position lets you turn off the engine but
still turn the steering wheel. It doesn’t lock the steering
wheel like Lock.
Use “Off’ if you must have your car in
motion while the engine is off.
(D) Run: This is the position for driving.
(E) Start: This key position starts your engine.
NOTICE:
If your key seems stuck in “Lock” and you can’t
turn
it, be sure it is all the way in. If it is, then turn
the steering wheel left and right while you
turn
the key hard. But turn the key only with your
hand. Using a tool to force
it could break the key
or the ignition switch. If none of this works, then
your vehicle needs service.
80
ProCarManuals.com
Page 83 of 324
Retained Accessory Power (Option)
After the ignition is turned off, and before any door is
opened, the following systems will work for
ten
minutes:
0 Power Windows
0 Radio
Optional Astroroof
Starting Your Engine
Move your shift lever to “P” (Park) or “N” (Neutral).
Your engine won’t start
in any other position -- that’s a
safety feature.
To restart when you’re already moving,
use “N” (Neutral) only.
NOTICE:
Don’t try to shift to “P” (Park) if your Buick is
moving. If you do, you could damage the
transaxle. Shift to
“P” (Park) only when your
vehicle
is stopped.
1. Without pushing the accelerator pedal, turn your
ignition key to “Start.” When the engine starts, let go
of the key. The idle speed will go down as your
engine gets warm.
I NOTICE:
Holding your key in “Start” for longer than 15
seconds at a time will cause your battery to be
drained much sooner.
And the excessive heat
can damage your starter motor.
2. If it doesn’t start right away, hold your key in “Start”
for about three to five seconds at a time
until your
engine starts.
Wait about 15 seconds between each
try to help avoid draining your battery.
ProCarManuals.com
Page 133 of 324
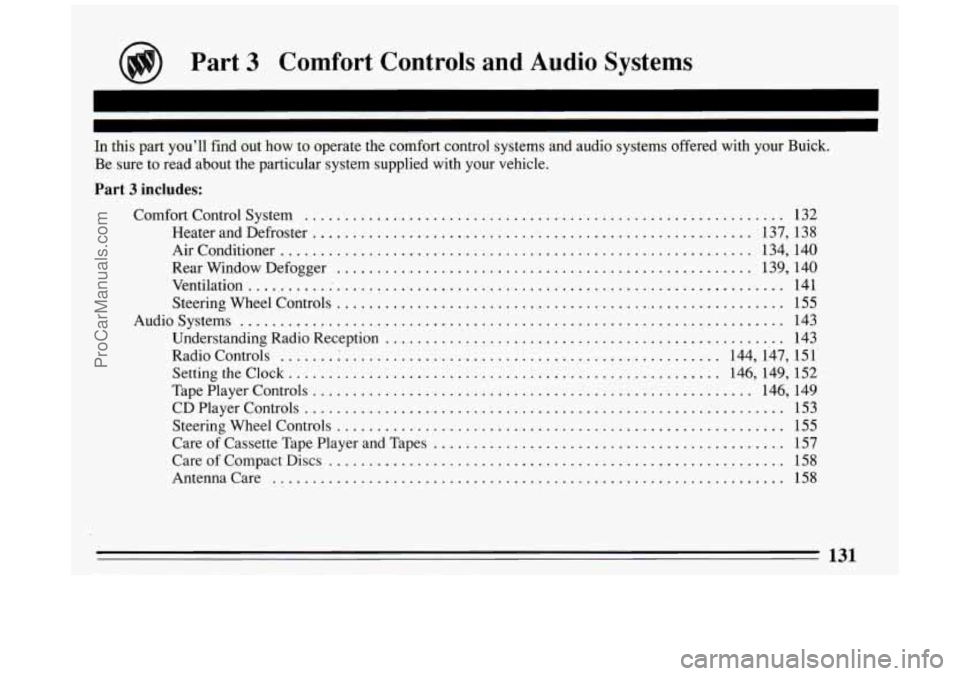
@ Part 3 Comfort Controls and Audio Systems
In this part you’ll find out how to operate the comfort control systems and audio systems offered with your Buick .
Be sure to read about the particular system supplied with your vehicle .
Part 3 includes:
Comfort Control System ............................................................ 132
Heater and Defroster
....................................................... 137. 138
Airconditioner
........................................................... 134. 140
Rear Window Defogger
.................................................... 139. 140
Ventilation
................................................................... 141
Steering Wheel Controls
........................................................ 155
Audiosystems
.................................................................... 143
Understanding Radio Reception
.................................................. 143
Radio Controls
....................................................... 144. 147. 151
Settingtheclock
.................................................... 146.149. 152
Tape Player Controls
.................................... ................. 146. 149
CD Player Controls
................................... ..................... 153
Steering Wheel Controls
............................. ....................... 155
Care of Cassette Tape Player and Tapes
............................................ 157
CareofCompactDiscs
......................................................... 158
Antennacare ................................................................ 158
131
ProCarManuals.com
Page 145 of 324
Audio Systems
Your Delco@ audio system has been designed to operate
easily and give years of listening pleasure.
You will get
the most enjoyment
out of it if you ac uaint yourself
with
it first. Find out what your Delco system can do
and how to operate all its controls, to be sure you’re
getting the most out
of the advanced engineering that
went into
it.
73
AM Stereo
FM Stereo
FM stereo will give you the best sound. But FM signals
will reach only about
10 to 40 miles ( 16 to 65 km). And,
tall buildings or hills can interfere with FM signals,
causing the sound to come and go.
AM
The range for most AM stations is greater than for FM,
especially at night. The longer range, however, can
cause stations to interfere with each other. AM can pick
up noise
from things like storms and power lines. Try
reducing the treble to reduce this noise. This
means the Delco@ system can receive C-QUAM@
stereo broadcasts. Many AM stations around the country
use C-QUAM@
to produce stereo, though some do not.
(C-QUAM@ is a registered trademark of Motorola, Inc.)
If your Delco@ system can get C-QUAM@, your
“STEREO” light will come on when you’re receiving
it.
Be aware that hearing damage from loud noise is almost
undetectable
until it is too late. Your hearing can adapt to
higher volumes of sound. Sound that seems normal can
be loud and harmful to your hearing. Take precautions by
adjusting the volume control on your radio to a safe
sound level before your hearing adapts to
it.
To help avoid hearing loss or damage:
0 Adjust the volume control to the lowest setting.
Increase volume slowly until you hear comfortably
and clearly.
143
ProCarManuals.com
Page 146 of 324
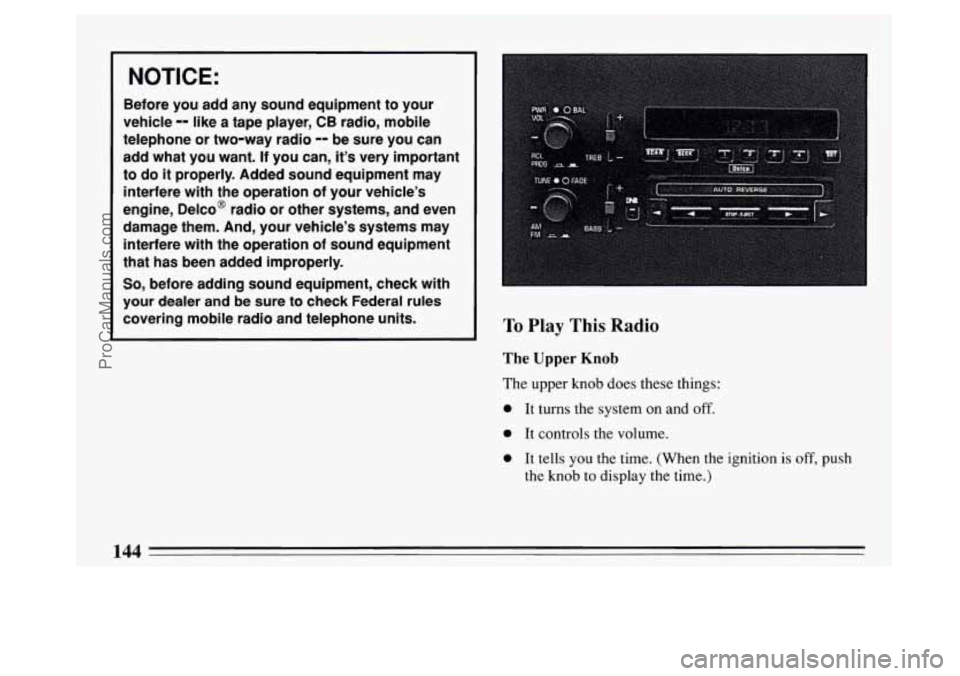
NOTICE:
Before you add any sound equipment to your
vehicle
-- like a tape player, CB radio, mobile
telephone or two-way radio
-- be sure you can
add what you want. If you can,
it’s very important
to
do it properly. Added sound equipment may
interfere with the operation of your vehicle’s
engine, Delco@ radio or other systems, and even
damage them. And, your vehicle’s systems may
interfere with the operation of sound equipment
that has been added improperly.
So, before adding sound equipment, check with
your dealer and be sure
to check Federal rules
covering mobile radio and telephone units.
144
.
ProCarManuals.com
Page 147 of 324
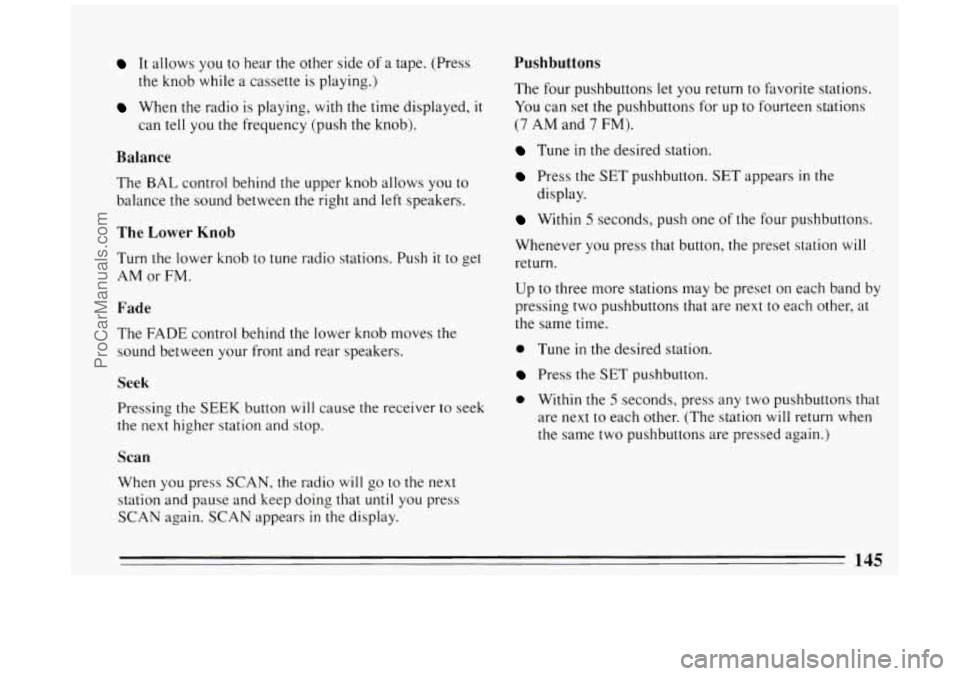
It allows you to hear the other side of a tape. (Press
the knob while a cassette is playing.)
When the radio is playing, with the time displayed, it
can tell you the frequency (push the knob).
Balance
The BAL control behind the upper knob allows you to
balance the sound between the right and
left speakers.
The Lower Knob
Turn the lower knob to tune radio stations. Push it to get
AM or FM.
Fade
The FADE control behind the lower knob moves the
sound between your front and rear speakers.
Seek
Pressing the SEEK button will cause the receiver to seek
the
next higher station and stop.
Scan
When you press SCAN, the radio will go to the next
station and pause and keep doing that
until you press
SCAN again.
SCAN appears in the display.
Pushbuttons
The four pushbuttons let you return to favorite stations.
You can set the pushbuttons for up to fourteen stations
(7 AM and 7 FM).
Tune in the desired station.
Press the SET pushbutton. SET appears in the
display.
Within 5 seconds, push one of the four pushbuttons.
Whenever you press that button, the preset station will
return.
Up to three more stations may be preset on each band by
pressing two pushbuttons that are
next to each other, at
the same time.
0 Tune in the desired station.
Press the SET pushbutton.
0 Within the 5 seconds, press any two pushbuttons that
are next to each other. (The station will return when
the same two pushbuttons are pressed again.)
145
ProCarManuals.com
Page 148 of 324
Clock To Play A Cassette
To set the clock:
0 Press the SET button.
0 Within 5 seconds, press and hold SCAN until the
correct hour appears on the display.
0 Press and hold SEEK until the correct minute
appears on the display.
Treble
Slide the TREBLE lever up to increase the treble
response.
If the station is weak or noisy, slide the
TREBLE lever down to reduce the noise.
Bass
Slide the BASS lever up to increase the bass response.
Adjust the BASS lever to give a pleasing sound to your
ear.
DNR@
This is the Dynamic Noise Reduction button. DNR@
helps remove background hiss from the radio or tape
player.
You may want to leave it pushed in all the time.
Your tape player is built to work best with tapes that are
30 to 45 minutes long on each side. Tapes longer than
that are
so thin they may not work well in this player.
With the radio on, press a tape into the slot marked
AUTO REVERSE (the tape side goes in first).
Once
the tape is playing, use the upper and lower knobs
for volume, balance, and fade just as you did for radio.
The arrows indicate which side
of the tape is being
played.
When the end
of the tape is reached, it will
automatically reverse and play the other side
of the tape.
Forward
To rapidly advance the tape, press and the tape will
rapidly
go forward until you press the 4 button or
STOP-EJECT lightly.
146
ProCarManuals.com
Page 149 of 324
Reverse
To rapidly reverse the tape, press 4 and the tape will
rapidly go backward until you press the b button or
STOP-EJECT lightly.
Program
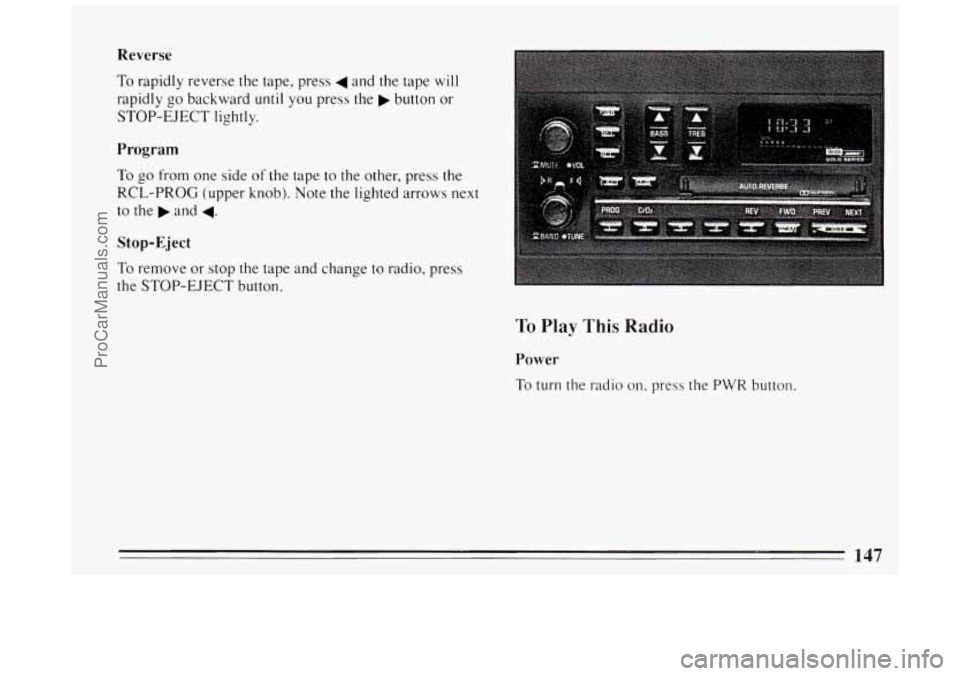
To go from one side of the tape to the other, press the
RCL-PROG (upper knob). Note the lighted arrows next
to the
b and 4.
Stop-Eject
To remove or stop the tape and change to radio, press
the STOP-EJECT button.
To Play This Radio
Power
To turn the radio on, press the PWR button.
ProCarManuals.com