BUICK PARK AVENUE 1997 User Guide
Manufacturer: BUICK, Model Year: 1997, Model line: PARK AVENUE, Model: BUICK PARK AVENUE 1997Pages: 420, PDF Size: 21.93 MB
Page 11 of 420
Vehicle Damage Warnings In the notice area, we tell you about something that can
damage your vehicle. Many times, this damage would
costly. But the notice will tell you what to do to help
avoid the damage.
When you read other manuals, you might see
CAUTION and
NOTICE warnings in different
colors or
in different words.
You’ll also see warning labels
on your vehicle. They use
the same words, CAUTION or NOTICE.
Also,
in this
book you will find these mtices: not be covered by your warranty, and it could be
NOTICE:
These mean there is something that could
damage
your vehicle.
ix
ProCarManuals.com
Page 12 of 420
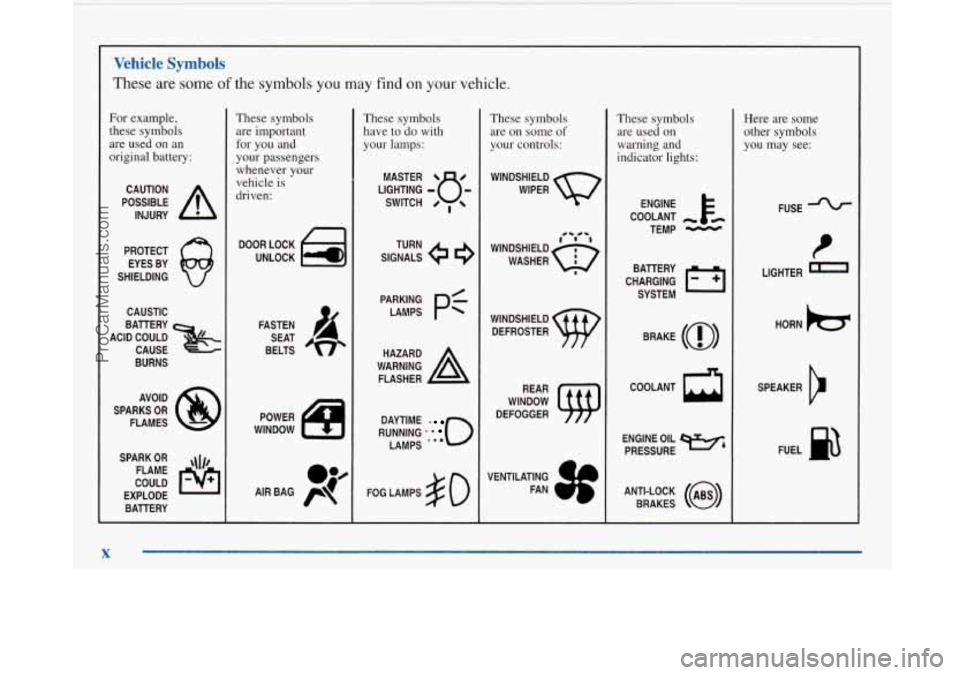
Vehicle Symbols
These are some of the symbols you may find on your vehicle.
For example,
these symbols
are used on an
original battery:
POSSIBLE A
CAUTION
INJURY
PROTECT EYES BY
SHIELDING
CAUSTIC
ACID COULD
&
BAllERY
CAUSE
BURNS
AVOID
SPARKS
OR
FLAMES
SPARK
OR ,\I/,
COULD FLAME
EXPLODE BAllERY
X
These symbols are important
for you and
your passengers
whenever your
vehicle is
driven:
DOOR LOCK
UNLOCK
FASTEN SEAT
BELTS
POWER
WINDOW
These symbols have to do with
your lamps:
SIGNALS 6
TURN
RUNNING
* ' 0
DAYTIME -
LAMPS .'*
FOG LAMPS $0
These symbols
are
on some of
your controls:
WINDSHIELD
WIPER
WINDSHIELD DEFROSTER
WINDOW
DEFOGGER
These symbols are used
on
warning and
indicator lights:
COOLANT -
TEMP -
CHARGING I-1
BAlTERY
SYSTEM
BRAKE
(a)
COOLANT a
ENGINE OIL e,
PRESSURE
ANTI-LOCK
(@)
BRAKES
Here are some
other symbols
you may see:
FUSE
LIGHTER
a
HORN )tr
SPEAKER
IJ
FUEL p3
1 I
ProCarManuals.com
Page 13 of 420
Section 1 Seats and Restraint Systems
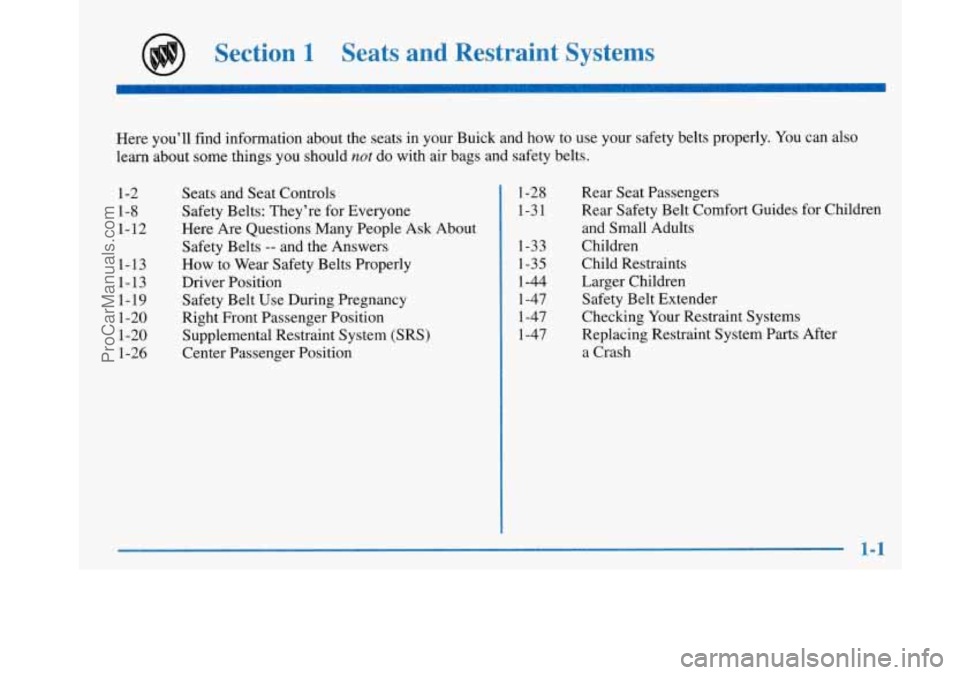
Here you’ll find information about the seats in your Buick and how to use your safety belts properly. You can also
learn about some things you should
not do with air bags and safety belts.
1-2 1-8
1-12
1-13
1-13
1-19 1-20
1-20
1-26 Seats
and Seat Controls
Safety Belts: They’re for Everyone
Here Are Questions Many People Ask About
Safety Belts
-- and the Answers
How to Wear Safety Belts Properly
Driver Position Safety Belt Use During Pregnancy
Right Front Passenger Position
Supplemental Restraint System (SRS)
Center Passenger Position
1-28
1-3 1
1-33
1-35
1-44
1-47 1-47
1-47 Rear
Seat Passengers
Rear Safety Belt Comfort Guides for Children
and Small Adults
Children
Child Restraints
Larger Children Safety Belt Extender
Checking Your Restraint Systems
Replacing Restraint System Parts After
a Crash
1-1
ProCarManuals.com
Page 14 of 420
Seats and Seat Controls
This part tells you about the seats -- how to adjust them,
and also about memory seats, reclining seatbacks and
head restraints.
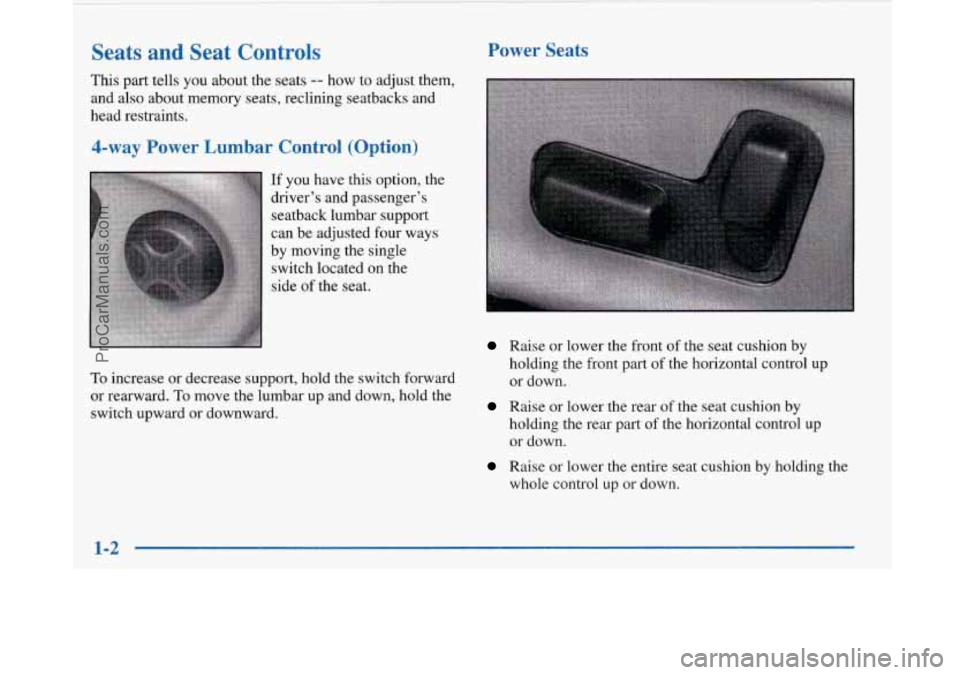
4-way Power Lumbar Control (Option)
If you have this option, the
driver’s and passenger’s
seatback lumbar support
can be adjusted four ways
by moving the single
switch located on the
side
of the seat.
To increase or decrease support, hold the switch forward
or rearward.
To move the lumbar up and down, hold the
switch upward or downward.
Power Seats
Raise or lower the front of the seat cushion by
holding the front part
of the horizontal control up
or down.
Raise or lower the rear of the seat cushion by
holding the rear part of the horizontal control up
or down.
Raise or lower the entire seat cushion by holding the
whole control up or down.
I 1-2
I ~
ProCarManuals.com
Page 15 of 420
0 Move the seat forward or back by pushing the
horizontal control to the front or back.
0 Tilt the seatback by pushing the vertical control
forward or rearward.
0 Raise or lower the shoulder belt and head rest by
pushing the vertical control to the top or bottom.
Memory Seat and Mirrors (Option)
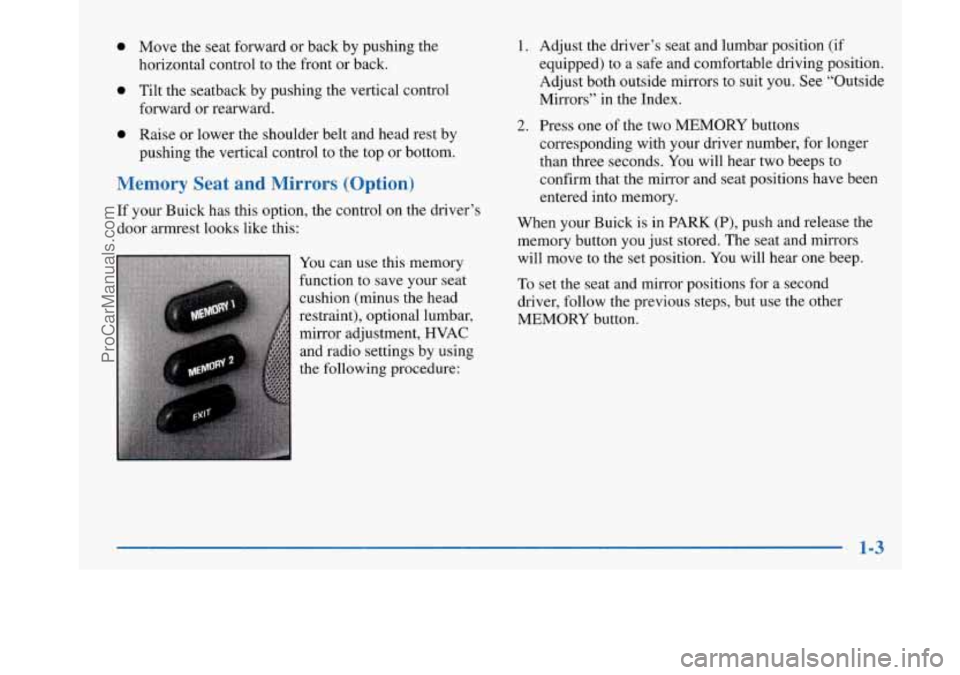
If your Buick has this option, the control on the driver’s
door armrest looks like this:
You can use this memory
function to save your seat
cushion (minus the head
restraint), optional lumbar,
mirror adjustment, HVAC
and radio settings by using
the following procedure:
1. Adjust the driver’s seat and lumbar position (if
equipped) to a safe and comfortable driving position.
Adjust both outside mirrors to suit you. See “Outside
Mirrors” in the Index.
2. Press one of the two MEMORY buttons
corresponding with your driver number, for longer
than three seconds. You will hear two beeps to
confirm that the mirror and seat positions have been
entered into memory.
When your Buick is in PARK (P), push and release the
memory button you just stored. The seat and mirrors
will move to the set position. You will hear one beep.
To set the seat and mirror positions for a second
driver, follow the previous steps, but use the other
MEMORY button.
ProCarManuals.com
Page 16 of 420
If you press the wrong MEMORY button, or if there is a
third driver, the seat adjuster will still work.
The EXIT button allows for easy exit from the vehicle.
Push and release the EXIT button while in PARK (P)
and the seat will move all the way back. You will hear a
beep when the EXIT button is pressed.
You can also set unique exit positions by moving the
seat to the desired position, and then pushing and
holding the EXIT button for greater than three seconds.
You will hear two beeps to confirm the position has
been set. The exit position will be set for the previously
identified driver. If
the ignition is not in RUN, automatic seat and mirror
movement will occur if the UNLOCK button on the
remote keyless entry transmitter is pressed. Automatic
seat and mirror movement is programmed through the
Driver Information Center (DIC)
so that the driver can
select whether the seat moves to the programmed
driving position, the programmed exit position or does
not move at all. For memory seat and mirror recall
programming instructions, see “DIC Personal Choice
Programming” in the Index.
1-4
ProCarManuals.com
Page 17 of 420
Heated Seats (Option)
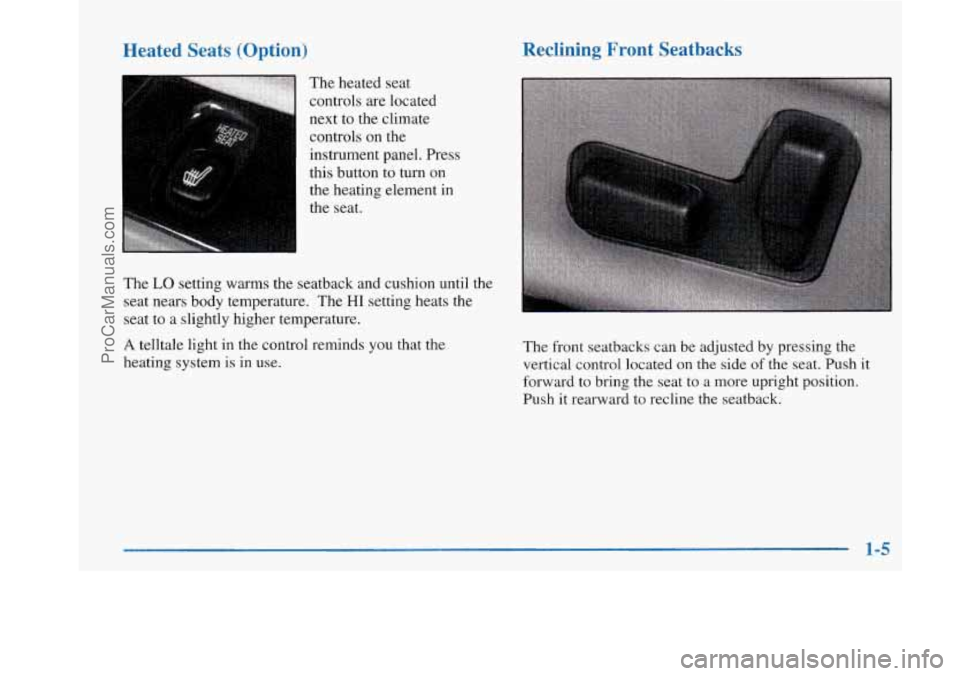
, :. '..<. ,^ ,, , ,, . ._ The heated seat
controls are located
next to the climate
controls on the
instrument panel. Press this button
to turn on
the heating element in
the seat.
The
LO setting warms the seatback and cushion until the
seat nears body temperature. The
HI setting heats the
seat to a slightly higher temperature.
A telltale light in the control reminds you that the
heating system is in use.
Reclining Front Seatbacks
The front seatbacks can be adjusted by pressing the
vertical control located on the side
of the seat. Push it
forward to bring the seat
to a more upright position.
Push it rearward to recline the seatback.
1-5
ProCarManuals.com
Page 18 of 420
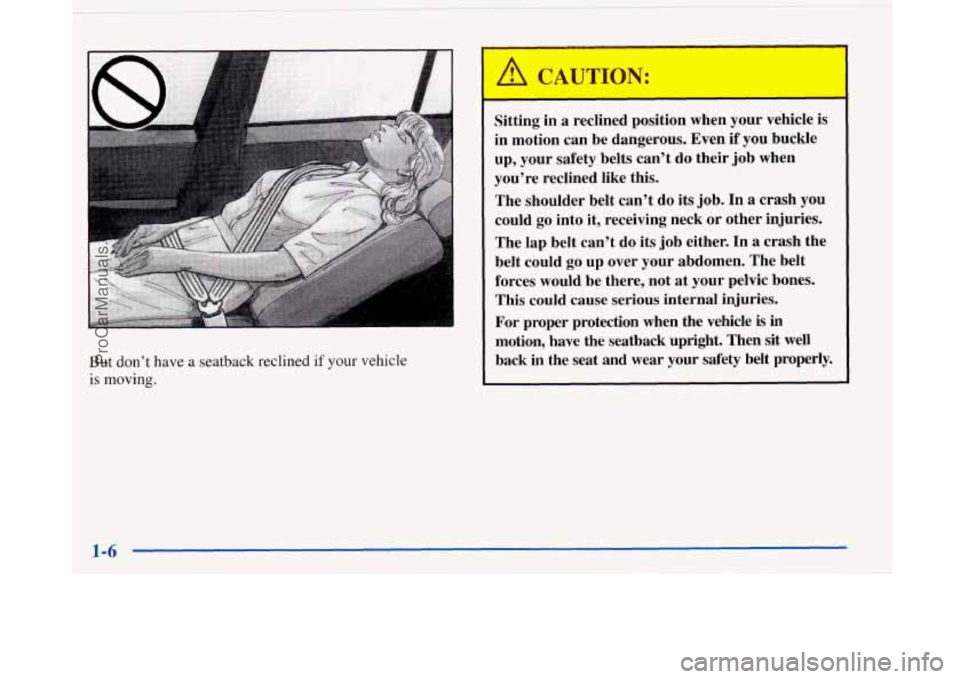
But don’t have a seatback reclined if your vehicle
is
moving.
Sitting in a reclined position when your vehicle is
in motion can be dangerous. Even
if you buckle
up, your safety belts can’t do their job when
you’re reclined like this.
The shoulder belt can’t do its job. In a crash
you
could go into it, receiving neck or other injuries.
The lap belt can’t
do its job either. In a crash the
belt could go up over your abdomen. The belt
forces would be there, not at your pelvic bones.
This could cause serious internal injuries.
For proper protection when the vehicle is in
motion, have the seatback upright. Then sit well
back
in the seat and wear your safety belt properly.
1-6
ProCarManuals.com
Page 19 of 420
Head Restraints
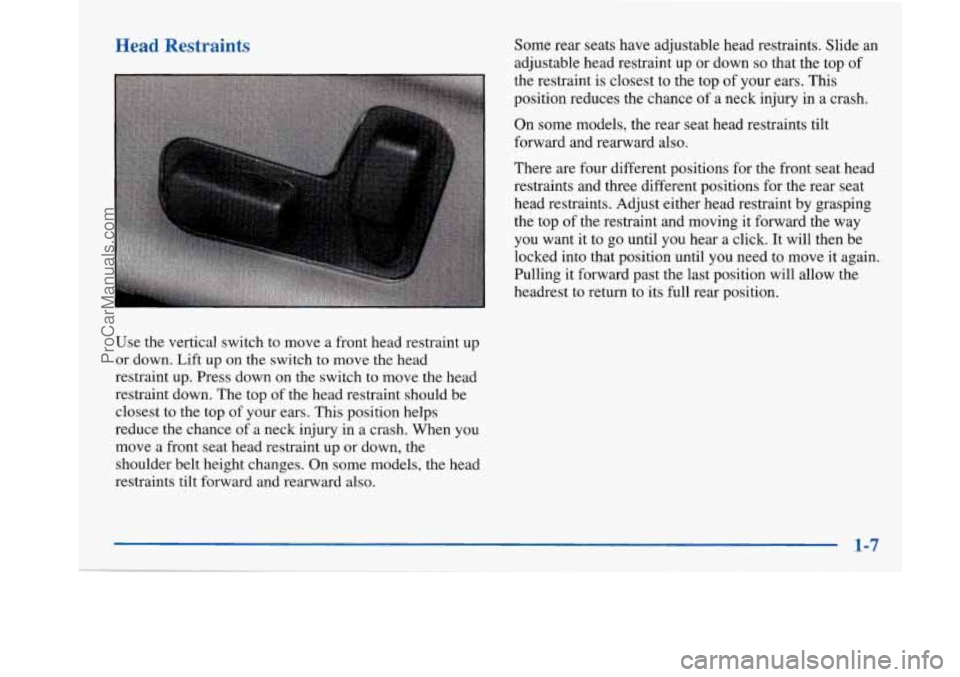
Use the vertical switch to move a front head restraint up
or down. Lift up on the switch to move the head
restraint up. Press down on the switch to move the head
restraint down. The top of the head restraint should be
closest
to the top of your ears. This position helps
reduce the chance of a neck injury in a crash. When you
move a front seat head restraint up or down, the
shoulder belt height changes. On some models, the head
restraints tilt forward and rearward also. Some
rear seats have adjustable head restraints. Slide an
adjustable head restraint up or down
so that the top of
the restraint is closest to the top of your ears. This
position reduces the chance of a neck injury in a crash.
On some models, the rear seat head restraints tilt
forward and rearward also.
There are four different positions for the front seat head
restraints and three different positions for the rear seat
head restraints. Adjust either head restraint by grasping
the top of the restraint and moving it forward the way
you want it to go until you hear a click. It will then be
locked into that position until you need to move it again.
Pulling it forward past the last position will allow the
headrest to return to its full rear position.
ProCarManuals.com
Page 20 of 420
Safety Belts: They’re for Everyone
This part of the manual tells you how to use safety belts
properly. It also tells you some things you should not do
with safety belts.
And it explains the Supplemental Restraint System
(SRS), or air bag system.
Don’t let anyone ride where he or she can’t wear
a safety belt properly. If you are in a crash and
you’re not wearing a safety belt, your injuries
can be much worse. You can hit things inside the
vehicle or be ejected from it. You can be seriously
injured or killed. In the same crash, you might
not be if you
are buckled up. Always fasten your
safety belt, and check that your passengers’ belts
are fastened properly too. It
is extremely
dangerous to ride in a cargo area,
inside or outside of a vehicle. In a collision,
people riding in these areas
are more likely to be
seriously injured or killed.
Do not allow people to
ride in any area of your vehicle that
is not
equipped with seats and
safety belts. Be sure
everyone in your vehicle is in a seat and using
a
safety belt properly.
1-8
ProCarManuals.com