change time BUICK PARK AVENUE 1998 Owners Manual
[x] Cancel search | Manufacturer: BUICK, Model Year: 1998, Model line: PARK AVENUE, Model: BUICK PARK AVENUE 1998Pages: 426, PDF Size: 23.59 MB
Page 8 of 426
GENERAL MOTORS, GM, the GM Emblem, BUICK,
the WLJIICK Emblem and the name PARK AVENUE are
registered trademarks
of General Motors Corporation.
This manual includes the 'latest information at the time it
WES printed. We reserve the right to make changes in the
prc~duct after that time
without Fmther notice. For
vehicles first sold in Canada, substitute the name
"General Motors
of Canada Limited" for hick Motor
Division whenever it appears in this manual.
Please keep this manual in your vehicle, so it wiIl be
there if you ever need it when you're on the road. if you
sell the vehicle, please leave this manual In it SO the new
owner can use it.
1 We support vslunta~y
technician certification.
WE SUPPORT
VOLUNTARY TECHNICIAN CERTIFICATION THROUGH
Natlonal Institute for
AUTOMOTIVE SERVICE EXCELLENCE
Aux propriktaires canadiens: Vous pouvez VOES
procurer un exernpiaire de ce guide en franc;ais chez
votre concessionaire
ou au:
DGN Marketing Services Lad.
1577 Meyerside Dr.
Mississauga, Ontario L5T IB9
9 Copyright General Motors Corporation 1997
All Rights Reserved
ProCarManuals.com
Page 72 of 426
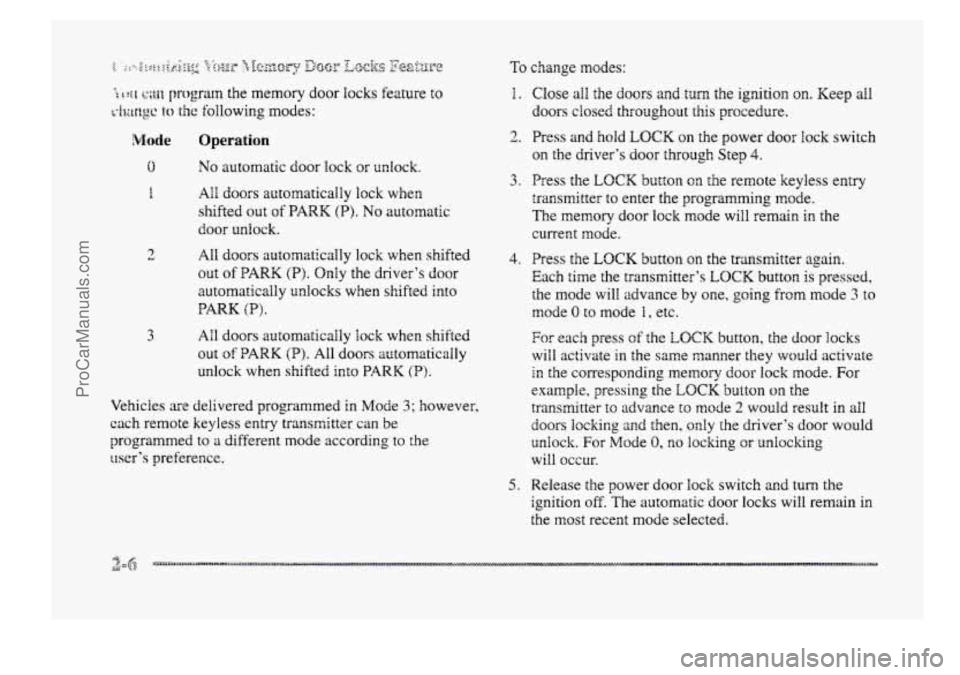
0
E
2
3
Operation
No automatic door lock or unlock.
All doors automaticaily lock when
shifted
out of PARK (P). No automatic
door UdQCk.
A11 doors automatically lock when shifted
out of BARK (P). Only the driver's door
automatically unlocks when shifted into
PARK (B).
AI1 doors automatically lock when shifted
out of PARK (B). All doors automatically
unlock when shifted into
PARK (P).
Vehicies are delivered programmed in Mode 3; however,
each remote
keyless entry transmitter can be
programmed to
a different mode according to the
trser's preference.
To change modes:
I. Close all the doors and turn the ignition OE. Keep all
doors dosed throughout this procedure.
2. Press and hold LOCK on the power door lock switch
on the driver's
door through Step 4.
3. Press the LOCK button on the remote keyless entry
transmitter to enter the programming mode.
The memory door lock mode will remain in the
current mode.
4. Press the LOCK button on the transmitter again.
Each time the transmitter's LOCK button
is pressed,
the
mode will advance by one, going from mode 3 to
mode 0 to mode 1, etc.
For each press of the LOCK button, the door locks
will activate in the same manner they would activate
in the corresponding memory door lock mode. For
example, pressing
the LOCK button on the
transmitter
to advance to mode 2 would result in a11
doors lockicg aimd then. only the driver's door would
unlock.
For Mode 0, no locking or unlocking
Will QCCUT.
5. Release the power door lock switch md turn the
ignition
of.. The automatic door locks will remain in
the most recent mode selected.
ProCarManuals.com
Page 77 of 426
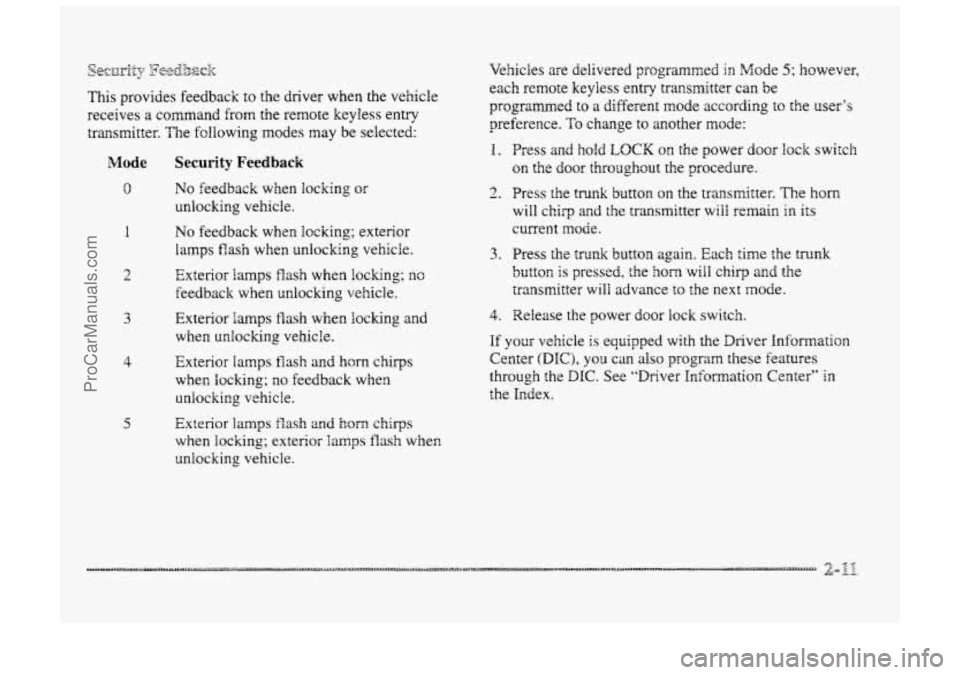
This provides feedback to the driver when the vehicle
receives a command
from the remote keyless entry
transmitter. The following modes may
be selected:
Mode Security Feedback
0
I
2
3
4
J c
No feedback when locking or
unlocking vehicle.
No feedback when locking; exterior
lamps flash when unlocking vehicle.
Exterior iarnps flash when locking; nc
feedback when unlocking vehicle.
Exterior
lamps tlash when locking and
when unlocking vehick.
Exterior lamps flash and hcrn chirps
when locking;
no feedback when
unlocking vehicle.
Exterior
lamps flash and horn chirps
when locking; exterior
iarnps flash when
unlocking vehicle. Vehicles are delivered programmed
in Mode 5; however,
each remote keyless entry transmitter can be
programed
to a difTerent mode according to the user‘s
preference.
To change to another mode:
1.
2.
3.
4.
Press and hold LOCK on the power door lock switch
on the door throughout the procedure.
Press the
trunk button on the traasmitter. The horn
will ChiiT and the transmitter will remain in its
current
mode.
Press the trunk button again. Each time the tmmk
button is pressed, the horn wiil chirp and the
transmitter will advance eo the next mode.
Release the power door lock switch.
If your vehicle is equipped with the Driver Infomation
Center
4DEC), you can also program these features
through the DIC. See “Driver Enformation Ceater” in
the Index.
ProCarManuals.com
Page 79 of 426
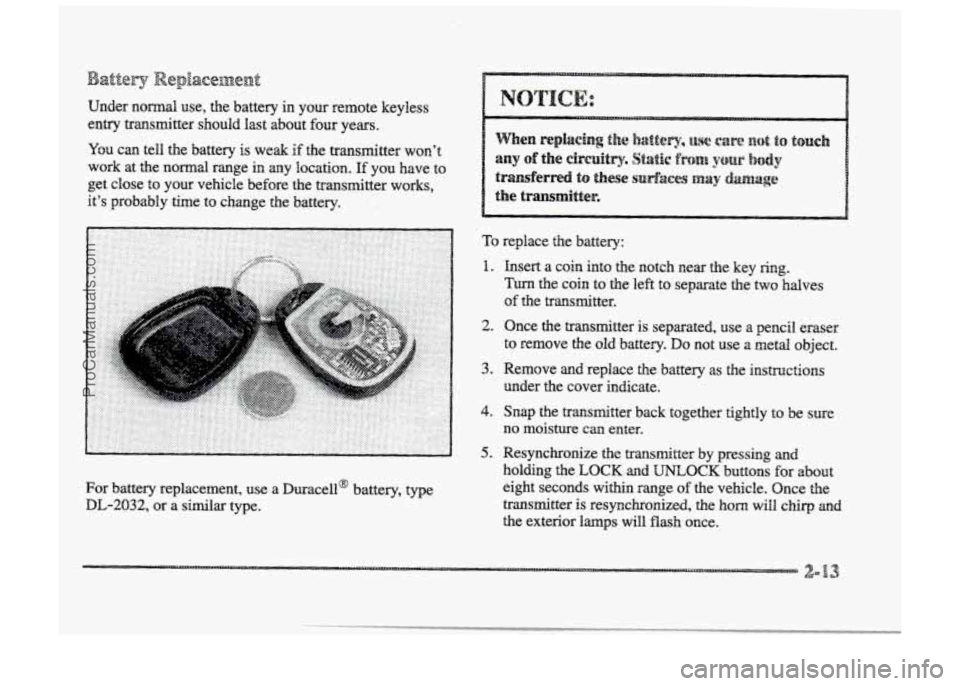
Under normal use, the battery in your remote keyless
entry transmitter should last about four years.
You can tell the battery is weak
if the transmitter won’t
work at the normal range
in any ‘location. If you have to
get close to your vehicle before the transfitter works,
it’s probably time
to change the battery.
For battery replacement, use a Duracell@ battery, type
DL-2032, or a similar type.
To replace the battery:
1. Insert a coin into the notch near the key ring.
Turn the coin to the left to separate the two halves
of the transmitter.
2. Once the transmitter is separated, use a pencil eraser
to remove the old battery. Do not use a metal object.
3. Remove and replace the battery as the instructions
under the cover indicate.
4. Snap the transmitter back together tightly to be sure
no moisture can enter.
5. Resynchronize the transmitter by pressing and
holding the LOCK and UNLOCK buttons for about
eight seconds within range
of the vehicle. Once the
transmitter is resynchronized, the
horn will chirp and
the exterior lmps will flash once.
ProCarManuals.com
Page 100 of 426
The switch for the driver’s window has an express-down
feature. Pull the switch back all the way, release it and
the window will lower automatically.
To stop the
window from lowering, pull the switch again. To
partially open the window, pull the switch back half
way. When the switch is released, the window will stop
moving.
To raise the window, press and hold the
switch
forward.
Press the window lock switch on the driver’s armrest to
disable dl passenger window switches,
or just the rear
passenger switches.
The middle of the switch will light
to indicate thc window lockout is active.
The diver’s window corat.rds will slill be operable. This is
a useful fwture when you have children as passengers.
Press the windcw lock switch a second time to ailow
passengers to use their window controls again. The light
in the center of the switch will go off to indicate that the
feature is disabled.
Vehicles are delivered programed
to Bock out all
passenger windows. If you have the optional DK, you
can choose
to lock out only the rea- windows. See
“Personal Choice Features” or “Driver Information
Center’’ in the Index for programming instructions.
If
you do not have the DIC feature, see your dealer if YOU
choose to have this setting changed to lock out only the
rear windows.
Nearly the entire surface
of the center pad of the
steering wheel is an active horn switch. Press anywhere
on the pad to sound the horn.
ProCarManuals.com
Page 112 of 426
Whew it’s dark enough outside, your high-$em
headlamps will change
to low-beam headlamps at full
brightness. The other lamps that turn with your
headlamps will also turn on. When it’s bright enough
outside, the regular
Imps will turn off, and your
high-beam headlamps change
to the reduced brightness
Qf DWL.
To turn off all exterior lighting at night when YOU are
parked,
tlrm off the headlamps and move the twilight
sentinel
~ontd to the left into the detent in the slider
control. When released, the control
will return to the
Twilight Sentinel minimum delay position and the fights
will turn off.
As with any vehicle, YOU should turn on the regular
headlamp system
when YOU need it.
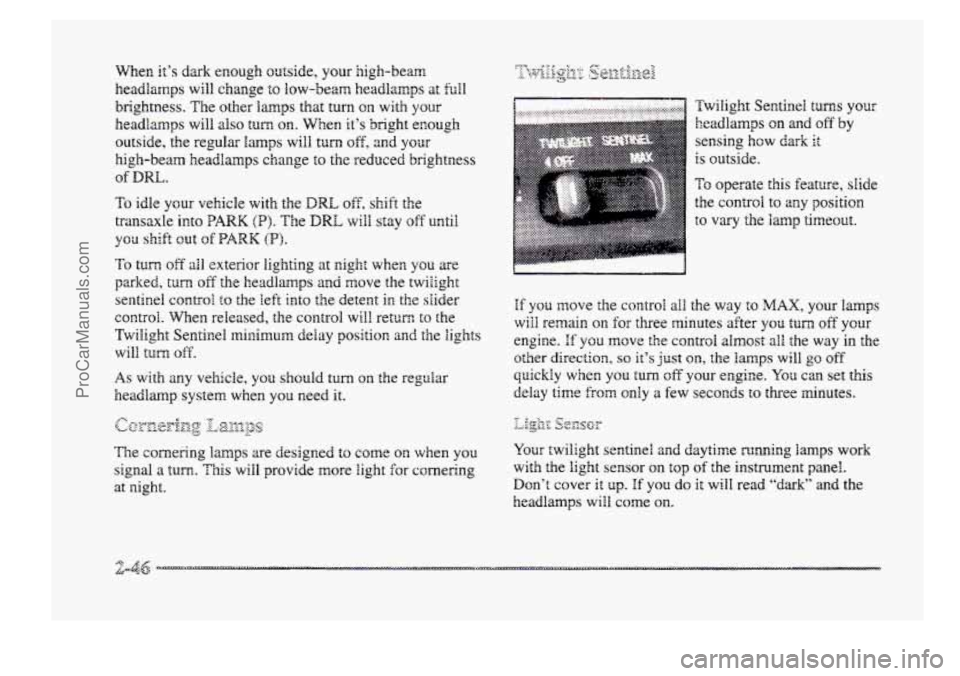
To operate this feature, slide
the control
to any position
to vary the lamp timeout.
If you move the control a11 the way to MAX, your lamps
will remain on for three minutes after you turn off your
engine. If you move the control almost all the way in the
other direction, so it’s just on, the Imps will go off
quickly when you turn off your engine. You cm set this
delay time
from only a few seconds to thee lminutes.
YQU~ twilight sentinel and daytime running lamps work
with
the Bight sensor on top of the instrument panel.
Don’t cover it
up- If you do it will read “dark” and the
headlamps
will come on.
ProCarManuals.com
Page 117 of 426
.............................................................. ....................................................... :: ............ .................................... ............................ i
...... ... .... .......... .... ... .............. ...
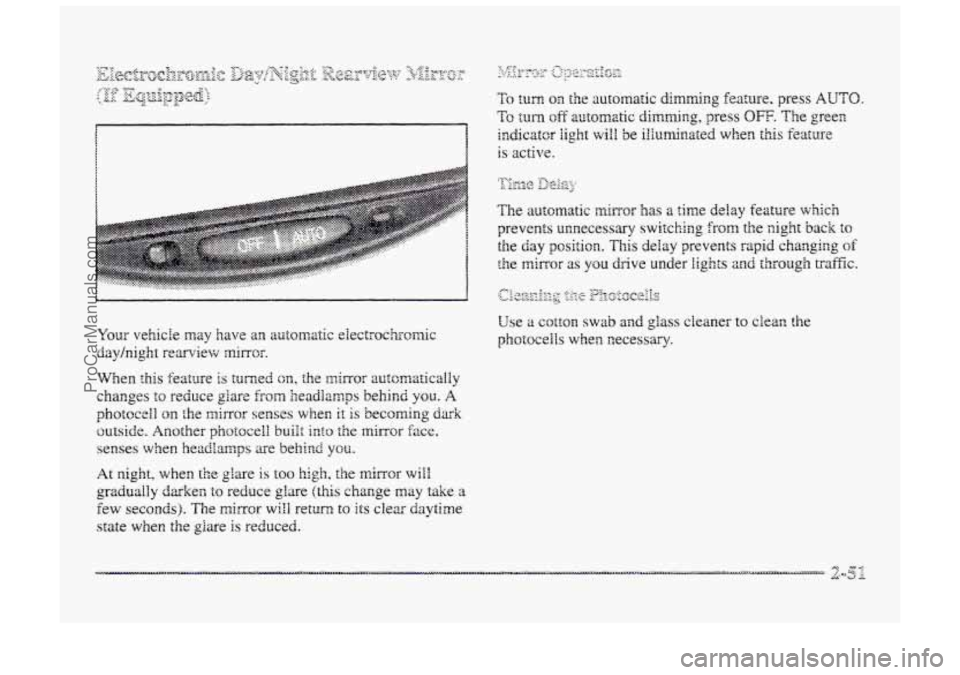
At night, when the glare is too high, the mirror will
gradually daken to reduce glare (this change may take a
few seconds). The mirror will return to its clex daytime
state when t,~ glare is reduced.
The automatic minor has a time delay feature which
prevents unnecessary switching from the night back to
the day position. This delay prevents rapid changing of
the mirror as you drive under lights and t3E.ough traffic.
ProCarManuals.com
Page 118 of 426
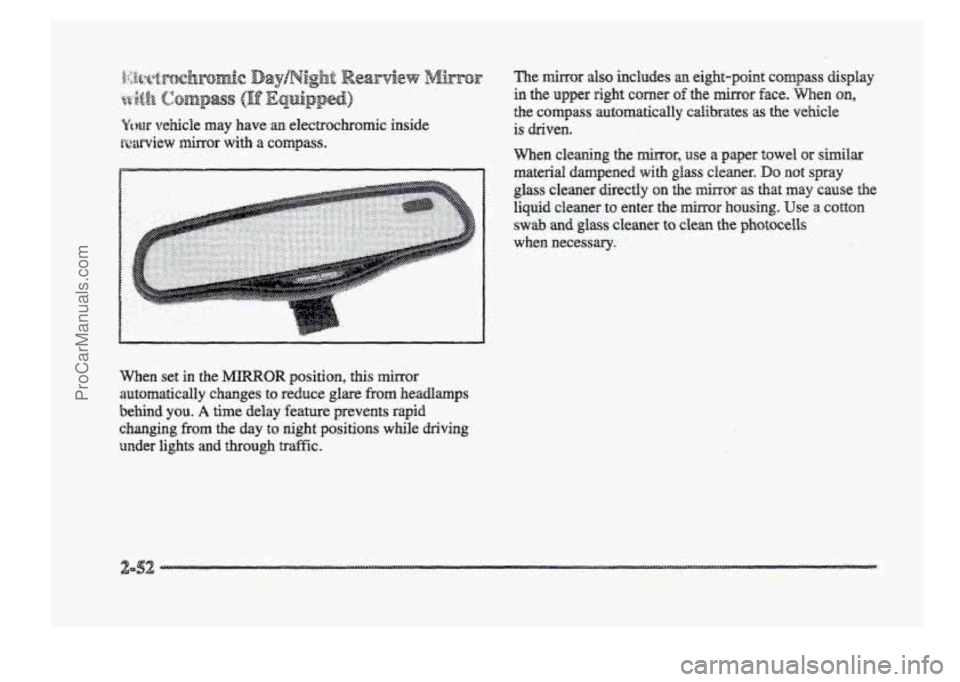
Ywr vehicle may have m electrochromic inside
r~wview
minor with a compass.
When set in the JMIRROR position, this mirror
automatically changes to reduce glare
fkom headamps
behind you.
A time delay feature prevents rapid
changing
from the day to night positions while driving
under lights and through
traffic.
The mirrcpa: also includes m eight-point compass display
in the upper right CQH~W of the mirror face. men on,
the compass automatically calibrates as the vehicle
is driven.
When cleaning the
naimor, use a gaper towel or similar
materid dampened with glass cleaner. Do not spray
glass cleaner directly
on the mirror as that may cause the
liquid cleaner to enter the minor housing. Use a cotton
swab and glass cleaner to clean the ph~toce~~s
whew necessary.
ProCarManuals.com
Page 156 of 426
Oil Life Monitor (Index): Psess the GAGES button
until OIL LIFE INDEX appears in the display. The OIL
LEE INDEX NORMAL display will show an estimate
of the oil’s remaining useful Me. When the oil life index
is less
than IO%, the display will show OIL LIFE
INDEX CHANGE OIL. When you have the oil changed
according
to the maintenance schedule (see
“Maintenance Schedule” in the Index), you will have to
reset the oil We monitor.
To do this, press and hold the
RESET’
button for more than five seconds while the oil
life index
is being displayed on the DPC. The oil life will
change to
100%.
Tire Psessure Status: Press the GAGES button until
‘FWE IPWSSUWE appears in the display. TWE
PRESSUWE NORMAL is displayed when the Check
Tire Pressure System believes your ve~cle’s tire
pressures are normal. If a potential tire pressure problem
is detected, the display will show gIRE PRESSURE
LOW CHECK TIRES. If you see the azRE
PRESSURE LOW: CHECK TIRES message, you
should
st~p as soon as you can and check all your tires
for damage. (If a tire is flat, see ‘‘If a Tire Goes Flat” in
the Index.)
Also check the tire pressure in all four tires
as
soon as you can. See “Inflation - Tire Pressure” and
“Check Tire Pressure System” in the Index. mere
are
times when you will have to reset (calibrate)
the
Check Tire Pressure System. See “Check Tire
Pressure System” in
the Index.
jJ&m&qgs sj& &ssag@j
Other messages or warnings may appear in the DE
display such as:
0 WINDSHIELD WASHER FLUID LOW
ENG COOLANT LOW - CHECK LEVEL
ENGINE OIL LOW - CHECK LEVEL
0 CHANGE ENGINE OIL SOON
0 TRACTION CONTROL SYSTEM ACTIVE
0 DOOR AJAR
0 TRUNKAJAR
Pressing any of the DIC control buttons will remove the
above messages or warnings
from the DIC display.
ProCarManuals.com
Page 157 of 426
The DIC can be used $0 program the following personal
choice
features available with your vehicle:
@ Melnosy Seats
Memory Door Locks
Security Feedback
@ Delayed hcking
See ‘‘Personal Choice Features” In the Index.
T’ne DTC is used to program the personal choices of two
drivers. The driver’s are recognized by
DRIVER #I and
DRIVER #2. You will kt the DIC know which driver
you are by using your remote keyless entry transmitter
or
by pressing the appropriate memory seat control
buttorm located on the driver’s door. The remote
transmitter was pre-programmed to belong to
DRIVER # 9 or DRIVER #2.
The last driver number remembered by the DIC will
show on the display each time the UNLOCK button on
the same transmitter is pressed, and the ignition is
turned OE.
When you press UNLOCK en your transmitter, the DIC
will automaticaihy change driver numbers 2nd the
vehicle will recall the persod choice settings that were
last made to correspond to your transmitter.
if you unlock the vehicle using your door key instead sf
your zransmitter, the DIC will not change drivers 2nd
will recall the infomation from the last transmitter use
or the last driver change using the men~ory seat controls.
If this happens and you were not the last driver of the
vehicle, simply
press your correct driver number on the
memory seat controls OH press the UNLOCK button on
your transmitter.
ProCarManuals.com